Offcut Challange Vase

So when I bought the pen blanks for the fancy pens from Feinesholz, they included a block of padouk in the order. Hadn’t asked for it, they just threw it in there.
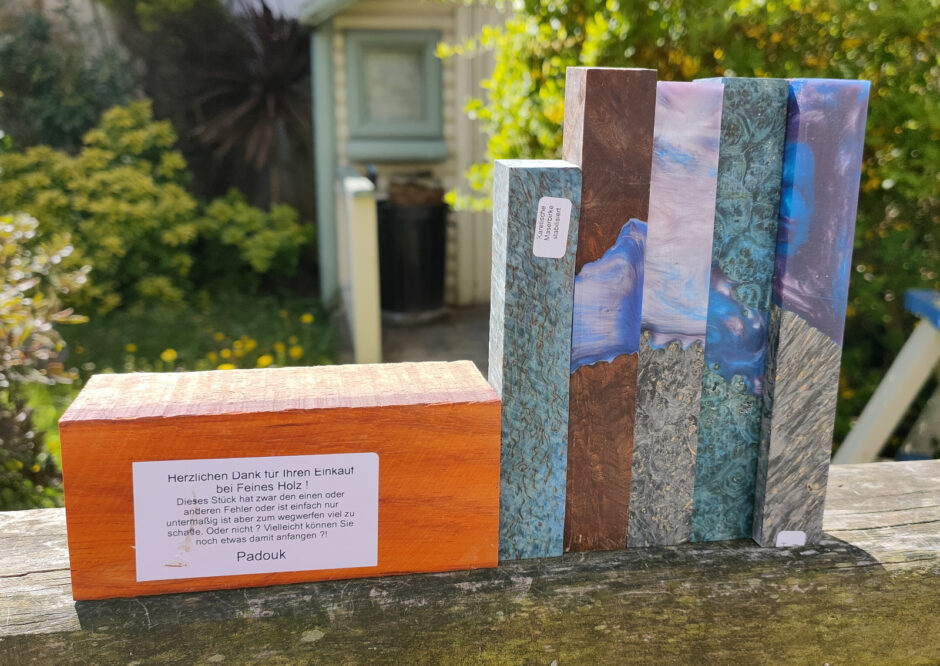
The sticker reads, if google translate can be believed, “Thank you for shopping at Feines Holz! Although this piece has one or two flaws or is just undersized, it is too good to throw away. Or not? Maybe you can still do something with it?! Padouk”. You have to love the idea of throwing in an offcut to an order with a challange on it, this is a crowd that knows its market demographics pretty well 😀
So it wasn’t a huge offcut, about 5cmx5cmx12cm (“about” because every edge was a slightly different length – it’s an offcut, not a processed blank 😀 ). And there’s variation of the colour throughout because it’s near the boundary of the heartwood and sapwood.
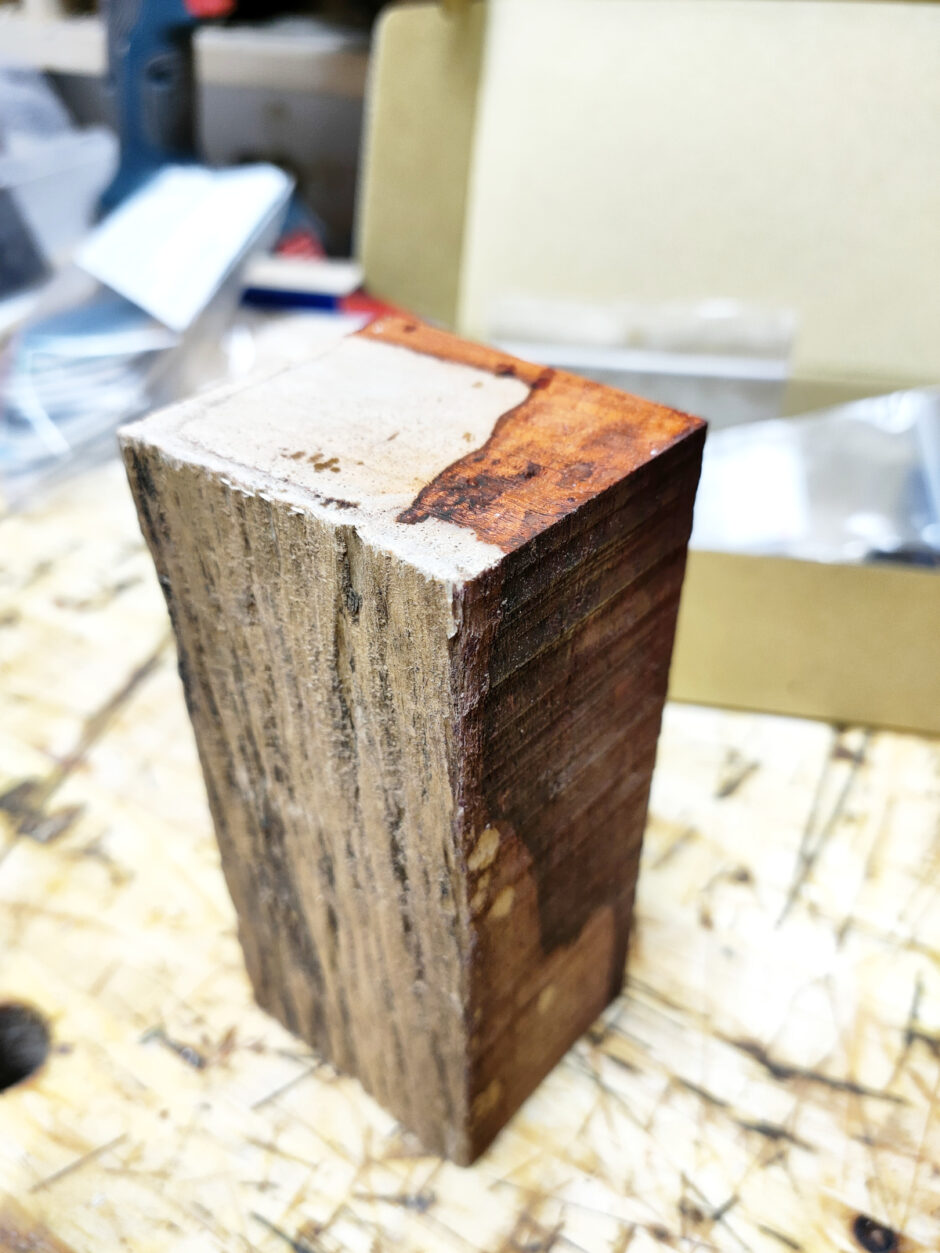
That changing colour might have been the thing that gave me the idea, I’m not sure. I start off simply enough, it looked like the right shape to cut a small bud vase from (and until I get an extension bar for my little forstner bit, bud vases are about the best I can manage), so that’s what I did:
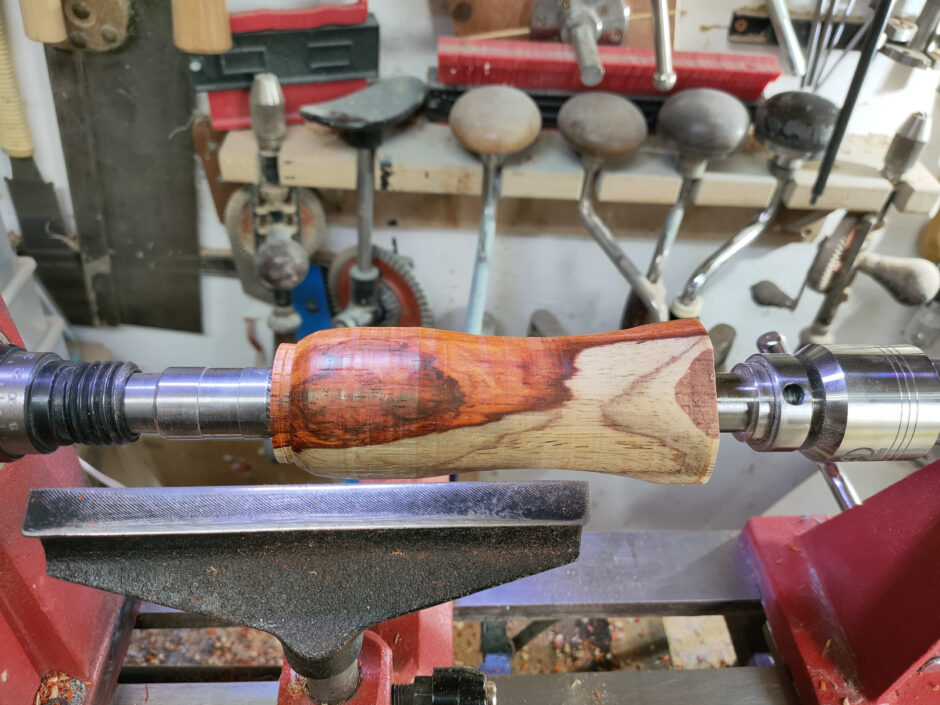
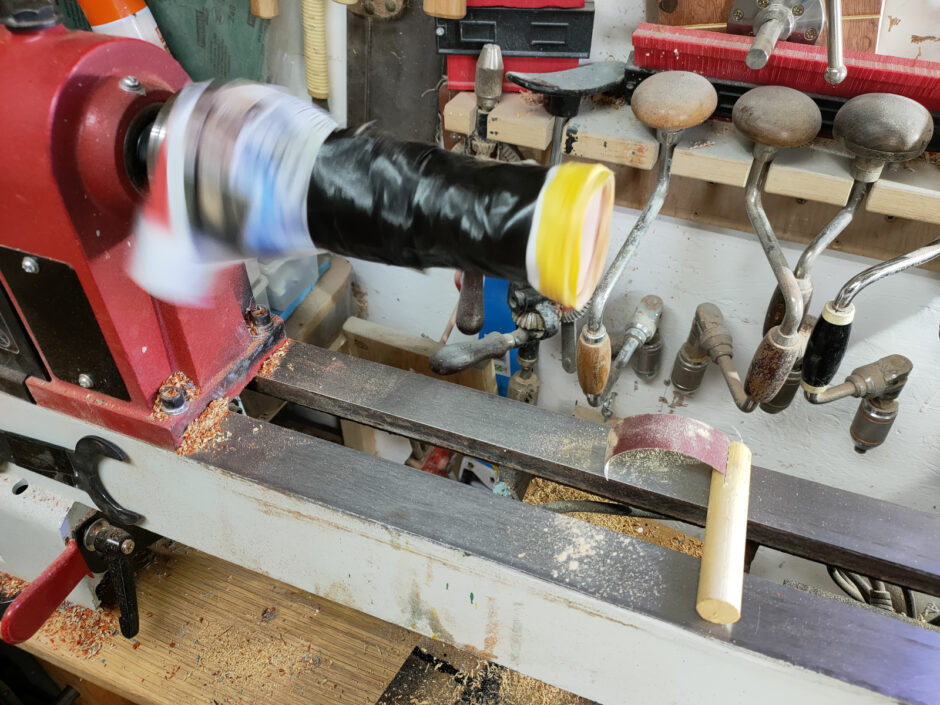
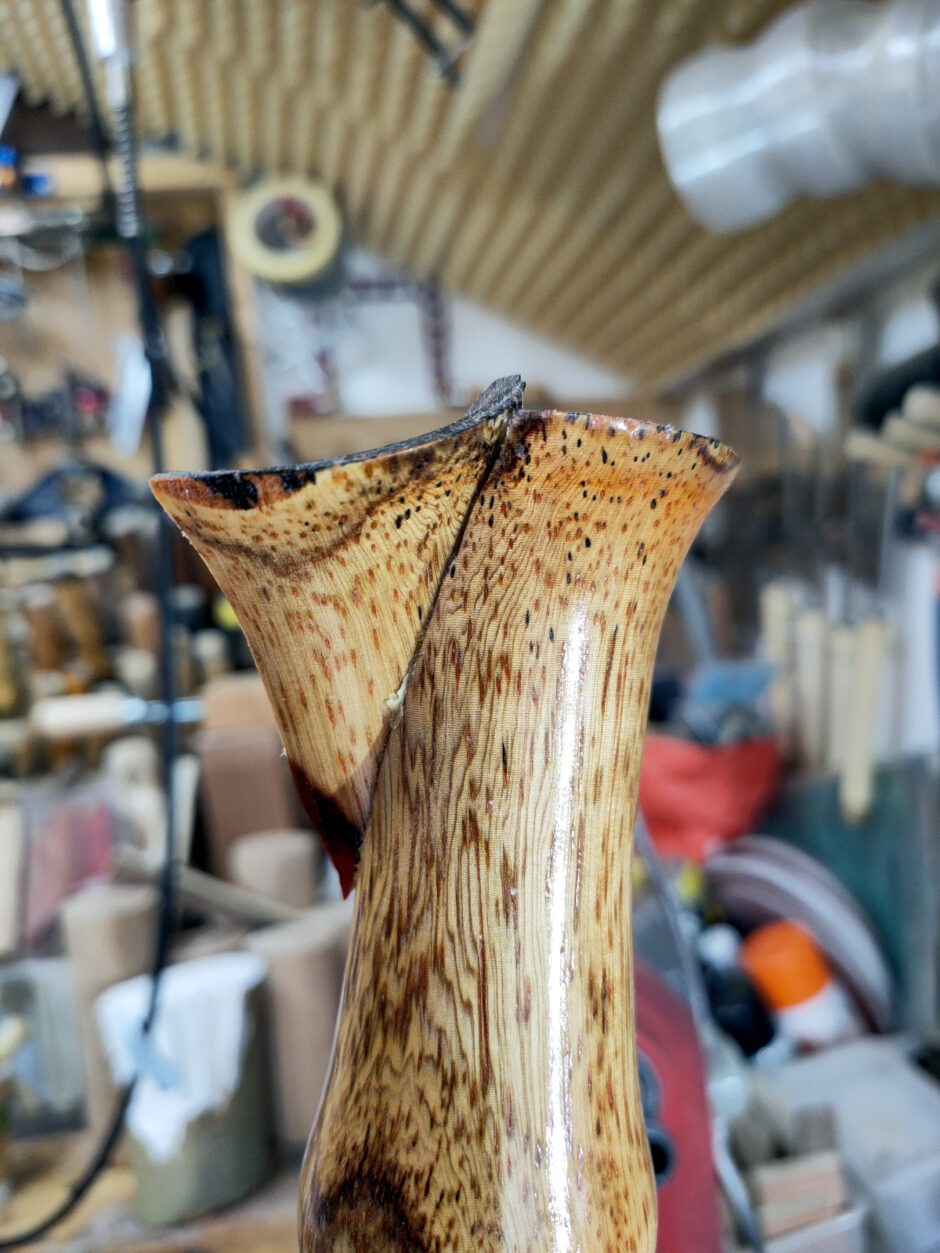
Turned between centers to start, just to round it over and get a basic shape into it, and I’m mostly watching the colour of the heartwood for this and trying to see if I can avoid cutting all of that out. which you could do given the way it was lying in the wood.
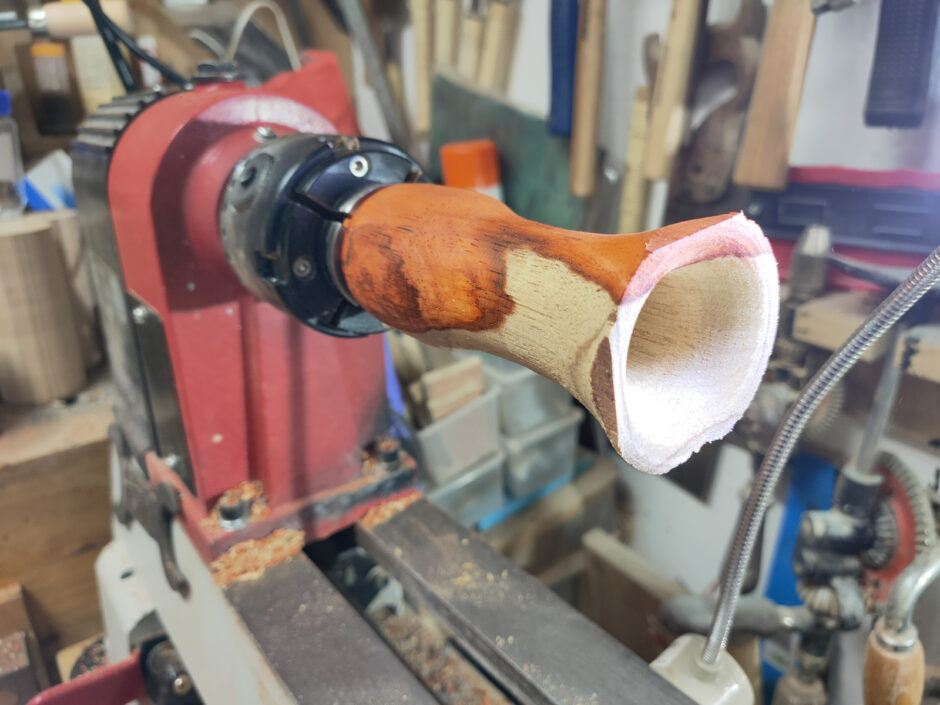
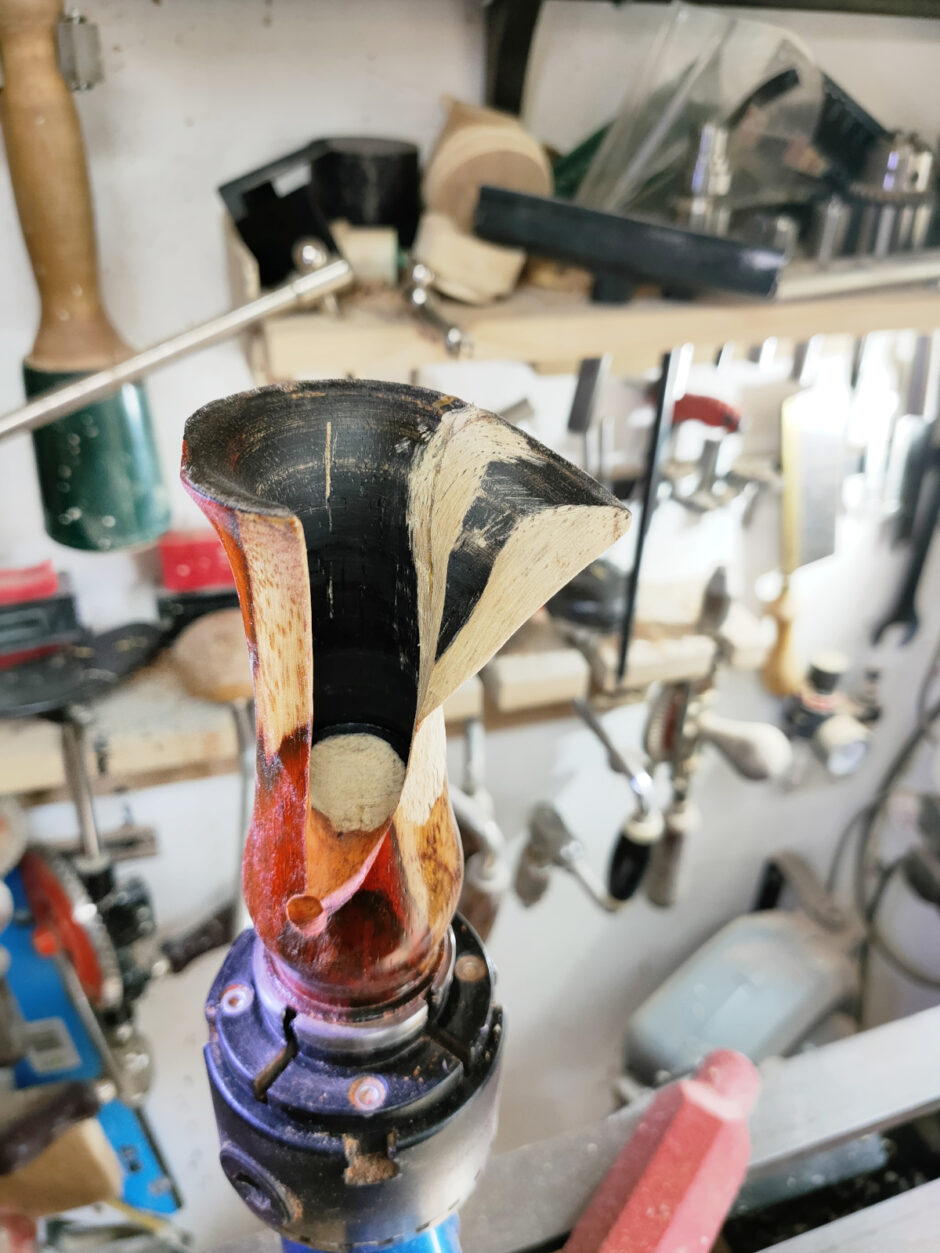
Then drilled it out to the depth of my forstner bit (which isn’t much, maybe 75-80mm?), and used a ring tool (the crown mini revolution is the one I have) to work the shape a little inside and a bowl gouge to make a few shallow cuts to get the final lip shape.
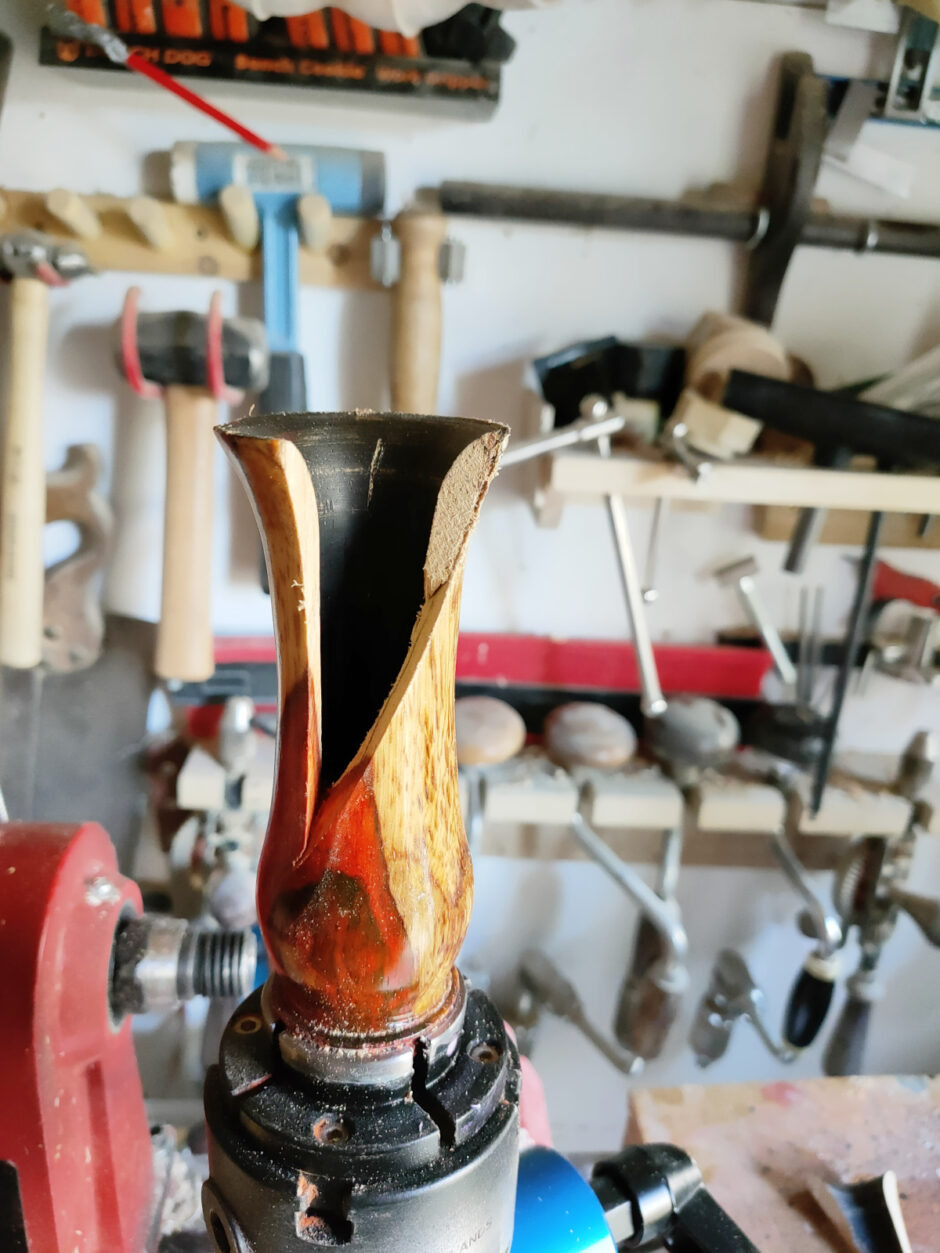
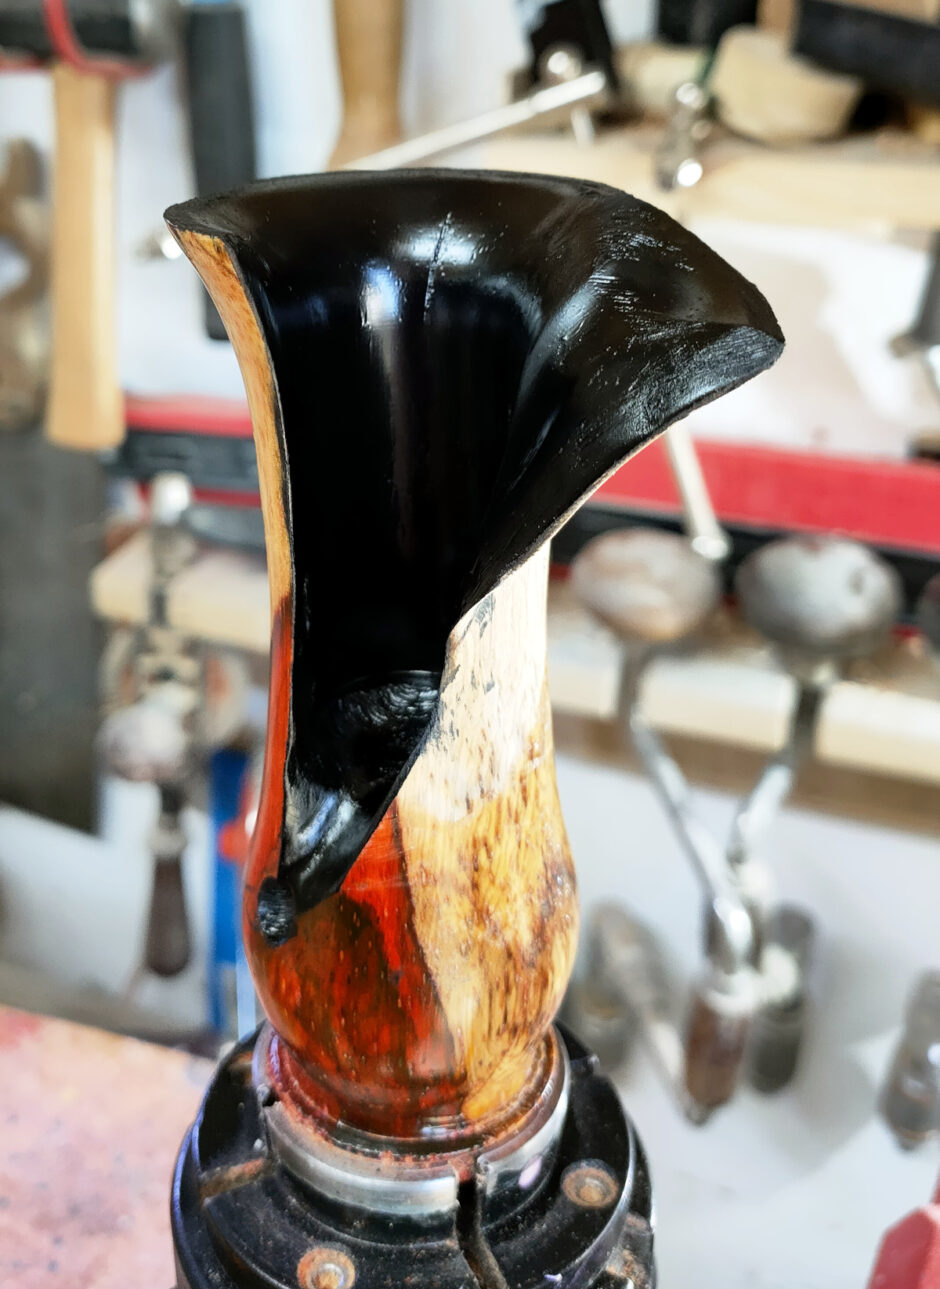
Around about this point, I had the idea for this… piece? thing? not sure what you call it. What if I did the outside of that last coloured bowl, but on the inside, like fireworks and have that contrast with the outside which will be all-natural wood, if a fancy colour. But I’d need to open it up down one wall to show it off. Maybe just cut a chunk away? What about the “open jacket lapel” look?
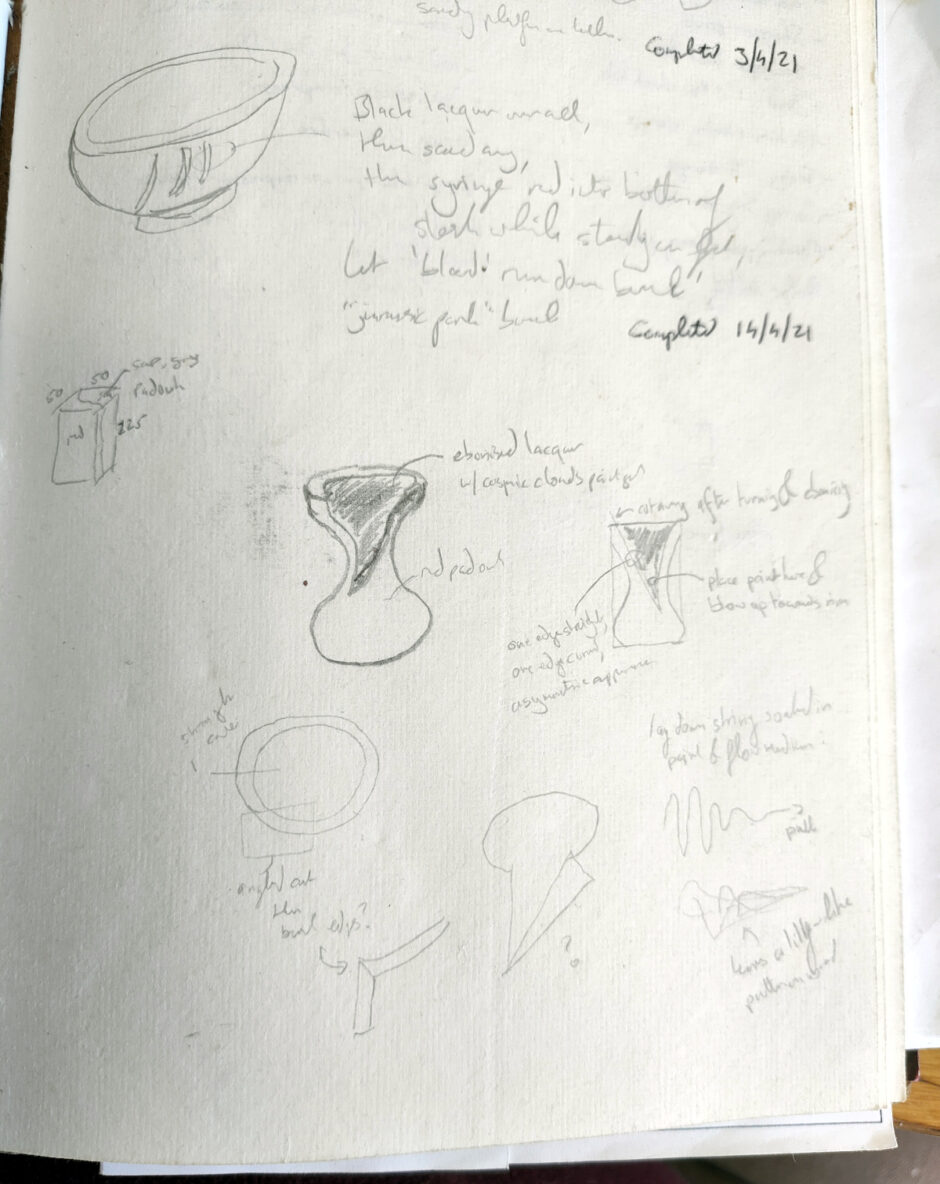
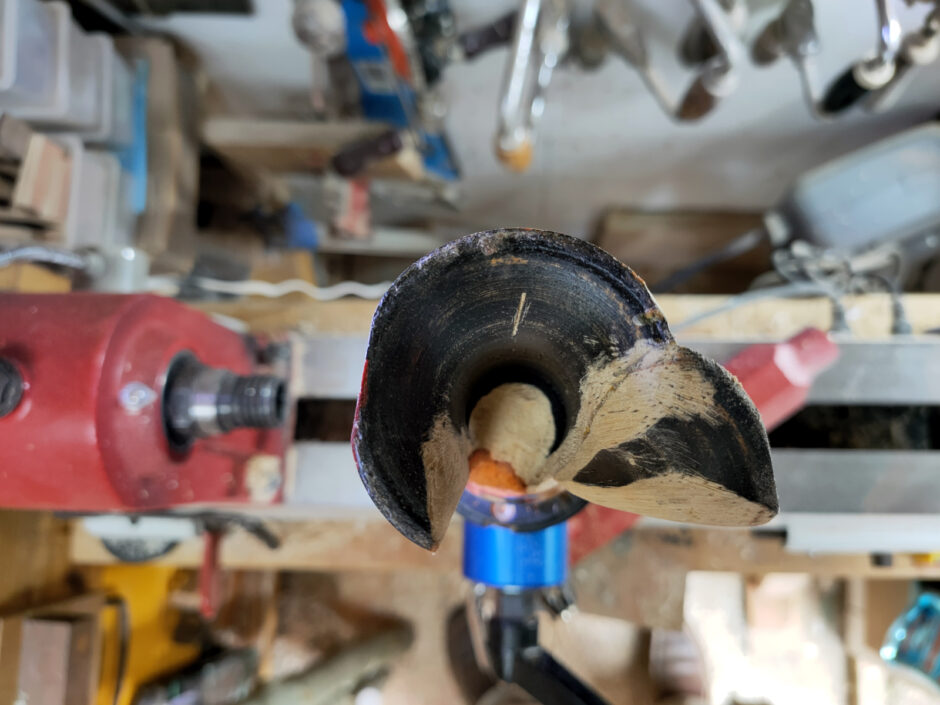
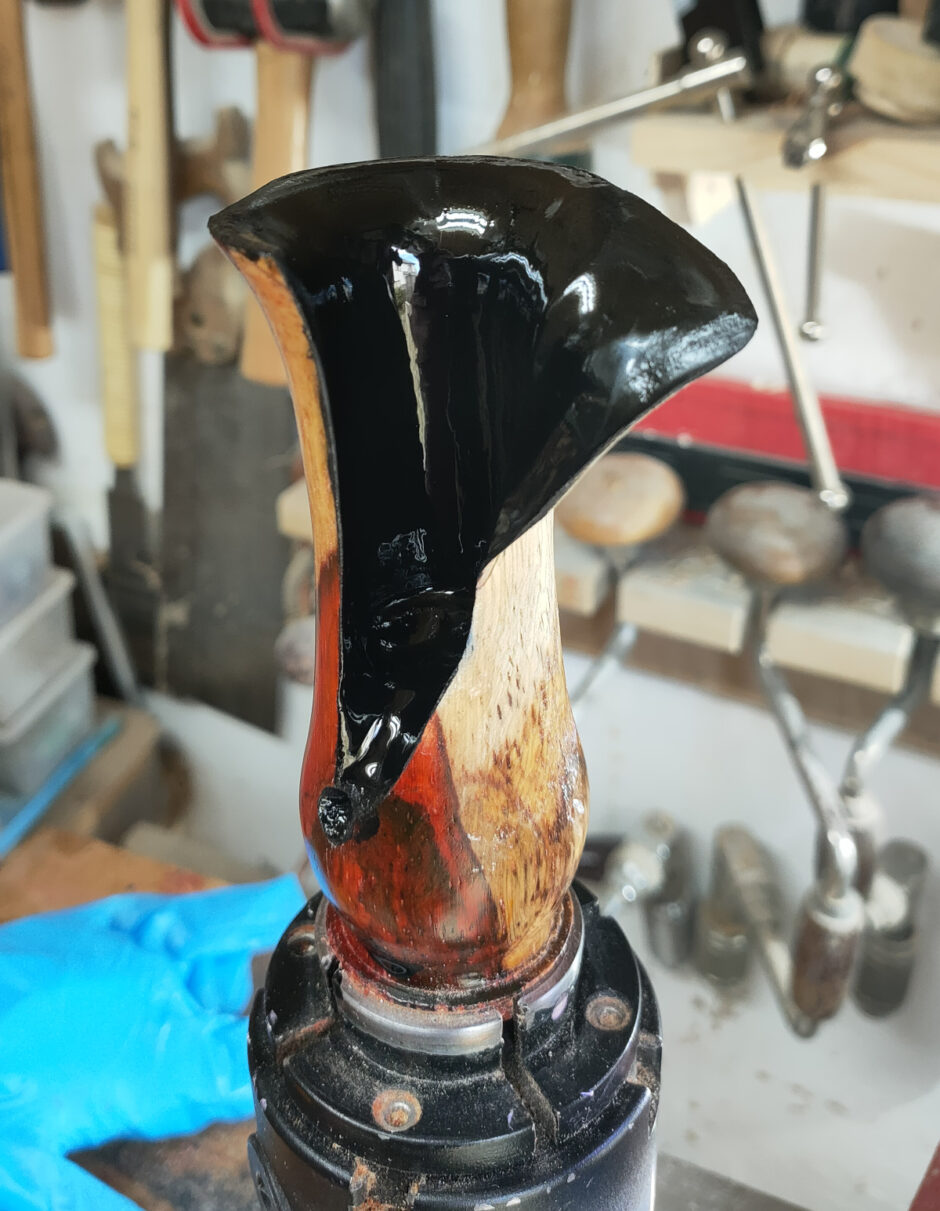
I ebonised the inside to get a feel for what it’d be like (masking became something of a feature of this little project).
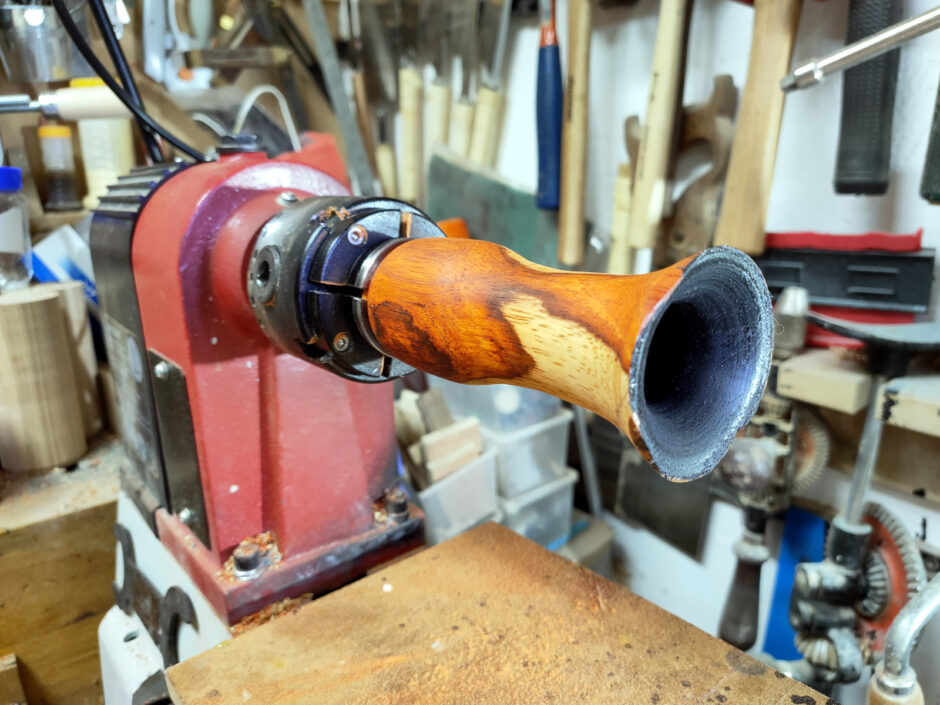
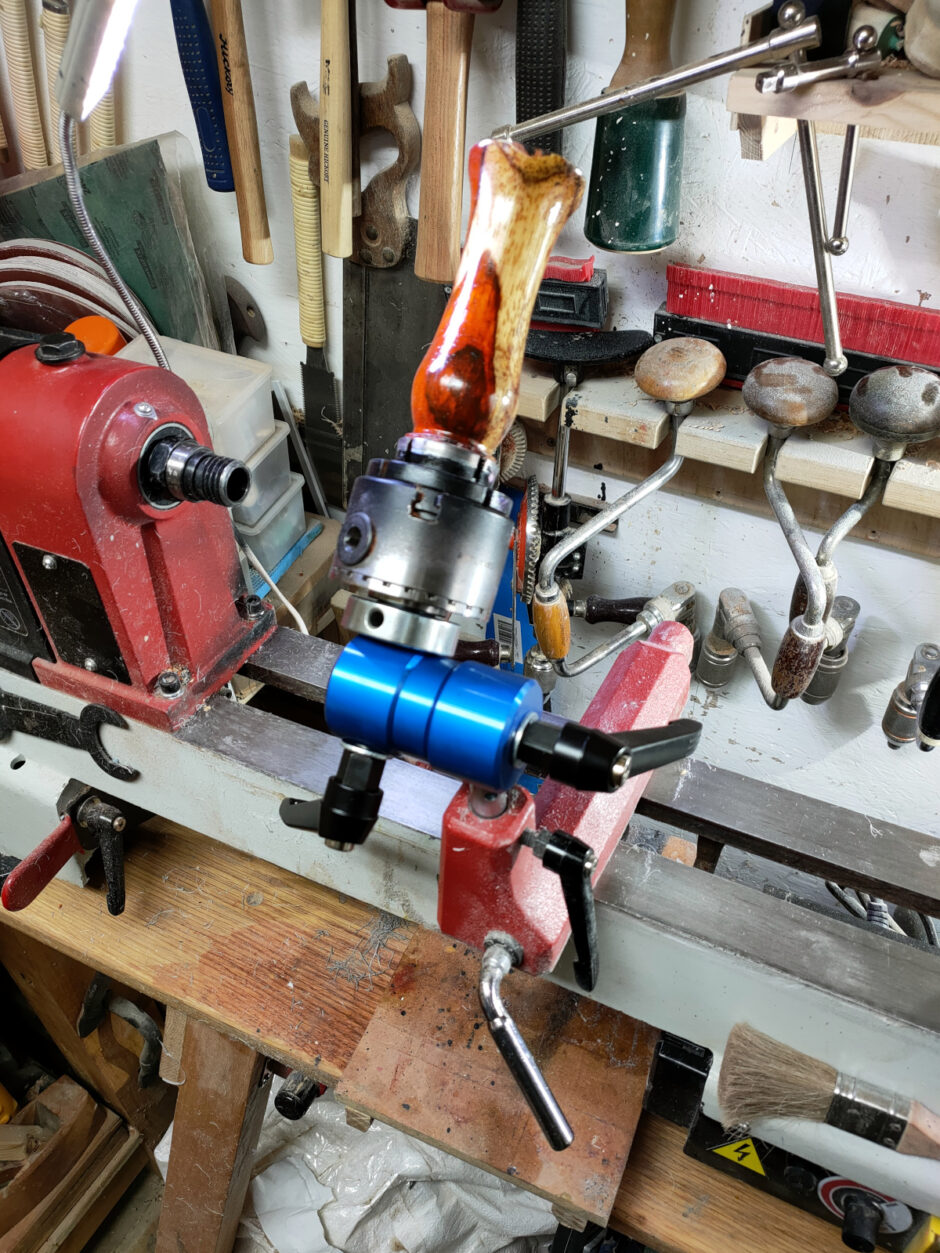
And yeah, not the slickest of finishes there but enough to give an idea of what it’d look like and I thought it was worth going on with. Thing is, cutting into that vase and then doing the shaping and sanding and spraying that was to come was going to be a complete pain with it in that horizontal orientation, literally. Ask any woodturner who hollows stuff and they’ll tell you that lower back pain is a problem because you’re bent over at odd angles shoving a bit of metal into a spinning bit of wood, so it’s not just stretching, it’s carrying a load while stretched. This is something I’m kindof familiar with from the air rifle shooting – an asymmetric offset load on the spine is just not something you should do if you can help it. Larger lathes will rotate the headstock or have other ways of coping with this, but mine doesn’t do that, and no lathe will rotate from horizontal to vertical, so something else was needed…

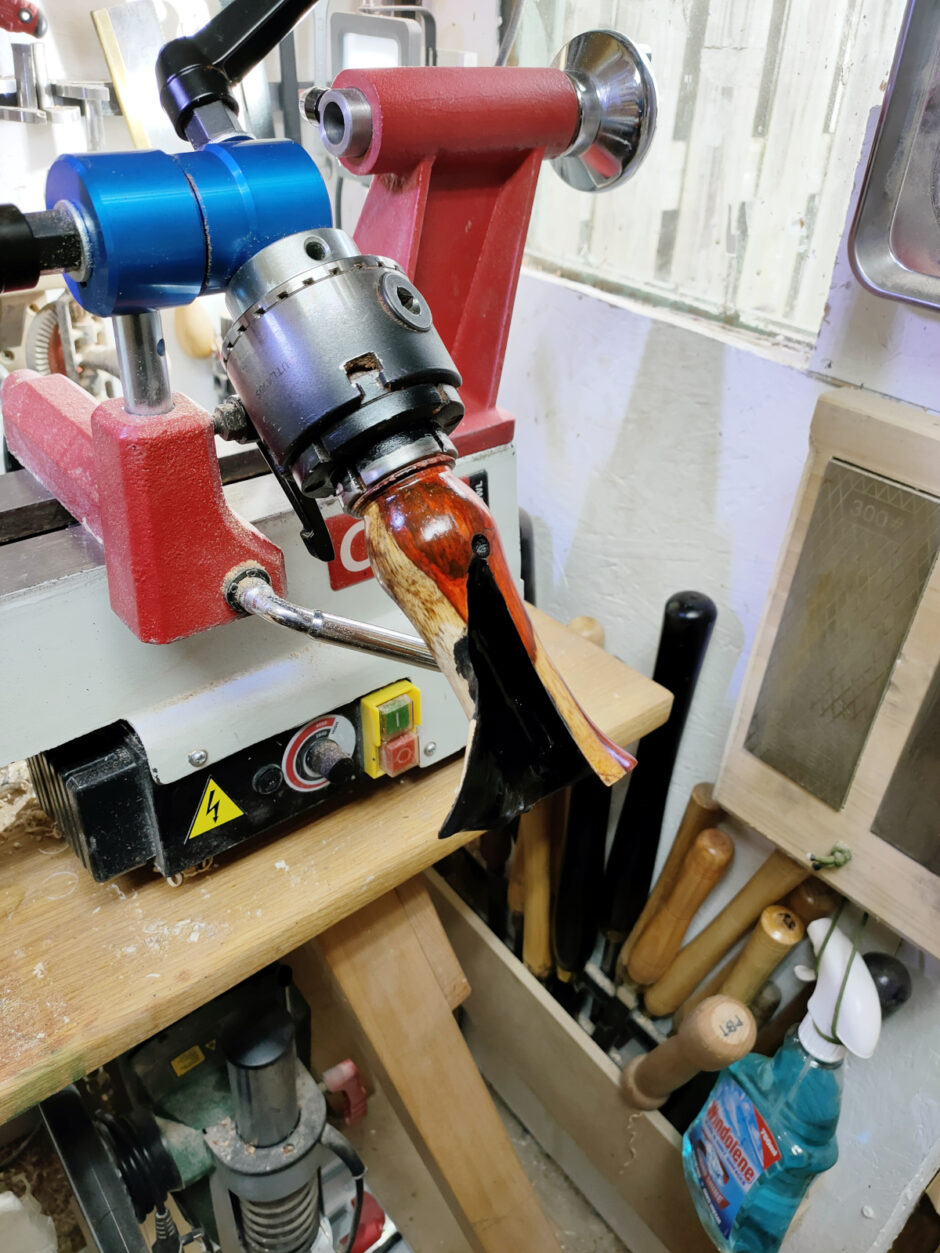
Pictured: Something else 😀 Specifically, that’s a Simon Hope carving jig. Plugs into the tool post hole in the banjo, chuck screws right onto it, lets you set it at any angle to work on it, and the two blue aluminium cylinders that form the body have a kind of keying detent system between them so they can lock at certain angles (roughly every 30 degrees I think) for even more rigidity. This thing is a very solid little beastie. I don’t know if I’d happily wail on it with a mallet the way I would when carving oak for a box, but for push gouge work, it’d definitely be up to the task, and for sawing and sanding and shaping, it’s not even going to notice that you’re there. So, installed it and mounted the chuck on it.
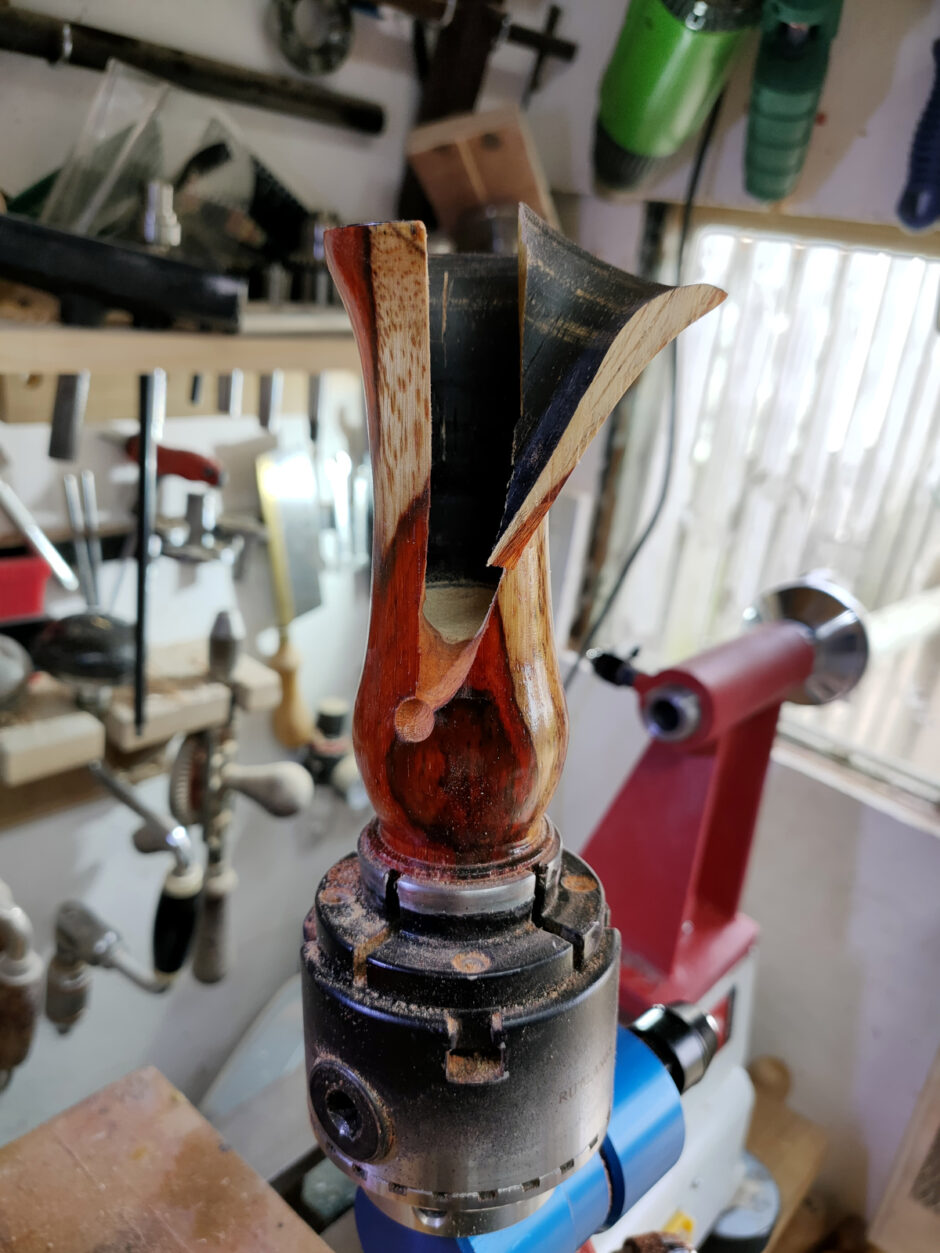
Sweet. Then I was able to cut out the opening I wanted,
And then I could take the dremel and a saburrtooth burr and shape the edges of the cut to give me the open-lapel thing.

Glue-up was a bit of a pain because you couldn’t clamp it, but get a good matching set of surfaces and a rub joint will surprise you with how little clamping force it needs.
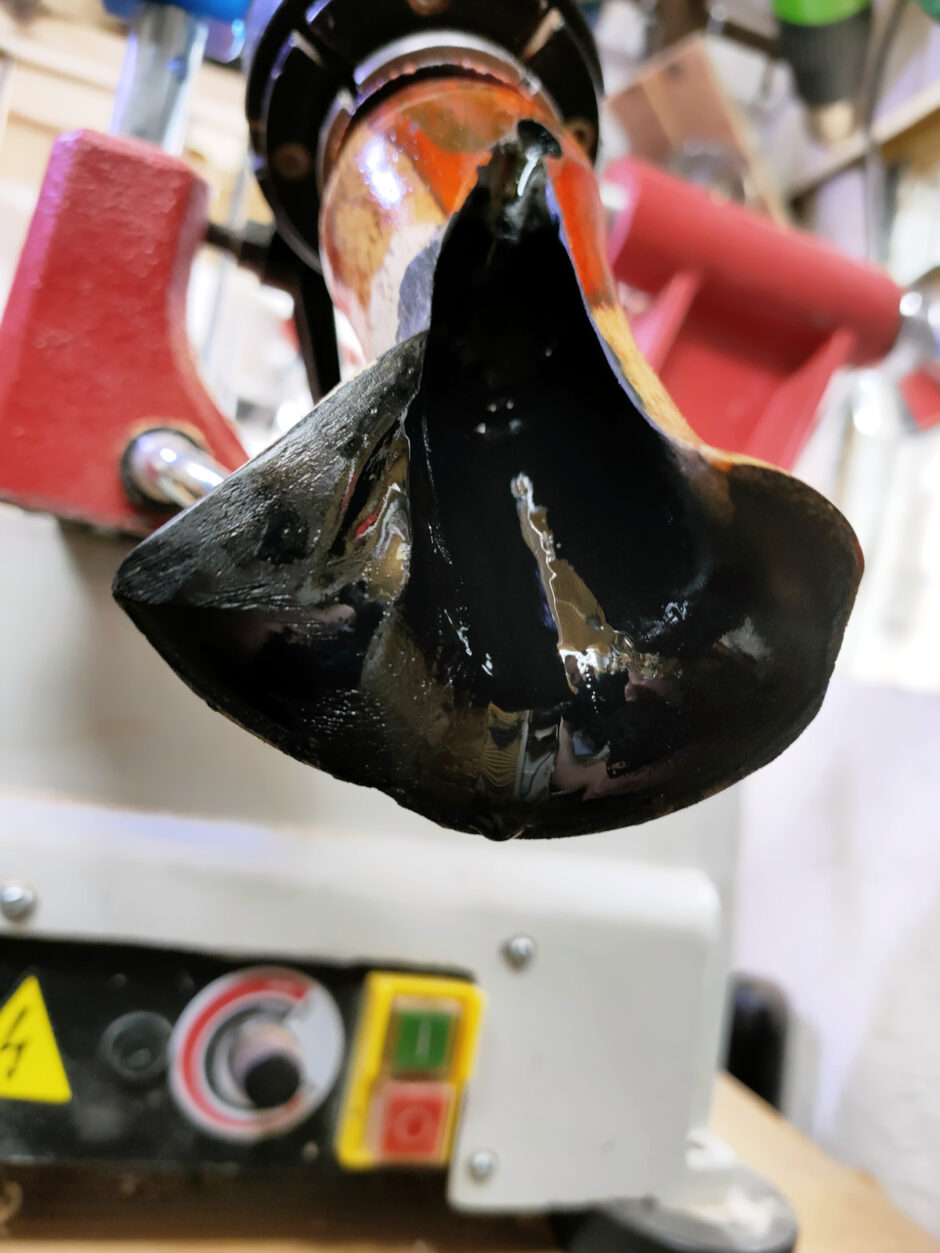
And now that needed shaping, so out with the dremel and burr again…
And I’m trying to get the cut to look like it’s flowing down to that hemispherical cutout as well, just because it looked better than the cut thinning out to nothing. Then I had a few rounds of trying to mask up the outside and spray the inside with ebonising lacquer properly. I say a few rounds, because it’s a bit tricky with that shape and I didn’t want to get puddles of the stuff in the bottom of the vase part.
I figured it can’t puddle at the bottom if it’s on the floor, right? 😀 This is why you don’t clean up all the shavings off the floor till the project’s done 😀
Yeah, not great, and I missed a spot. Bother. Try again…
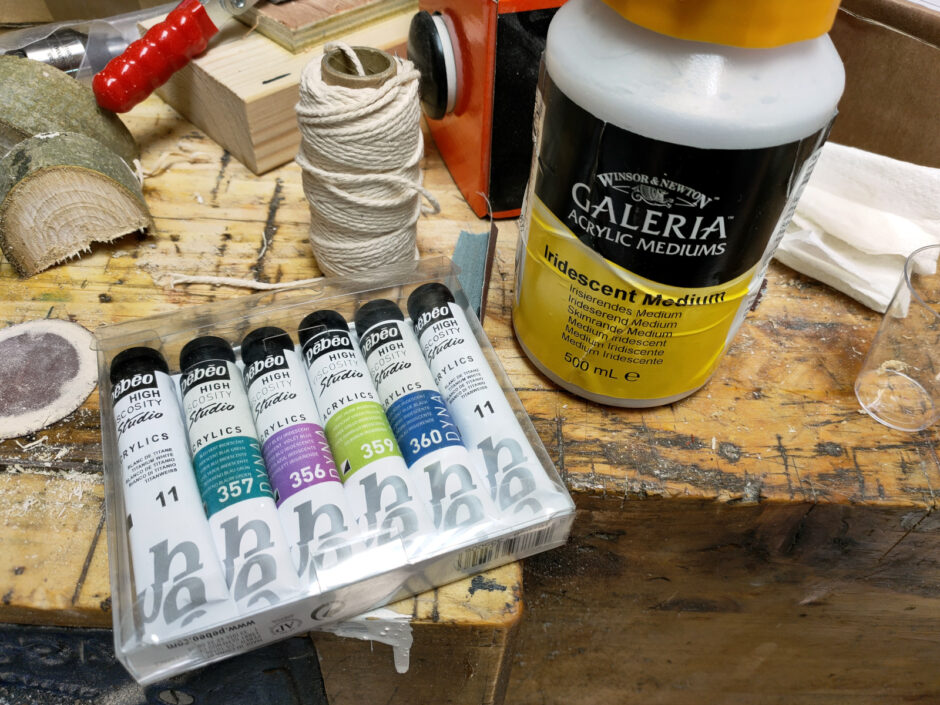
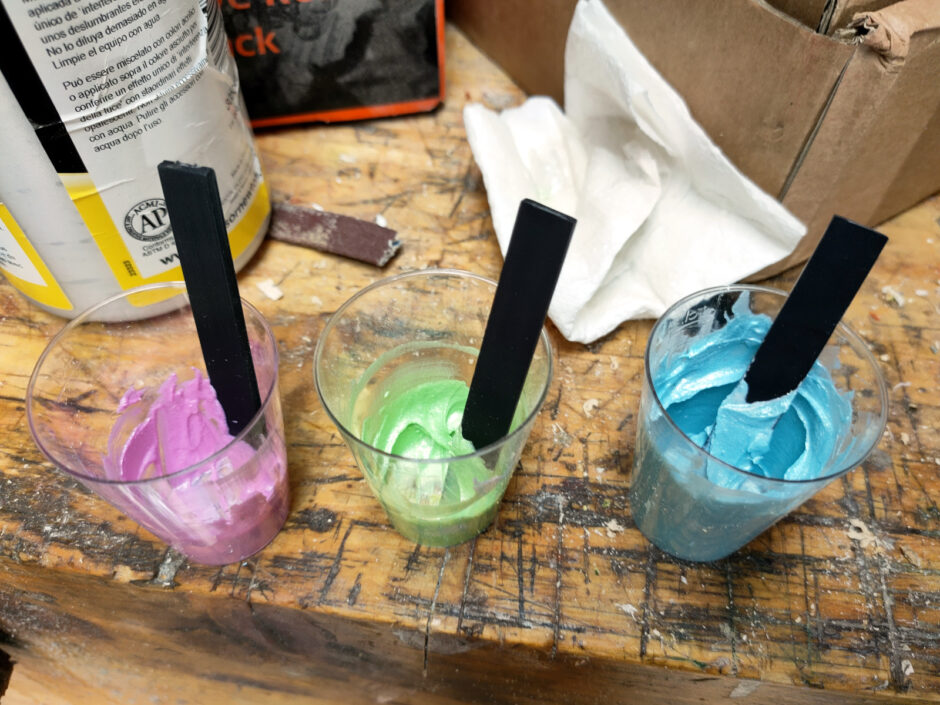
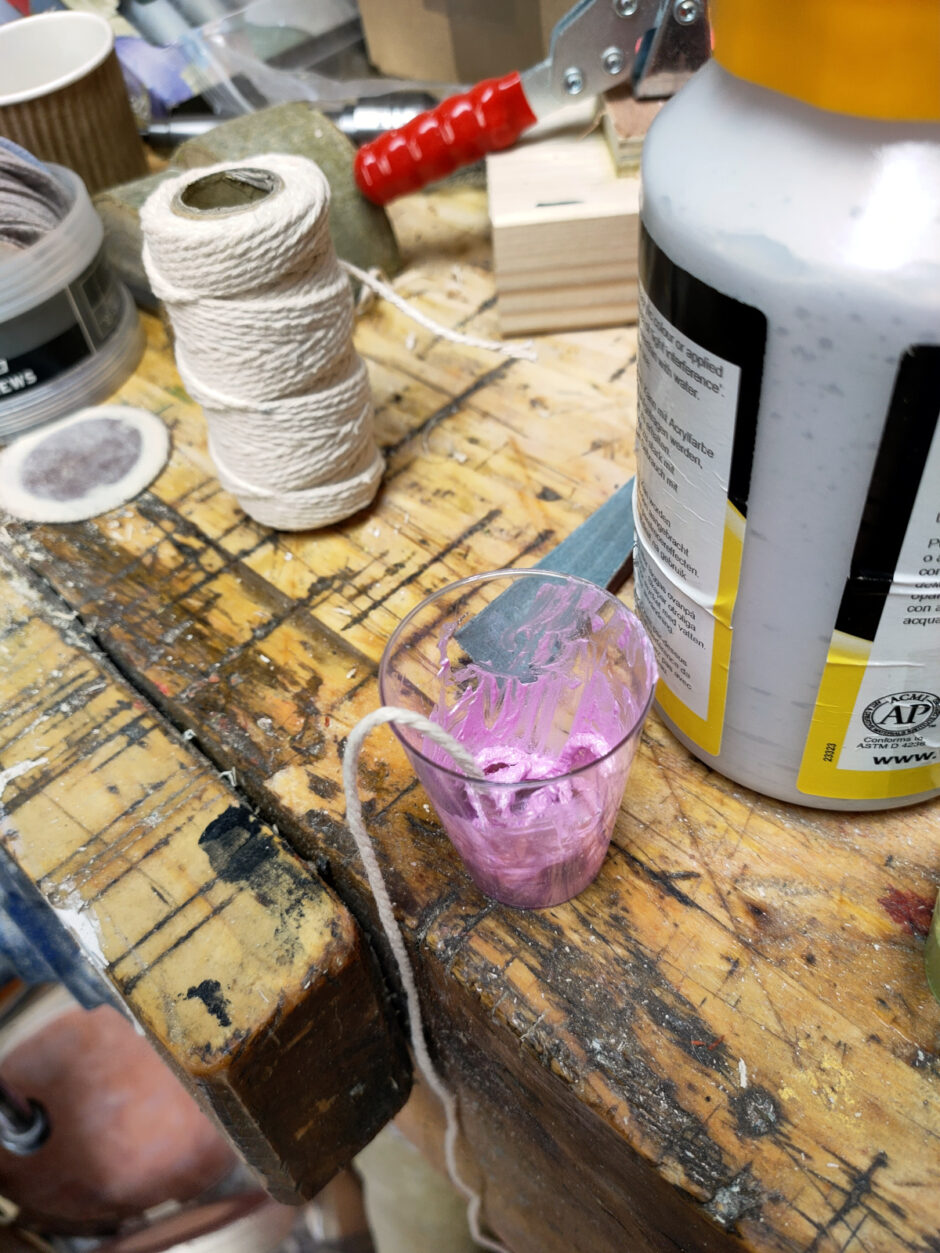
Okay, that time it worked. So I had this idea to steal for how to do the painting on the inside, using iridescent paints, flow medium and string, which Wayne the Woodturner had done a video on a while back and it looked perfect.
…and I couldn’t get it to work on a concave surface at all. Came close but no cigar.

Yeah, just not happy with it at all. So cleaned out the bulk of the paint with isopropanol and then remasked and resprayed the interior.
Getting too used to masking by this point, this is the fourth or fifth respray this piece has had.
Went back to using the iridescent paints neat and compressed air to move the paint. There still seemed something missing though.
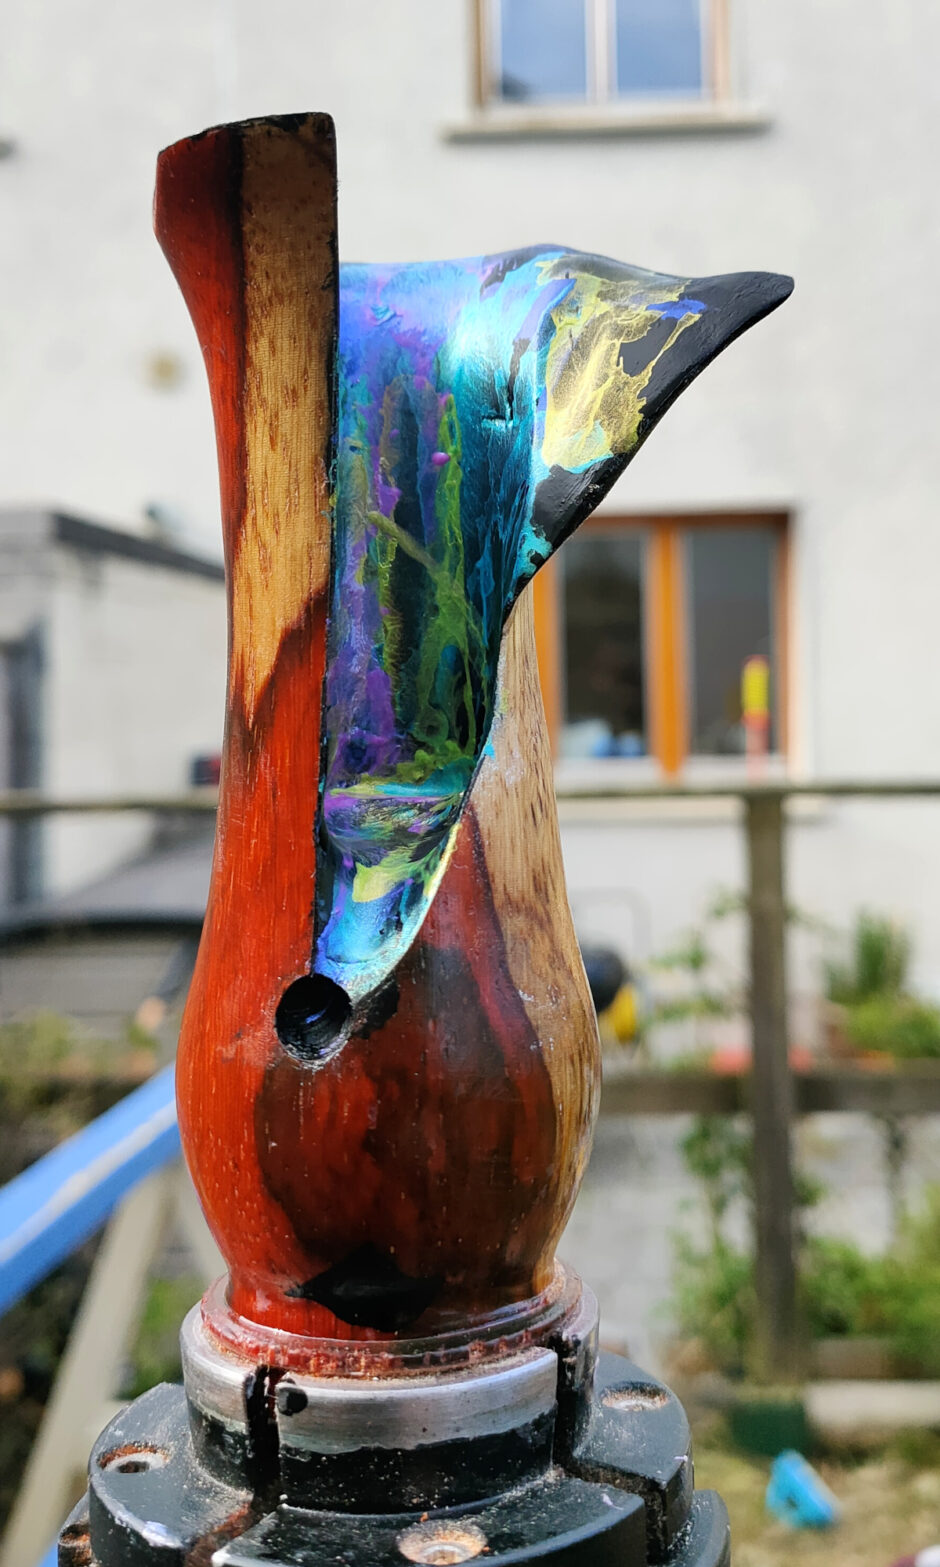
Bit of sanding and cleaning up and at that point I realised that what I didn’t like was that “dot” at the bottom of the cut, so I painted that with some titanium white and was happy with that. Then some final sanding, some coats of acrylic gloss lacquer, then some polishing by hand with yorkshire grit and a last coat of hampshire sheen and parted it off and branded it and called it done.

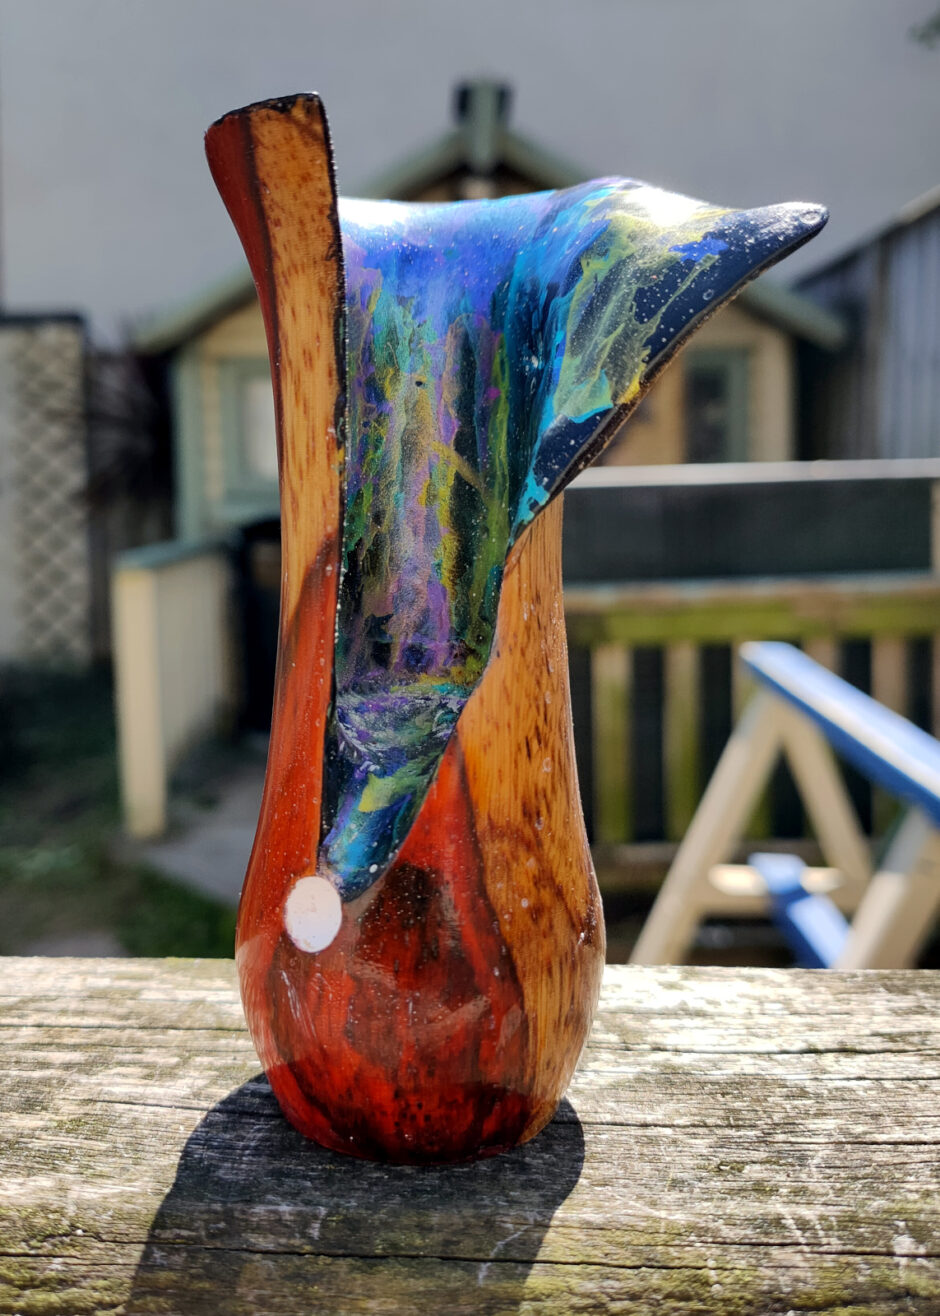
It still needed a good rubdown there to get the last of the hampshire sheen off the surface, but overall I’m happy with that, I got pretty close to what I had in mind and it looks pretty. That’ll do.