Cosmic splatter

So I wanted to try turning a nice royal blue bowl with white liming wax. Picked out a chestnut blank, and roughed out the shape, and discovered it had an odd yellow discolouration in the wood that I’d not seen before. Rather unattractive too, not a nice shade of yellow (think bile, not sunshine). And when I stained it…
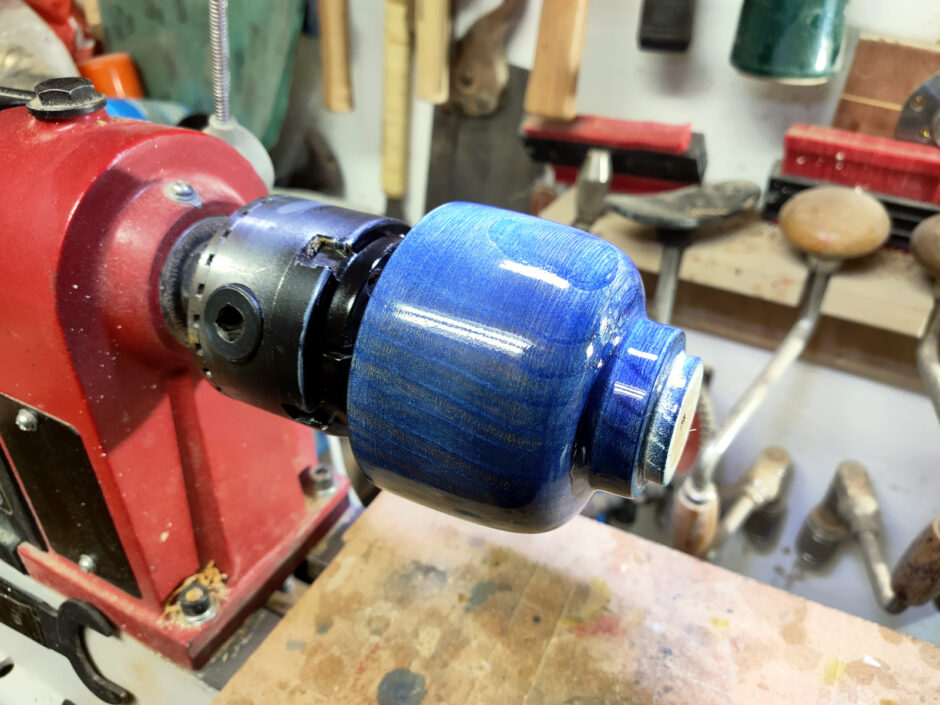
That’s not the richest of royal blues and it’s going green in places. I tried sanding back and applying a few more layers of stain:
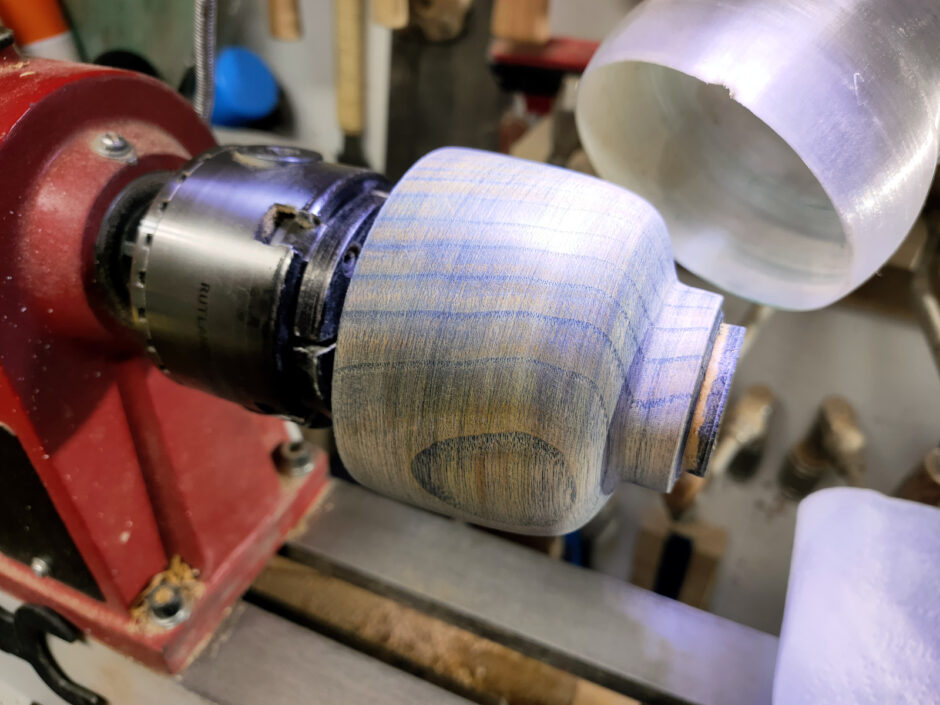
but…
Just not nice. No deep colour, the endgrain’s popping but the rest of the bowl’s not right.
So, if at first you don’t succeed, drop the plan and do something different 😀
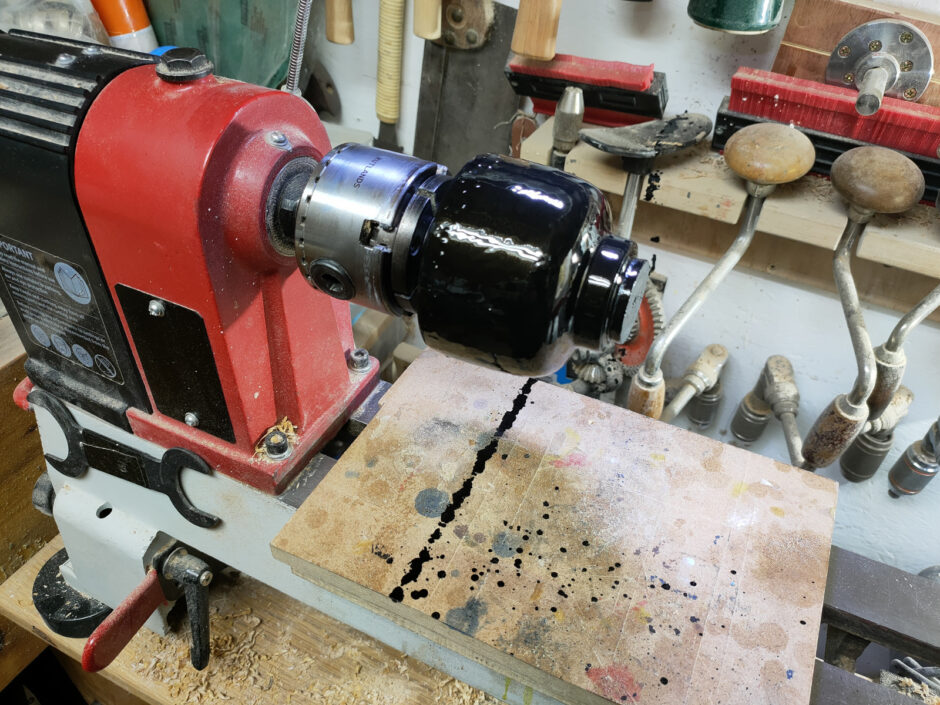
Ebonising lacquer all over the bowl (and my wall, my chest drill, me and a bit of the roof. Doh). Two coats of this in fact.
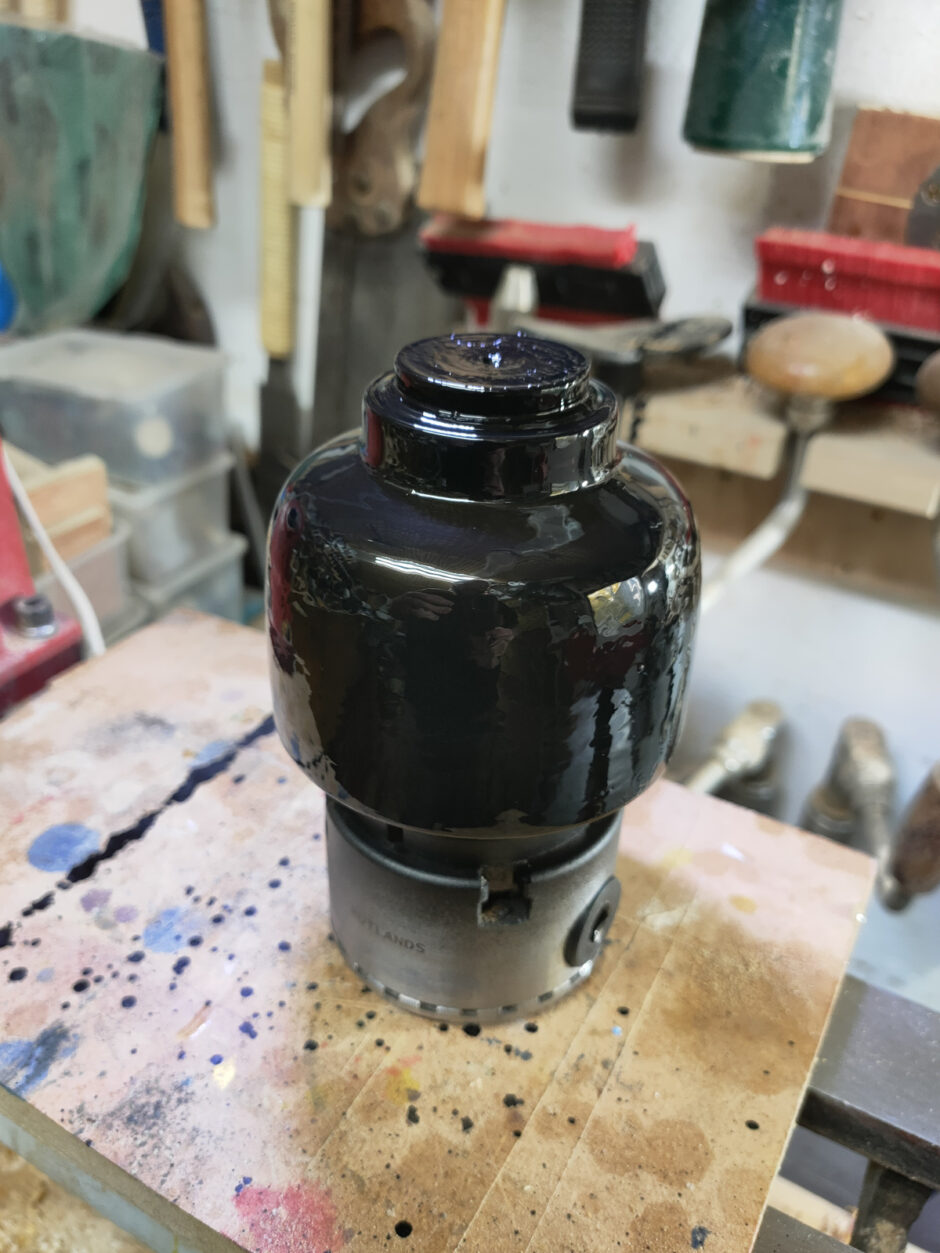
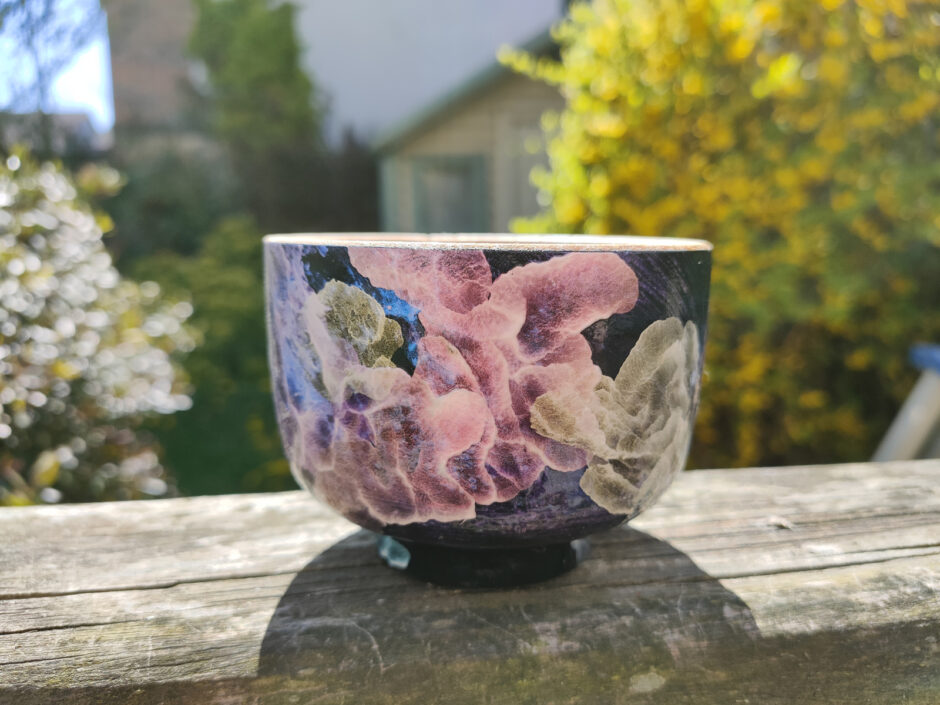
And then the point of this – out with the pearlescent acrylic paints (by Amsterdam in case anyone’s wondering). Dab a bit on the surface, then blow around with an airbrush until you get a very thin layer and a nice abstract pattern. There’s a trend of this in woodturning at the moment – look for “Cosmic Clouds” on youtube and you’ll find it – but I did try to apply the paint with the airbrush as well and I hadn’t thinned it correctly so I got spatter when I tried that first. Not great. Lots of airbrush cleaning followed. I do have some iridescent paints (not the Jo Sonia ones that everyone on youtube is using because those are a bit spendy over here right now, but Pebeo Studio ones) that I must try this with as well, but for now, just pearlescent.


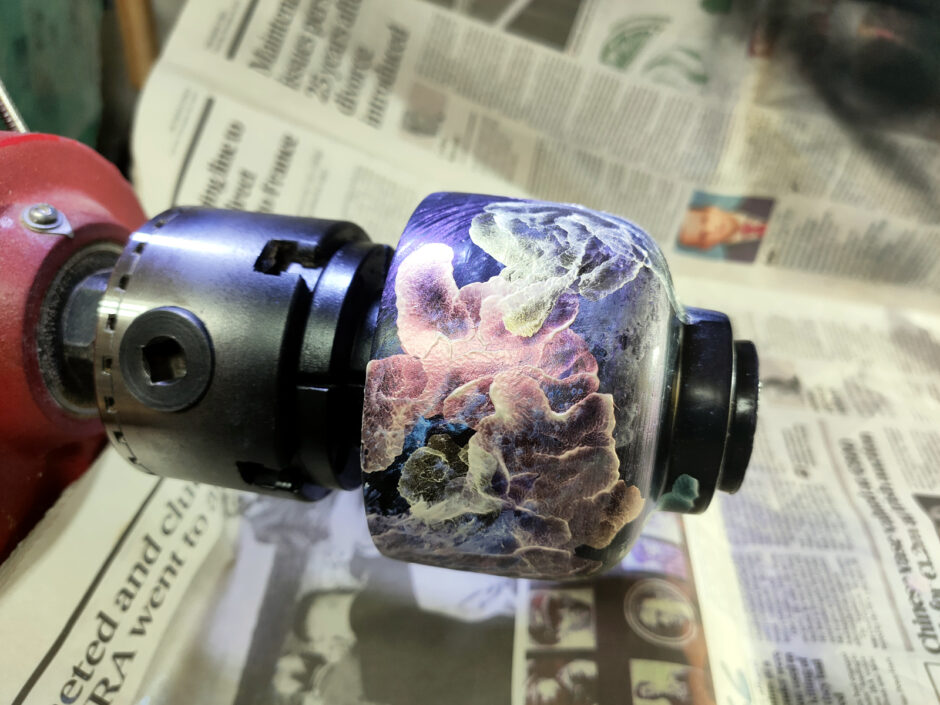
Left to dry for a day or two and the white lines vanish away and the paint’s colours get more pronounced, albeit slightly.
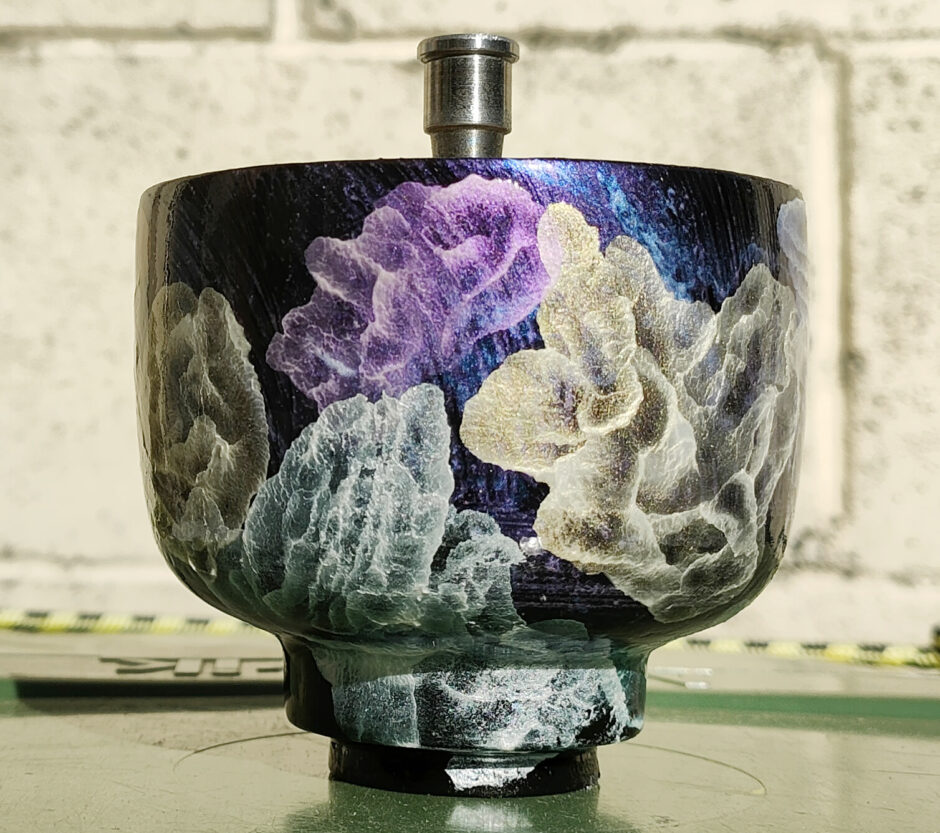
So I figured I’d hollow it out and finish it. It had Opinions on this idea…
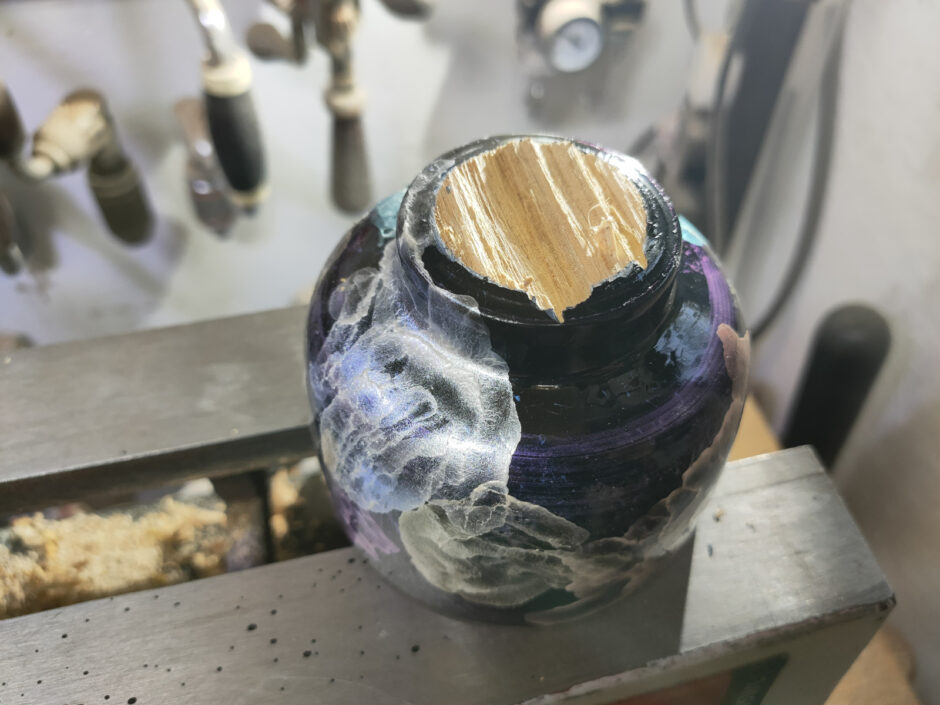
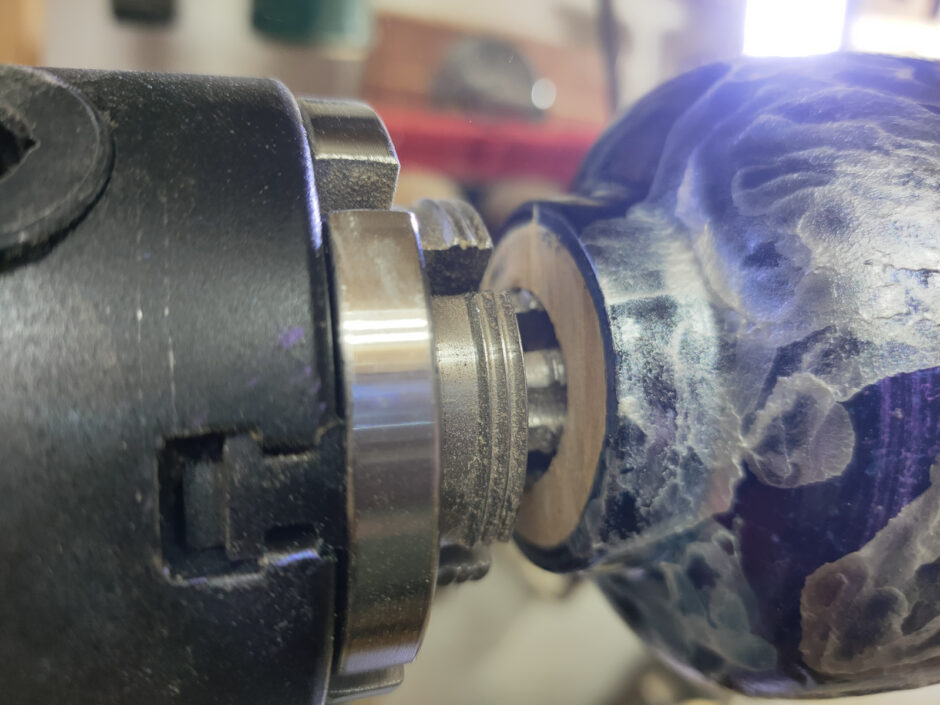
The entire tenon snapped clean off when I started hollowing. I hadn’t even had a catch, just some chatter:
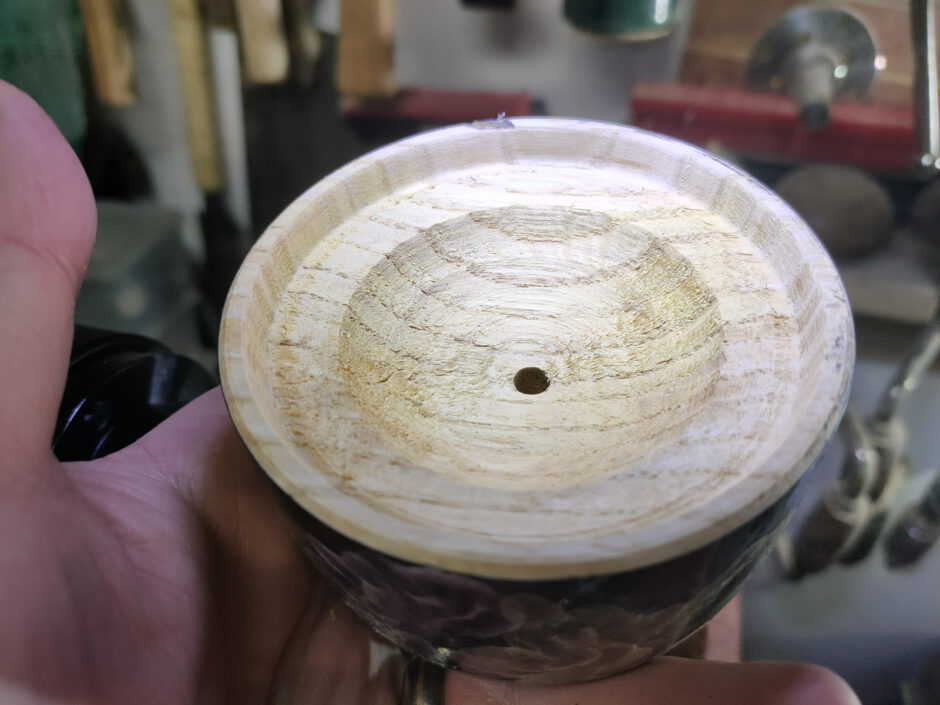
Possibly not the best chunk of wood in the storage box. I was able to remount it on the screw drive and turn a small recess in the remains of the foot then grip it with some expanding jaws:
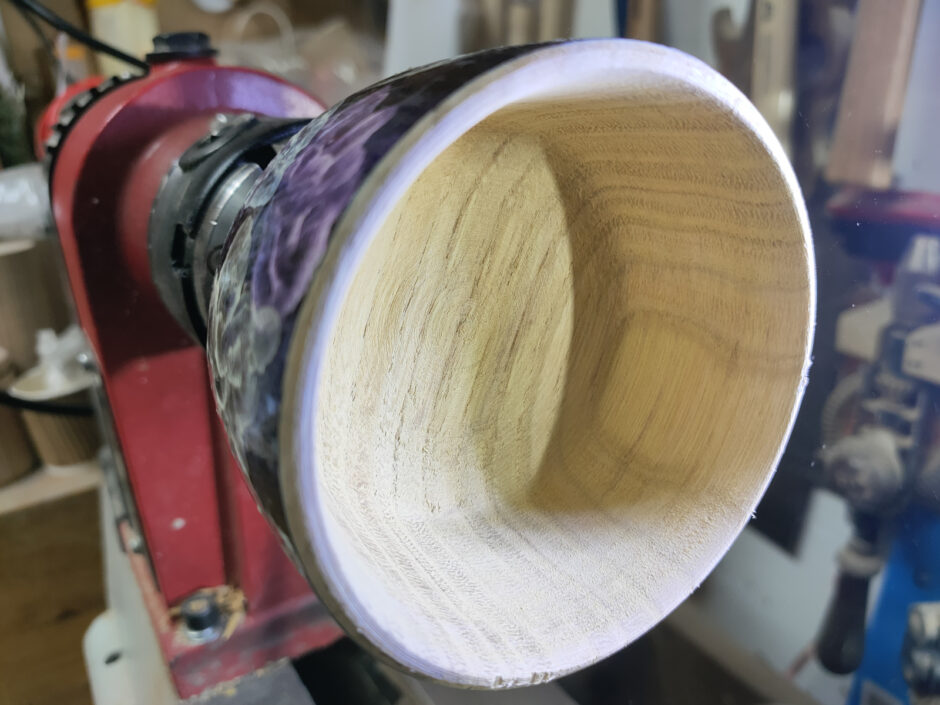
And I was able to mostly hollow it out that way with small cuts, but it’s not exactly as thin-walled as the last bowl. But it’s a test piece using possibly not-so-good timber, so I’m okay with that.
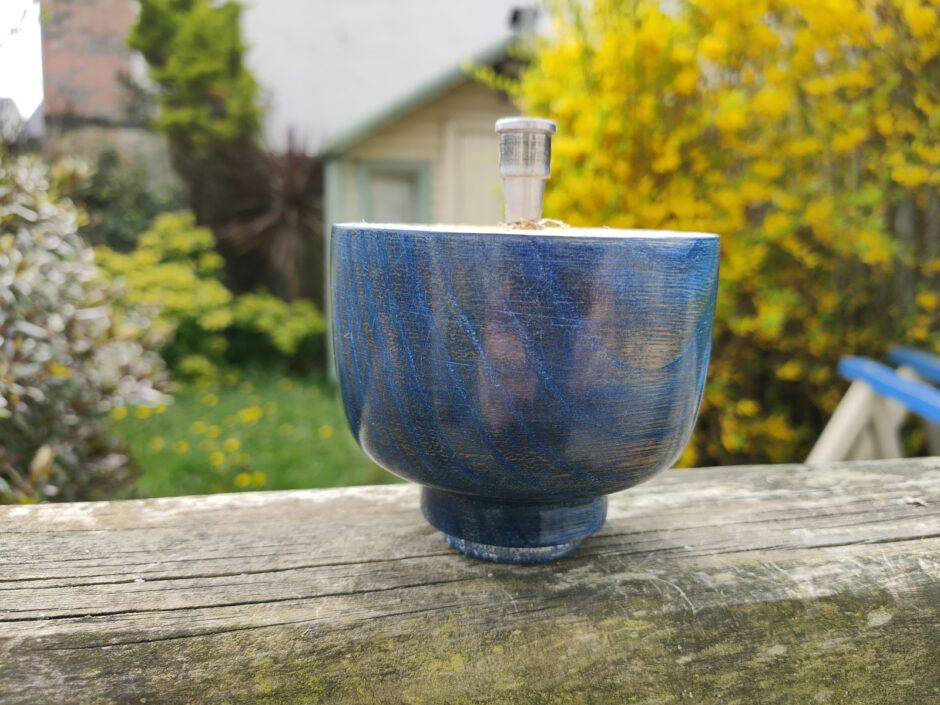
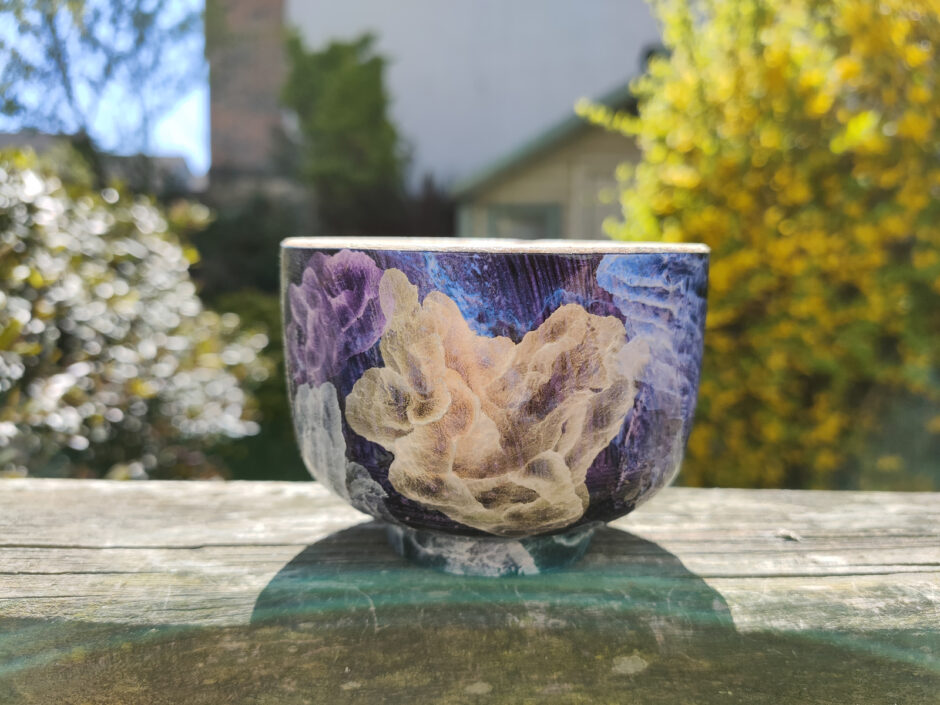
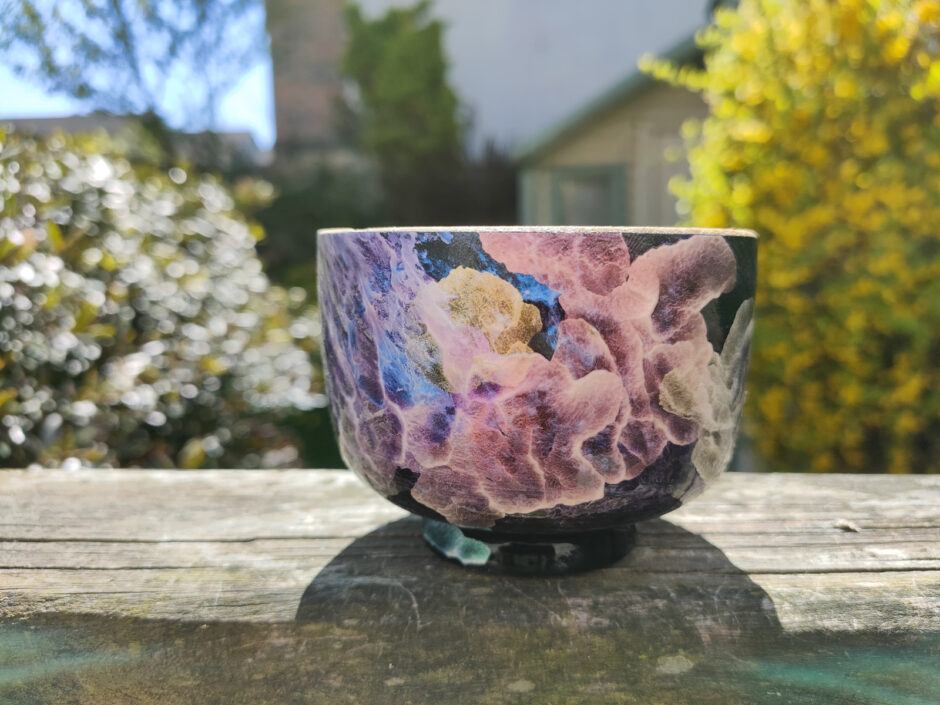
Reversed it and fixed up the foot on the push-plate, and gave it a coat or two of acrylic lacquer along the way as well. Doesn’t look too terrible in the sunshine. Must do another one of these again, maybe with a better piece of timber next time. And the iridescent paints. Or a mix of the two…
[…] had the idea for this… piece? thing? not sure what you call it. What if I did the outside of that last coloured bowl, but on the inside, like fireworks and have that contrast with the outside which will be […]