Drawboring, vice holes and stress testing
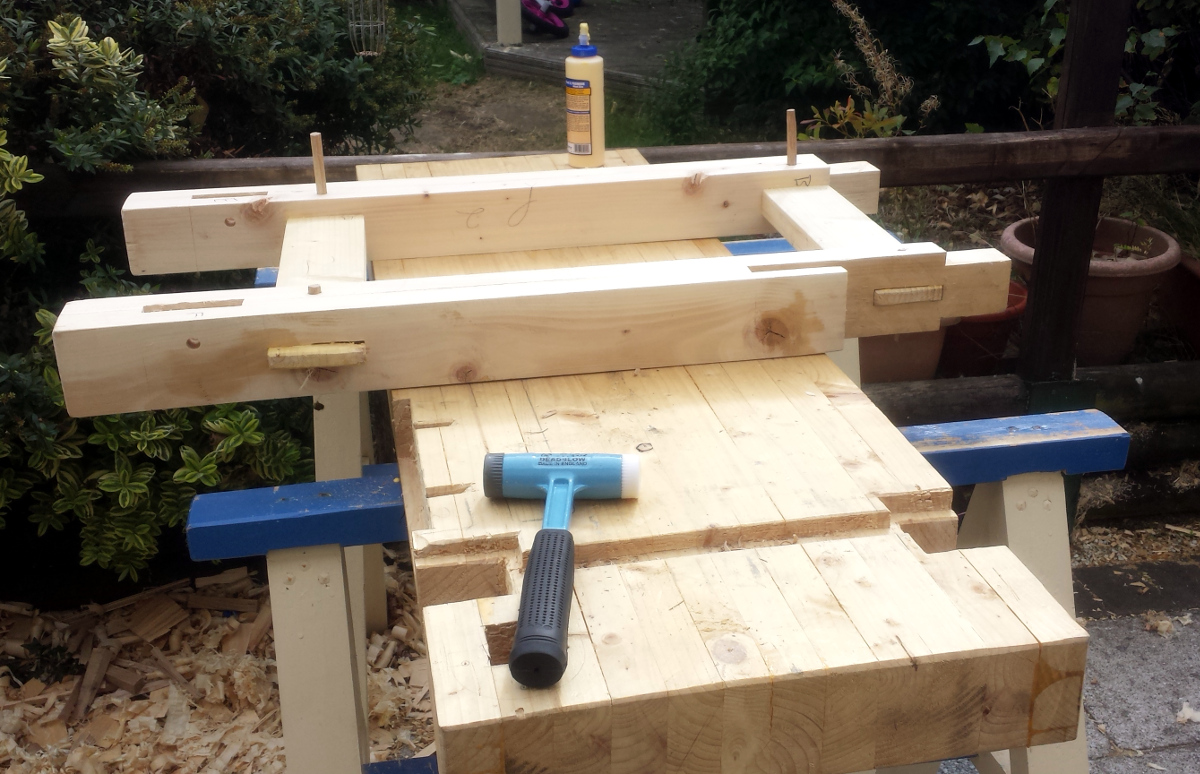
Right. Sunny morning, most of the last few days torrential rain dried up by the time breakfast was done, so out with the bench parts from the shed and onto the sawhorses and away we go. First thing to do is the finish making drawbore pegs, and then on we go with finally putting this thing together.
 Hm. Help required here…
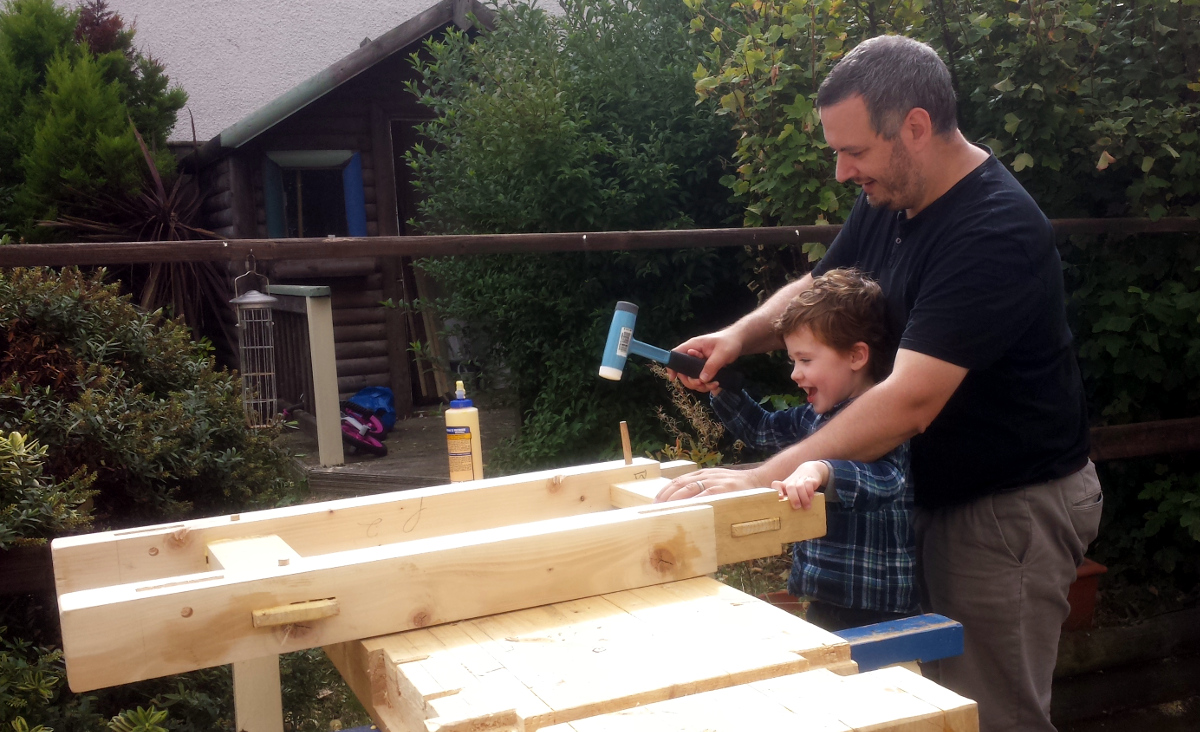
Mental note, hide the hammers from now on for the sake of the cat.
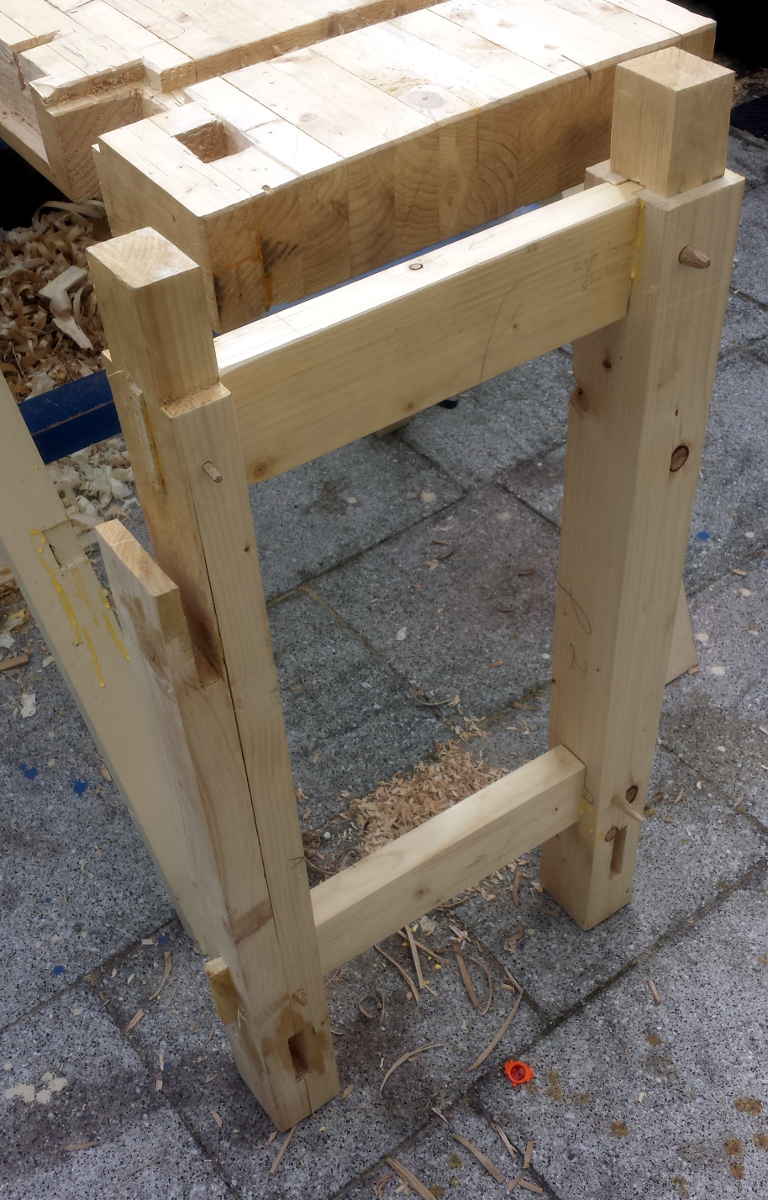
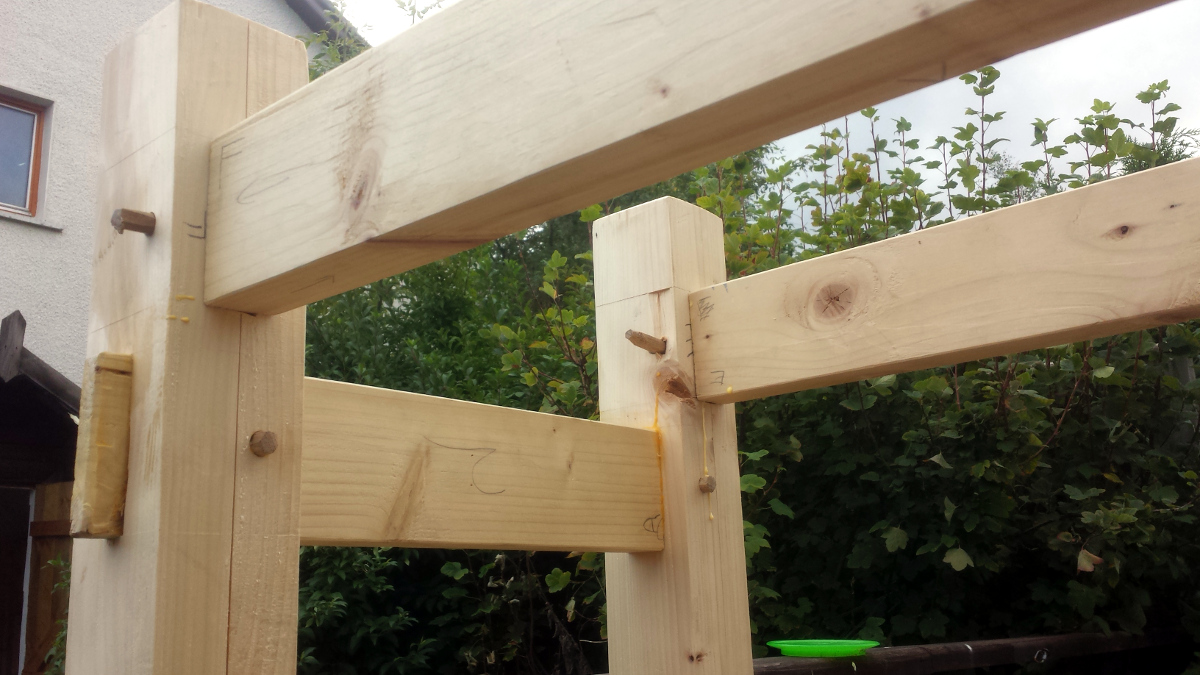
Okay, nothing split out, that’ll do. Finished up both leg frames and clamped them up (not needed with drawbores, but hell, if you have them, why not use them?).
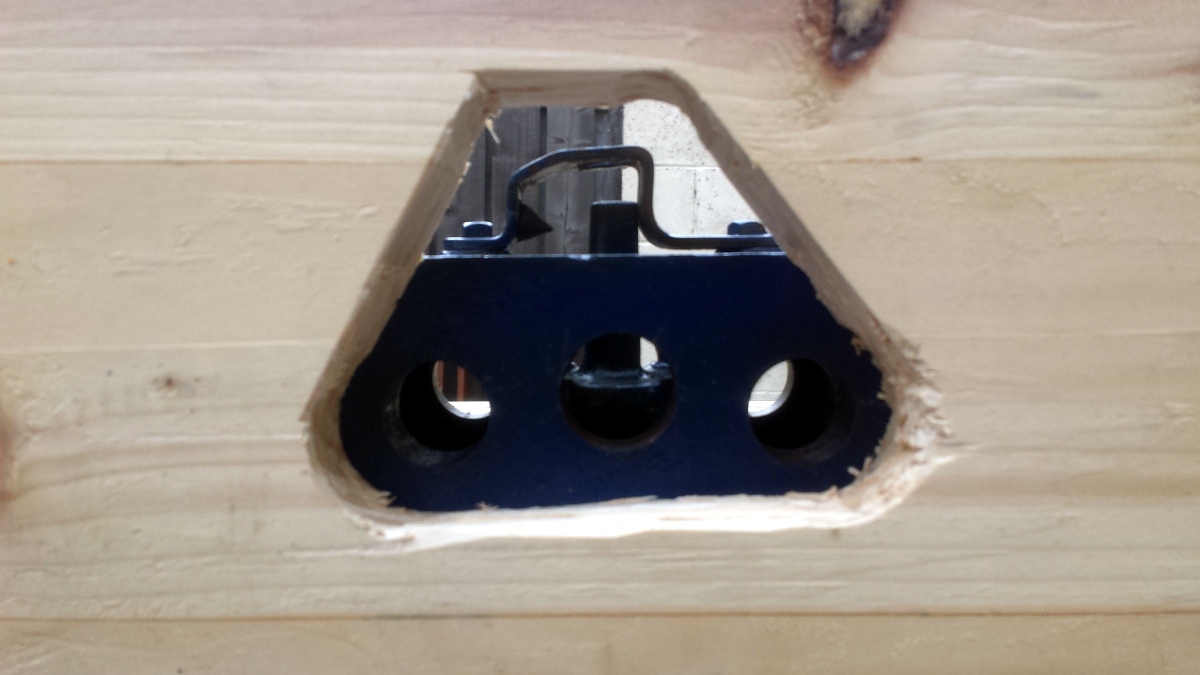
Now, while I leave those for an hour or two to cure slightly, time to drill the hole in the front apron for the vice bars.
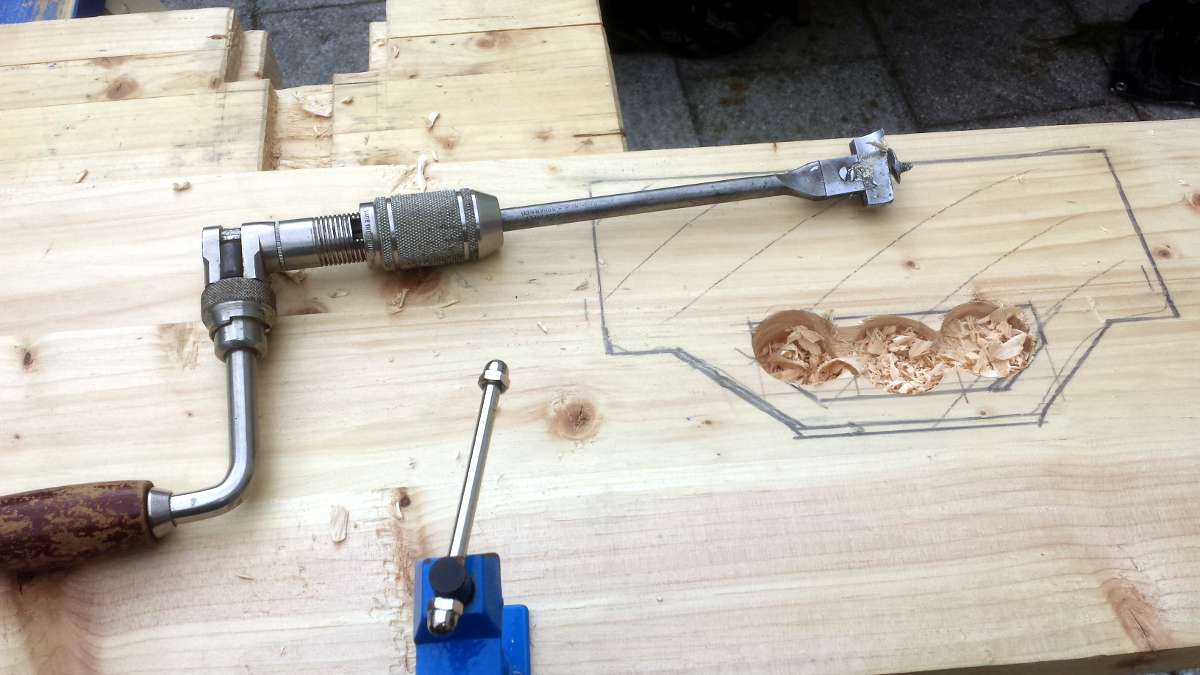
Damn but that thing takes it out of you. But it’s quick, and a few moments cleaning up the inevitable breakthroughs with a chisel gives a nice, neat, minimalist hole.
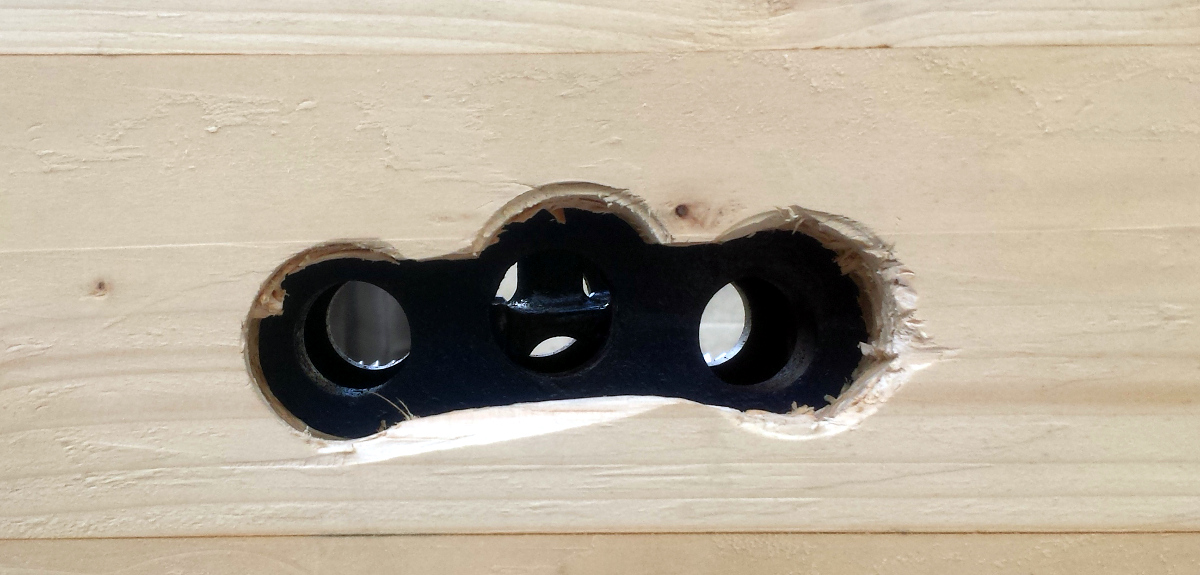
Experienced record vice fitters have by now no doubt spotted the deliberate mistake.
/sigh
Out with the auger and chew away the required chunk for the quick release bar and then tidy up with the chisel…
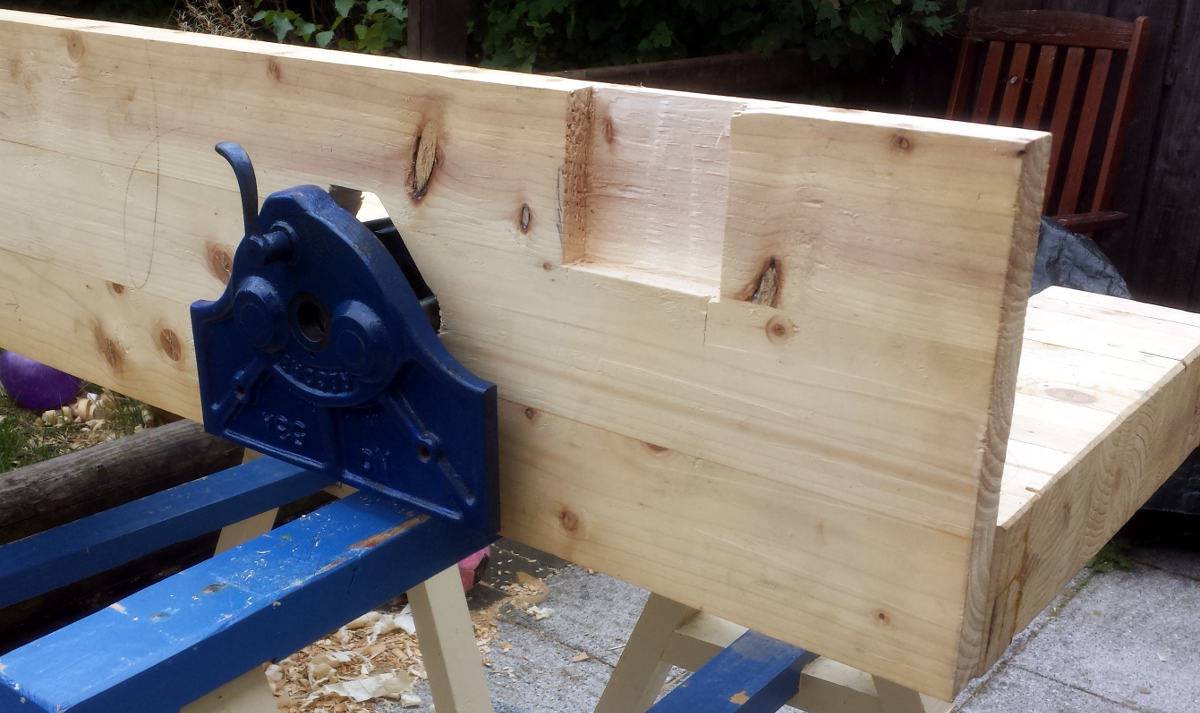
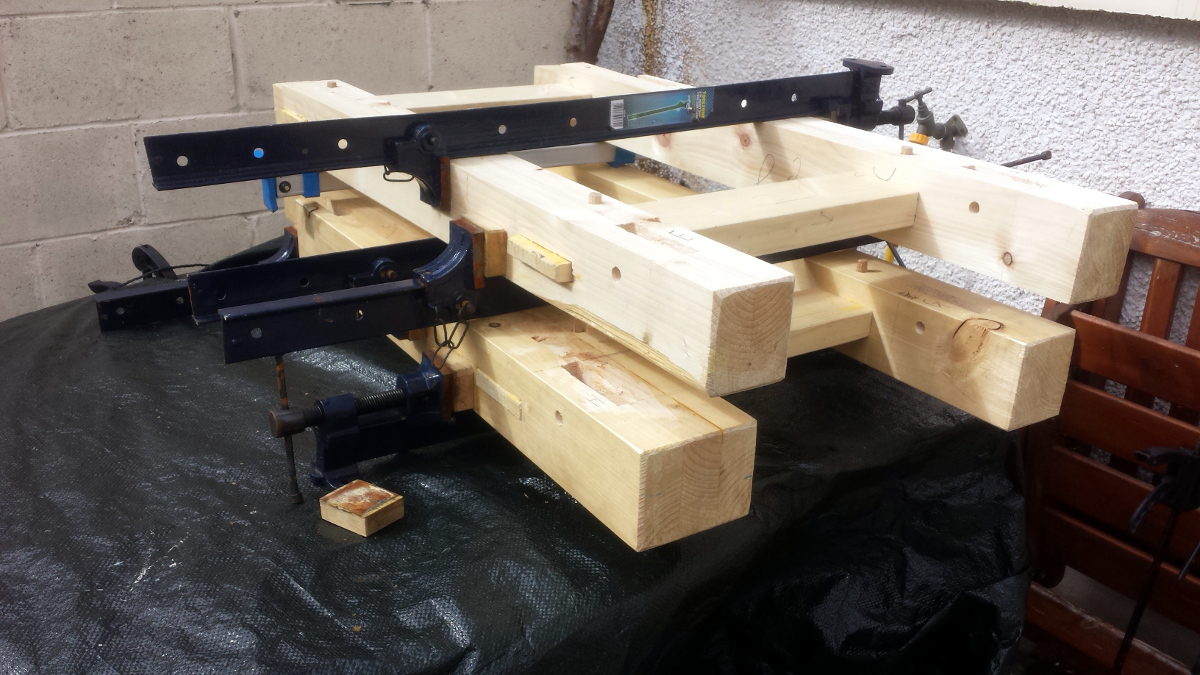
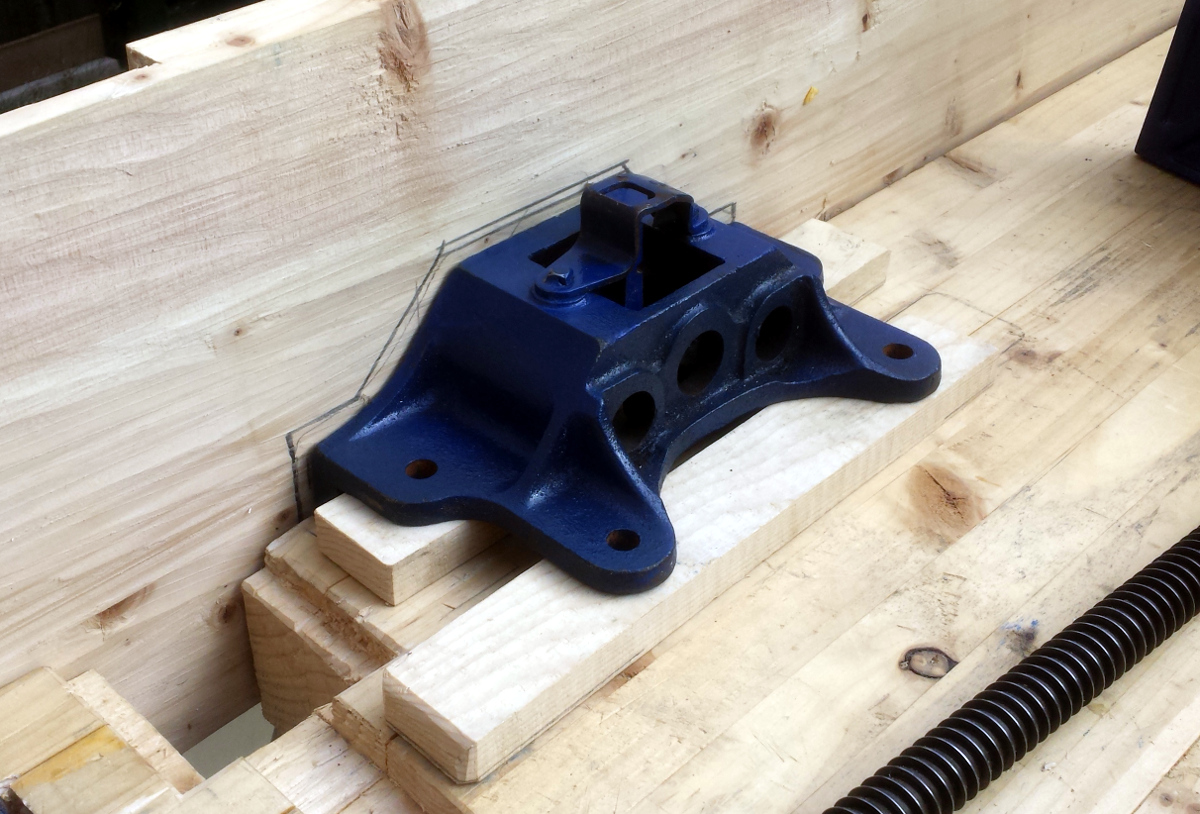
Man, that Record 53A is a big honkin’ beast of a thing. In fact… er…
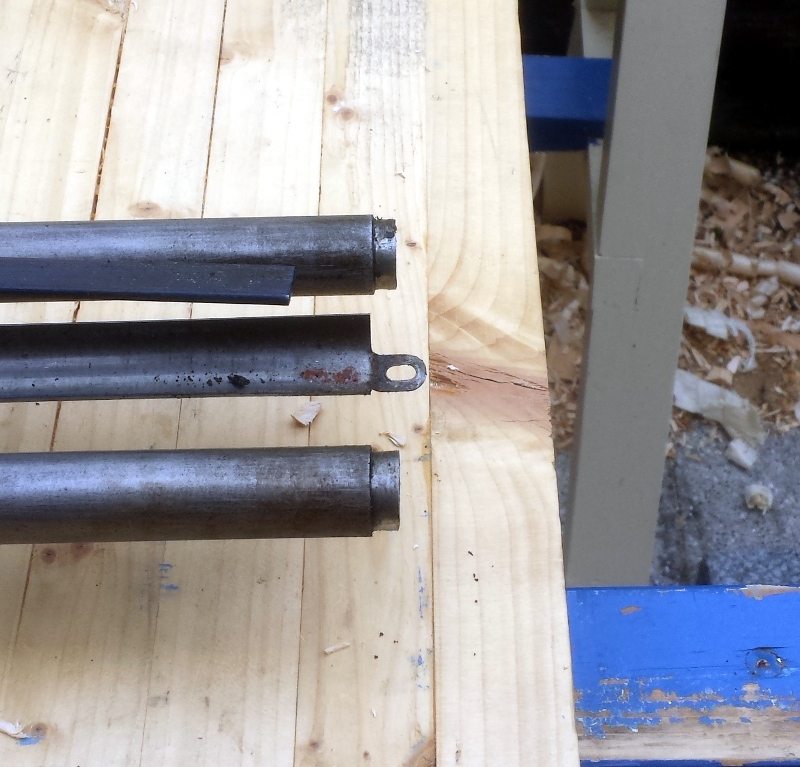
Er, phew? Half-inch of clearance at the back when that casting at the back of the rods is reattached. Totally planned that.
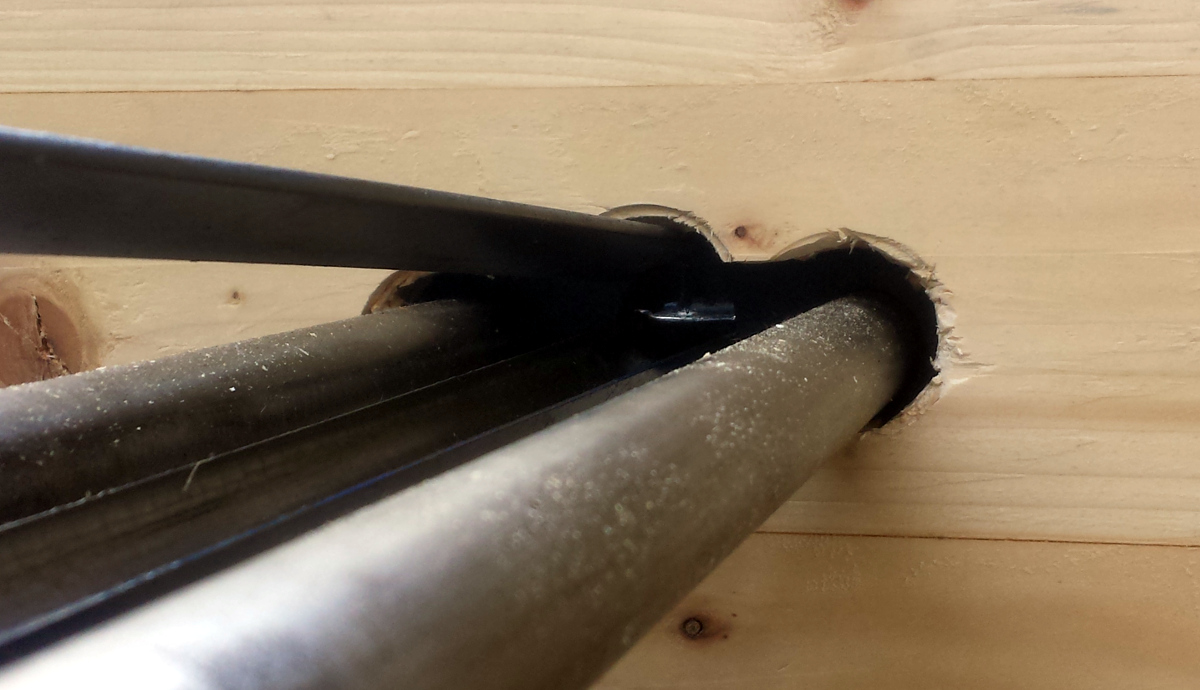
Little more trimming of the mortice on the benchfront was needed in fact, so it’s not a half-inch anymore, but somewhere around 3/8ths or so. Good times.
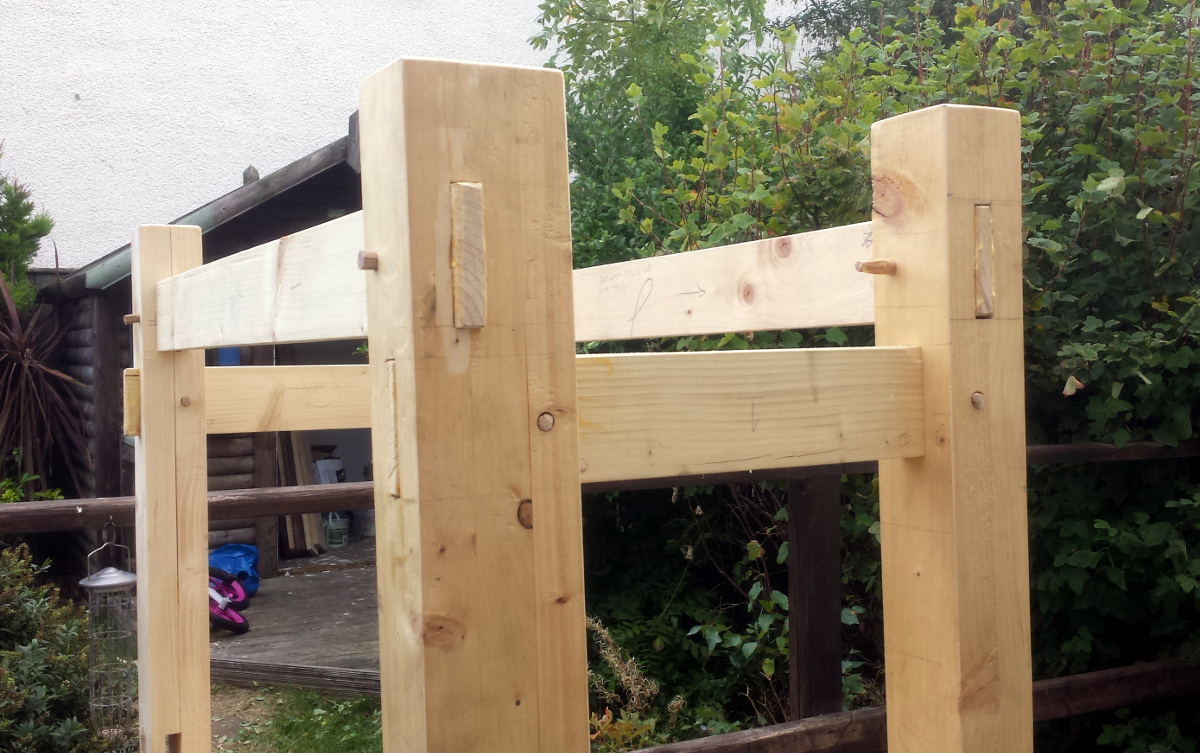
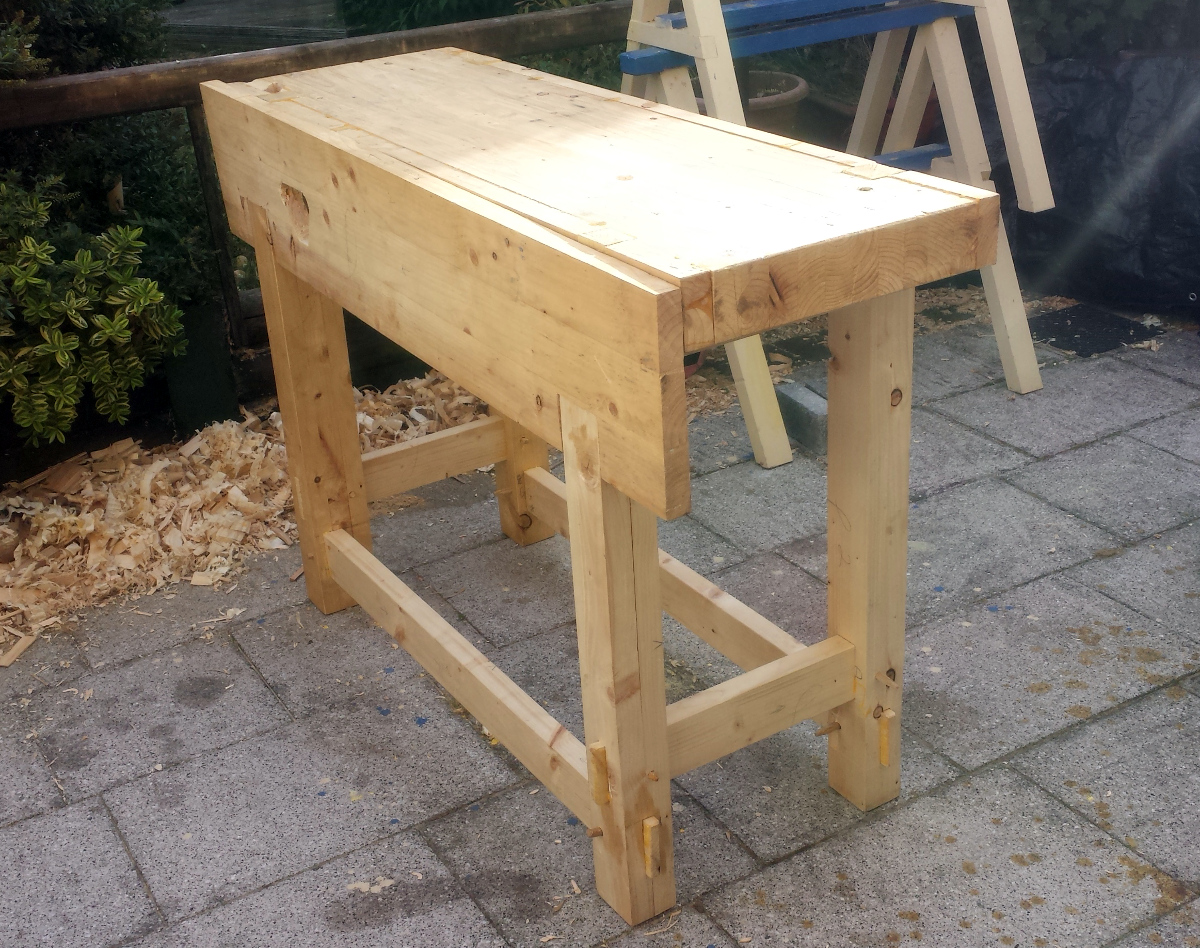
Broke here for a ham sandwich and about three litres of water. ‘Twas a bit warm out there. At this point, figured the leg frames were ready to go into the benchtop and to get the long stretchers, so I took them out of the clamps, test fitted them in the benchtop mortices, trimmed one of the mortices a bit (but I knew that was coming – and there’ll be a bit of a gap to fill with an offcut, but it shouldn’t compromise the bench), and then glued up the long stretchers and drawbored them at one end. Glued up the benchtop mortices as well, and realised at this point that the fully assembled undercarriage of the bench is pineapple-y heavy, so I drowned the mortices in glue because I couldn’t properly paint the tenons with glue, and then slid them all home. Once that was done I drawbored the other side of the long stretcher and everything seemed solid.
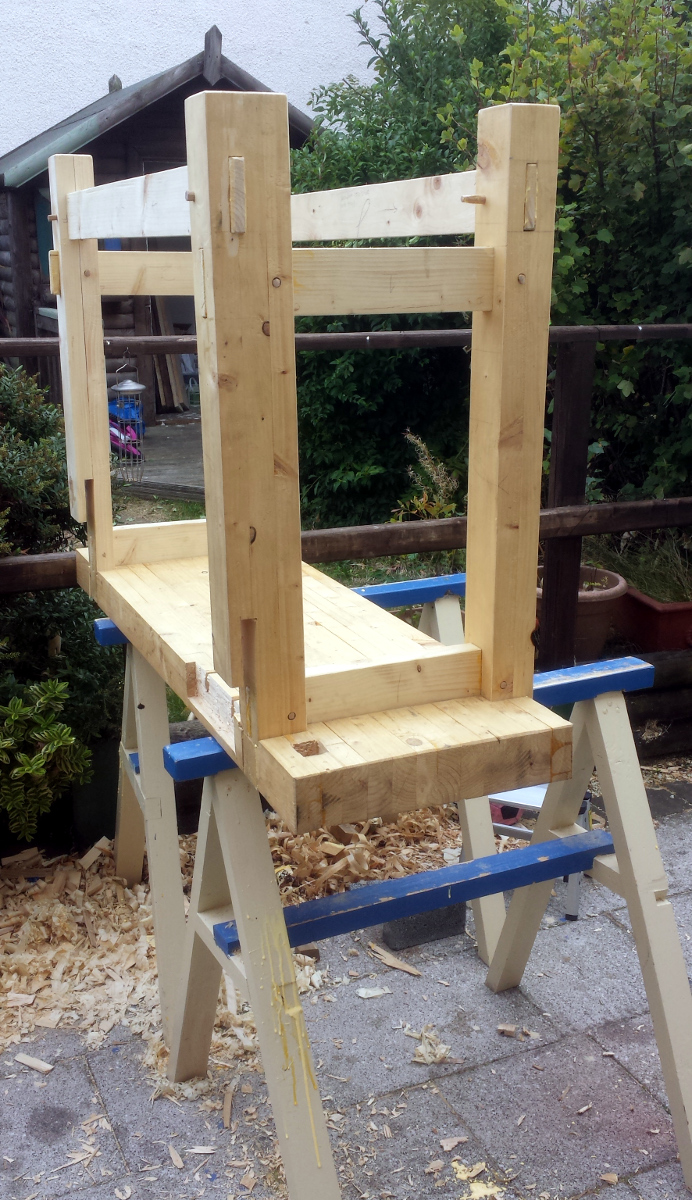

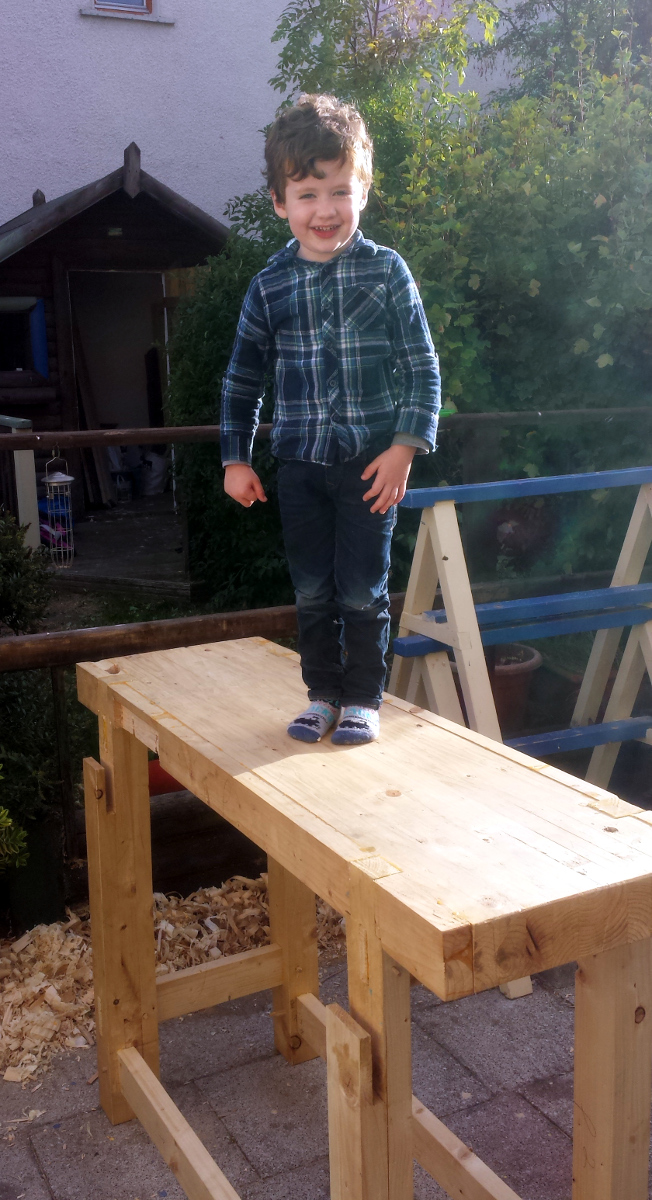
Messy as a pineapple in a blender with a hamster though. I cleaned up most of the squeezeout with shavings, and then stood the bench on the ground to be sure the glue didn’t cure with the joints not settled right. I needed some weight to settle the bench onto its joints though, and didn’t have any large bags of cement or sand to hand so I made do:
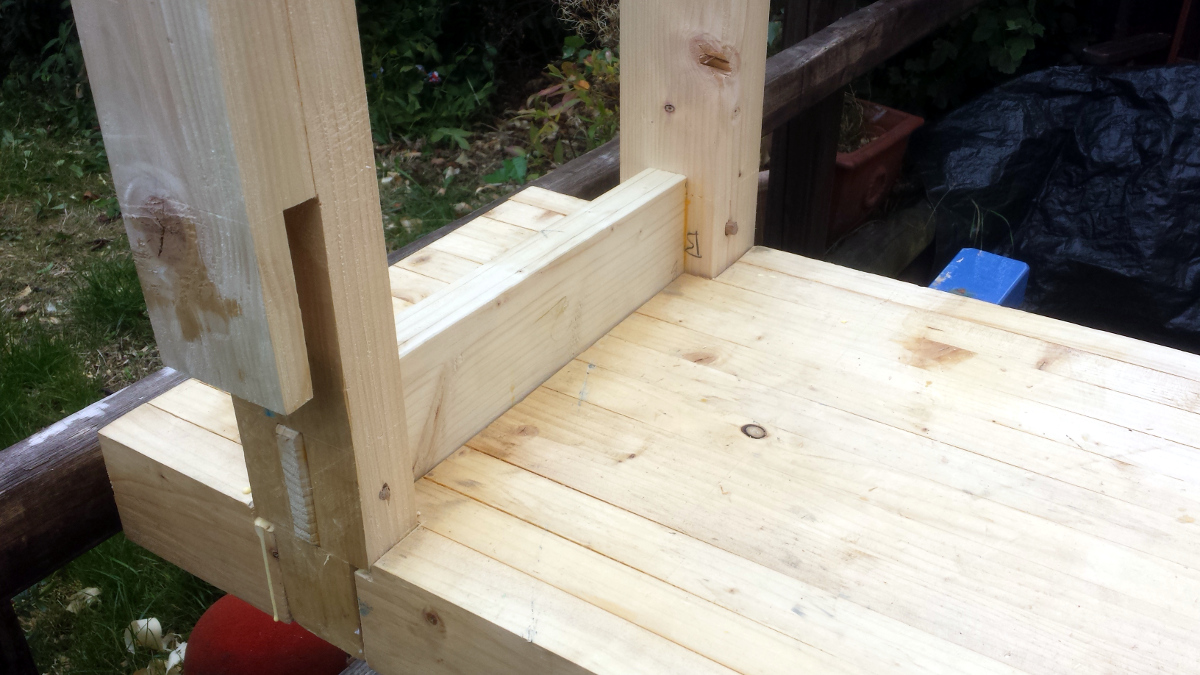
Test fitted the front apron to be sure the dados line up right now the glue-up’s done:
The tenon on the top short stretcher is pushing on the back of the apron so that needs a trim, but it looks okay (it’ll be glued on while the table is upside down so it won’t be hanging down like that – there’ll be an expansion gap in the joint it’s currently sitting on, so the top will be level. Ish.
And with that, the aprons went back in the shed, the tools in the box and the bench got put under a tarp till tomorrow (assuming the weather’s okay tomorrow, that is).
What’s left to do:
- Flip bench upside down on the sawhorses again
- Trim pegs flush (and tenon ends where appropriate)
- Mount vice rear face
- Mount planing stop
- Glue on front and back aprons
- Let glue cure
- Assemble vice (including front jaw, which I’ll just make from an offcut of 2×4 for now, I can make a hardwood face later on)
- Flip bench off sawhorses for the last time
- Chop out mortice to fit end vice (I got that veritas inset vice – damn but they make nice shiny stuff)
- Flatten benchtop (why did the hair on the back of neck just stand on end and why did the room suddenly seem cold?)
- Fit end vice (remembering to put some small shims under it as per Richard McGuire’s notes)
- Drill holes for bench dogs and holdfasts in benchtop and legs
- Chamfer dog/holdfast holes (though I’d have to do this with the router, which I don’t like)
- Drown it in 3-5 coats of BLO
- Strut
I think that might actually be one day’s work for a competent woodworker, so say 2-3 for me. Almost there!
BTW, it’s a hair under 40″ tall when standing on the ground, and so far, that feels just perfect…
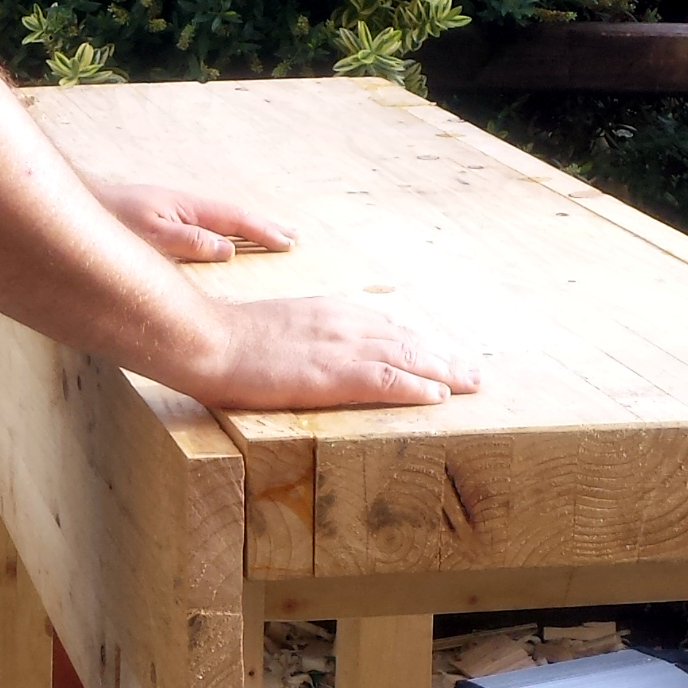
Wrist angle is natural when hands are on the bench and my back is straight, and I know from the kitchen that I can work on things at that height comfortably for ages. Planing might be more tiring depending on the thickness of the stock though. I still have three or four inches I can cut off the legs if necessary though.