So the box is now done (bar a branding that I somehow forgot and will be trying to do on the roof of the office tomorrow), there was a surprisingly short clean-down and then back to the desk.
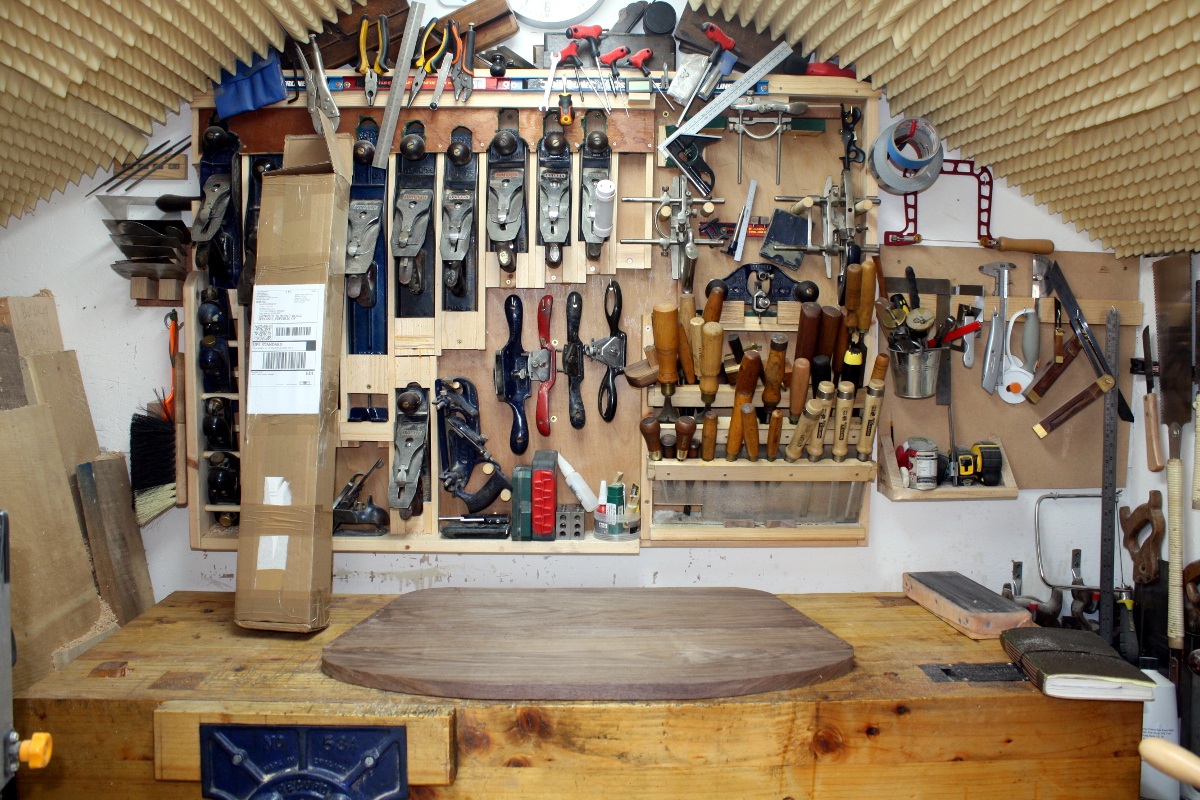
That’s the actual desk itself and my box of education to the left (as in, “why would anyone want furniture built in cherry, it’s so awful and orange” followed by opening the box and seeing what nice cherry looks like and then going “why do we use any other kind of wood?” 😀 Thanks again custard! 😀 )
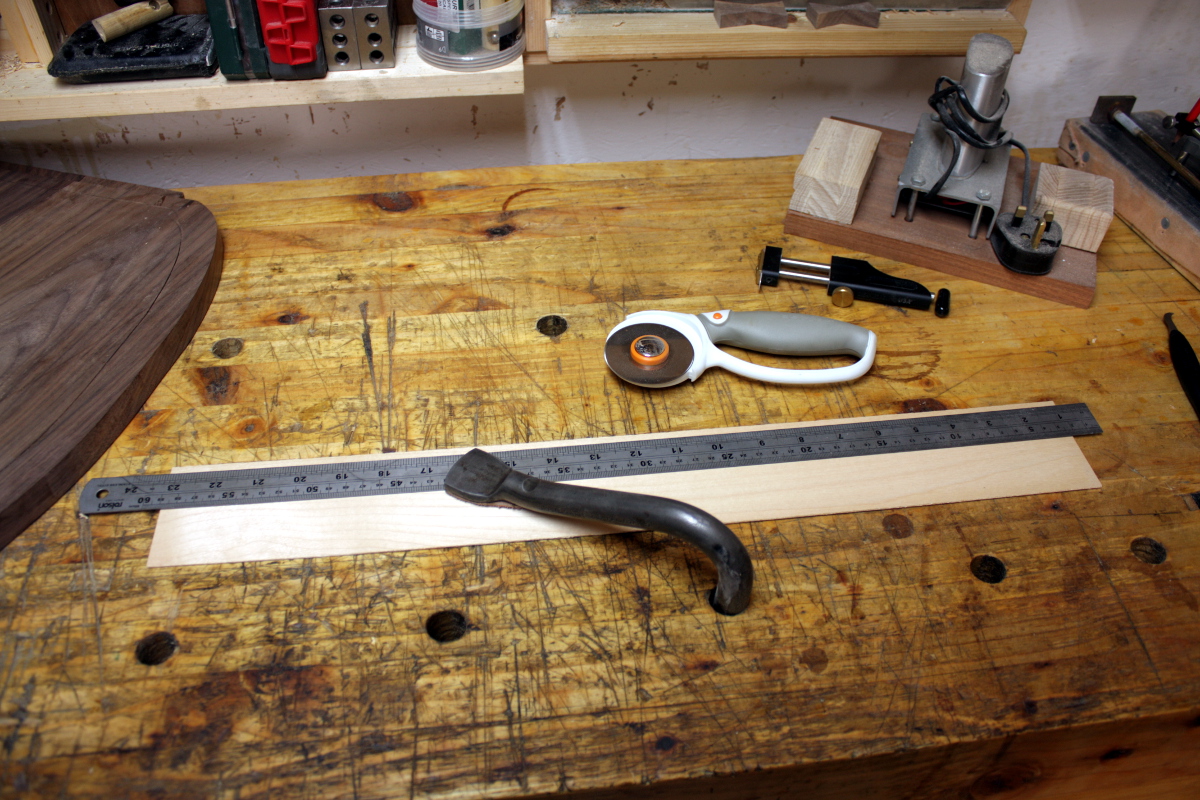
I have a very basic idea in my head for what the desk surface will be – a racetrack surrounding an ocean complete with iceberg (the Titanic has to be able to hit something after all). There’ll be an outline of stringing for most of that, and an outline around the margin of the desk and probably something on the edges too, just because. And there will have to be something in that back left corner, probably Calum’s name. But first, (well, after a small tidy-up of a corner or two with the spokeshave), the margin. So out with my inlay tools.
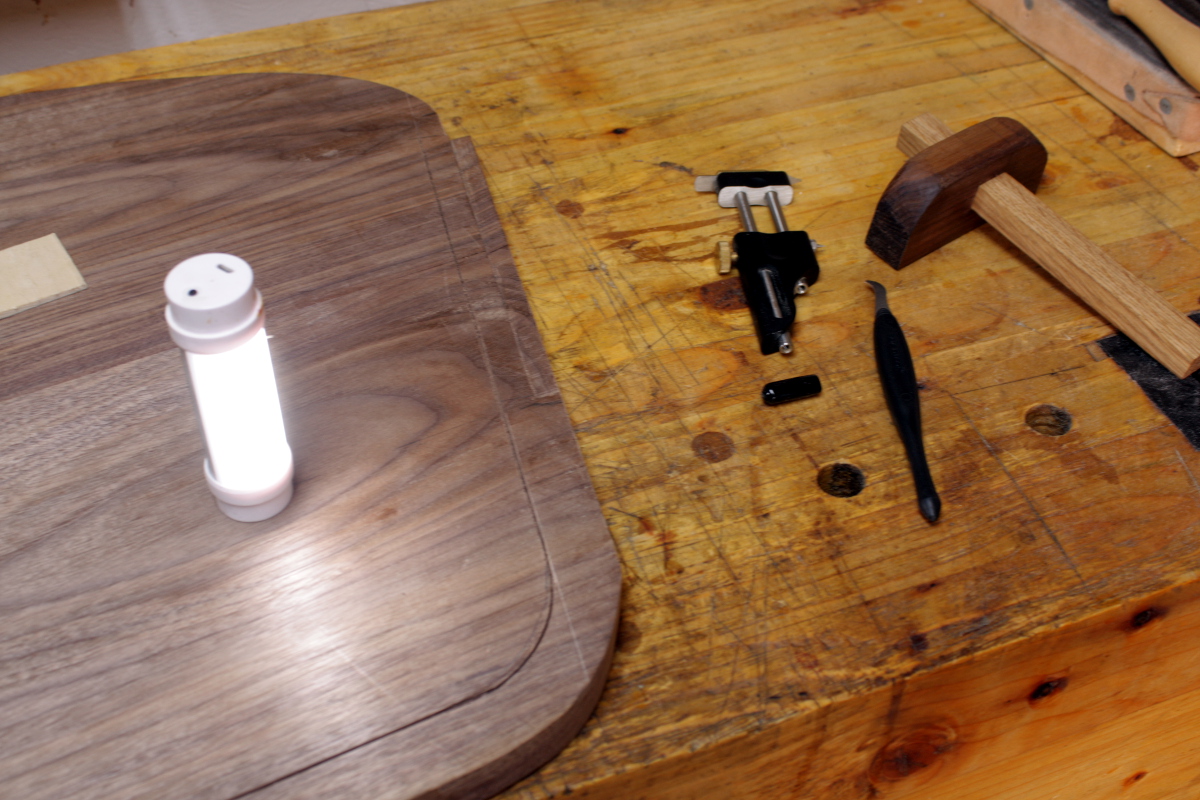
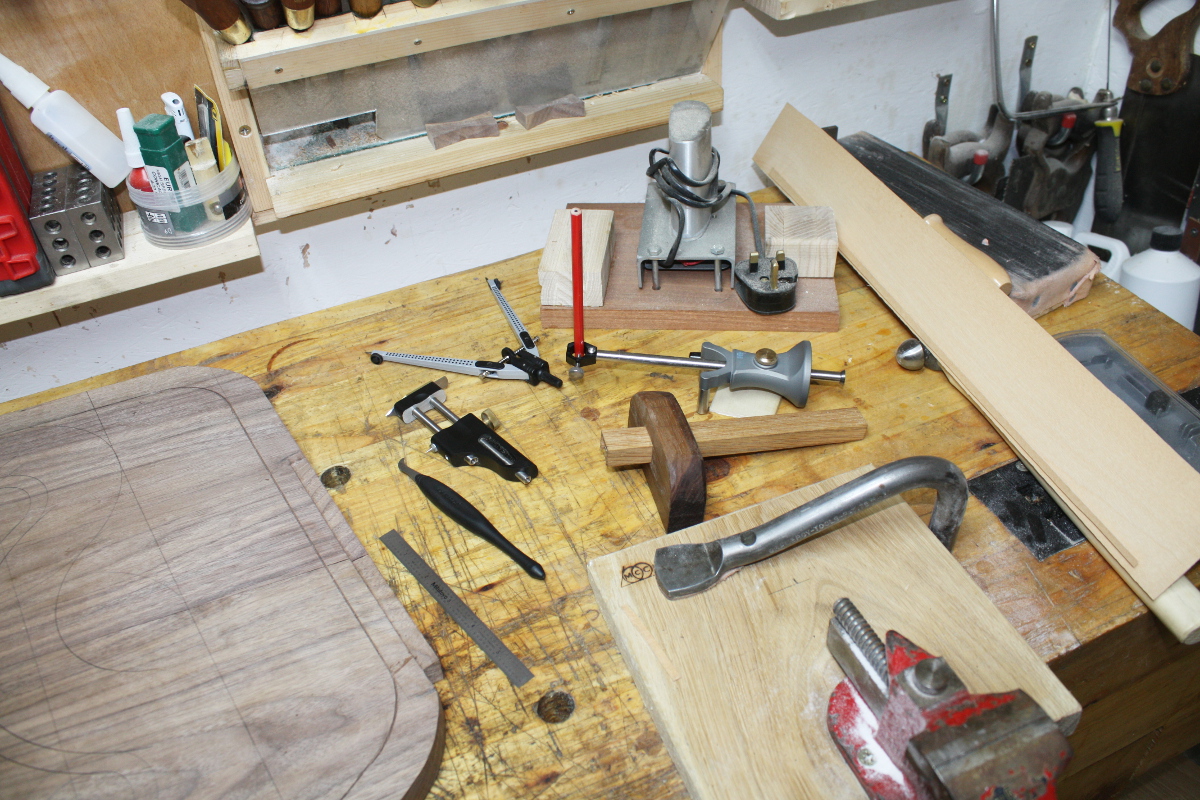
New additions to the homemade line cutter and the lie nielsen radius cutter are the veritas inlay chisel (still in the box) and the veritas groove cutter (think of the line cutter, but now in freehand pen form). There’s also a bending form I got for the curved bits because last time I did stringing around curves, the need for one of them became obvious.
And of course the trusty pizza cutter with the tungsten carbide blade…
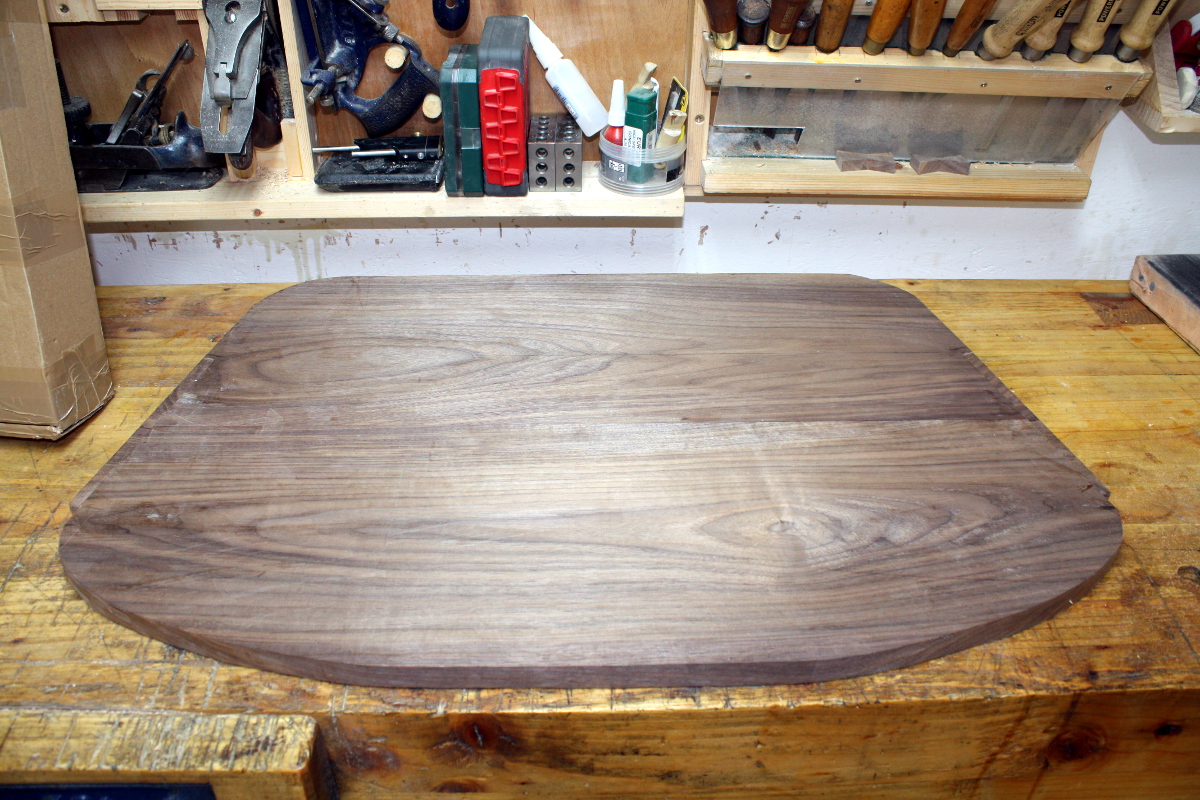
So I cut the margin stringing groove first.
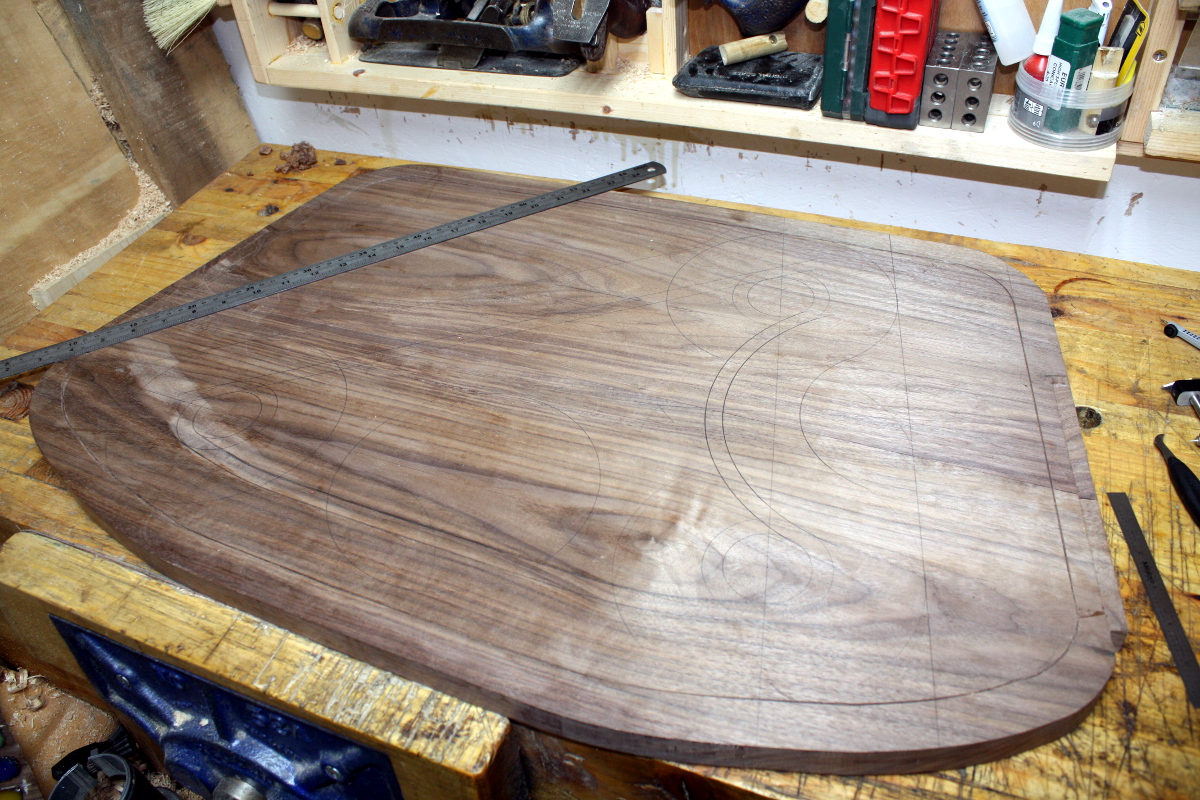
And then laid out the overall design in pencil with compass and straight edge. It’s not going to be a very classical design (this is a desk for a seven-year-old) so I can be a bit… straightforward with the design, mostly. The “road” will follow the front margin, have a straight run from left front to right back, then an s-curvy bit back to the front right corner. The inside will have a half-inch or so of space and then all the internal area will be routed out, probably with my hated trim router – I need to buy a decent bit for that work – and then I’ll lay down a reflector sheet and pour blue resin into the cavity (there’ll be an LED light overhead in the final desk, so the reflector will make the “water” look less dark). Ironically, that straight run from left to back right is probably the bit I’m most worried about – I am *not* cutting that with a router, so I’ll clamp a straightedge and try to cut it with the freehand groove cutter. That’s the most risky bit.
I then tried test fitting some of my veneer into the slots, and of course it’s a little thick, but I knew that ahead of time.
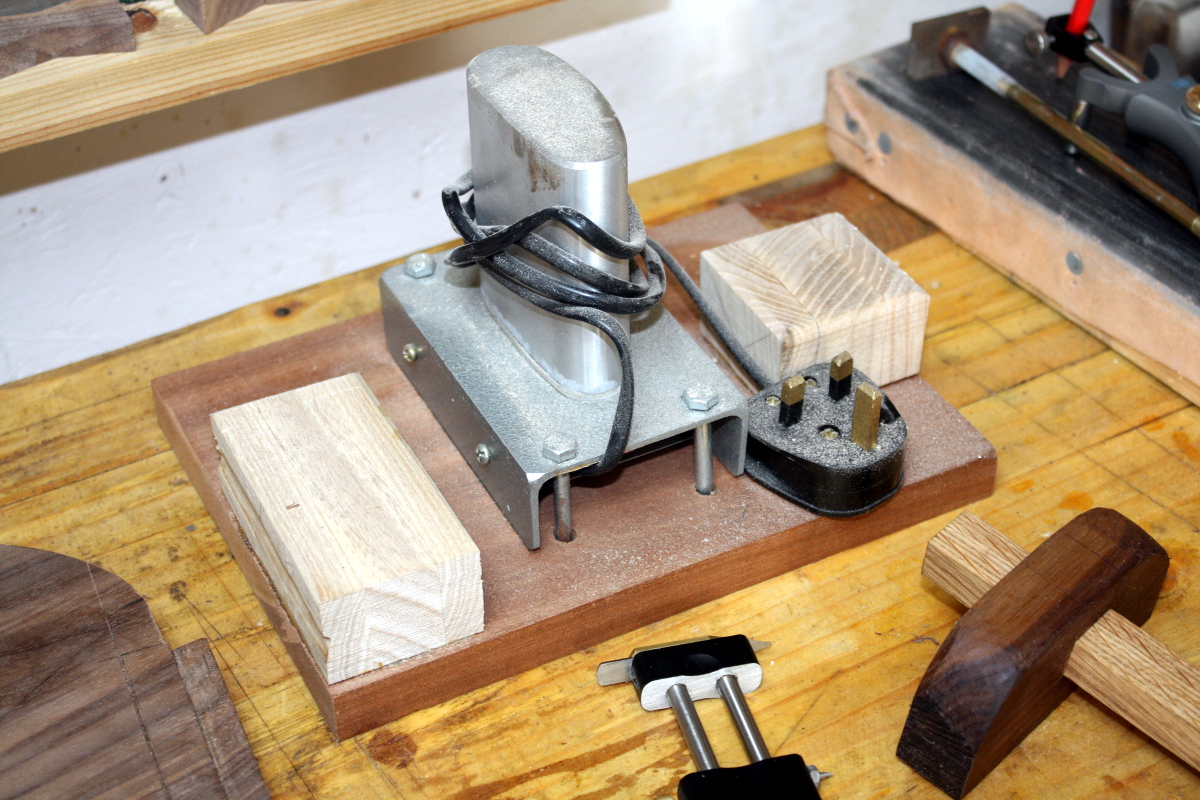
First thought was to just use the anvil on the back of the imp vise and hammer the veneer to compress fibres in the wood, which would then relax and expand back once in the slot (this is an old japanese technique with a name I can’t pronounce). But either I’m not hitting hard enough, or the wood hasn’t much room for compression. So, plan B, we need one of these:
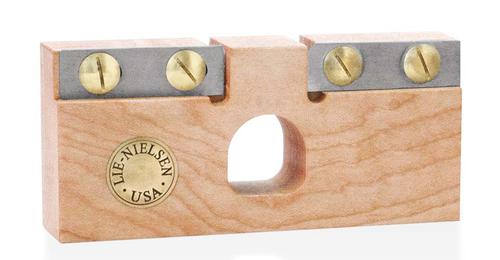
Except they cost 70-80 euro and ffs, they’re a bit of wood and a bit of metal, so…
Yes, I know, it’s rough. It was half ten at night, I can’t use the angle grinder that late 😀 I’ll trim it to size and do some filing and polishing later. This is a proof-of-concept 😀
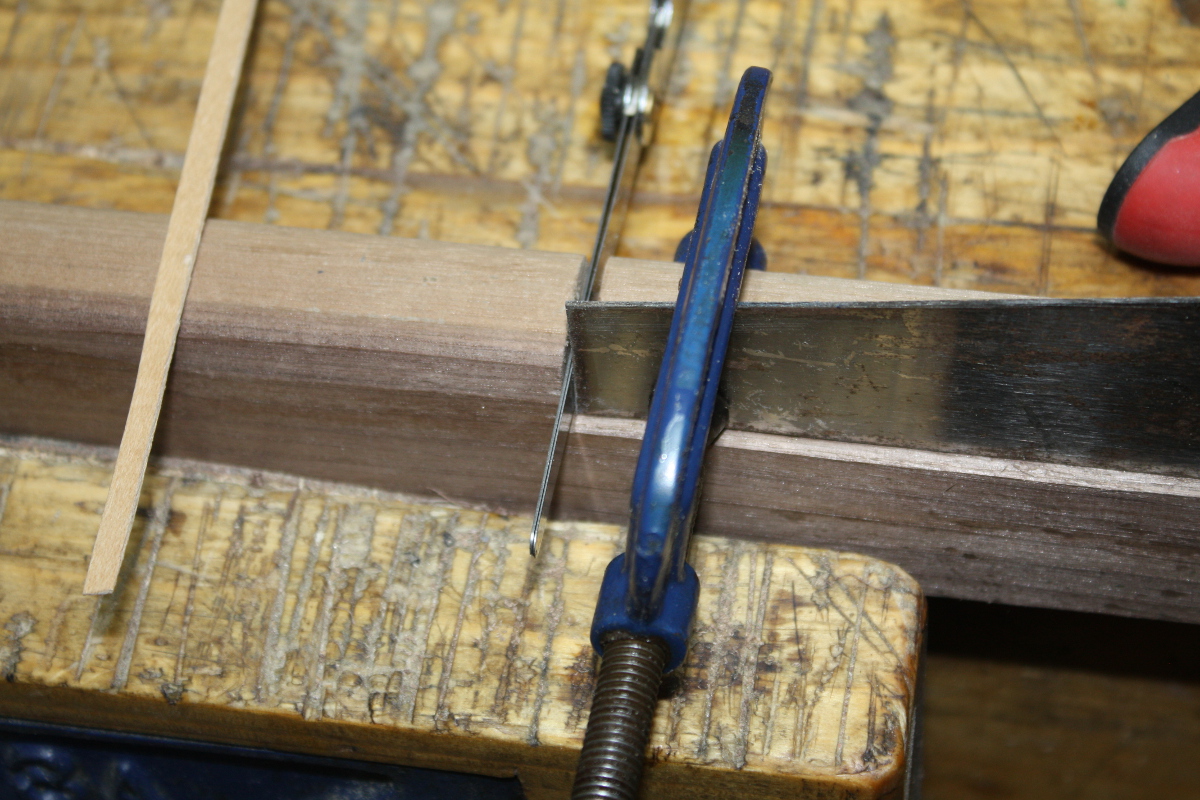
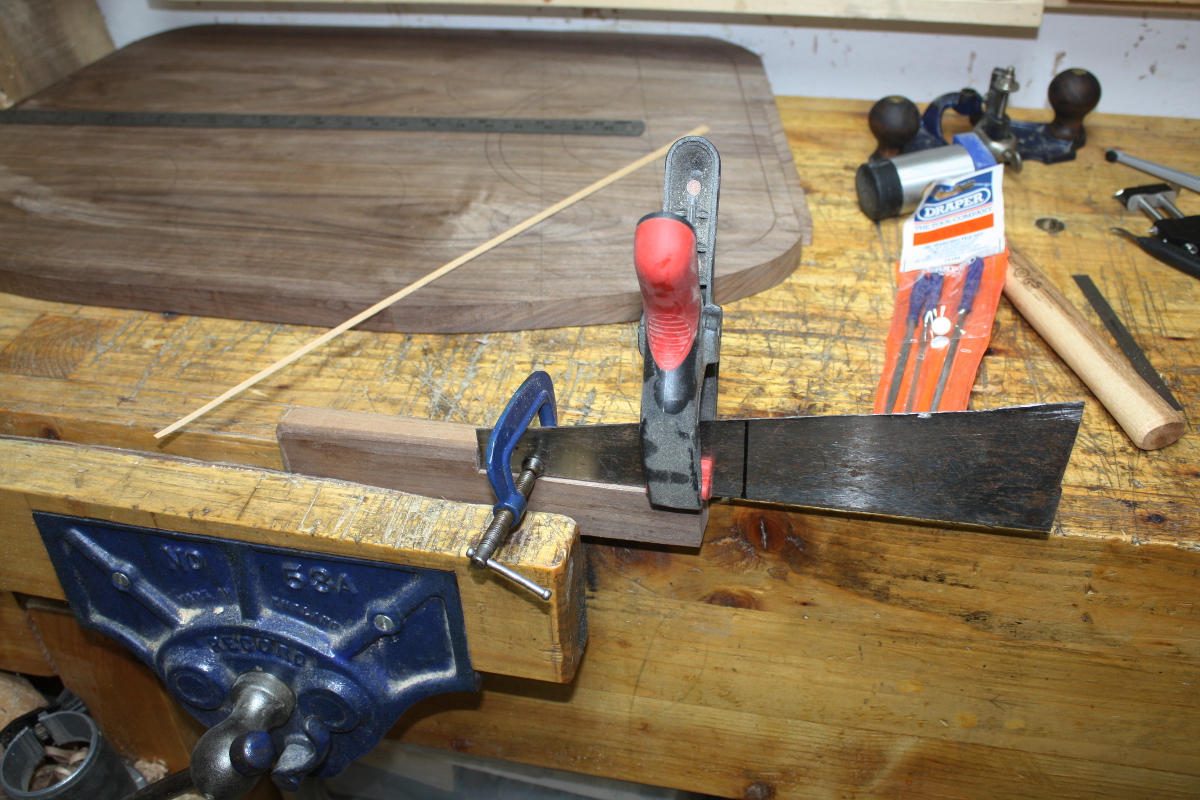
Set thickness with feeler gauge, clamp plate to wood…
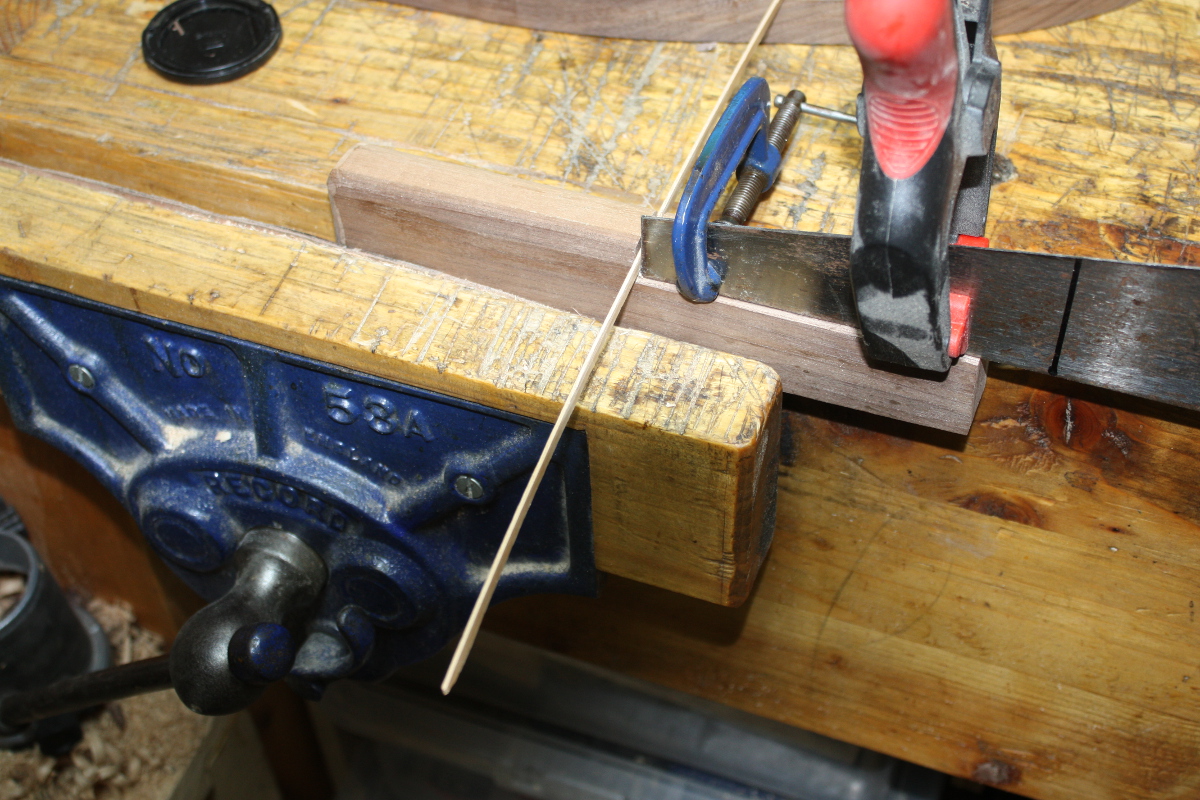
Then draw the veneer strip through multiple times. The idea is sound; I need to trim the ex-saw-blade stock to a saner size, then form an edge for scraping over on the end. Shouldn’t take too long. How to clamp it so I can still vary the thickness is a more involved question – just drilling bolt holes and making them slots in the saw plate should do it, but for now I’ll just trim the plate to size, form the edge, and clamp it with some c-clamps. I can polish it more later on.

Not much information on Lie Nielsen site on how to use their gizmo. I agree 80 € is too much money for this. One pay more for overhead than for what it is.
Congratulation for your improvised “tire-filet”.
The Lie Nielsen has two sides (rough and final thickness) while the one on the Roubo plate uses a handle which permit to obtain the final thickness in multiple passes (I guess there is some learning curve as to how much pressure to apply).
Sylvain
It’s demonstrated in Steve Latta’s Line&Berry Stringing videos very well though to be fair. And those videos are well worth the money.
https://www.lie-nielsen.com/nodes/4232/steve-latta