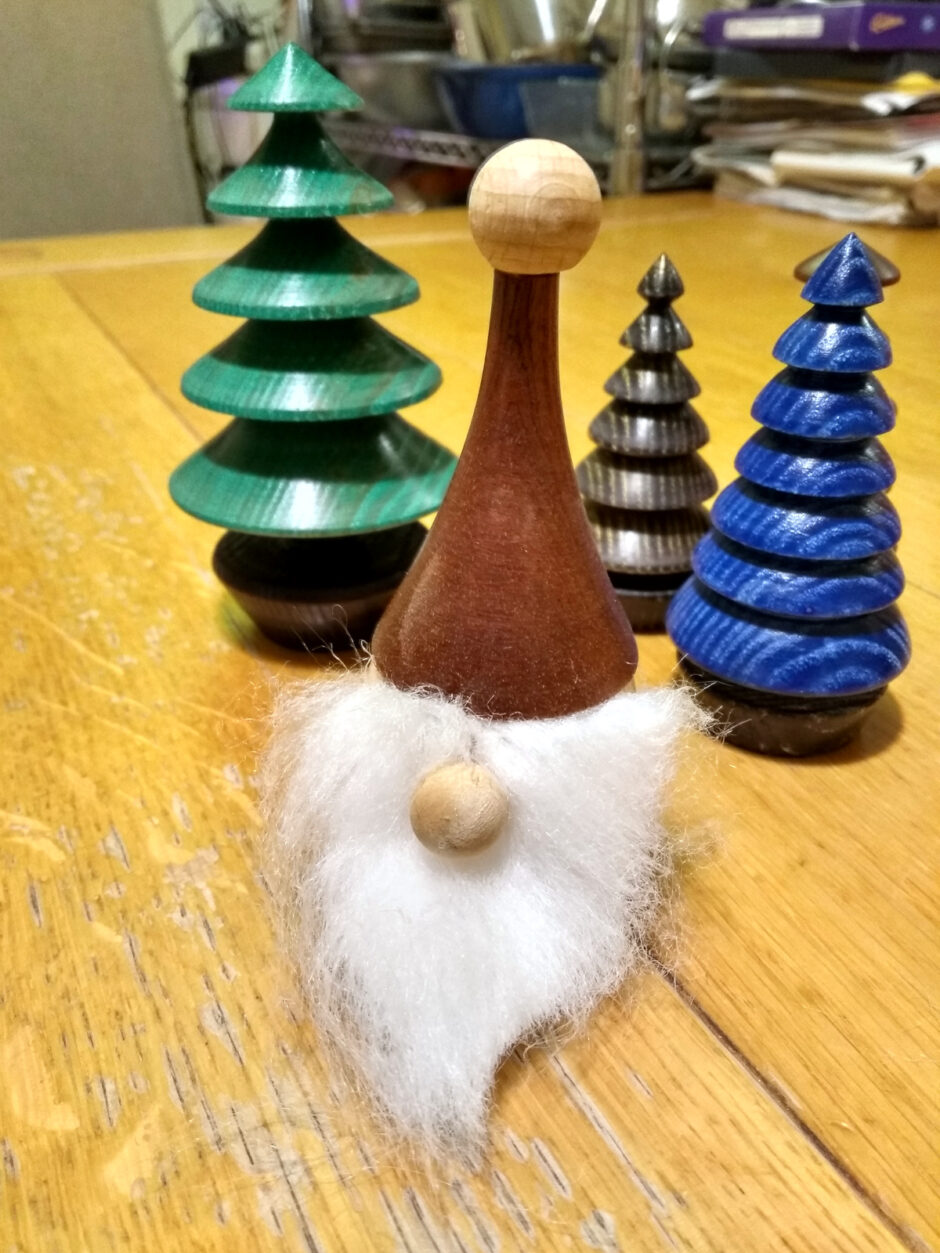
Saw Rebecca Degroot’s video on making a gnome:
Looked like fun, so I made one or two while messing about with decorations.
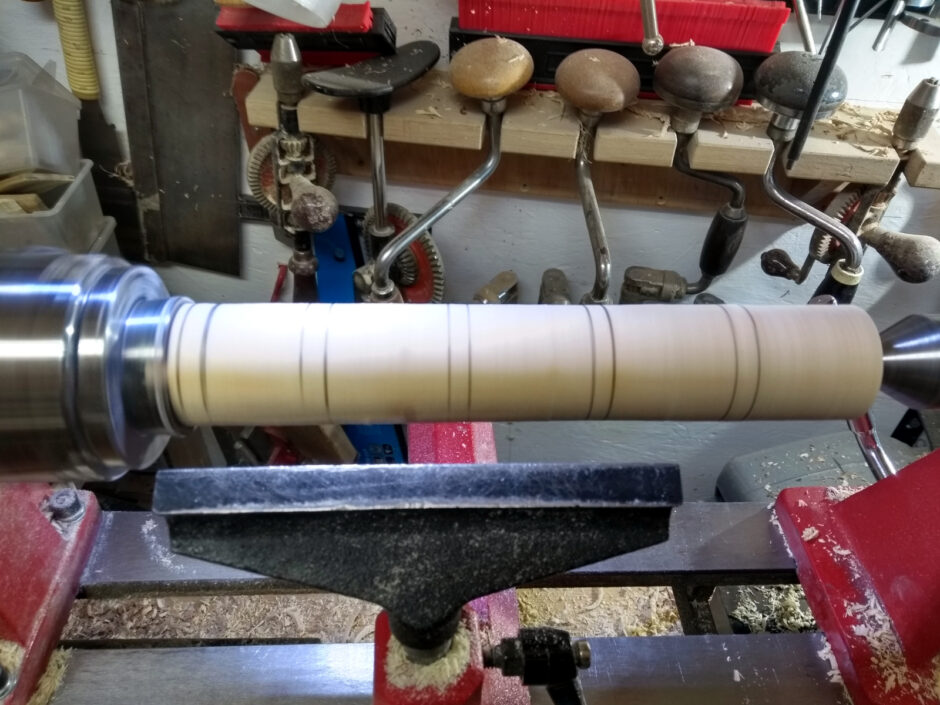
Then I thought they’d be nice presents for the other kids in Calum’s class, so batch work time. I didn’t have many blanks readymade for this though (I’ll have to remember to stock up in October for next year) so I took a standard CLS lumber 4×2 and cut it down the middle on the bandsaw into two 2×2 rectangles and used the roughing gouge to round them up.
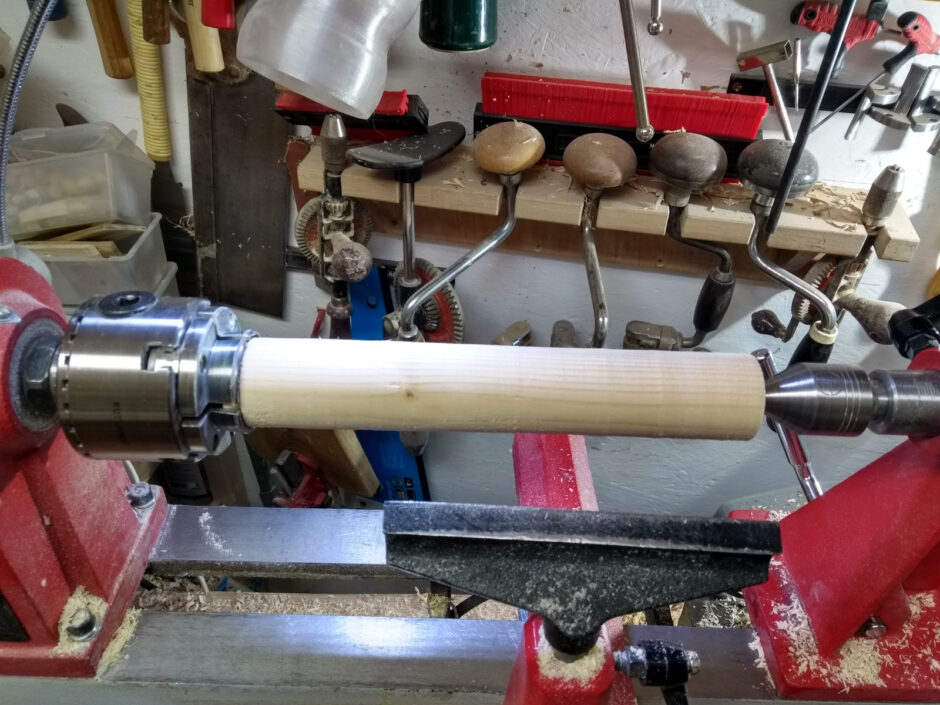
Softwood in general isn’t generally recommended for turning but with sharp tools it’s fine for basic stuff like this. I had a very minimalist story stick with just two ticks on it to mark out the body and a length for the tenon, and marked off the blank with it.
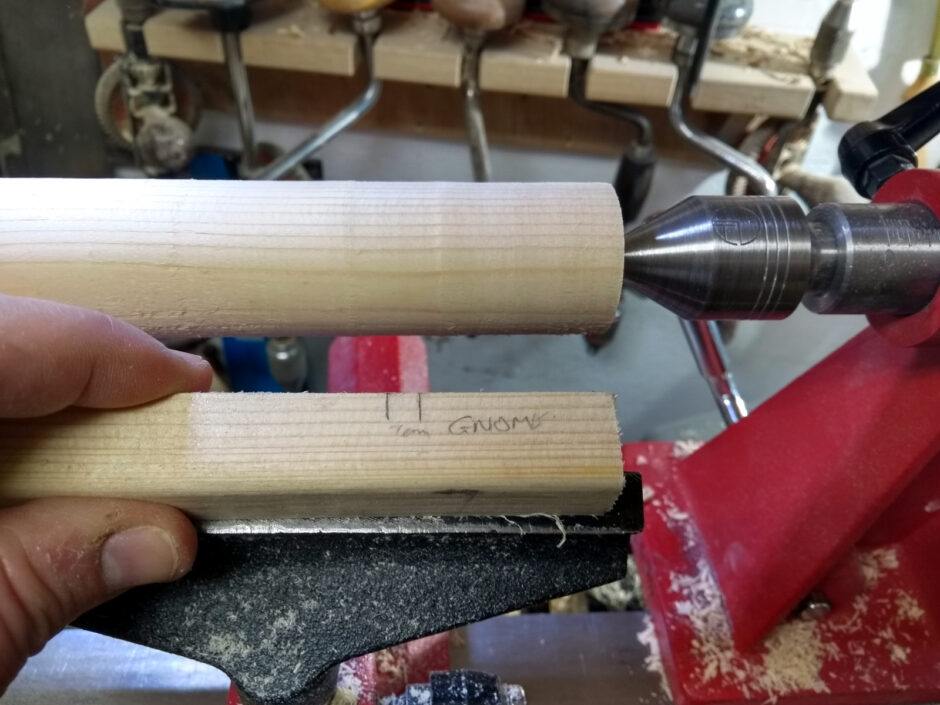
Then stick the point of the skew into the lines to deepen them.
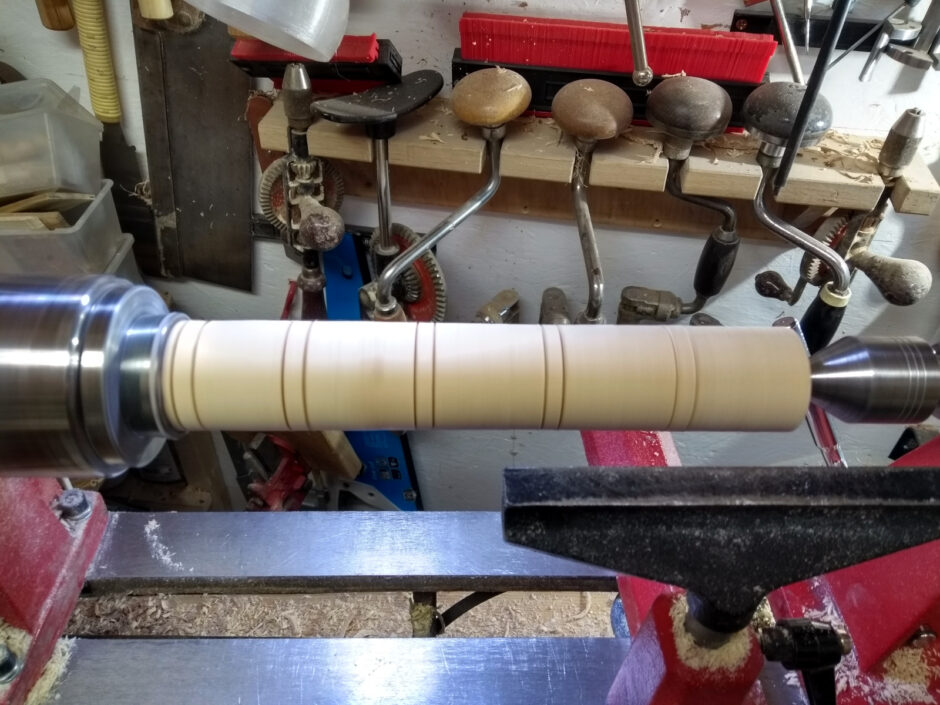
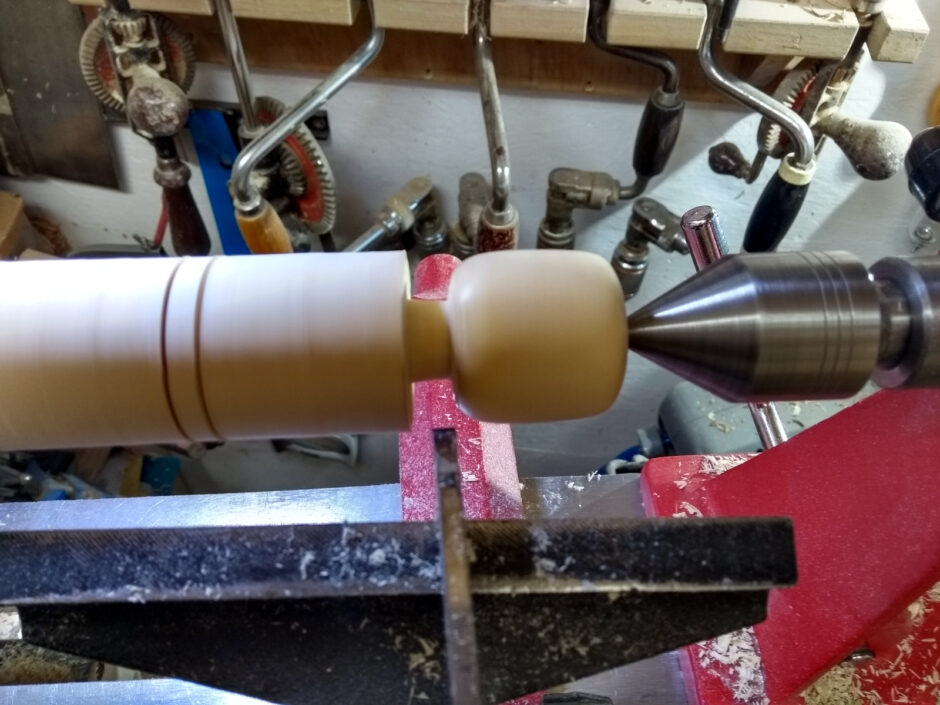
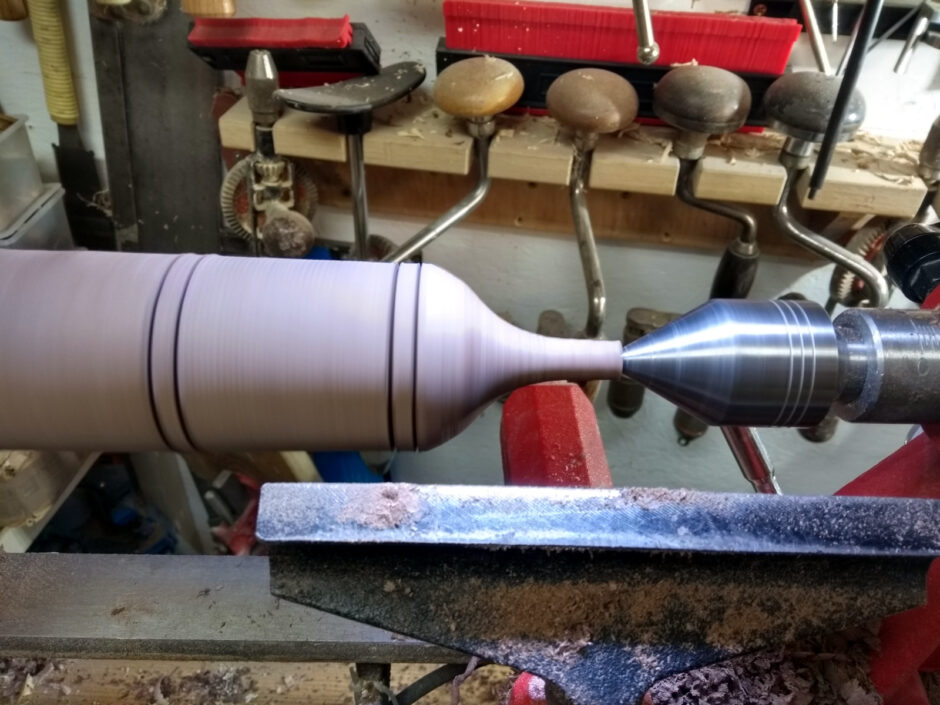
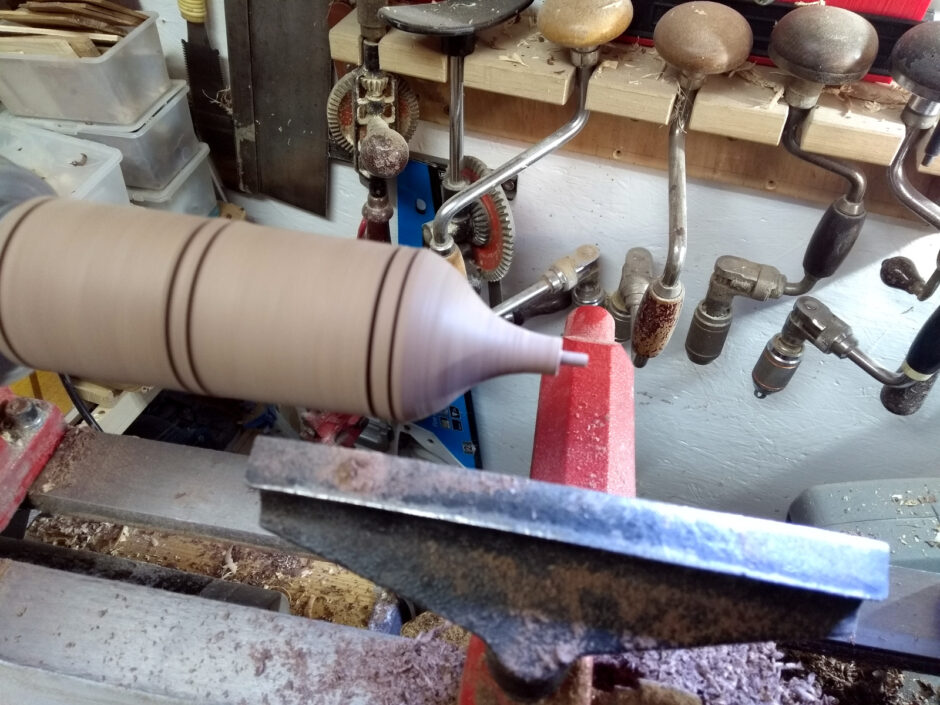
Then with the skew, turn the top and bottom corners of the body and smooth out the bit in between to a gentle barrel curve. Make sure to overexpose the camera if possible.
Then use the parting tool to turn what will be the tenon down past the shoulder at the top of the body, but not all the way as you need some strength left in it to sand the body.
Then swing in the dust collector and sand up to 240 grit. This is the secret to a beginner’s woodturning – buy 80grit sandpaper in bulk.
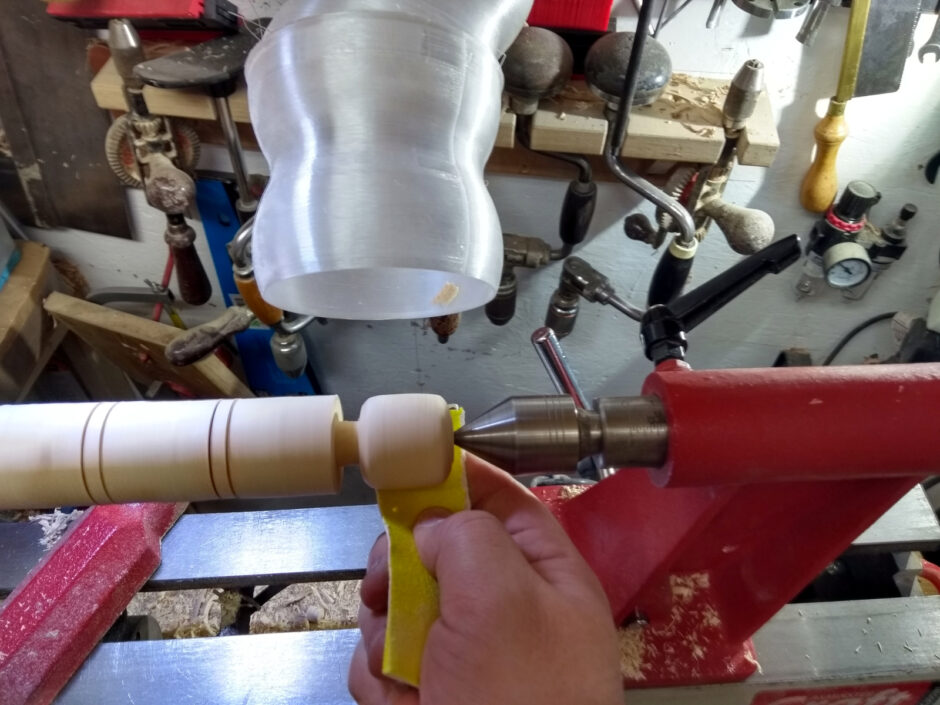

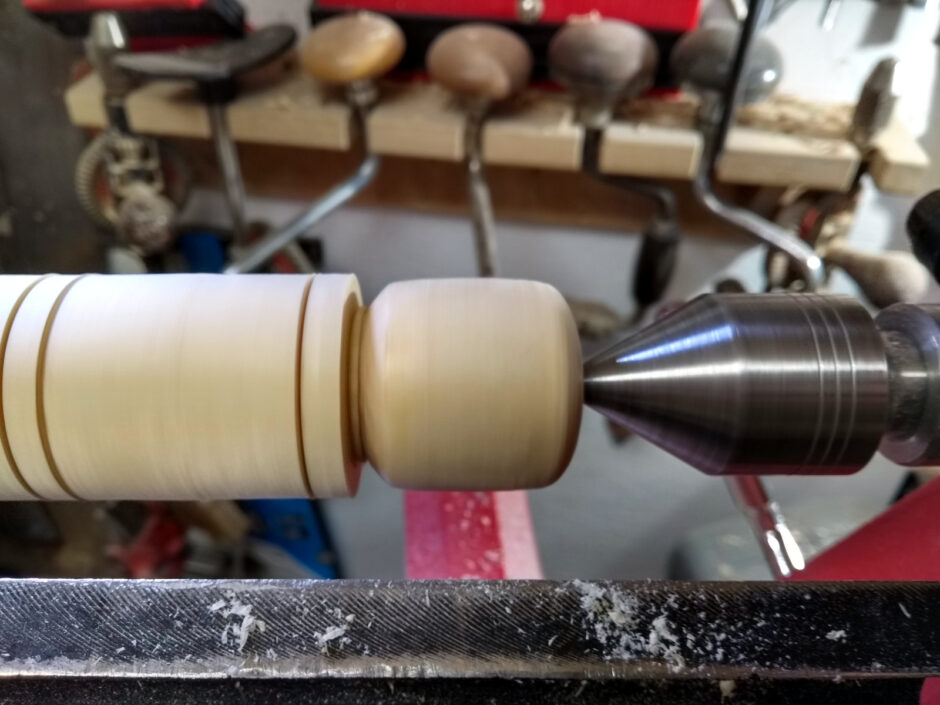
Dousing with sanding sealer before the last grit to stiffen the grain a bit.
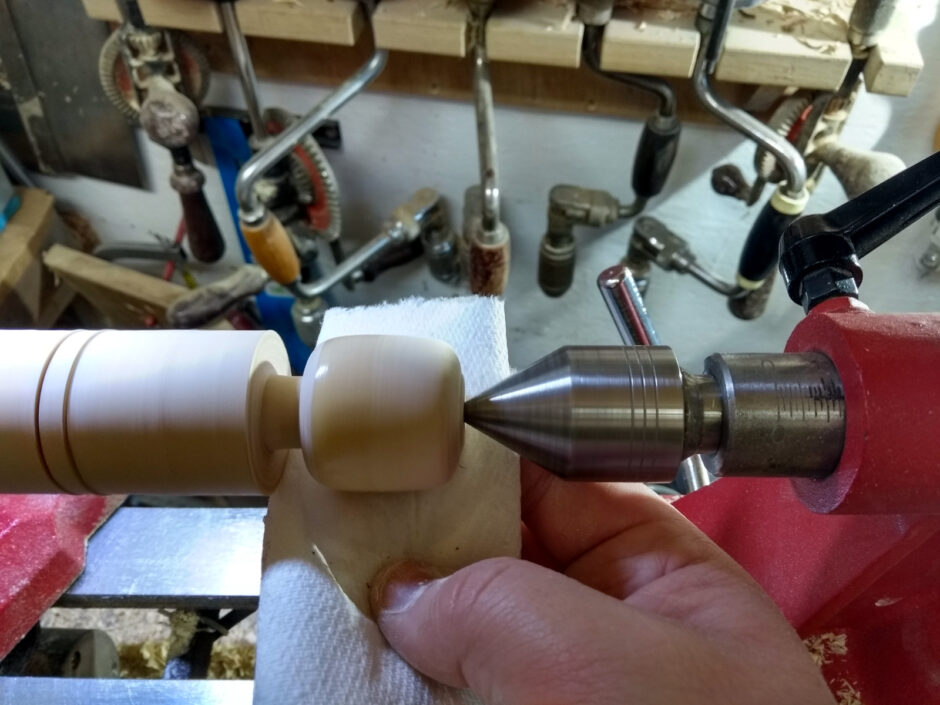
Then hampshire sheen wax (because it’s now certified food-and-toy-safe) and buffing.
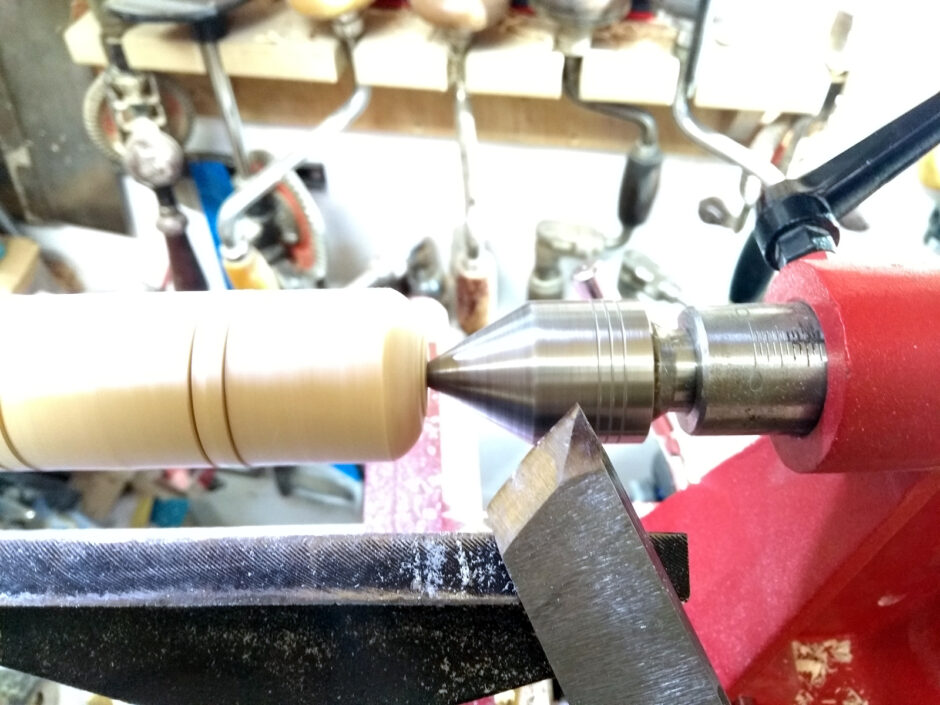
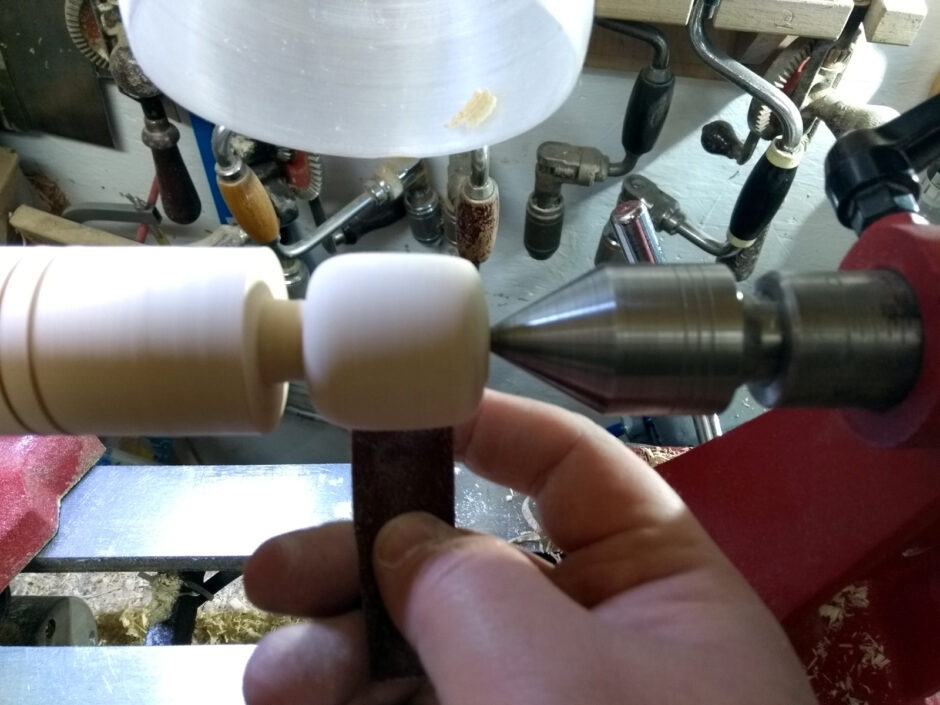
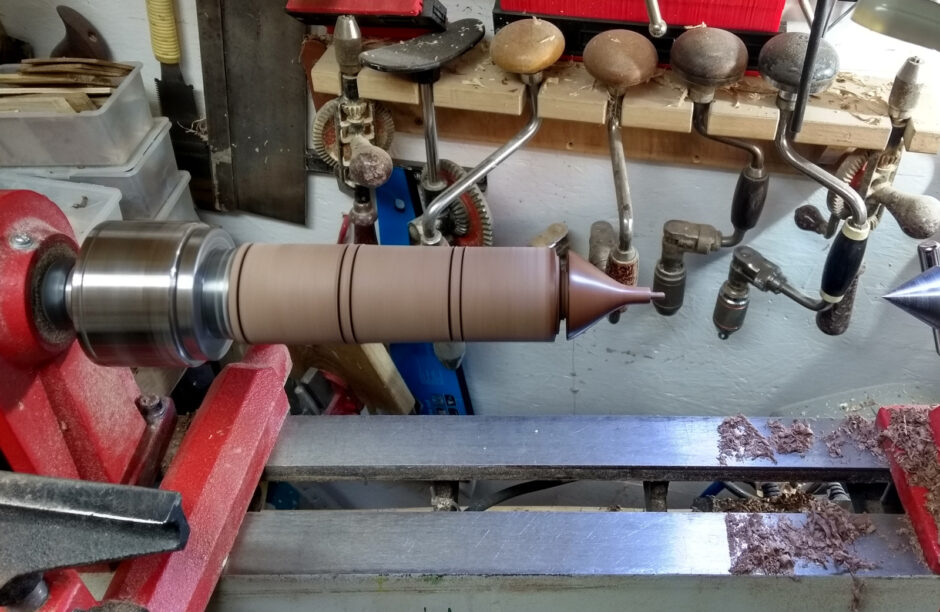
And now part the tenon down to 6mm (using the wrench-as-a-gauge trick which is complicated by me not having very many wrenches that small)

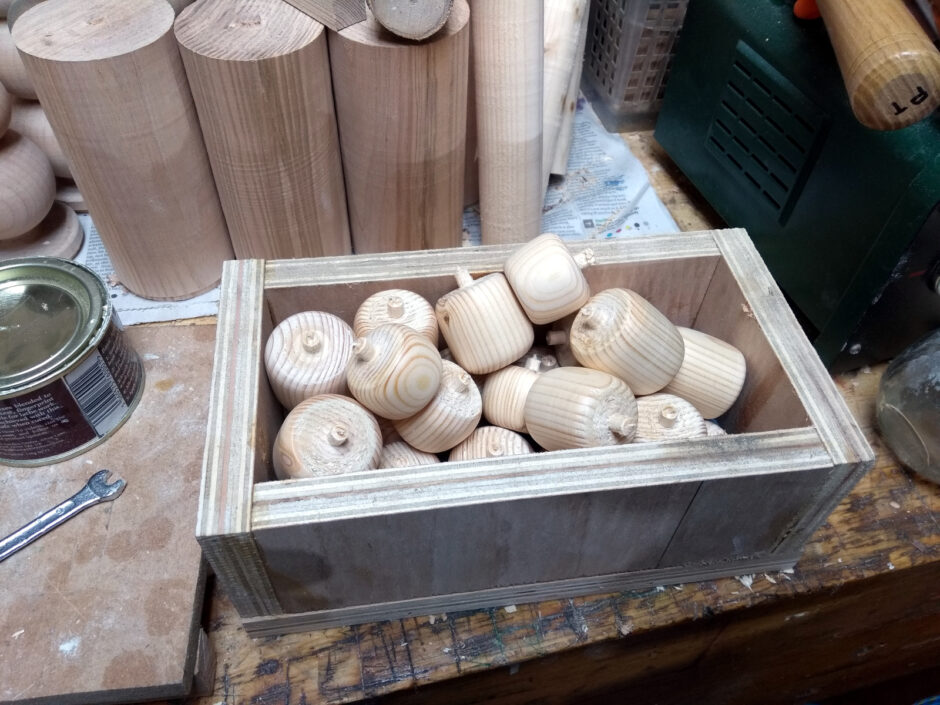
And part off and into the box it goes and we move on to the next section of the blank and repeat 19 more times…
Next, hats.
I didn’t have many blanks at all for this, so half were a glued-up blank made from walnut offcuts and half were stained CLS lumber. Again, very simple marking out, then use a spindle gouge to turn the rough shape, and put a tenon at the top using a skew.
This is why we prefer to use larger tenons by the way, a 3mm tenon with a skew is…. great practice for the skew 😀
Then sand, seal, sand again and wax…
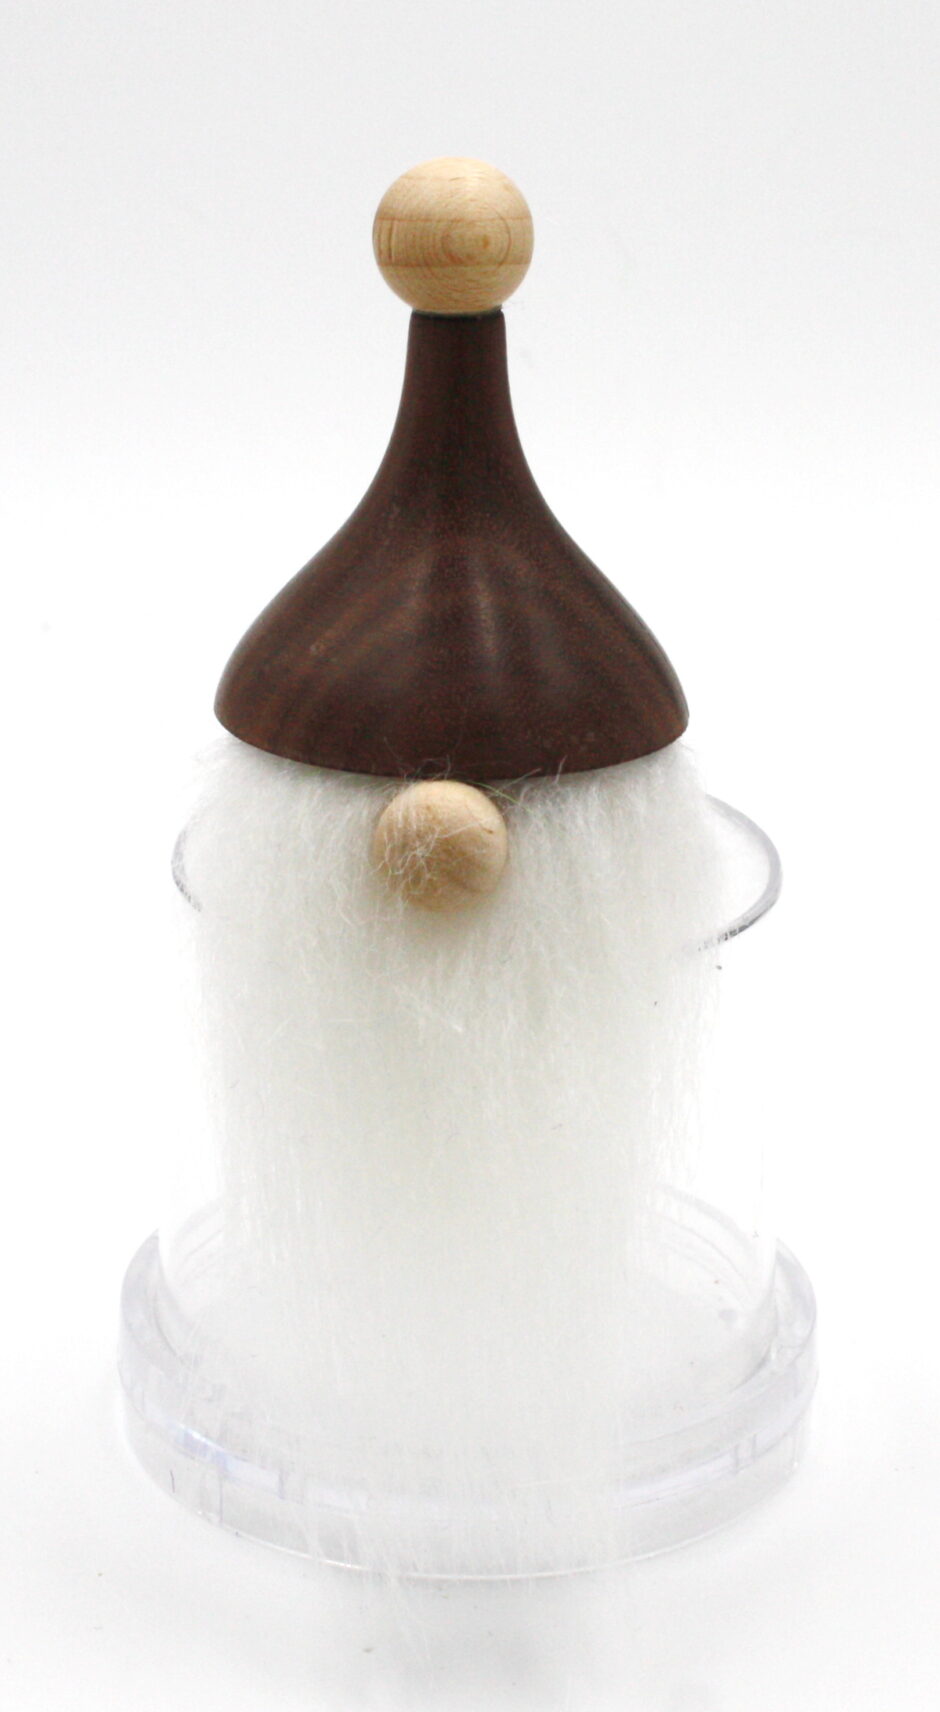
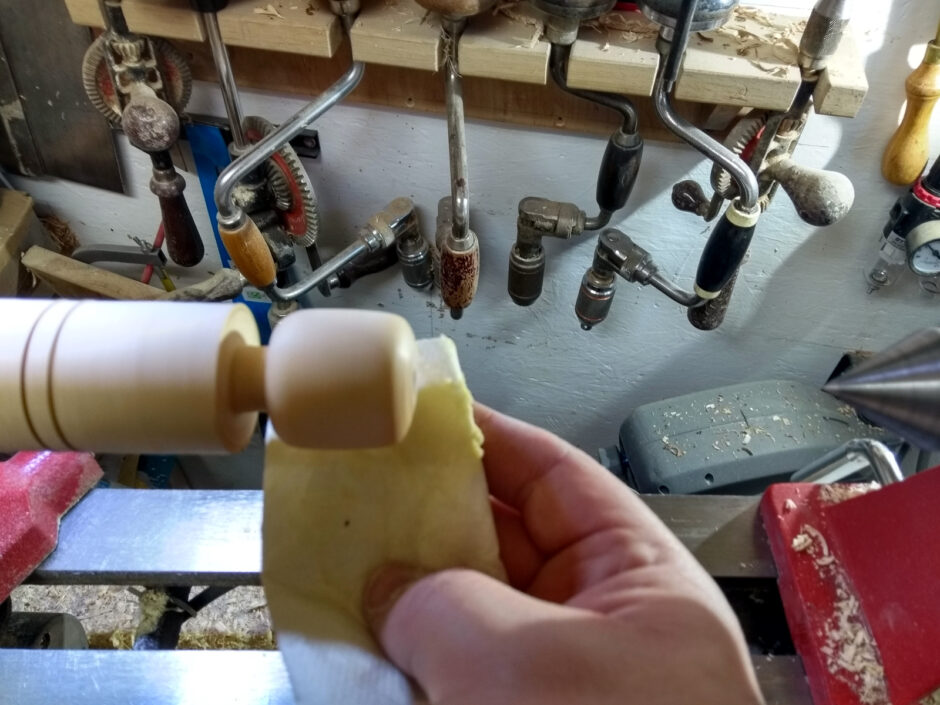
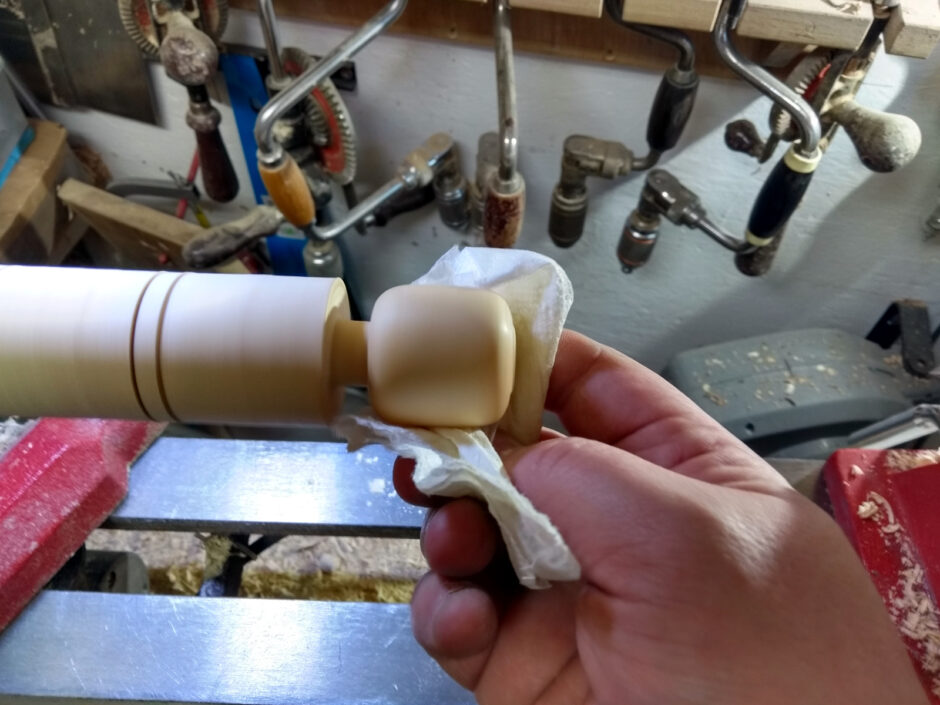
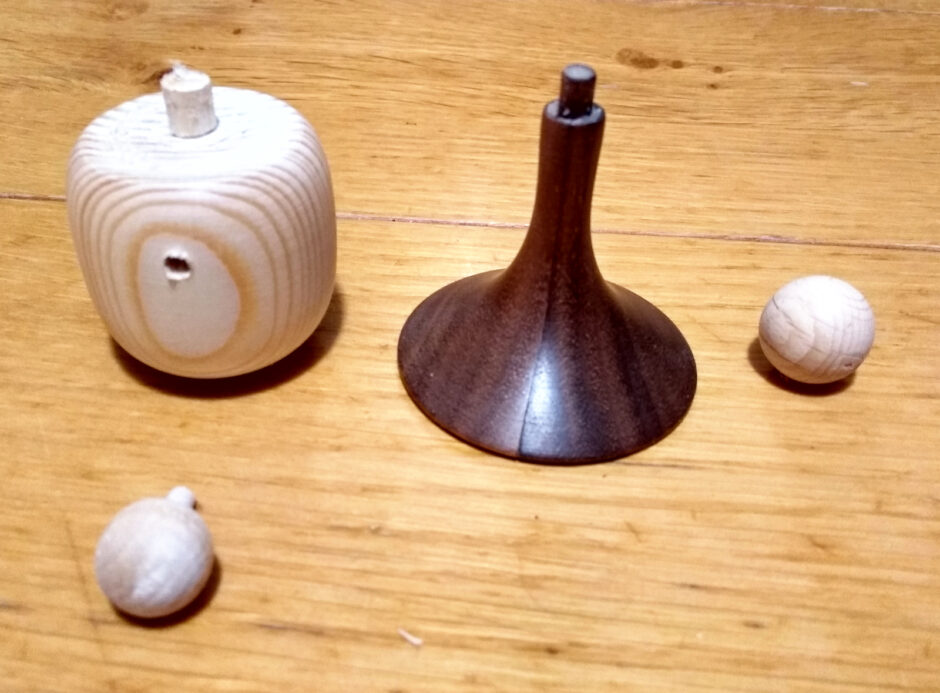
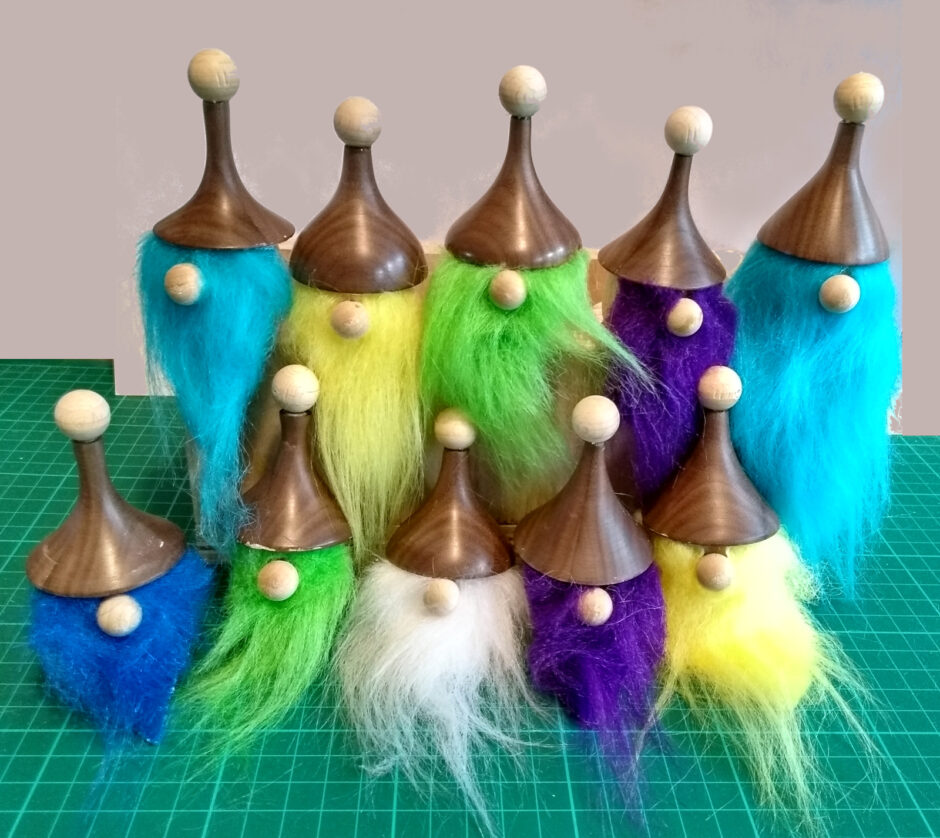
Then part off, being careful to undercut as you part so the hat is concave underneath to match the convex top of the body. Then completely give up on turning and just cheat by buying several bags of wooden balls two years ago and forgetting what they were for and just using them here for noses and baubles and a 6mm dowel sanded down to 3mm to fit the noses. And drill holes in the body for the nose and under the hat for the body’s tenon and in the balls for the nose tenon and hat tenon, which is awkward till you realise you can hold the ball using mole grips rather than trying to clamp one in a vice or making a jig.
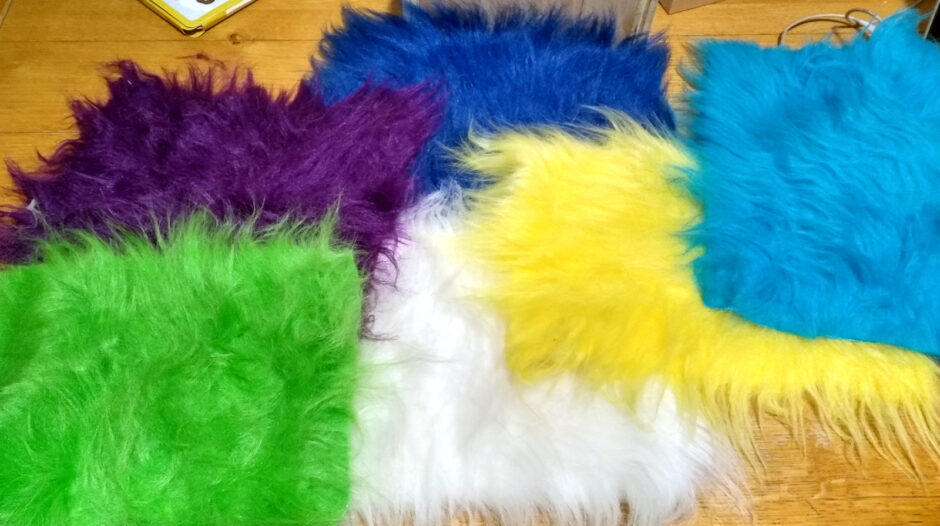
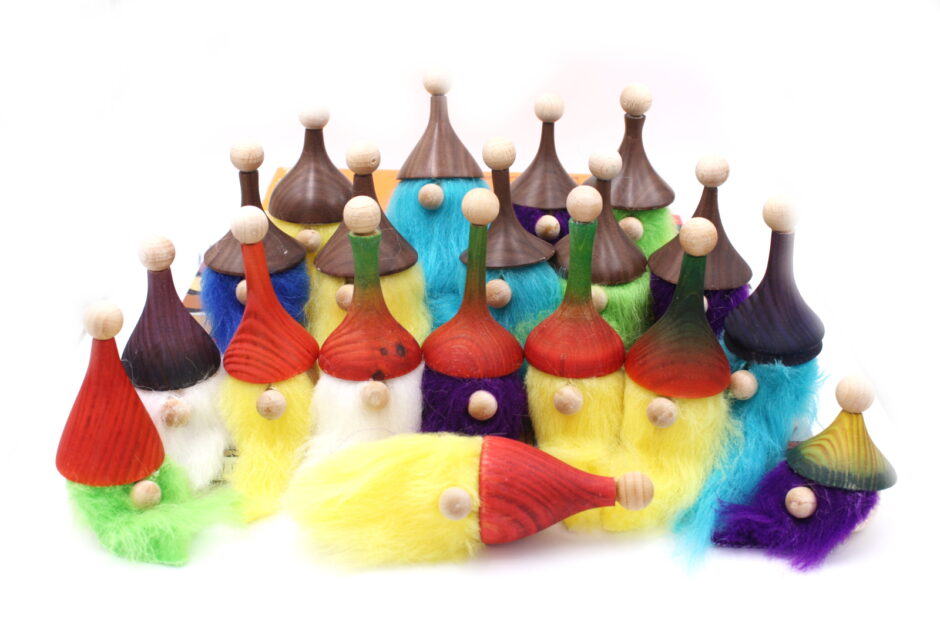
So 20 sets of these, and then a bag of faux fur…
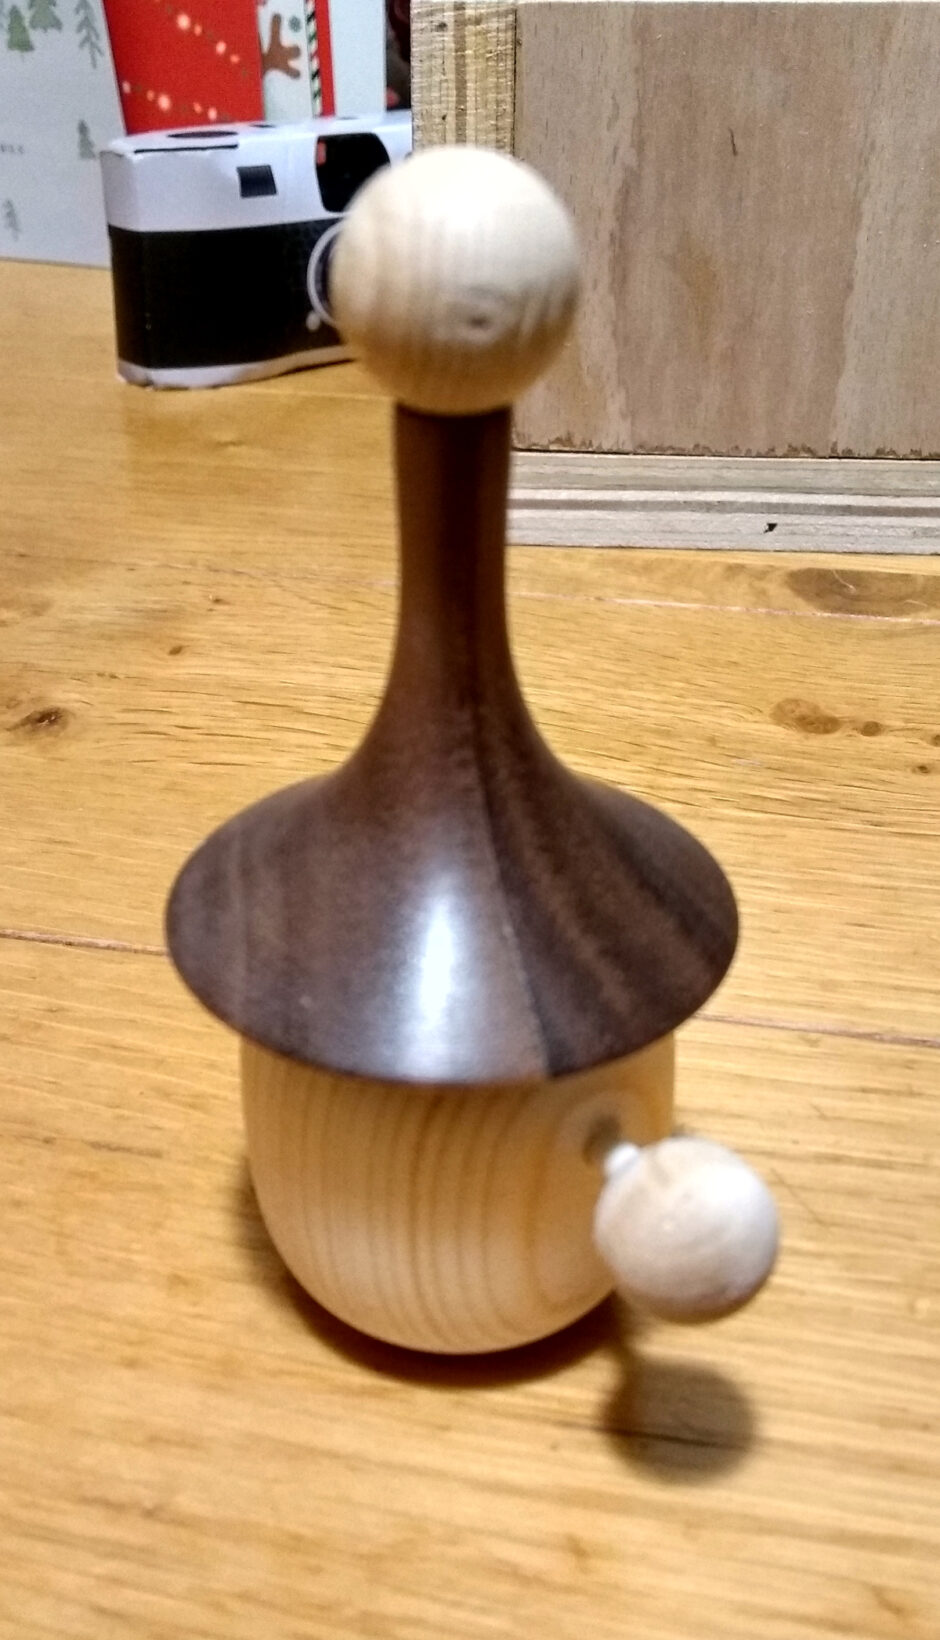
And now under supervision from the 8 year old, who will manage the matching of bodies to hats to beards and specify beard length, assemble everything using a full bottle of CA glue…
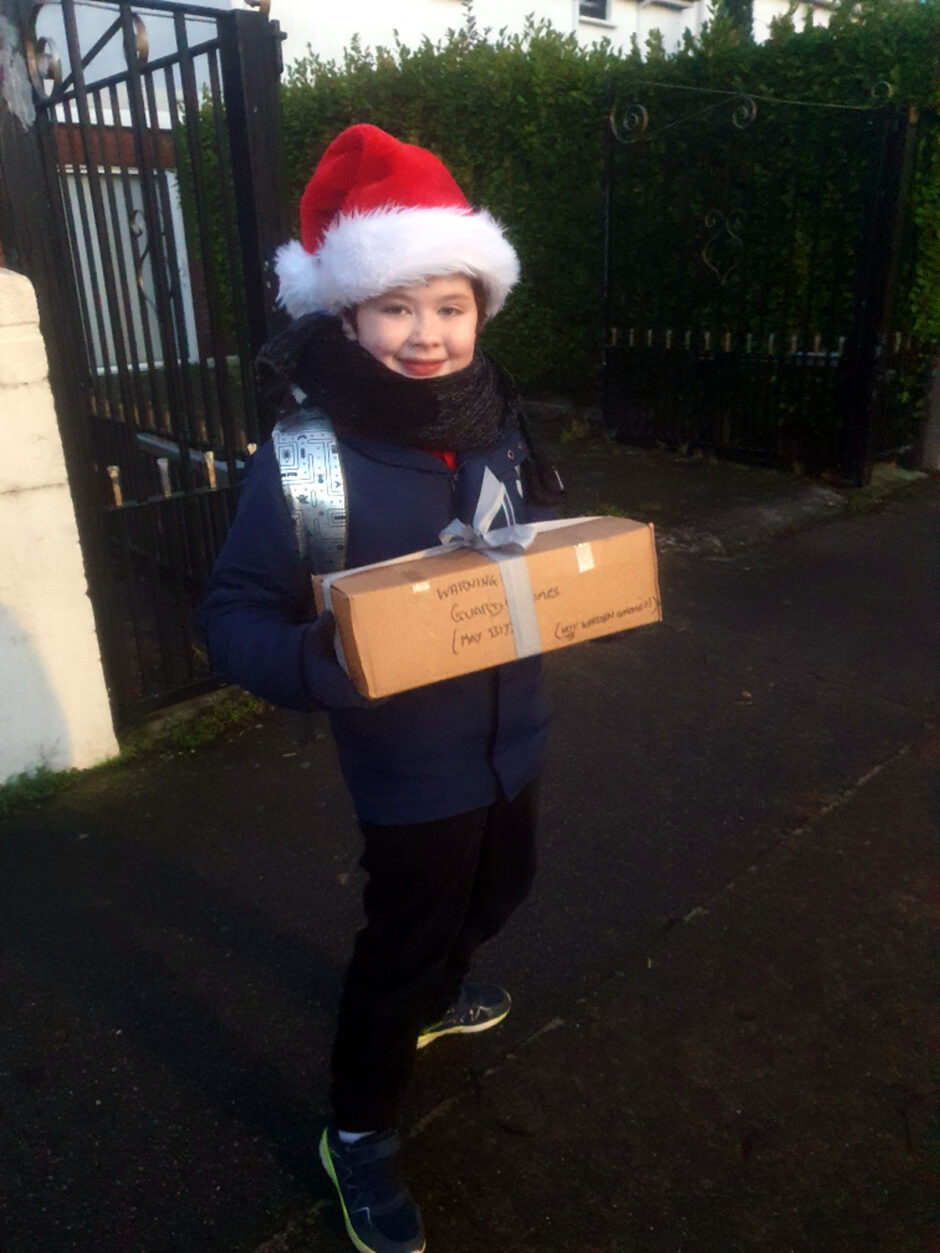
And then packed up and sent off for delivery by Calum.
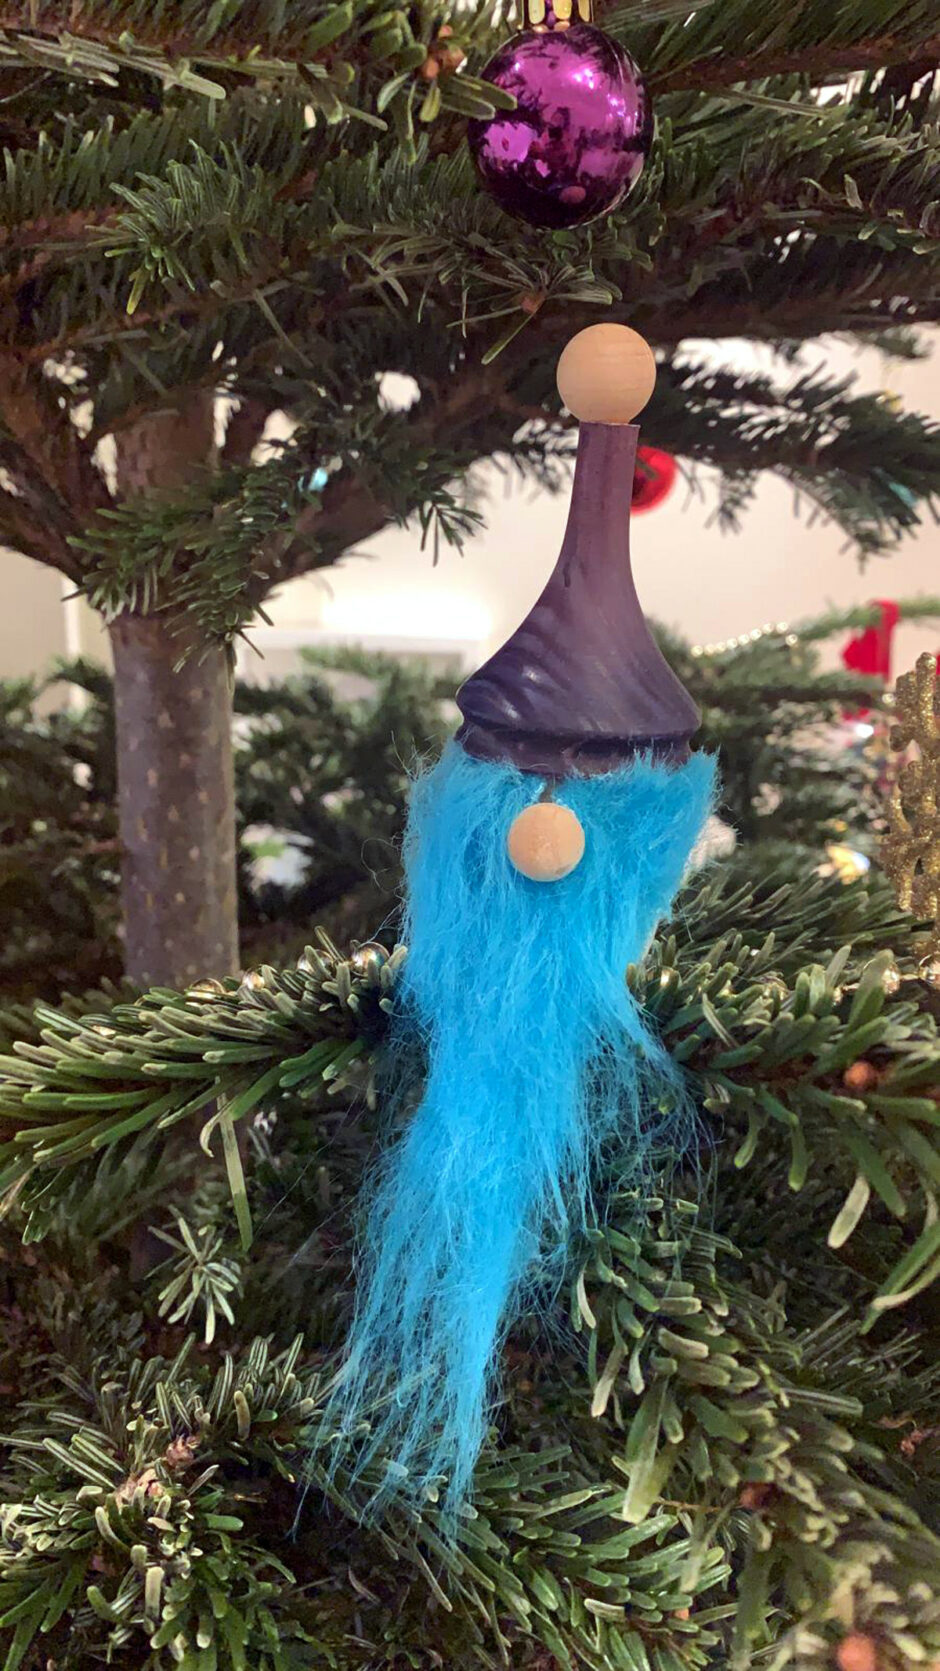
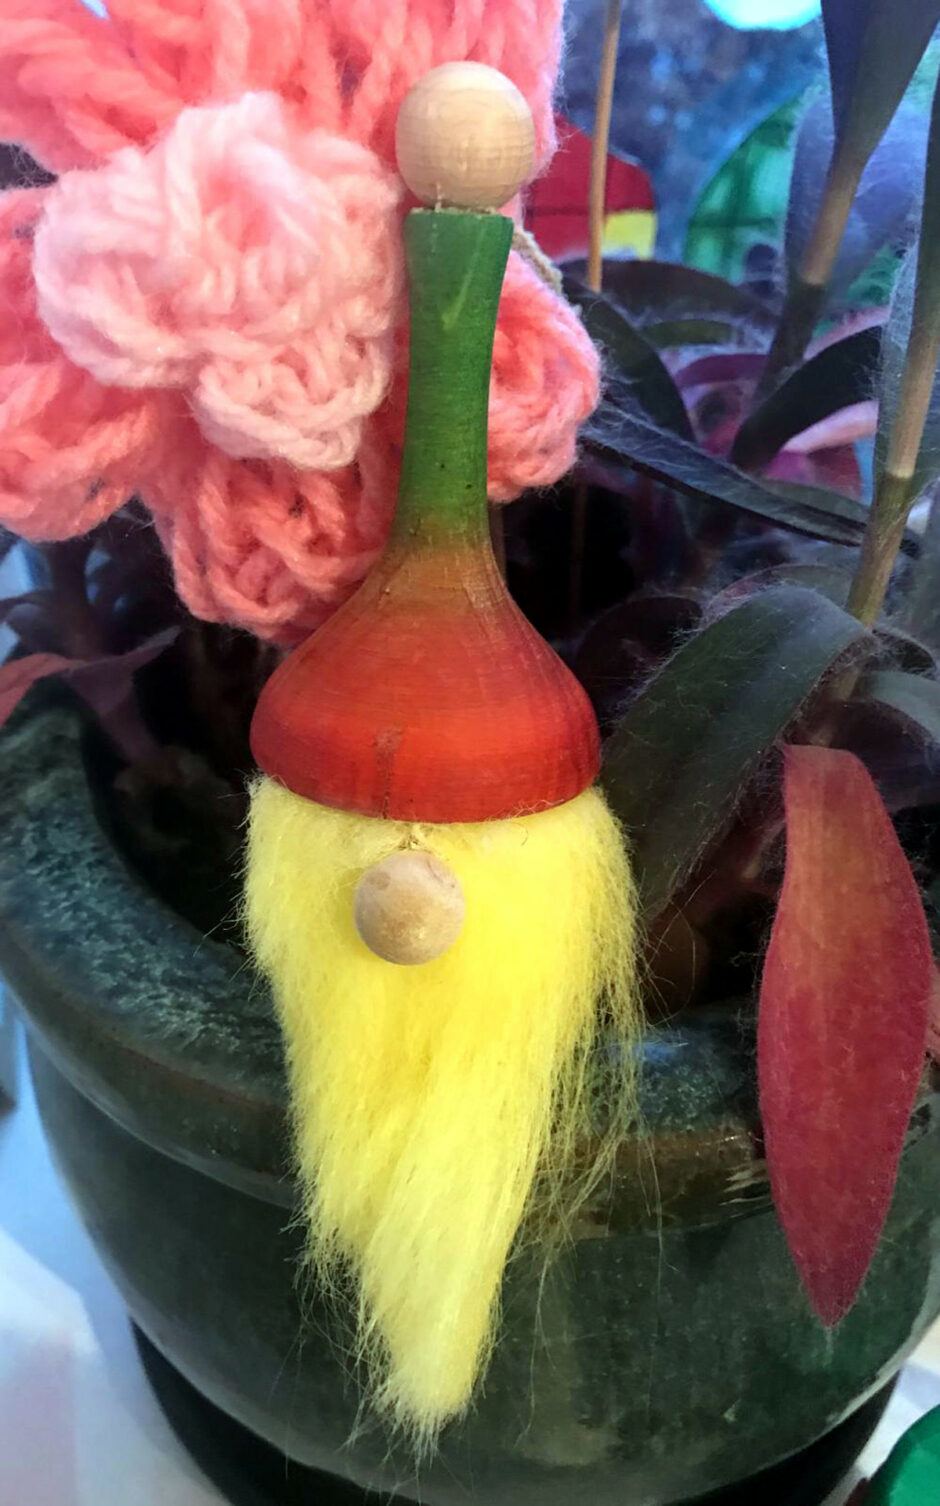
They were well received 🙂 We even got some photos of the gnomes in their new homes…
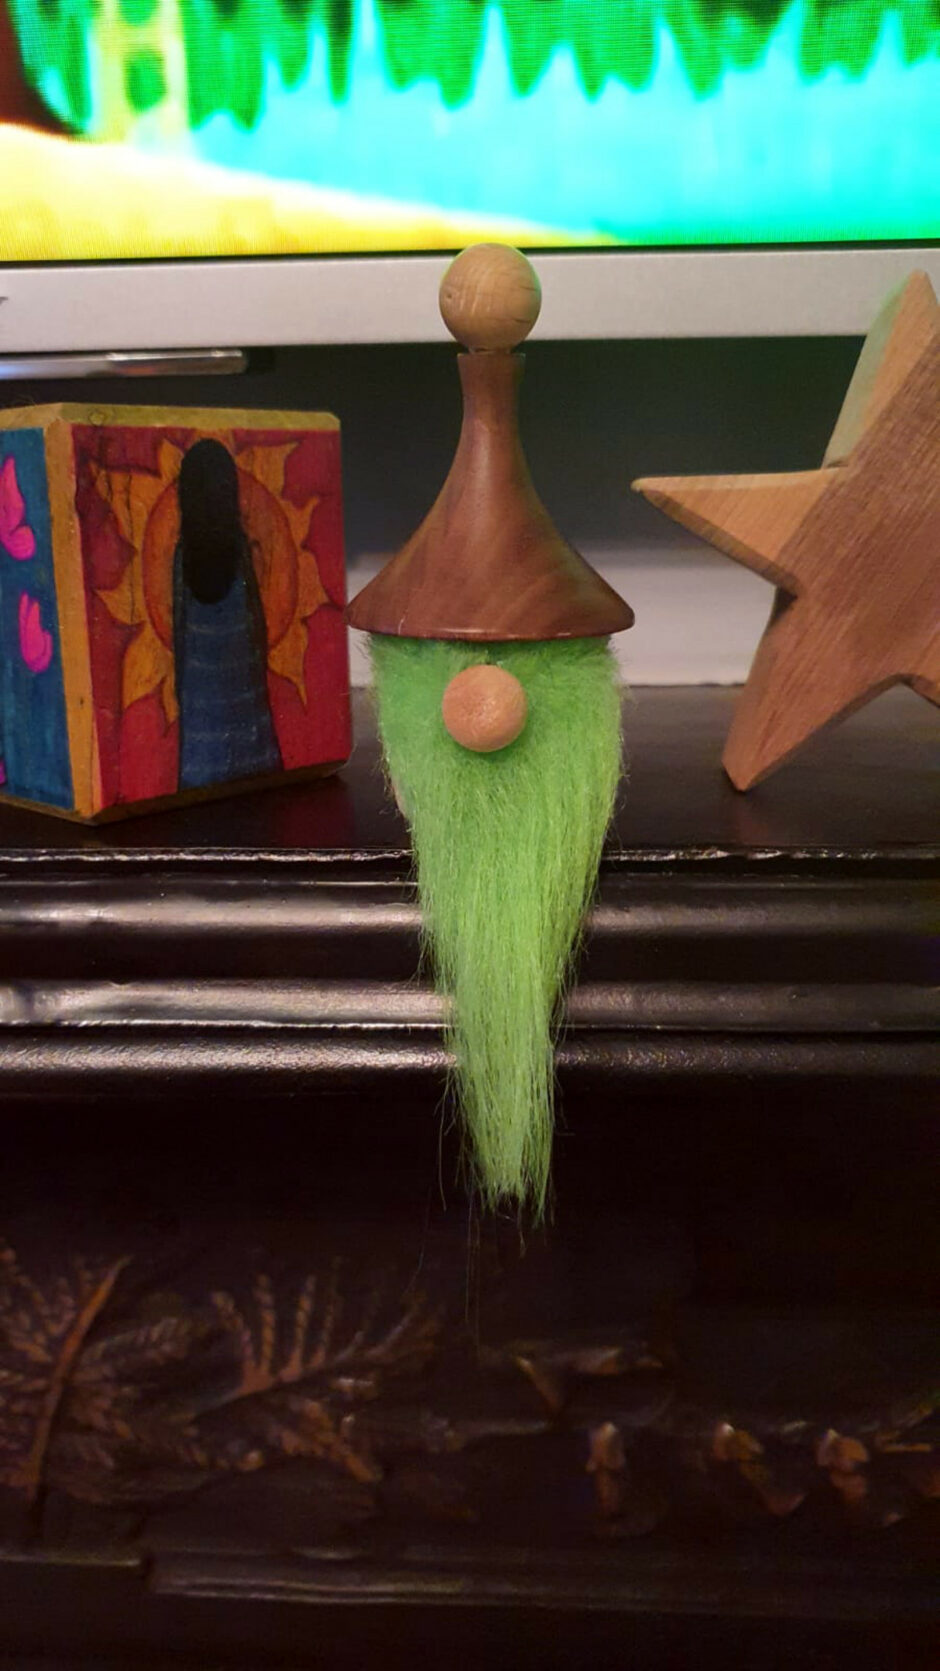
Overall, good skew practice and fun to make. Must do them again next year, but this time, get some blanks in around October and start making them in November 😀
Tags: cls lumber, gnomes, pine, solstice, toys, walnut, xmas


Mark,
Great idea and well done.. Even better Calum looked pleased to deliver.
ken
[…] ← Previous […]