…is that you have to sharpen lots of gouges.
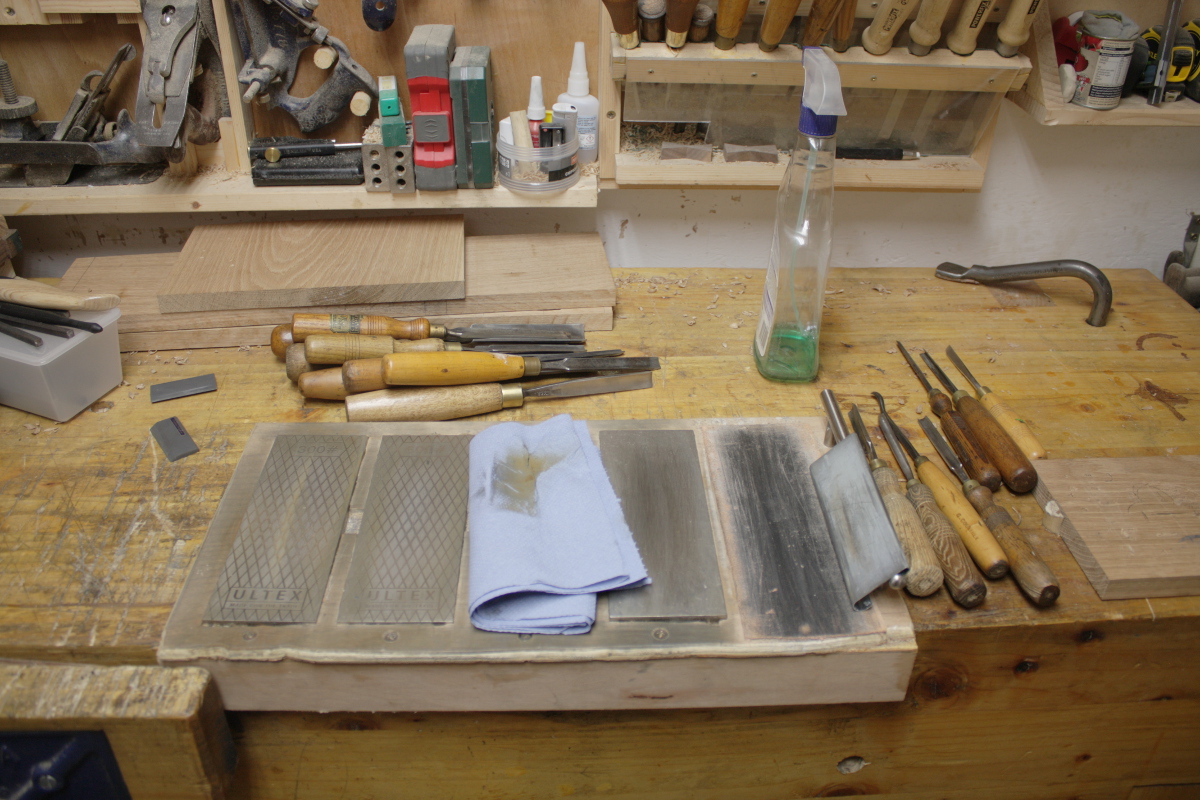
After noticing all the chipping out I was getting, and some awkwardness with the v-tool work, I took the entire carving toolroll out and took the grinder off the wall.
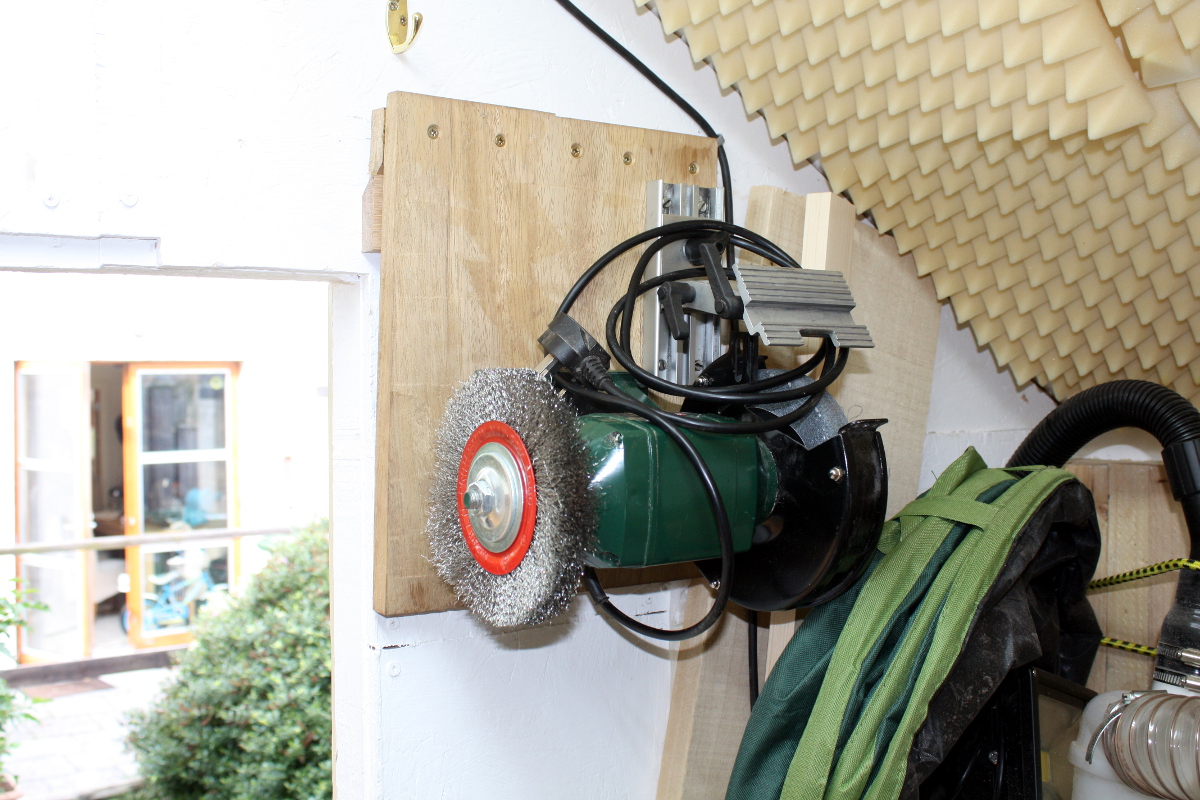
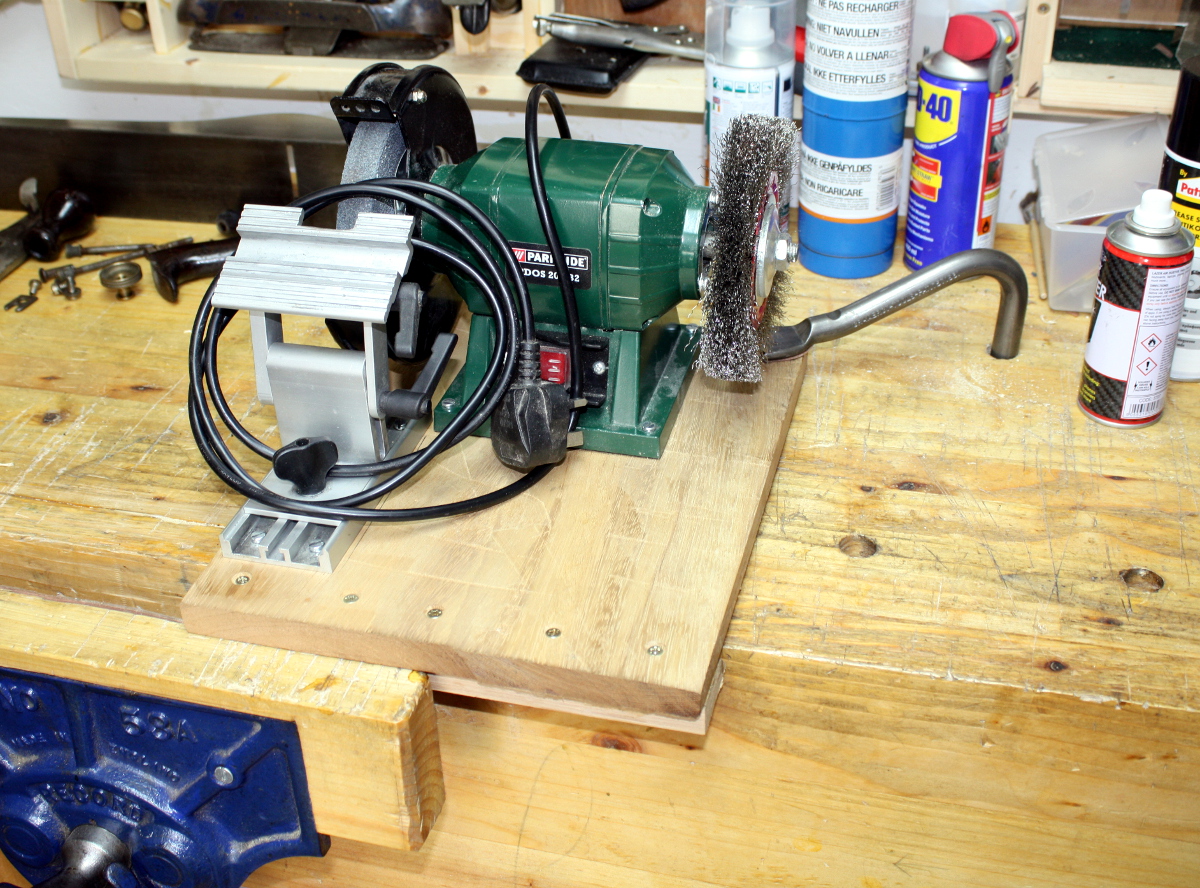
Then I pushed my luck by squaring the ends of the gouges and v-tools on the side of the stone. Don’t do this, it’s not a great idea for anything stressful and figuring out what qualifies as stressful isn’t clear. In my case I took off less than a half-mm or so of length at most and the thickness was minimal because it was at the edge.
After that, reground the bevel on everything to a more acute angle (around about 25 degrees or so) and even more acute on one of the v-tools for an experiment.
And then out with the diamond plates and lots and lots of rubbing stuff back and forth at a consistent angle while rotating the tool to grind the faces evenly – I’m understanding why things like Tormeks and Sorby’s belt grinder yoke are so popular with woodturners, this would be hellish if you had to be doing it every hour or two. Mind you, you can endure a fair bit of hell before shelling out €400 or so…
After all that, back to carving.
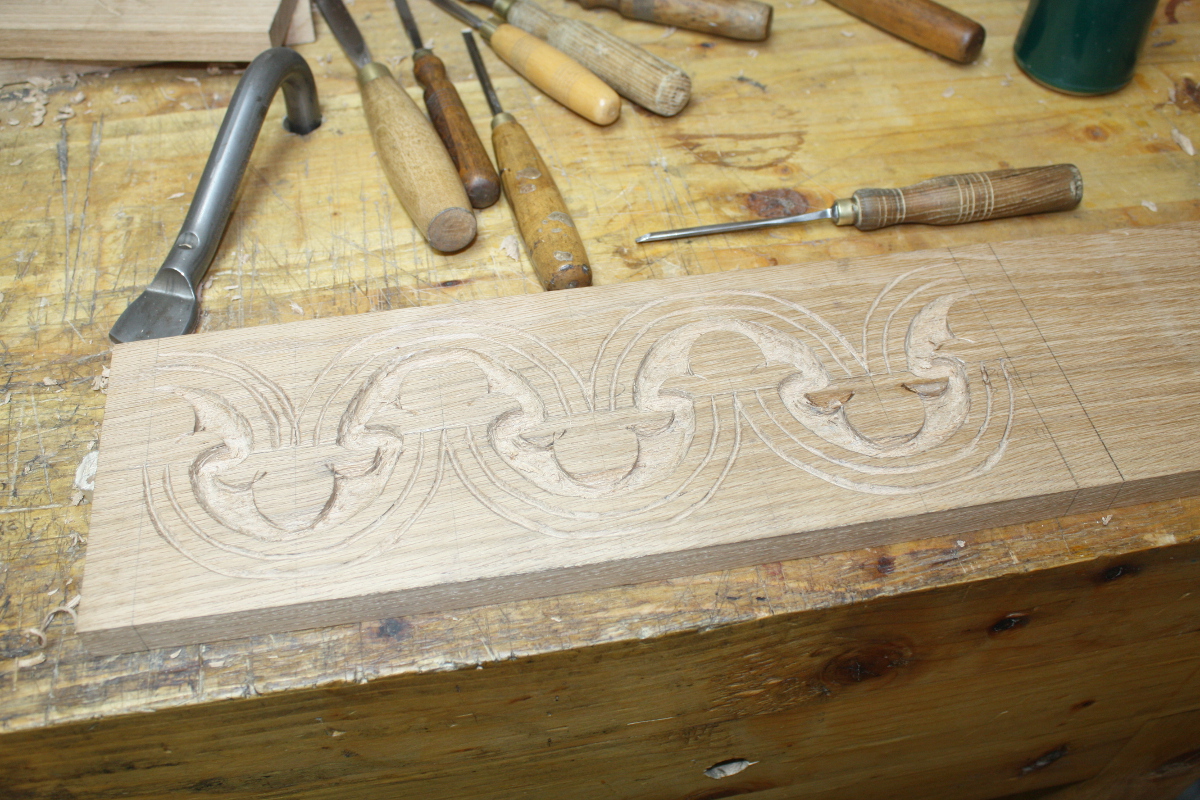
Mostly it was cleaning up the outline a bit (rechopping with sharp gouges did help) and taking down the background a bit further helped as well. Then stippling, but the main punch I use for that was in need of a touch-up as well. In case you’re wondering how that’s done, it’s not exactly complicated:
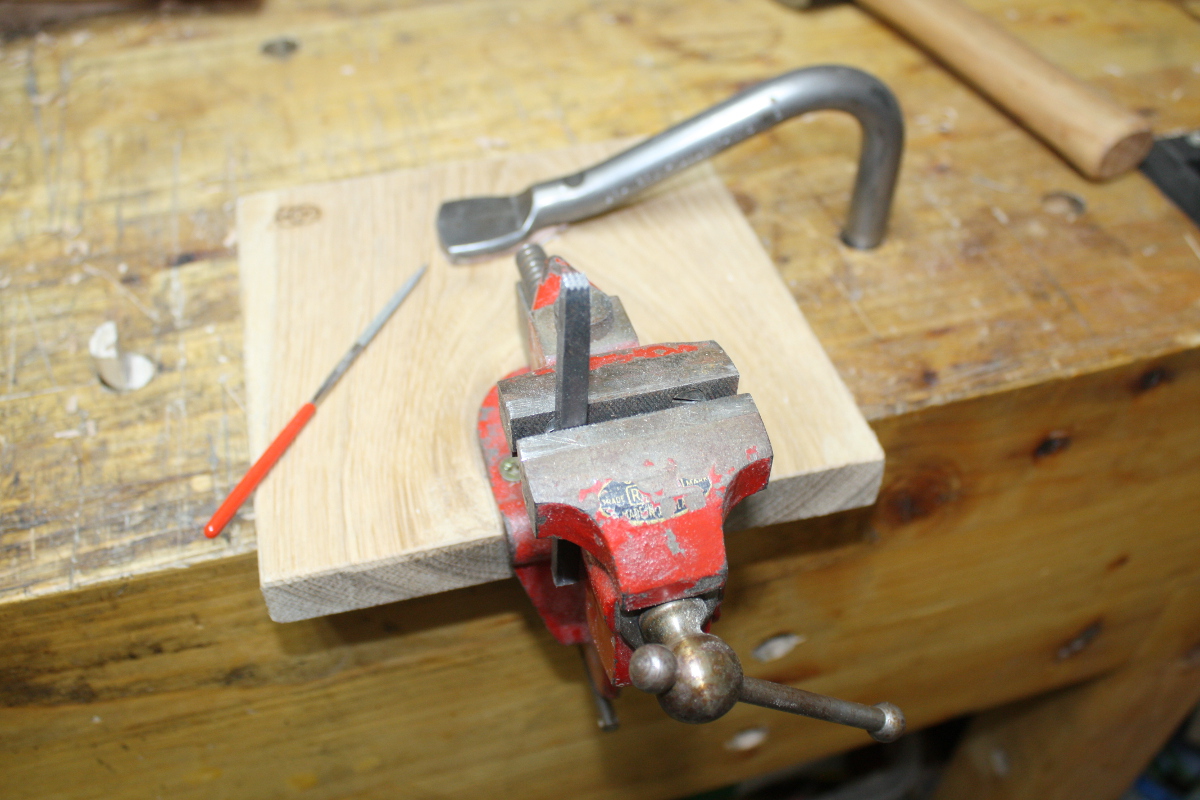
I do like that imp vice. Handy little thing. The diamond file is Lidl’s cheapest but it did the job well enough, and you have enough diamond coating left on it afterwards to do at least one more touch-up…
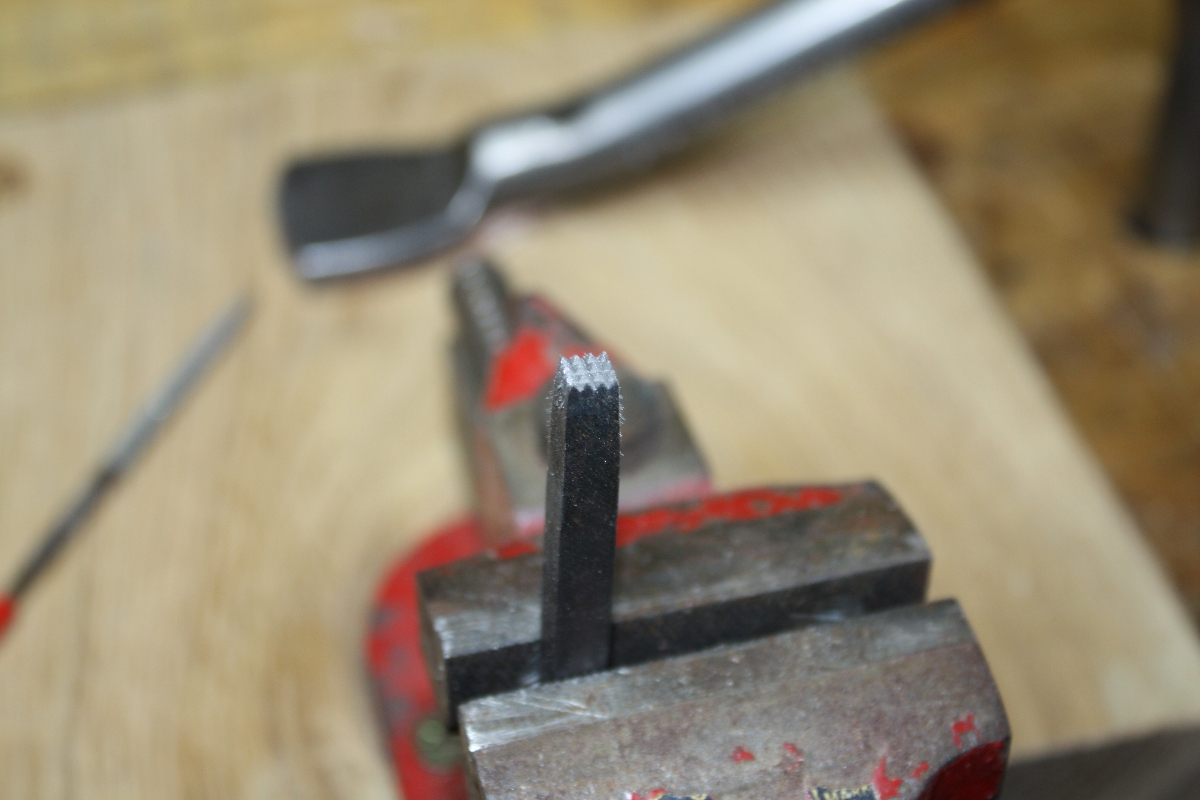
Still, did the job and I know I have a better set of needle files somewhere, I just couldn’t find them (having two projects in flight at once in a shed of this size is a mistake).
Then stippled the background and added a few small details like another v-tool cut and some stop-cut chips and so on, then daubed on some linseed oil to see what it looked like.
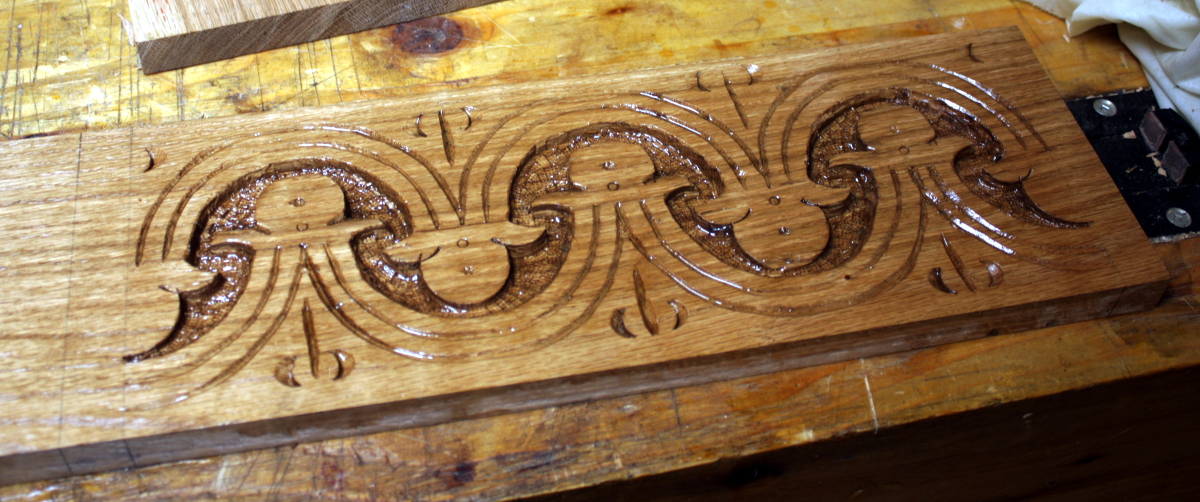
It’s okay… I’m not convinced yet. I do have another idea in the back of my mind that I did some testing with today but it’ll be a few days before I know what that turns out like. More on that later. Unless it’s embarrassingly terrible…


V-tools have a lot going on at the root of the V. If you grind a bevel on each side, as if 2 normal chisels were welded together, there is a lot of steel directly behind the V that makes the tool unmanageable.
Here are some examples if you haven’t seen them:
https://www.finewoodworking.com/2009/10/29/sharpening-the-v-tool
https://www.marymaycarving.com/blog/2011/10/04/sharpening-a-v-chisel-or-parting-tool/
A square end to the tool is a good default but there are cases for wings leading and trailing for specific jobs. That is where having more than one of a particular sweep is handy.
Yes, I’d seen Mary May’s guide and that’s what I was following for mine, though Peter Follansbee has commented that if you let the root get too rounded, it doesn’t work quite so well for this sort of carving:
https://pfollansbee.wordpress.com/2010/06/21/carving-gouges/
I tend to grind the bevels on the sides first, then spend time rolling the root around like it was a very very tiny gouge; and then the same approach on the stones.
I did need to get a new slipstone though, the ones I have are quite short (like 2 inches or so) and that’s very useful for some of the work, but they’re also quite fine (like an Arkansaw stone) so I’ve a medium grit one that’s a bit longer on the way from fleabay (just a king waterstone multiform thingy at 1000grit, nothing fancy). The diamond plate slipstone I have sounded great but the diamond coating was cheaply put on and the gouges have been carving small slivers of it off until there’s less diamond than there is plate.
That is a good page to reference. Since you are working in the same style it’s an obvious blog to follow.
You can make slips by putting silicon carbide wet sand paper on a shaped piece of wood. I also take pieces of pine cut with specific tools and apply abrasive compound to touch up the insides of the profiles. You can get a perfect match for V tools that way.