The title is annoyingly descriptive of the process, but on we go. Unwrapped the boards, and discovered silicone will stick to CA glue and oak…
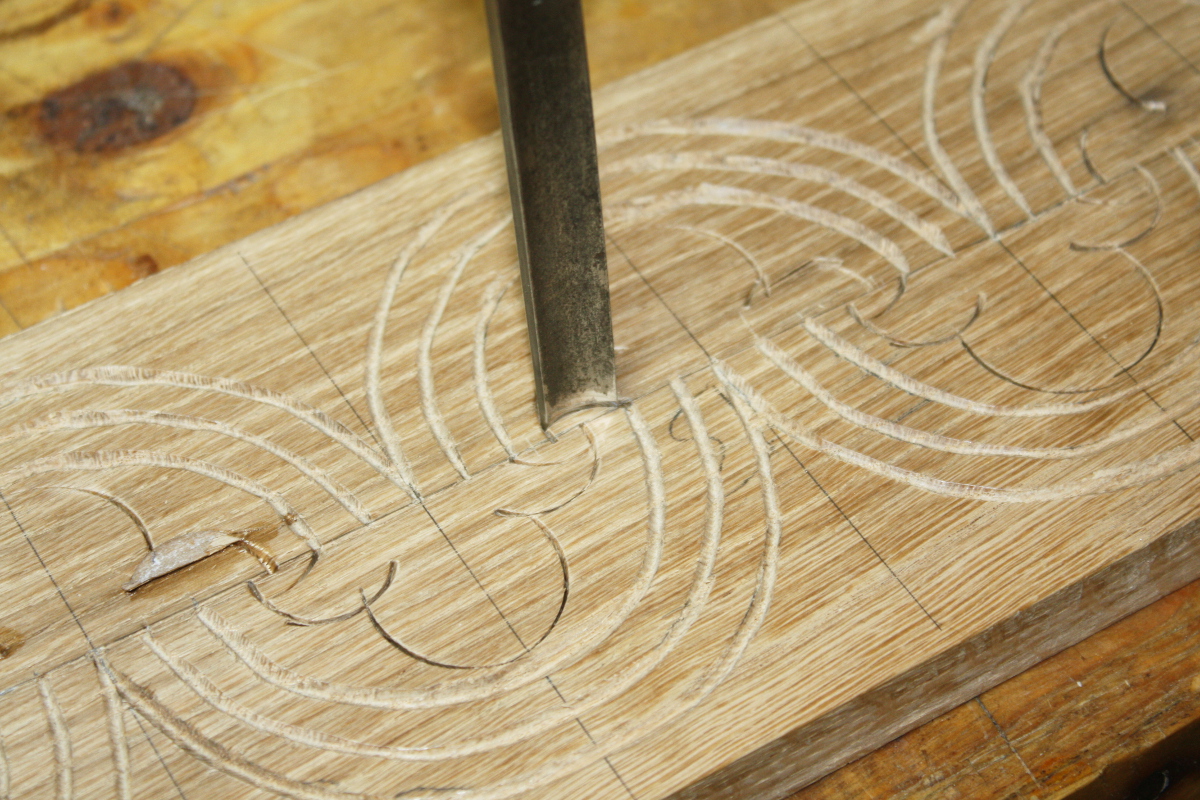
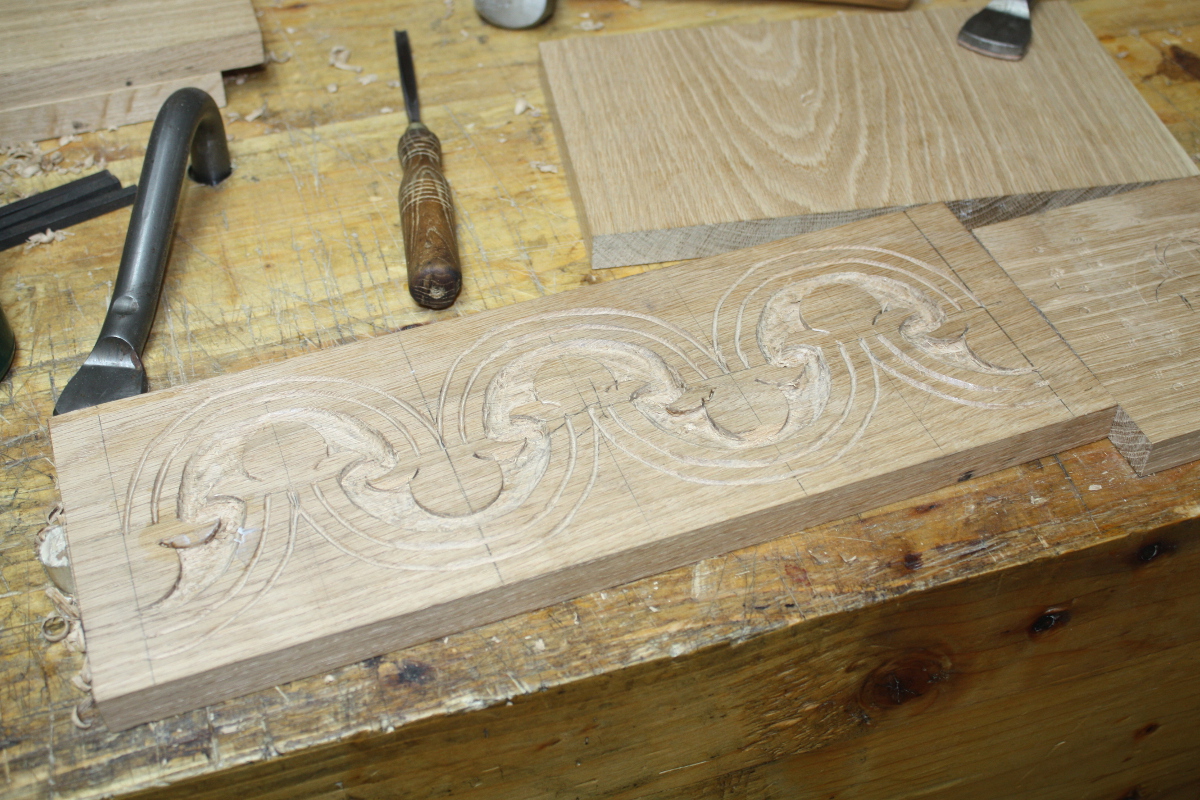
Chopped the last line of the outline with a third gouge (this one was in-
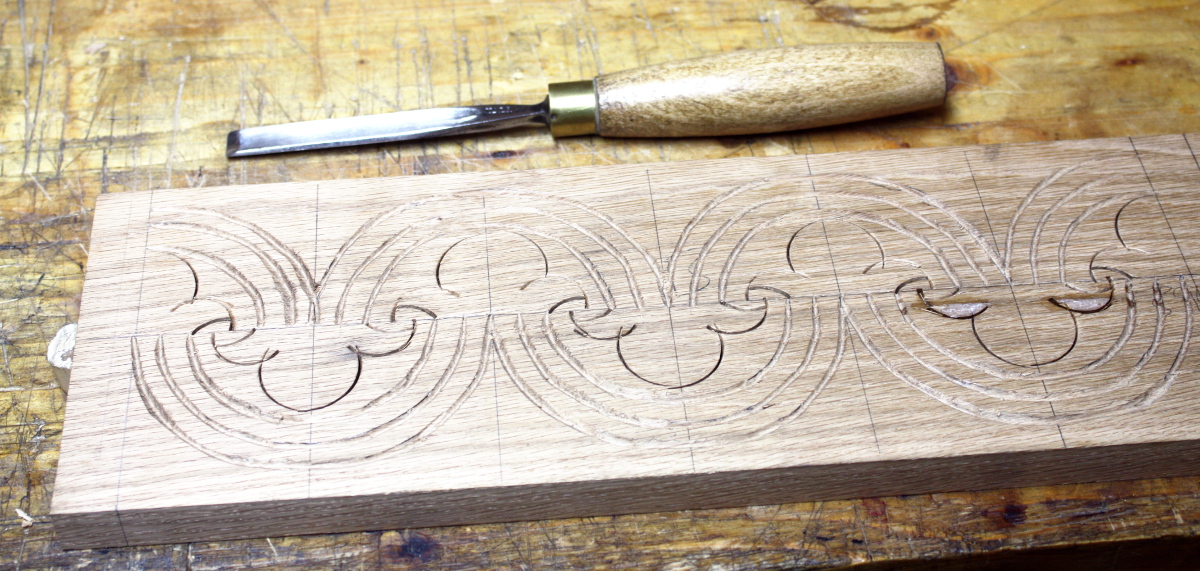
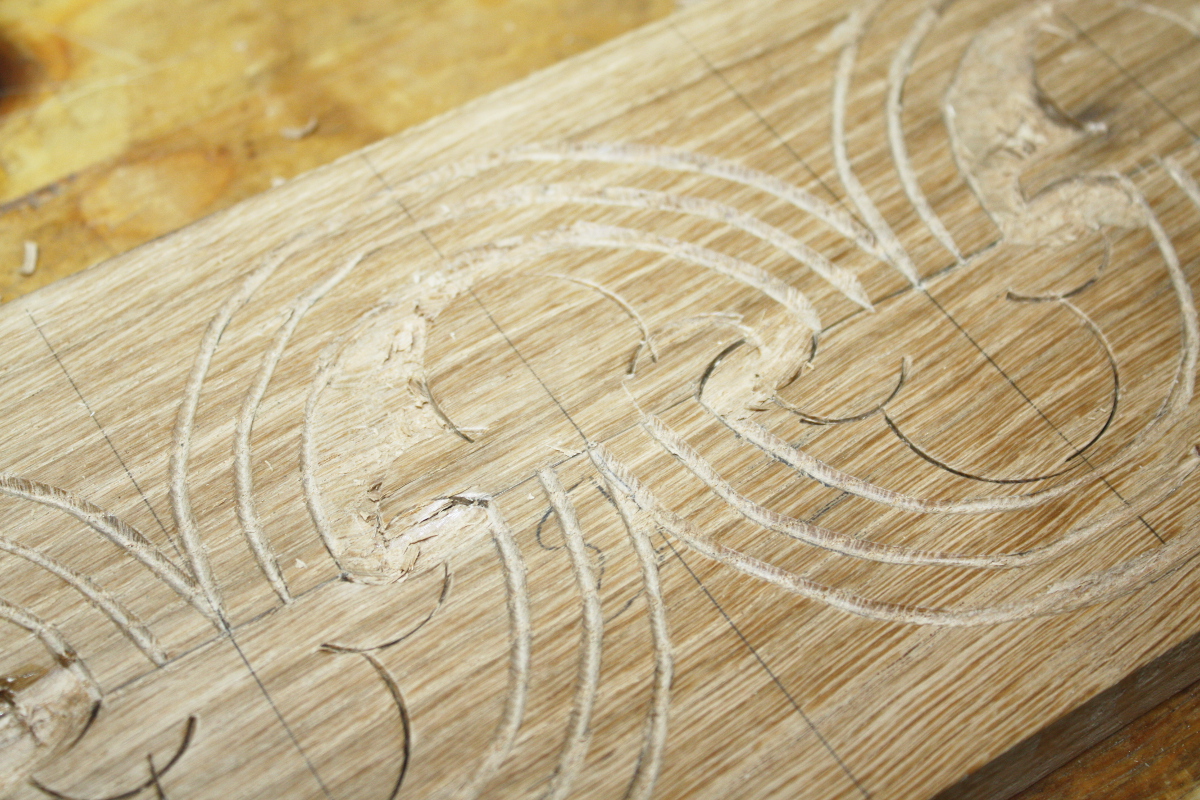
It looks a bit confused because you have a few lines crossing but those areas are going away so that’s okay. Now out with a shallow gouge to remove the backdrop and I know it’s what Follansbee’s tutorials say is the right tool but it was next to useless for this design for me. I don’t know if it was because the design is small compared to his norm and it’d be better on a larger pattern, but I stopped using it almost immediately and resorted to two smaller gouges with tighter sweeps. I think I need to start stalking ebay for gouges and V-tools again, this shouldn’t be this hard.
Chip,
One of these days, when I have a bigger shed and a way to handle forty pounds of wood shavings, I’ll find a source for oak logs and then we’ll see how badly I can muck this up…
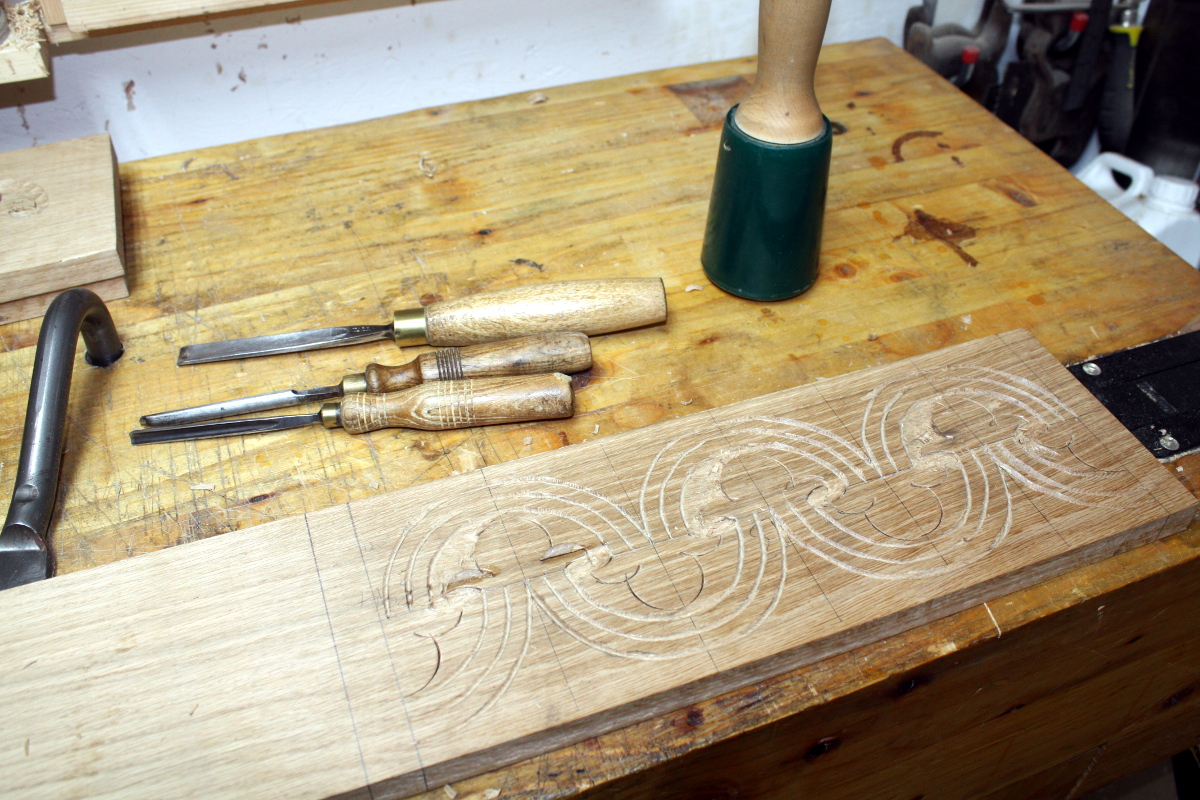
I thought taking down the background would be the simple part of this, and that the V-tool and outline would be far harder. Not that I got either of those right, but they were a lot less work. Three hours, I got the front and back boards done, but not the sides. I figured I’d do those on Sunday and I dug out the punches for stippling the background because that should be simple enough…
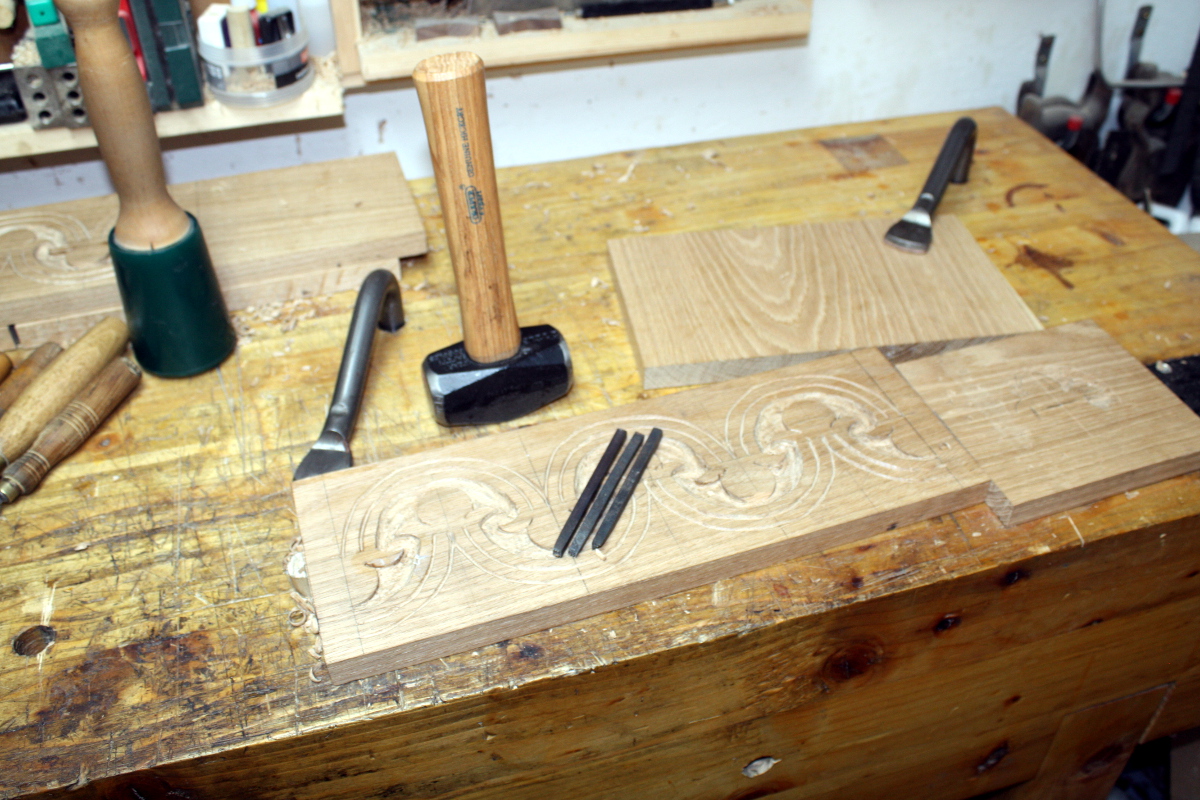
And actually, this part wasn’t too bad. Before I do the stippling for the other sides I want to refile the teeth on the end of the punches though, they’re getting a little dull (not from this, they’re just old).
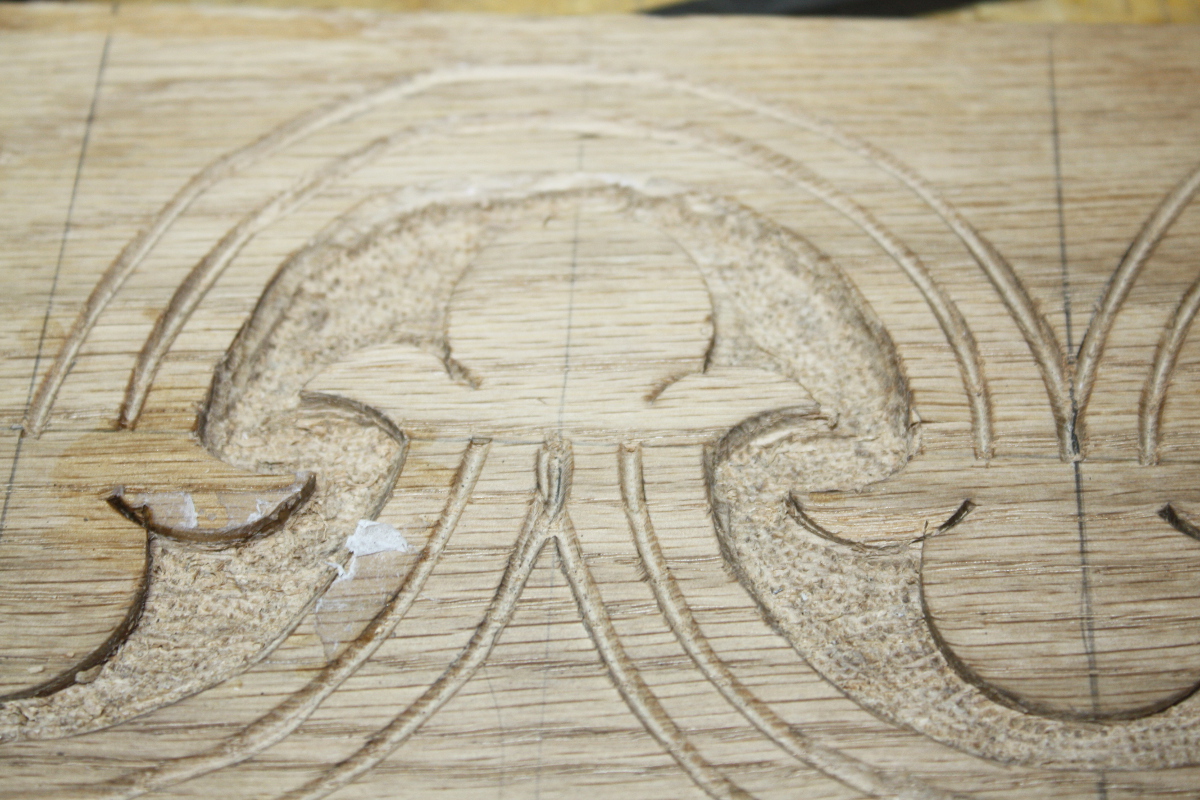
It does make a difference. The chipping and the
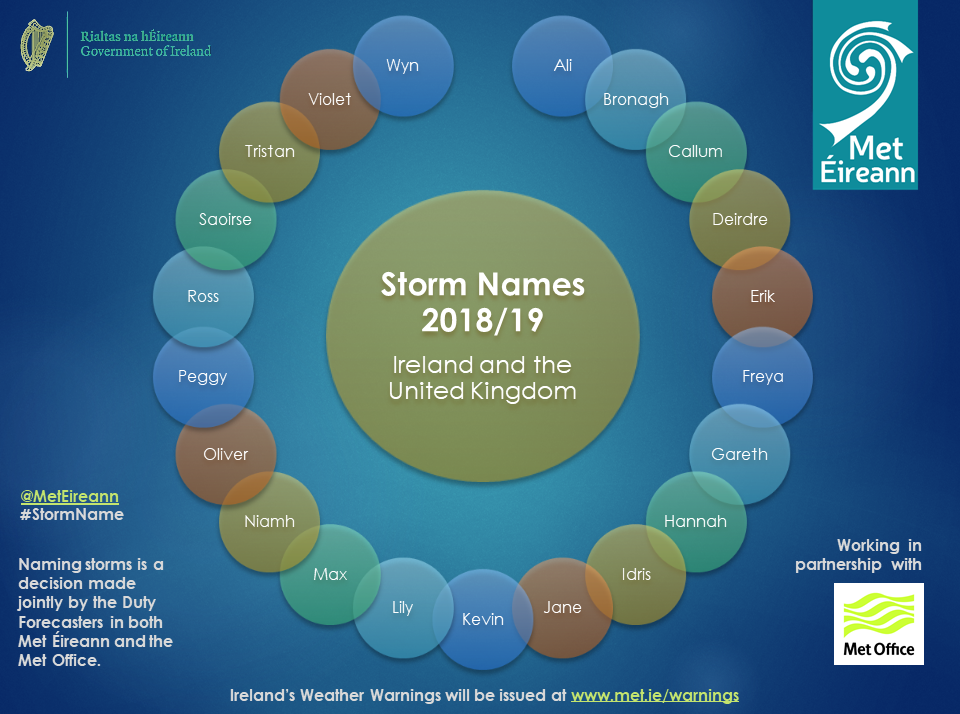
The idea was to finish all this up on Sunday, after doing the weekly shopping run, but Freya had other ideas…
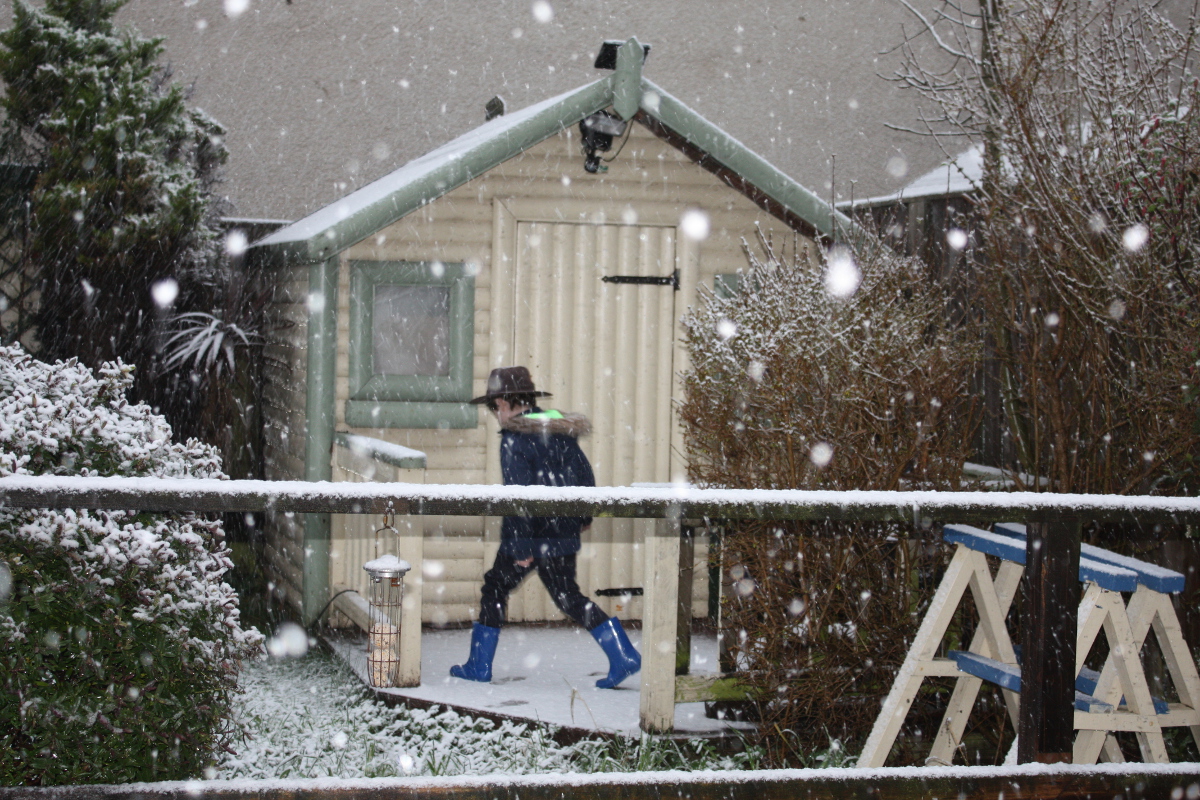

Yeah, nope. I’ll get to it later…


The last time I had the bug to add carving tools I went on ebay and found that it was hard or impossible to get useful profiles at a good price. There are a couple of slightly discounted sellers of Pfiel Swiss Made out there but Woodcraft is the importer. I also picked up some Two Cherries from LV and found them just as nice as the Pfiel. I was taking a class and needed specific tools on class day.
It’s damn hard to find any if you’re looking for a specific sweep and size I’ve found; you kindof have to be very wide with your net and take whatever’s coming and adapt the design to the tools.
Mind you, sometimes that task exceeds my ability by an order or two of magnitude 😀
Try out Mountain Woodcarvers – https://mountainwoodcarvers.com/
They are having a closeout sale on their gouges. The gouges are beefy (as in not wimpy), are made of good steel, and priced to sell.
When I took a class with Peter Follansbee there was a list of tools for the panel being taught that was pretty basic. As you are doing carvings in that style, it may be more expedient and economical to buy what you need new rather than buy a large assortment of what you don’t need for those carvings. Having a lot of carving tools will be useful if you branch out later but the simple designs can be done with very few tools.
The Connecticut Valley School of Woodworking class descriptions have the lists.
https://www.schoolofwoodworking.com/images/stories/Tool_list_Peter_Follansbee_Begin__17th_century_carving_2013.pdf
I know that buying fewer tools is a tough sell…;)
I forgot to mention, kiln dried and air dried are very different. Green, split oak is like carving soap.
And I complain about the cold.
It is interesting to see the work in progress and I like to see carved work. I’m not sure I would be able to finish one before turning it into firewood.
ken
I saw that list as well Steve (and I got all of his videos and read his blog whenever he posts and he’s talked there about tools a lot); but I already have enough gouges to muddle through – which isn’t to say I’m not going to buy more, whomever has the most tools when he dies wins, but I think I need to spend some time with the ones I have going right back to the grinder, resquaring and reshaping bevels and then taking them to the diamond plates. I do think I need another V-tool though, I have my eye on one or two…
Yeah, I figured as much. But finding a source for suitable green oak here is tricky and even harder is having a way to dispose of the waste; can’t burn it and disposing of garden waste isn’t free here 🙁
Oddly, even if you just make firewood doing it, it’s a lot of fun anyway Kenneth, you should give it a go! 😀
Those are some nice tools at good prices, but the shipping is a killer from the US to Ireland. I usually get mine from ebay.co.uk because Sheffield is less than a hundred miles away, so why not? 😀
Most of the carving tool manufacturers are in EU or UK so you shouldn’t have to import from the US.
Pfiel, Stubai, Two Cherries, Dastra are on the continent. There may be some French companies too.
Ashley Iles and Henry Taylor are in England. I think the sweeps are slightly different numbering than the continent.
Then there are the tools available from people’s estates. Many options!
Most of mine are older used models from the 1950s back to the late 1800s, all with some older names – Taylor, Sorby, Ward, Marples, Addis and the like. ebay.co.uk is a bloody useful tool resource if you’re within reasonably posting range of sheffield 🙂