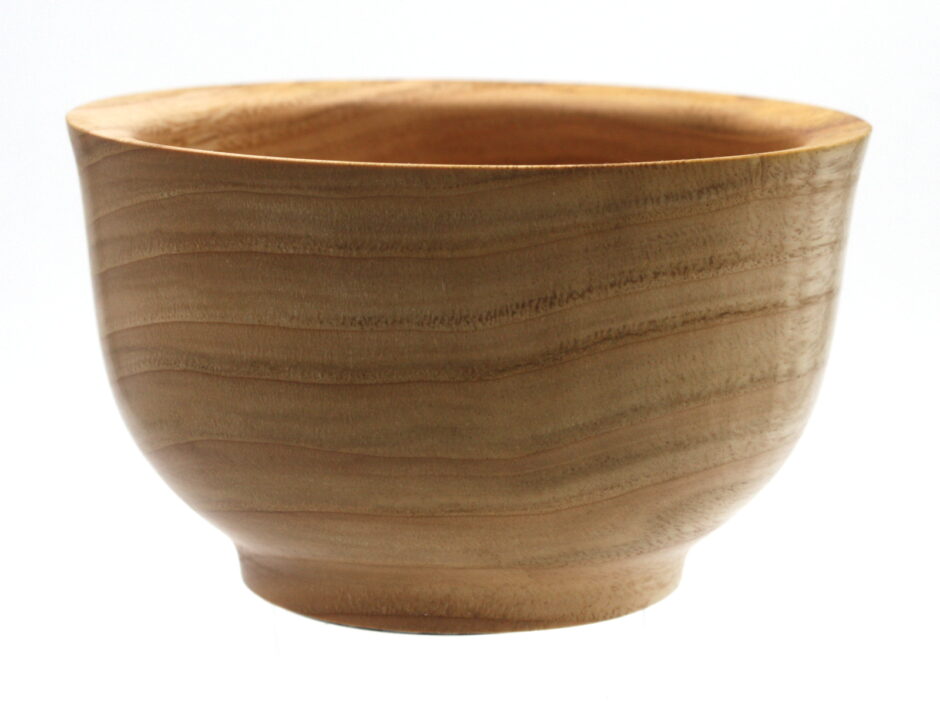
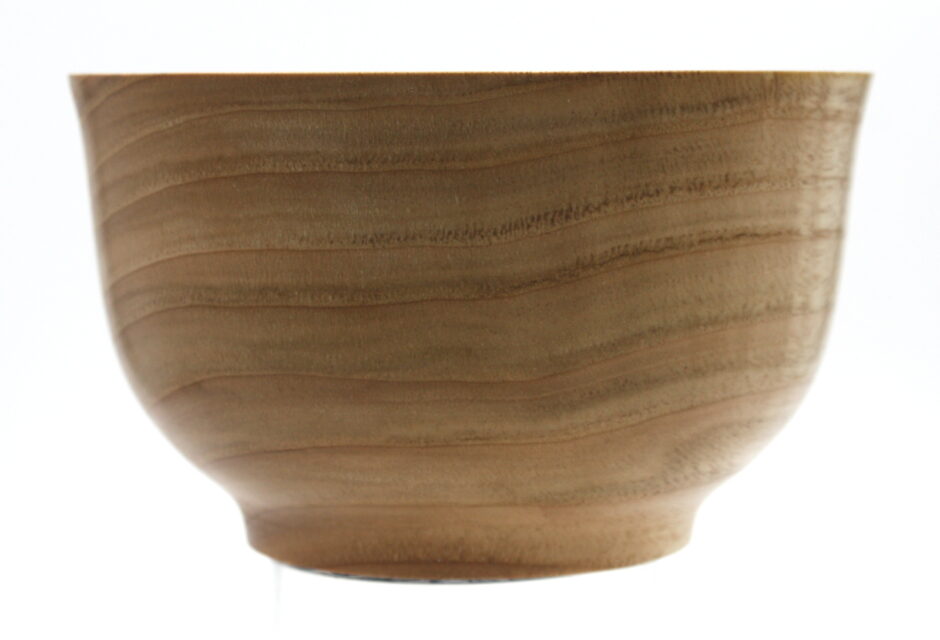
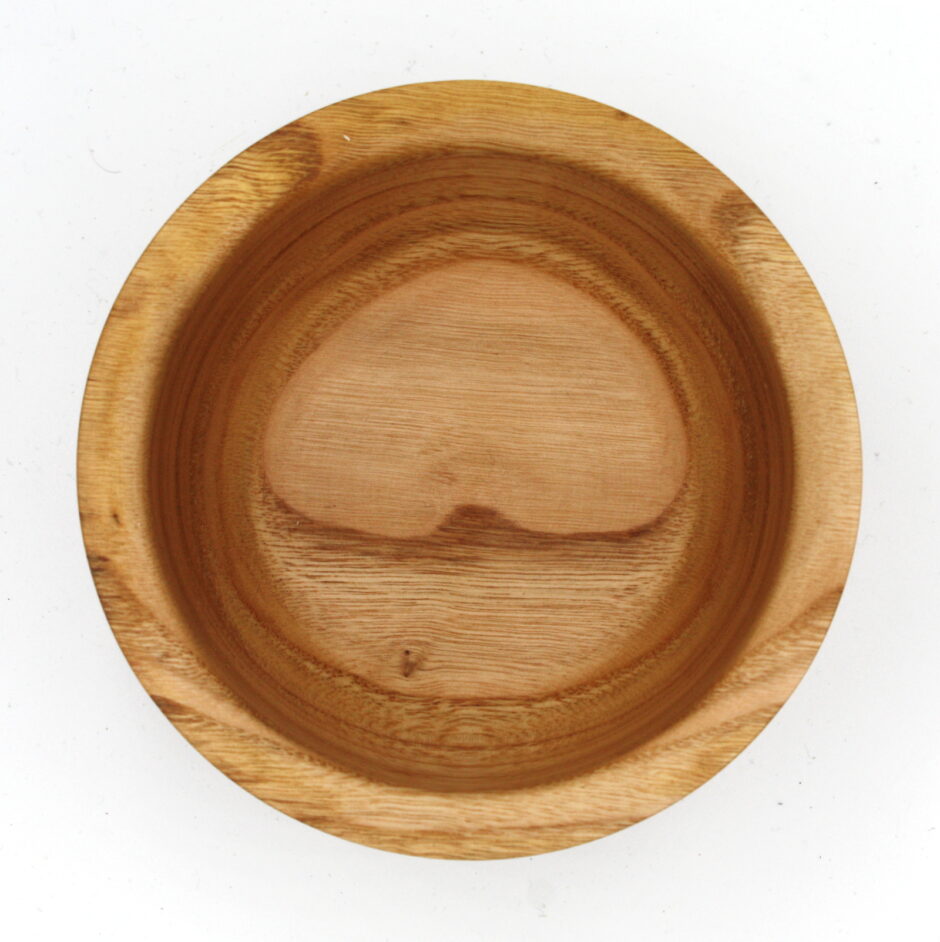
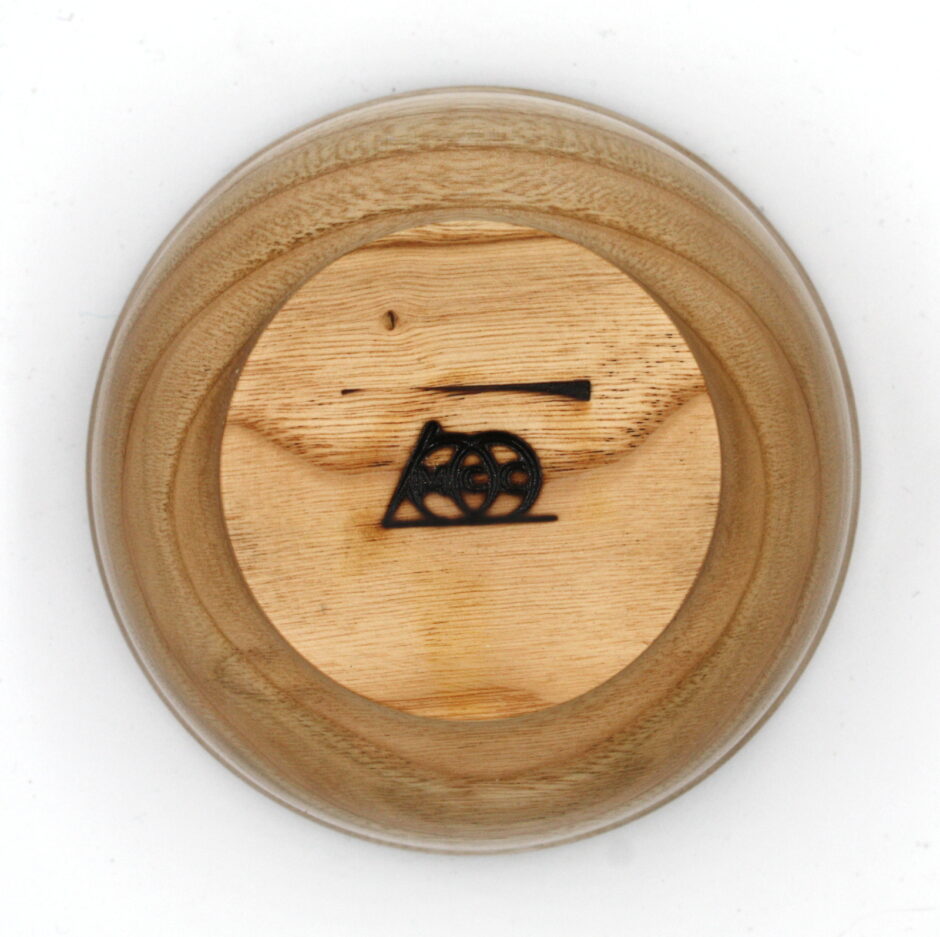
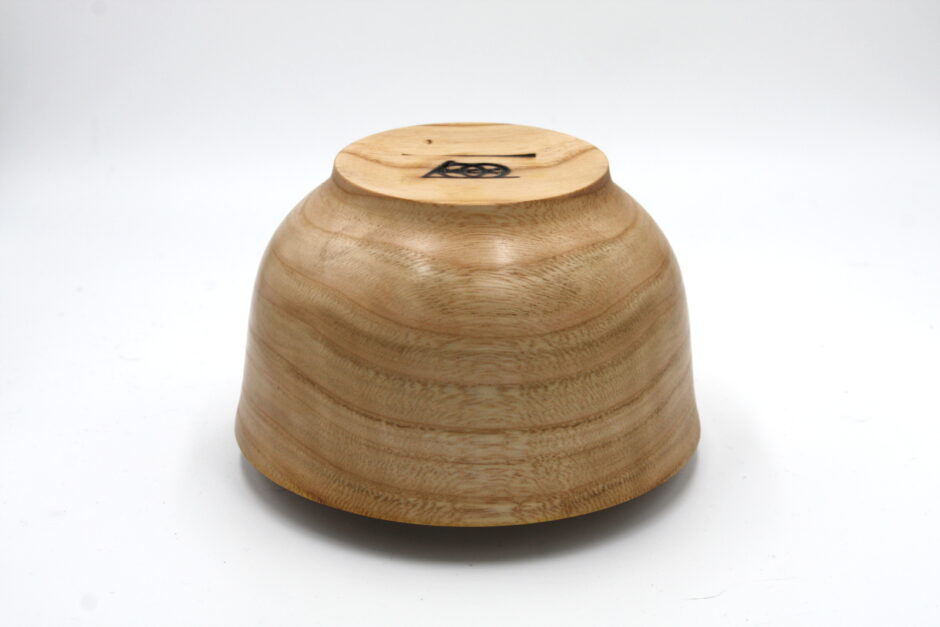
Was just in the mood to turn something small and simple. A little chestnut bowl that fits well into the hand. I like the shape, I must remember to keep things simple more often 🙂 Sanded to 320 (with poppyseed oil for the 320), then a coat or two of poppyseed oil all over, and on the outside yorkshire grit ordinary and microfine and then a coat of hampshire sheen wax. It’s just the right size to put snacks in for watching woodturning youtube 🙂
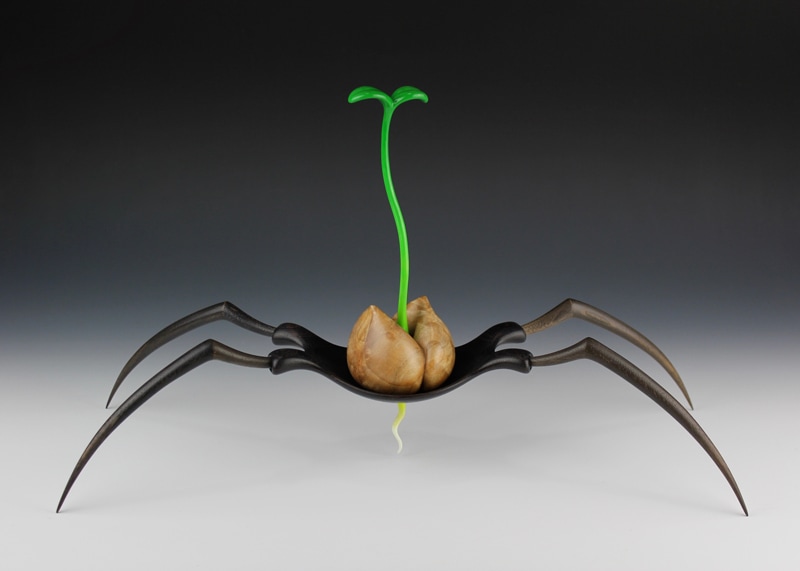
I like a lot of Rebecca DeGroot‘s stuff, it’s very nicely weird and creepy.
So when she did a how-to video for making an easter rabbit, I thought I’d have a go.
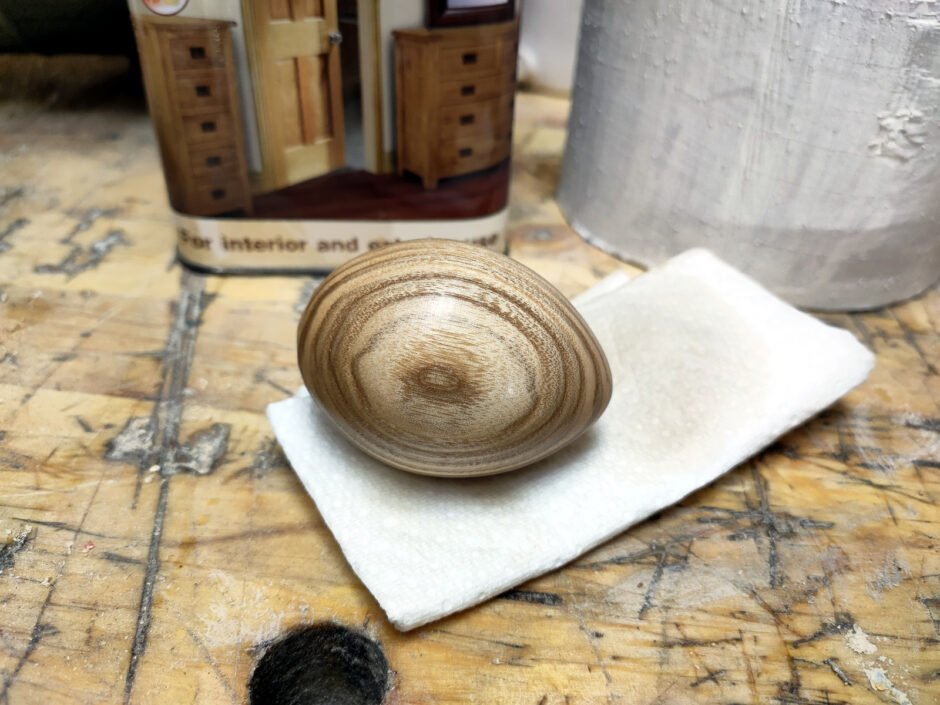
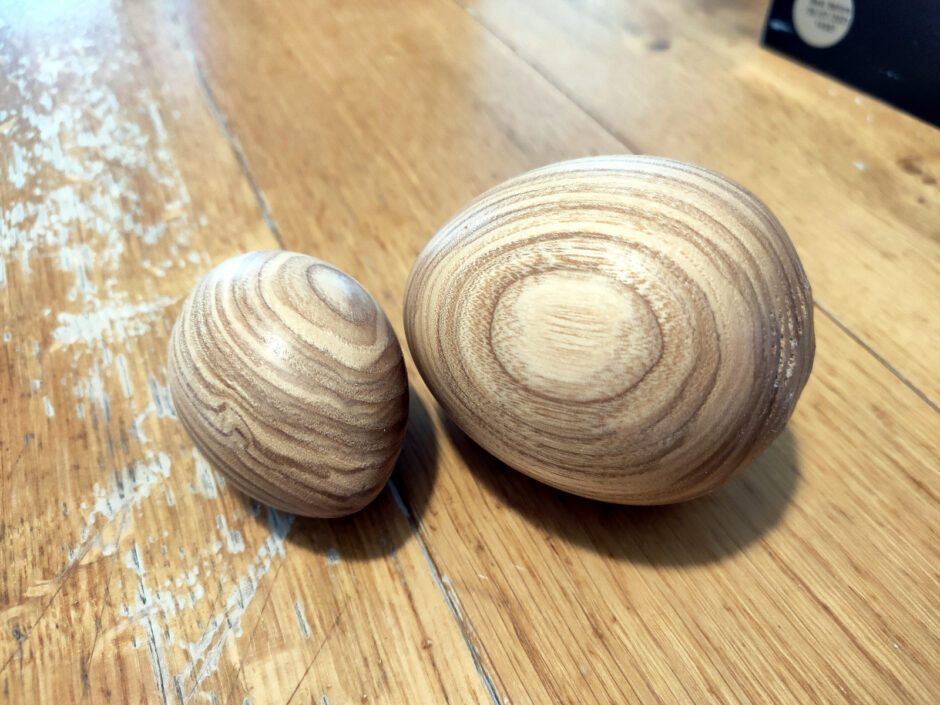
So, first up, turn the body and head from some sycamore spindles I had after the snowman production line at solstice. The head and body are basically just eggs…
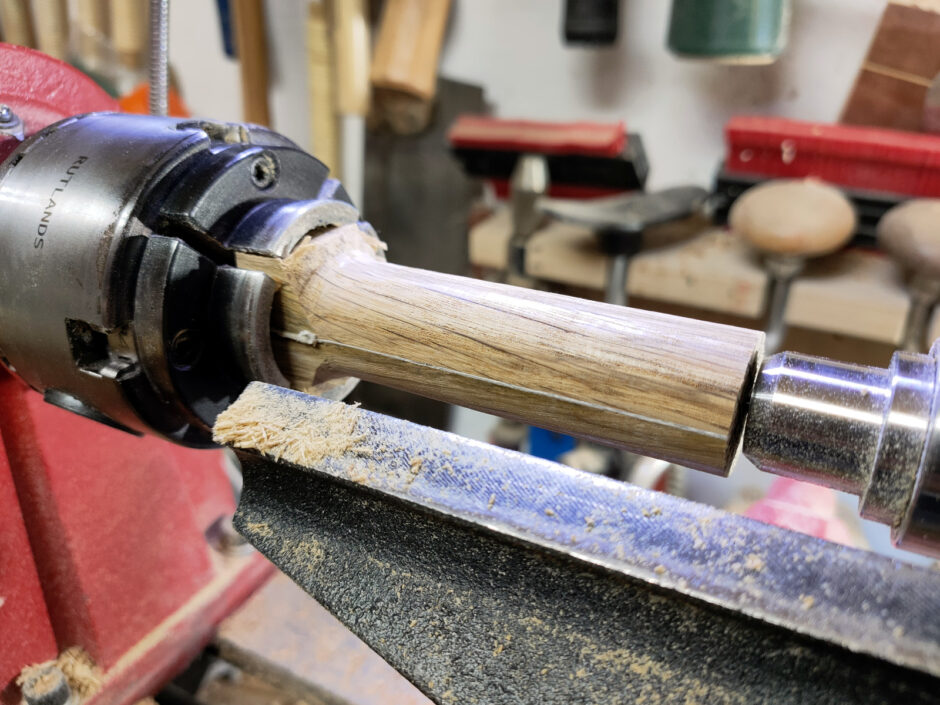
The ears are made as a long pointy egg as well, but from a blank which is a glue-up with a piece of paper between the two halves.
Similar to how you’d do an inside-out turning blank, but just two pieces here instead of four or more. Once the shape is turned, you just split the shape along the paper line and sand off the remaining paper (newspaper will do, but any heavy paper works well). These were just some oak offcuts I had to hand.
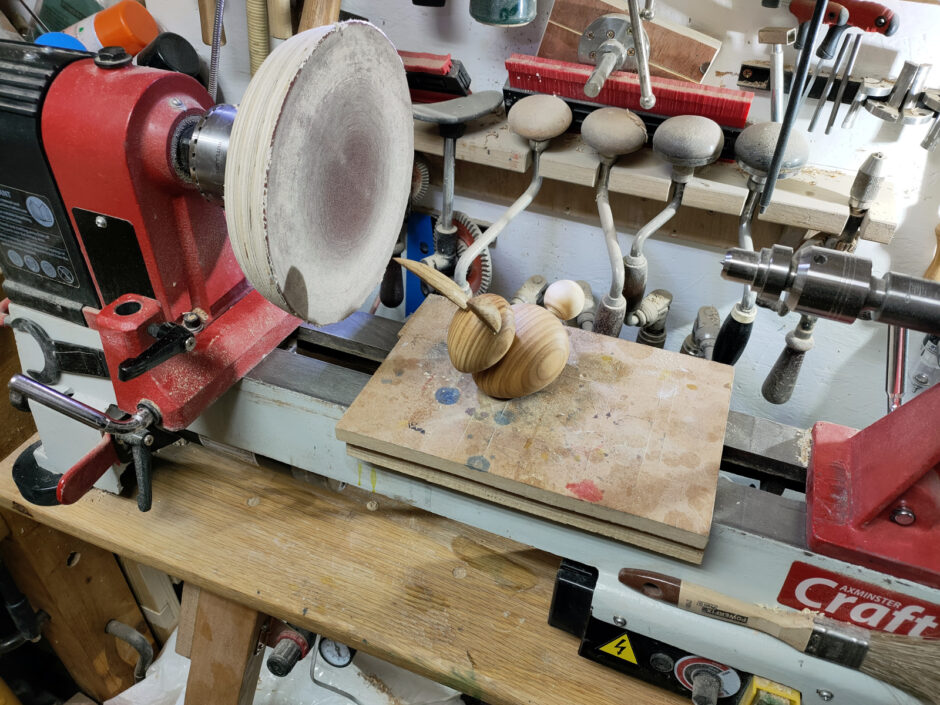
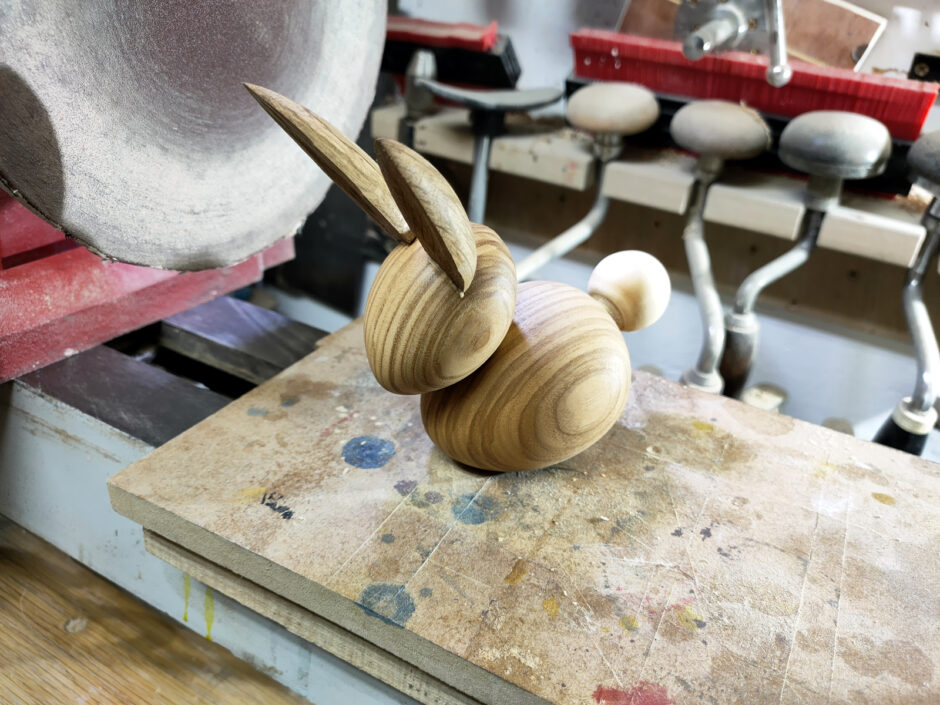
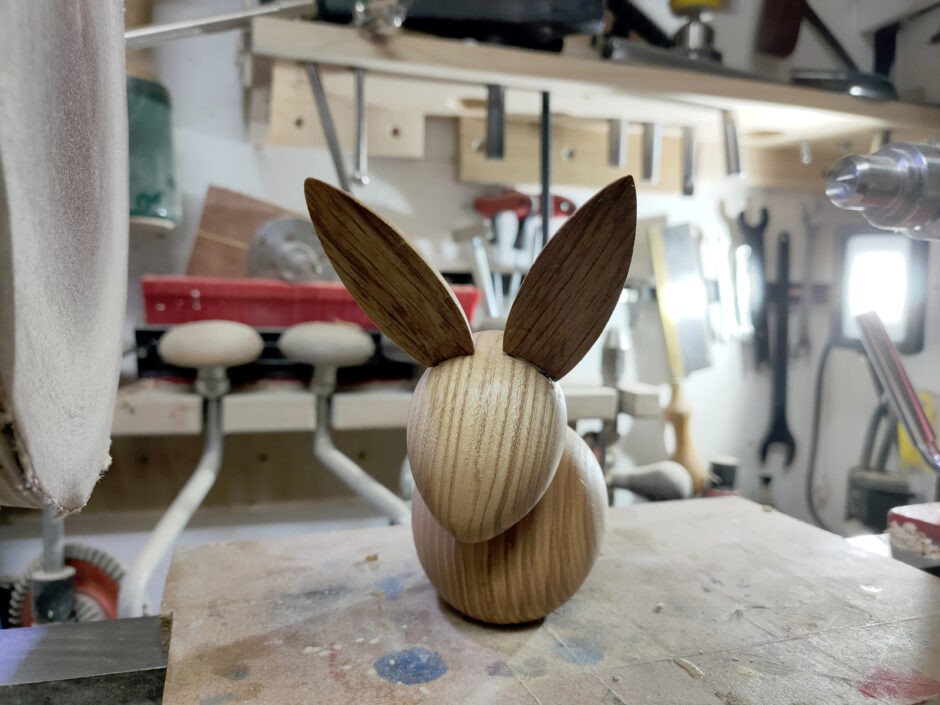
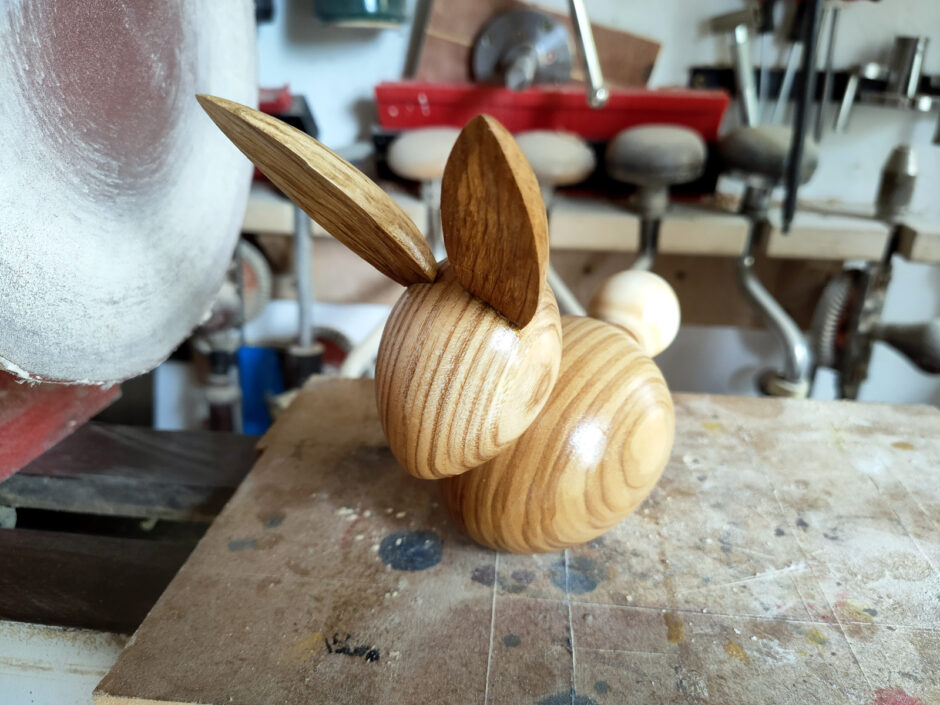
So with the head, body, ears and tail turned (the tail is just a chunk of old xmas tree trunk turned to a sphere with a tenon), you sand flats on the bottom of the body, on the bottom of the head and the top of the body, and you dremel the base of the ears to fit to the head (and I dremelled a small hollow into the ears as well because why not). Then drill between head and body for two dowels, and between head and ears for bamboo skewers (because I don’t have dowels that narrow). Glue everything up and…
That sanding wheel and platform are proving very useful for this sort of composite piece.
For a finish I just went with a coat of acrylic rattlecan lacquer.
Made my first pen a little while back, and while it didn’t turn out too badly, using a woodworking vice to press the pen parts together was a bit janky at best and I didn’t find using the tailstock on the lathe much better.
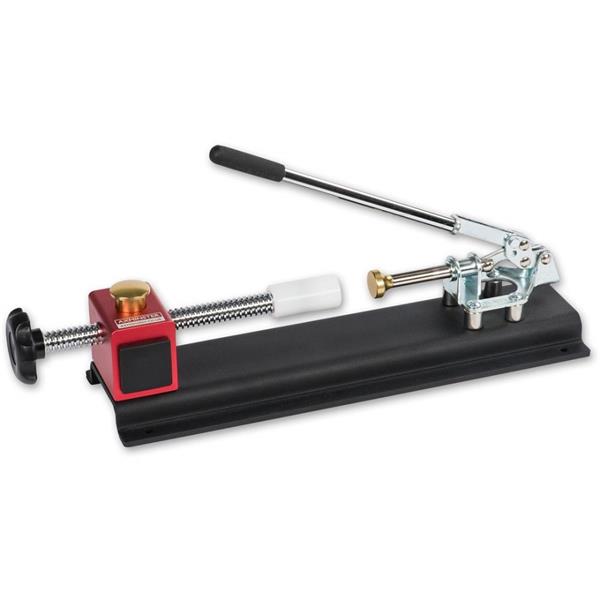
Thing is, dedicated pen presses are spendy. The basic axminster one is fairly straightforward:
But that’s €75 and that’s not a rip-off pricing either, that’s from the carpentry store and they don’t charge much more than you’d pay buying from the source and shipping it. And fancier ones get spendier – the “deluxe” one is 115 euro (and I can’t even find the basic one in stock anywhere right now). And going to China’s cheapest didn’t help – the lowest price I could find was $45 but with another $25 in shipping.
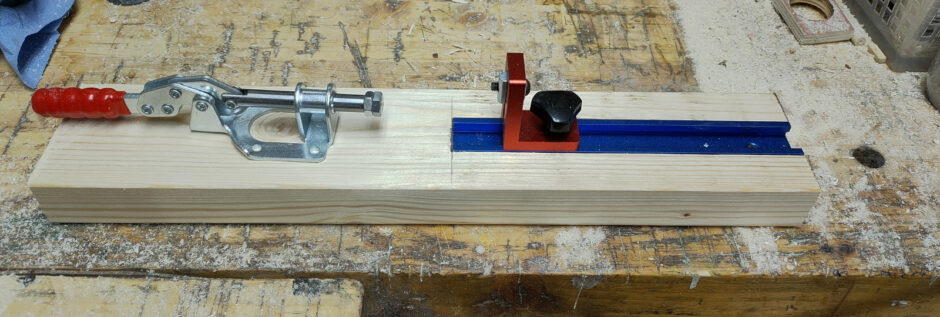
However. T-track is about $8 for 300mm on aliexpress, a t-track stop is $10 on aliexpress and a push-toggle clamp is about €14 on ebay (and I think I could have found that cheaper elsewhere).
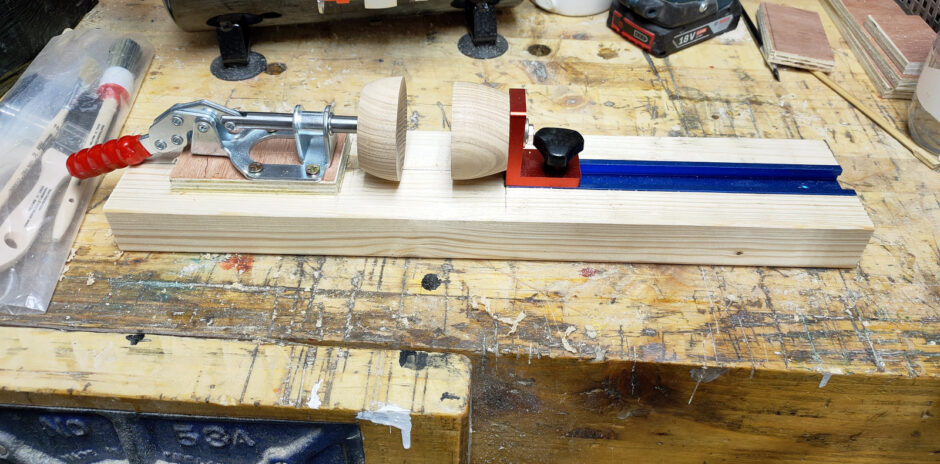
Now I need a bit of scrap CLS 4×2 to mount it on, cut the t-track in half because cos I don’t need it to be that long (and yes, woodworking bandsaw blades do make for a clean cut in aluminium), and route out (ugh, power router) a slot for the t-track to sit into
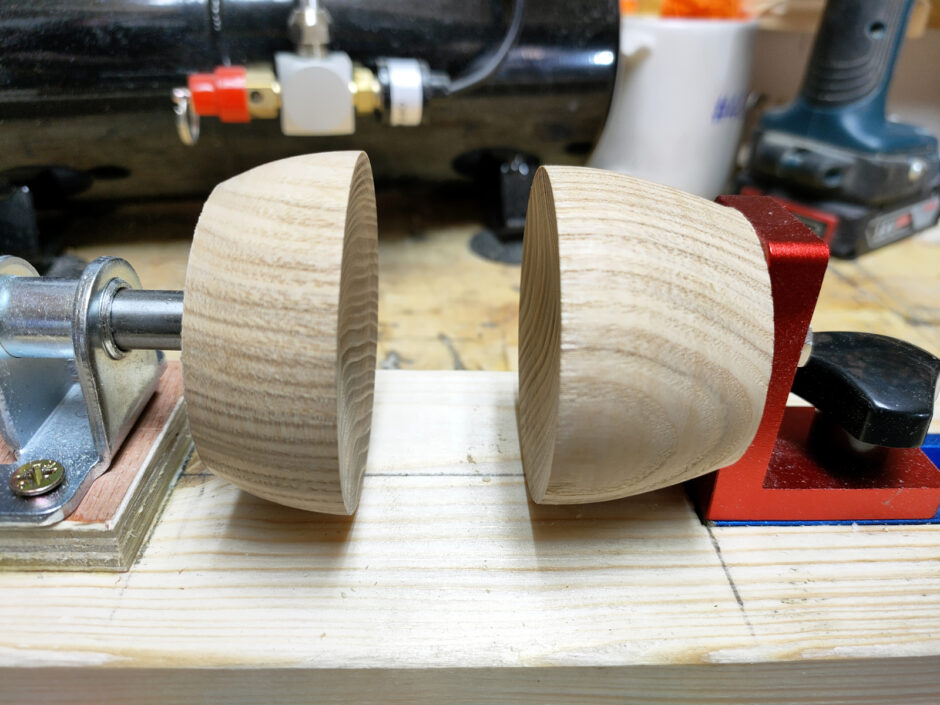
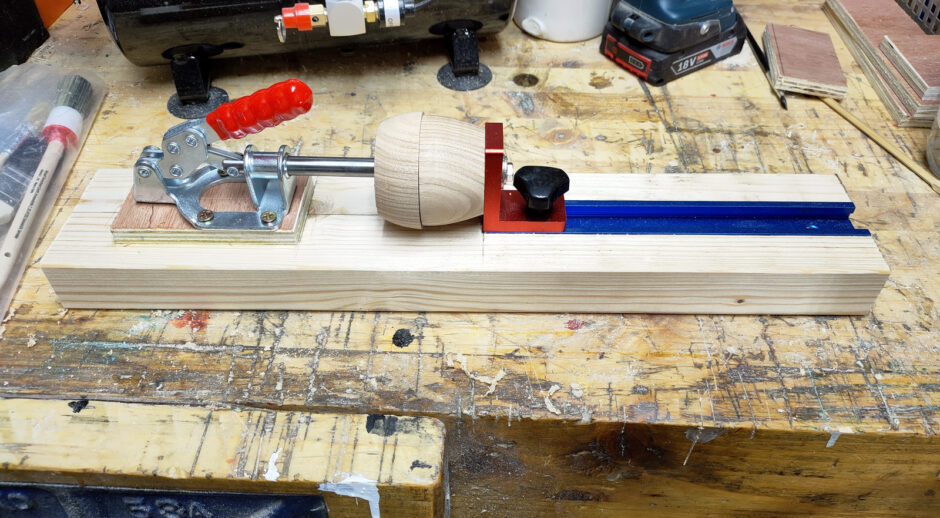
Next, need a small contact block for the t-track clamp and for the end of the toggle clamp. I’ll just turn a scrap of sycamore to a gentle cup shape for both sides. I can drill a hole for the toggle clamp’s bolt and epoxy that bolt into place on the one side, and on the t-track side I can just replace the bolt that came with with a lag bolt and attach it that way.
I did have to put a small spacer under the toggle clamp so that the heights matched up but that’s what happens when you use too large a pair of offcuts for the contact blocks 🙂
Screw an eyelet into one end and then hang it on the wall out of the way and now the next time I make a pen, I’ll have a press and it’ll have set me back about a third of what it would have cost to have bought one.
It’ll probably fail in interesting and expensive ways, mind you, but still. Fun to make 🙂
https://www.rte.ie/news/ireland/2026/0313/1563277-taoiseach-us/Could we at least piss in the shamrock bowl this year? [...]
Well, apt-get dist-upgrade screwed me over and now I have no sshd and no working grub on a colo server in germany and kvms and rescue disks are now soooo [...]