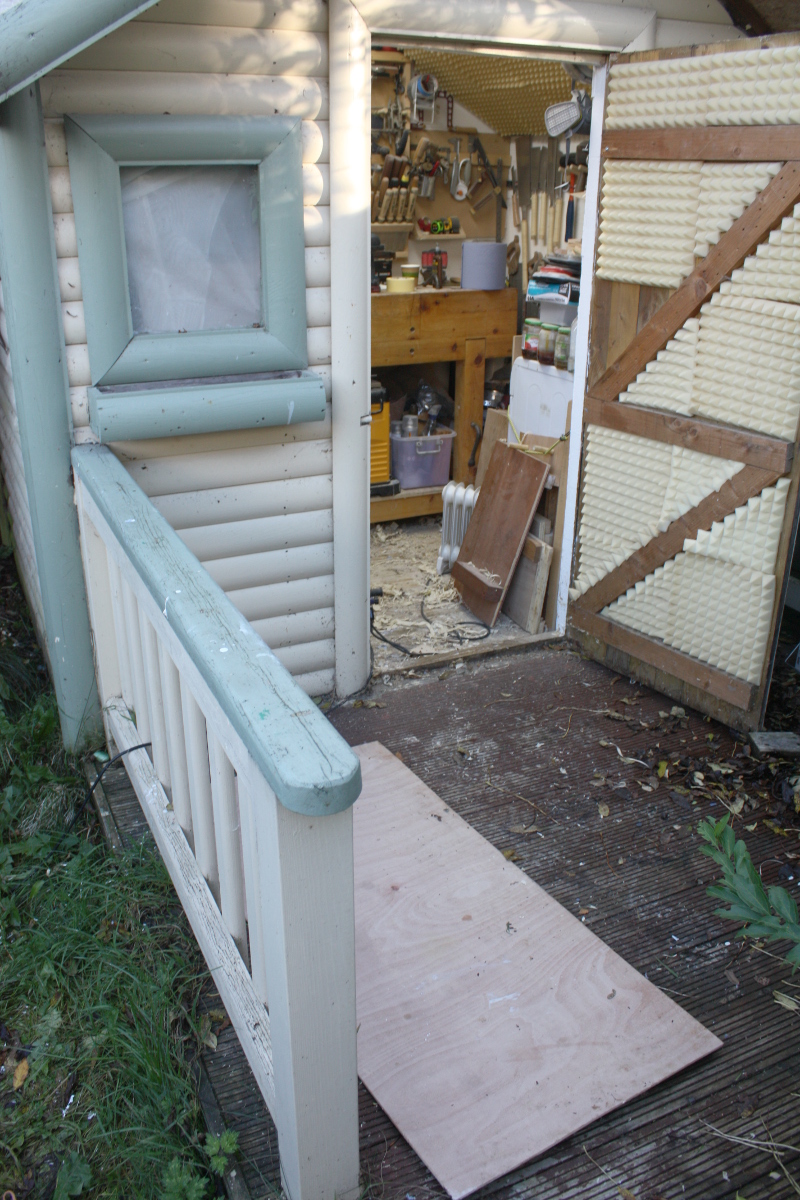
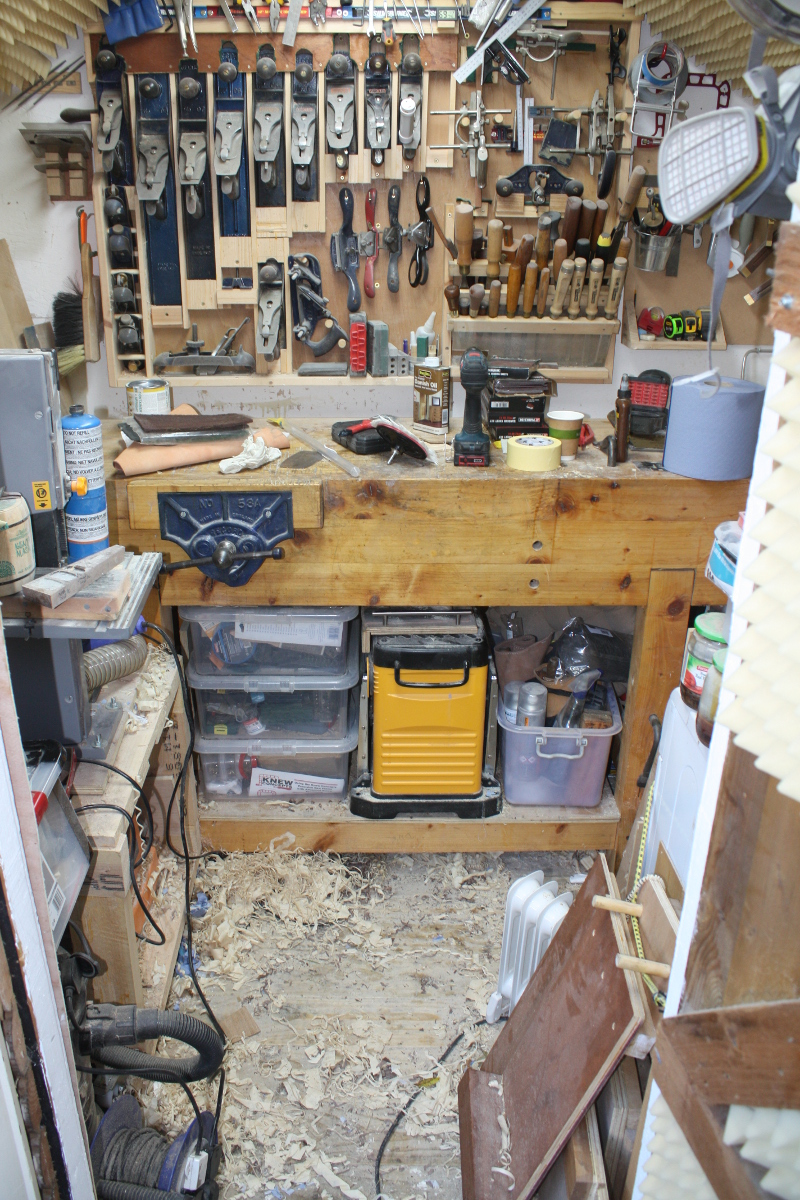
More tidying up. It’s starting to get a bit neater…
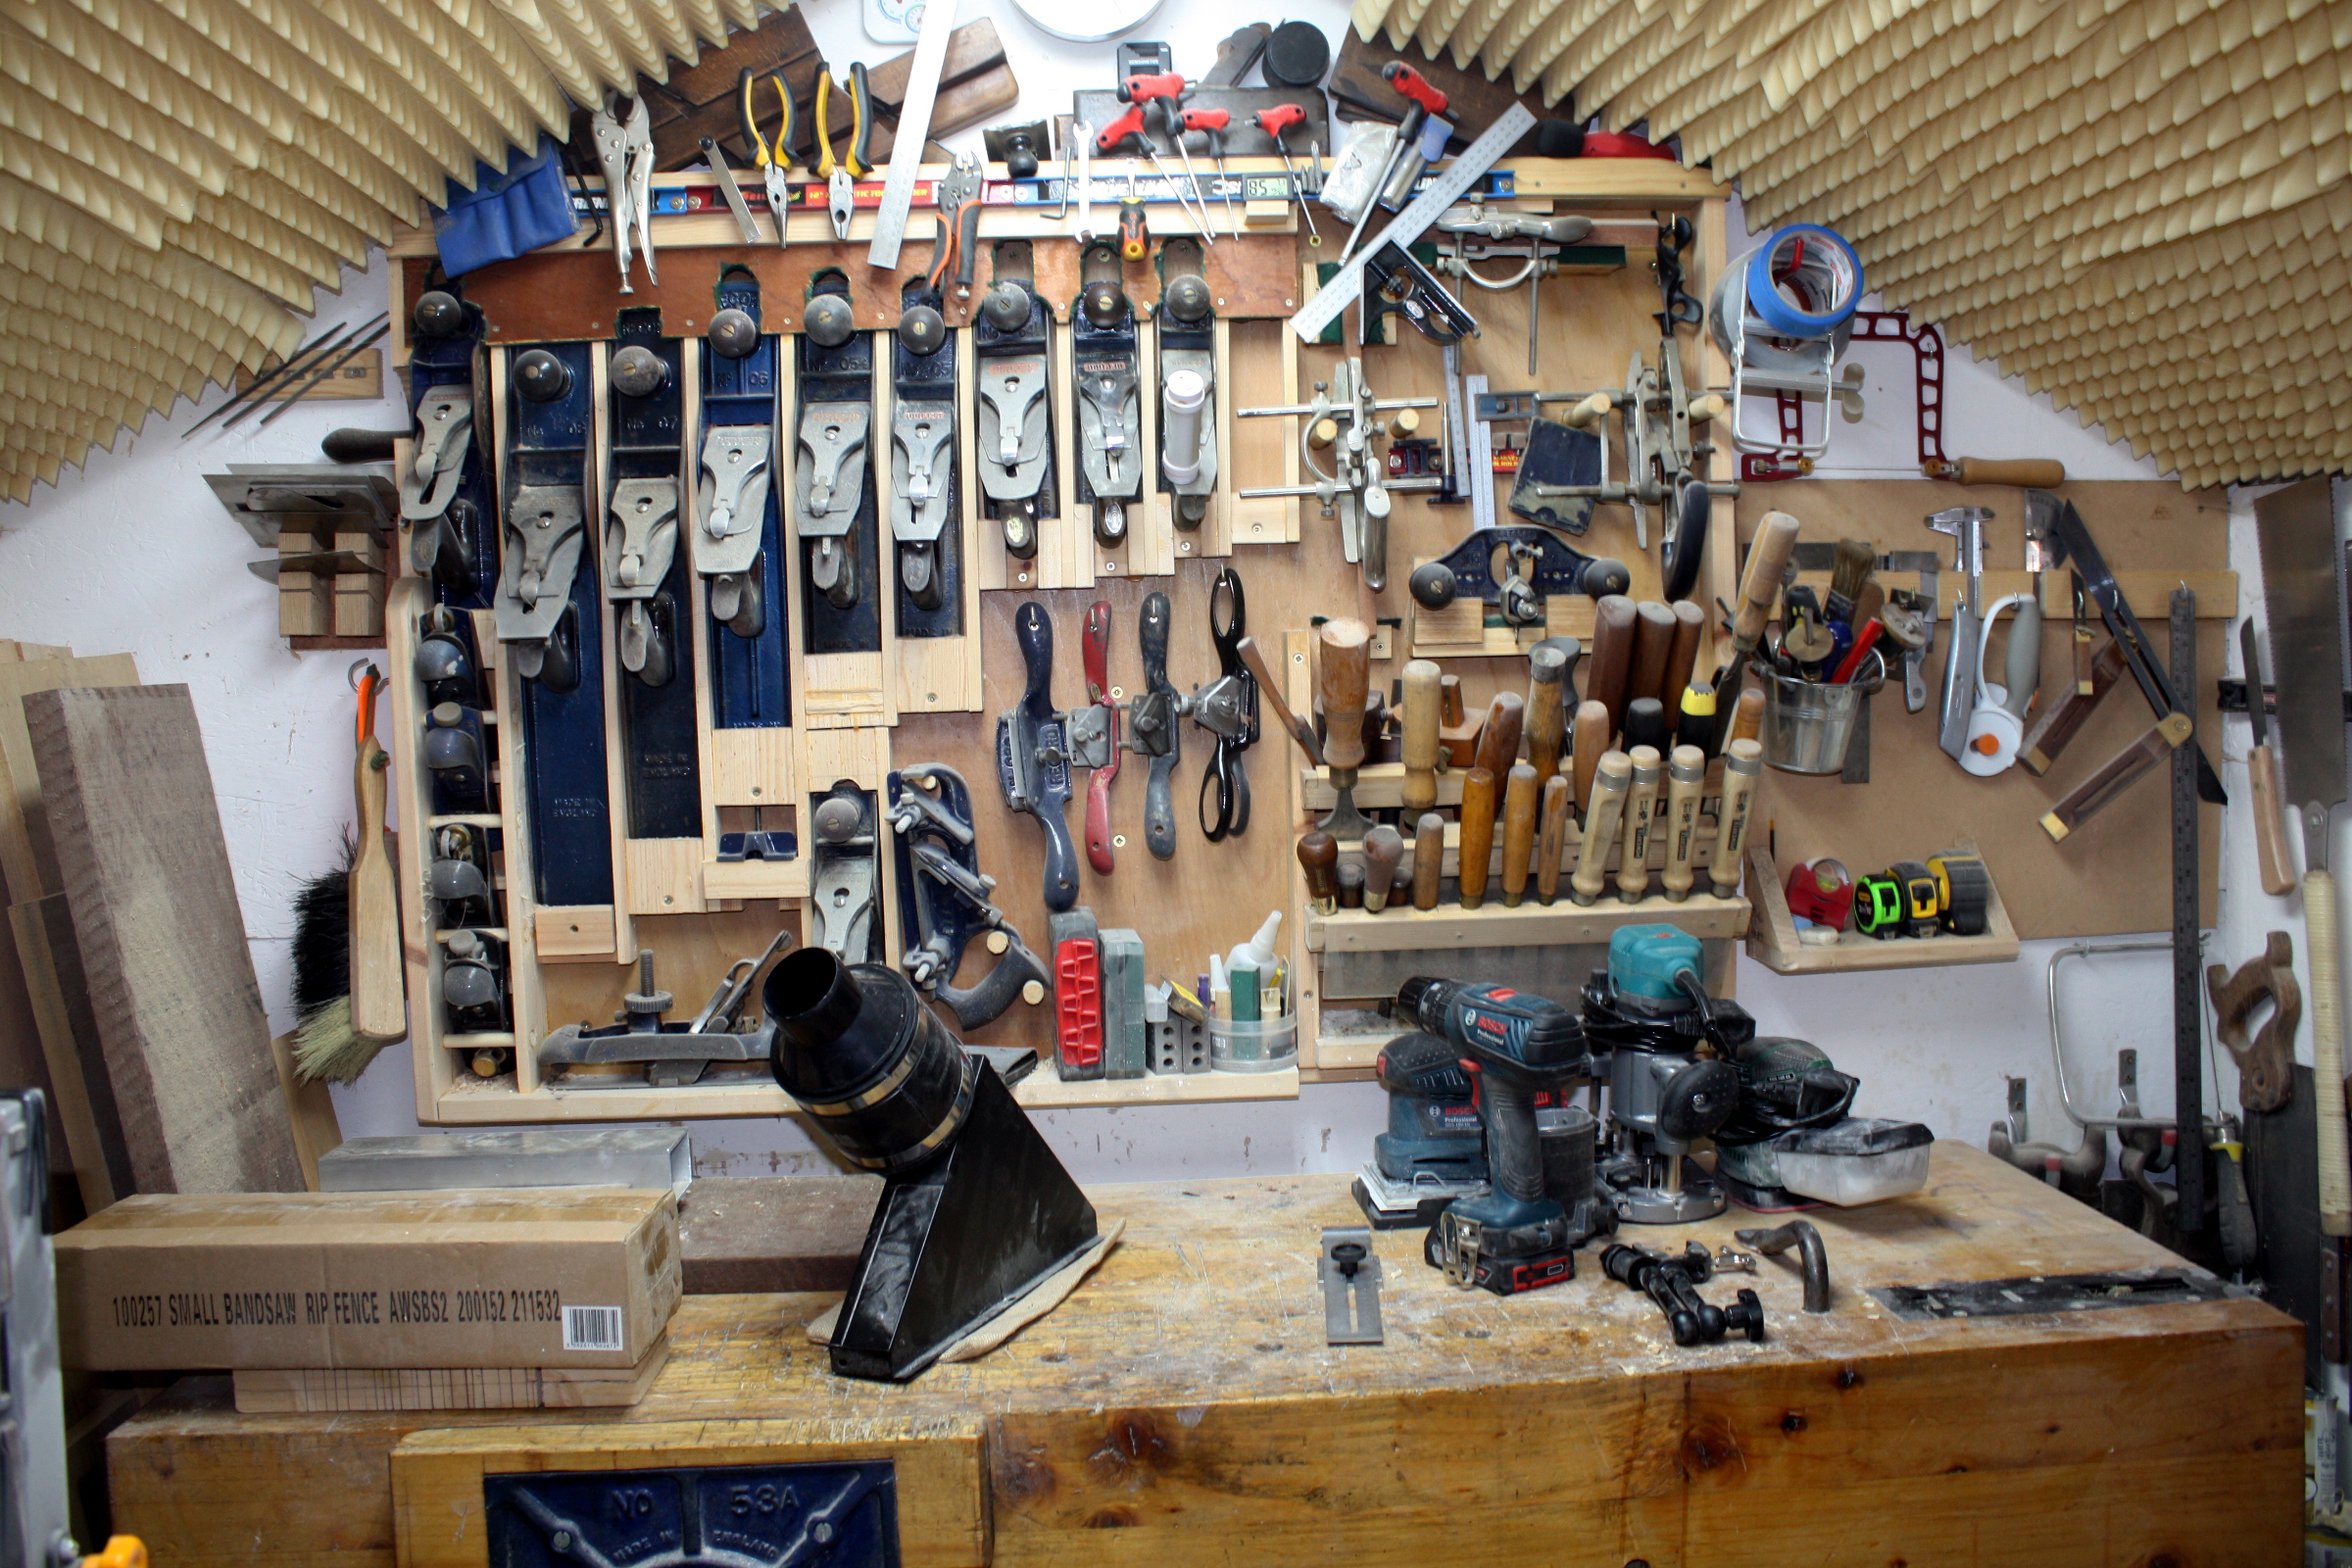
Next job, tidy up the panel and grasshopper gauges and put up one of the five(!) magnetic bars I got for the shed walls (if you buy two and bury them in shavings, you’ll forget you bought them and buy them again when they show up in Lidl again).
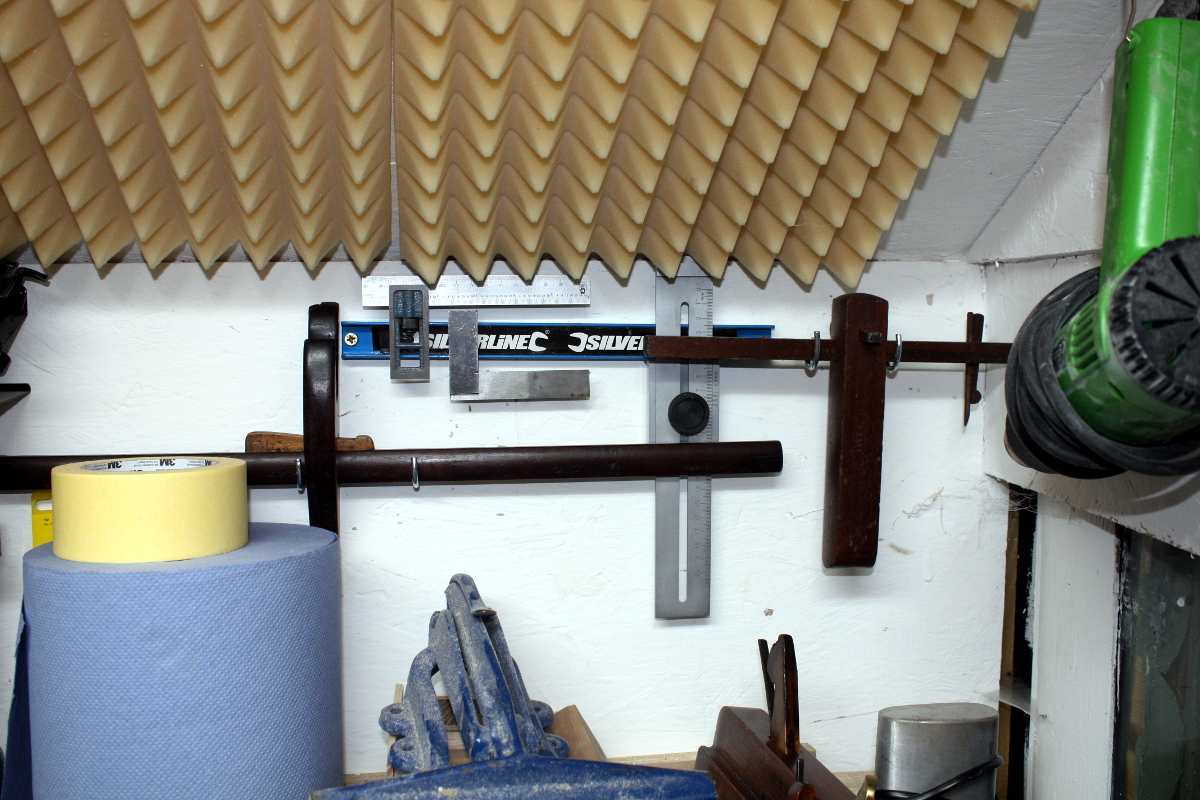
Little better. Want to tape up the f-clamp handles as well.
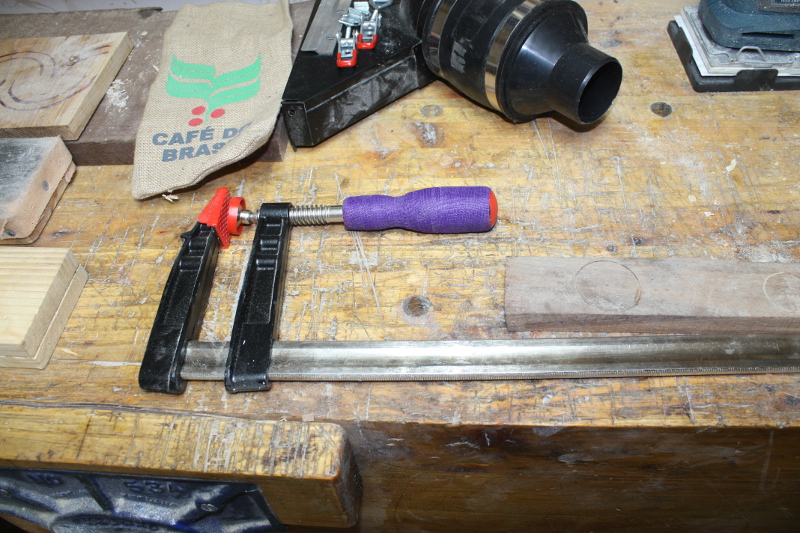
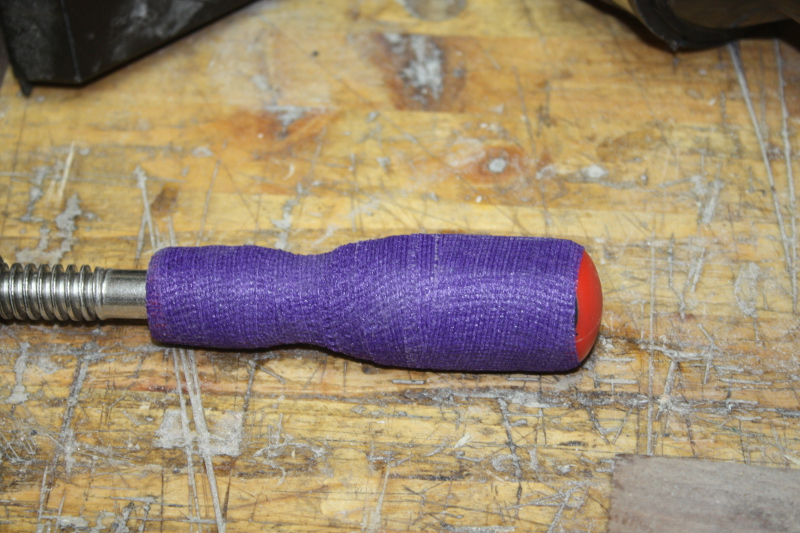
It’s just hockey stick grip tape, but it makes it a lot easier to crank on those handles when tightening up the clamp.
Now, onto tonights little experiment.
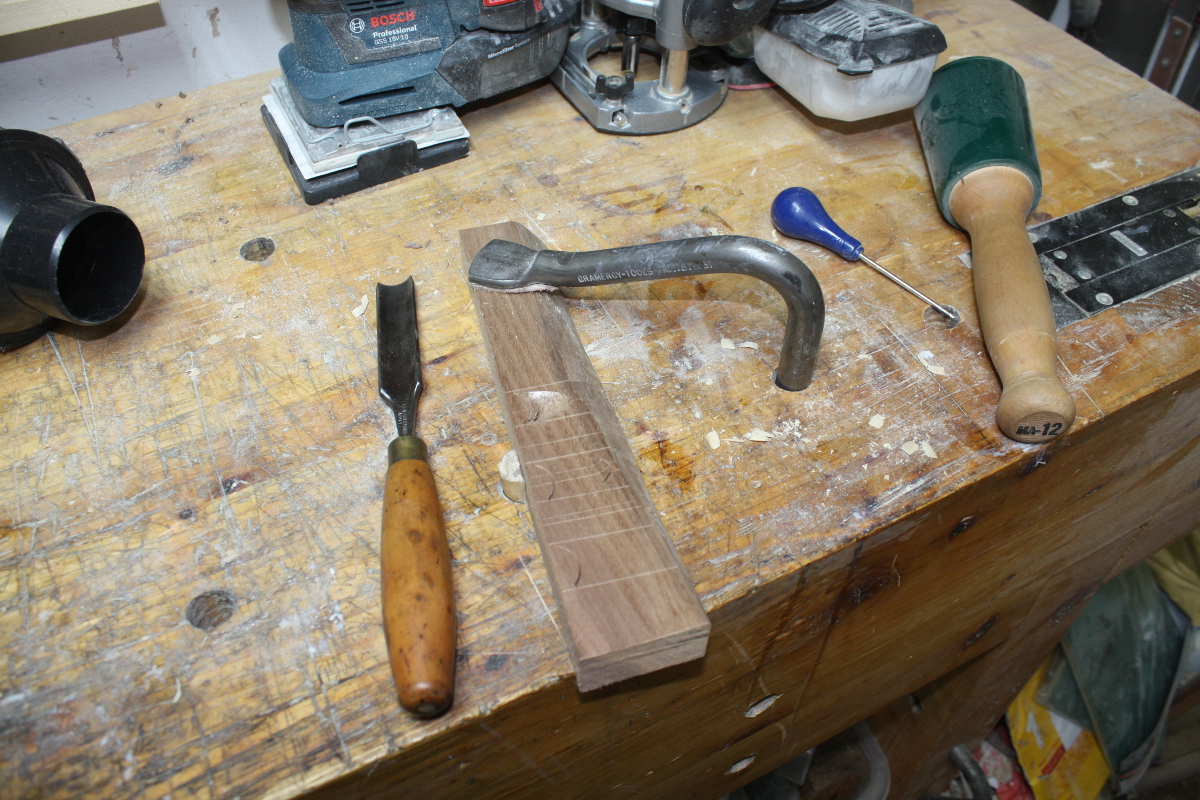
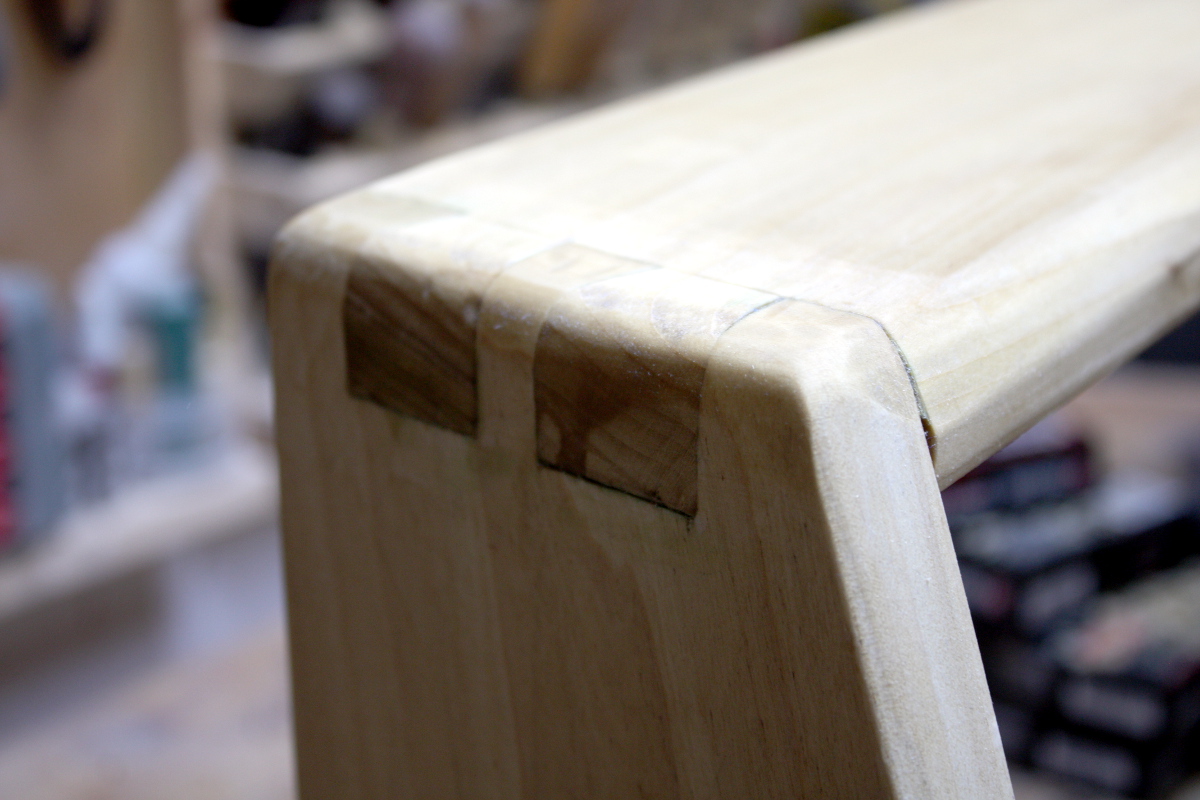
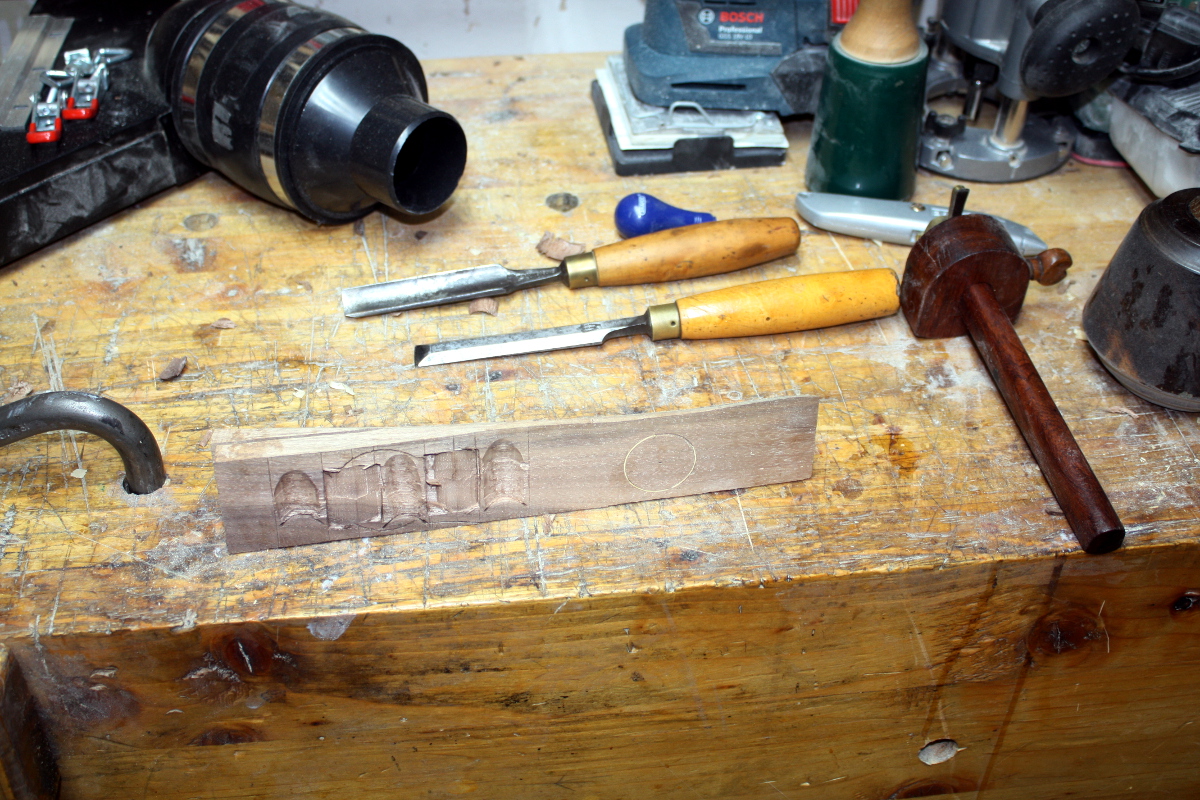
Take one offcut of walnut, mark it up for some carved arcading and hack away at it as fast and as carelessly as you like.
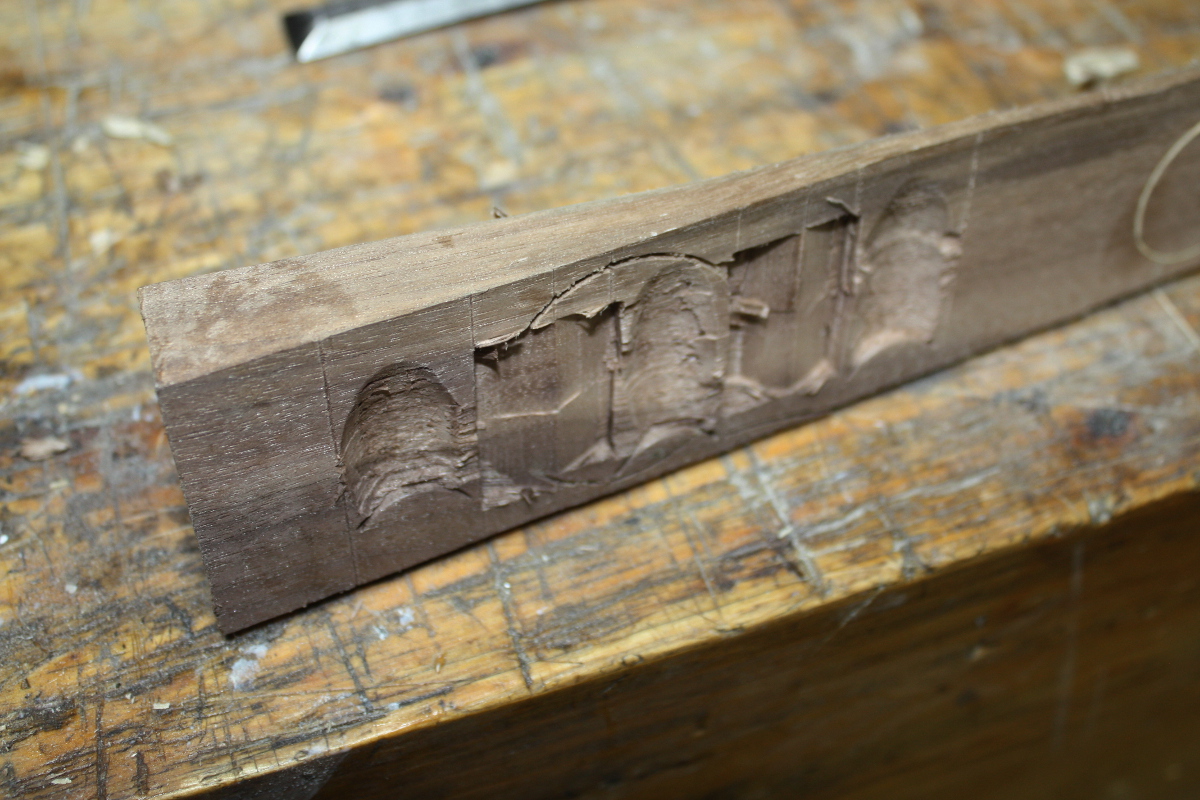
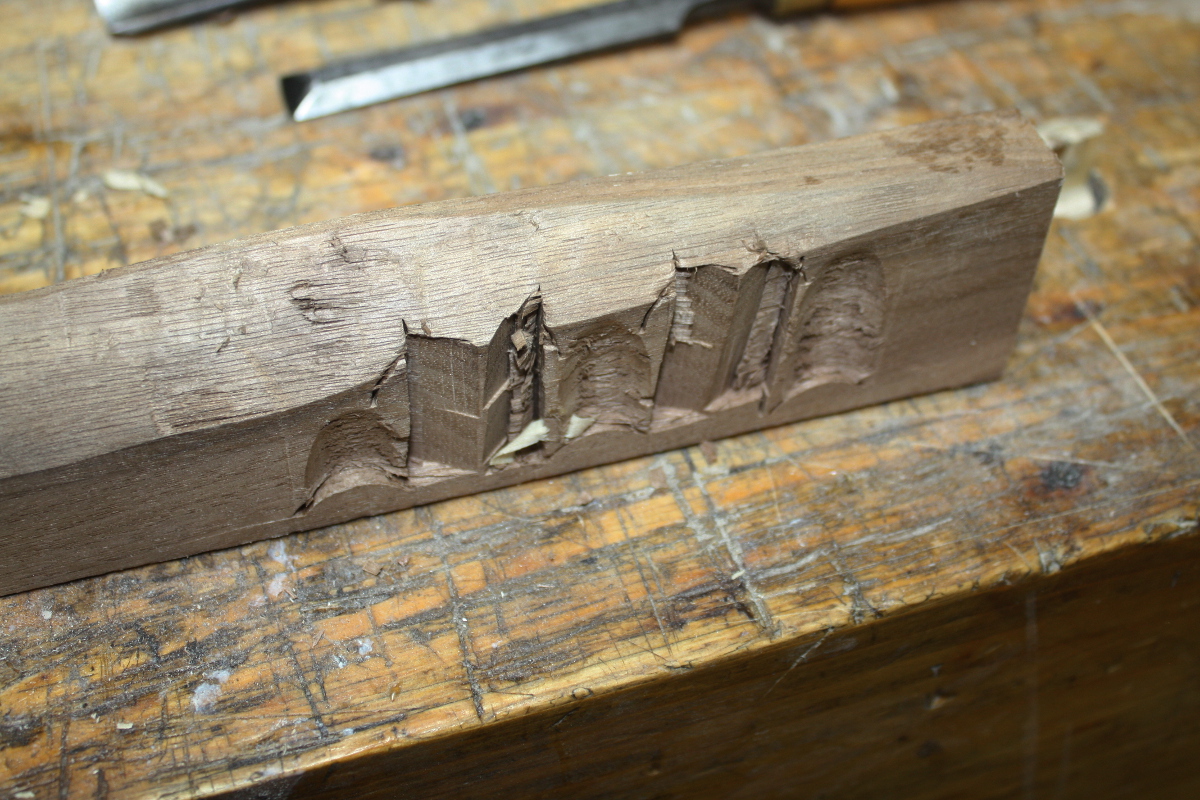
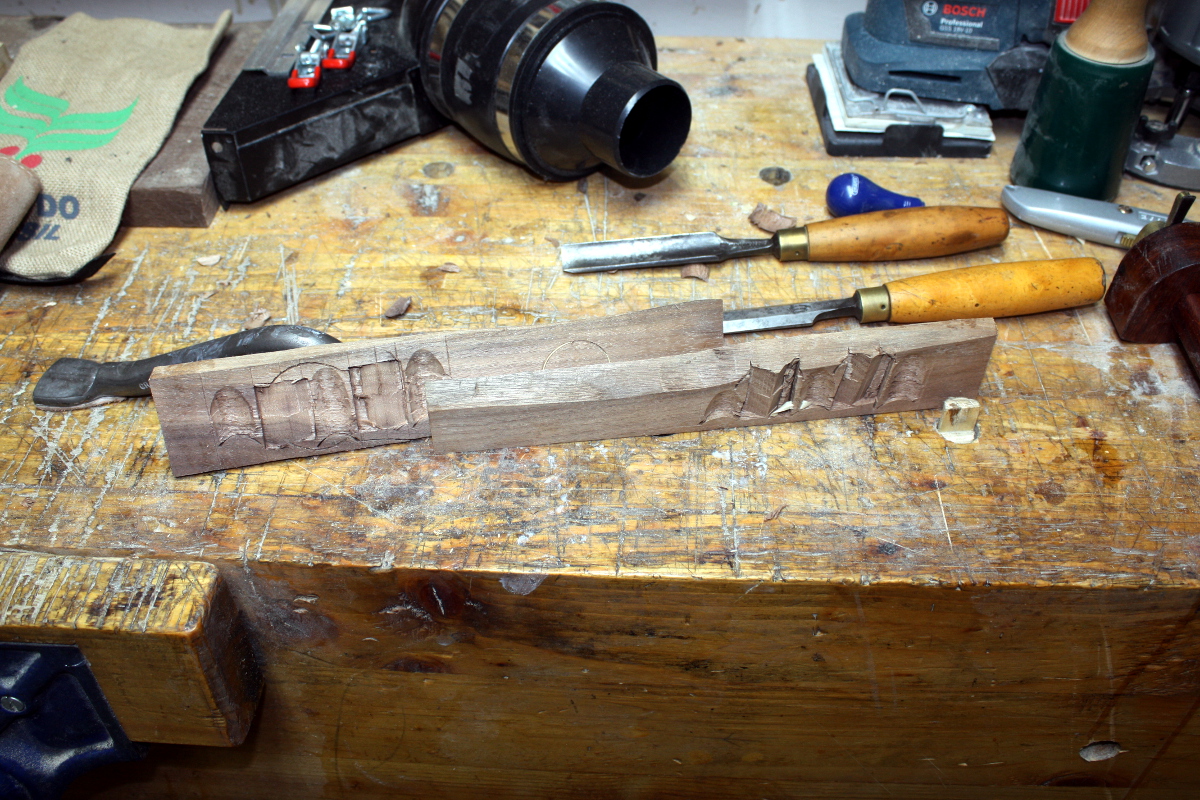
Told you so, but that isn’t the point of the experiment. Now I resaw this board in half (I cheated here because this is just an experiment and used the bandsaw but you could do it by hand if you want. Me, the shed was at 4C so I was suffering enough).
And now out with the #05 and plane off the saw marks and get the backs all nice and clean.
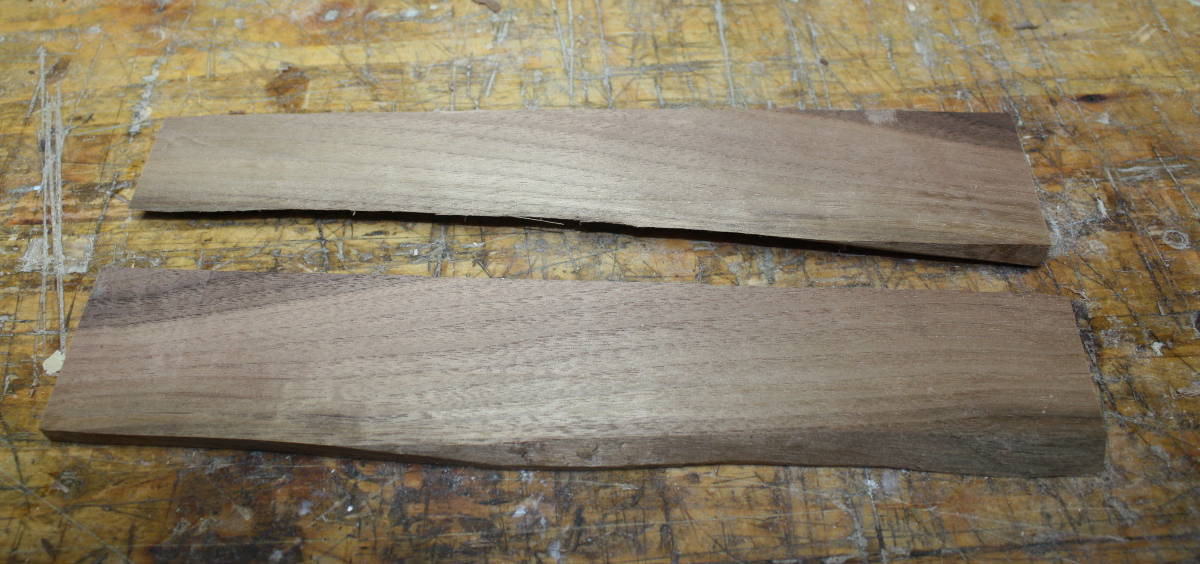

So now I have thin stock with “carving” on one side. The idea being to see if you could do this and make a lightweight thin-walled box with this kind of carving in it. I mean, it didn’t shatter or snap on this try, so maybe this might work.
The acid test though, is whether or not these warp or twist or cup in the next few days as they air-dry. Have to check back in a few days…
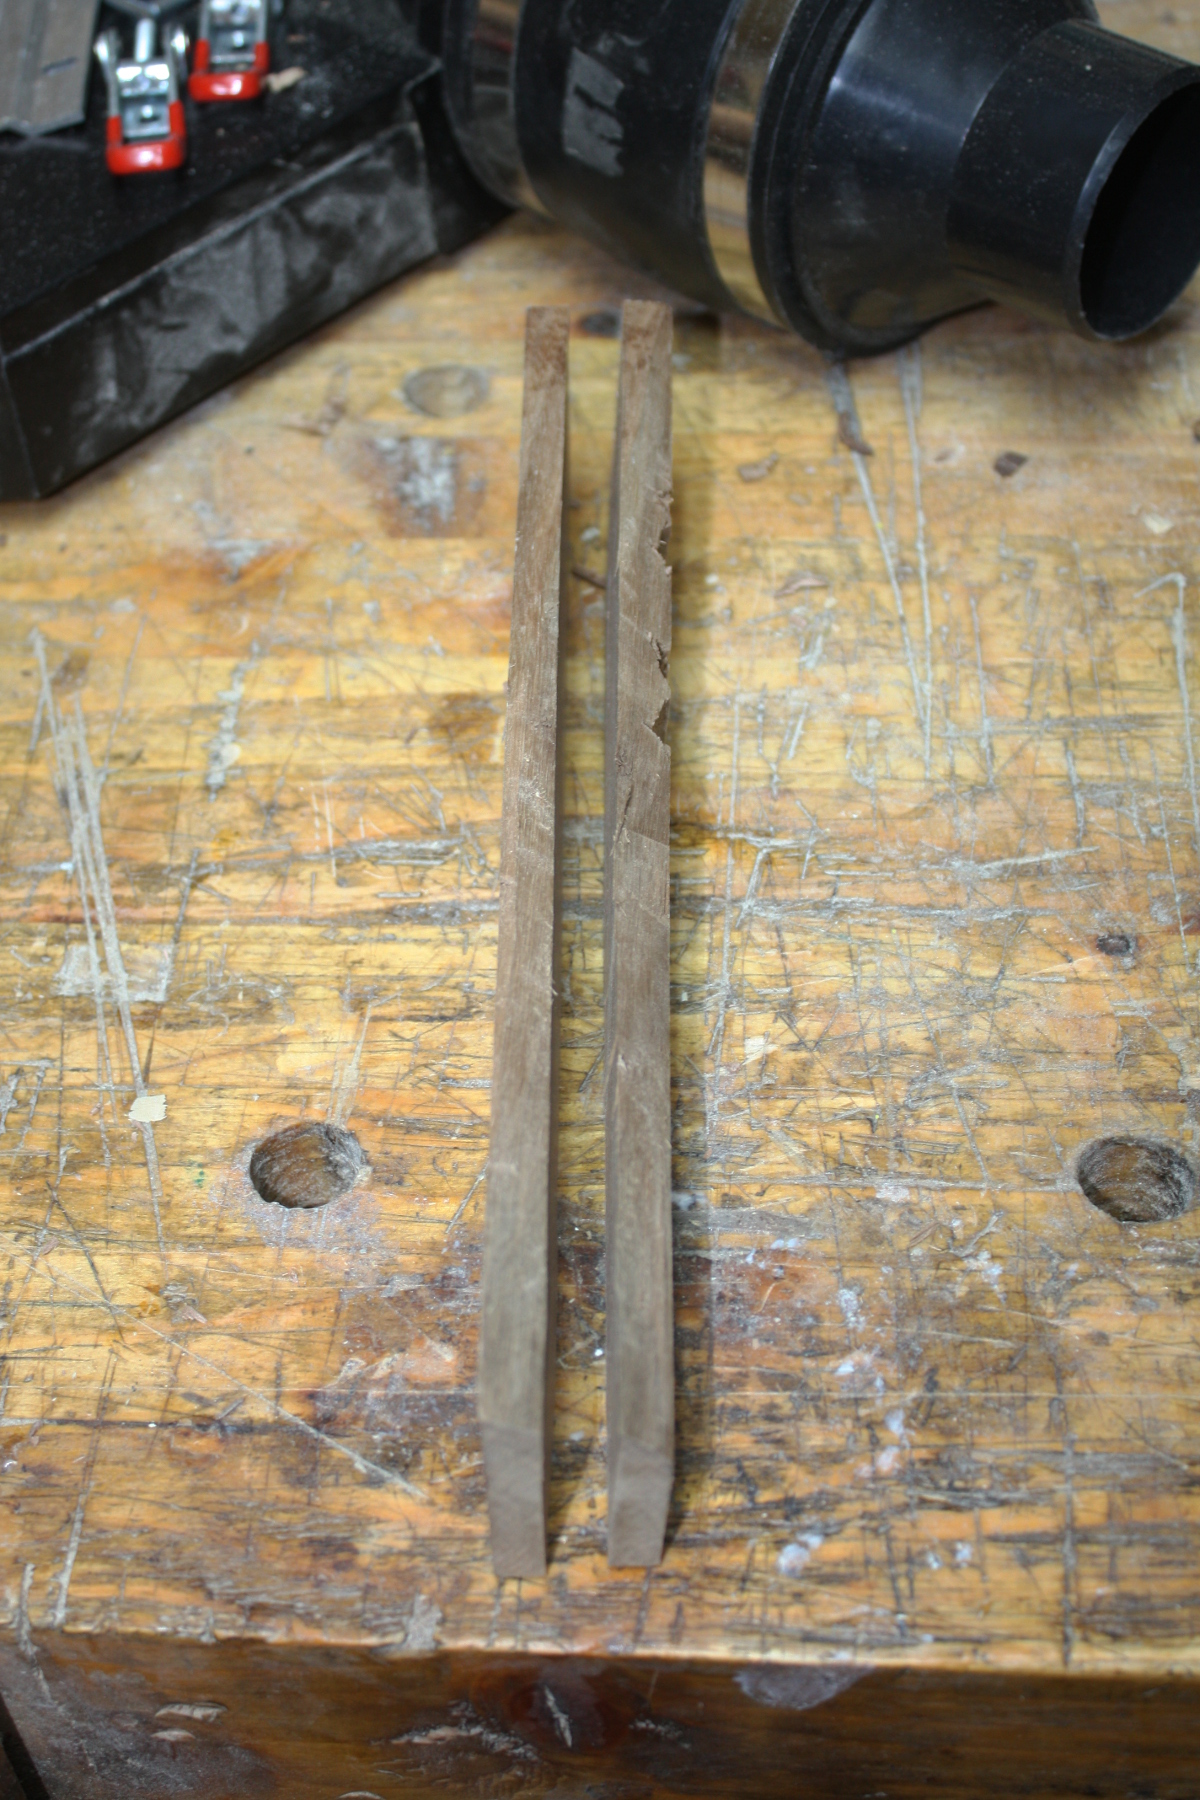
Stay straight and parallel, ye little gits…