Dust collection in the shed has evolved from a dustpan and broom, to a cheap-and-cheerful wet-and-dry vacuum cleaner, to including a dust devil knock-off cyclone separator in the mix, to changing out the barrel from something waaaaay too large for the shed to something that was better sized, to building a cart to lash all the pieces to, to getting a proper extractor and creating a hodgepodge of 100mm and 63mm hoses. That’s where it’s been for a while and it kinda worked but was… a bit janky to be honest.
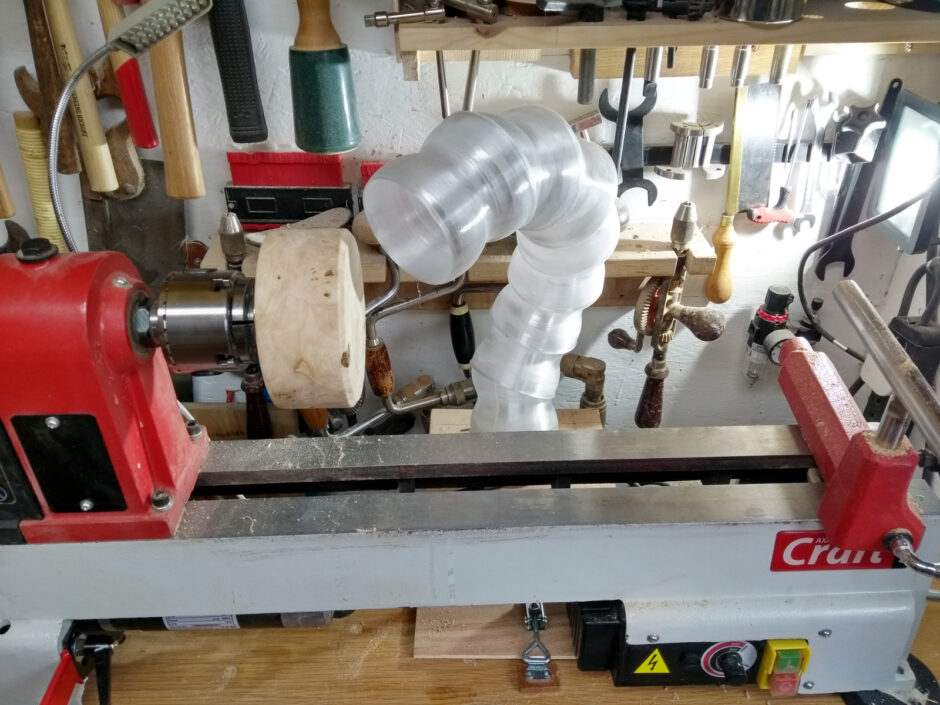
I mean, that’s a mess. And it means I can’t have shelves on the front of the dust cart as well because of the hoses which is wasted space. But it worked well enough while all it had to cope with was the bandsaw and occasionally unplugging the 100mm hose from the cyclone and plugging it into the thicknesser. But then the lathe showed up and while you don’t have to worry quite so much while cutting on it, if you’re scraping or sanding, you generate a lot of dust in a hurry, so I printed off a loc-line style posable hose for there and fed it with a new length of 100mm hose:
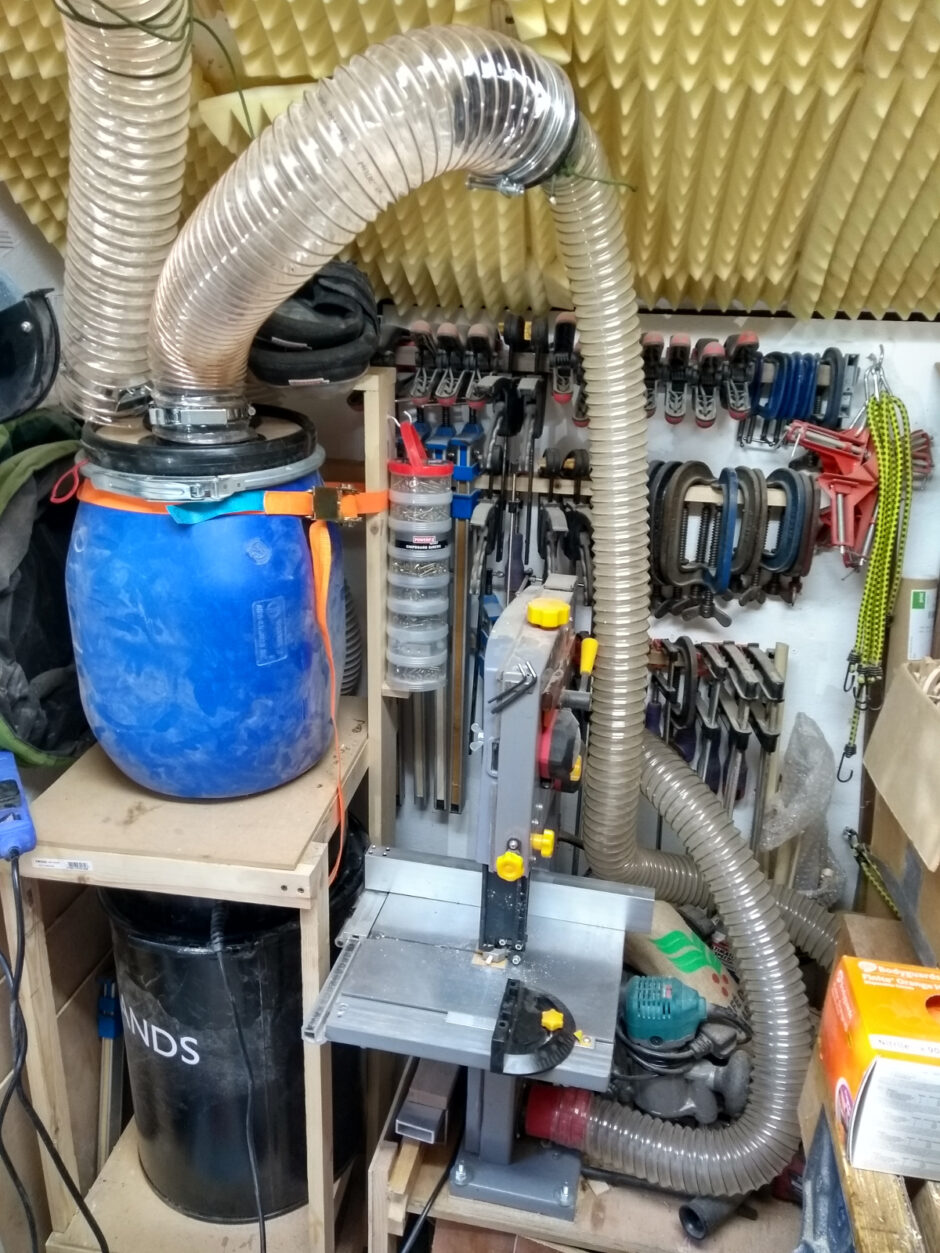
But the hose from that is running across the floor:
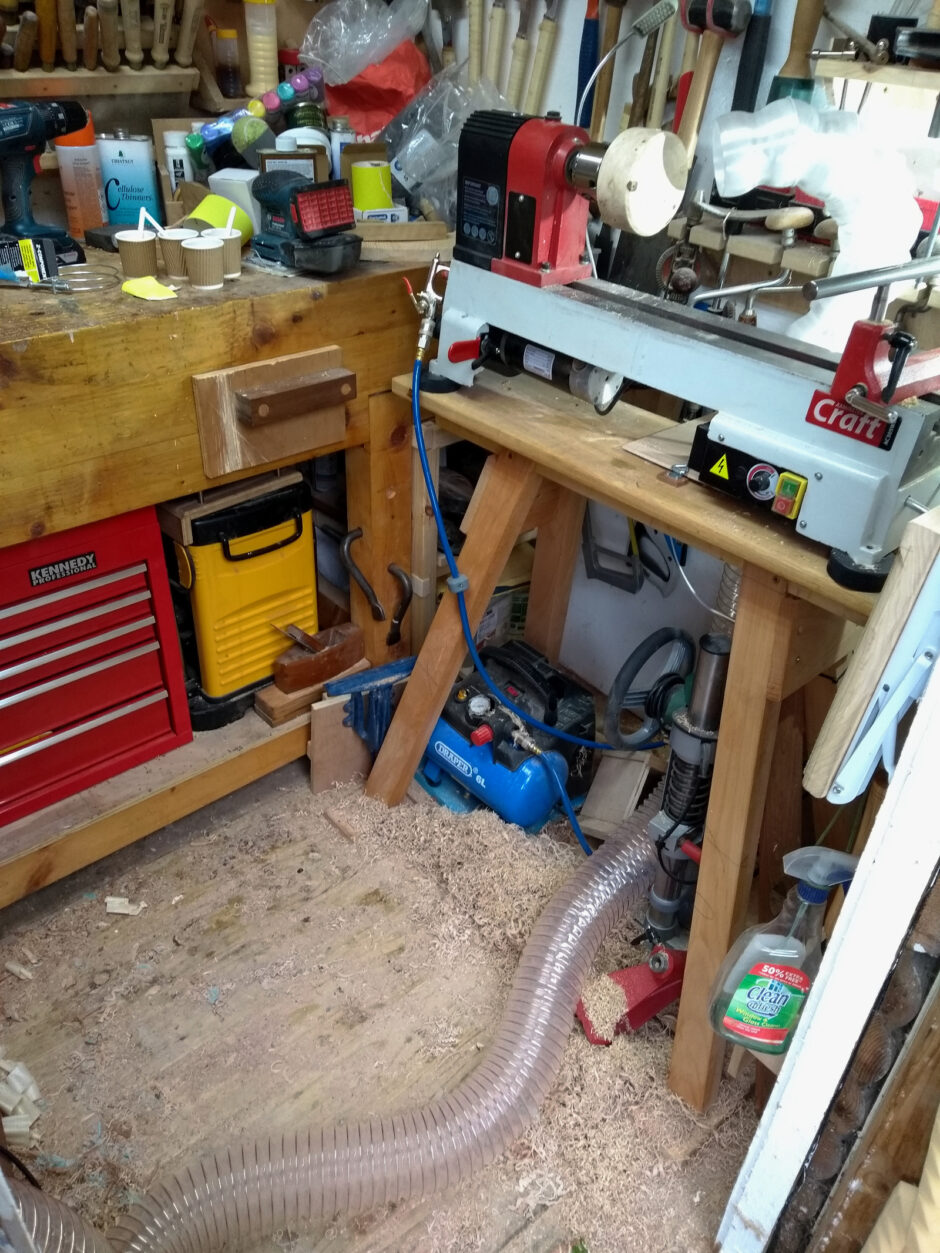
Minor trip hazard there, plus it’s jamming up the stuff behind the lathe and it’s also a faff to hook it up so I’m liable not to hook it up which is not a great idea. And to boot, the top-heavy arrangement of the cyclone pulls the whole thing over and the cyclone acts like a lever and rips out of the plastic lid of the dust bucket.
Also, the new finishes for the woodturning stuff are taking over. So this has needed fixing for a while and my plan was to make a Thien cyclone separator lid for the blue barrel by printing one off, but the more I worked with the 3D printer the more I realised that this is one of those jobs that just wouldn’t last if I 3D printed it on my kit because of the natural flexing and vibration the parts undergo. PLA would snap and PETG would give out after a while – the loc-line hose has already lost two segments to wear and tear and I expect to lose a few more before I figure out a way to print those things that doesn’t suffer from separation between layers. Looking round the plumbing section of woodies didn’t provide the parts I needed either. So instead, I bought a kit for about the price of a reel of PLA.
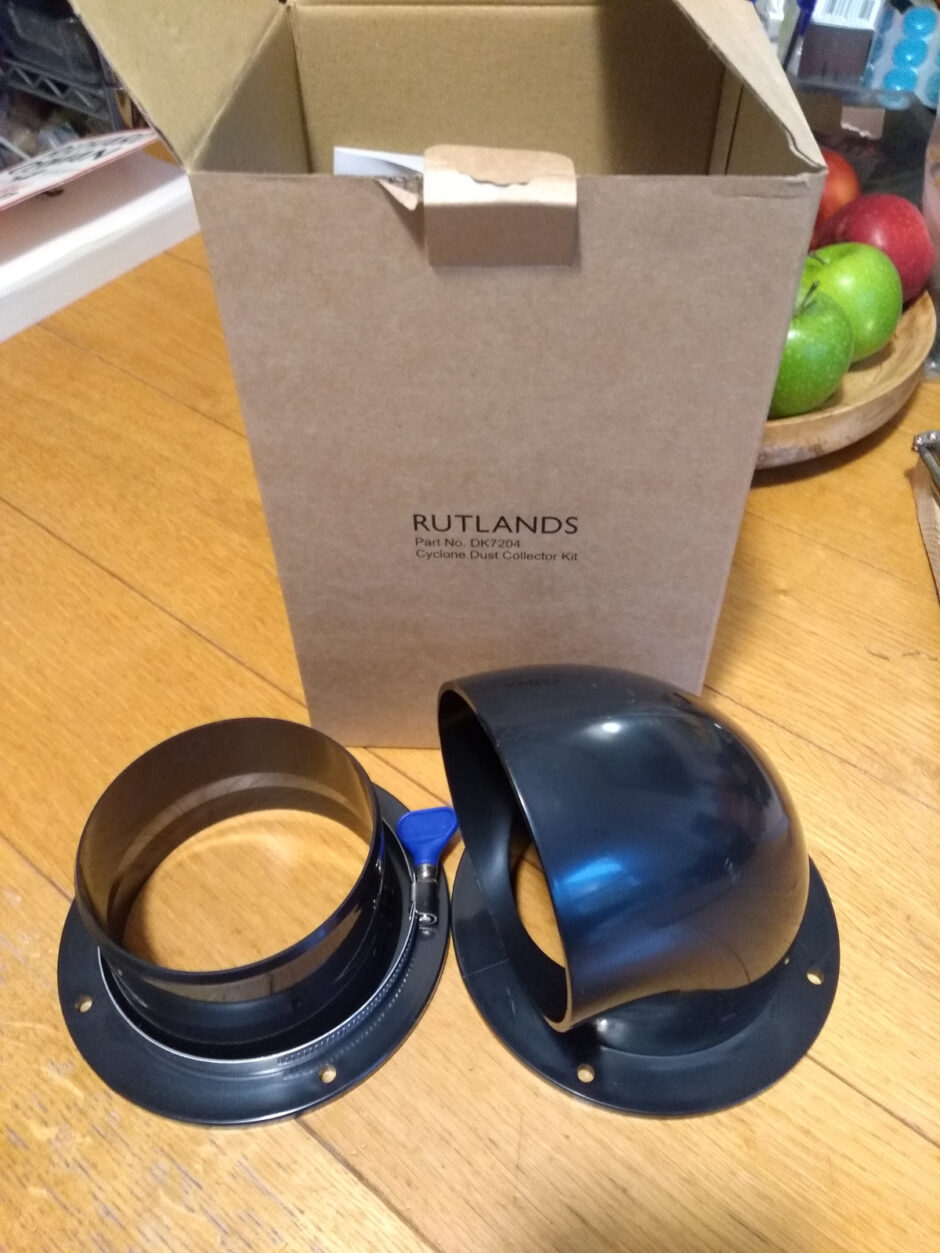
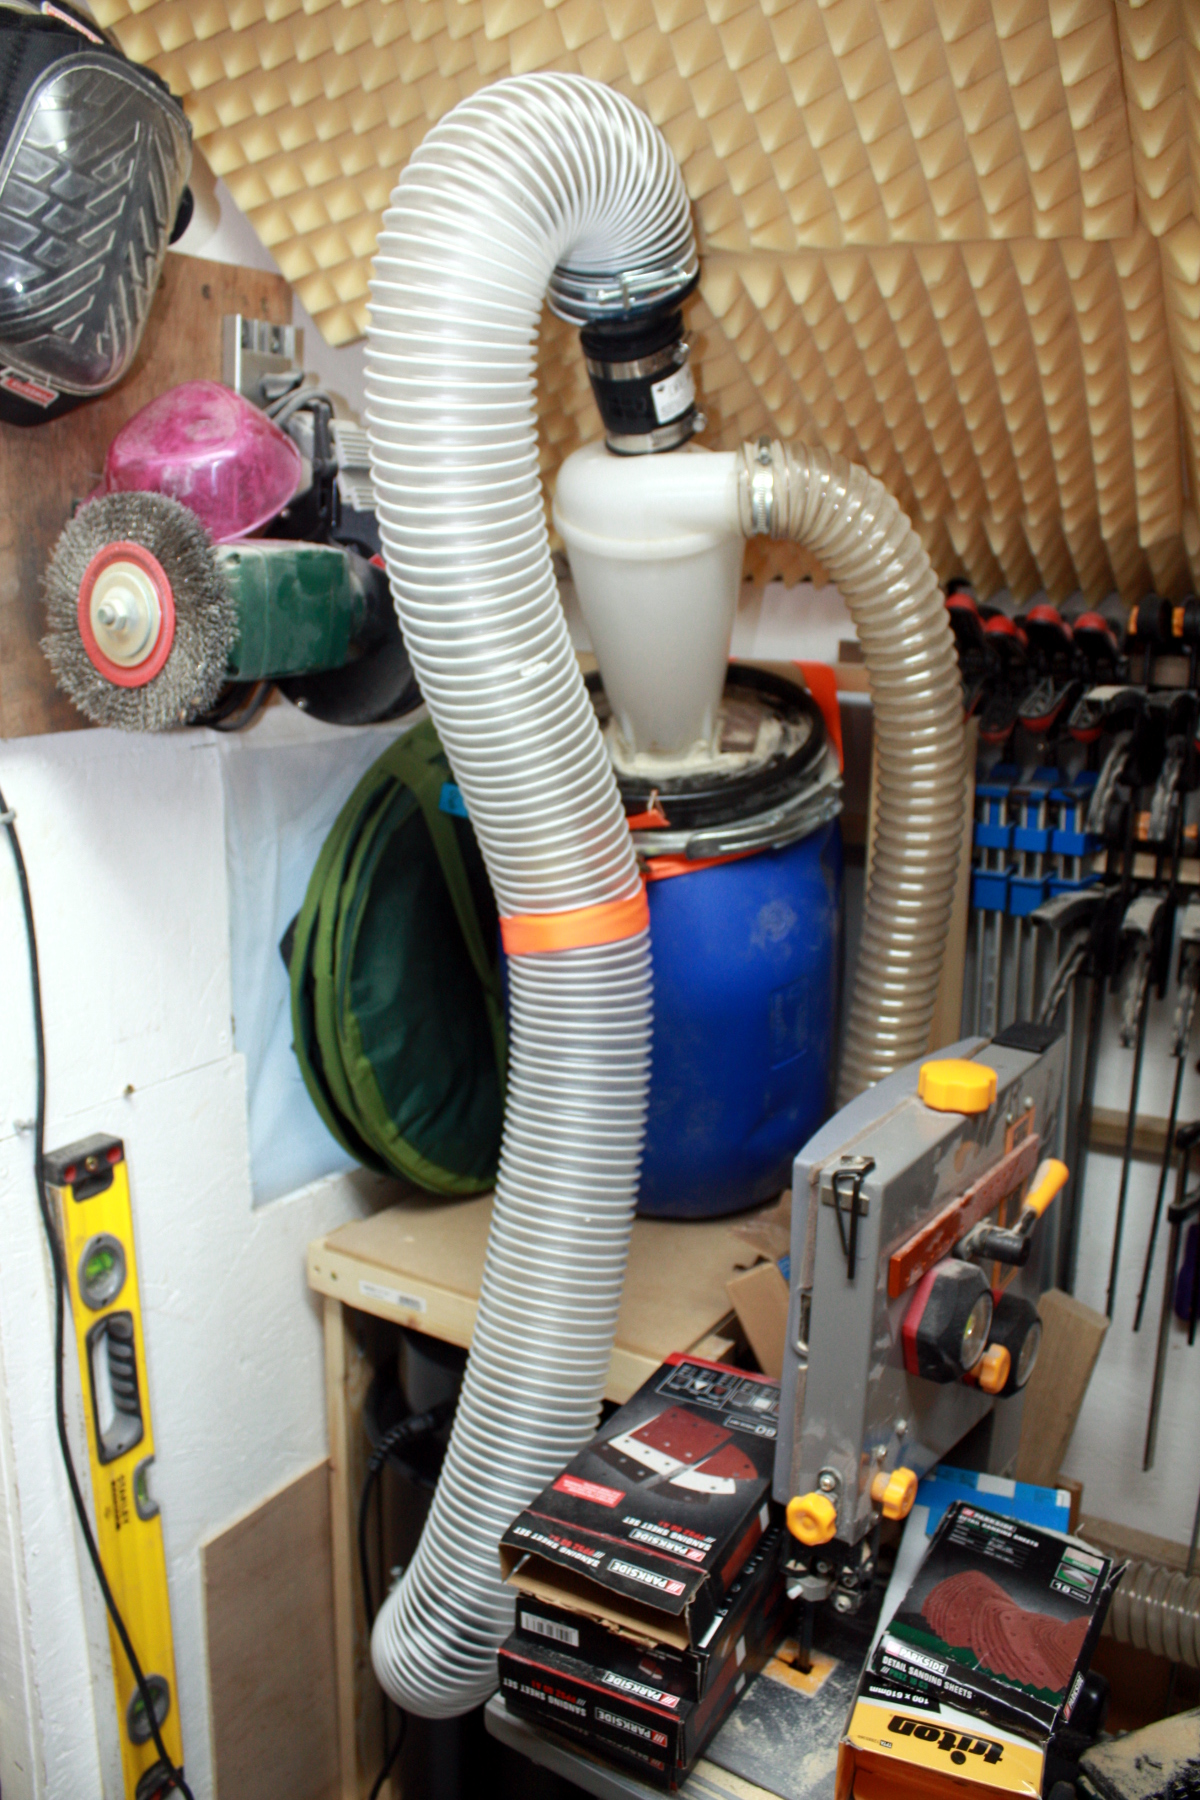
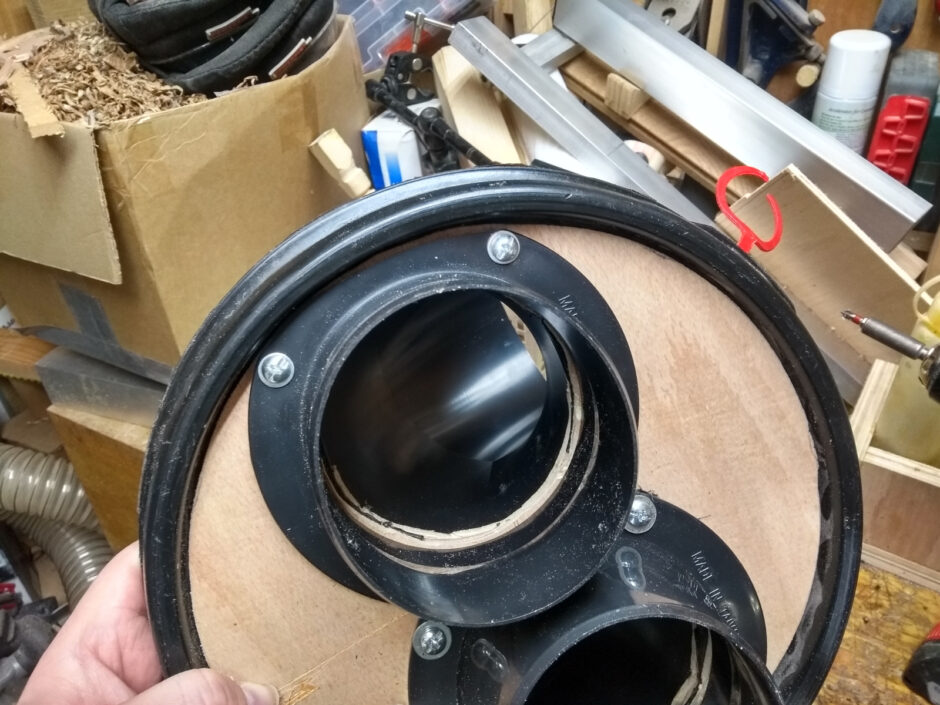
Make the bread, buy the butter. So, I stripped down the dust collection setup, cleaned off the old silicone, retired the cyclone (I’ll find a use for it at some point, probably in a proper shop vac if I ever get a shed large enough to expose enough floor to need a hoover) and cut two plywood discs to sandwich the remains of the plastic lid of the barrel.
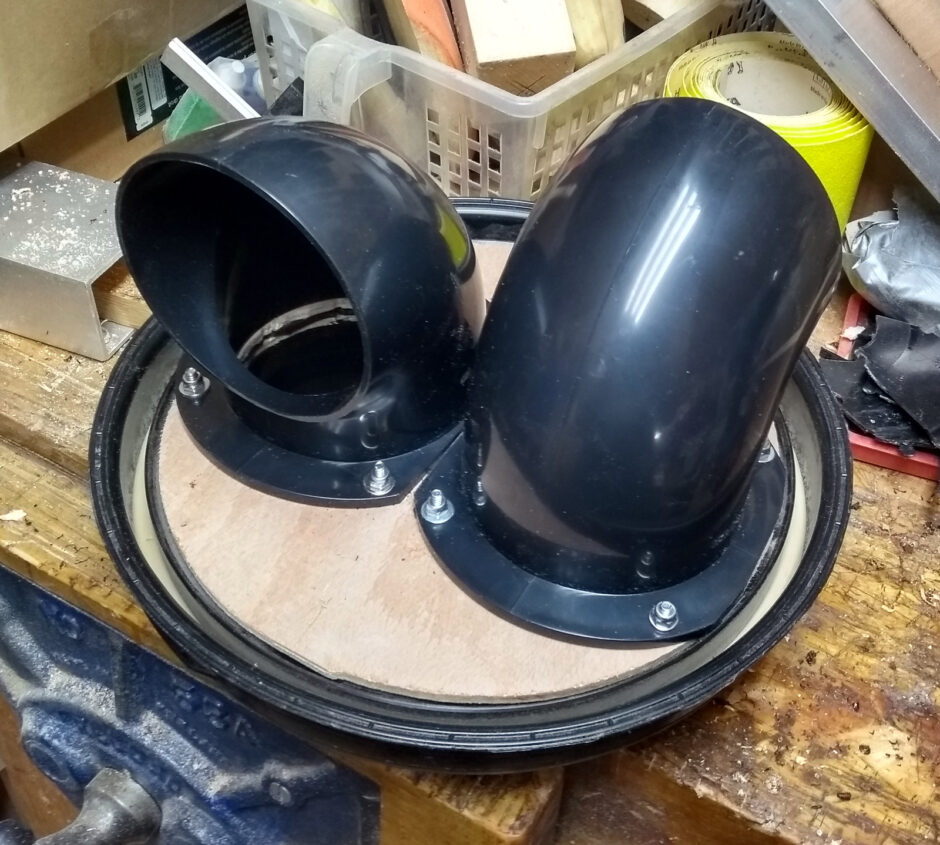
I haven’t put in the baffle yet. The internal structure of the barrel means you can’t really get a baffle in there – the indented handholds get in the way. I’m hoping that the counter-facing elbows will perform a similar function but the dust in the barrel may wind up being a problem as it fills. I can try adding a baffle then, or just empty it more often. Part of the price of a small shed is that you can’t always be as efficient as you can be at a larger scale after all.
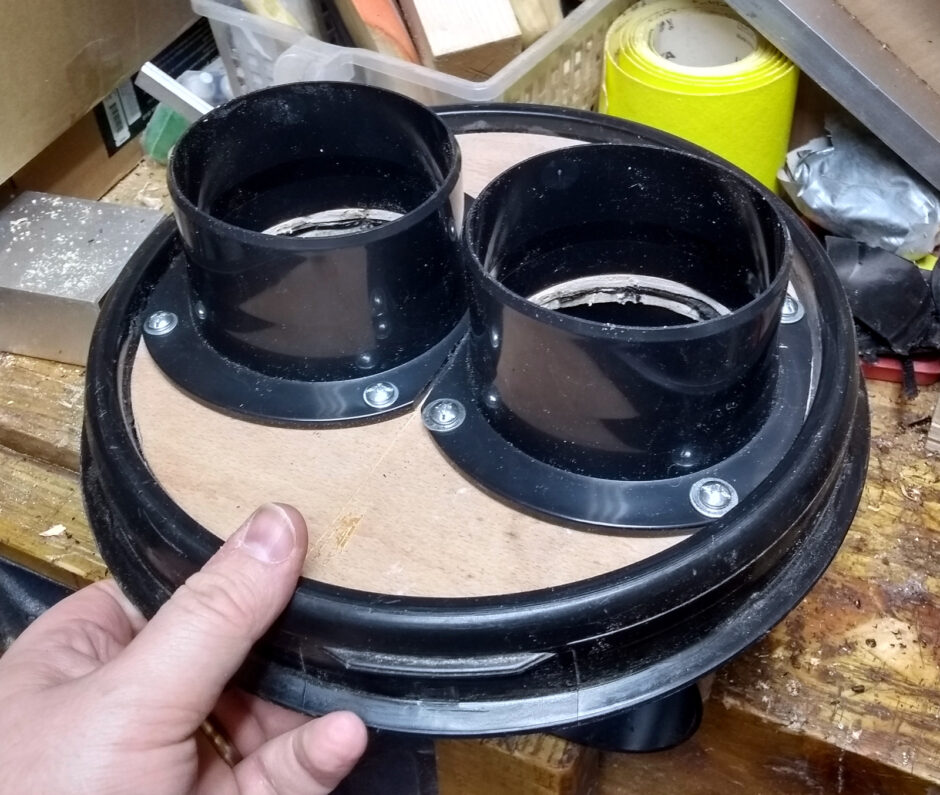
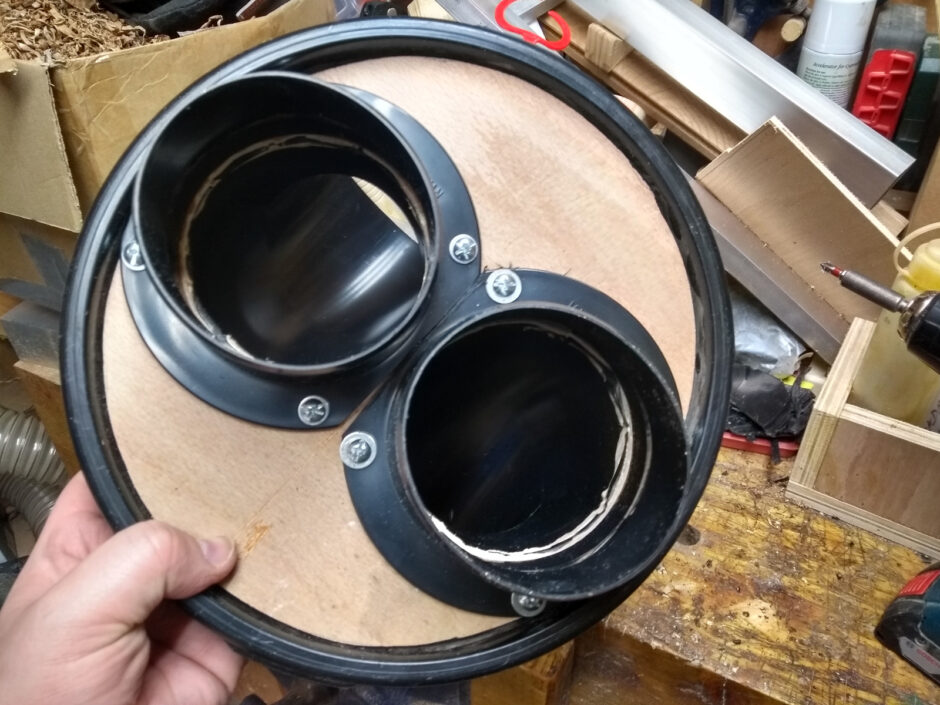
That’s the top half and as you can see, there’s not a lot of room to play with here. In fact, there’s none, I had to trim the flanges on both parts on two sides to make them fit.
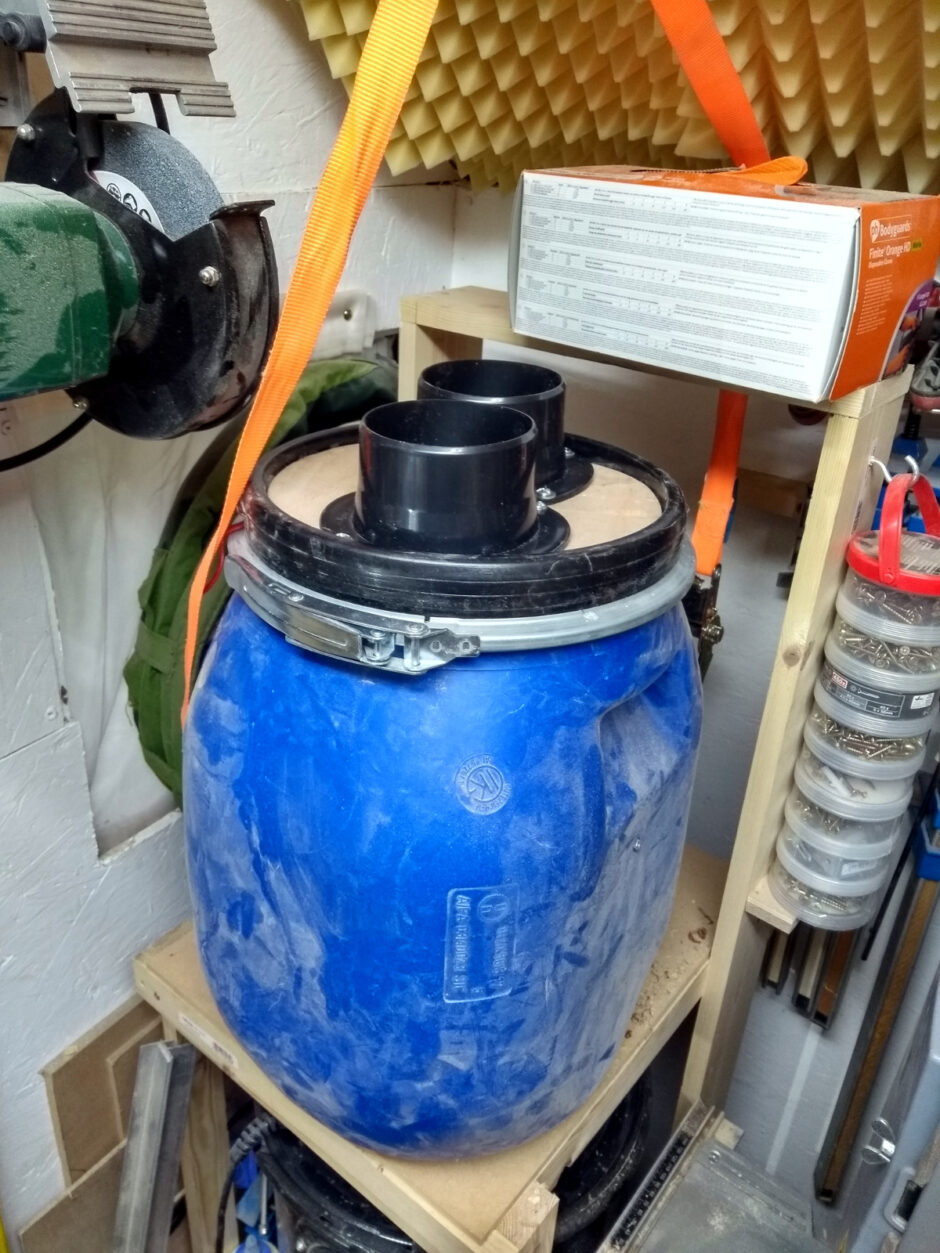
Oh well. Next, fit it back to the barrel, and ratchet-strap it back in place.
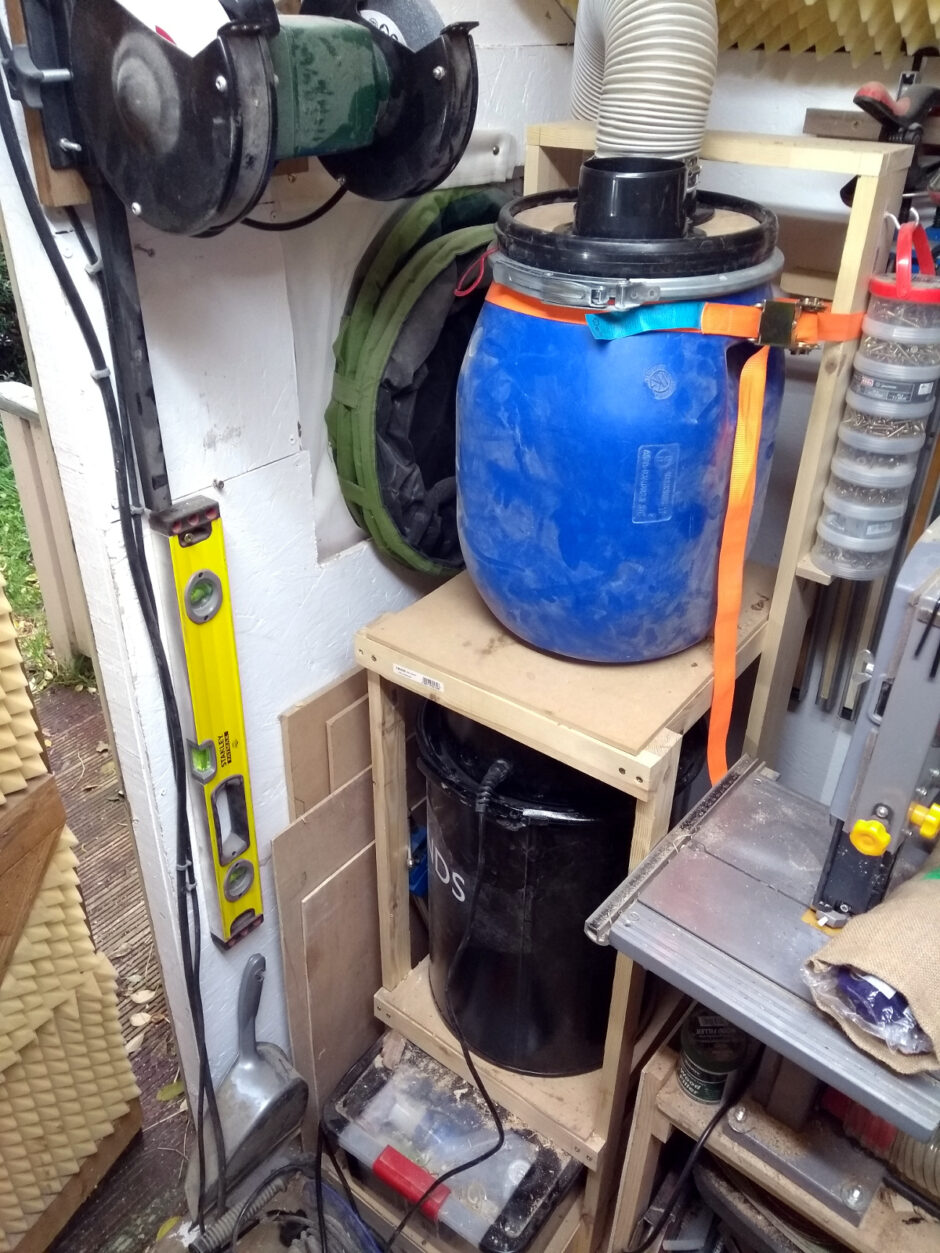
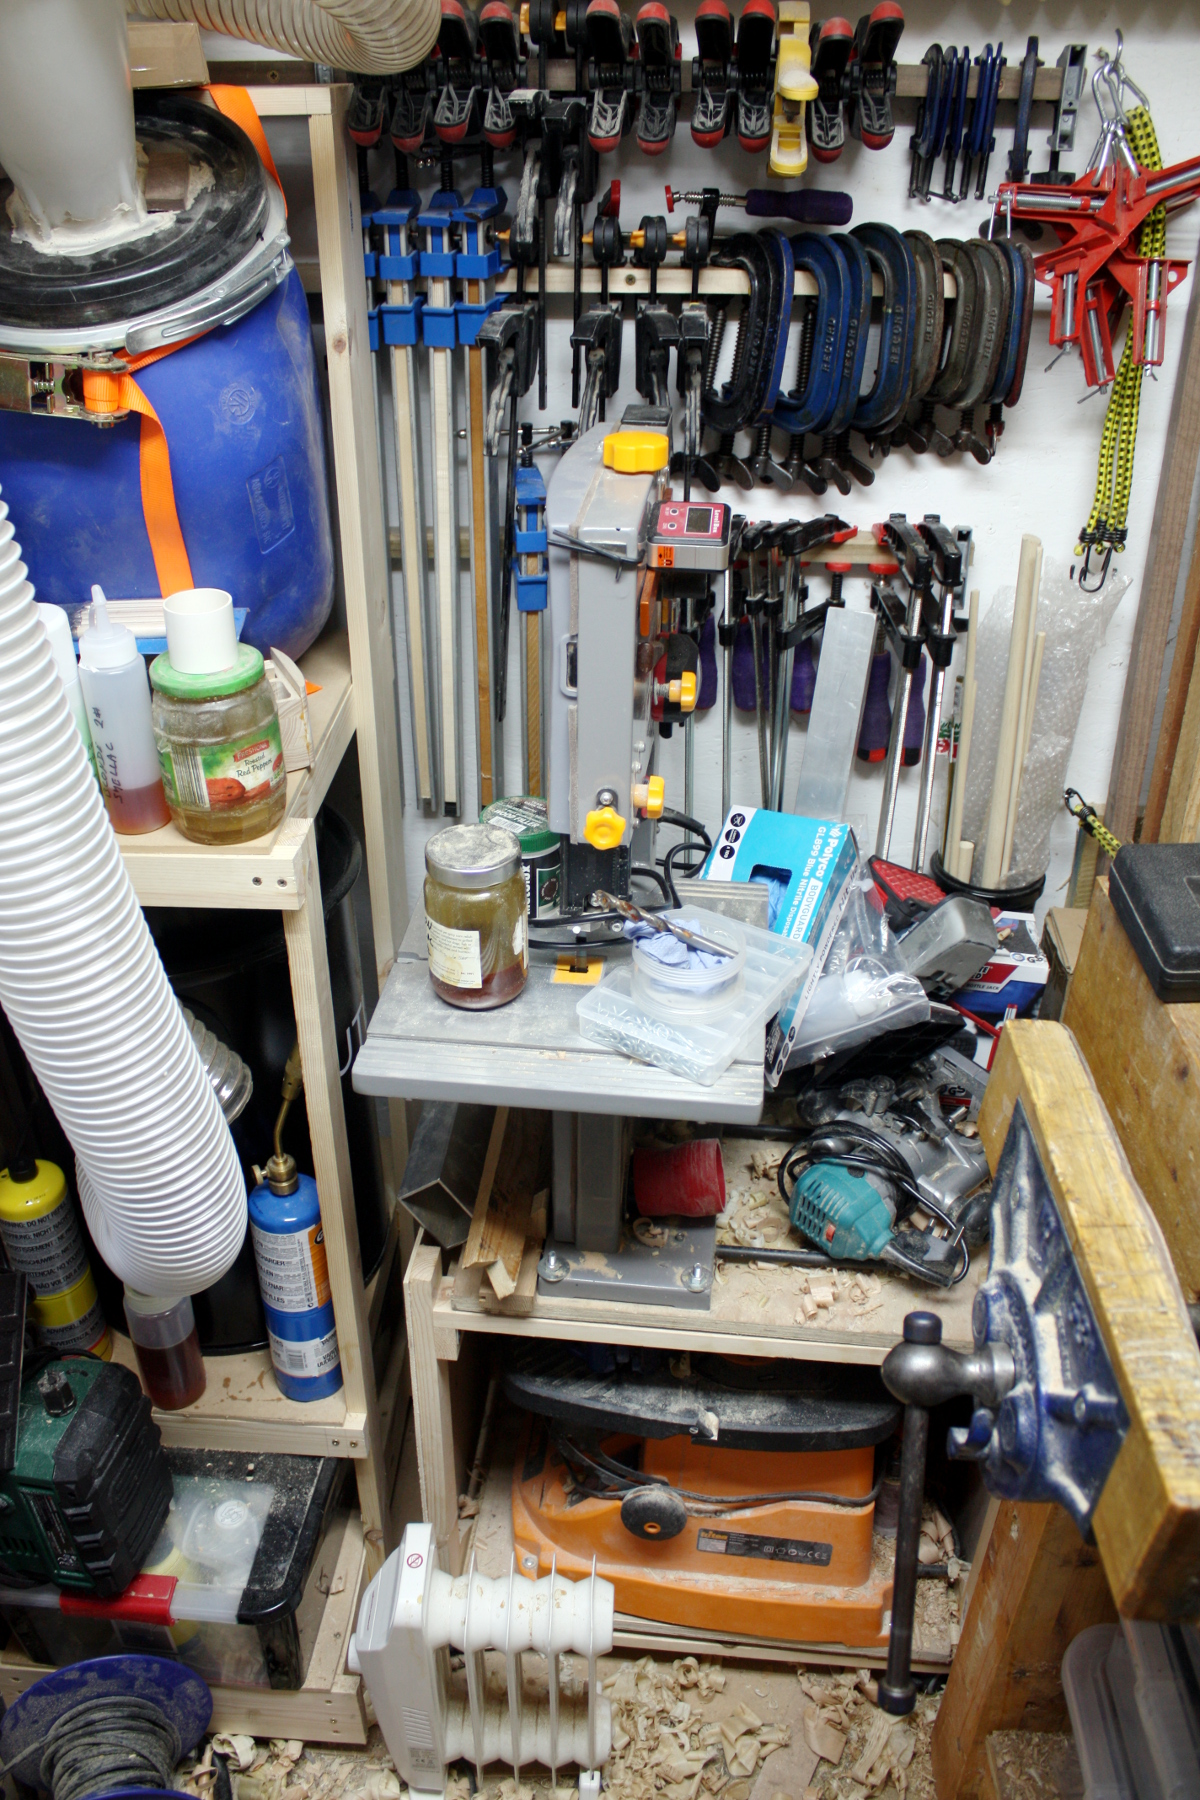
And now you see the next part of the plan, rotating the extractor 180 degrees and running the extraction 100mm hose up the back of the dust extraction cart where it’s all wasted space and hooking up the outflow pipe that way. Now the next step is to get the 100mm hose going to the lathe out from underfoot.

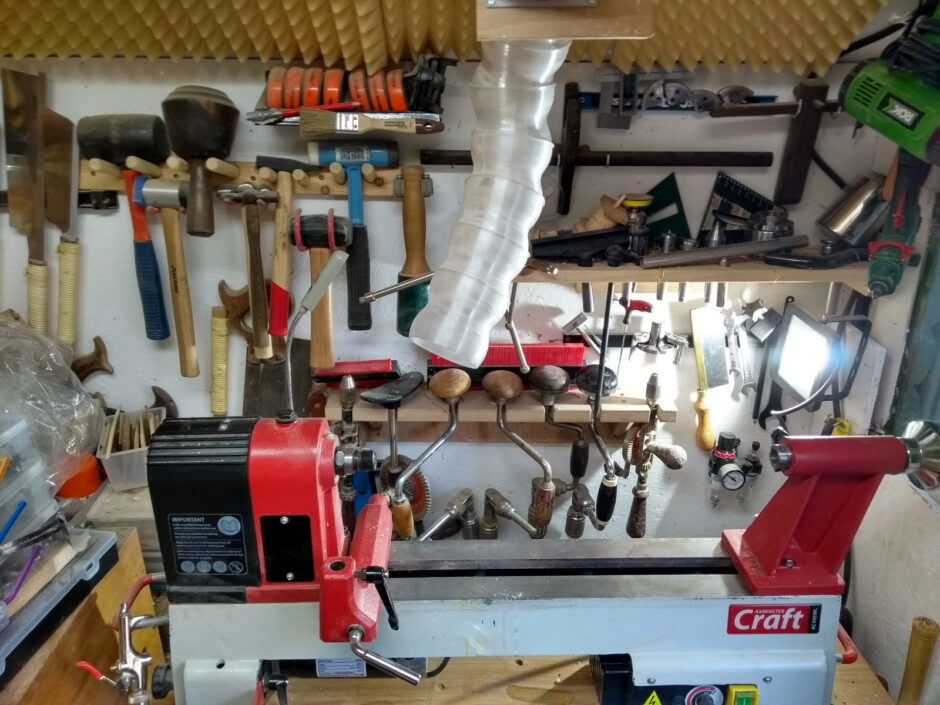
And the only two ways to get out from underfoot were to cut holes in the floor of the shed, run the tube outside the shed, across to the other side and back up inside the shed – which would have been… awkward; or this way, suspending it overhead. There’s about half an inch of head clearance, which for the shed is actually pretty good. The loc-line style posable hose then mounts to the ceiling and the hose plugs into it and if I need dust extraction, I just position the hose.
The 100mm hose was too long for that run though, so I cut about half a metre off it and that now feeds the line going to the bandsaw and which also acts as the hoover for the floor and other debris. I don’t have a Y-splitter, I just use quick-release clamps and attach and detach as required:
To use the thicknesser, I’ll detach the lathe hose from its posable endpoint, untie it from the roof mounts (it’s only paracord holding it) and plug it into the thicknesser and away we go. Not the best solution but the best I can think of for now in this much space.
Next up, a sheet of plywood will cover that extractor and become the backplate for a set of shelf type things so that I can move all of this stuff off my bench…

Yeesh….
Tags: dust extraction, tidying