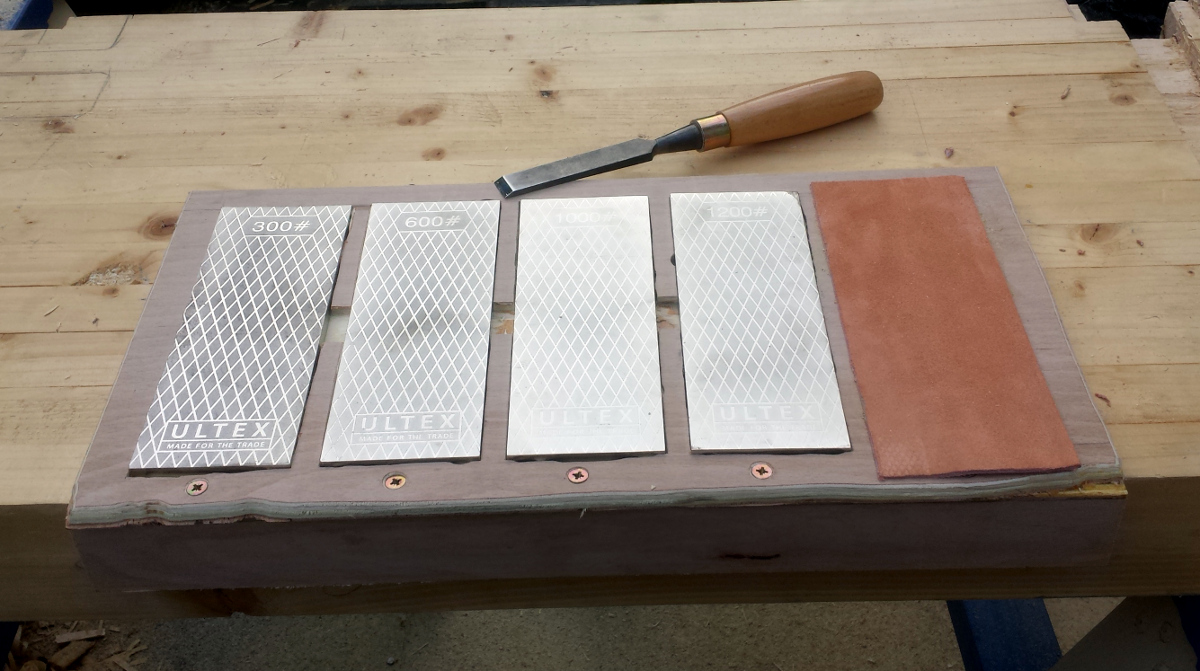
So ages ago I made one of Paul Sellers’ kind of sharpening stations – effectively just a plank with carved recesses for diamond plates (in a small shed, the diamond plates work best for me because they’re less muss and fuss than everything else would be in that space). It wasn’t exactly a masterpiece or anything (though I still think waney edge plywood will come into fashion), but it worked quite well for years.
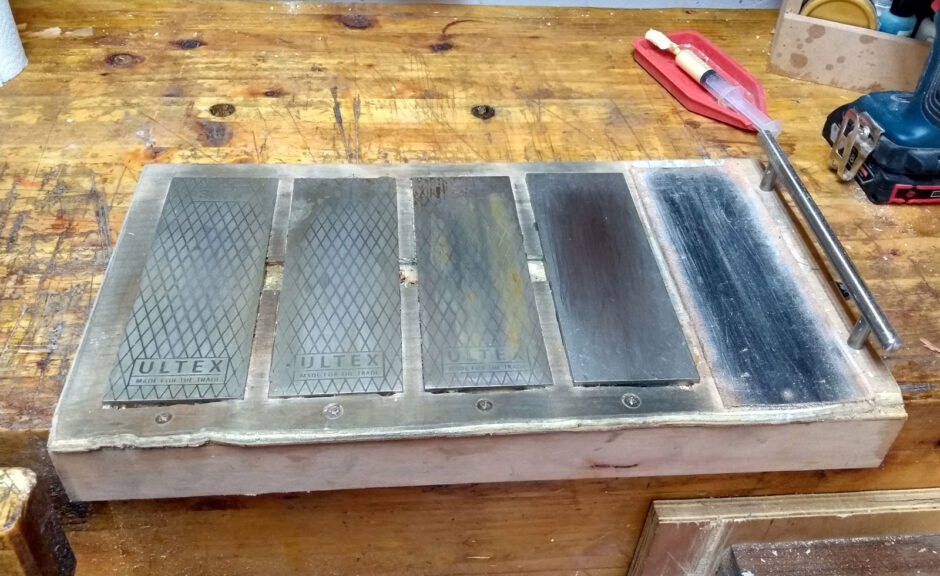
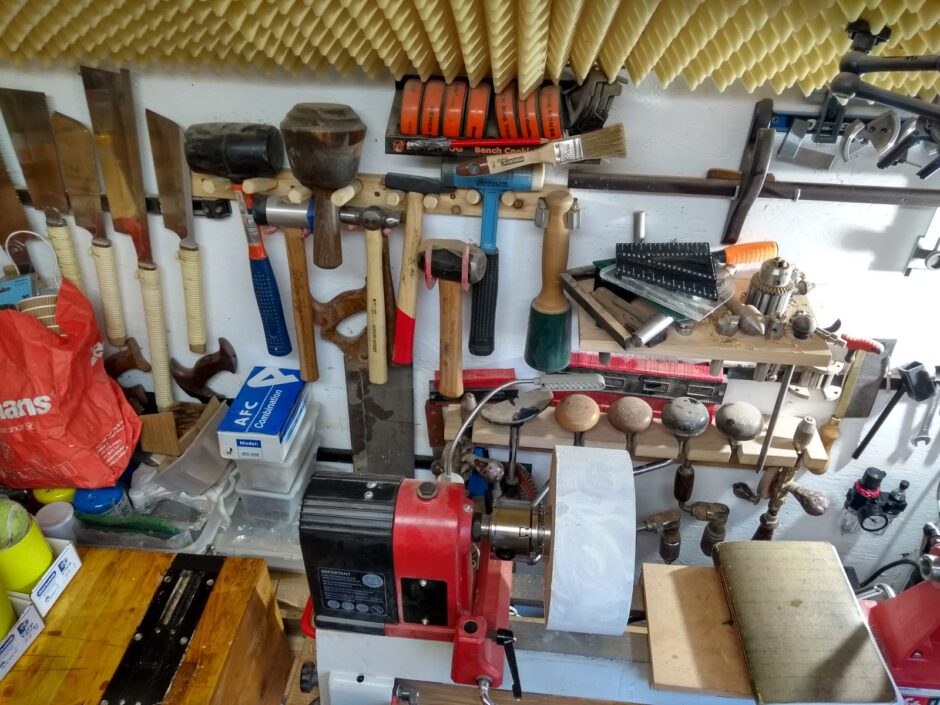
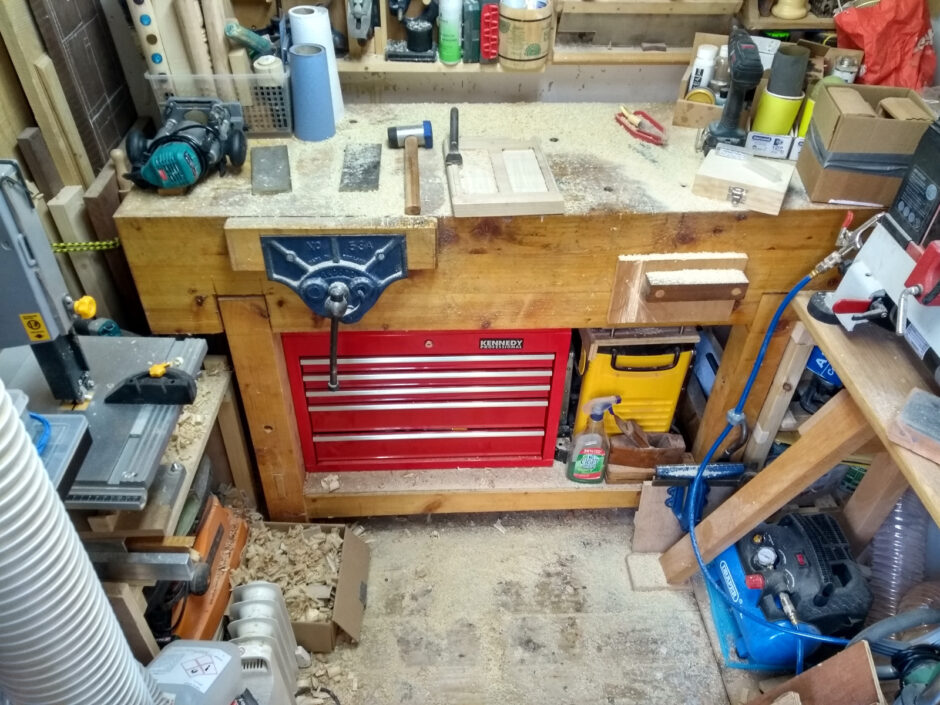
It has gotten slightly grubbier with use (that’s the steel dust and the lapping fluids and so forth) and I added a handle because I started keeping it under the bench and the handle made extraction easier. But you still have to pull it out from under the bench and have room free on the bench to put it on before you can sharpen and that’s… uncommon in the shed. I mean, if you have a 12′ bench, I’m sure there’s always some room but my bench is about 5′ long and I only recently got to see the top of it again after a major effort in tidying for the first time in six months so that space is just not a thing in my reality.
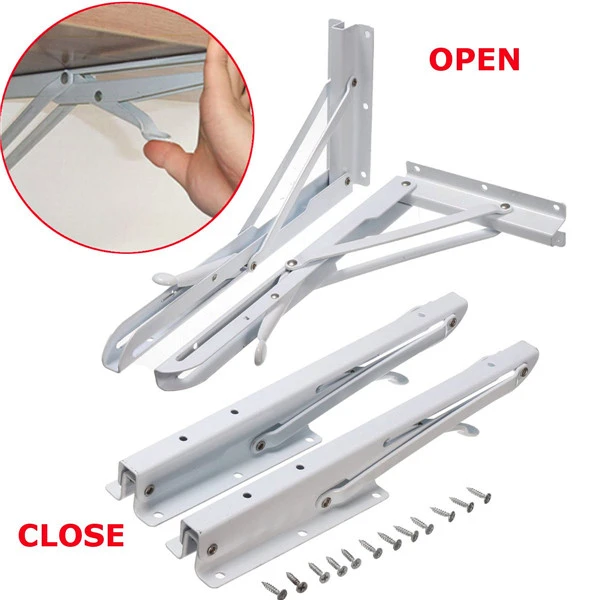
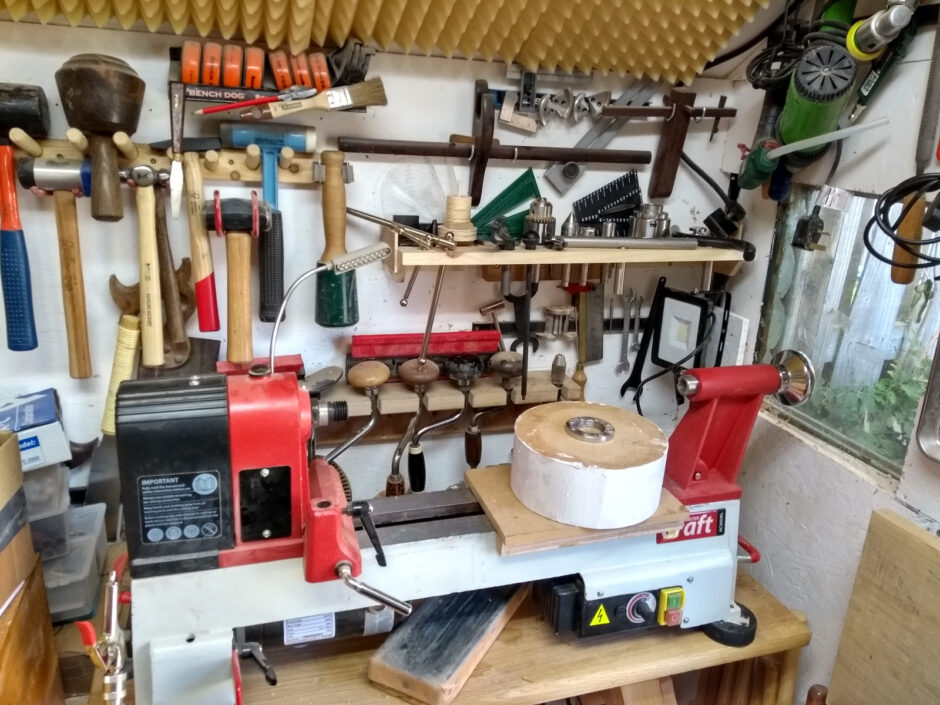
So, a few months ago when I moved the tumble drier out of the shed (no, not kidding, don’t ask) and reclaimed some space, I decided some of that space was going to be used for a dedicated sharpening station. Maybe not a full-blown Shannon Rogers affair with two grinders and a tormek and plates and drawers and so on, but something at least that I could use for most of my sharpening. So I had a good rummage around online and found these:
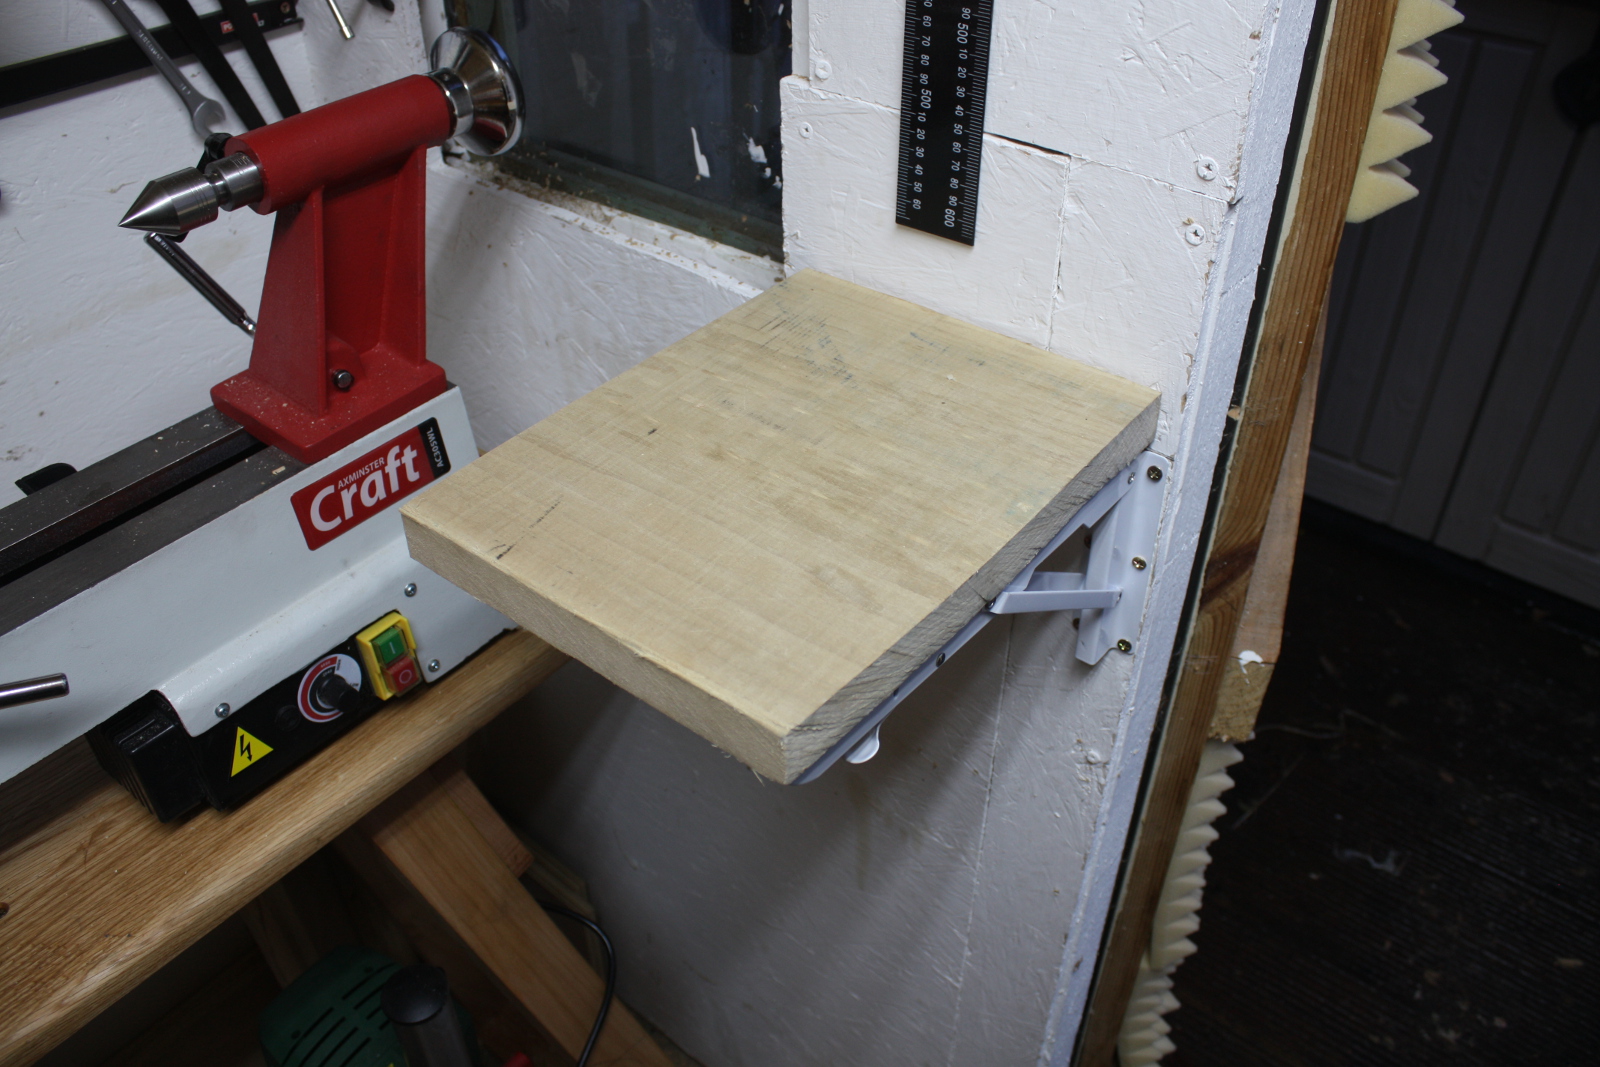
So, one cheap order and a bit of waiting and an offcut and some fiddly installation later and just as the lathe was making its first chips, I had a folding shelf.
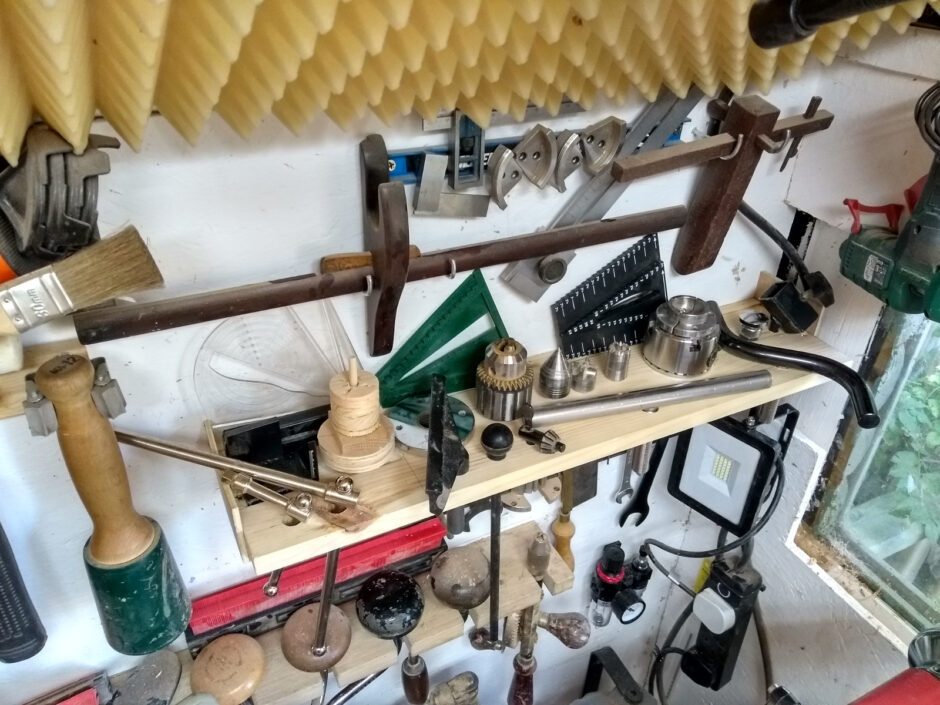
…and then I did nothing for several months. I mean, okay, there was the whole pandemic thing but mostly I just got buried doing other things. But in the last day or two I got a bit into doing shed jobs. I rebuilt the lathe tooling shelf because it went from reasonably tidy:

To a complete and utter pile of disaster waiting to happen:
Yeah, I might have bought one or two things without planning where to store them. So I pulled that shelf off the wall and disassembled it (and if you ever wondered how strong titebond II was, well, this is what happened when I hit the shelf with a lump hammer to break the glue line holding the shelf from the piece that’s actually screwed to the wall):
Anyway, took a scrap of pine left over from something else, and did some mucking about with the pillar drill and the router:

Put a small routed channel in at the back for the centerfinders to be propped up in against the wall, and end caps from plywood scraps that might stop them falling off the ends, and a small routed rectangle on the left for other stuff like a diamond hone, a spindle centerfinder that’s a bit awkwardly shaped and a few worm screw spacers on a little tower-of-hanoi holder thing.
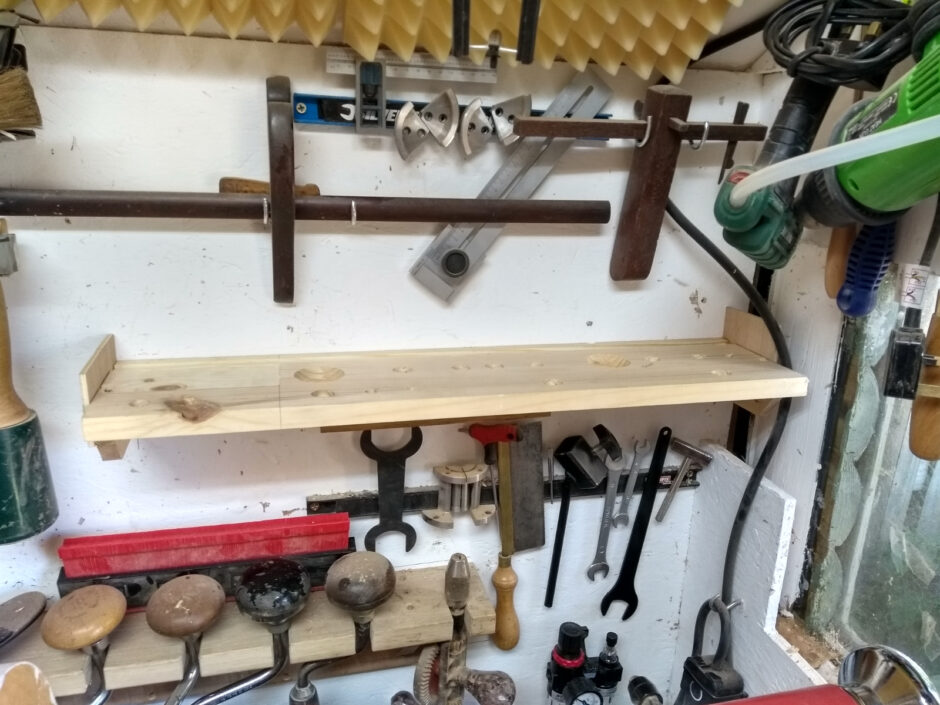
I know it doesn’t look like it, but that is an improvement. Even if things are now looking busier than I’d like…
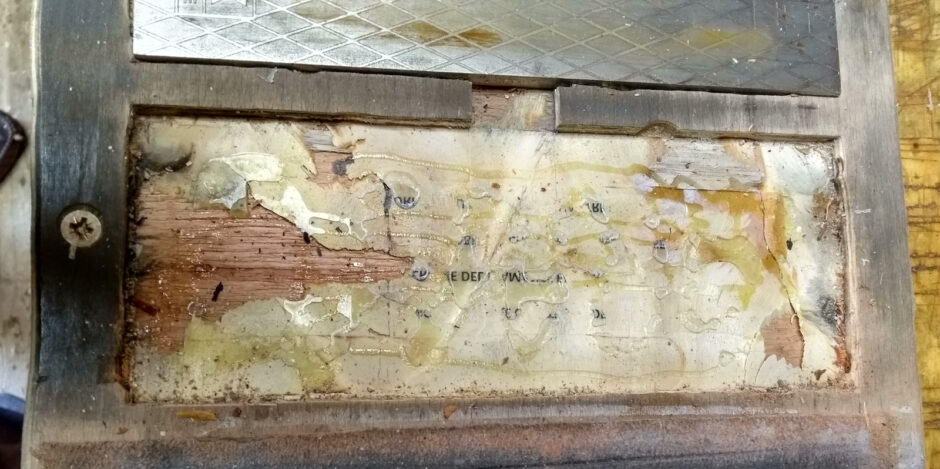
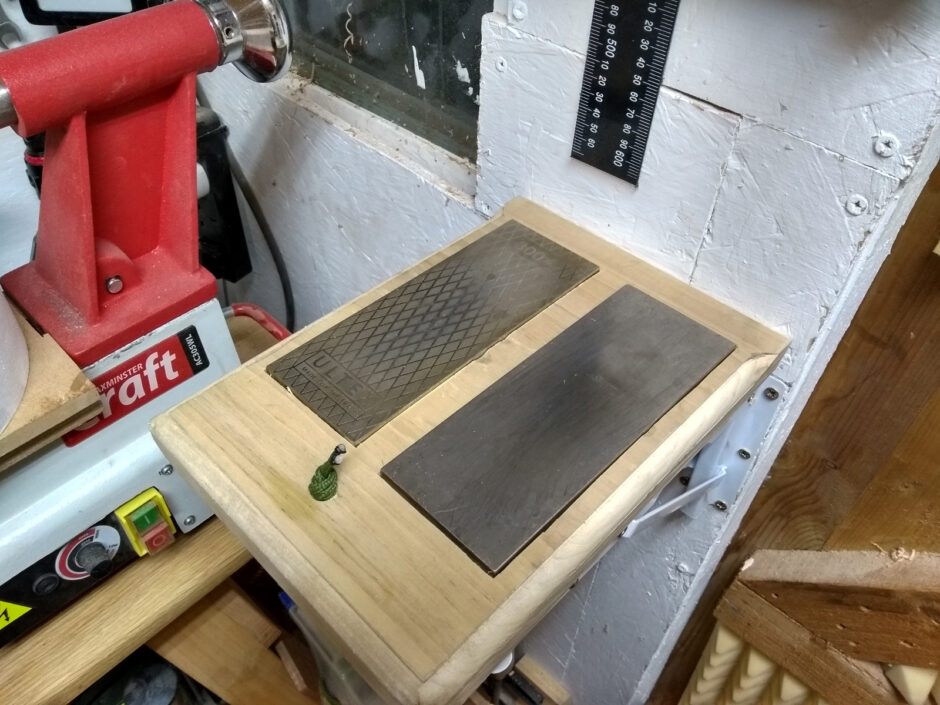
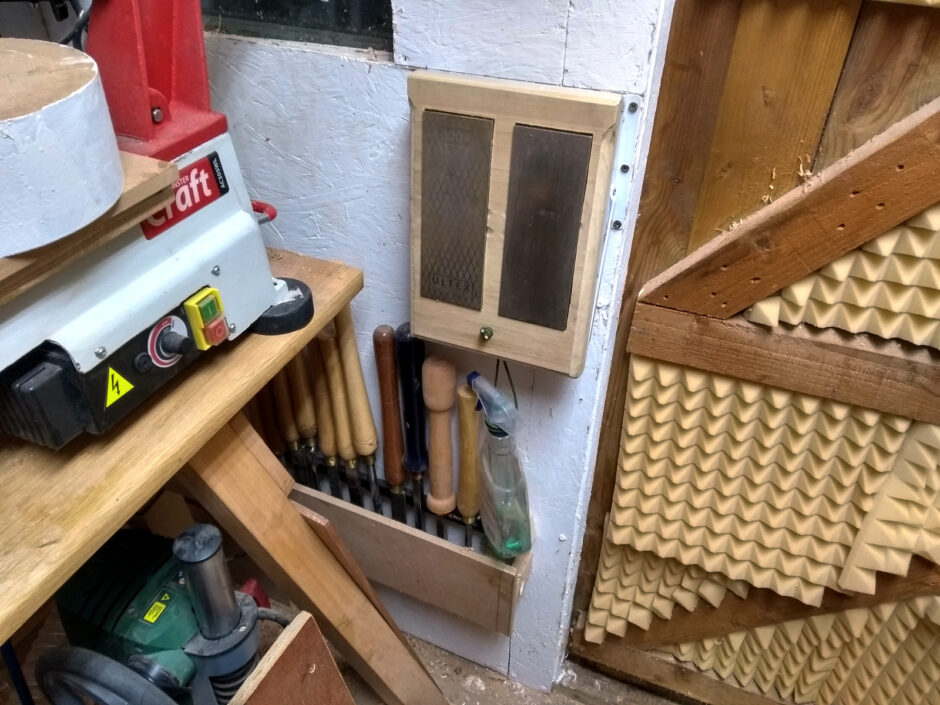
But anyway, today’s project was to finish the sharpening station so I pulled two of the four stones from the existing sharpening plate holder (the coarsest and finest ones):
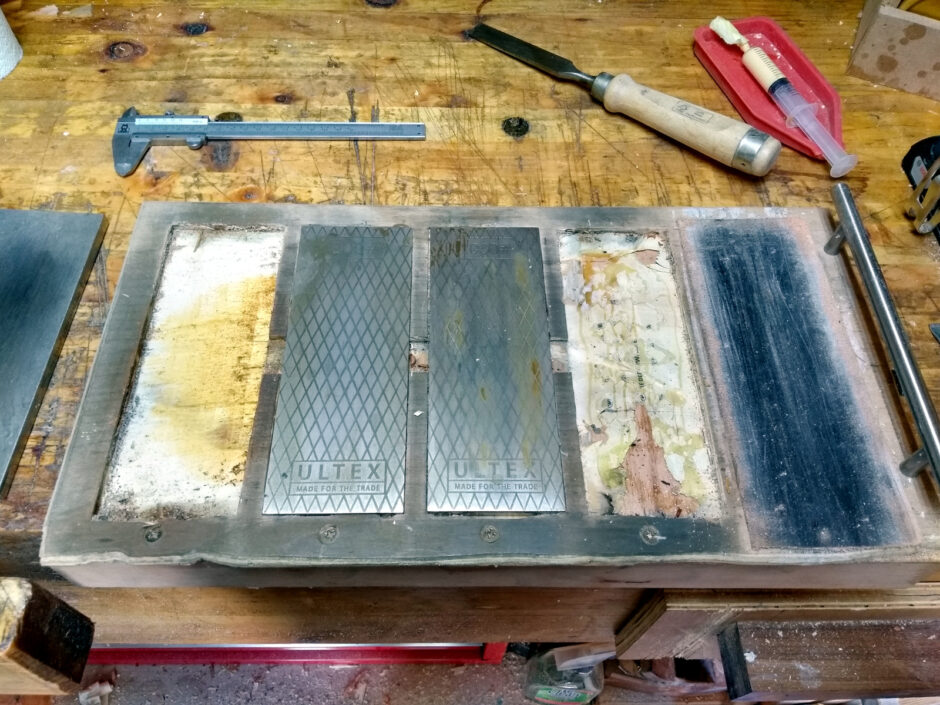
That glue wasn’t messing about, it held onto the writing 😀
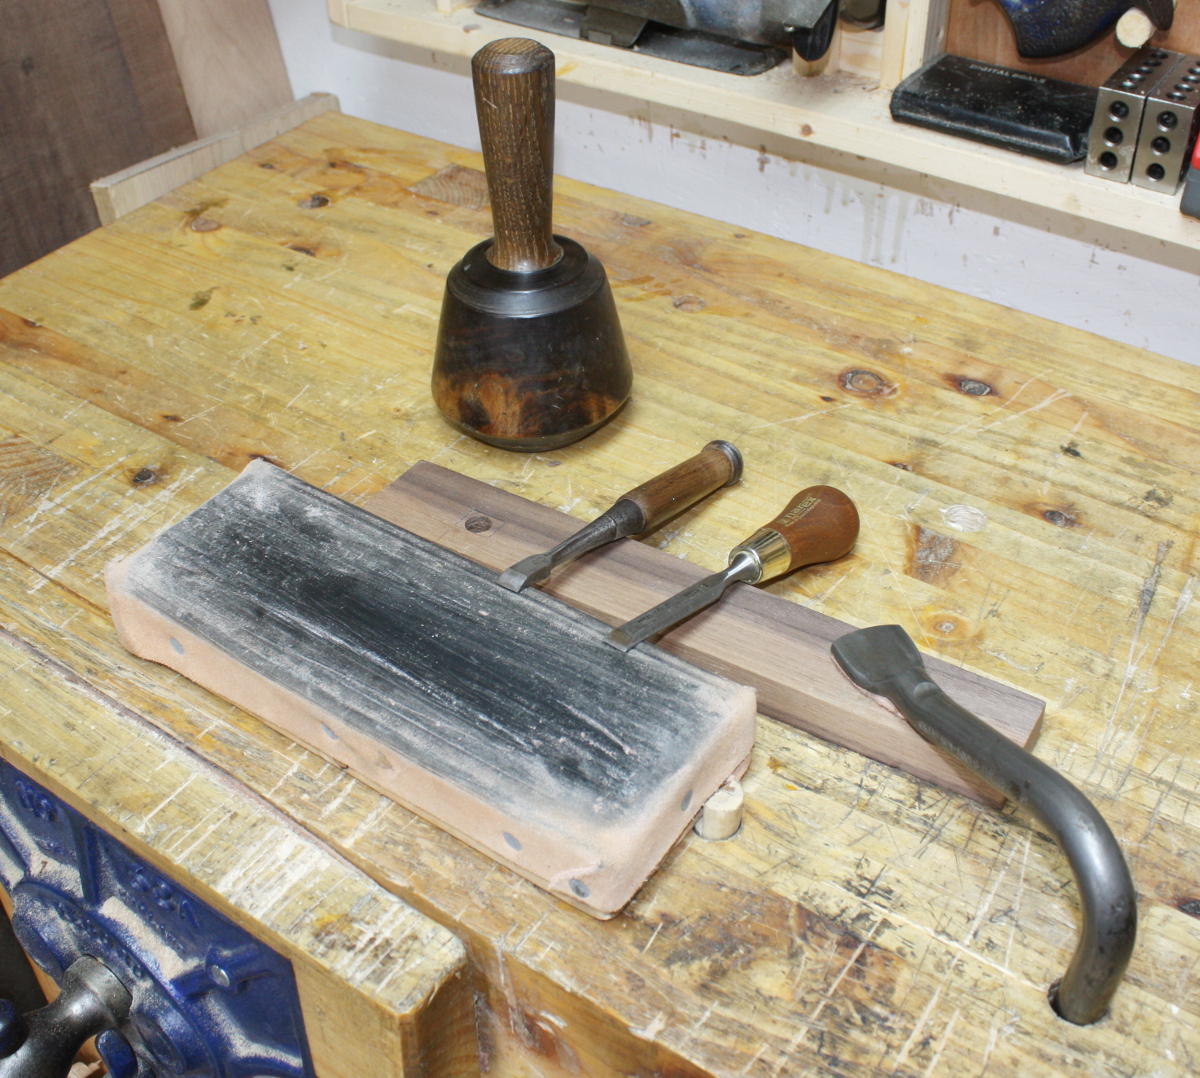
I won’t be losing the strop btw, I’ve found stropping to be very much worthwhile but I usually use a dedicated one that I leave lying around the bench which is just a length of 2×4 with some leather nailed to it that I made back when I was making the bench years ago.
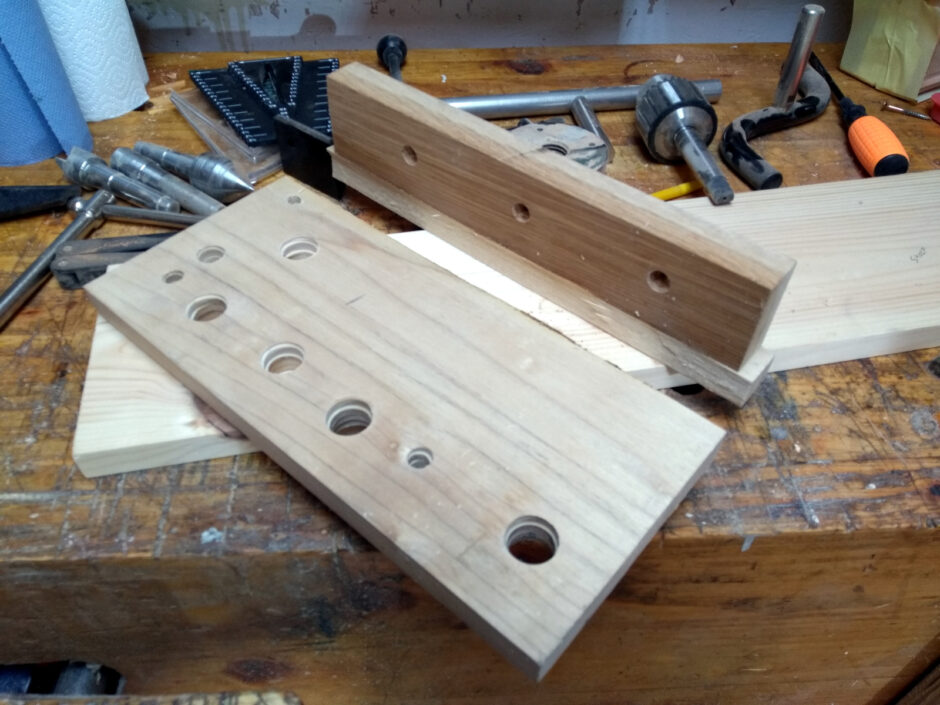
Next I trimmed the edges of the poplar offcut I’m using here, planed it, and marked it out for the plates.
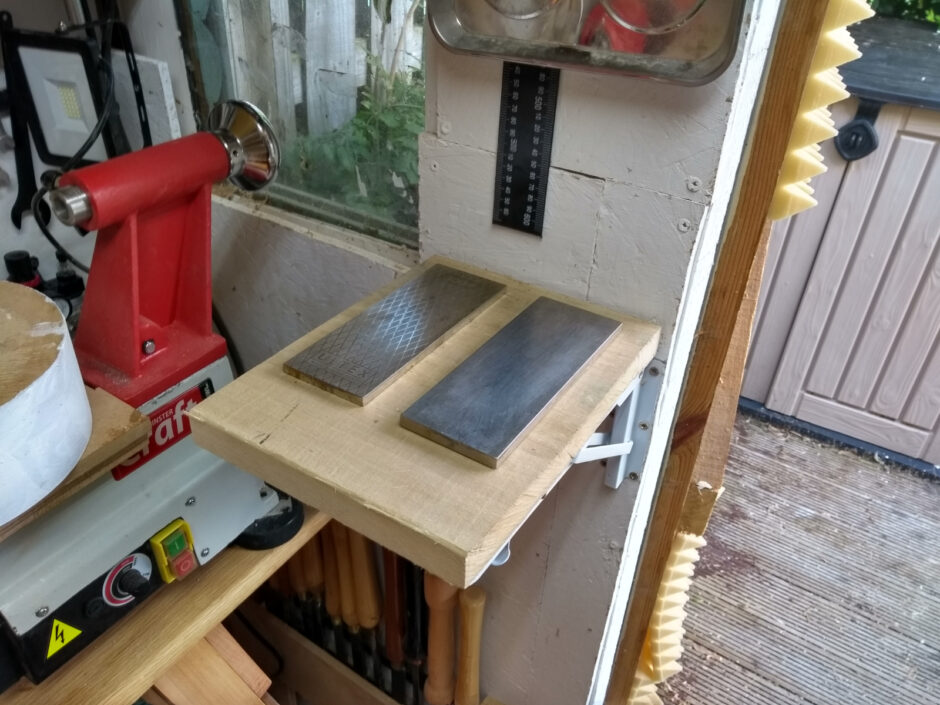
And I routed out the bulk of the waste with the power router. Have I mentioned I hate that thing? It’s loud, it’s scary and holy crap the mess.
But it was a bit easier than chopping the plate recesses out with a chisel. I prefer to cut mortices with chisels, but for large wide areas of excavation, it’s hard to beat a power router. It’s awkward to be precise with them though, so I routed to within 2mm or so of the lines and then did the rest with a chisel or two and a mallet and some patient thwacking. A touch of epoxy to glue the plates in place and some remounting with predrilled screw holes and…
(The paracord is for hanging the window cleaner bottle I use for lapping fluid from)
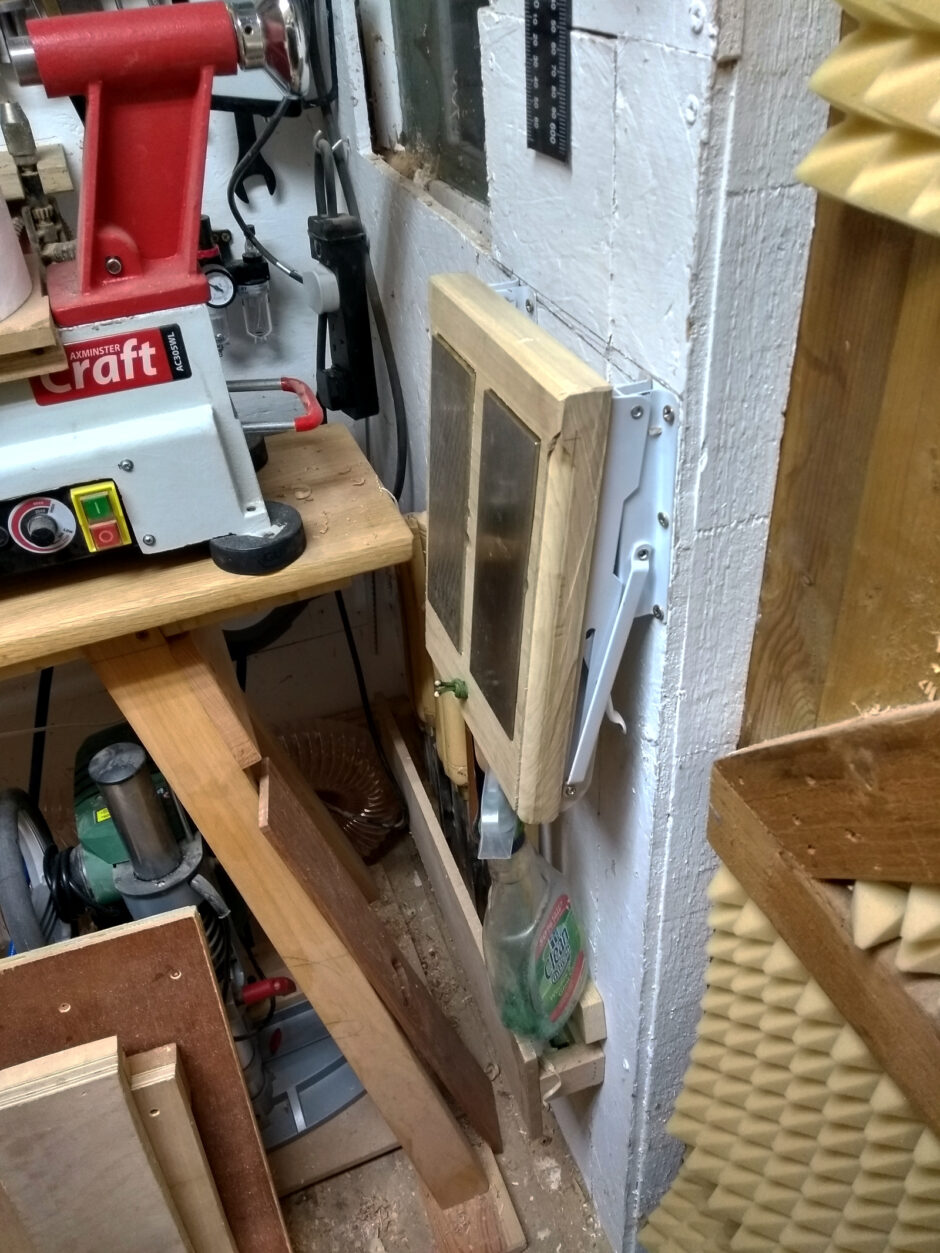
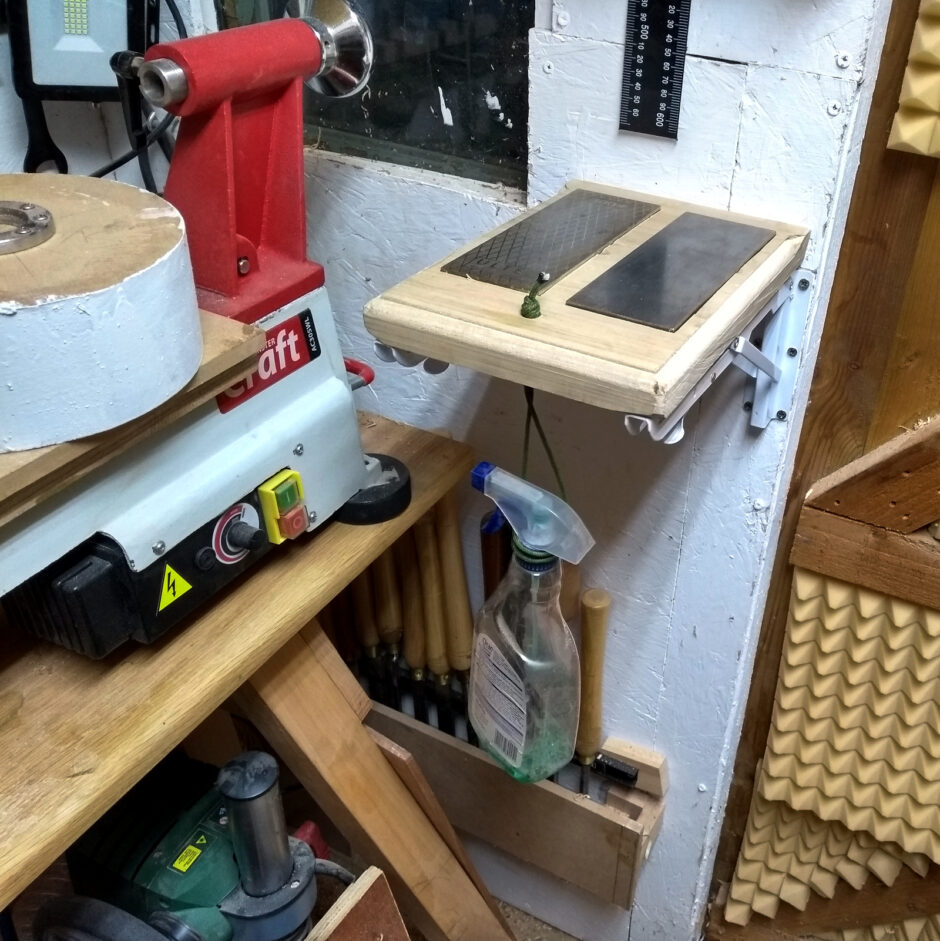
And now I can touch up a chisel from not-sharp-but-not-yet-dull to yikes-thats-sharp and be back to work in 30 seconds. Literally, I tried it (and it’s easier when you’re not holding the cameraphone in one hand):
Next job, the dust extractor cyclone has torn out of the lid of the drum it’s on so that has to get reinforced with plywood temporarily until I can build a 4″ cyclone lid (the flat kind like this) to replace it, and I have to make some holders for sandpaper (for which I might have to rebuild the printer head on the 3D printer which is acting up at the moment) and for the kitchen rolls I use in there for finishing on the lathe, and the wire-burning bits and bobs need to be rethought a bit because they’re literally a box of wires and two handles with holes in them right now which is just a messy pain in the backside, and the saw vice needs a proper home to hang on as well (probably on the wall behind the lathe low down like the little record imp machinists vice), and then I can get on with actually making stuff…
Tags: diamond plates, poplar, sharpening, shed jobs, shelf, shelves


Interesting. I’m always amazed at how some of us can work in tight spaces.
Who says you need a big shop to do woodworking?.
The flip down sharpening station, would probably keep the stones cleaner having no horizontal surfaces to gather the dust while folded.
But to me, the most interesting part of looking at someone else shop is in finding all kinds of neat ideas to try in mine (which is about the size of a small bedroom.
Cheers
Bob, who should go in his and clean it up a bit :-).
Mark,
I’ve said before, my sharpening bench is one of the most important tools in my shop. I couldn’t work without it. BTW, I watched a Rob Cosman video today dealing with sharpening, your shelf would work well.
ken
Got to use it in anger today on a morticing chisel Ken, it works like a charm.