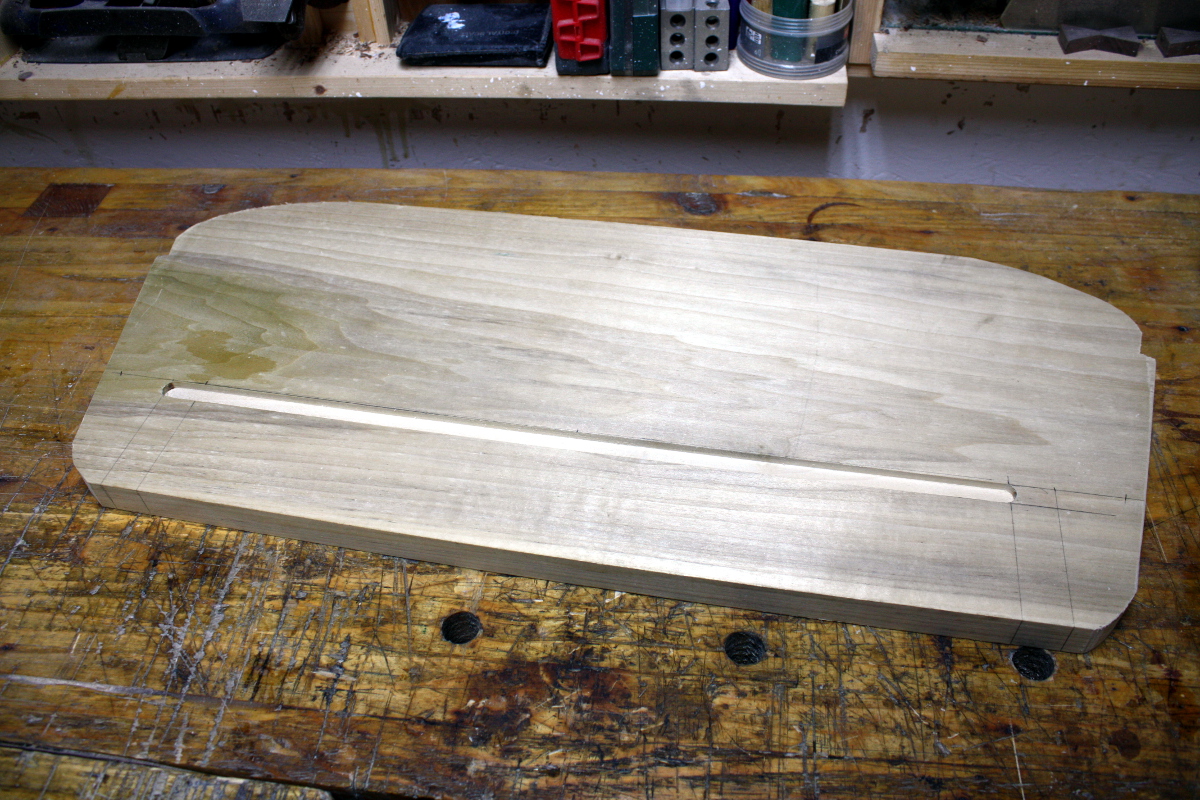
Few hours in the shed this Saturday. Put the inlaid desk to one side, got out the hated router and set it up and dug a shallow trench along the underside of the first shelf.
Next, had to cut the length of aluminium extrusion I had to length, so spent a few fiddly minutes getting the right length including the end caps, and then discovered I didn’t have a hacksaw to hand. The bandsaw might be able to cut aluminium in a pinch, but the throat’s not deep enough to get to where the cut had to be made, so… angle grinder?
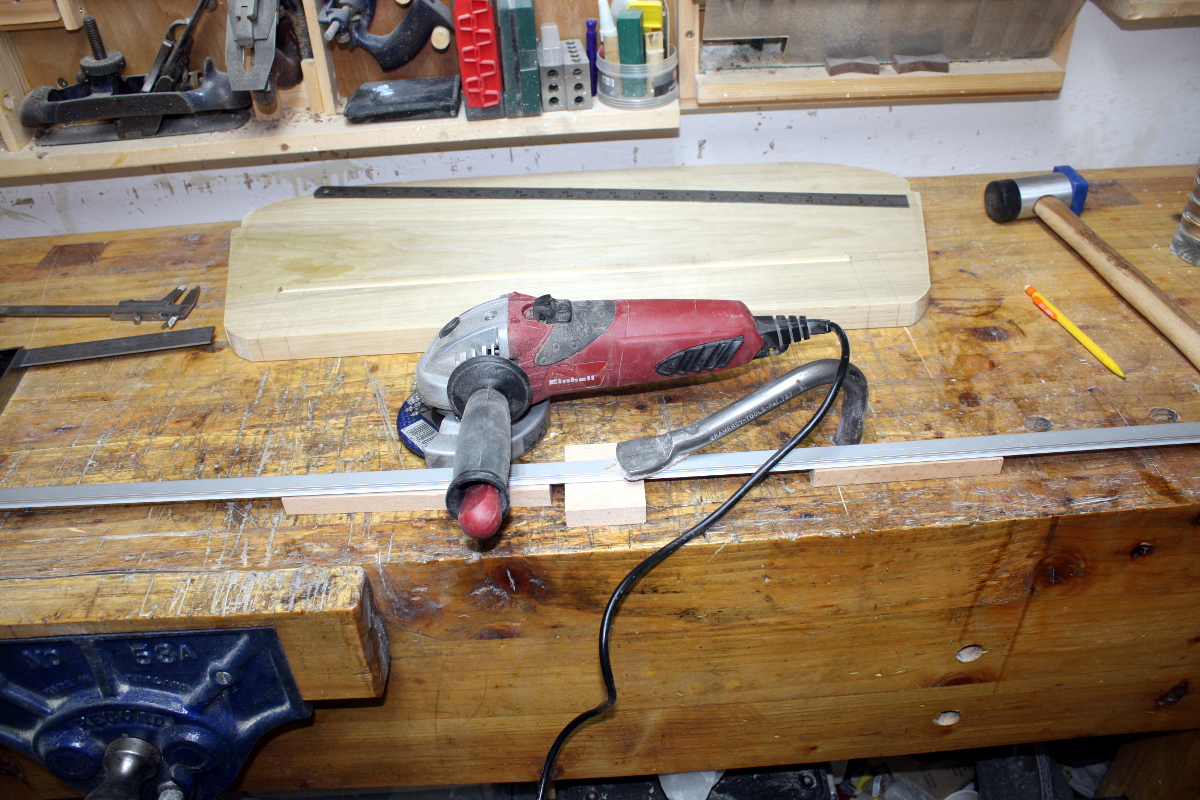
Angle grinder. Fiddly to set up, very fast cut.
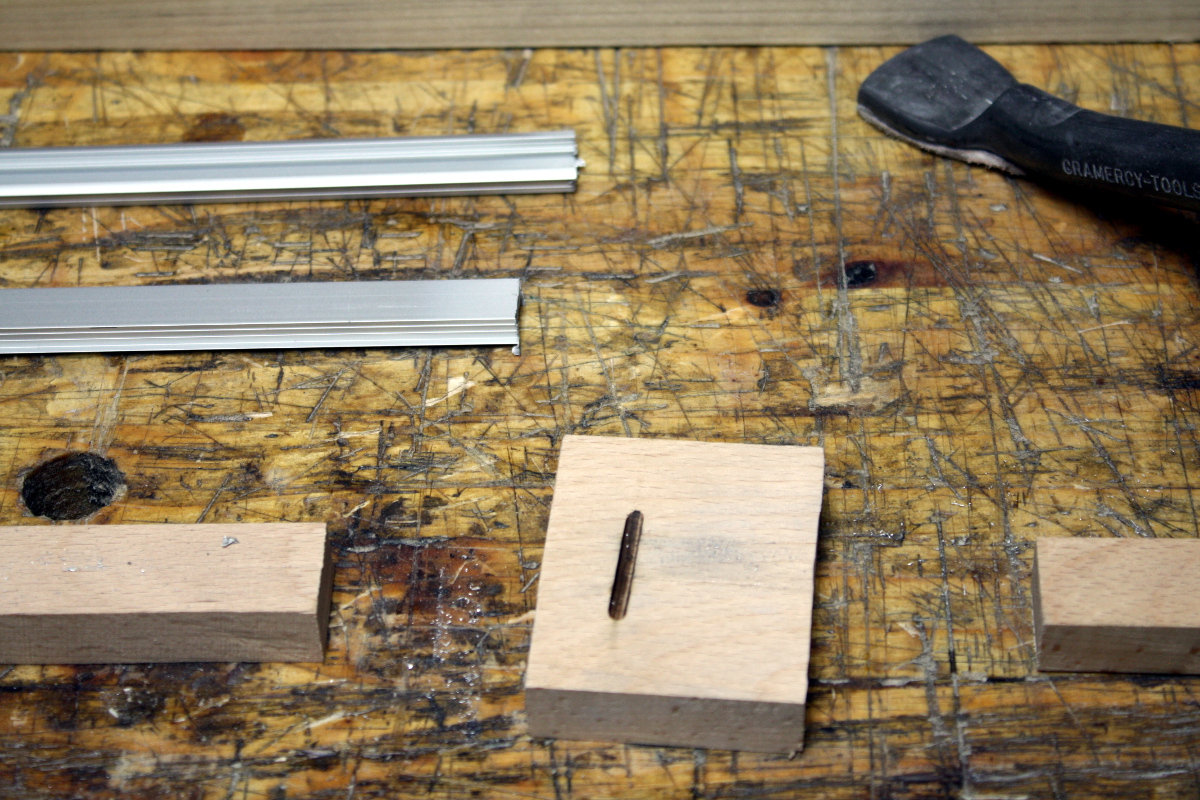
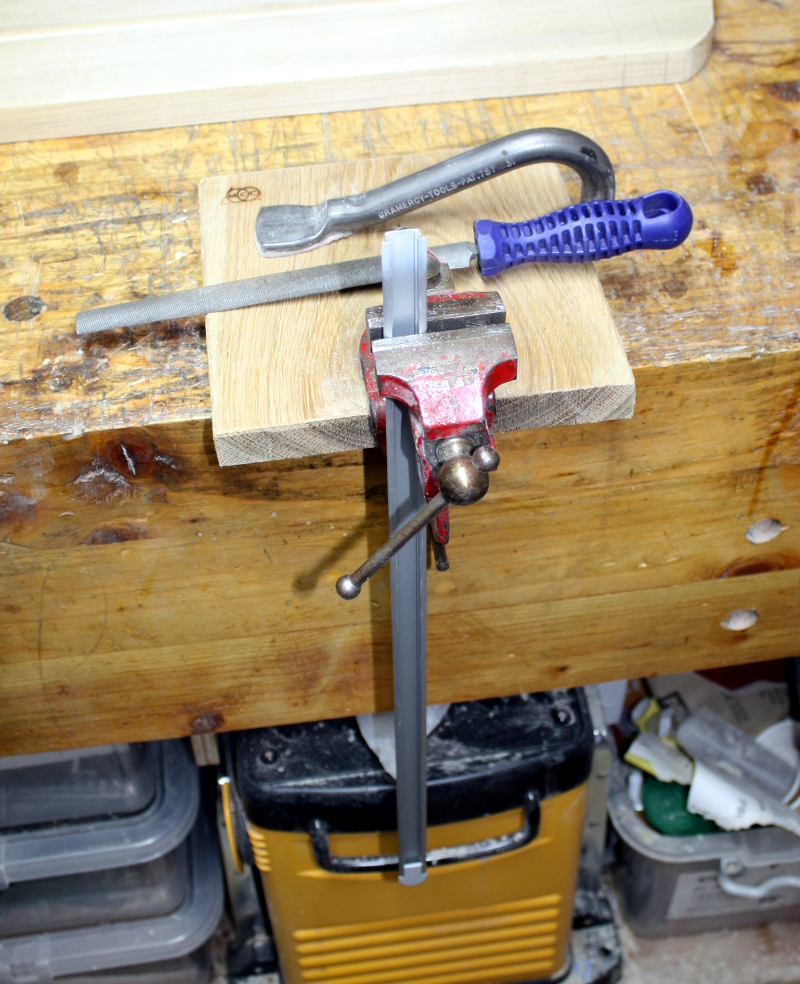
Almost too fast really. And of course, messy. So time for hand filing. Out with imp to hold it and the files to clean up the cut and deburr everything.
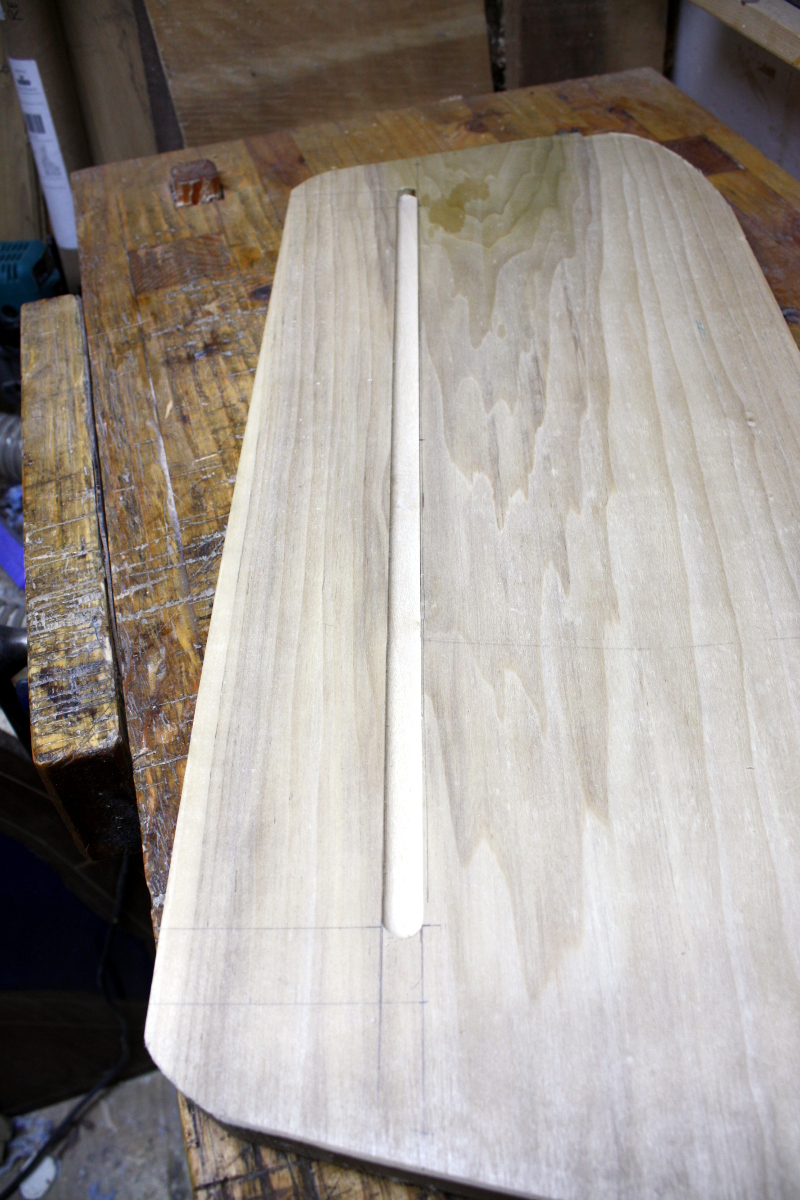
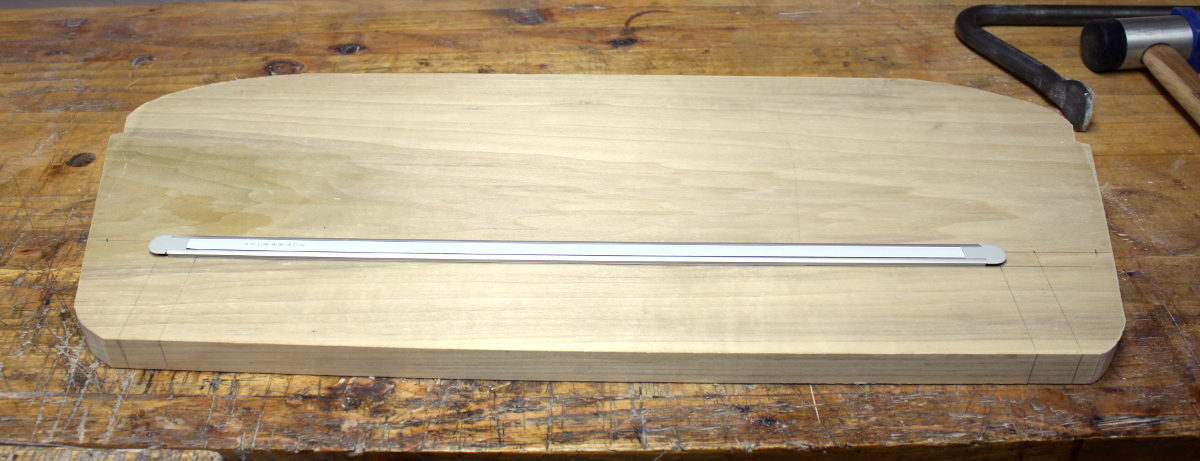
And then test fit. The extrusion has small ribs to act as barbs when you drive it into the slot so I’ve not seated it home yet (plus I need to drill in from the back of the shelf to run the cord in for power and I don’t yet have the LED strip to go into the extrusion, so this is as far as we go with this step for now).
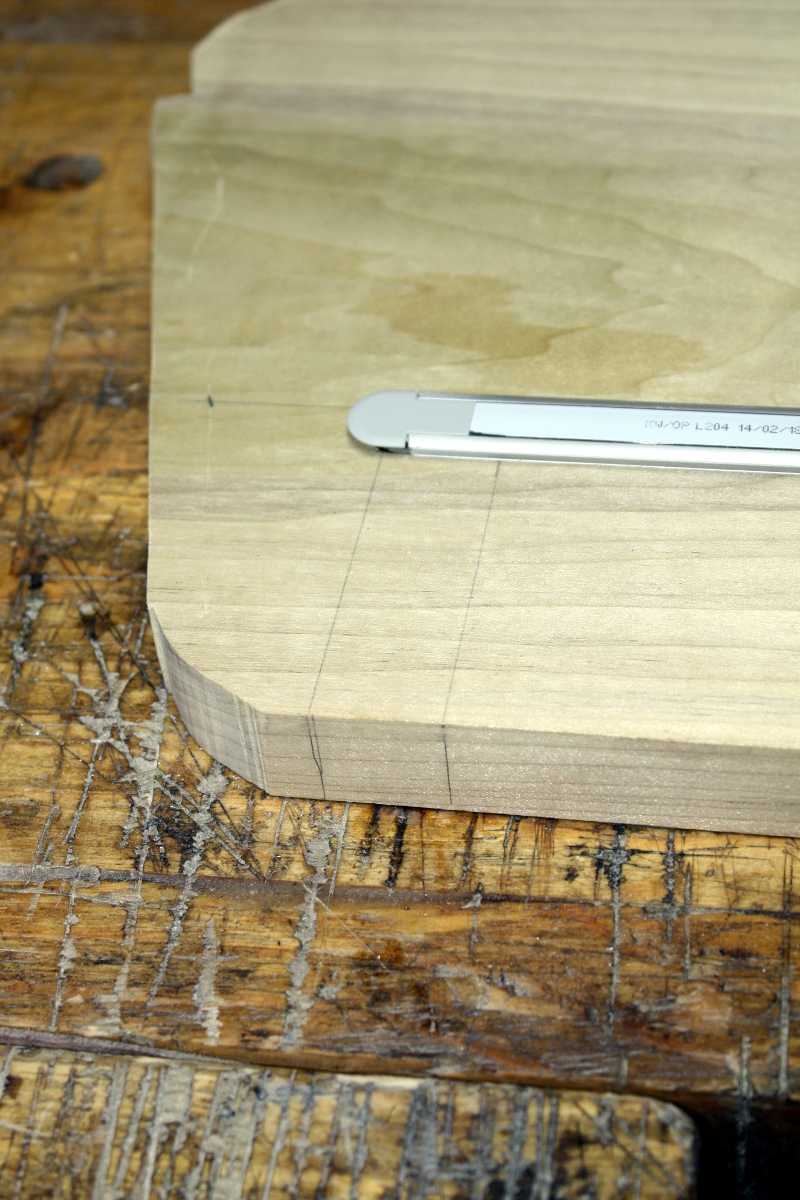
I’ll drill in from here in the middle of this marked channel back to a slightly deeper part of the trench that I’ll cut before drilling and then it’s a wiring job. I was wondering about chasing the cord down the leg of the shelf and having the plug emerge at the base, but I might just have a 12V DC socket at this point and let the plug go directly to it. We’ll see.
Next, planed the surfaces at the rear of the top of the uprights which will actually contact the wall. This is a straightforward, if slightly exact, chamfer with a handplane.
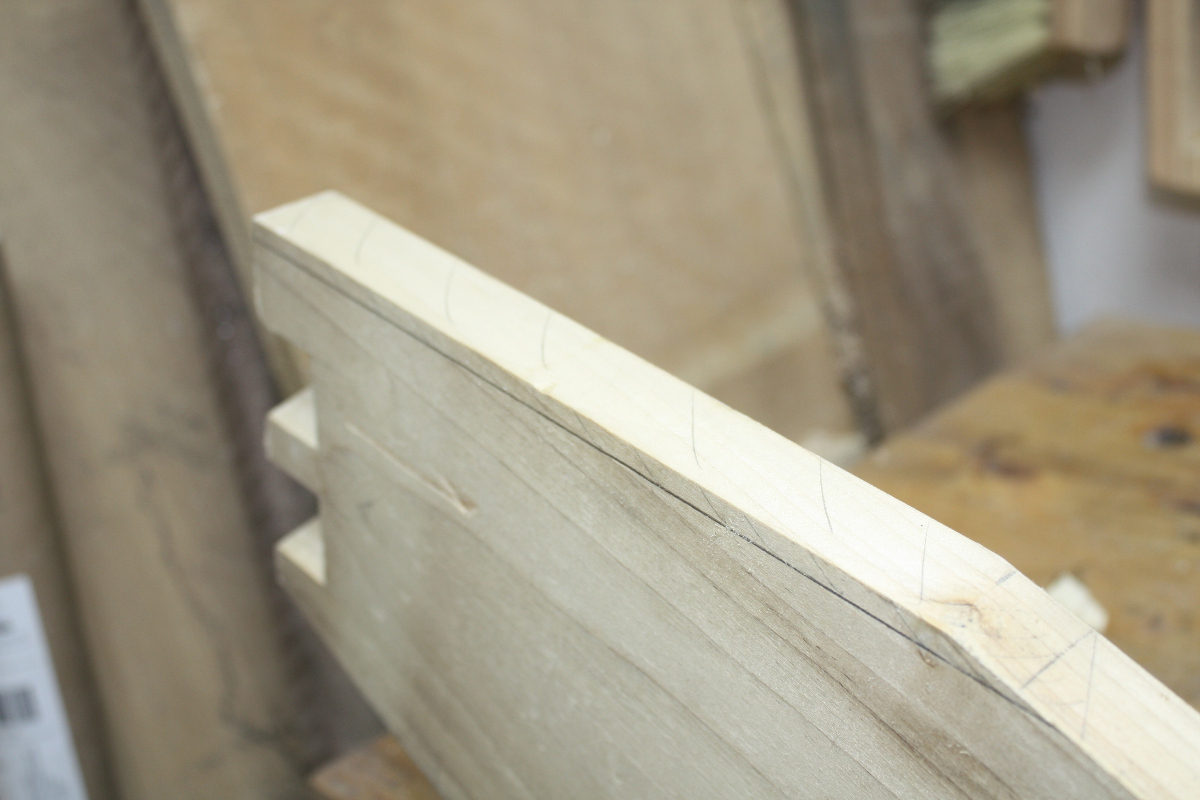

Before and after. Not much to see, but it’s the difference between leaning against the wall and being driven into it like a chisel. I’ll put a leather pad on these surfaces as well (and maybe the back of the top shelf too) after finishing is done.
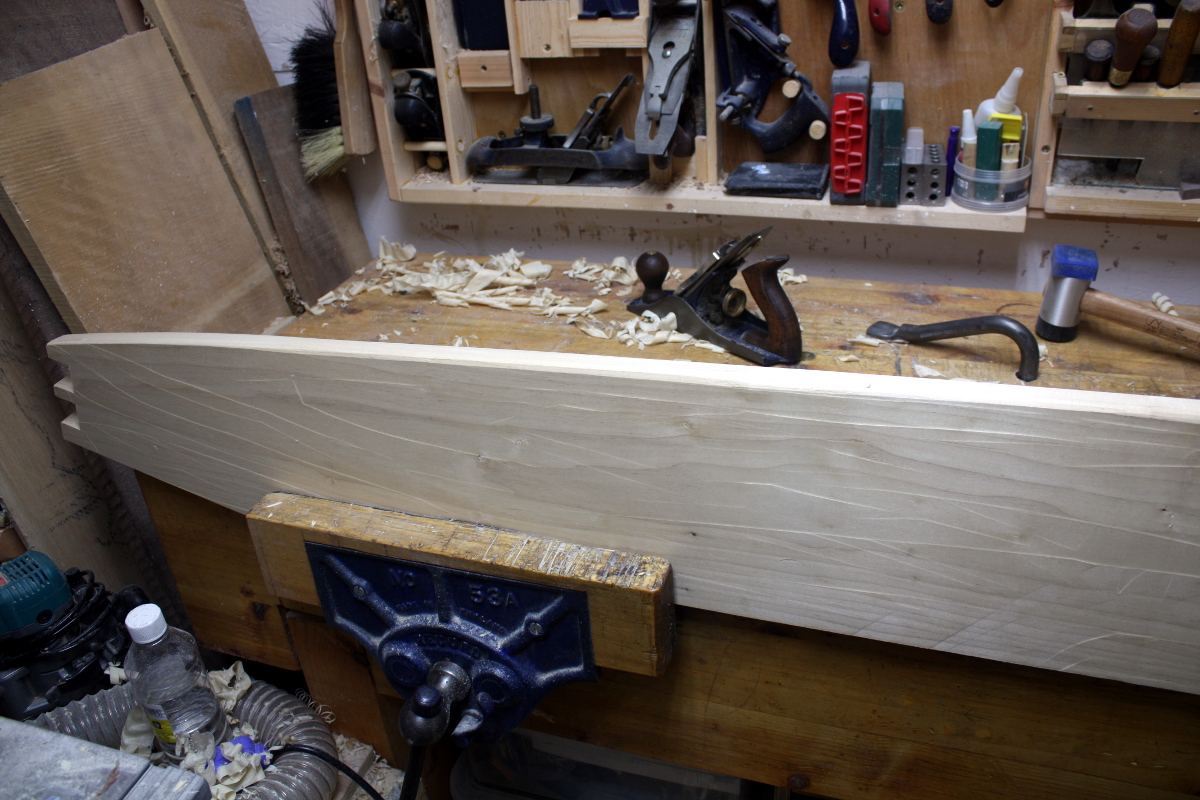
And now shaping and finish planing. The #04 and my favourite spokeshave come out and all the sharp corners that have been left alone till now go away so every edge is rounded and safe, and the surfaces all get a final planing to take all the pencil lines and dust off, though with this board (you can just about see the worst of it in the photo), there’s been some damage where things have just been banged off the board throughout the last year. Consequences of too large a project in too small a space – it’s not just working on a component that gets affected, storing a component is just as difficult and stuff gets damaged. All the ironing in the world wasn’t making any odds here. Moral of the story: work on smaller projects.
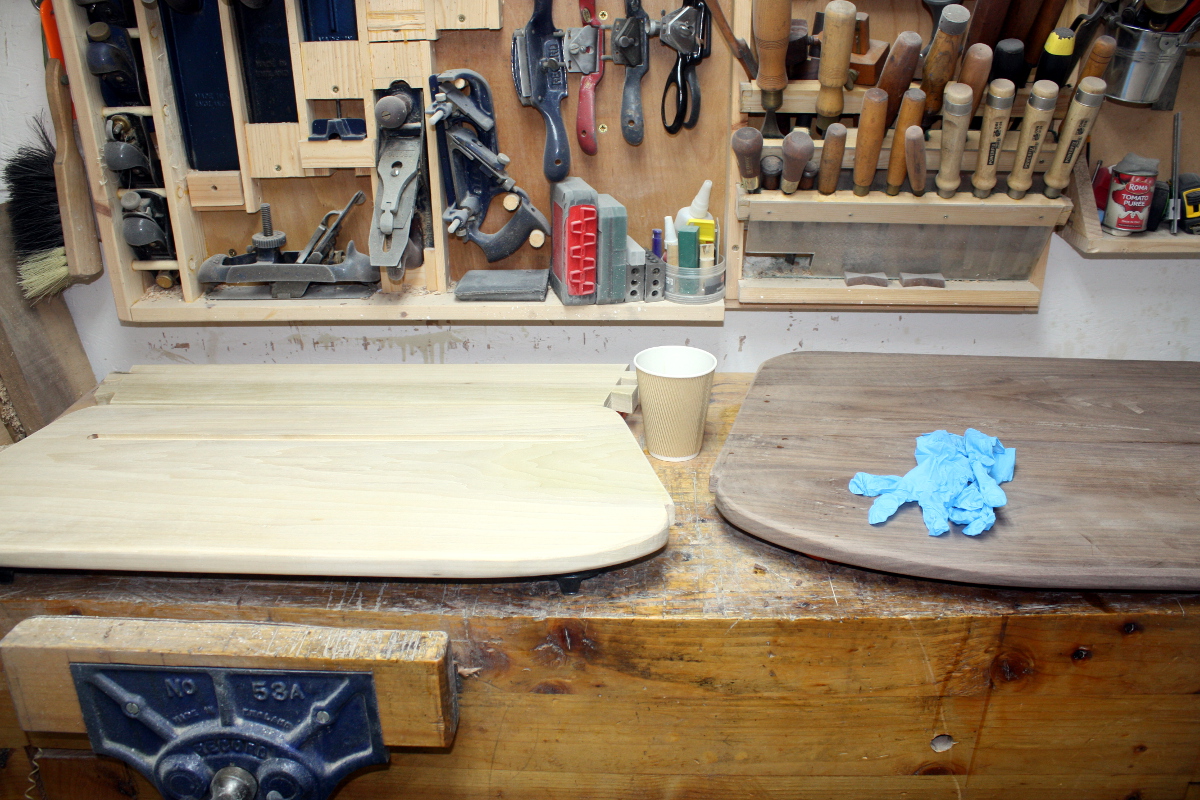
A quick run-over with 240 grit sandpaper later and it’s the last coat of Danish oil (and the first for the uprights). This is the last application of Danish oil for this project, but not the end of the finishing process.
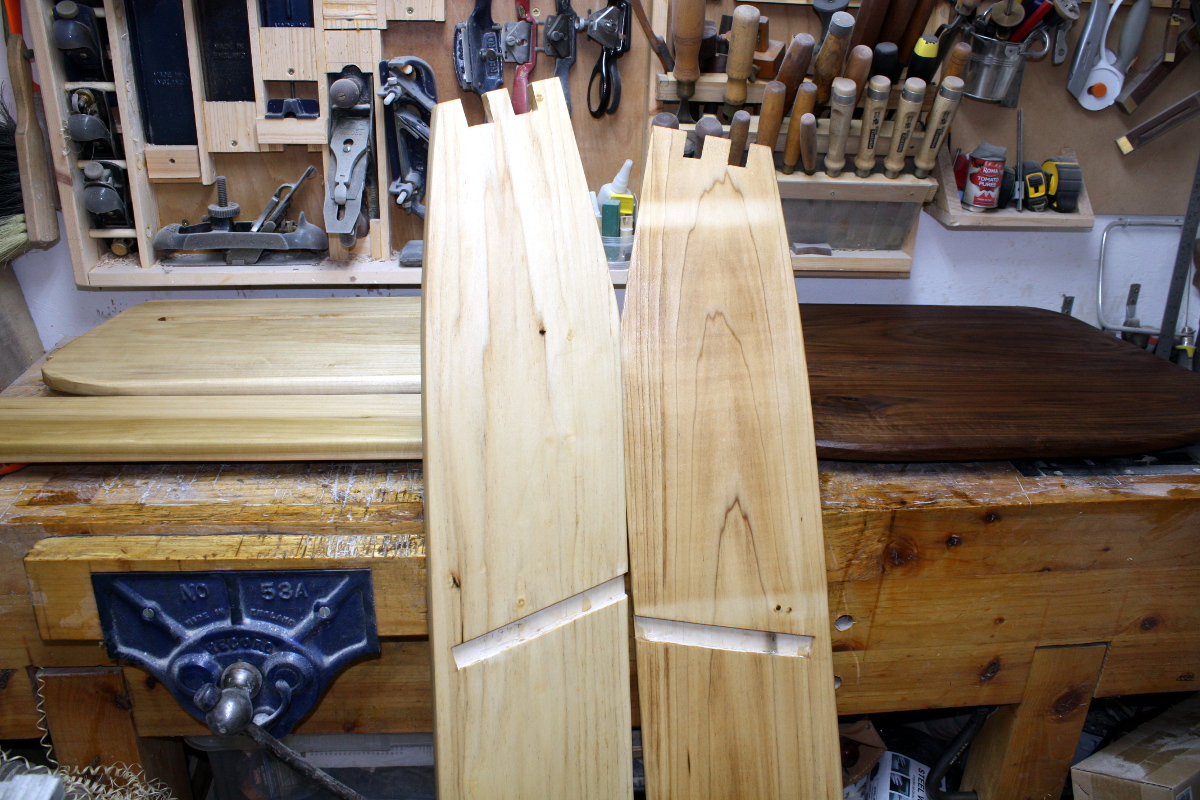
I don’t know why one of these boards is darker than the other. I’m guessing one was on the top of the pack when it was in the timber yard, hence the pale stripe near the top where the strap held the pack together while the UV in daylight tanned the rest of the board. I’m hoping that’s it because if so the wood will naturally equalise in colour over a few months or so.
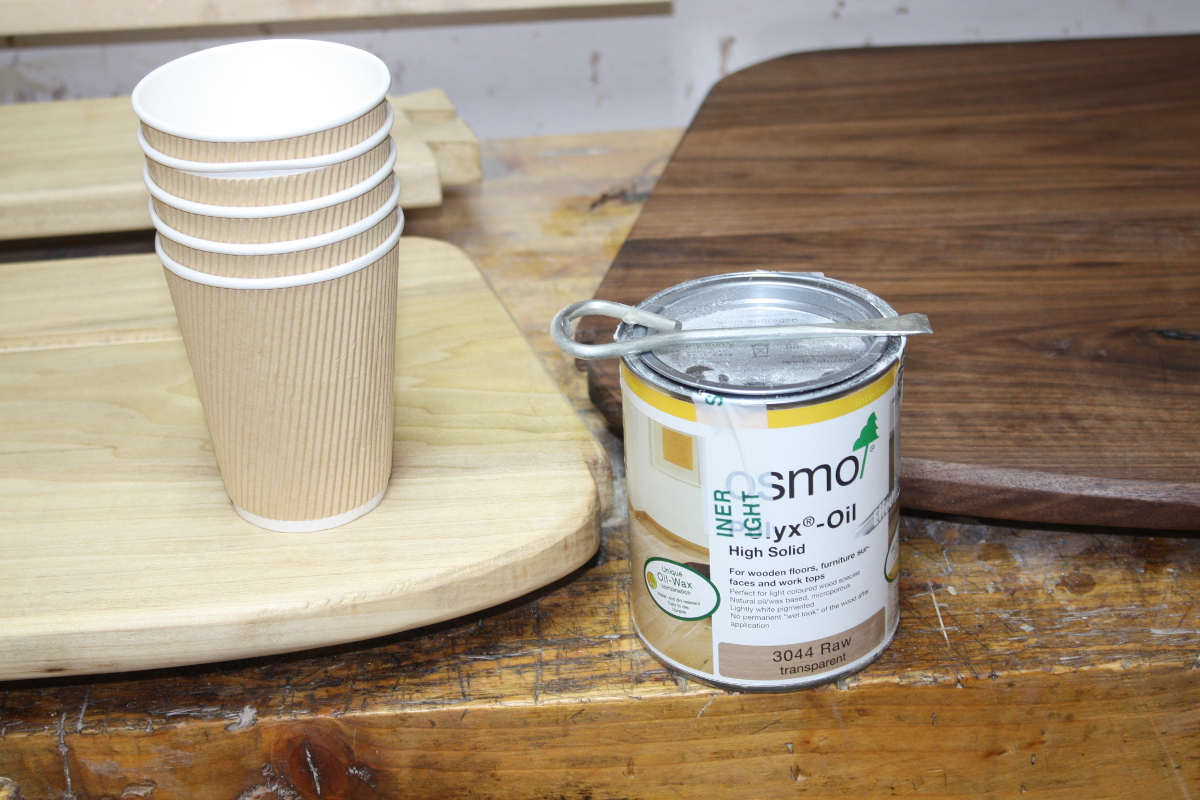
Next morning rolls around and it’s time for the poly part of the finishing. None of the US brands of wipe-on poly I would know are available here, but Osmo Polyx gets recommended a lot and I used another Osmo finish for other projects before with good results, so we’ll spin the wheel on this one. Instructions are simple: open tin, stir well, apply a very very thin coat, repeat coats after 24 hours, 2-3 coats is all that’s needed.
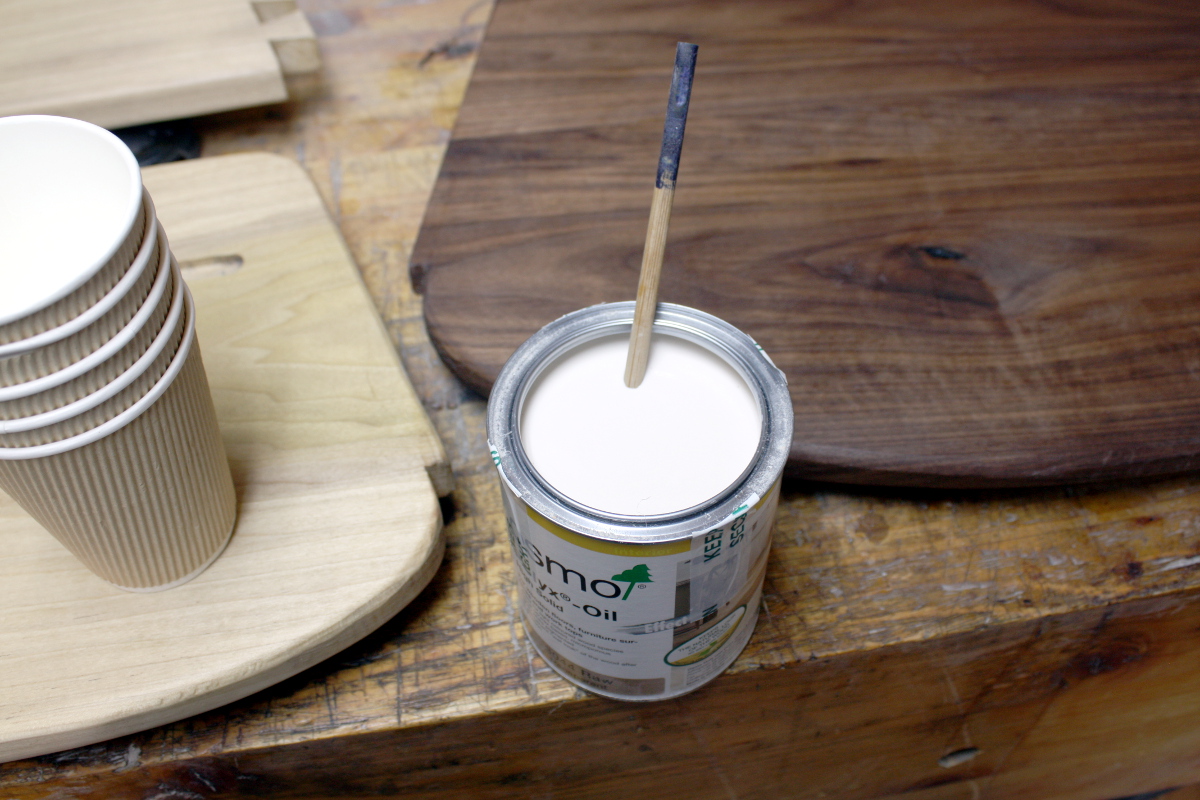
Cue re-watching several videos on polyx wondering if some joker snuck white paint into my transparent poly finish, but no, it’s just that colour (apparently it’s the waxes in the finish – polyx isn’t exactly a liquid polyurethane finish, it’s a blend of oils, waxes and eleven secret herbs and spices that’s allegedly as durable as wipe-on poly but without looking like you sprayed plastic on wood. I’m dubious, but we’ll see). Okay. Now cue a lot of trial to get that thin coat just right. In the end, I apply a thin but still very white-looking coat with a brush and don’t coat everything; then I use a white scotchbrite pad to rub it smooth over the whole surface by which time it’s pretty thin; and then I give it a last wipe-down with a paper towel to get any excess and ensure the layer is nice and thin (if the layer’s thick, it won’t cure right and now you have a gummy tacky layer of oil and wax that’s hard to remove for a retry).
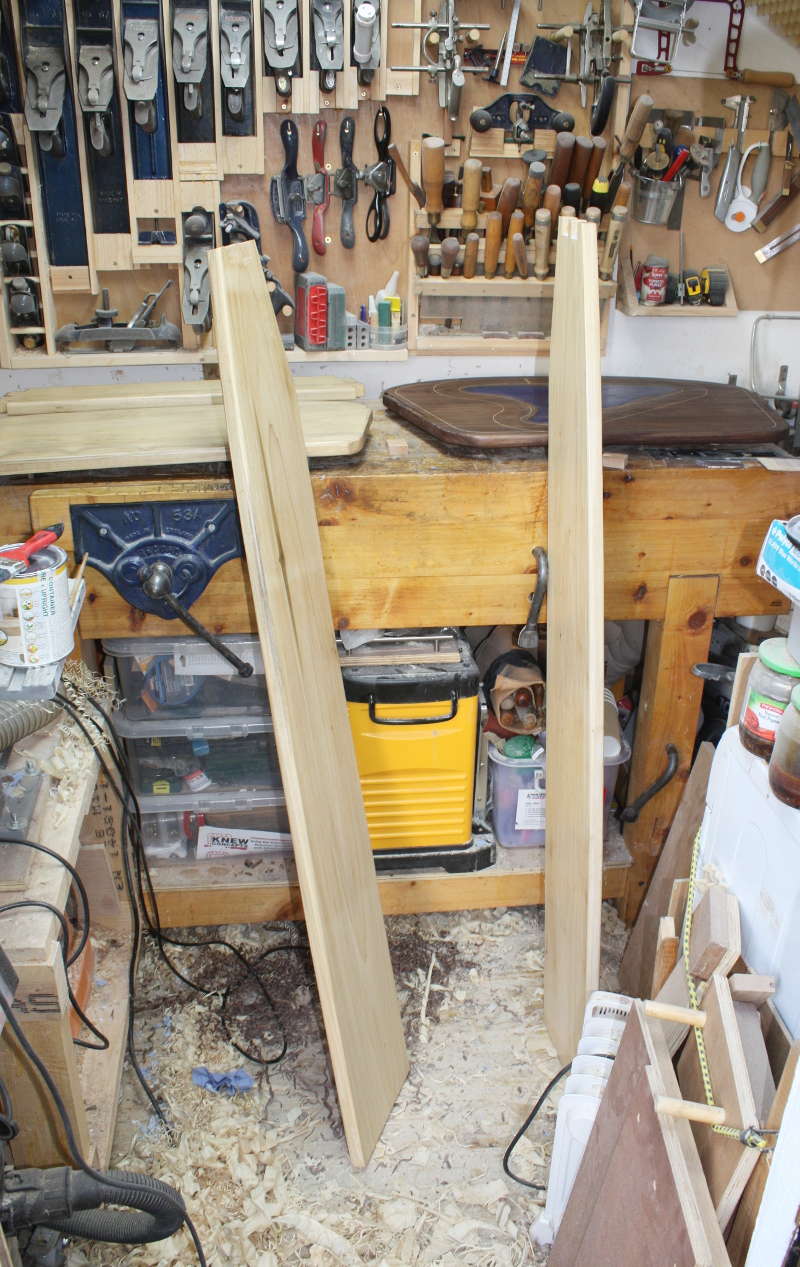
Not an ideal drying setup, but the best I can manage for now with the size of the shed. It’ll have cured in 24 hours and that’ll be all that I do with it for this stage; next will be drilling the cable route for the light, fitting the LEDs, and when all of that is done, the final assembly and glue-up; and then I’ll do the final two coats of polyx to finish. I might even give an extra coat on top of that to the top of the desk, as it’ll see the most abuse. Hell, I may need to refinish that in a year or two, but I’ll drown that in resin when I get there…