So the camera battery complained about being empty on Sunday and it got a few hours in the charger, but then come Monday, it said it was flat again. Hmmm. A replacement knockoff has been ebay’d. However, the fabrication of the handles and the glueup got missed. It wasn’t that hard, cut a piece of beech to width so it fits in the end of the box, then make a 1cm deep cross cut in the middle of the piece and chisel out a curve in it, then give up because the piece is too small to work on with the vices I have (I really need a sculptor’s vice sort of thing for a job like that) and cut the curve with the bandsaw and clean up by hand with chisels, small wooden spokeshave and sandpaper, then glue it in place. The following day (ie. today)…
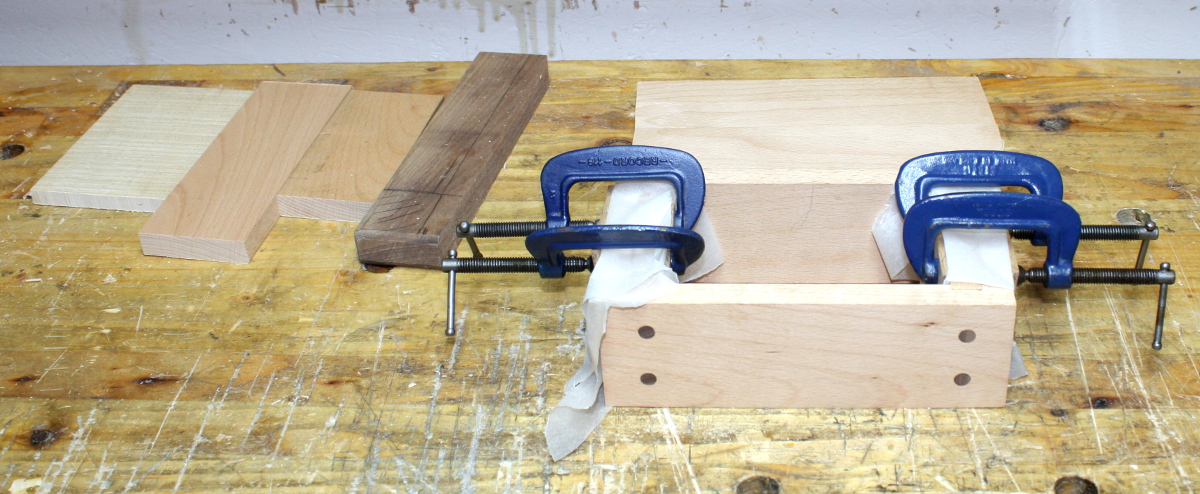
Oh, and I cut the pegs flush and planed down a bit as well. They came out nice. Now to check the handles.
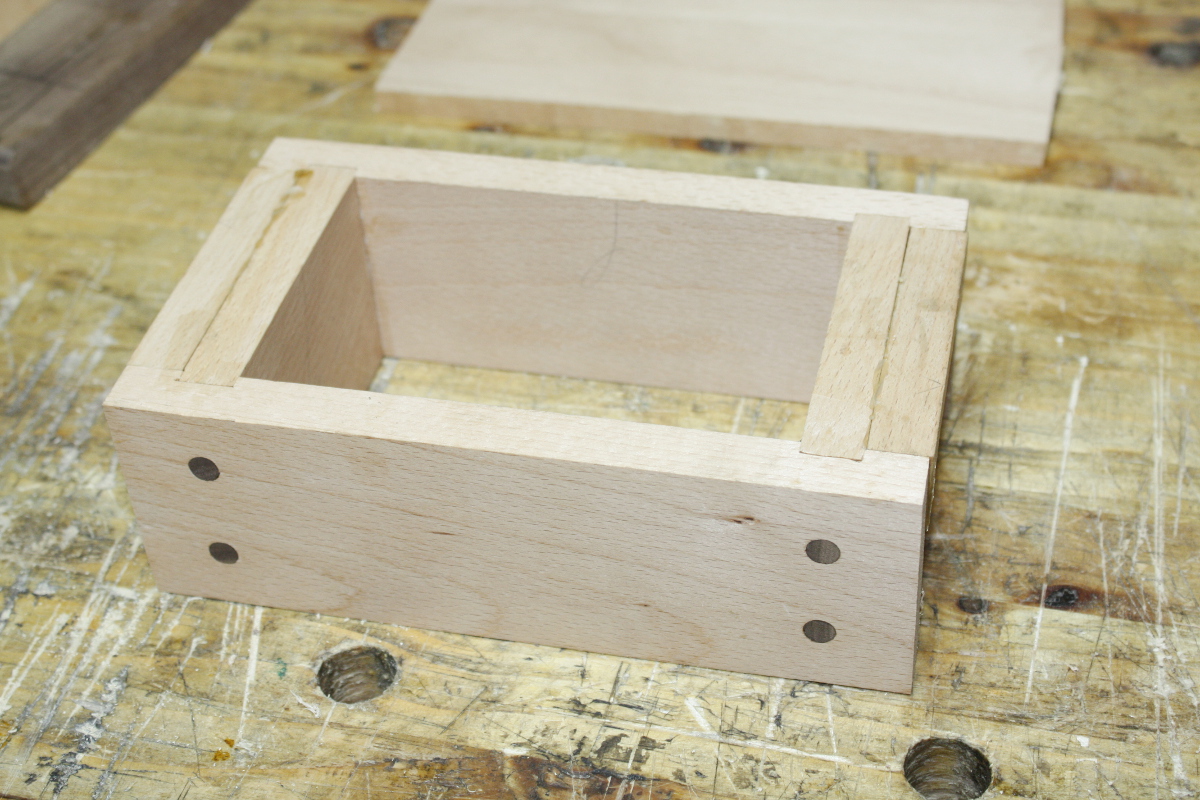
In need of a swipe with the #04…
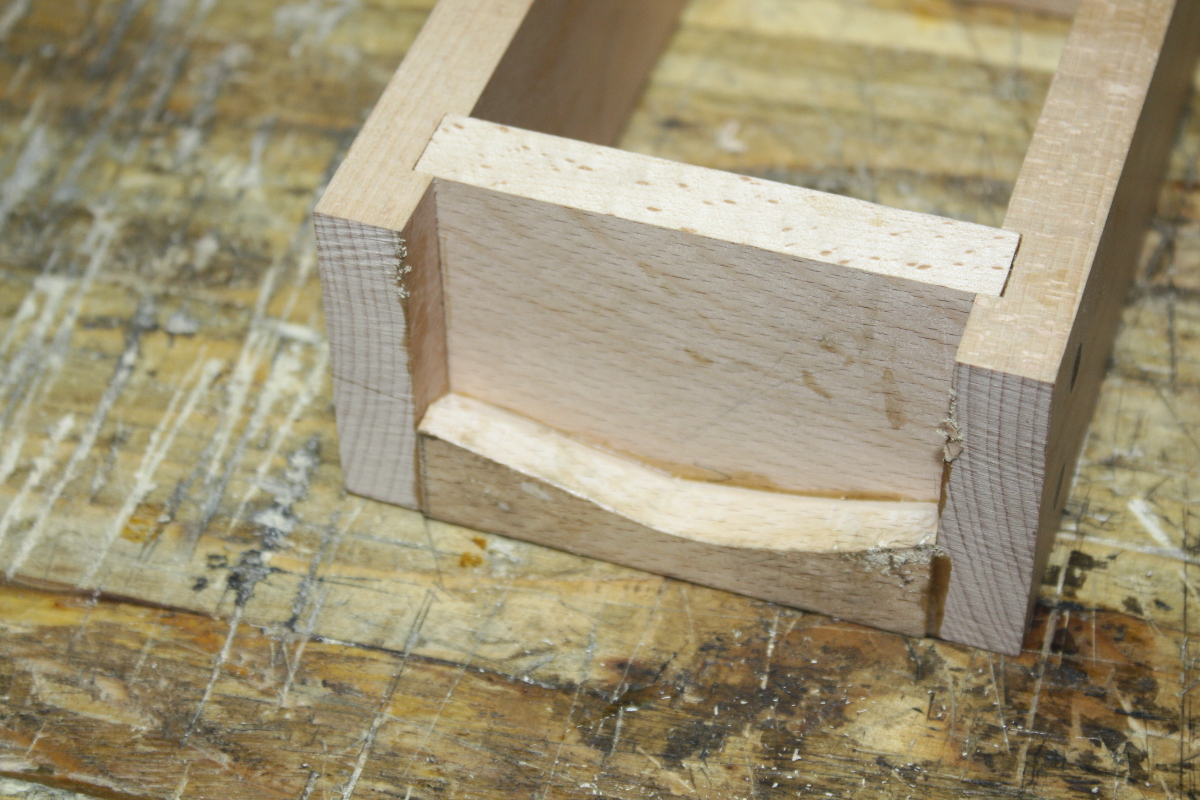
And some squinting. Yikes that looks grotty. It’s nowhere near that bad in real life, but the handle is proud of the ends and top so it’ll be planed back flush.
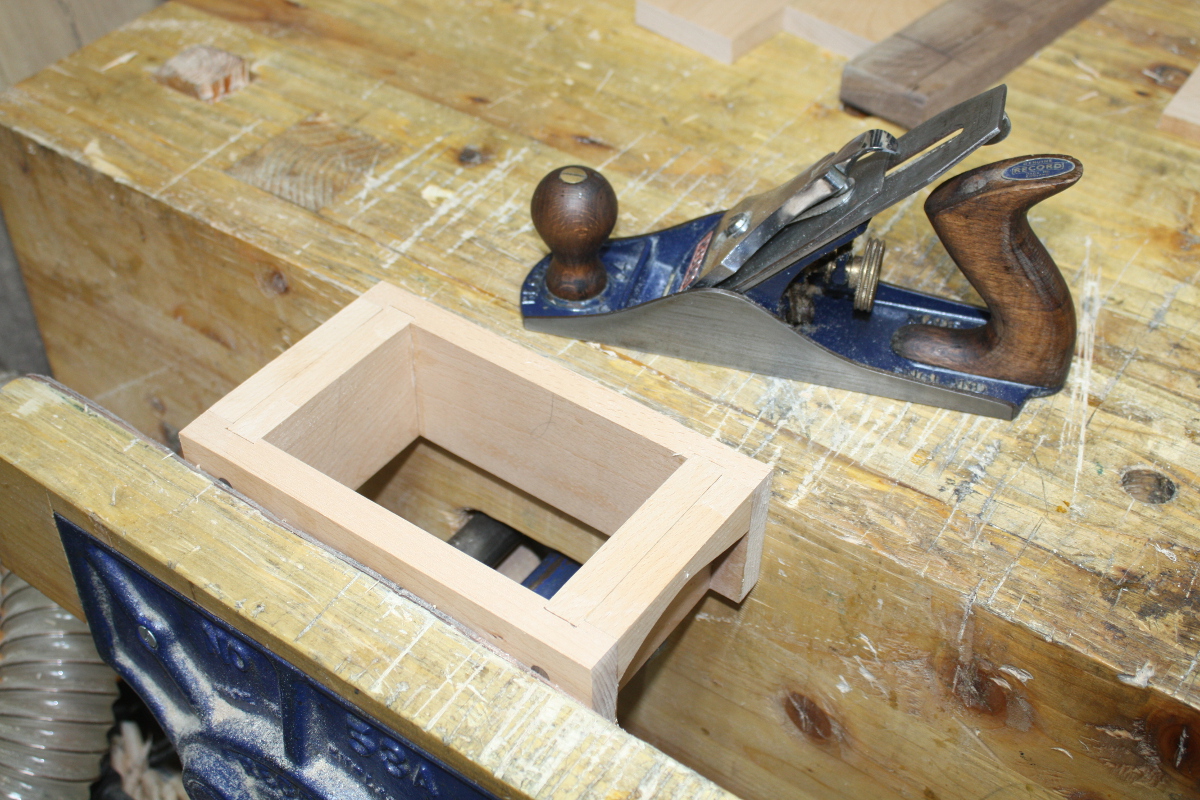
All nice and neat again. I also glued up a panel for the base when I added the handles, so I planed that clean as well…
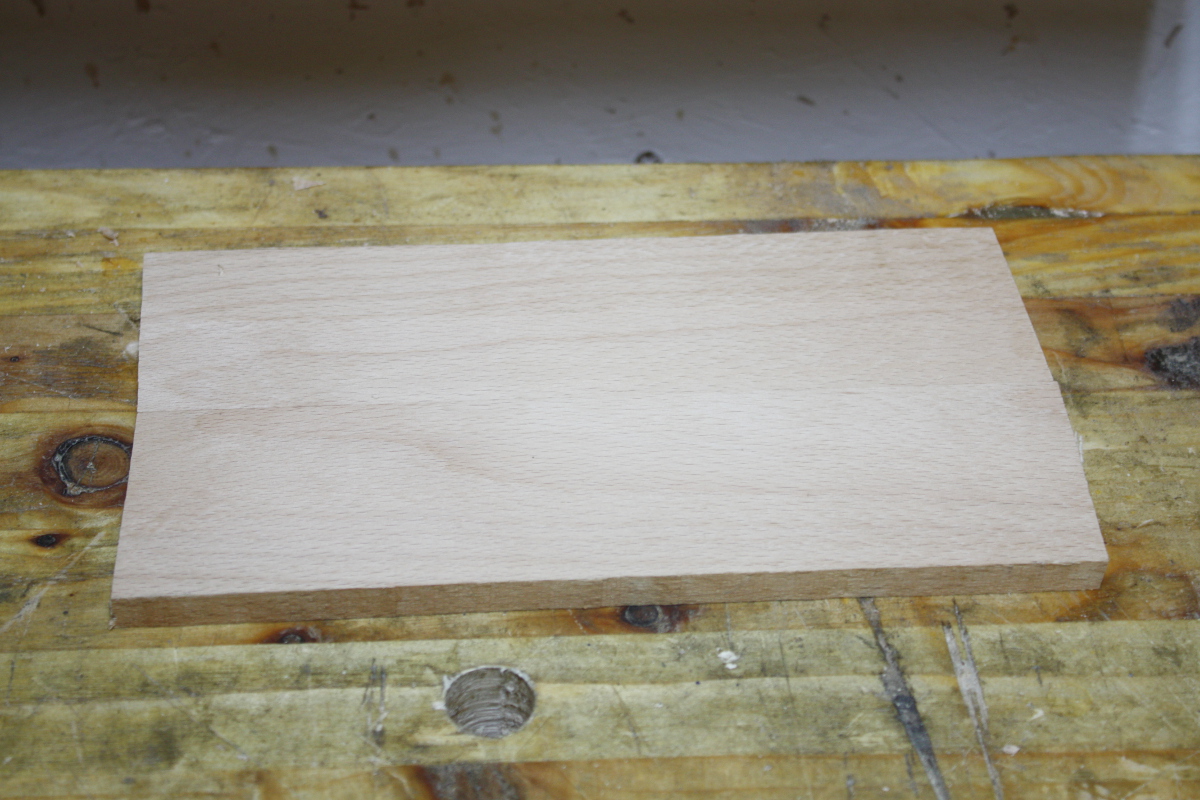
I spent a few minutes planing the lid to width and picking out wood for the end caps and the locking parts. I’m leaning towards all beech for those parts, with maybe just the key being something distinctive. We’ll see. First, the base…
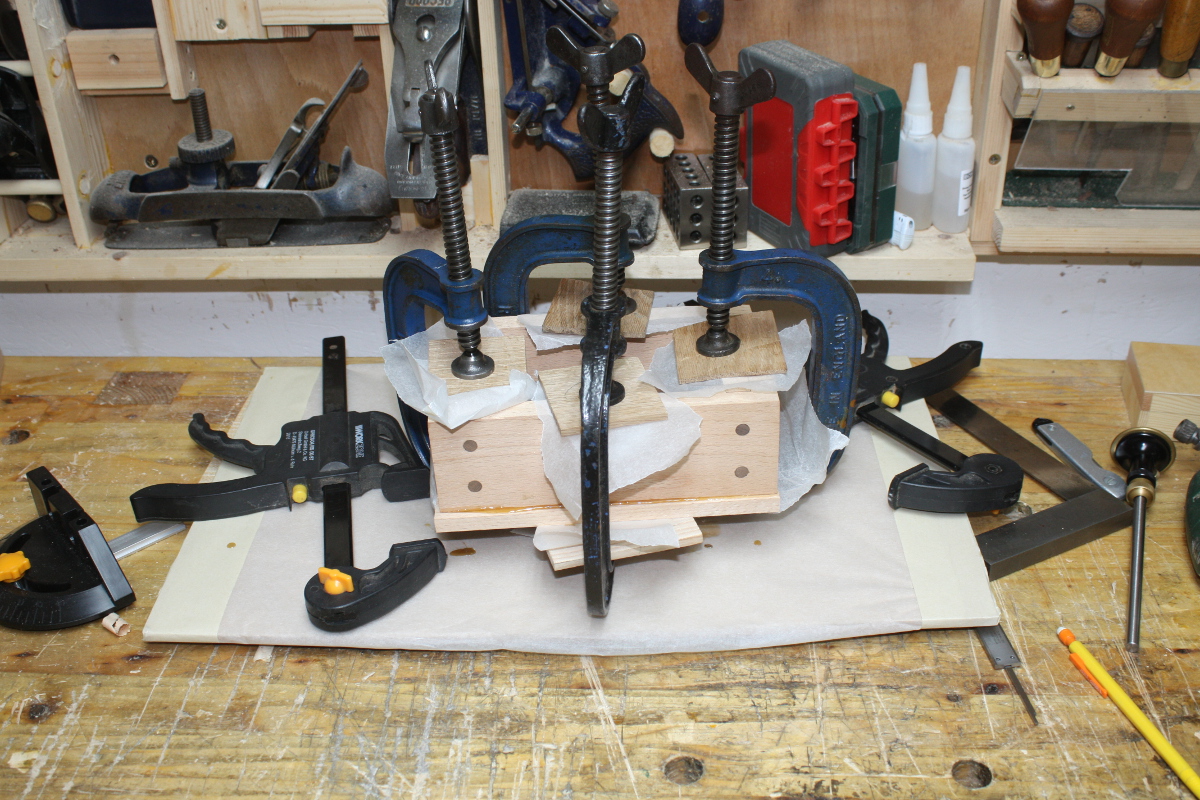
And back to waiting on glue again. There’s a lot of that in this build I’m noticing. These boxes aren’t so much difficult as they are slow because stuff has to be done step by step and you can’t really do stuff ahead of assembly or in parallel – or at least, I haven’t figured out how to. If you were making them in batches you could crank them out I imagine, but one-offs seem to just be a slow thing by their nature.
Tomorrow, one end cap gets glued on and the lid gets its non-locking support bit. I don’t know the name for the part, but you’ll know what I mean when you see it.
Oh, and boss lady chimed in and she wants her locker purple. Good thing I have some stuff from crimson guitars…
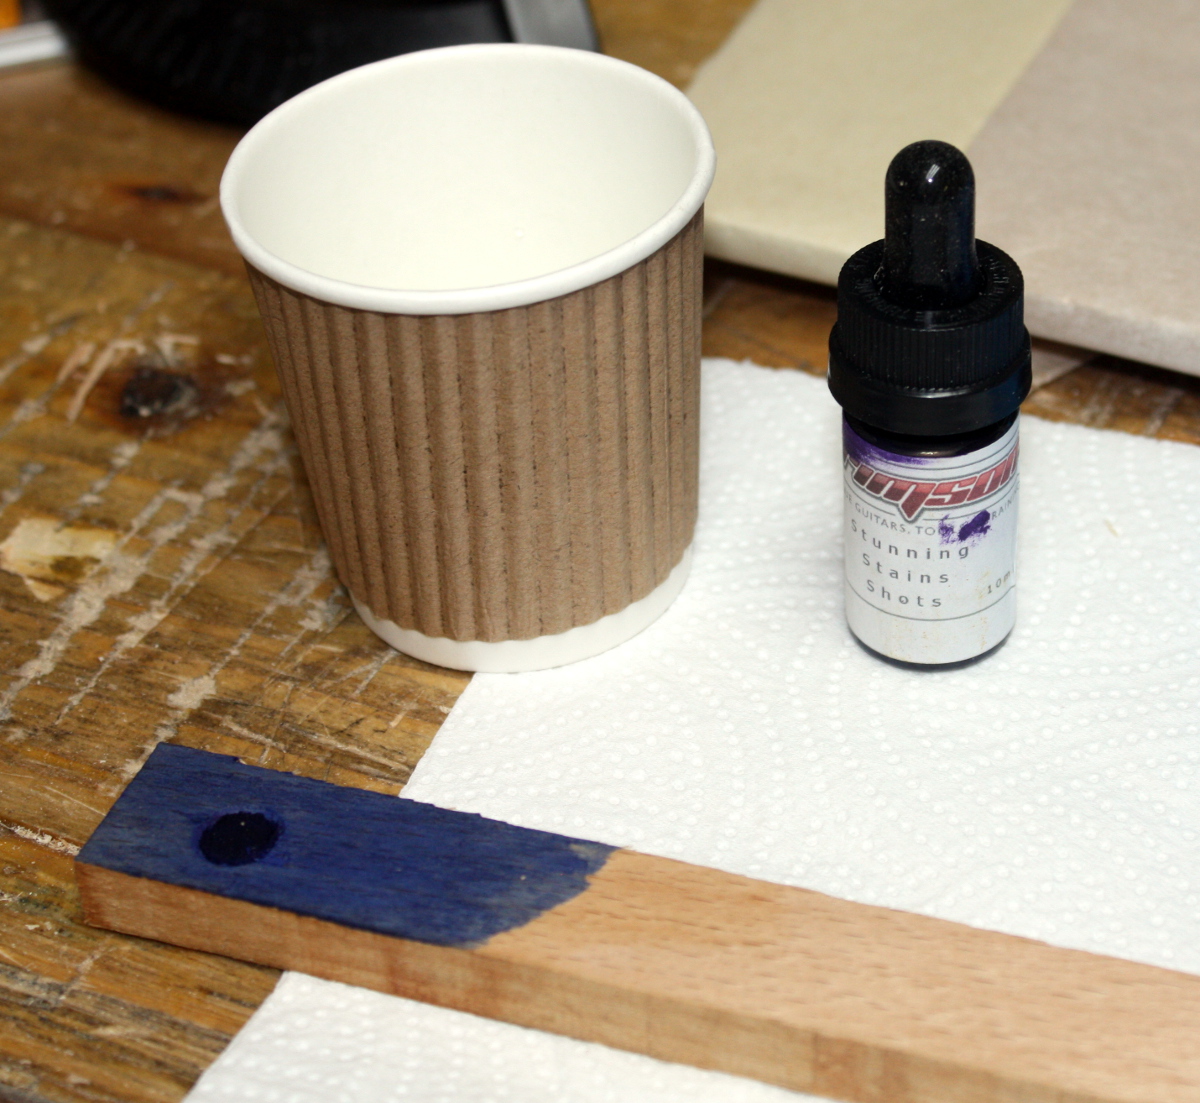
The idea is you use the eyedropper to add the stain drop by drop to water to build up the colour, right?
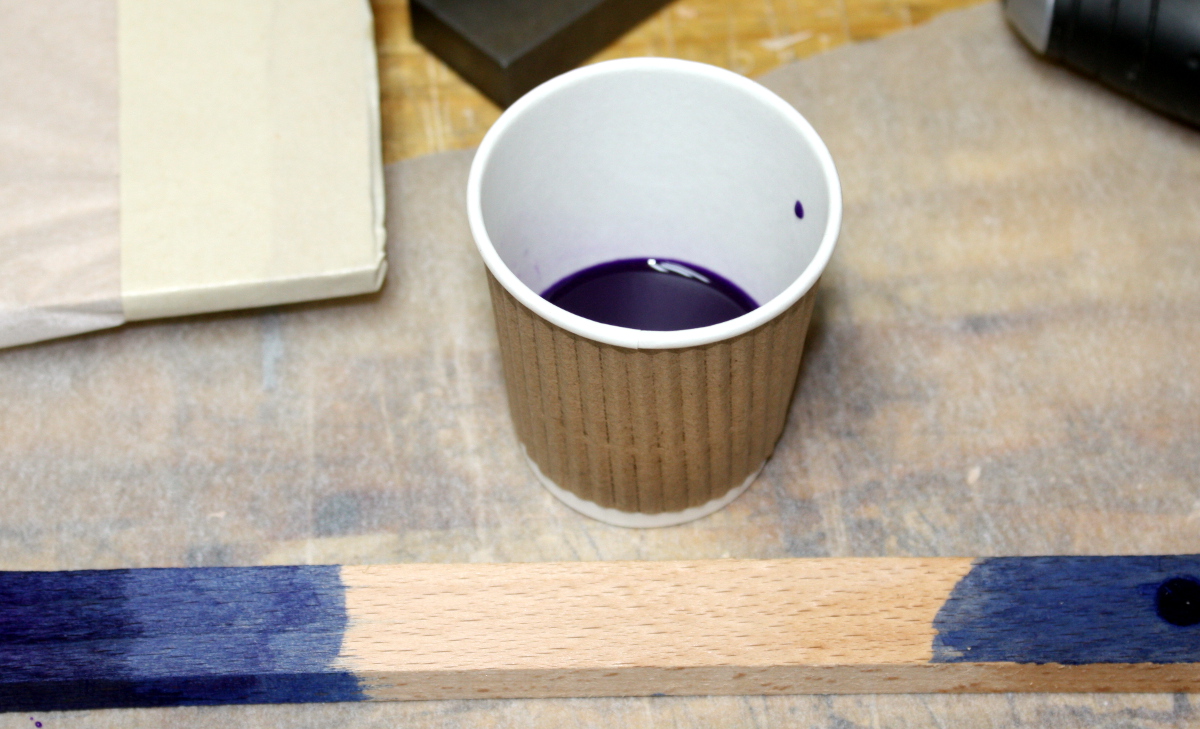
Looks okay…
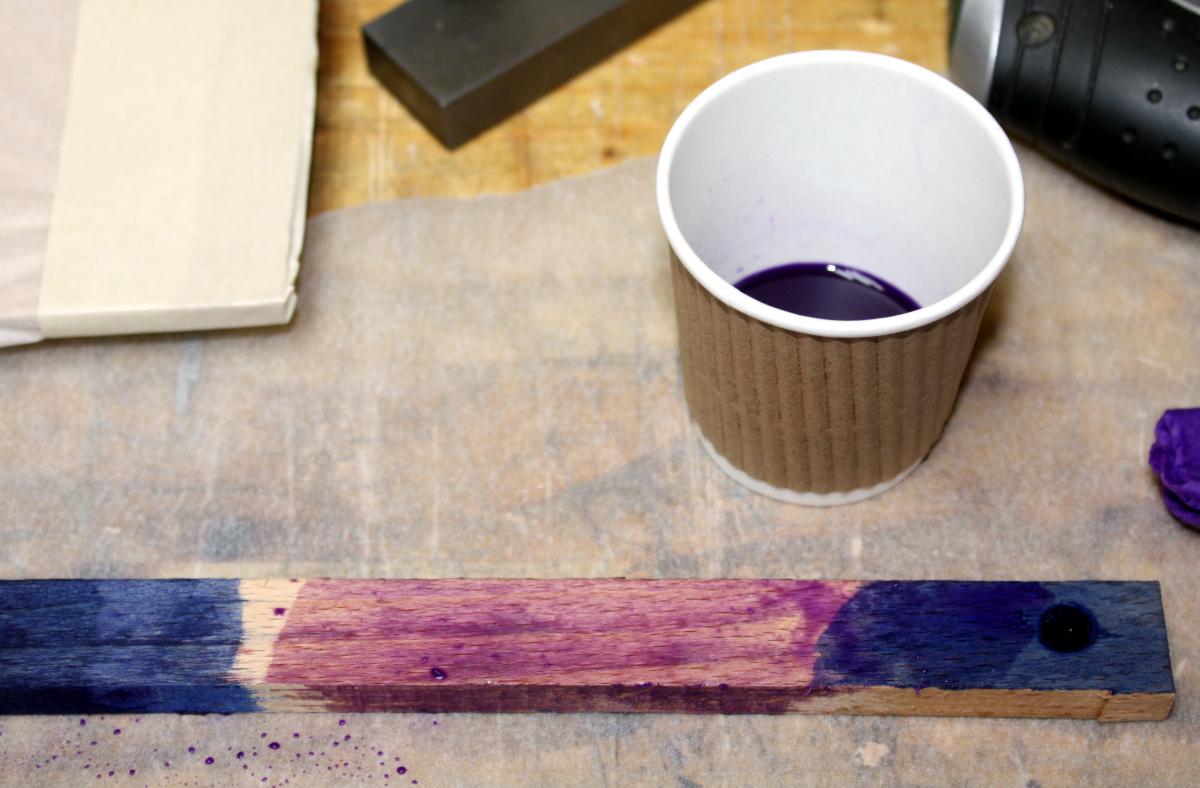
Hm. That looks thin as skim milk. Ugh. Added a drop more, still quite thin. Mixed with the blue stain underneath it’s too dark.
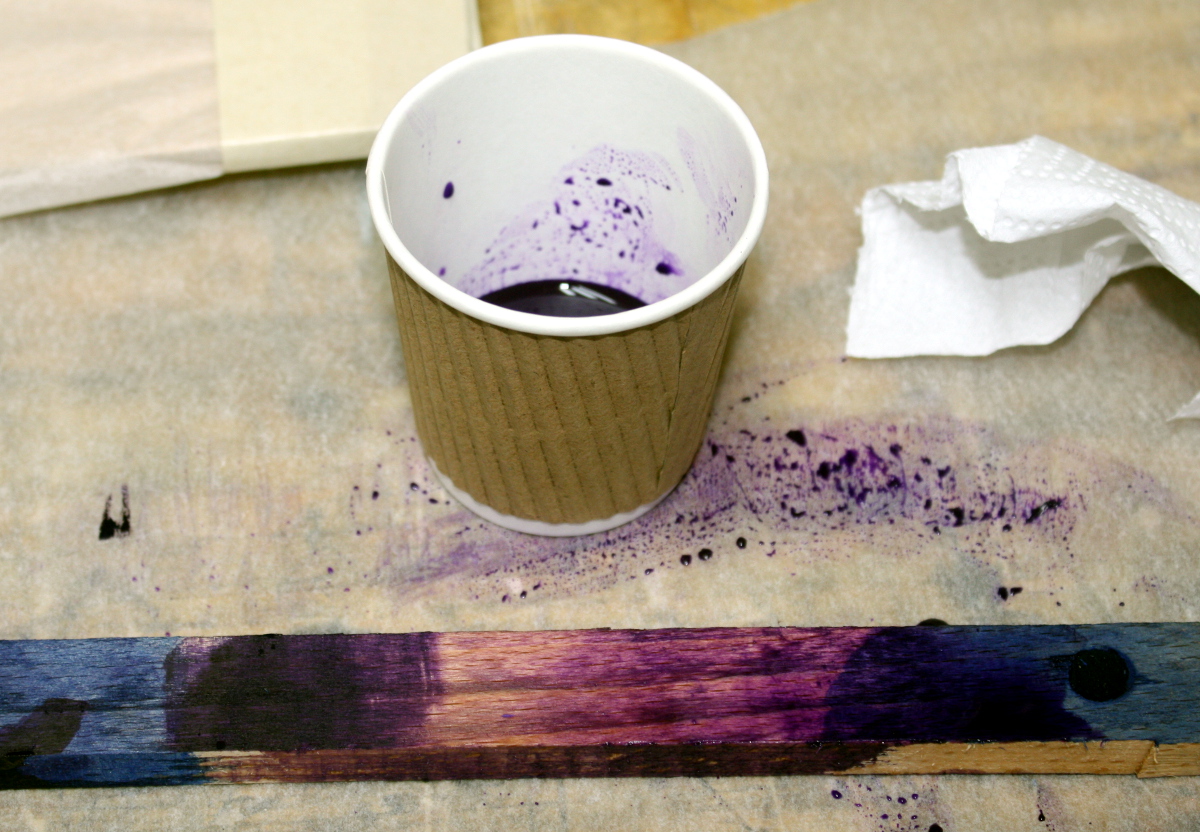
Rubbed on directly, the stain’s too dark as well, it definitely needs some dilution.
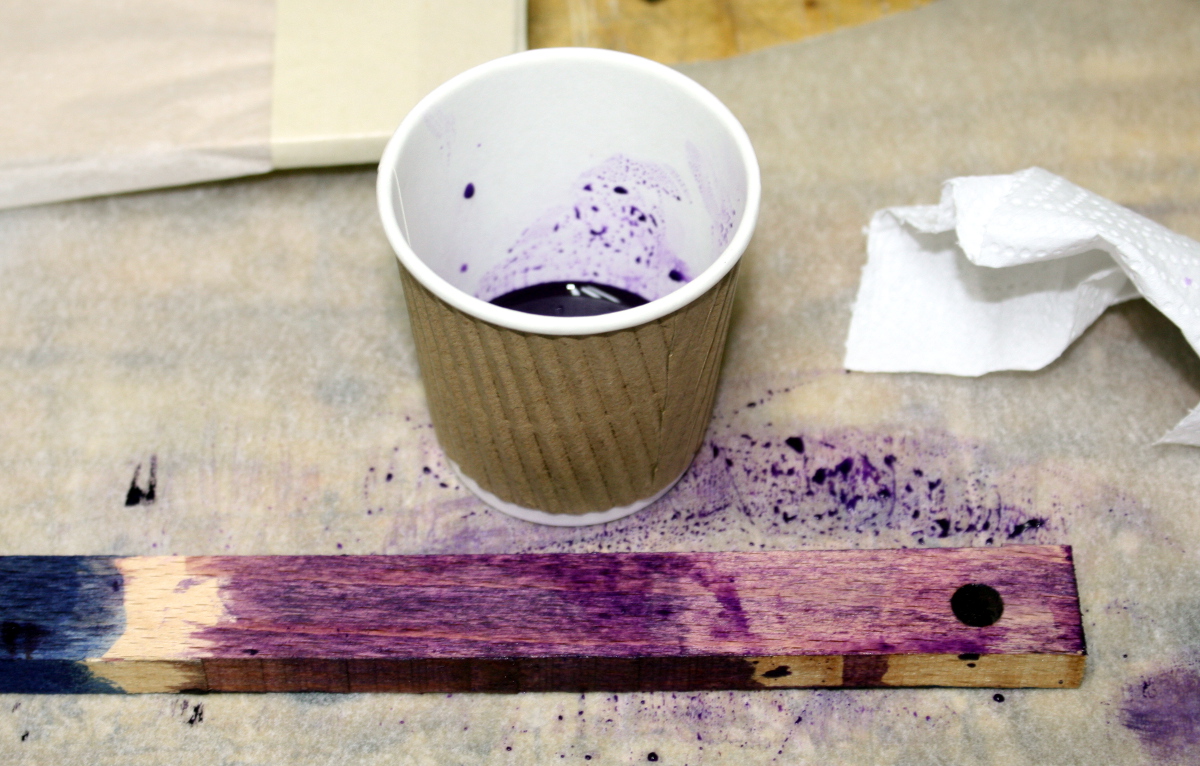
There might be a stain level in there somewhere that works, but it’s as messy as all get-out. But the purple *does* work if you add it to the cloth and then add water by spray can to the cloth before you rub it in, you get results like this:
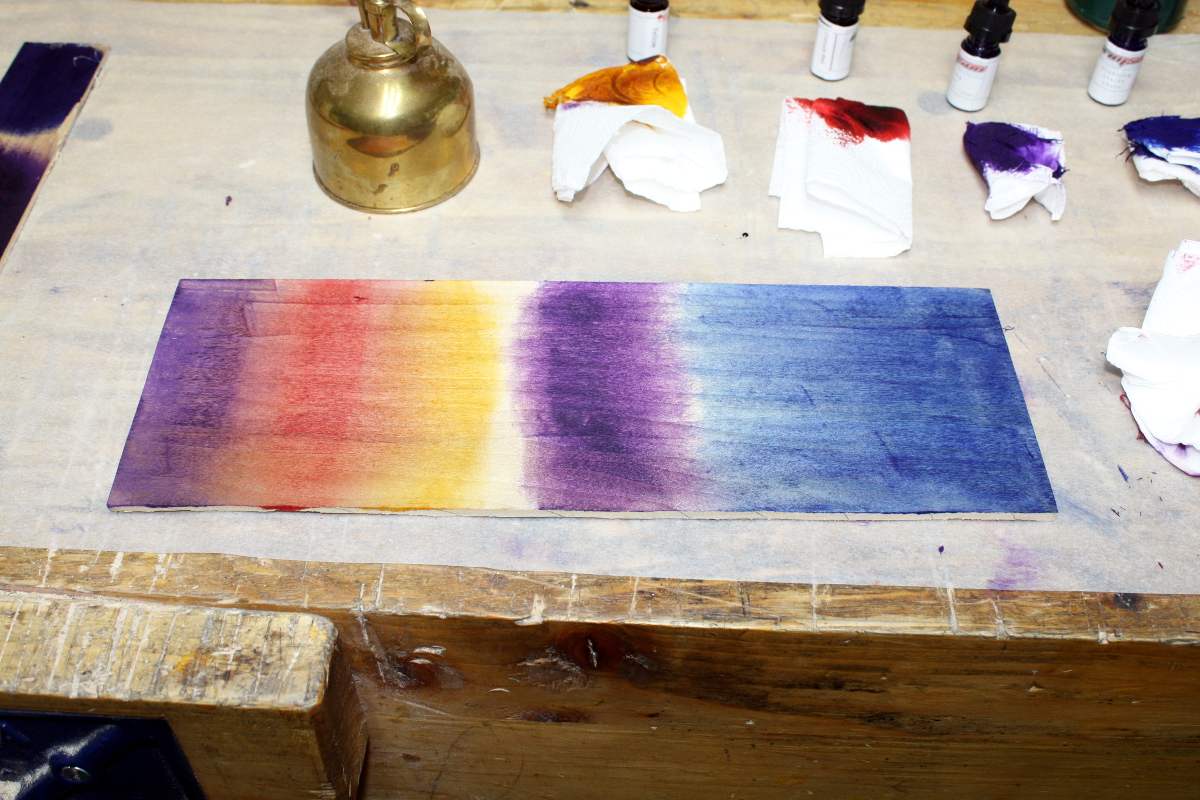
I think that hue on the far left is what we want here, and to avoid going too dark. Might need to practice more, the planed beech surface doesn’t absorb water too readily.
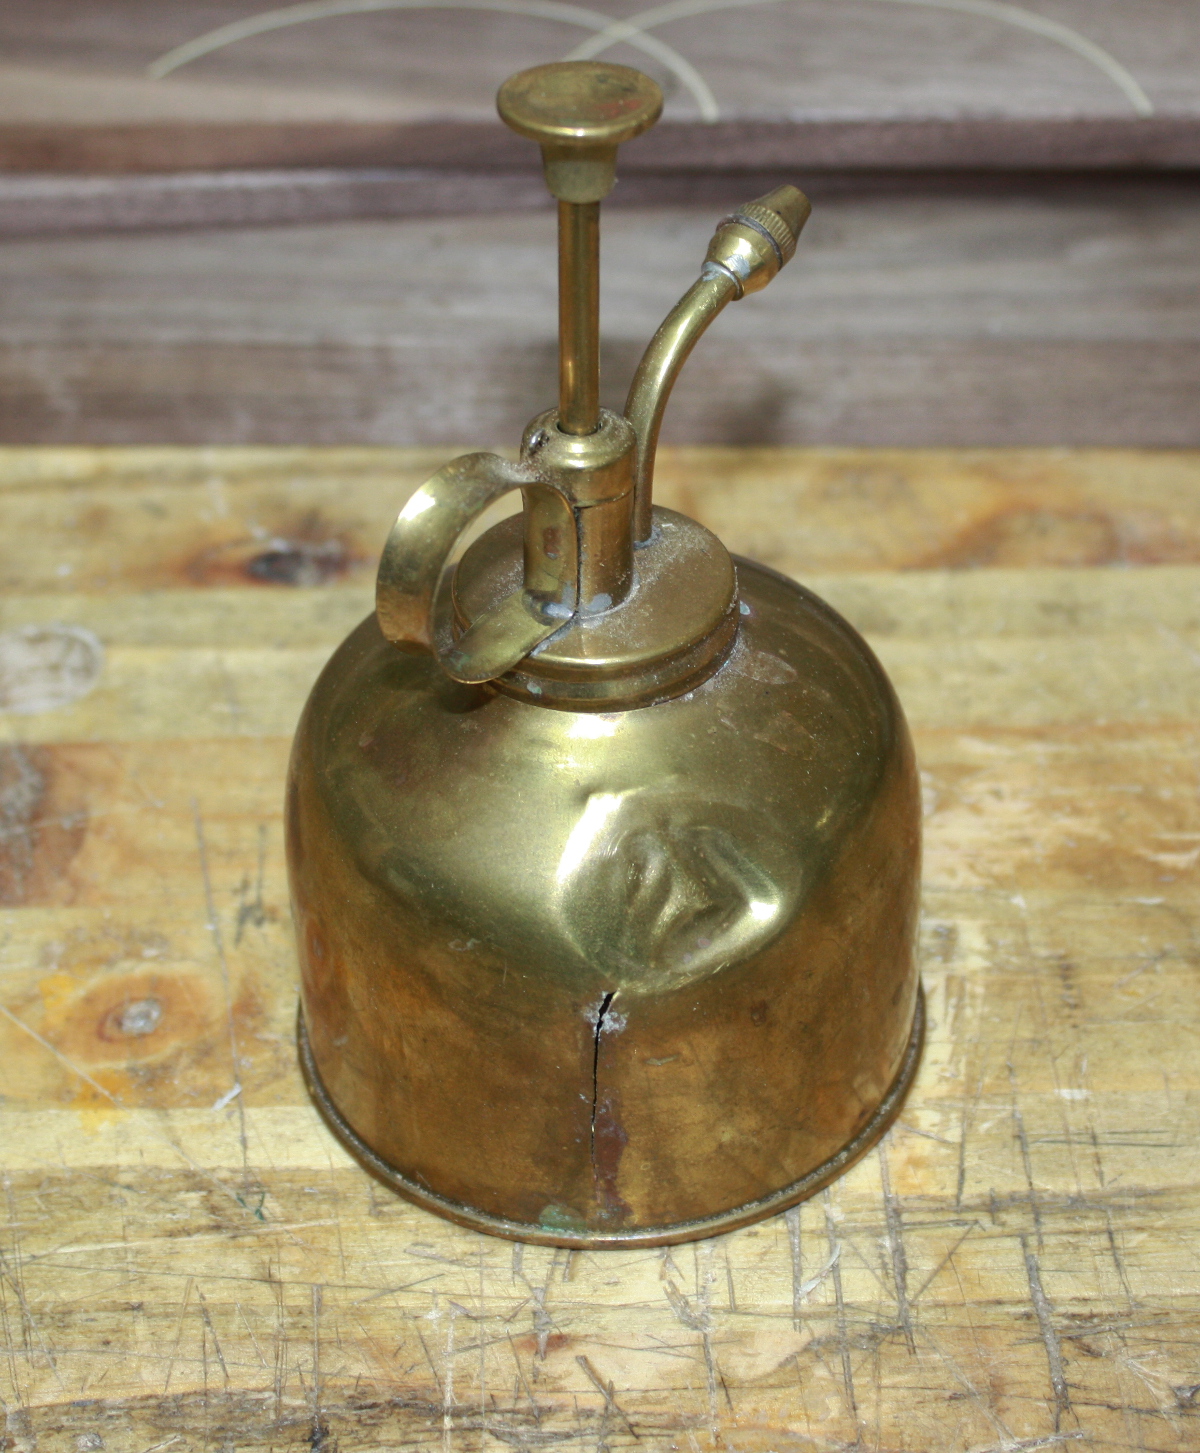
Of course I may need to do some brazing first, my water can fell prey to the cold spell and an accidental knock. But I have brazing rod and a propane torch…
Tags: bandsaw, beech, crimson guitars, hand tools, planes, stain, Woodworking


I have found a bench hook useful to make some chisel work on small pieces, pushing the piece against the batten.
Furthermore, if you intend to flat your bench top again… it might help to keep it flat while sawing.
Not that I think a workbench should not show any scar; mine is made of recycled pine and has plenty of dents and, sawing in the vise (P. Sellers style) too many times ends in the bench top edge.
I like your idea of a piece of MDF as a reference plate.
Sylvain
I have a few different bench hooks here Sylvain, from a small one used to support the far end of long pieces, to one made just for cutting with the japanese saws to a properly beefy shooting board sort of arrangement; but none were of use here because you needed to hold a piece an inch wide vertically while cutting across its width to make the handle. You might cut two from the same piece and later rip it in half to seperate them; that extra width would give you something to clamp in the vice. Or just use a carvers vice like this one:
The small jaws let you clamp smaller pieces well. But then I’d have to make it and then I’d have to find a place to keep it and it’s getting crowded in here 😀