So first things first, take the clamps off and see if the hide glue cured…
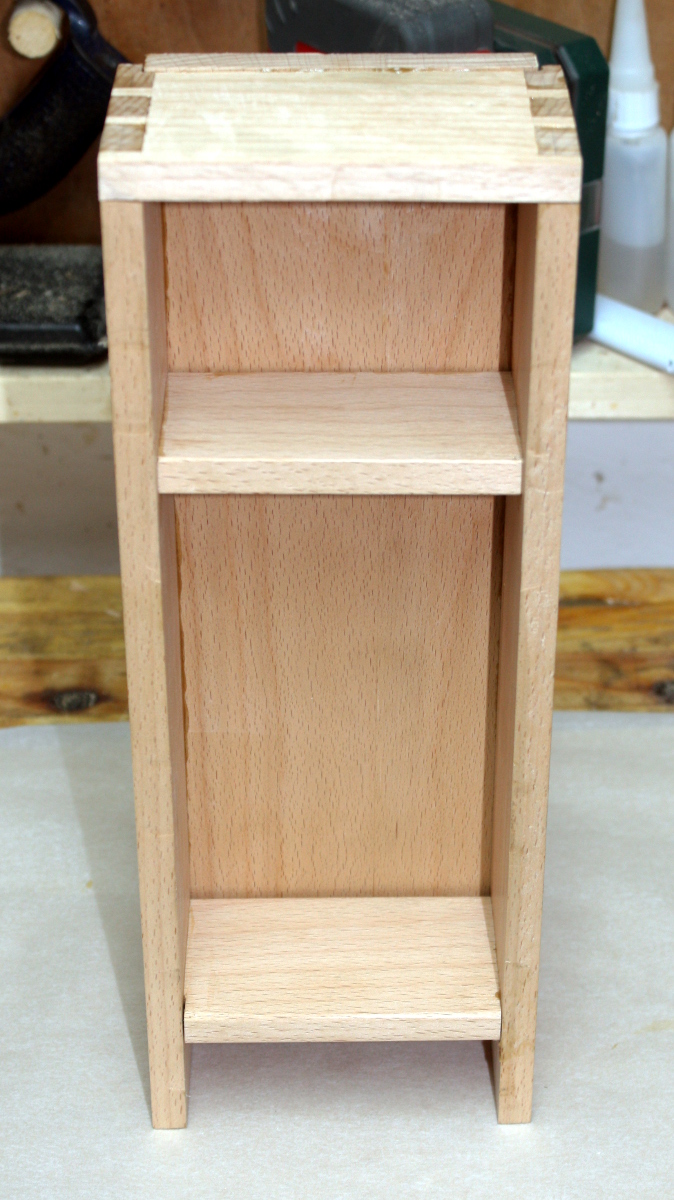
Not too bad, lots of squeezeout in places but I can deal with that.
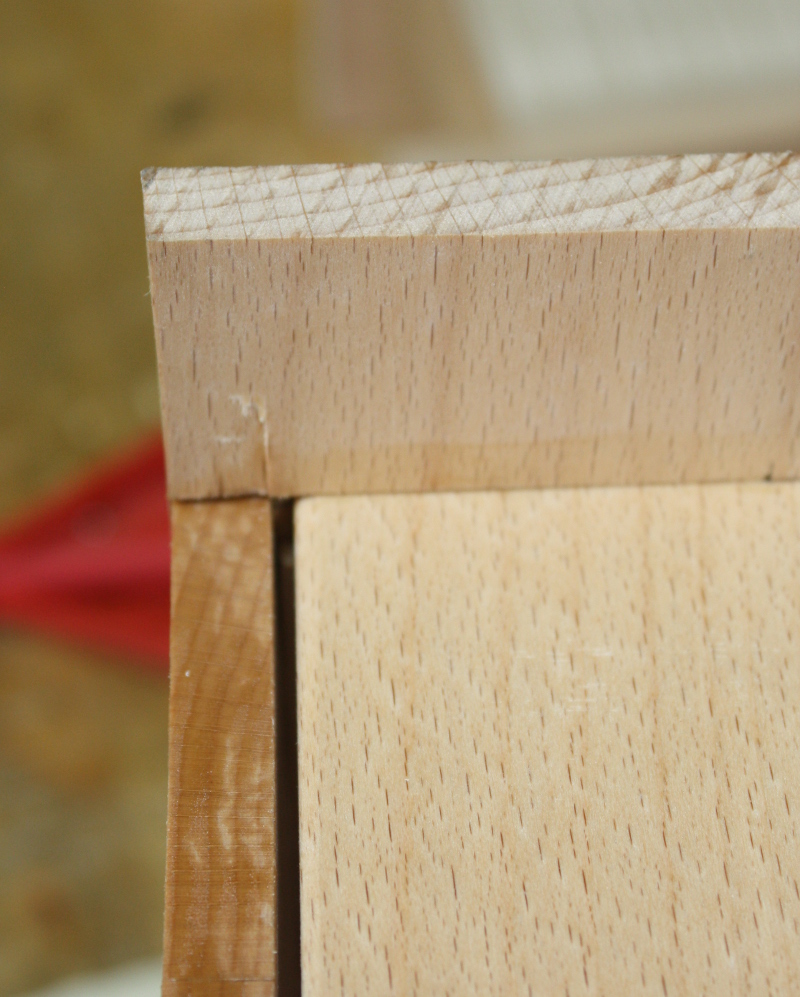
Well, bugger. I thought I had that better aligned than that and there’s no real way to fix it now. Feck.
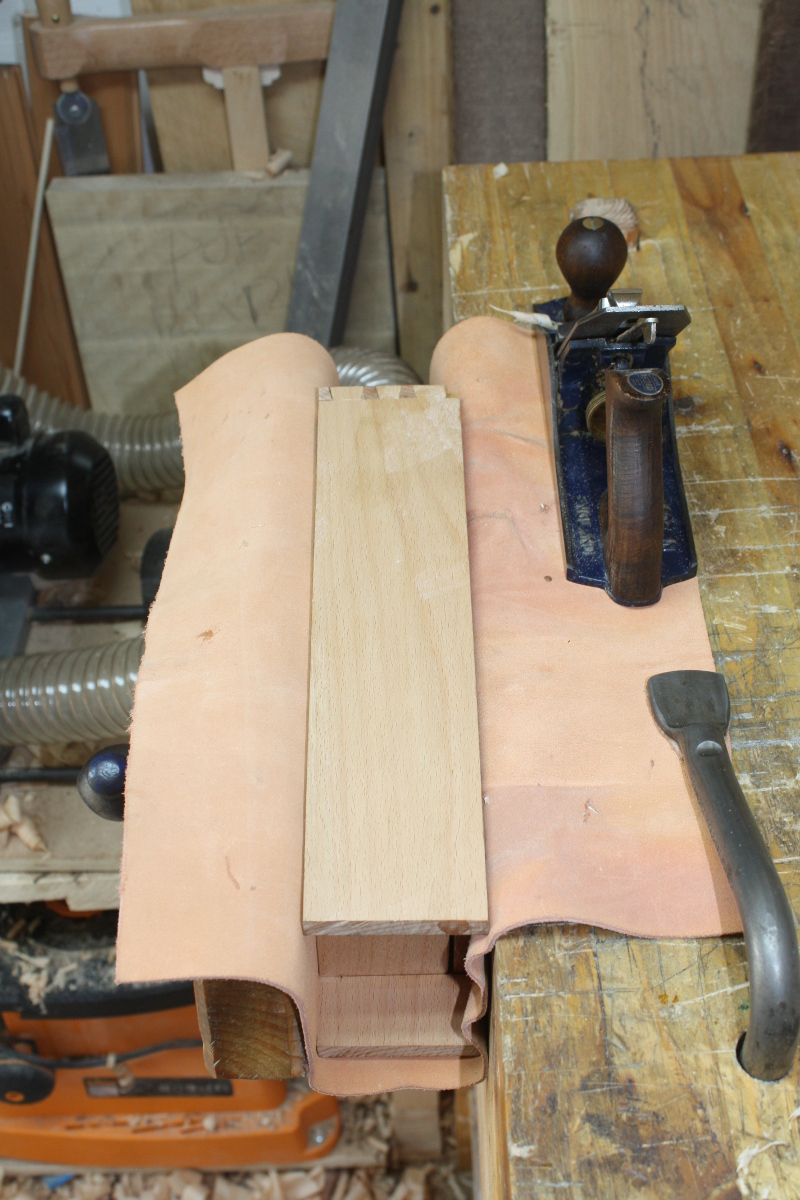
Clean up the squeezeout and smooth the surfaces. Mostly the #04 with a few pieces done by card scraper. Not too bad. Broke the sharp edges as well.
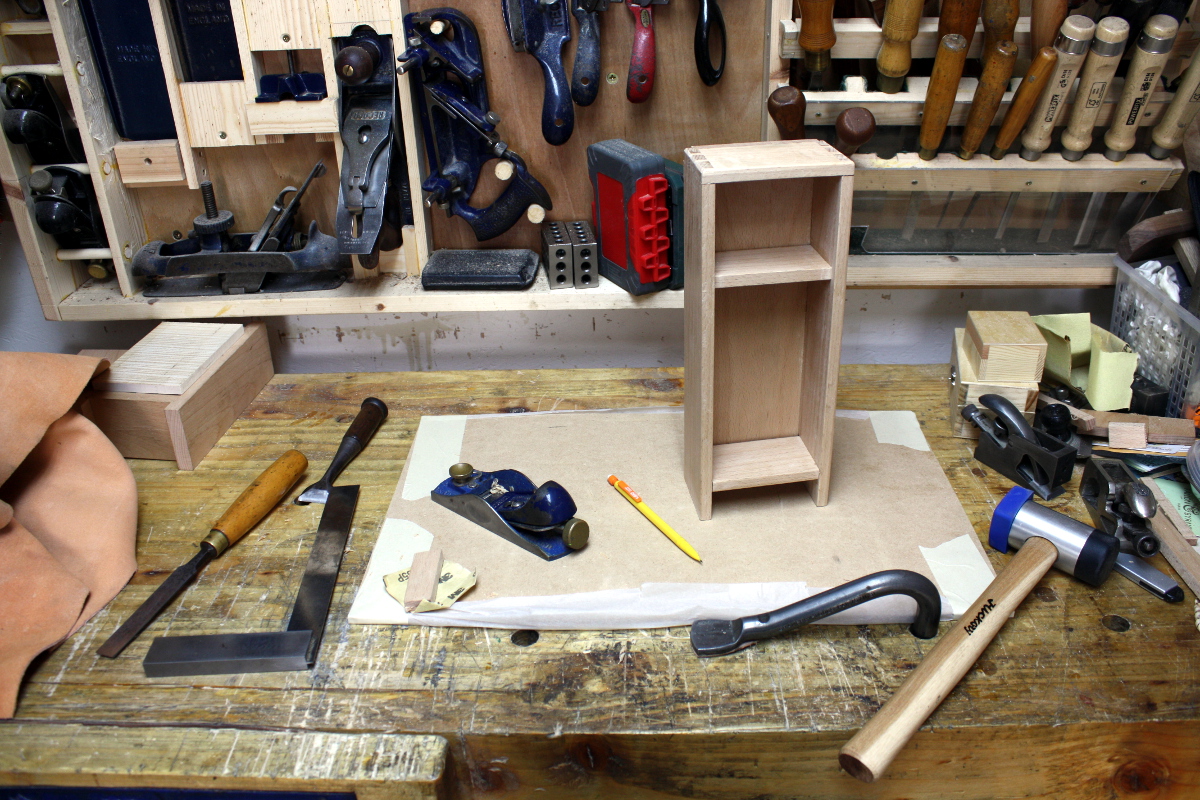
Couldn’t get all the edges with the #04 though, so various other tools made an appearance. And then leveled the legs so it didn’t rock. I don’t like MDF for, well, anything, but it is nice to have a flat surface for this sort of thing and I don’t have room for a granite slab so I do keep a piece or two of MDF handy for this task.
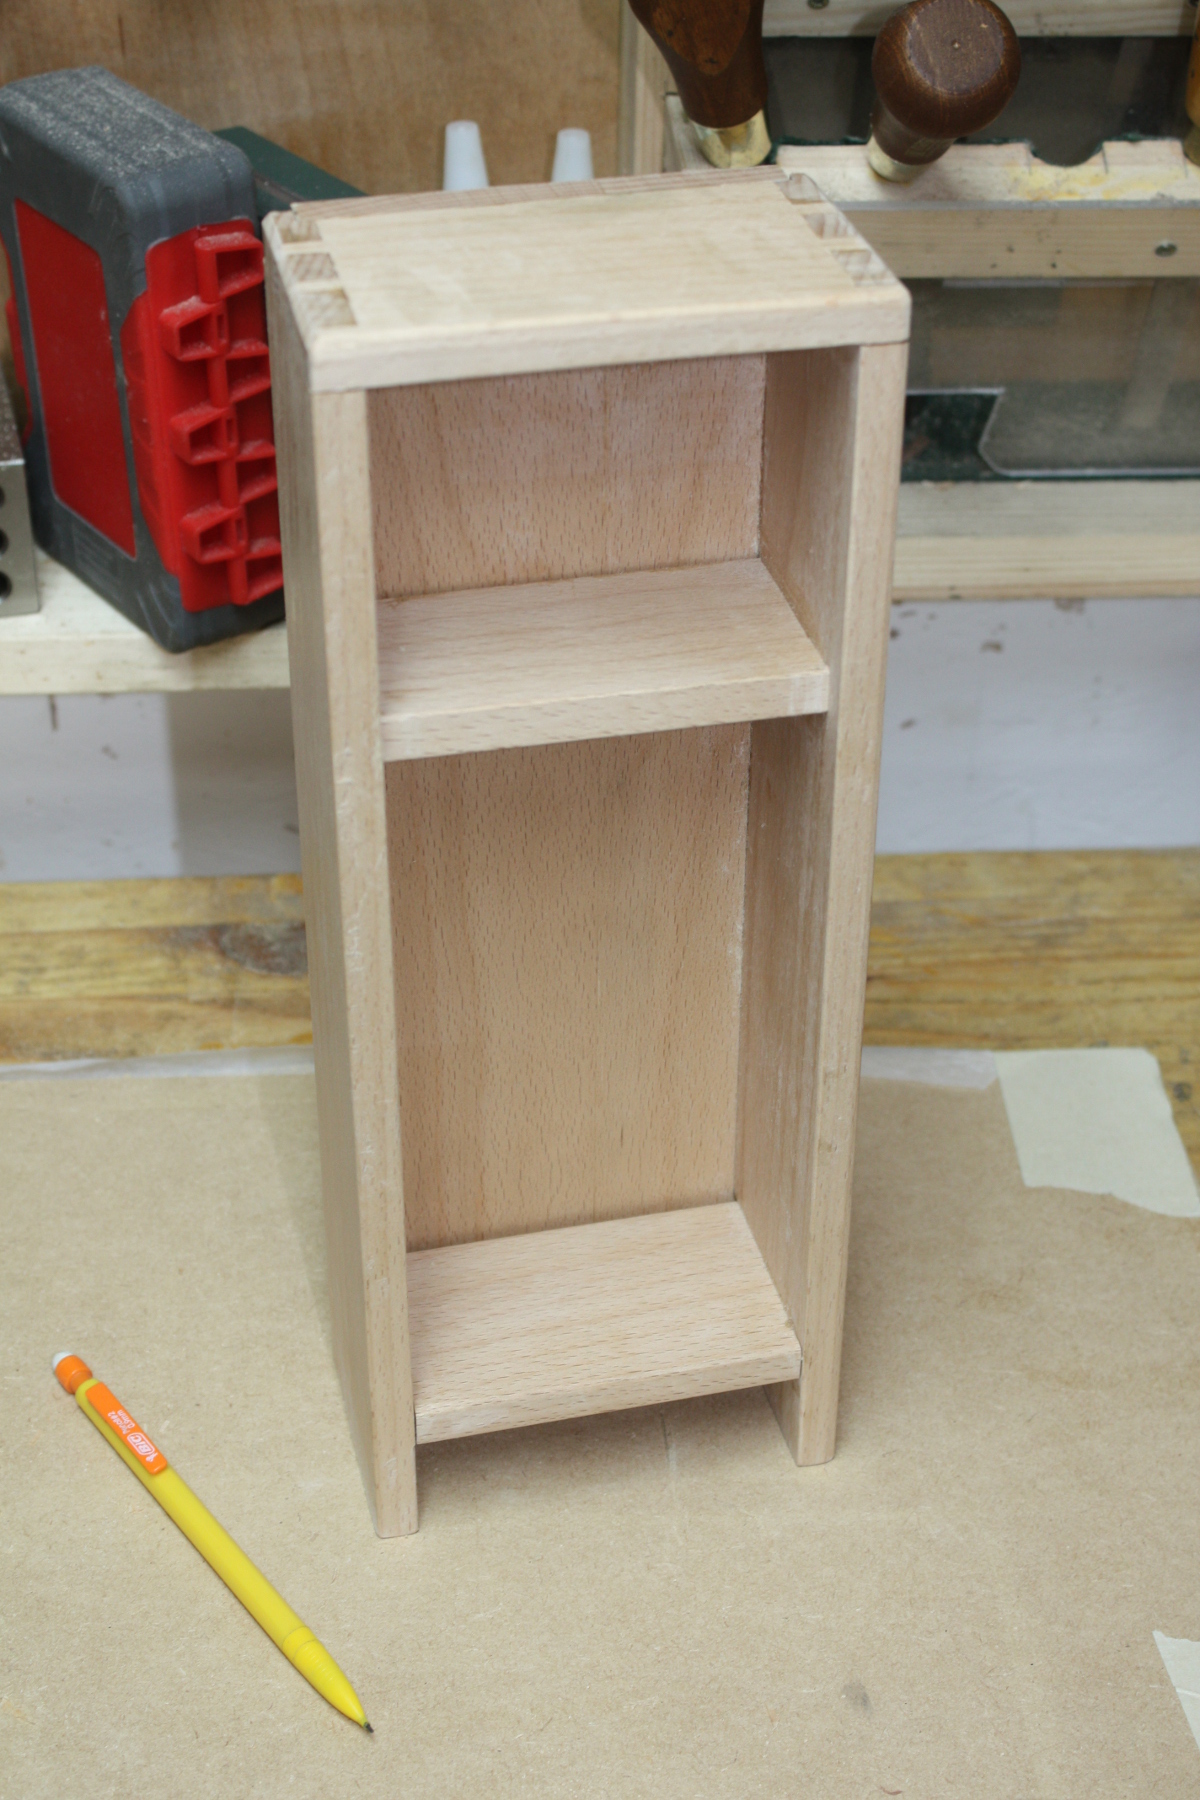
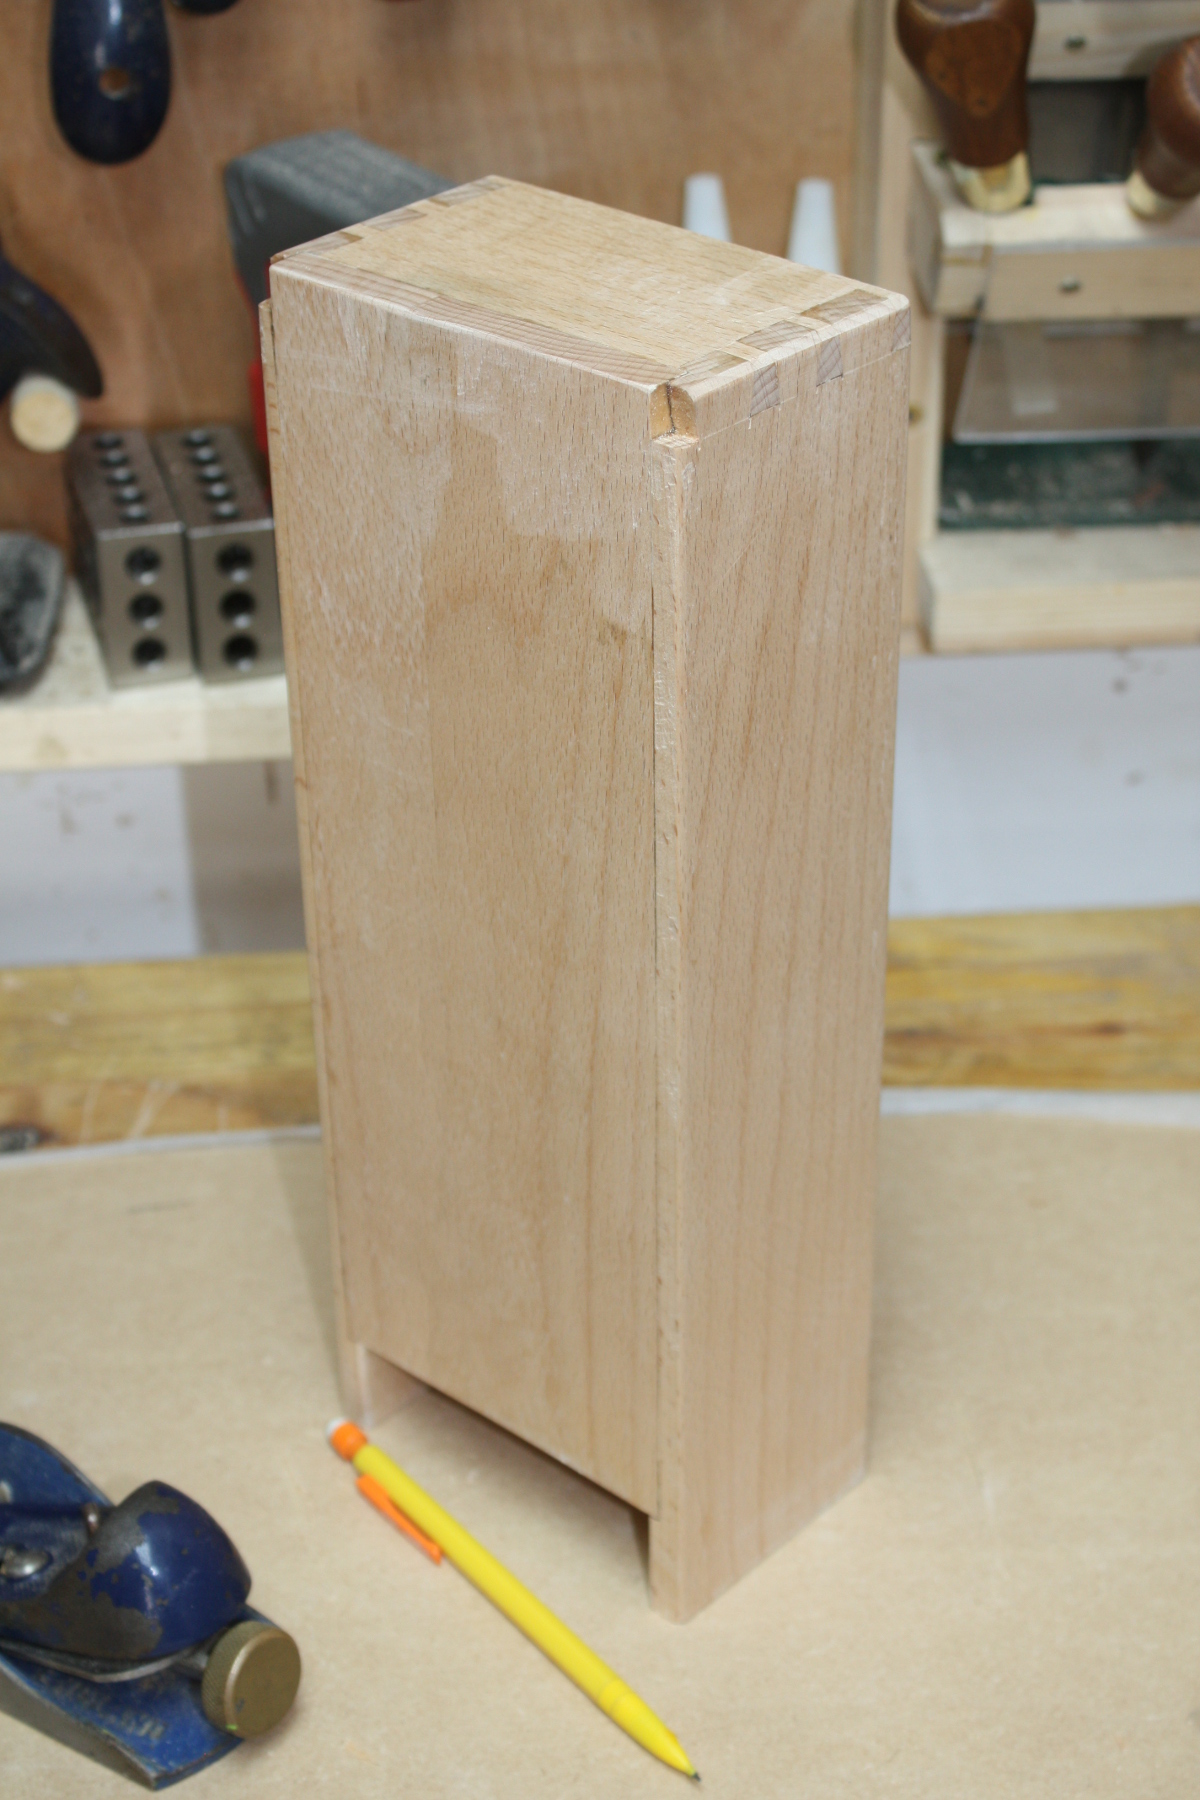
Not bad, but now I have to plug those gaps at the top rear corner where the dovetails used to be. Should be simple, cut a block of wood to fit oversize, glue it in, let the glue set, cut it flush with the flush-cut saw and then some chisel work and some sanding…
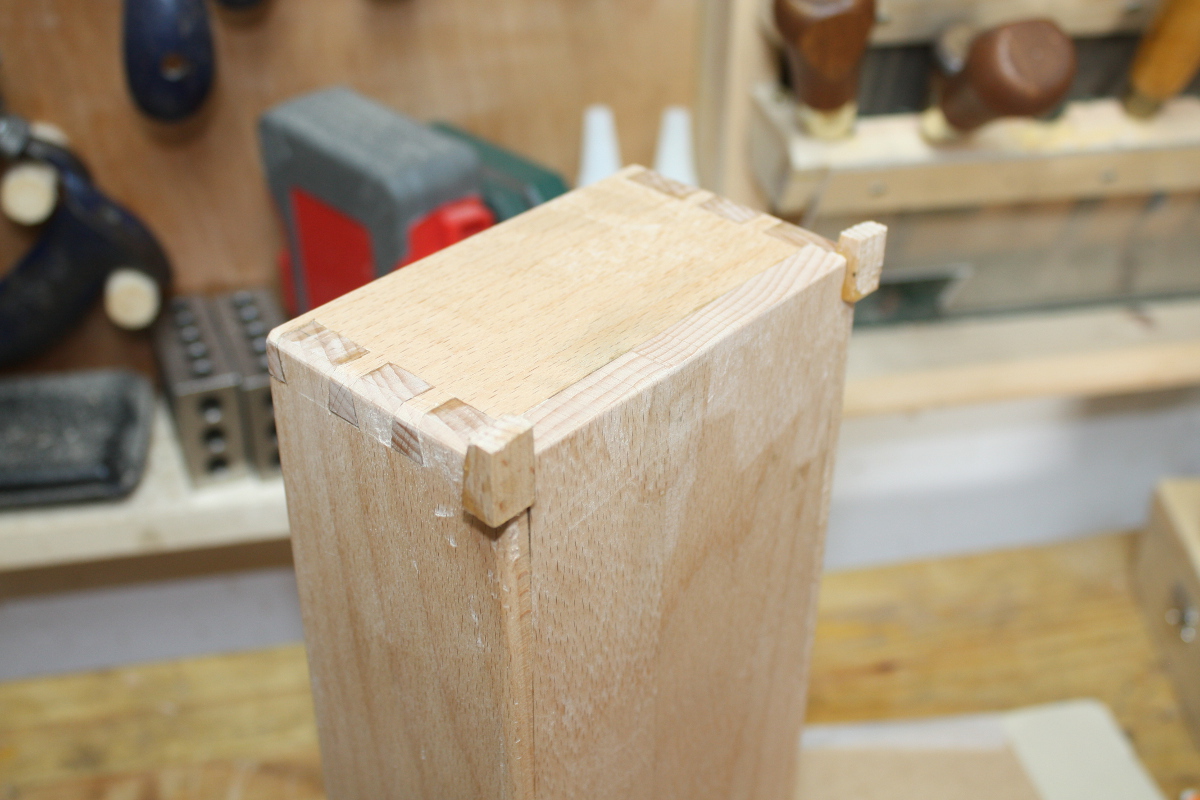
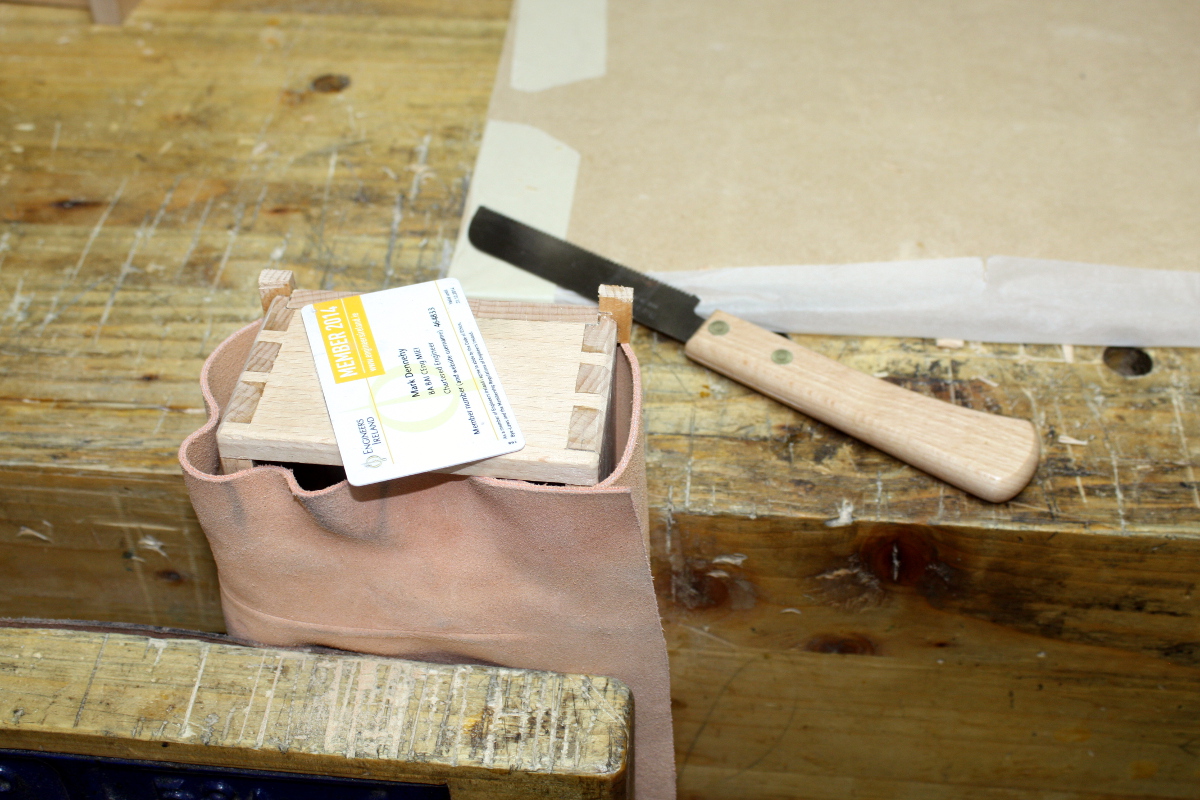
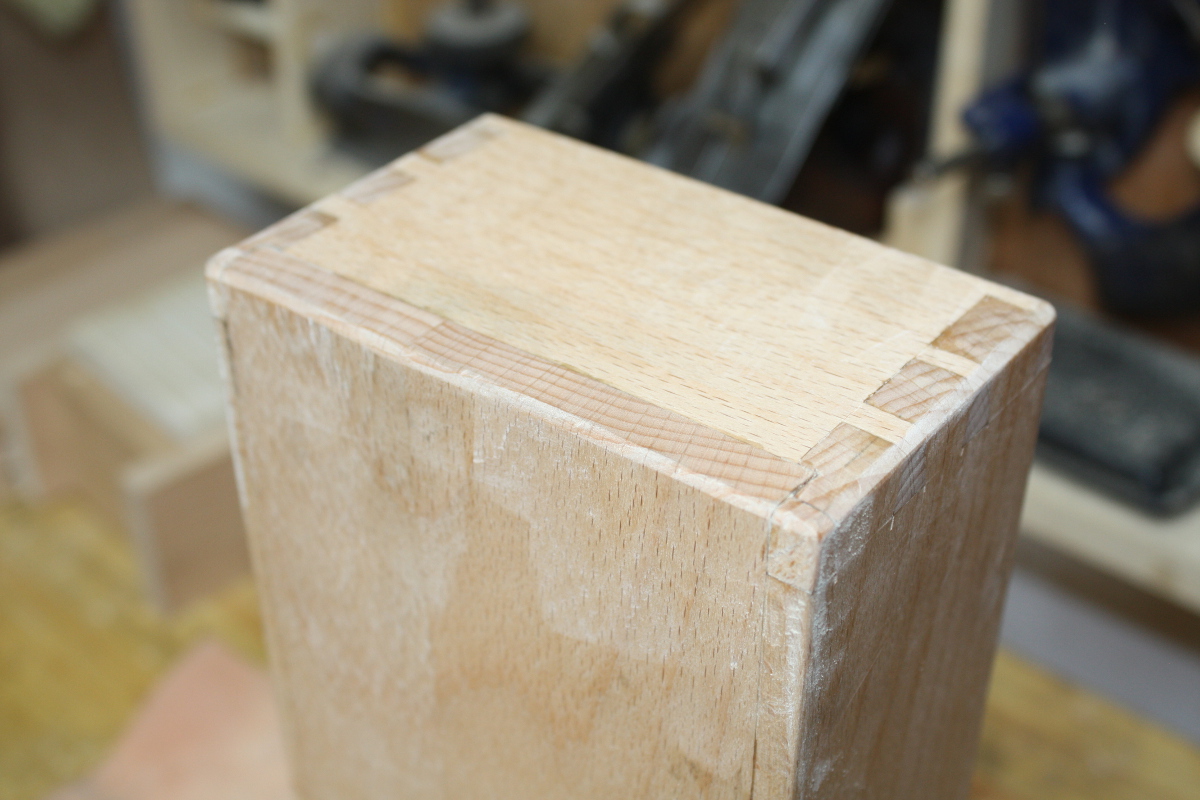
…looks okay to me!
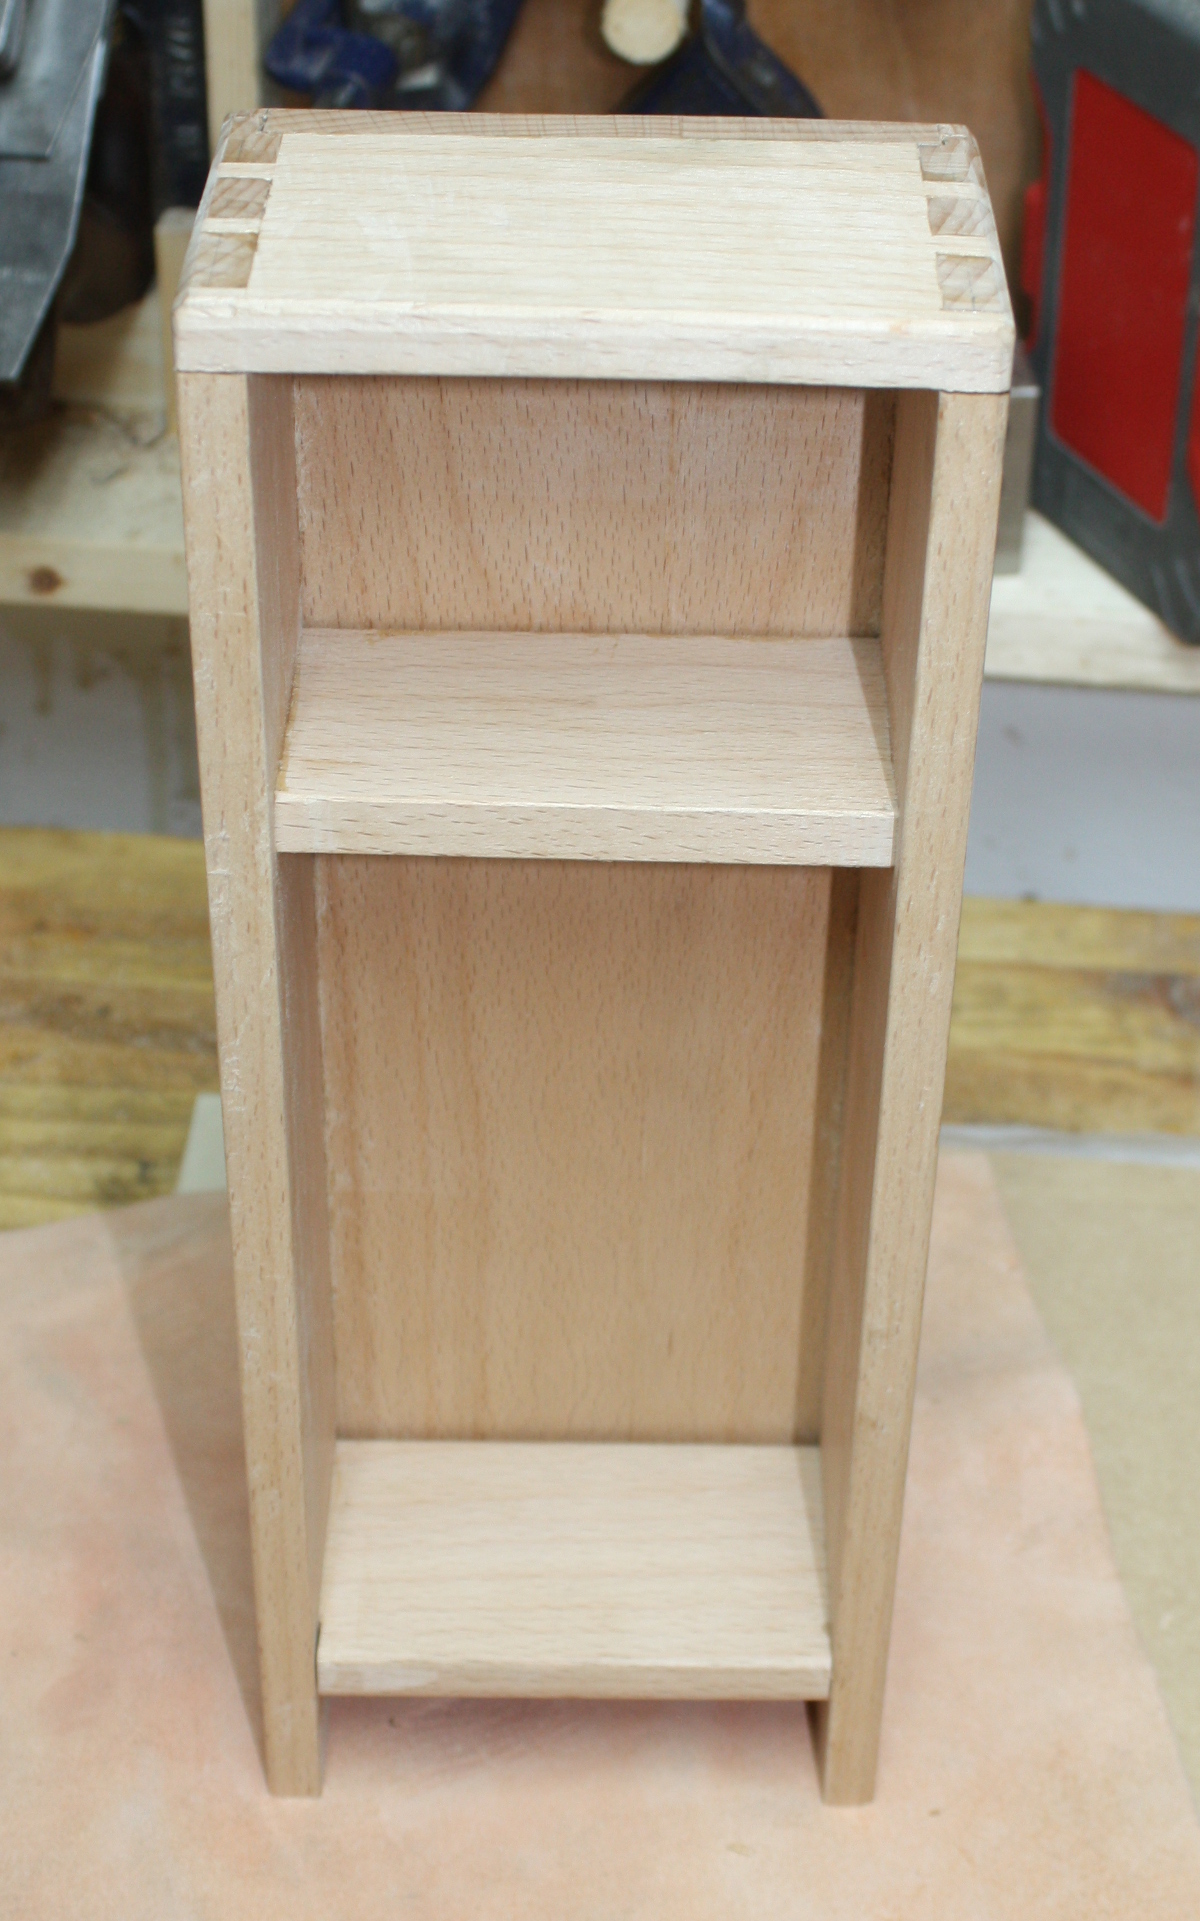
Okay, that now goes to rest for a little while so I can figure out the door, decoration, finishing and so on. I’ll have to give it another smoothing or sanding pass before finishing, but when you see it in the flesh it looks far more even than it does in the photos, and it’s smooth to the fingertips.
But first…
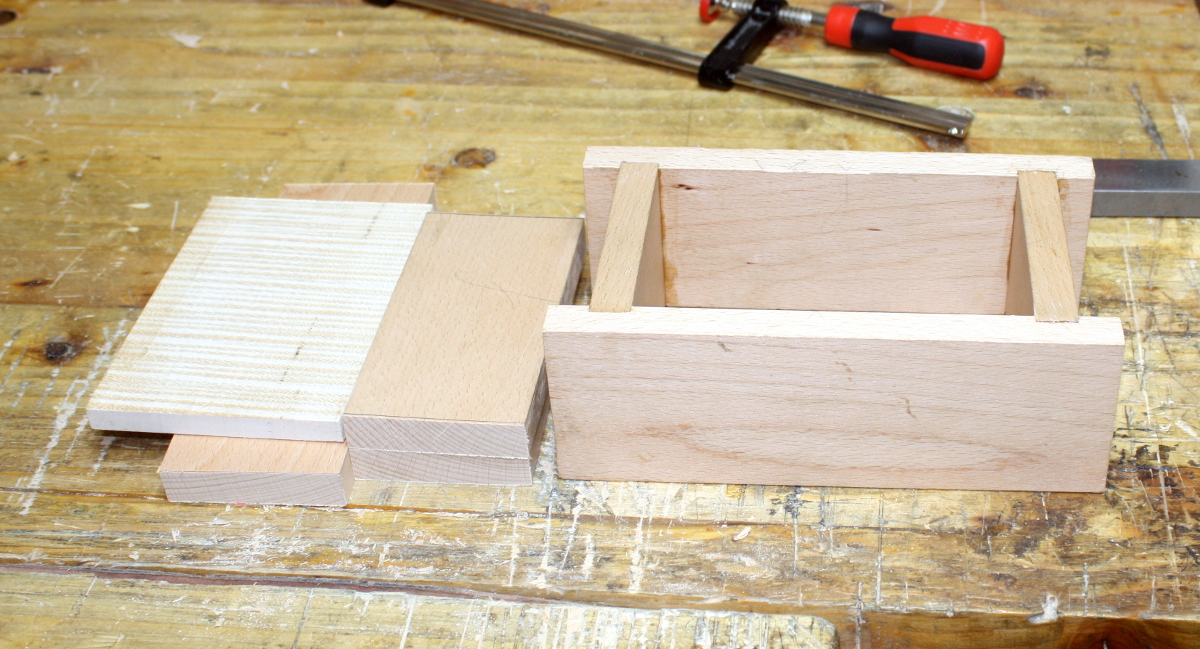
Glued up the carcass of the toolbox, and cut the mangled rebates off the old sides – they’ll make good material for handles or the top parts.
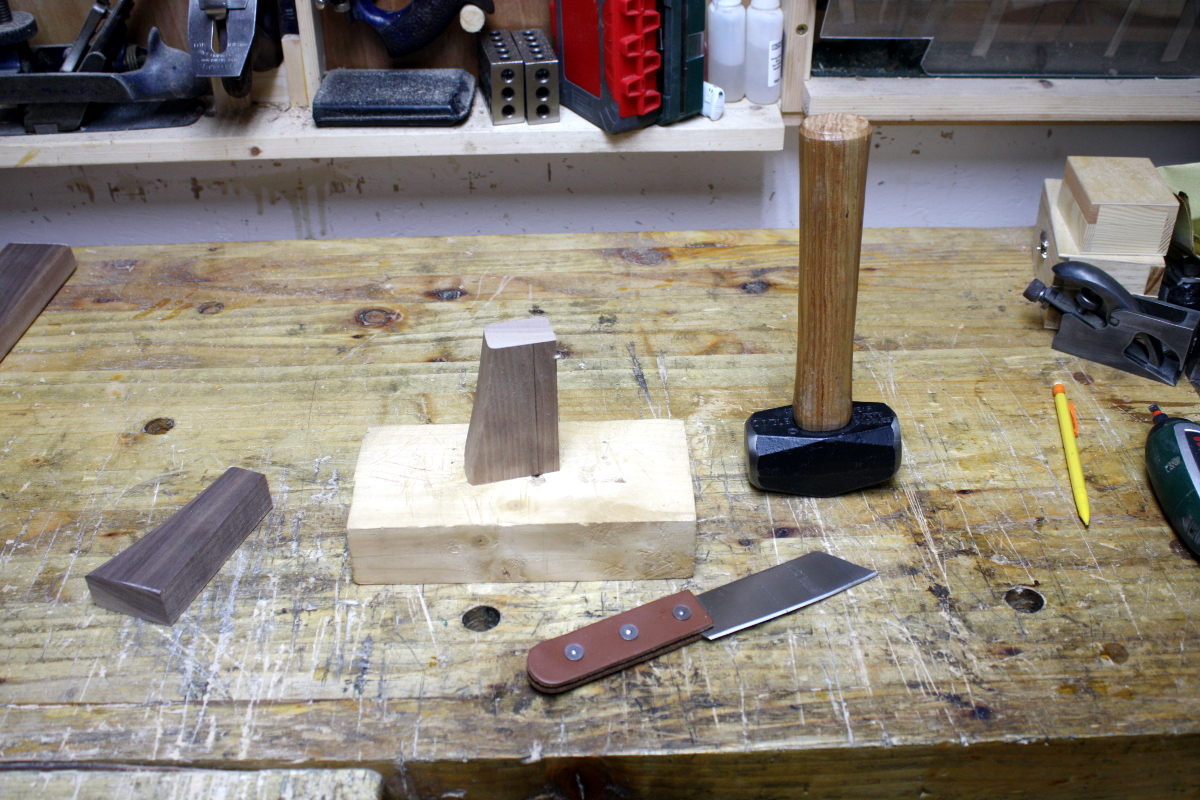
While the glue dries, it’s time to make pegs from some small offcuts of walnut that have reasonably straight grain. These are left over from making the sidecar cot from a while ago…
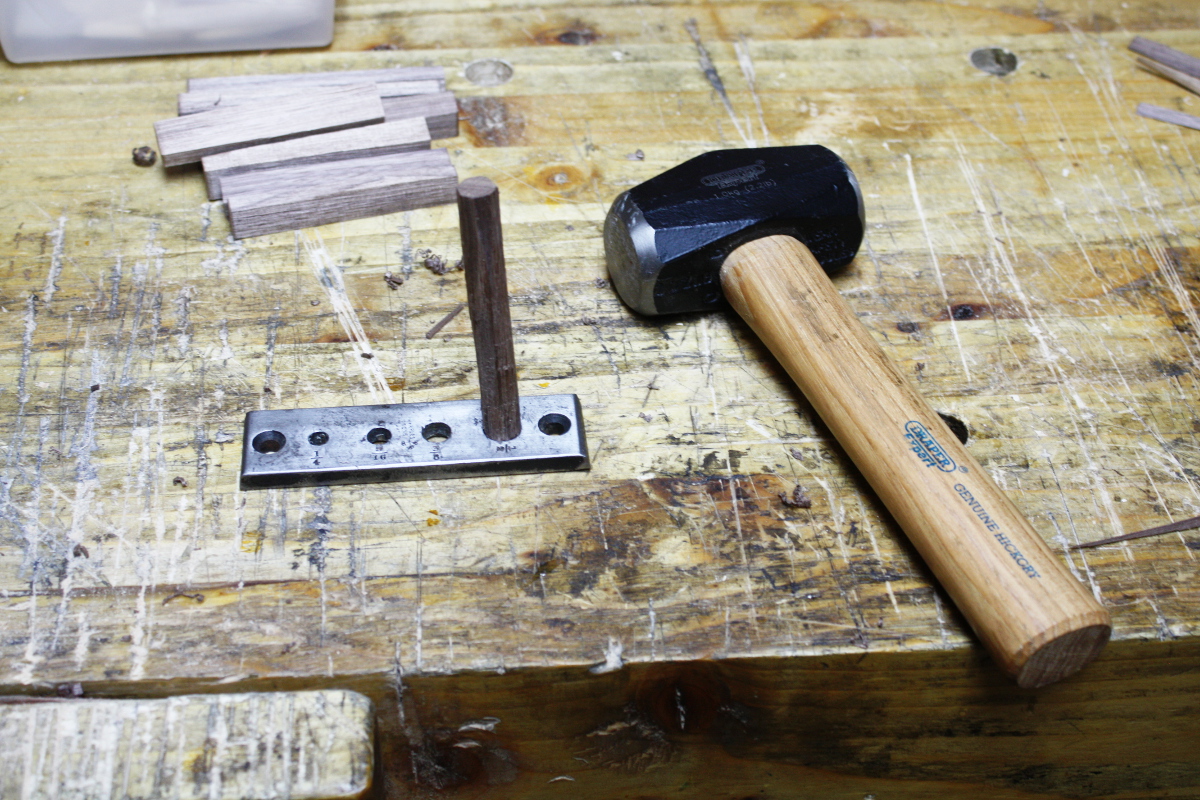
Smashy smashy!
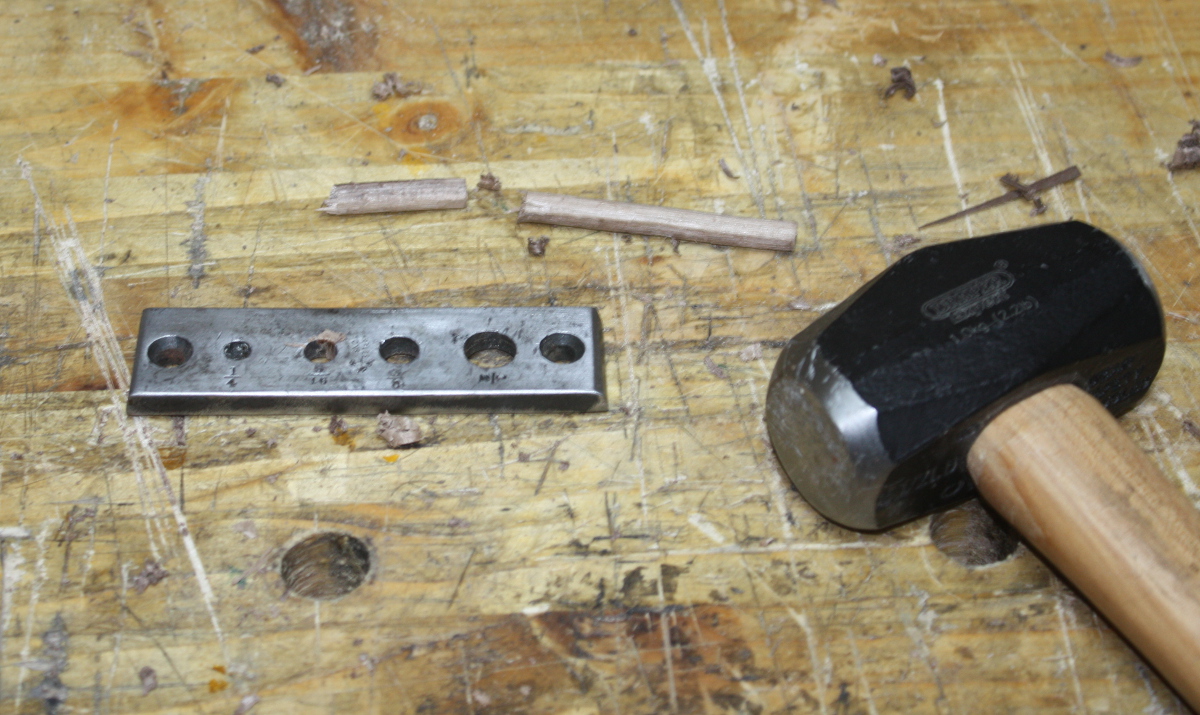
It’s always the last one….
Still, I can use those. The short one I’ll use for a test hole, I haven’t used the brace on beech before now.
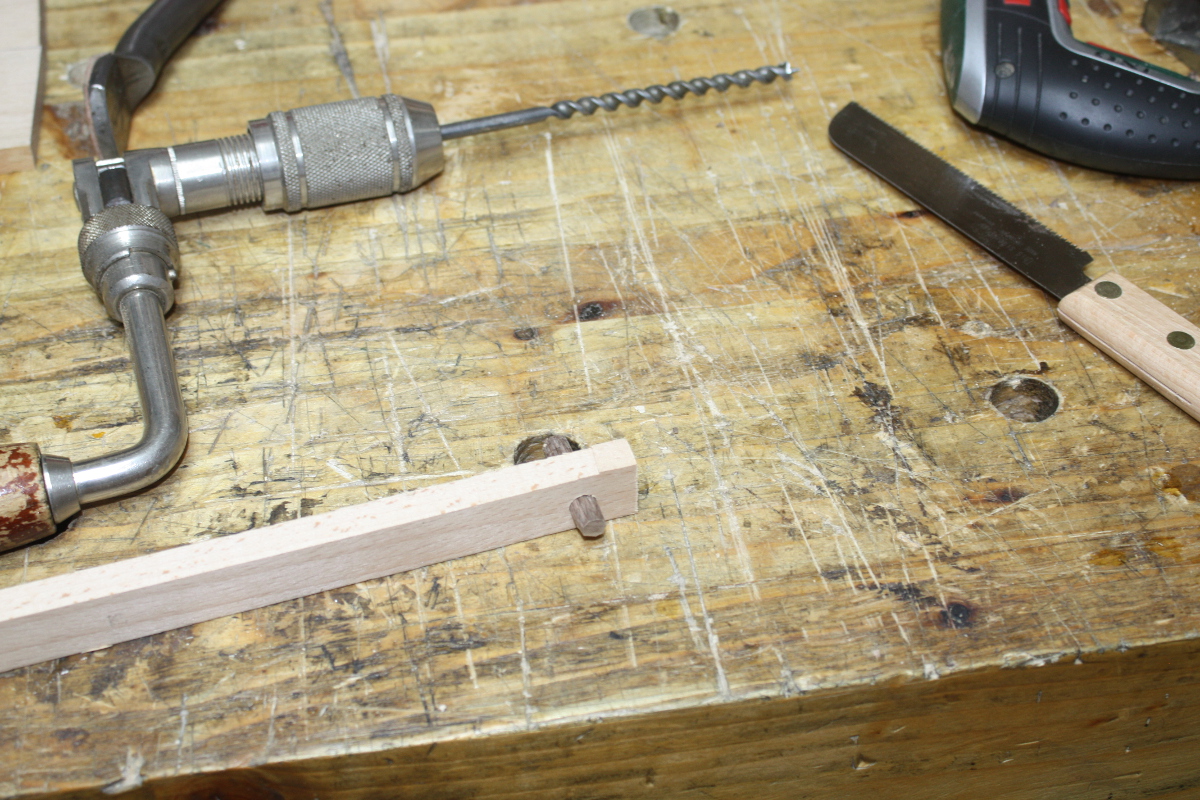
Drills reasonably well, but lots more dust than shavings off the bit than I’d see in something like oak. Takes a lot more effort to get through. I’m pretty sure that bit’s sharp as well, it definitely wanted a bite out of my fingertips. Now to flushcut and then plane down to see how well it looks…
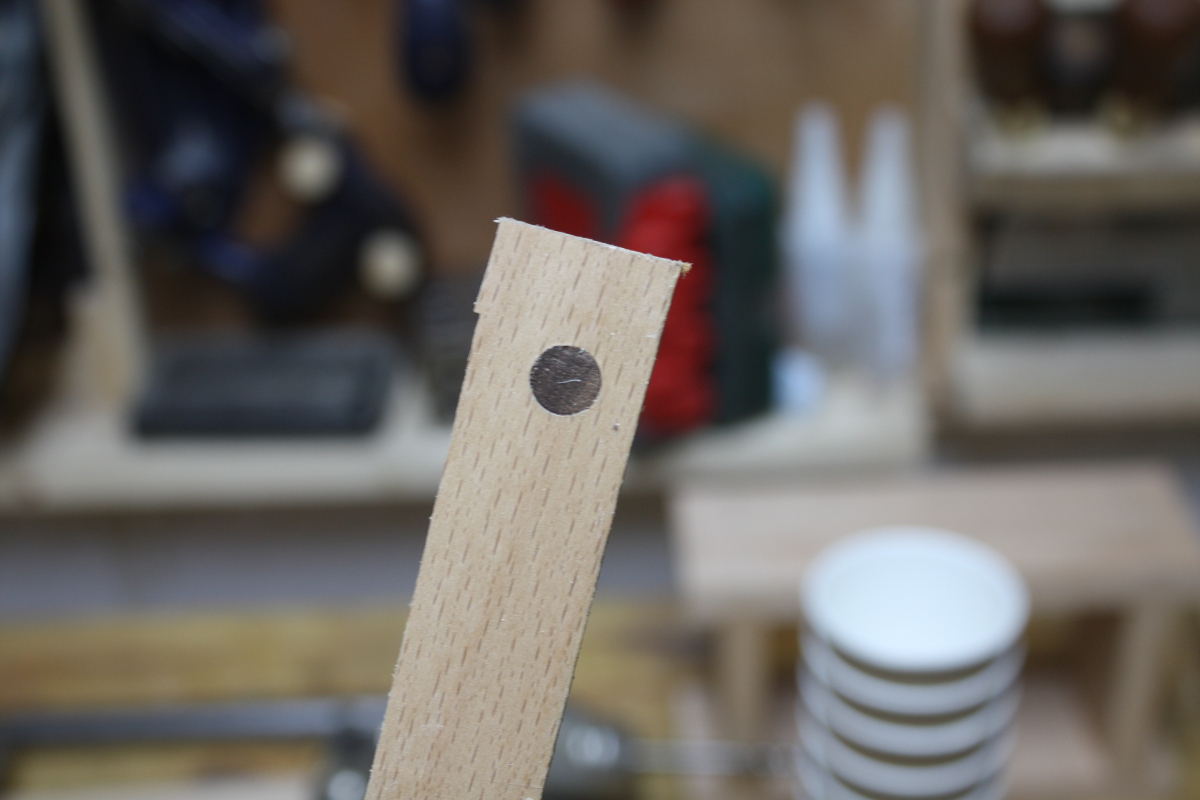
That’s quite nice actually. Good fit too.
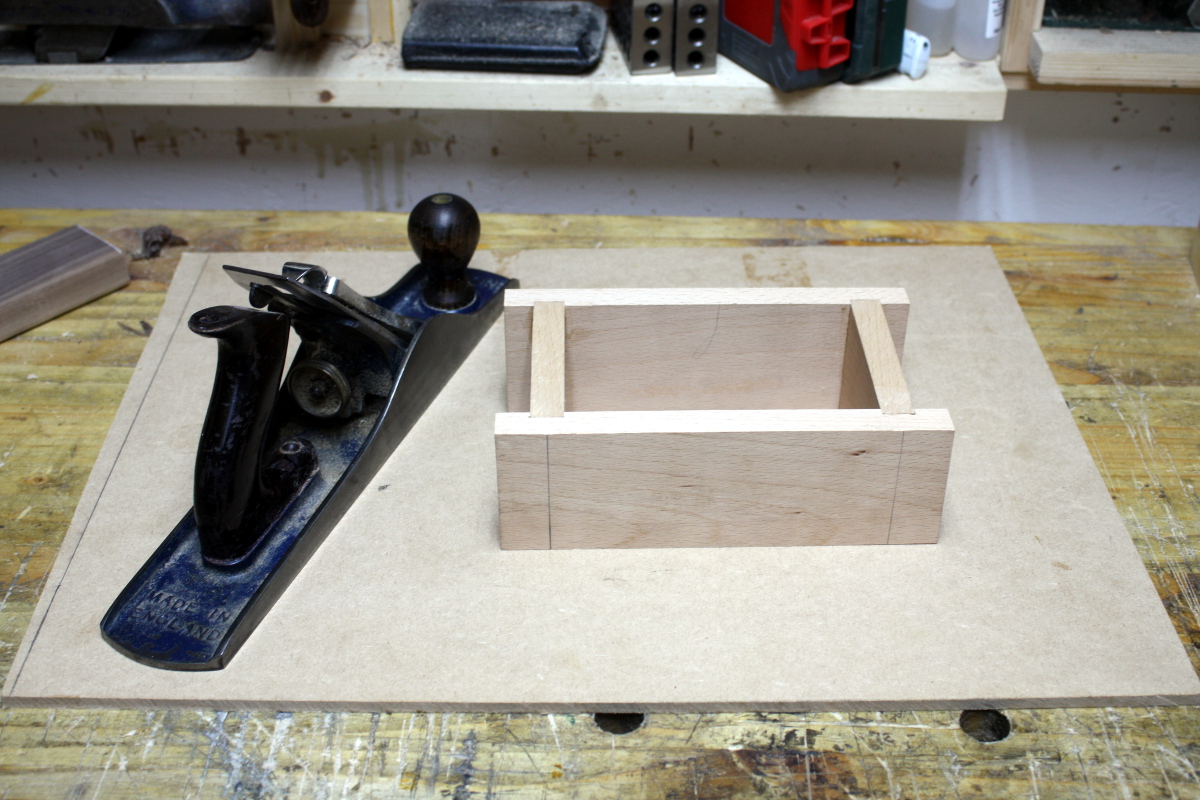
And with the glue dried, plane down the edges until we’re all level and not rocking (again, the MDF sheet’s handy as a reference surface here. I really want to flatten my benchtop but there just isn’t room to do so in the shed).
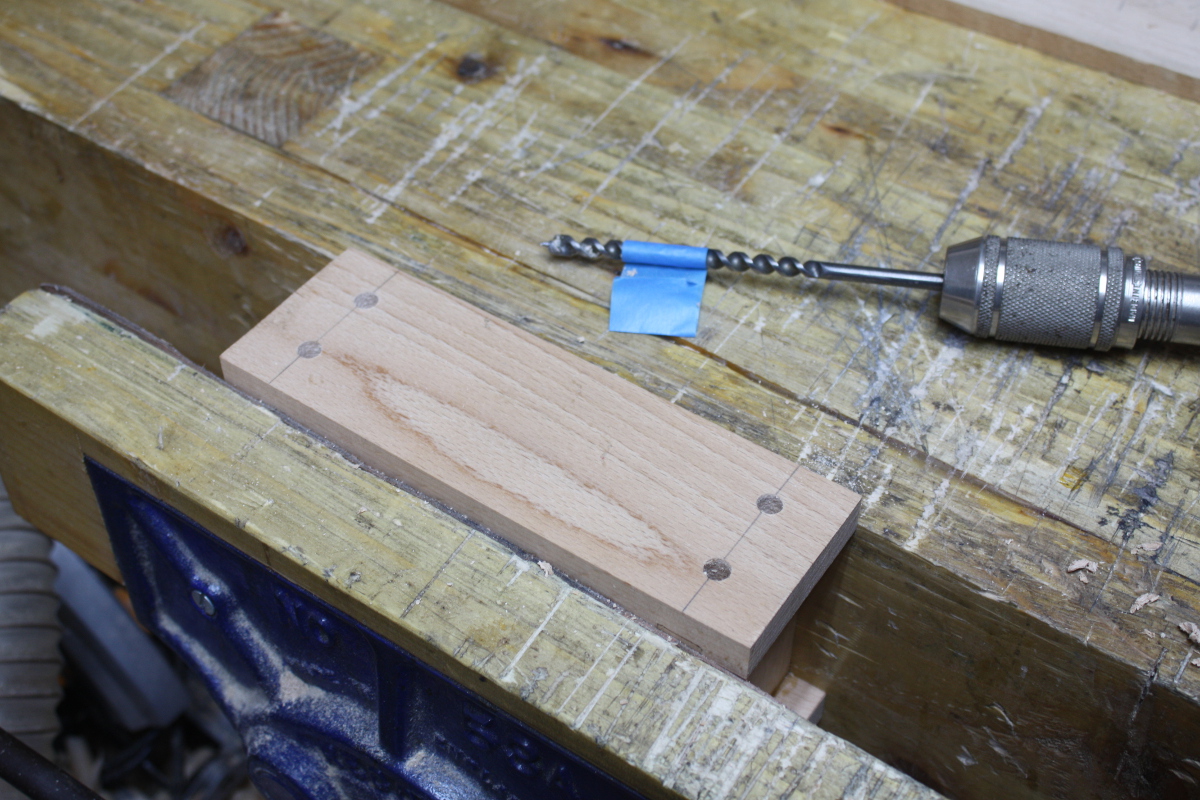
Some marking out and drilling of holes…
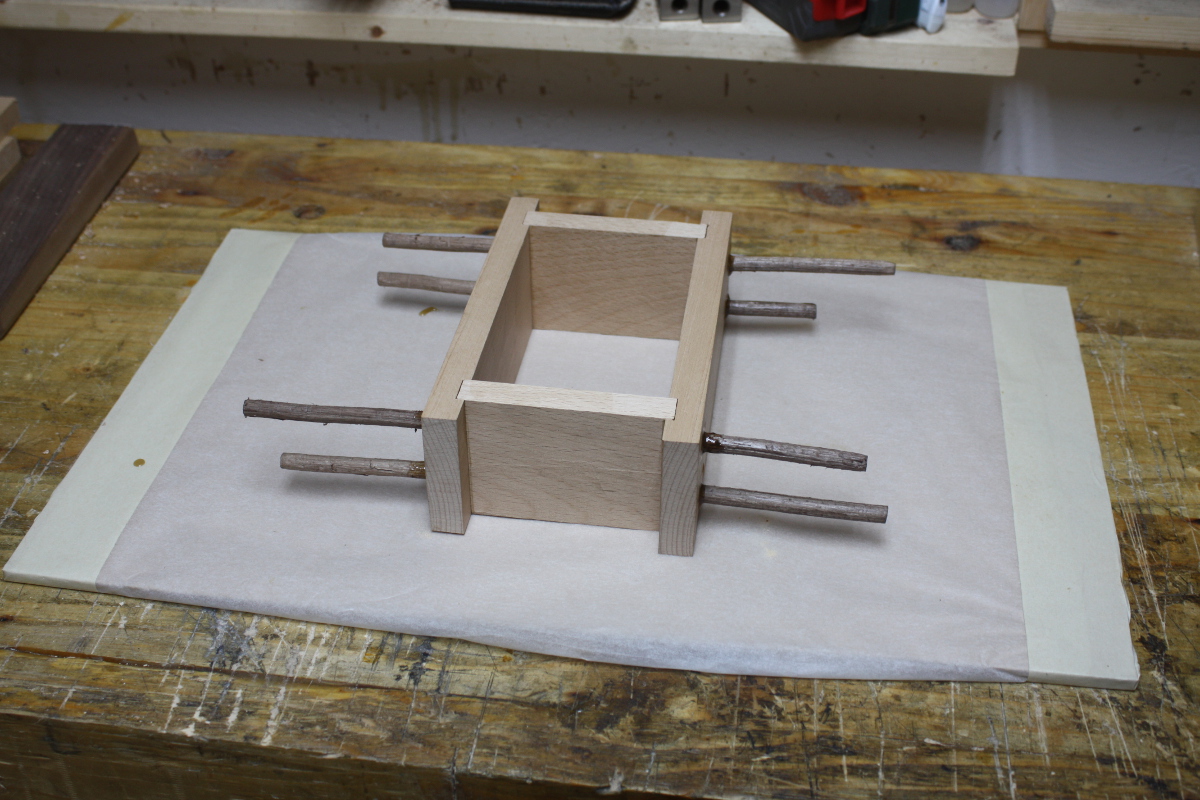
And in go the pegs and the glue. I’ll let it set up then trim off the pegs and they’ll go on to make more pegs later on.
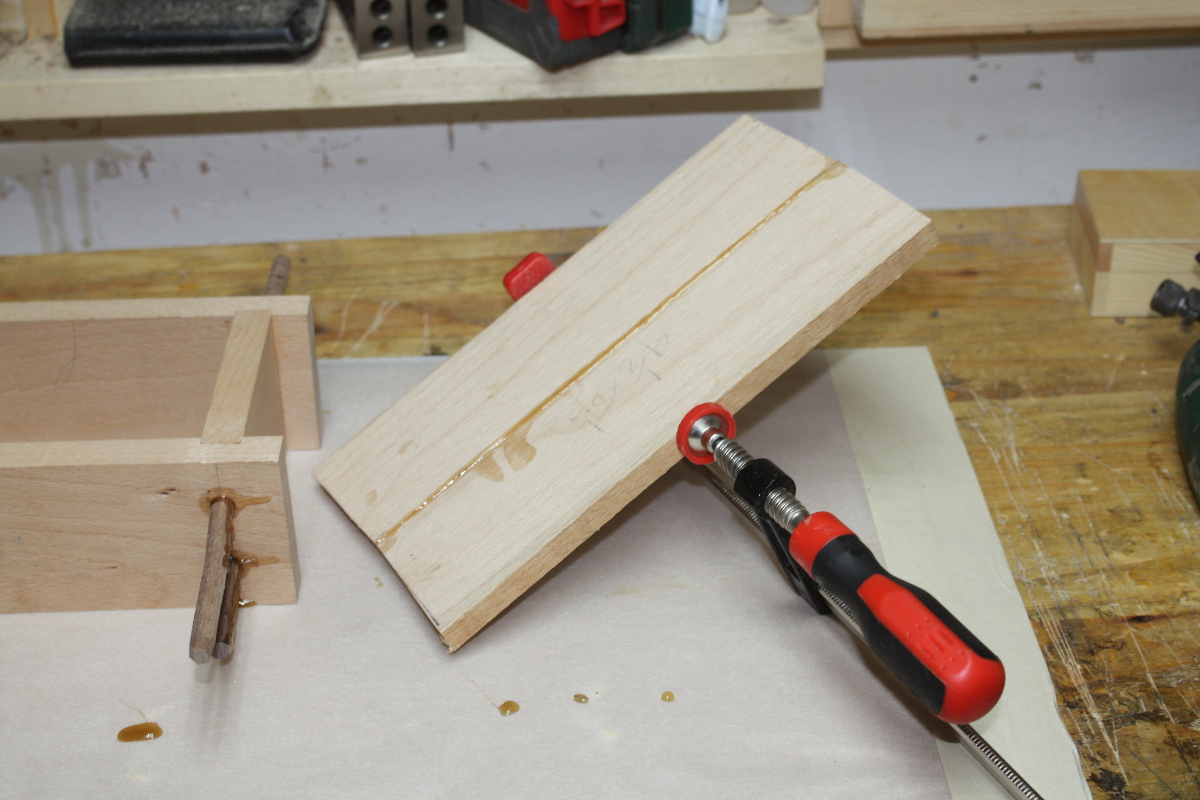
And I glued up a panel for the base. Gotta love sprung joints. I’ll plane up and cut to size tomorrow. And lastly, a quick test of finishes – on the left, danish oil; on the right, crimson guitar’s royal blue stain (just because). I must find out if boss lady wants her locker any particular colour…
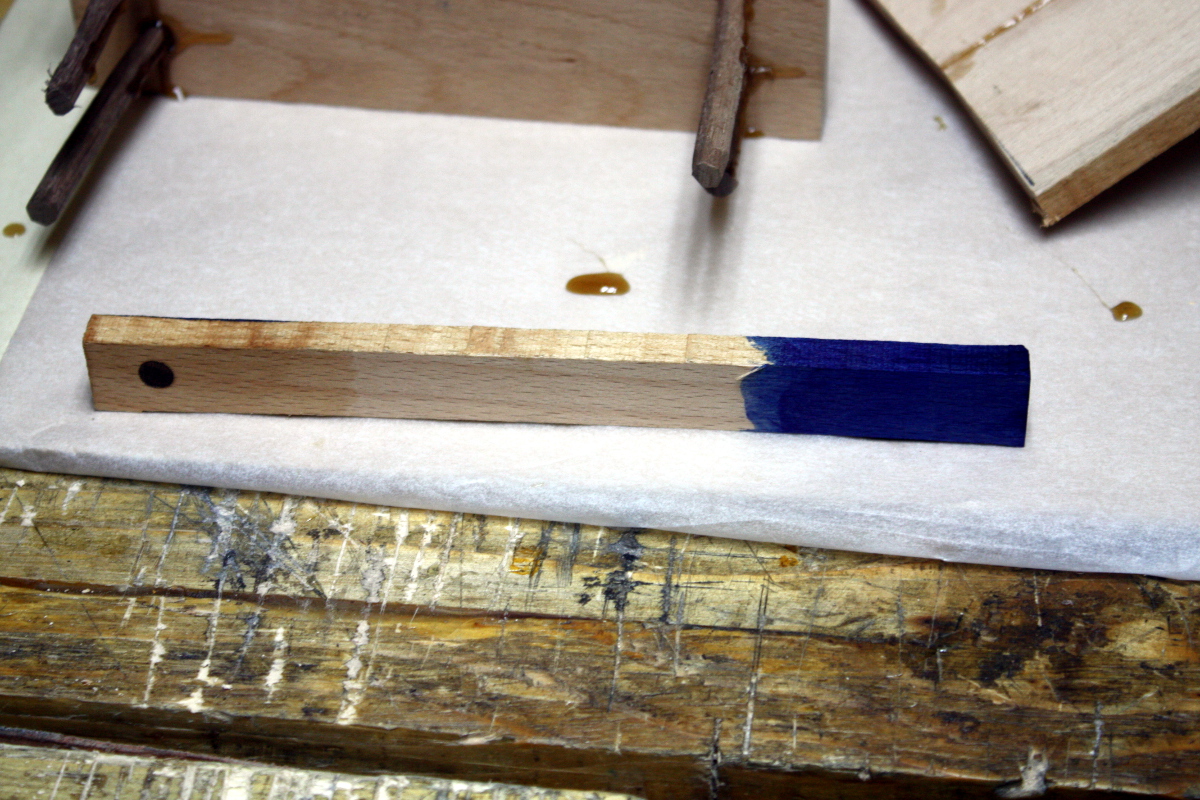
That blue is seriously intense while wet, it’s mucking up the camera’s colour balance even against a white background.
Tags: beech, bench, dovetails, hand tools, planes, tools, Woodworking


