So with the bandsaw down, my plans for the box are on hold and I moved back to the locker. I started off by planing the roughcut pieces I was going to use to get them flat and smooth, then I cut the dovetails for the main carcass, and of course, that means sharpening time 😀
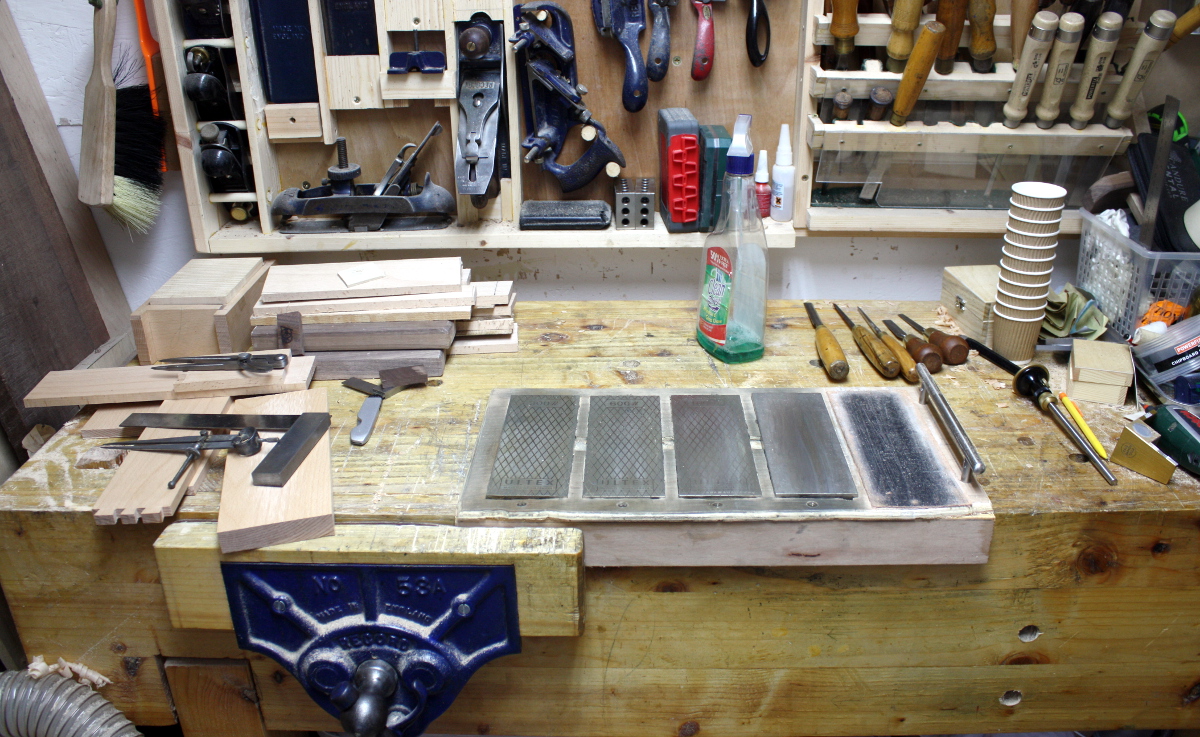
And marking up time…
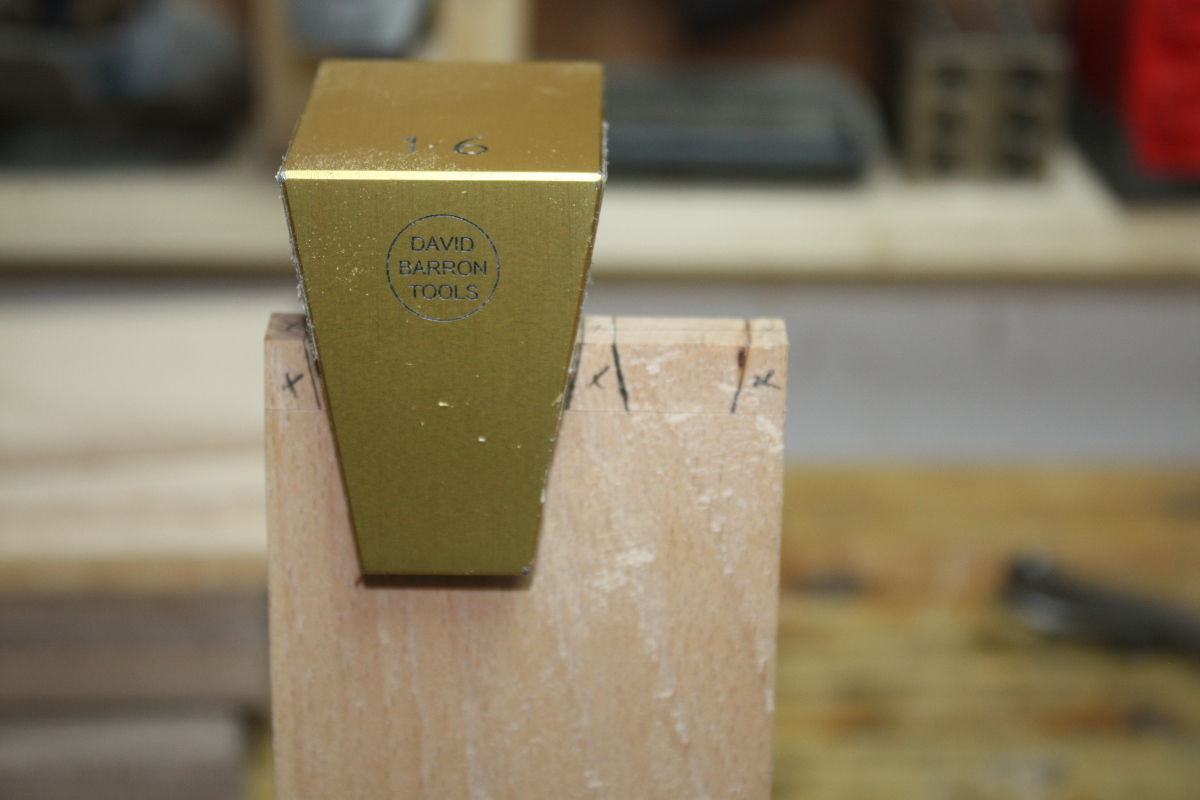
And sawing time…
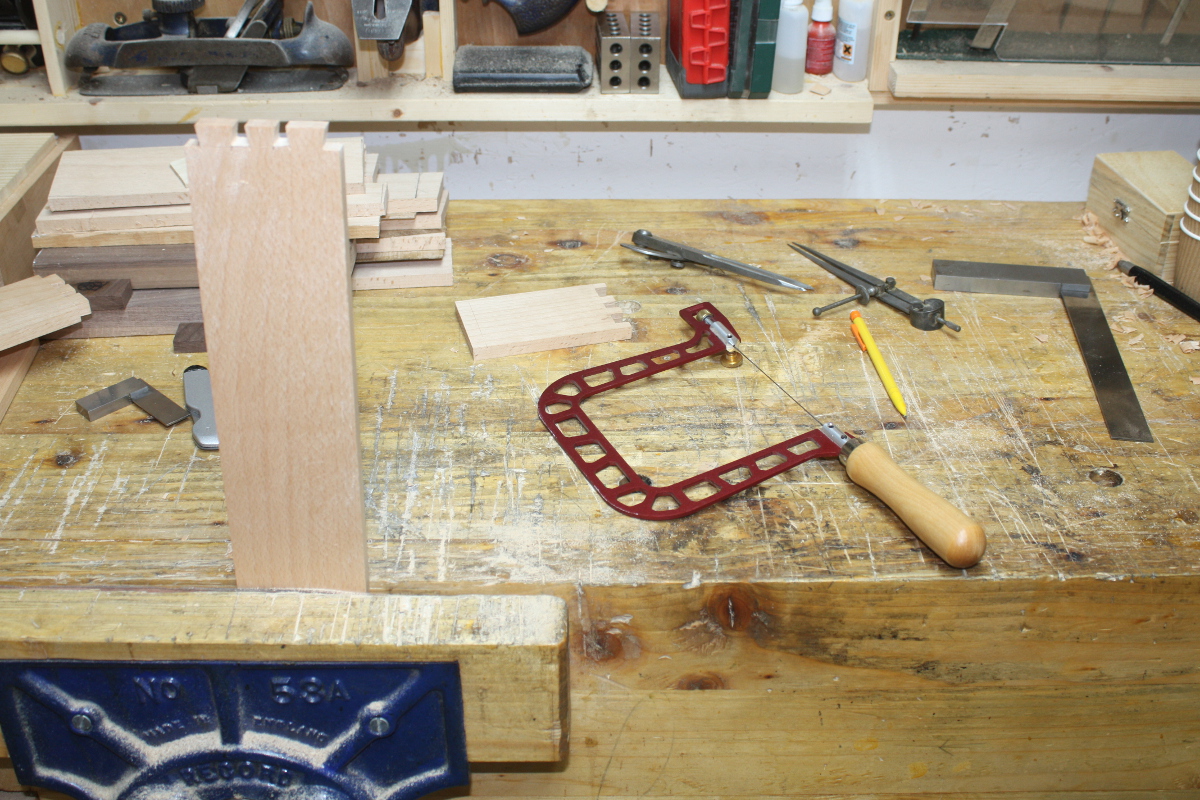
No, I didn’t do all the sawing with the fretsaw, I just used that to get the bulk of the waste out. Then it was chopping and paring time.
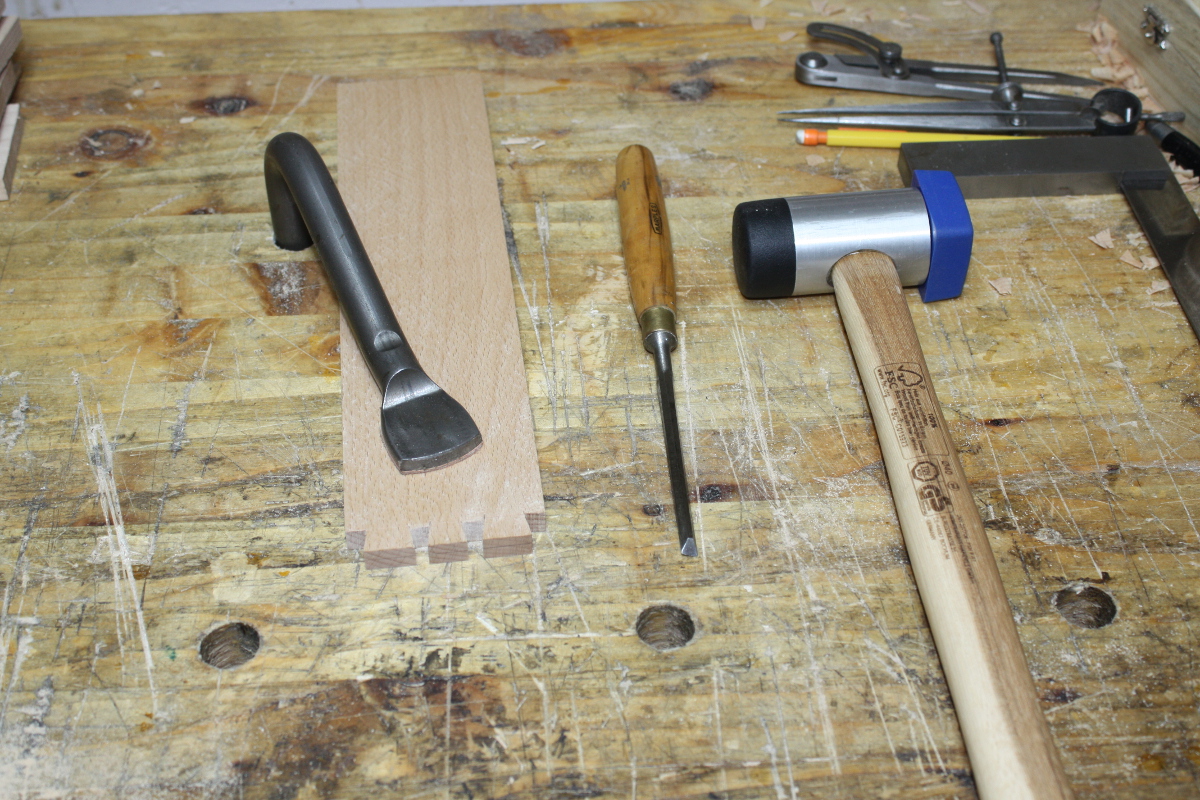
Incidentally, that chisel mallet is a nice find from lidl. I’d say I spotted it, but credit for that goes to Calum…
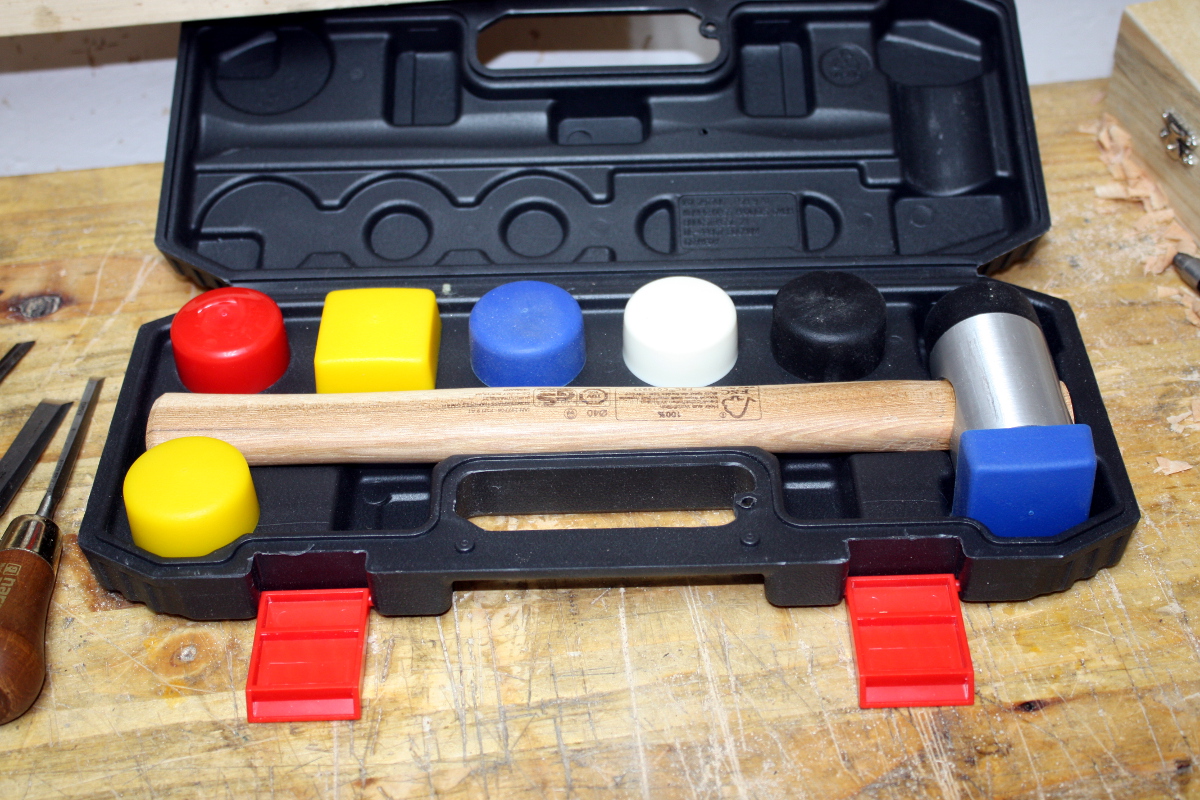
Different faces of different colour-coded hardness from white (hardest) to black to red to yellow to blue (softest), so you can have one hammer with one face for thwacking the chisel and the other face for beating the joint together or apart without either losing energy on the former or marring the work on the latter. Not bad for €14. I mean, it’s not better than the sculptors mallets for carving, but it holds its own against the deadblow hammer, at least in beech. Maybe in a harder wood it wouldn’t manage it, but we’ll see. I don’t have to give up one for the other 😀 That case has to go though, it’s daft.
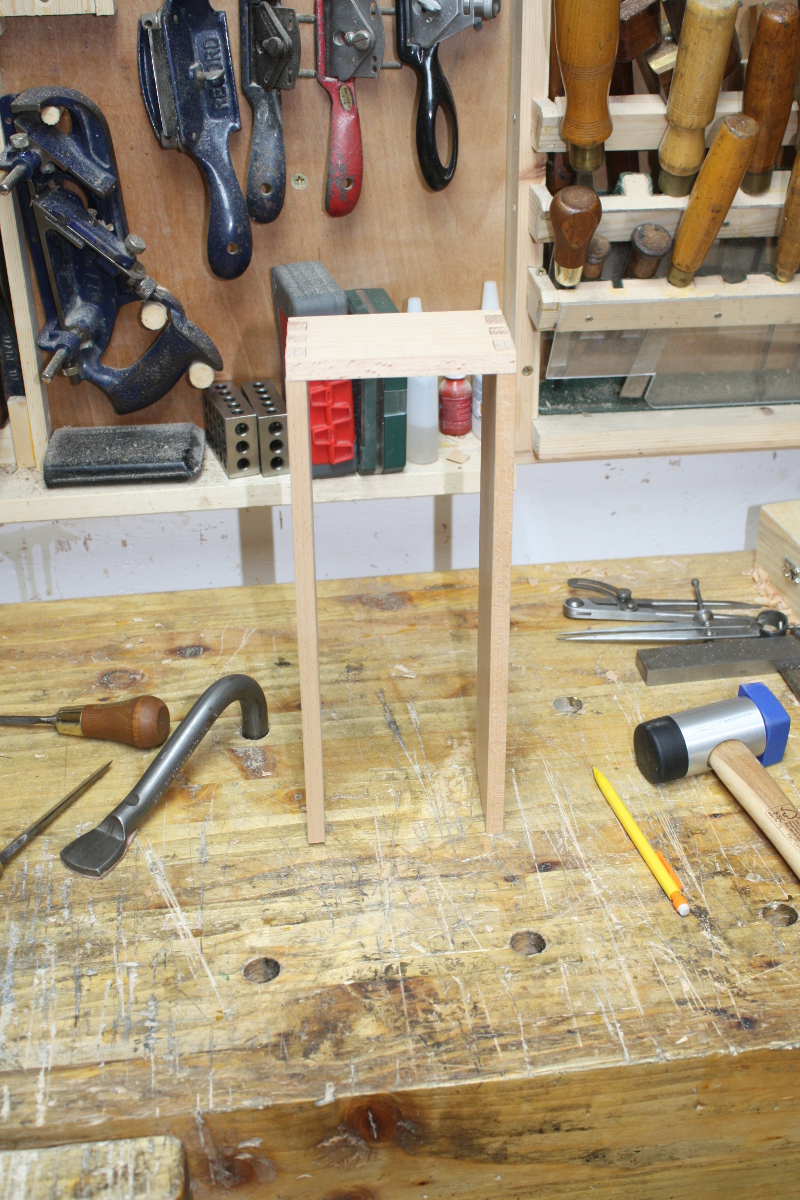
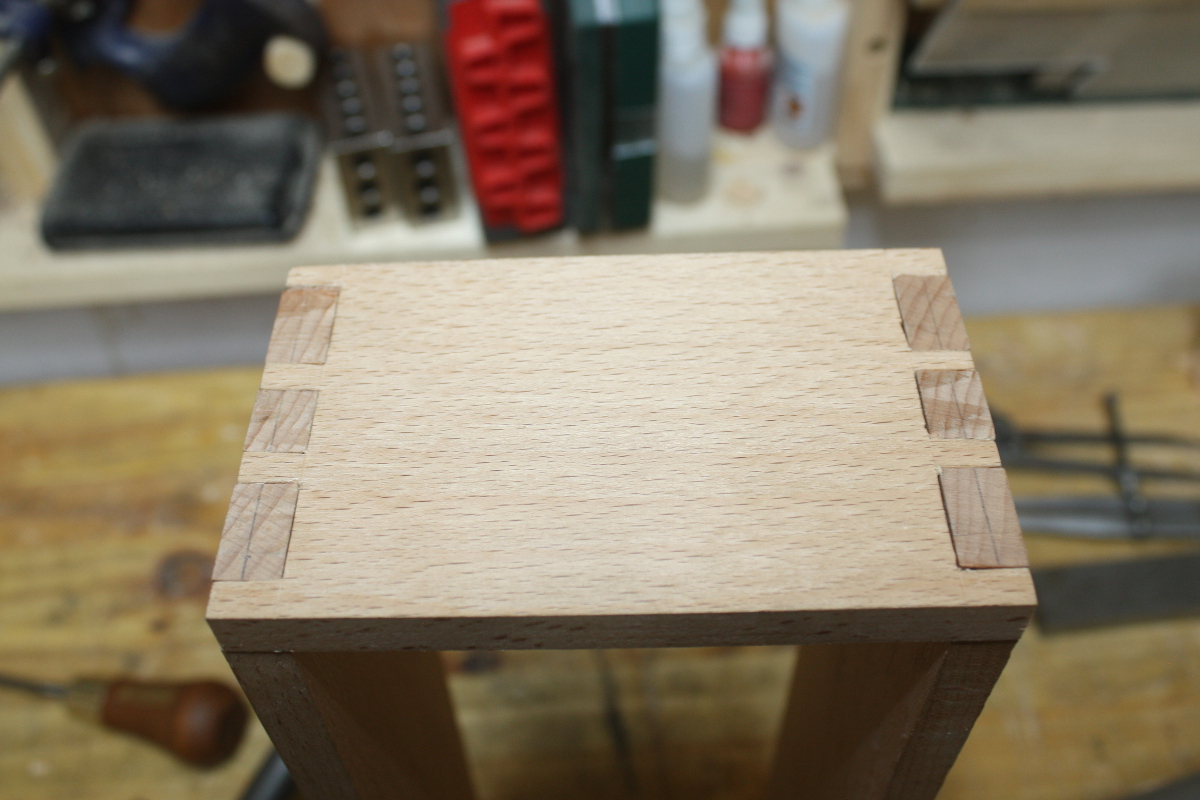
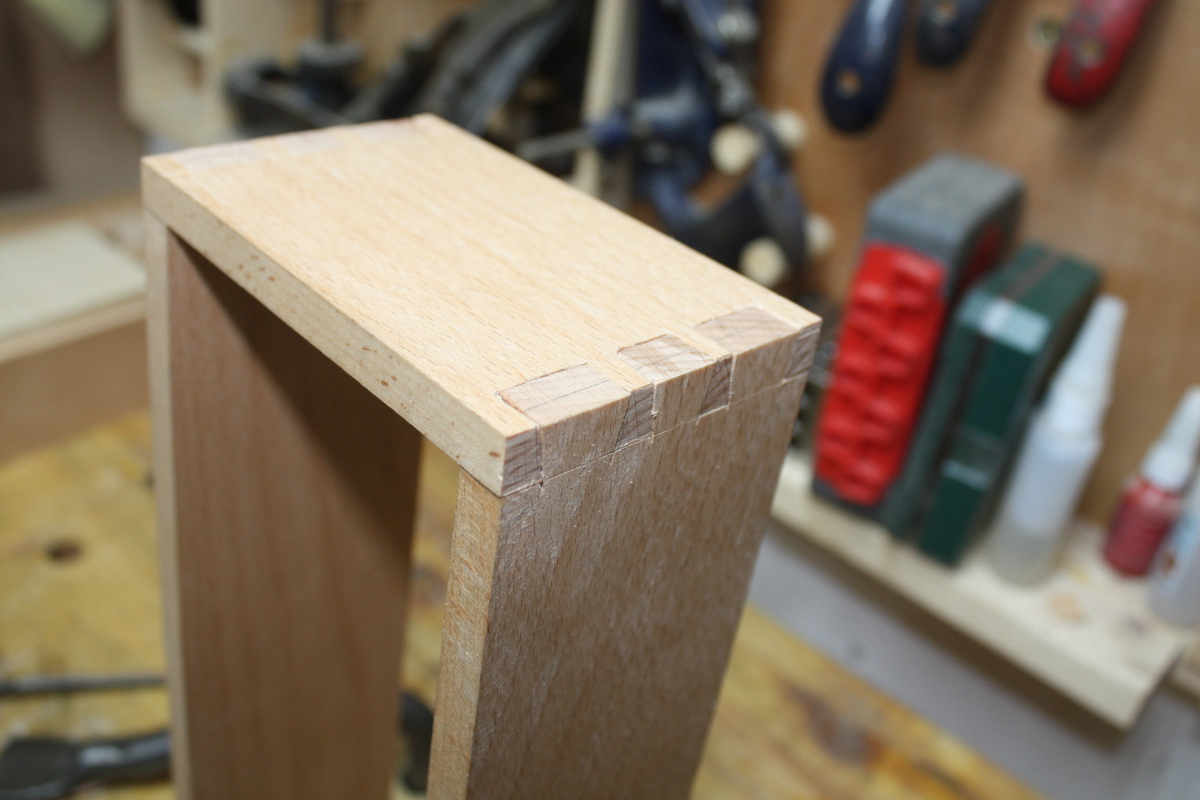
It won’t make the dovetails less gappy for you though… alas.
Then this evening I chopped the housing joints for the shelf in the locker.
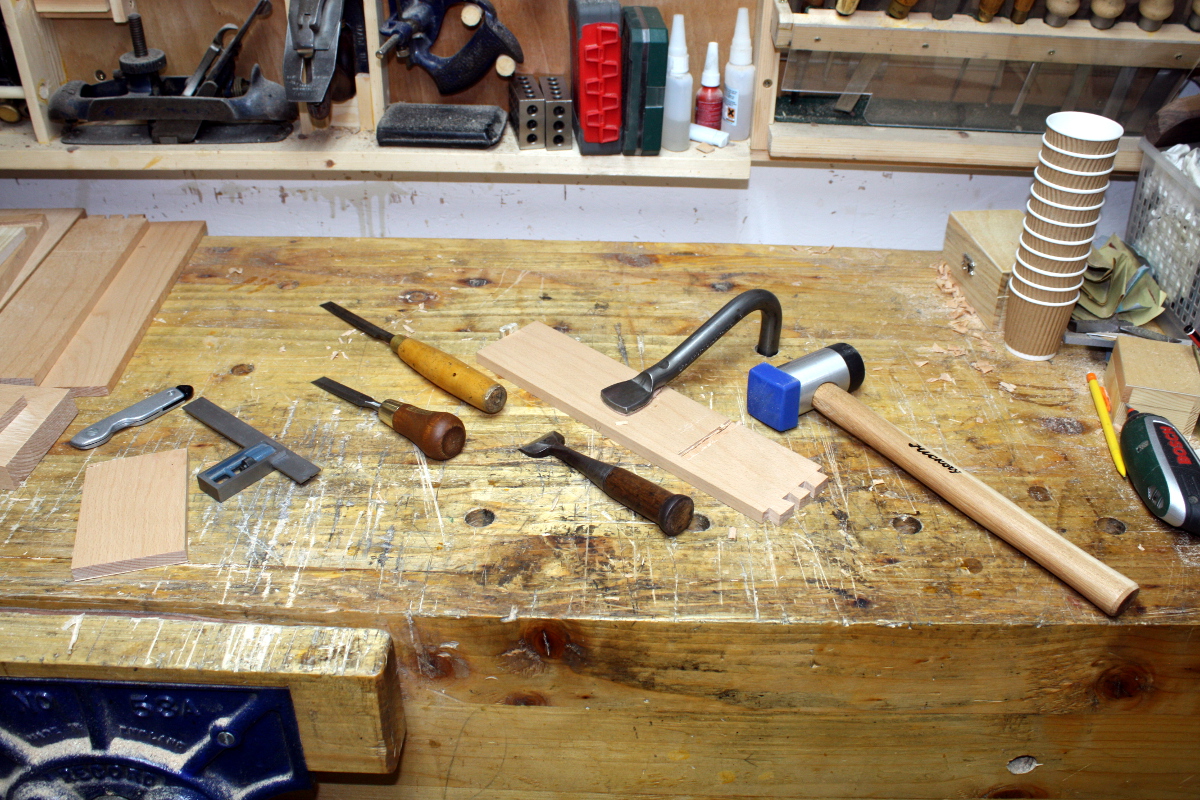
I know I’m using more chisels than I need, but I don’t care, I love the japanese one for the vertical chopping and hate it for the angled chopping, so I swap back and forth. It’s still remarkably fast, especially on a shallow housing like this. Knife the first line, chop down, chop in, brush off the chips, repeat till you’re at depth, bring in the piece of wood to be fitted and tap it up to the new wall of the joint and nick the other side with the knife, then scribe that line with the straight edge and repeat the entire process until both knife walls are at depth and there’s a ridge of waste between them, then pare most of that out with the chisel and refine it with the router plane until it’s all nice and smooth on the inside of the joint. Then pound the shelf home with the mallet to check for fit, and then do the other side…
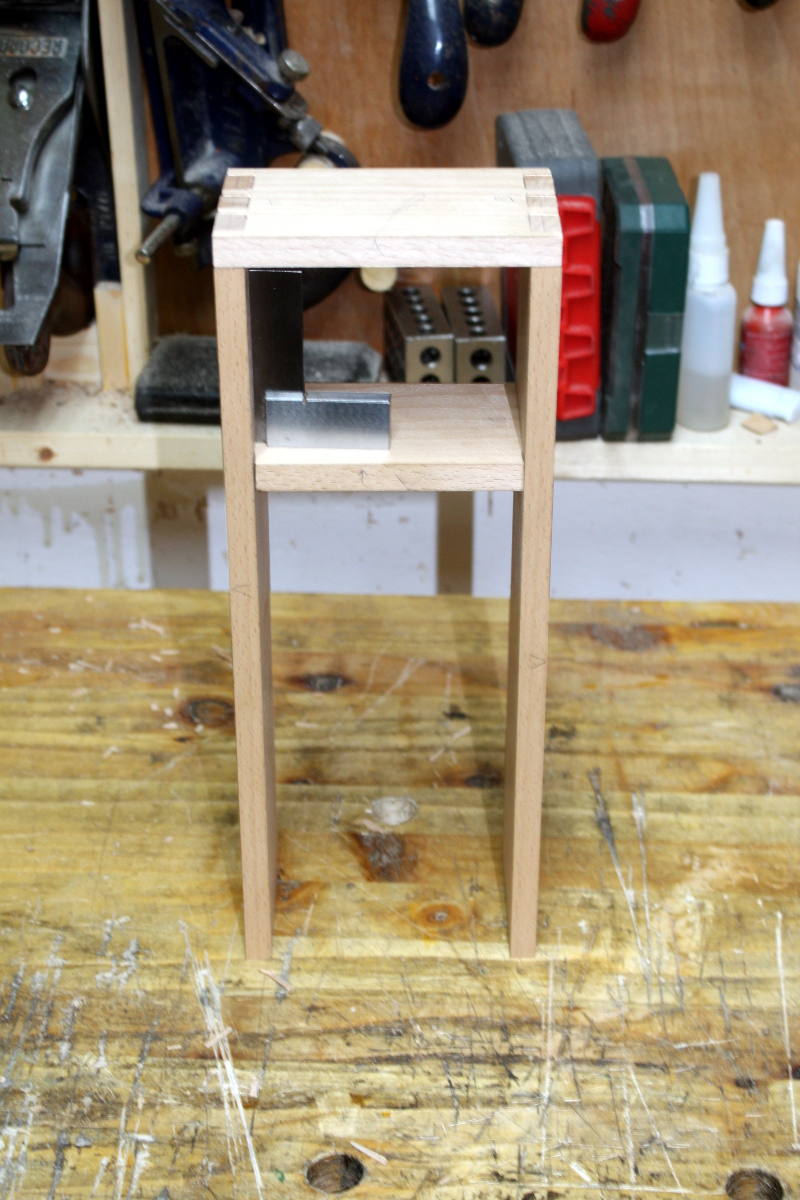
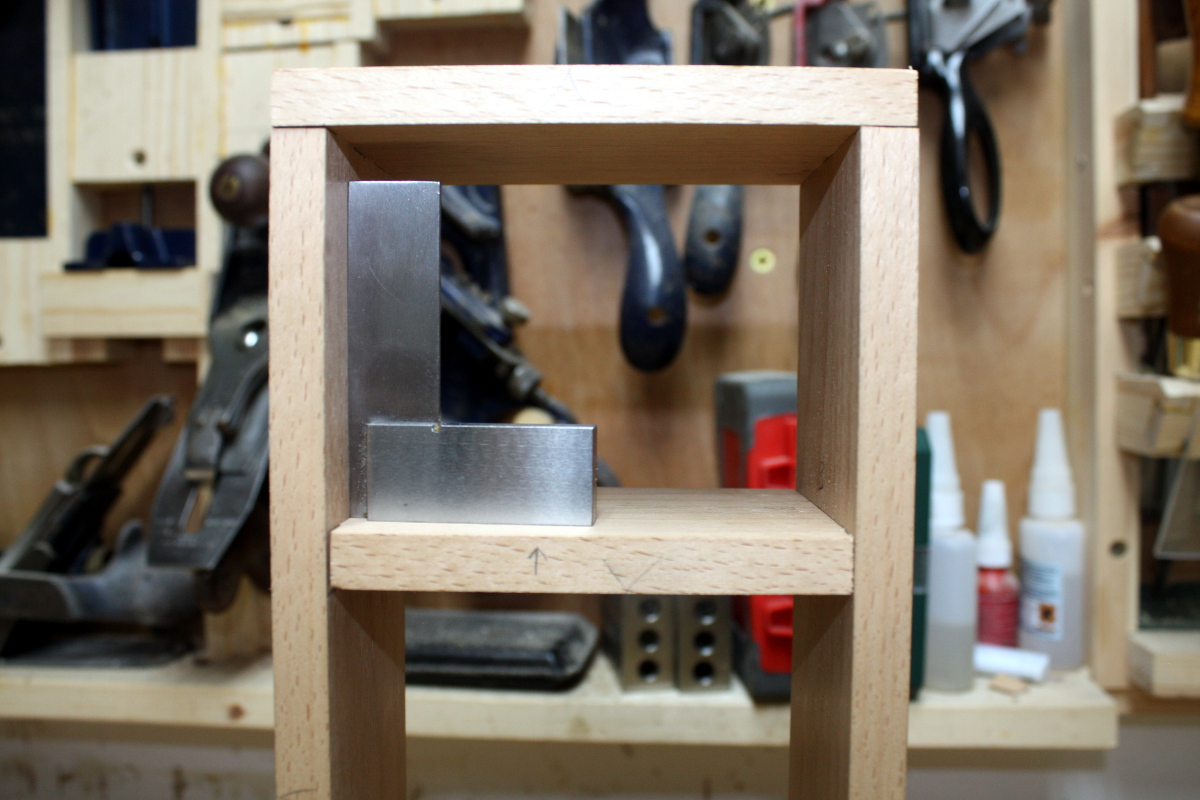
It’s gappy on the dovetails, but the housing joints are fine (that small gap on the left there is something I’ll fettle out, there’s too much width on the shelf yet by about a half-mm or so).
One more housing joint to do and that’ll be the carcass roughed out. Then I have to decide how to attach the back panel and figure out the door (that shelf and the bottom of the locker will have to be recessed for it on the front slightly, but should I rabbet the back to fit the back panel and avoid nails? And I have to figure out the legs as well…
Tags: beech, chisels, dado, dovetails, hand tools, housing joint, mallet, tools, Woodworking


What a pity they choose a completely arbitrary code of color for the mallet heads.
A code of color should mimic the rainbow like the electric resistor code.
Sylvain
What’s the weight of this mallet?
Sylvain
About 200-250g or so I think Sylvain, I haven’t weighed it and it has no weight stamped on it.