Finally some decent weather combined with a bank holiday this weekend and I wound up spending some time in the shed (and got the weber out so yay!).
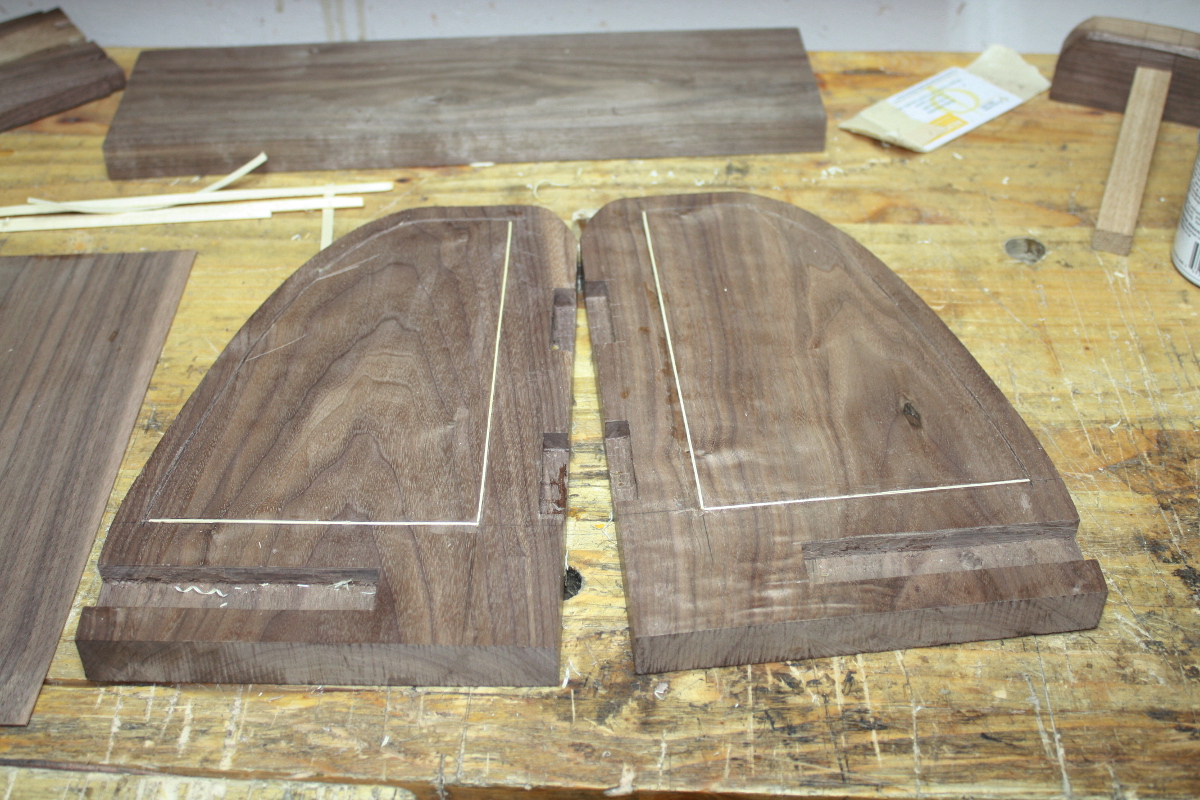
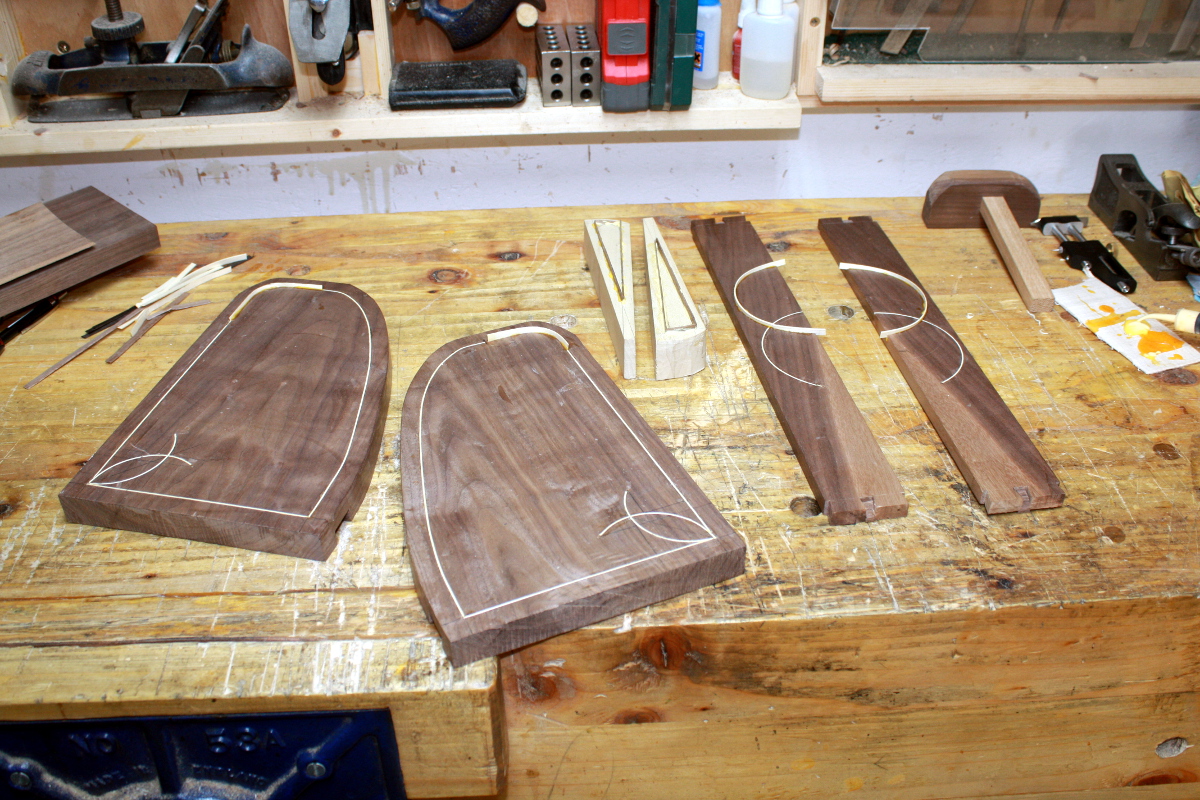
Started off trimming and cleaning the lines put in on Thursday (Friday was a work do and I was done in by the time I got home so I just crashed, so this was all done Saturday evening).
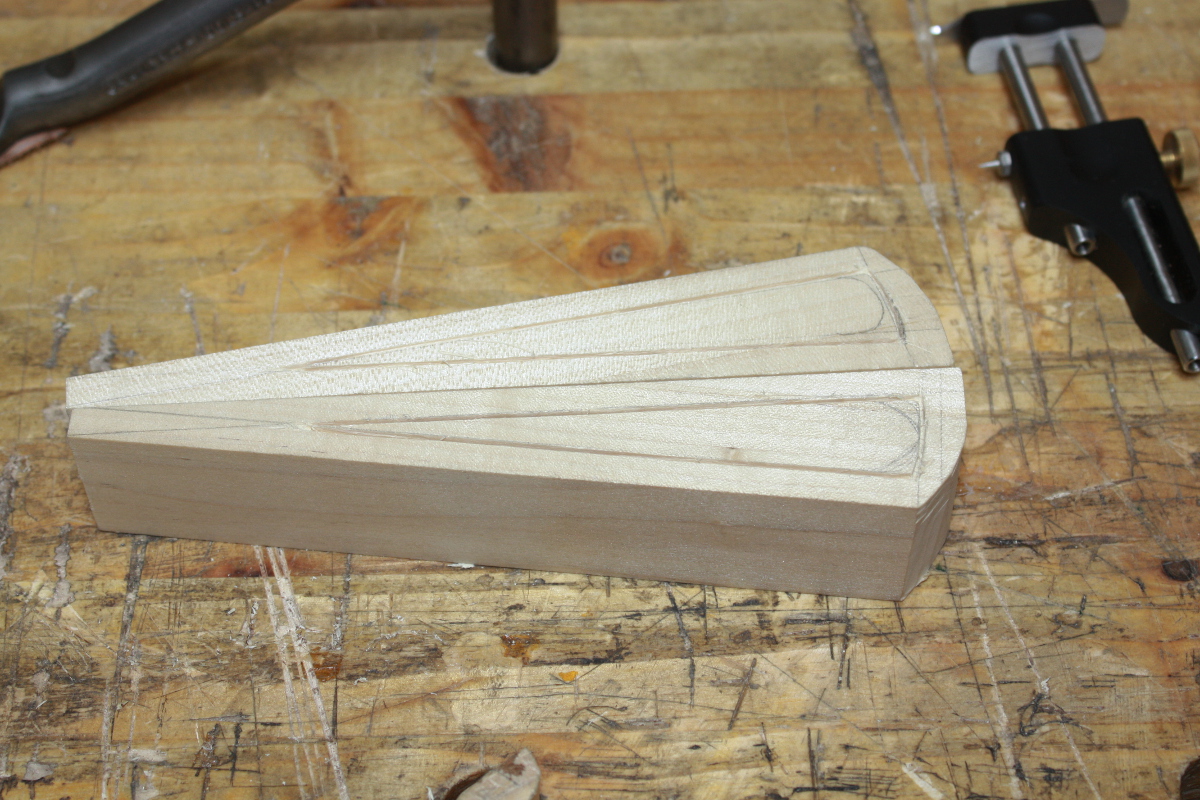
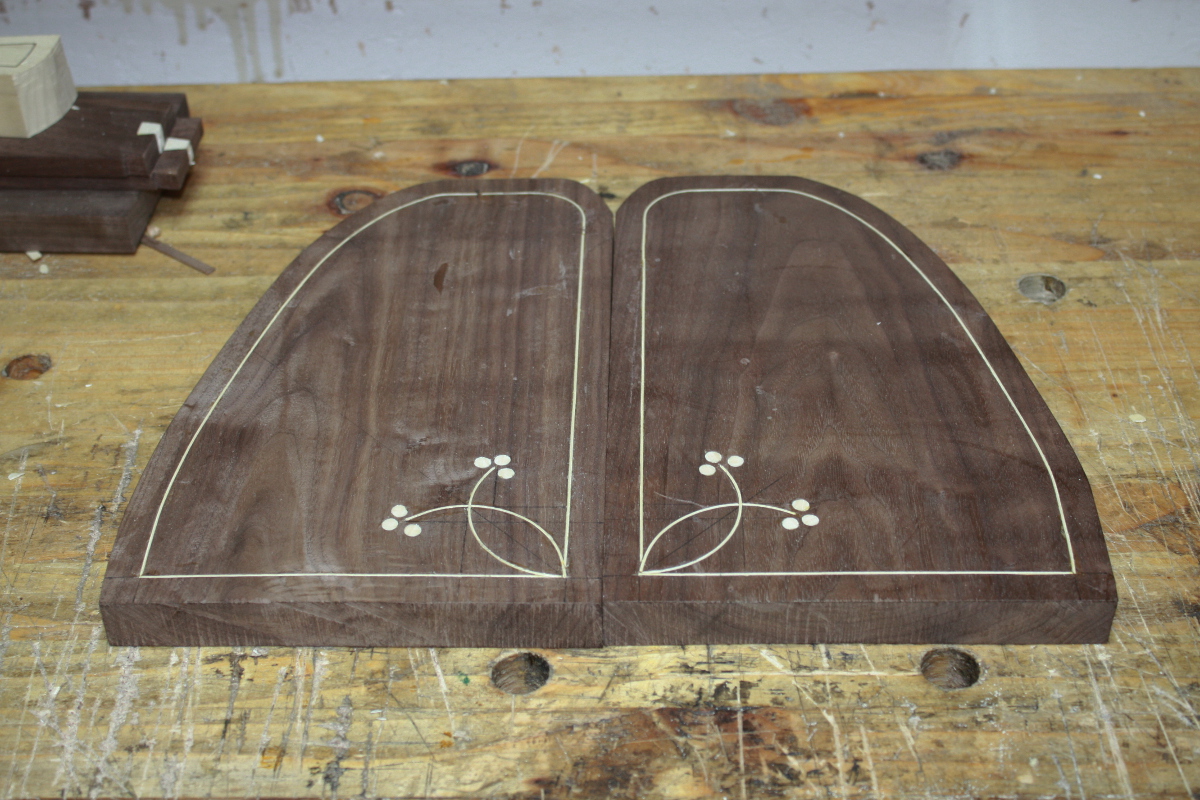
Then I checked the feet to be sure I liked how my idea for how to do these looked. I quite like the idea, but we’ll see. And I took the new laminated stringing out of the clamps:
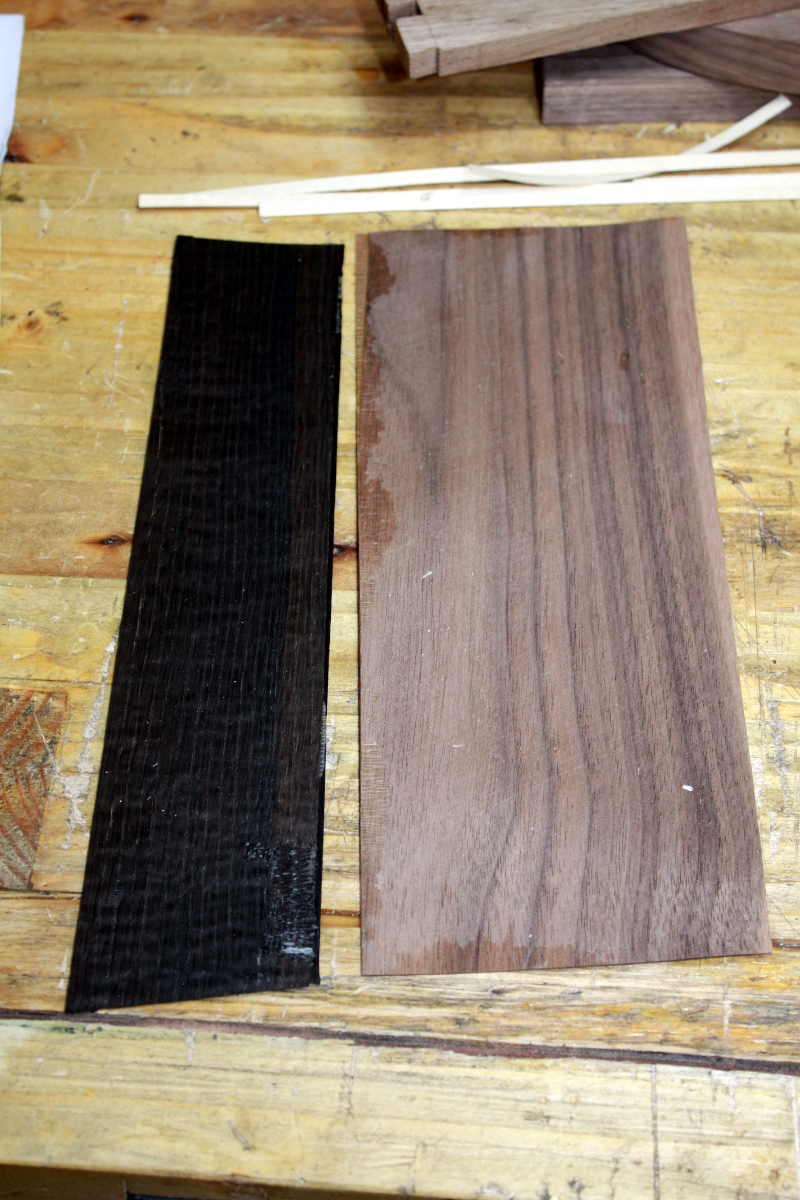
The – I don’t think it’s ebony, maybe dyed pearwood? – darker stringing is stunningly dark, but I cut a test bit and compared it with a test bit of the walnut and it was just too dark; jarring, in the piece. So I went with the walnut instead.
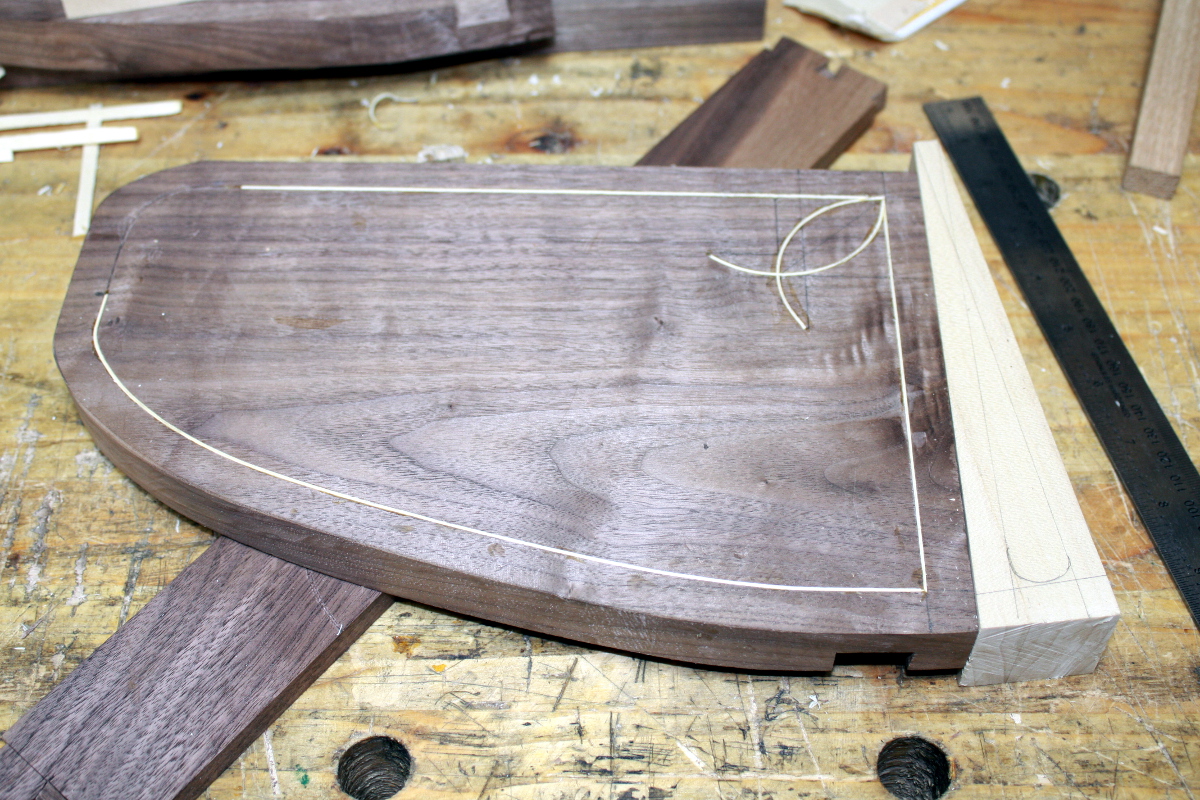
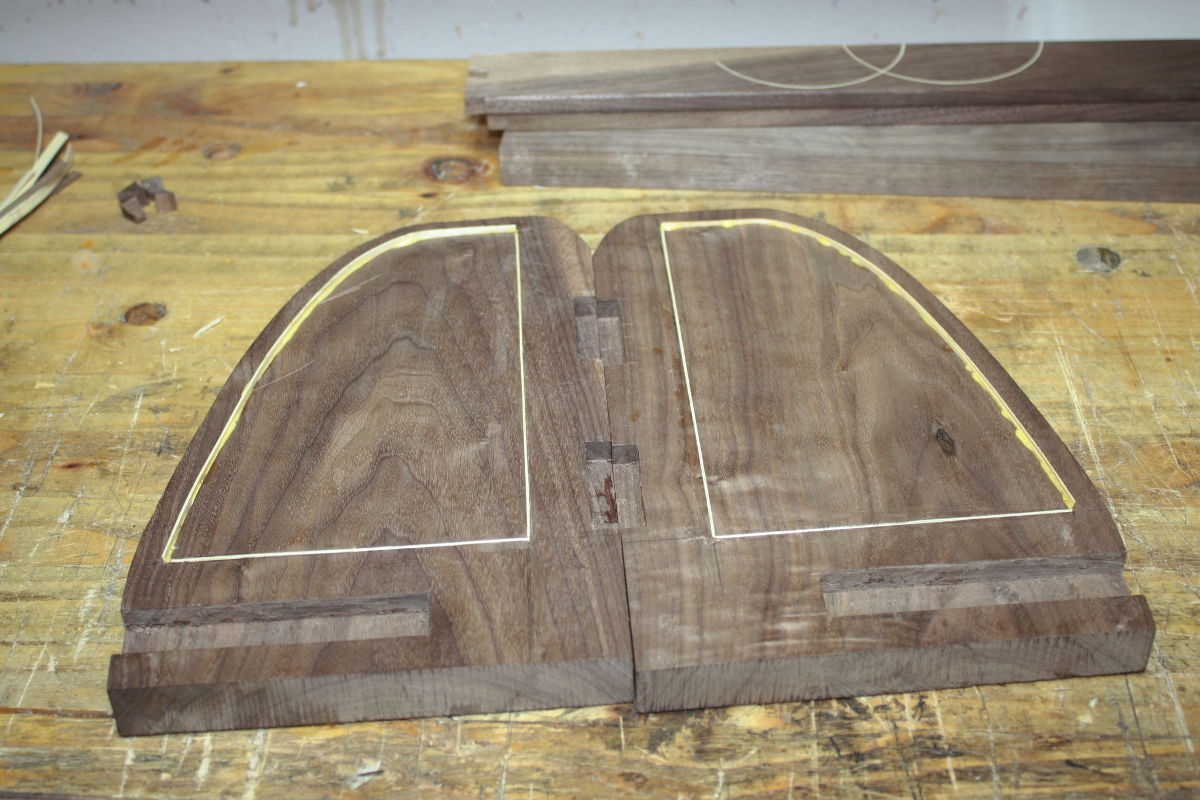
The front curve is almost vertical, but no, really, it’s a curve 😀
And that’s the feet done, the second circles on the bars done, the last of the string on that face of the sides done, and that got to dry overnight.
BTW, so much for credit card thickness plastic being a perfect pivot point 🙁

The next day, cleaning up and trimming the excess…
And laid in the last stringing line on that face of the sides…
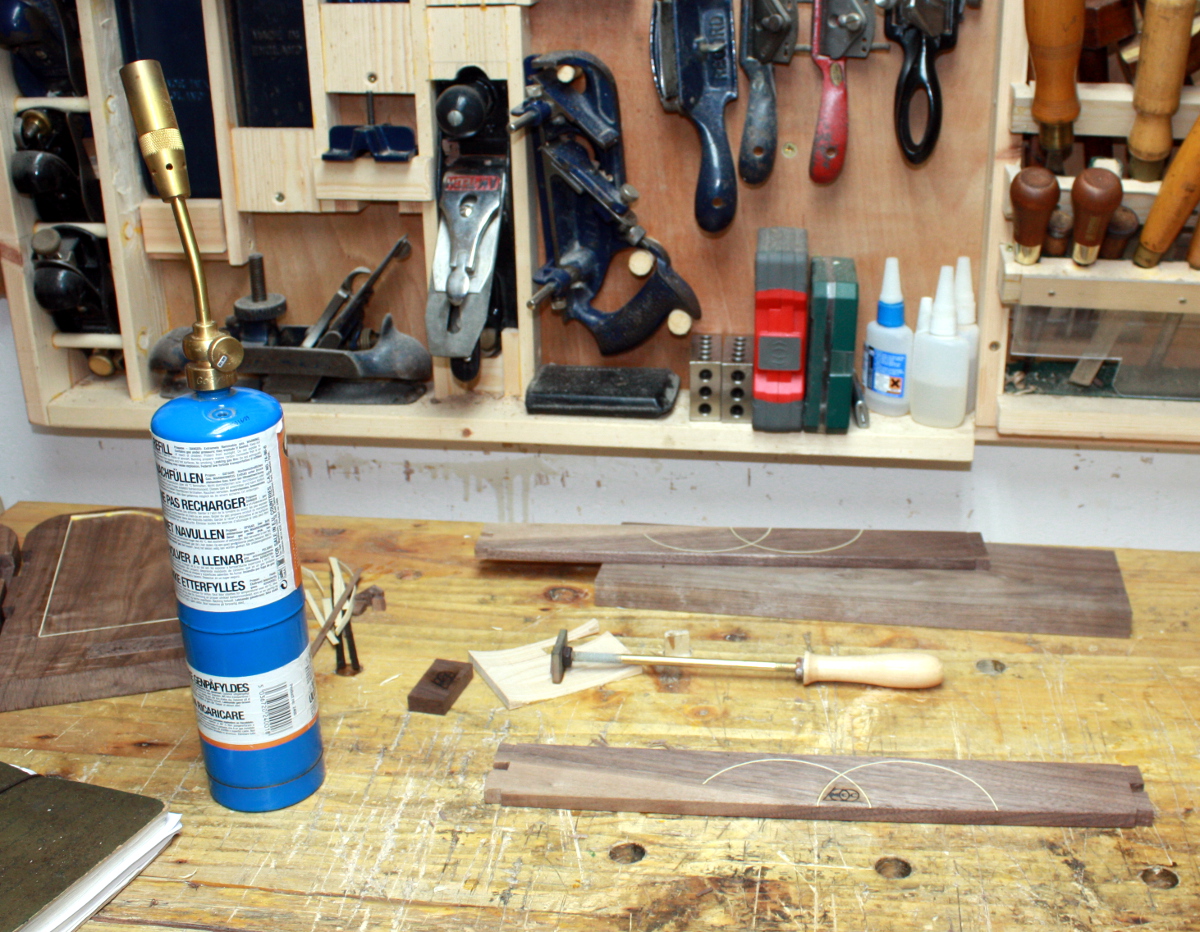
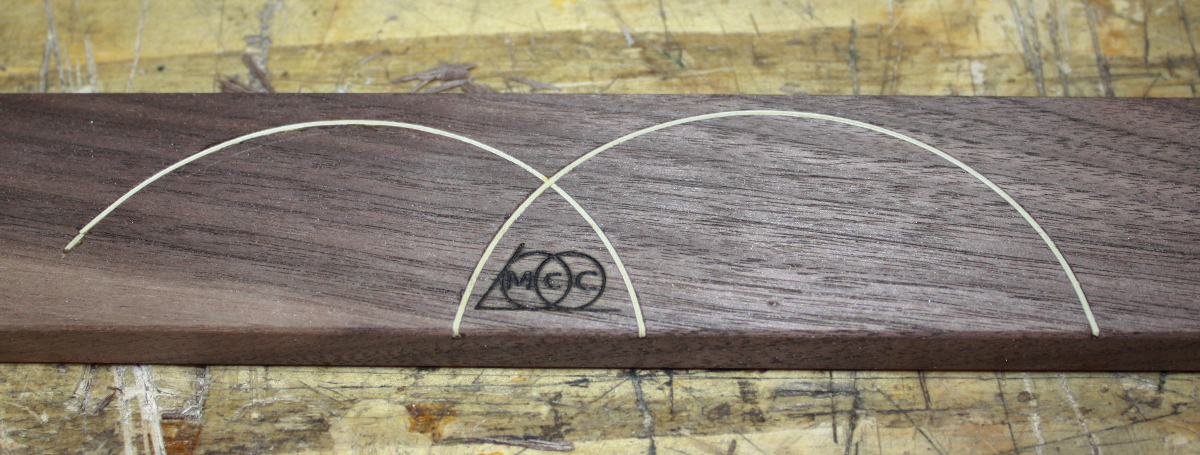
And then after running a smoothing plane over the bars a bit and rounding over the arises, it was branding time.
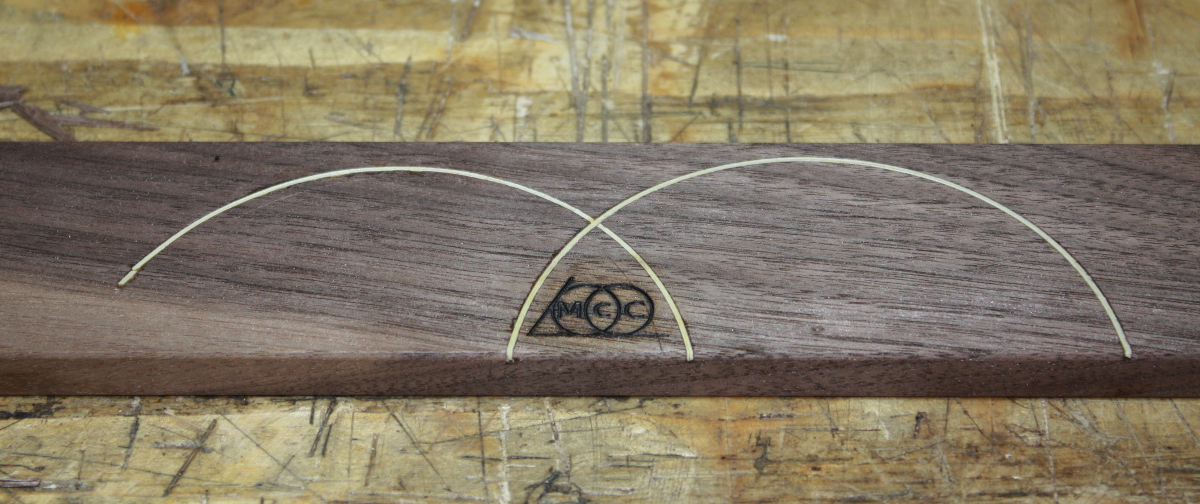
Bit hot on the iron there; another pass with the smoothing plane needed to fix that.
Grand. And then on monday…
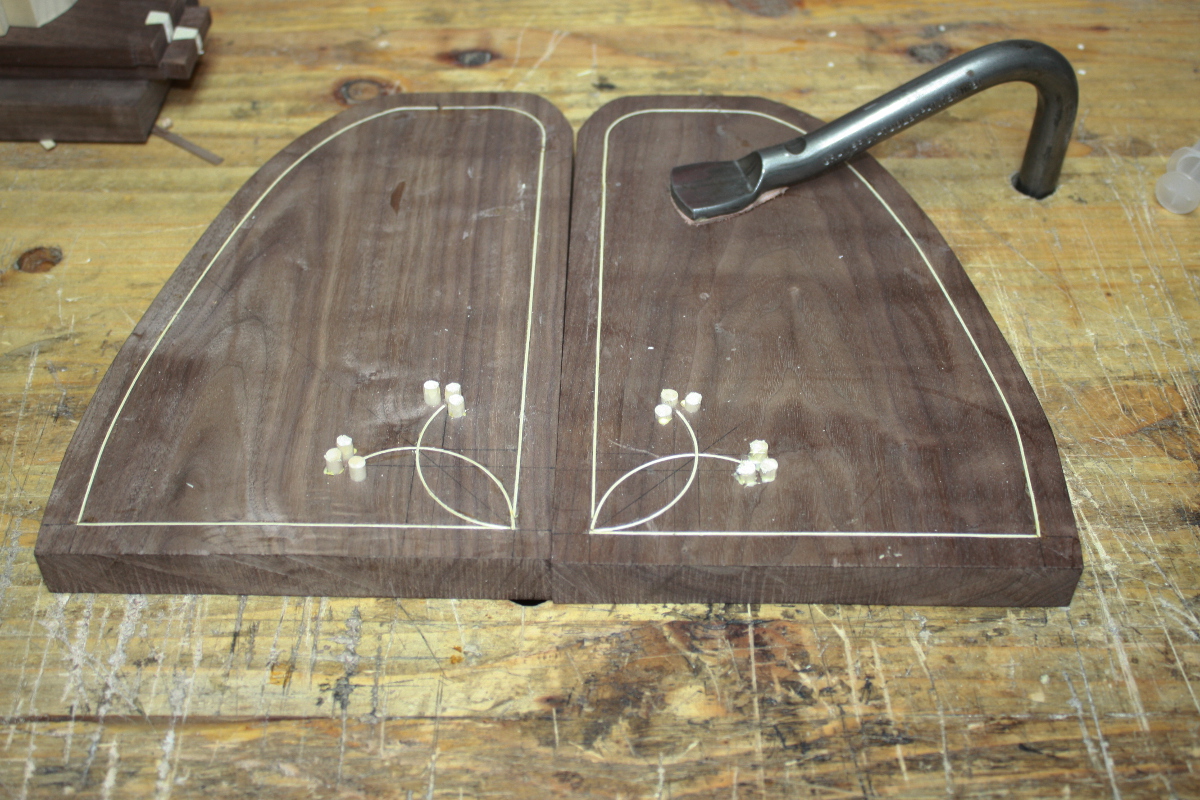
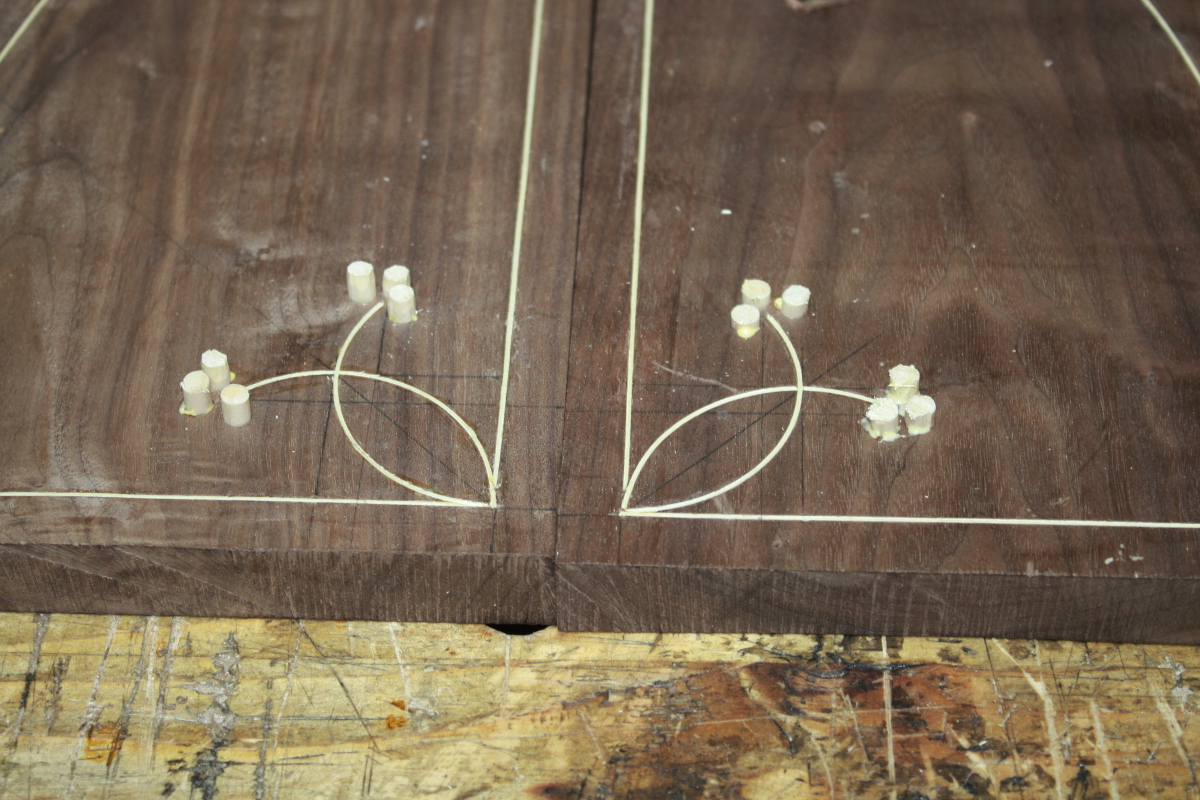
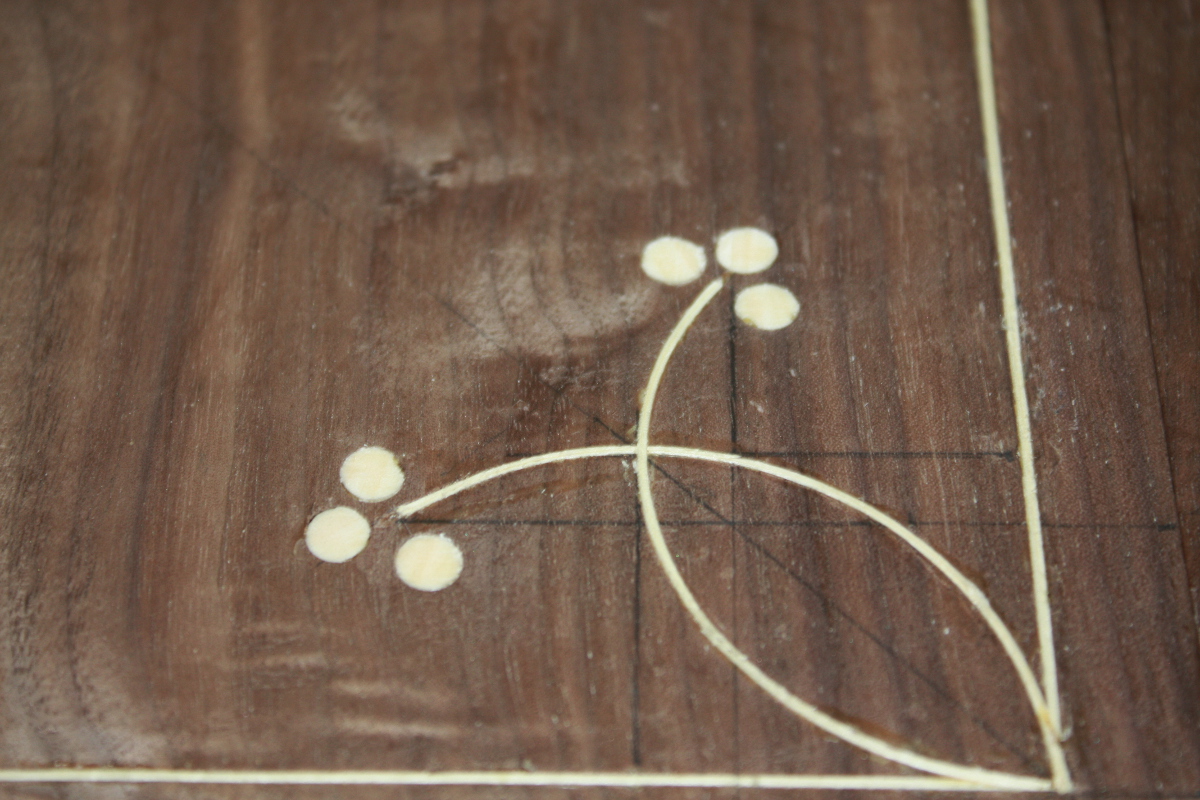
The last decorative element. I wanted to do these in different colours, but my plug cutters didn’t arrive on time (bet you they show up on Tuesday) and tempus fugit, so I cheated and used a dowel. An hour of curing time, then in with a flush-cut saw and some chisel cleanup…
Then a few passes with the smoothing plane and some scraping to get the surface smooth and the pencil marks gone, and then I started in on the glue-ups by putting on the feet first. At this point clamping got… complex because the feet are wider than the sides and that creates a twisting moment when you apply the clamps (and I need the bench to keep the feet and sides in the same plane so I can’t flip it over or anything).
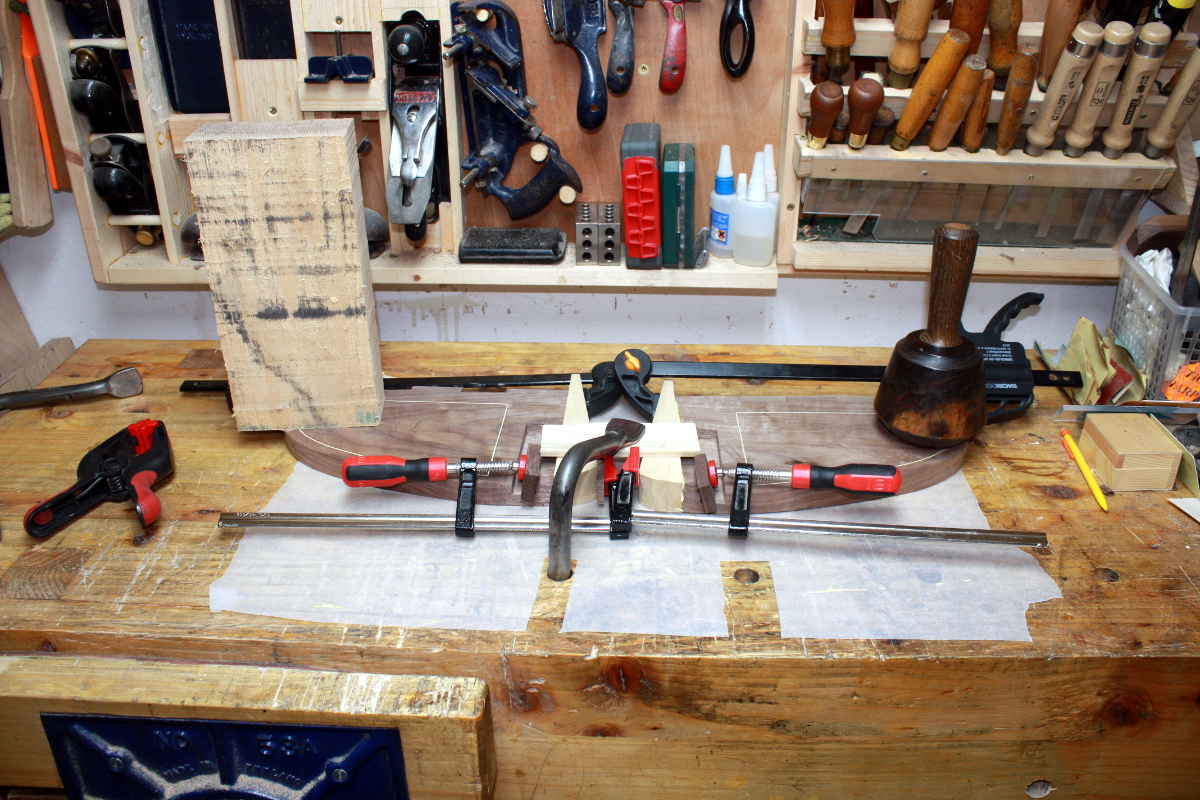
Complex clamping arrangements are a bit suboptimal – they’re fiddly and prone to slipping and so on, but shikata ga nai. We’ll see how it turns out tomorrow. If all goes well, I’ll cleanup the squeeze-out and then do the final glue-up step. And after that, it’s osmo time…
Tags: hand tools, stringing, walnut, Woodworking