So the last part of the build is the lid. Though if I had to do this over, I think I’d start with the lid, or at least with prepping its parts because that can set the dimensions of the rest of the parts (but in this case, I had a preset idea for what the contents of the chest would be so that dictated everything). I had a nice piece of oak for the lid but it wasn’t wide enough to act as a single-piece lid (since the lid’s not an inset door, you can do the one-piece bit if it’s not likely to warp – so quartersawn or riven stuff). So it’s frame and panel time again.
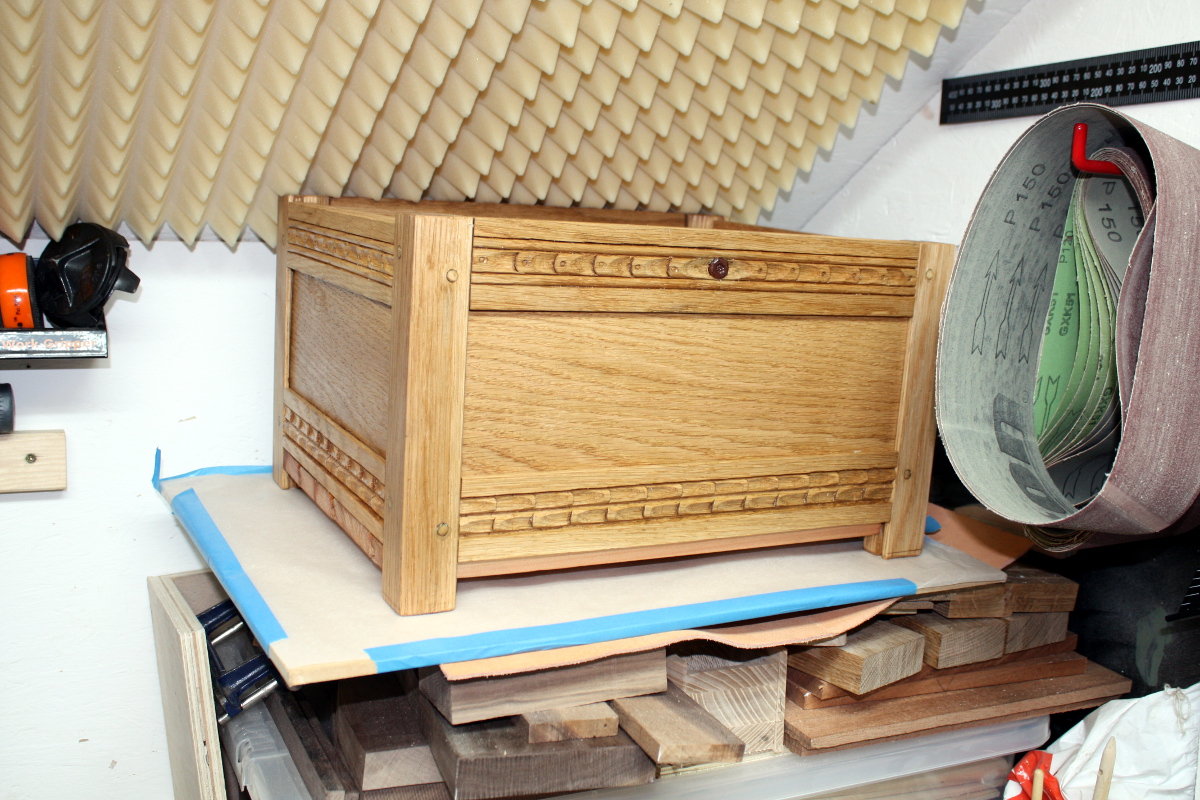
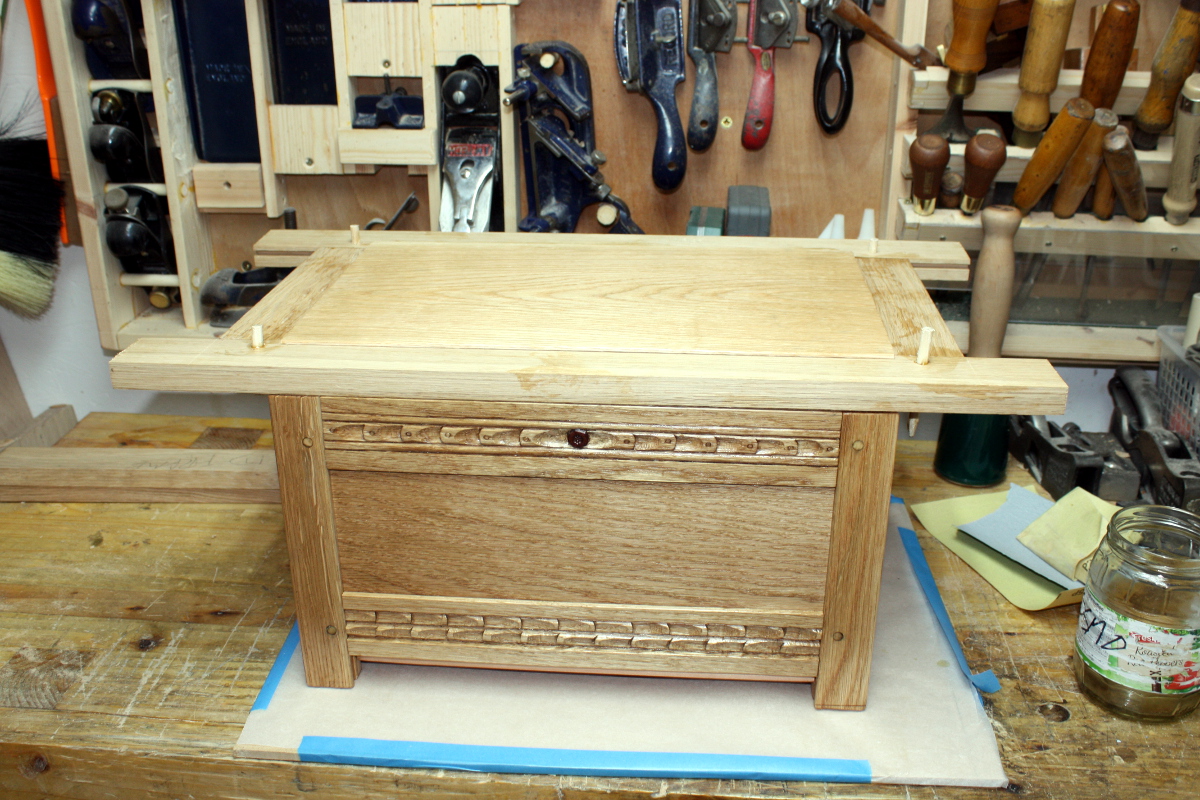
First though, need to move the chest off the workbench while I work on the lid.
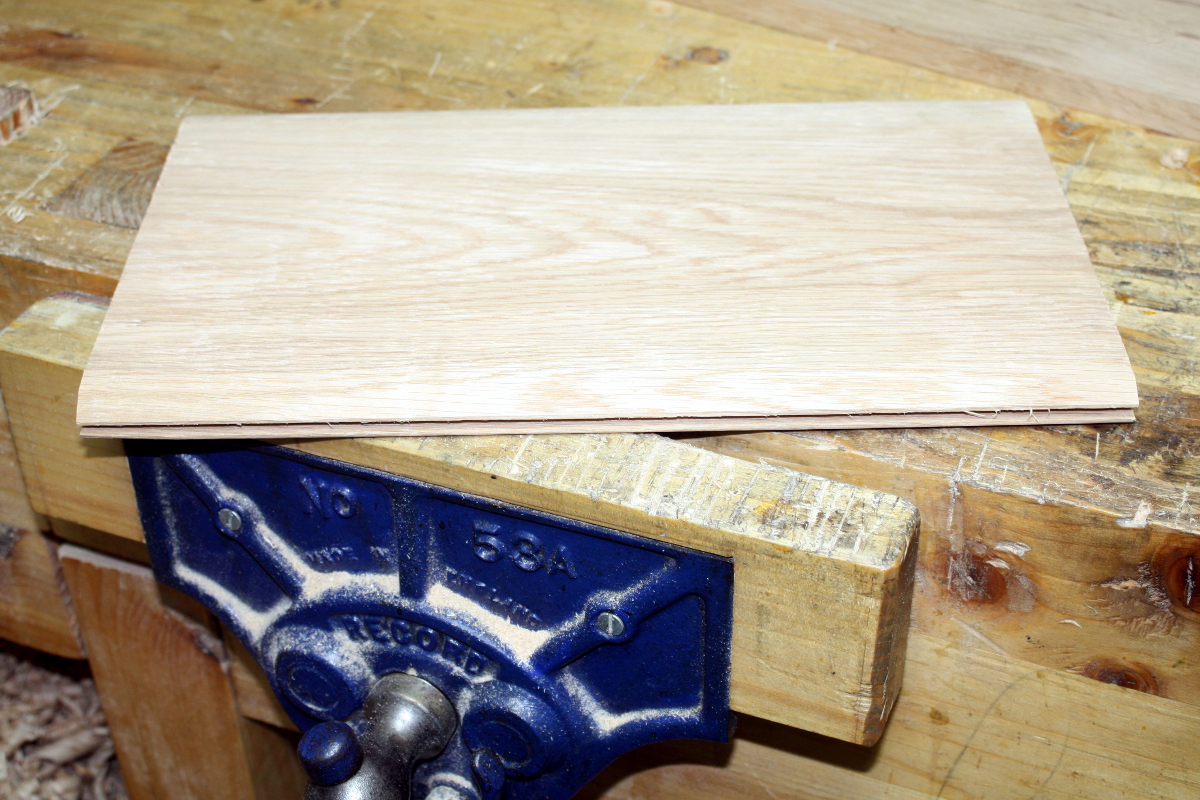
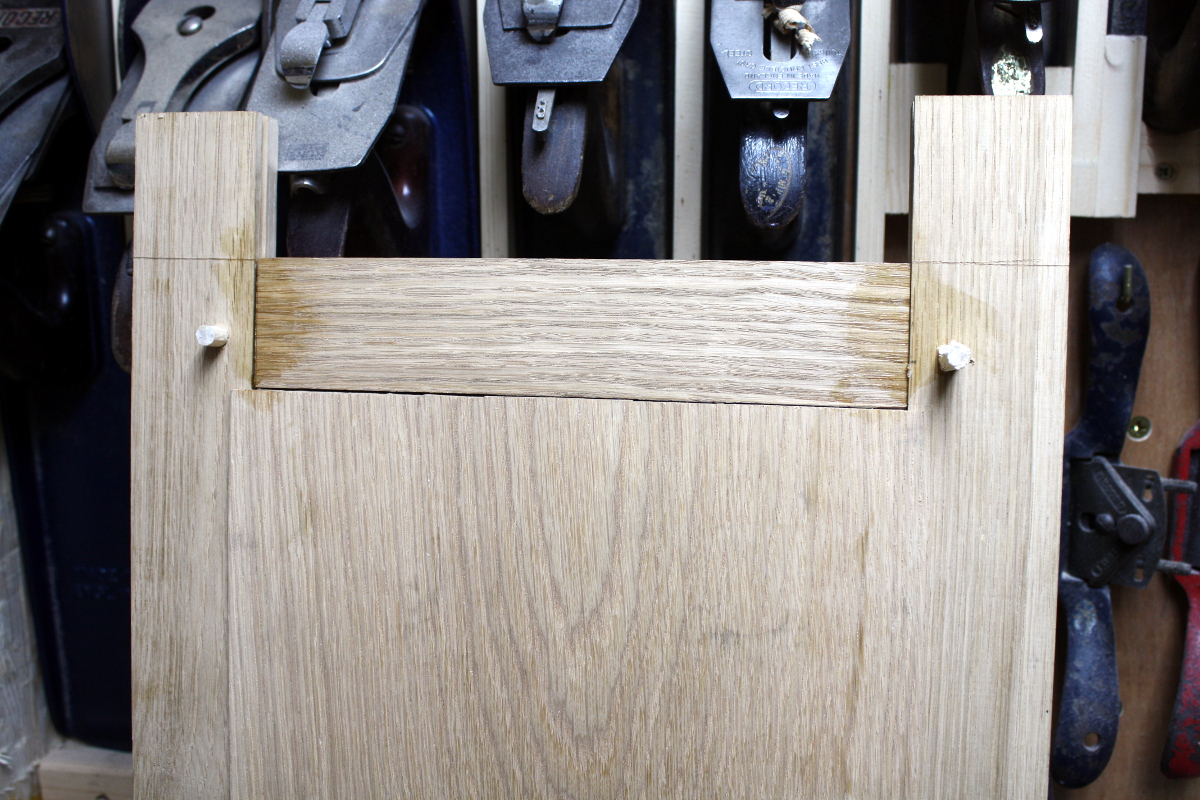
And now I can take the piece of oak I have, and mark off the final thickness for the piece (in this case there was some edge damage so the thickness was set by how much planing I had to do to remove that).
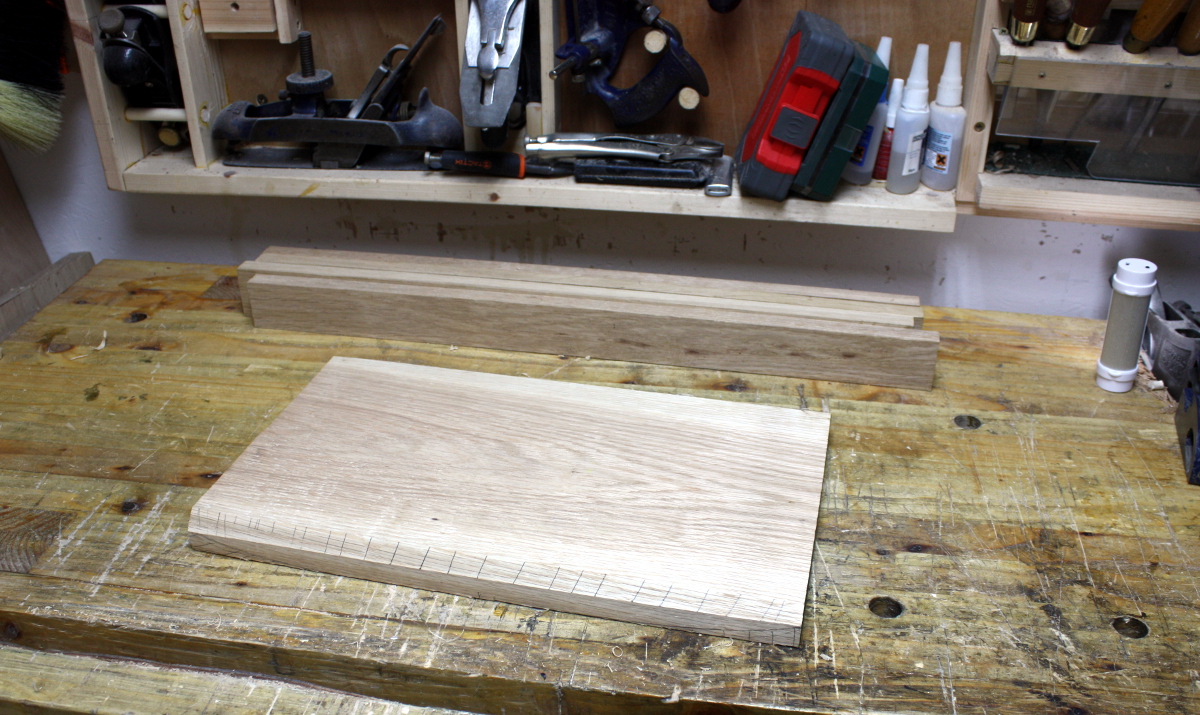
The hashmarks on the edges are because the bevelled bit is the bit that’s getting removed and the hashmarks make it easy to see what progress you’re making (far more than just a line to plane to). Time to get sid out.
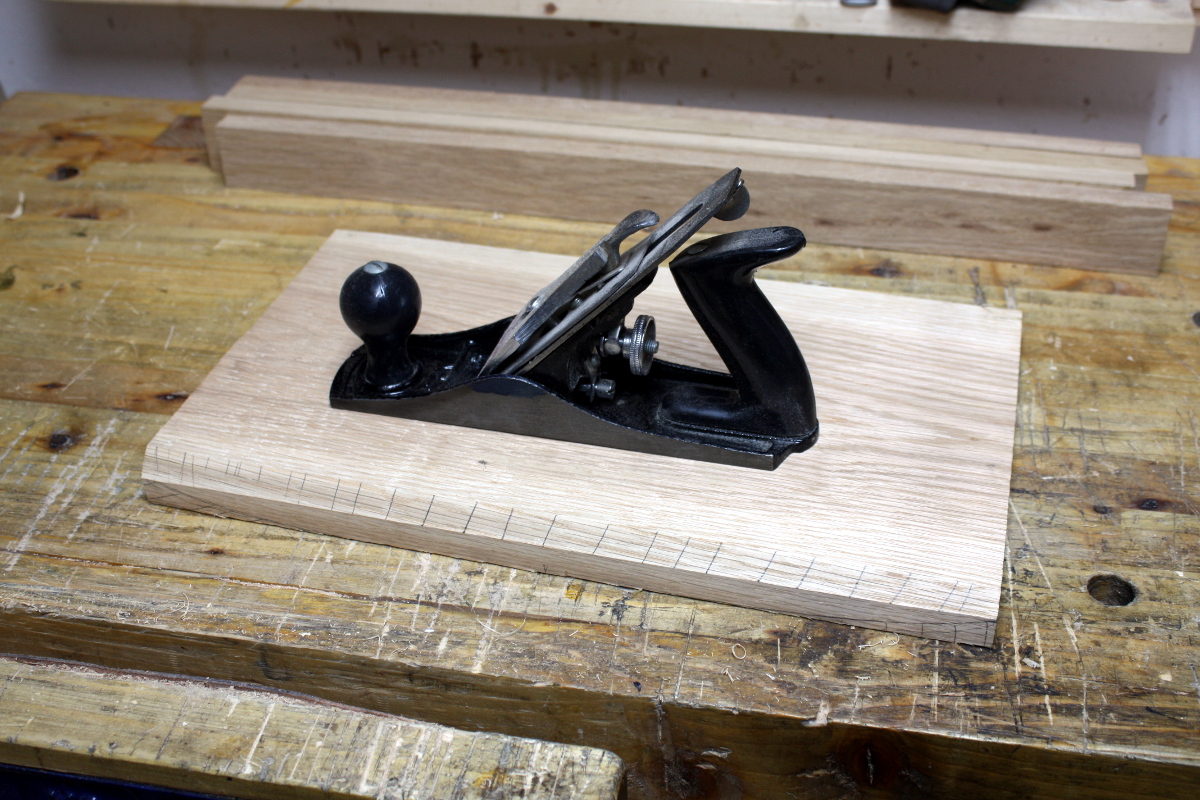
Nothing now but the pushing…
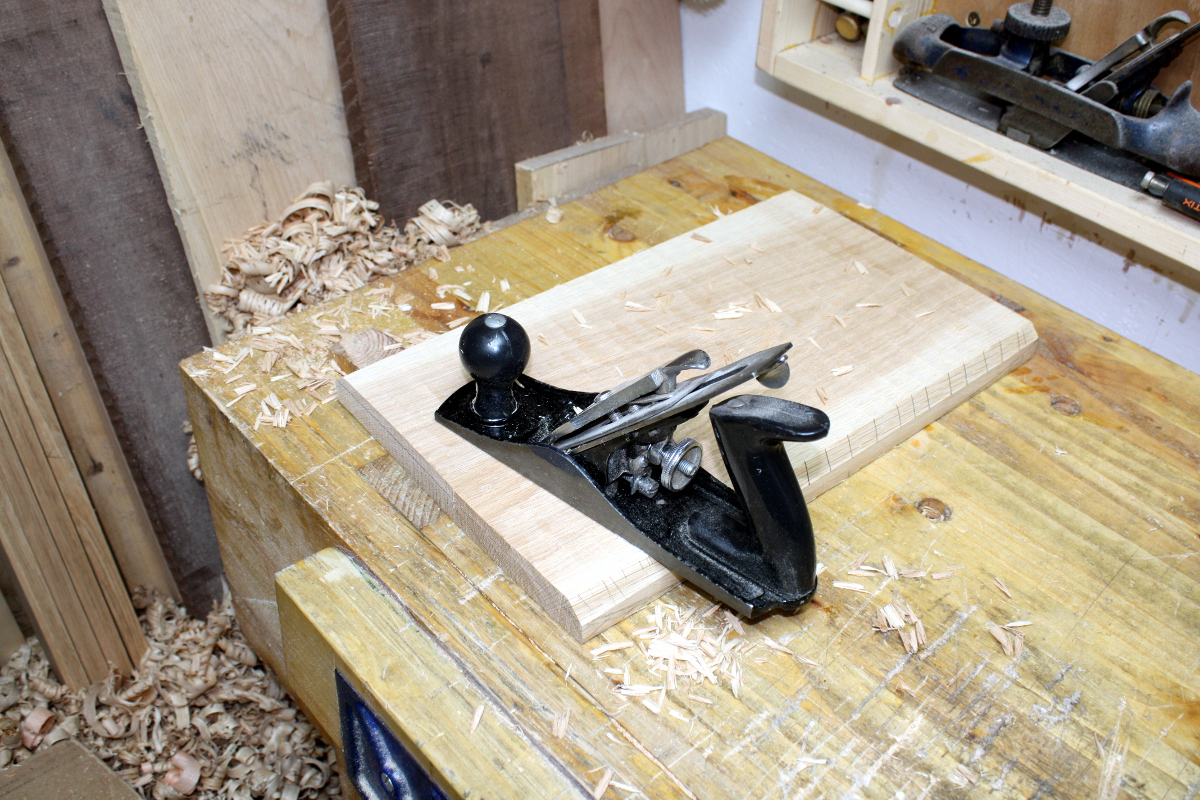
…cross-grain first though because there’s a lot to remove. This took about 15 minutes in total.

And done. And flattened using the #05 on the reference face – the back face is actually left pretty rough (not jagged or anything, but there are still some faint toolmarks to give character 😀 ) And then I shot both ends on the shooting board with the T5, and got out the #043 to plane a groove on the long edges of the board. The bottom of the board then got feathered up into the groove with the #05. The plan was to do the same on the endgrain as well, but the plan did not go well, cutting a groove through endgrain with the #043 is… a bit too delicate a task for me 😀 Especially under time pressure. So, we go with this… less than optimal idea. But needs must.
Now to the frame. The #043 did the grooves and its iron matches the morticing chisel more exactly so the mortices here were much easier than in the chest.
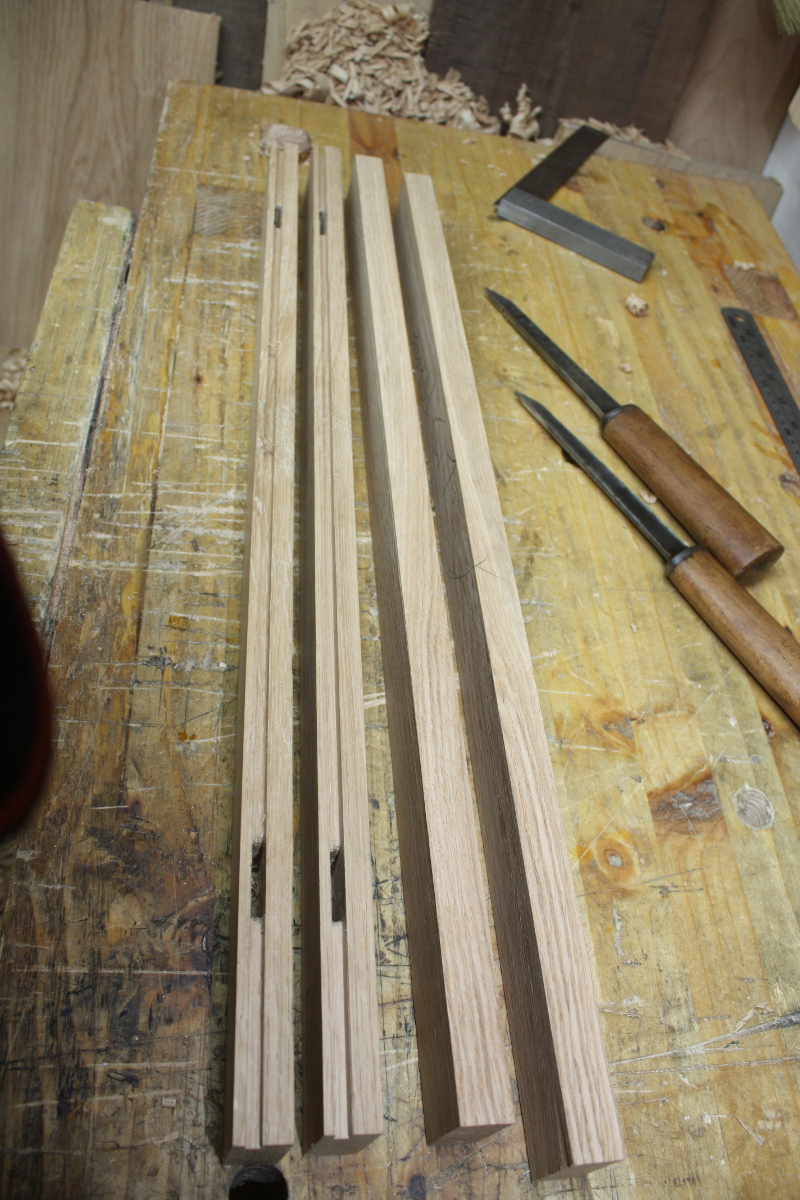
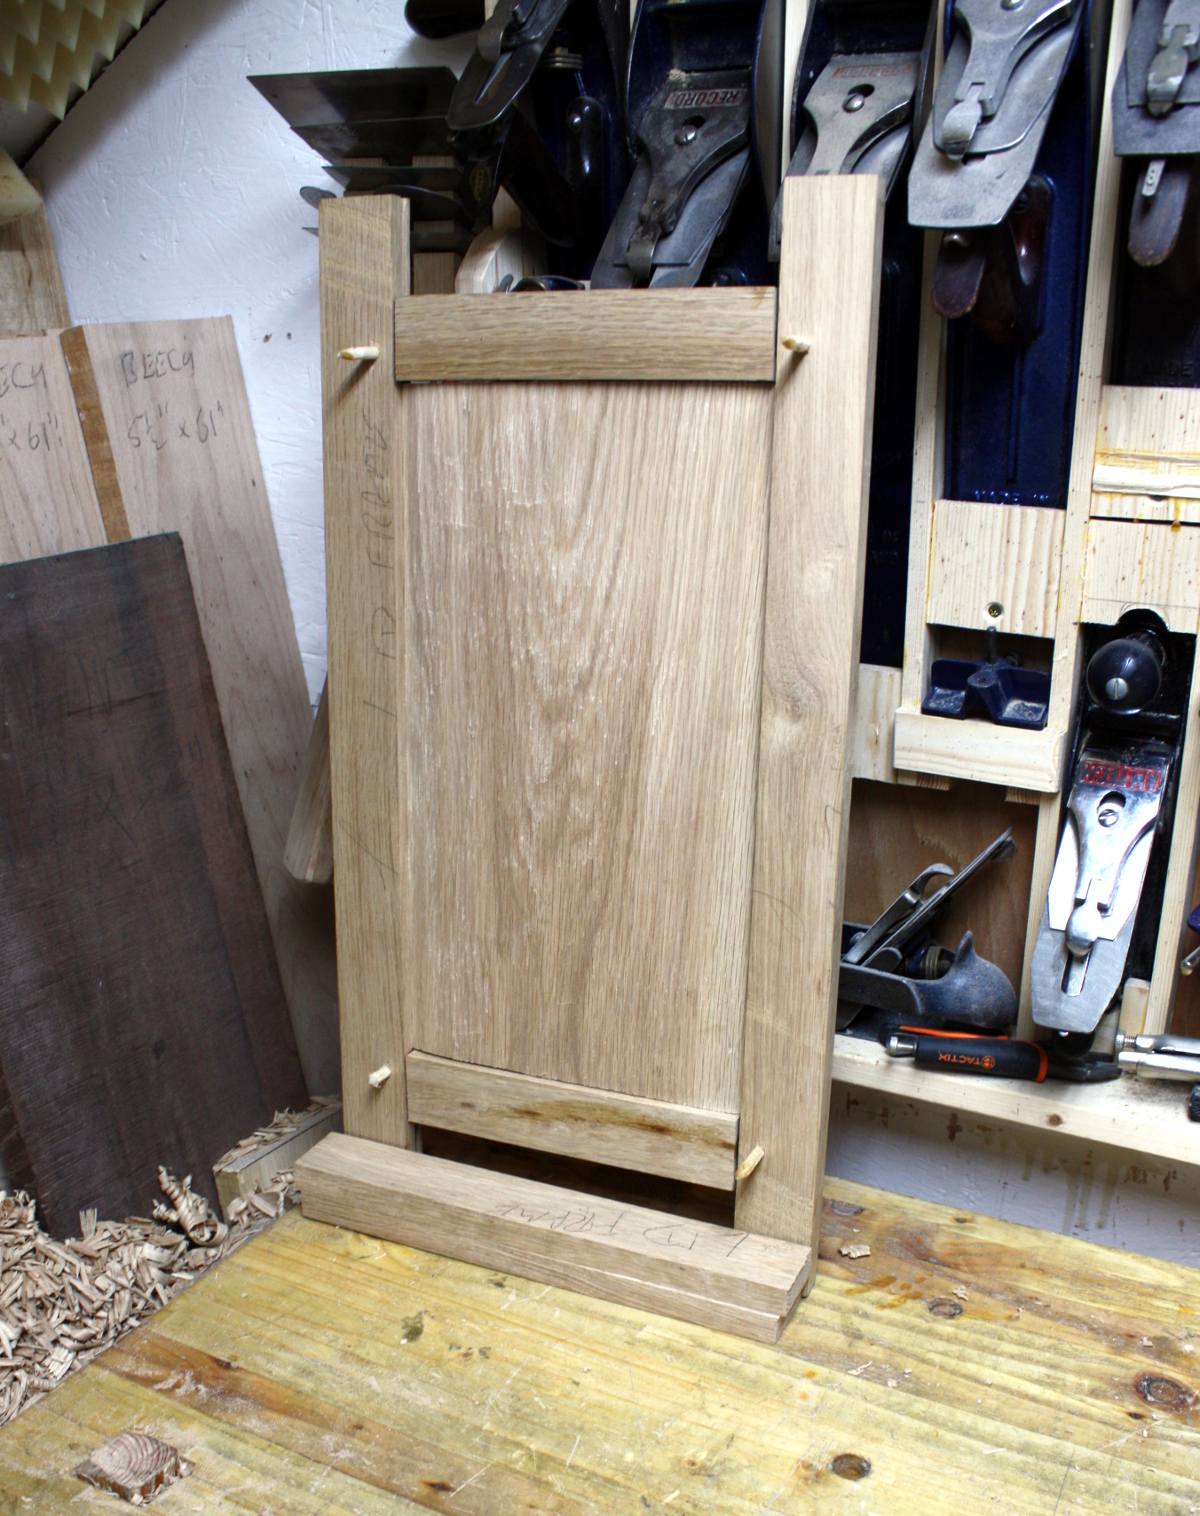
The cross-rails are much shorter than these raw pieces, but the cutoffs are due to become dust seals. Offset shoulders again for the tenons, fitted everything (with a bit of fiddling on one joint as always), then drilled for drawbores, glued up the tenons and assembled (working quickly because time’s so pressing and therefore not many photos…)
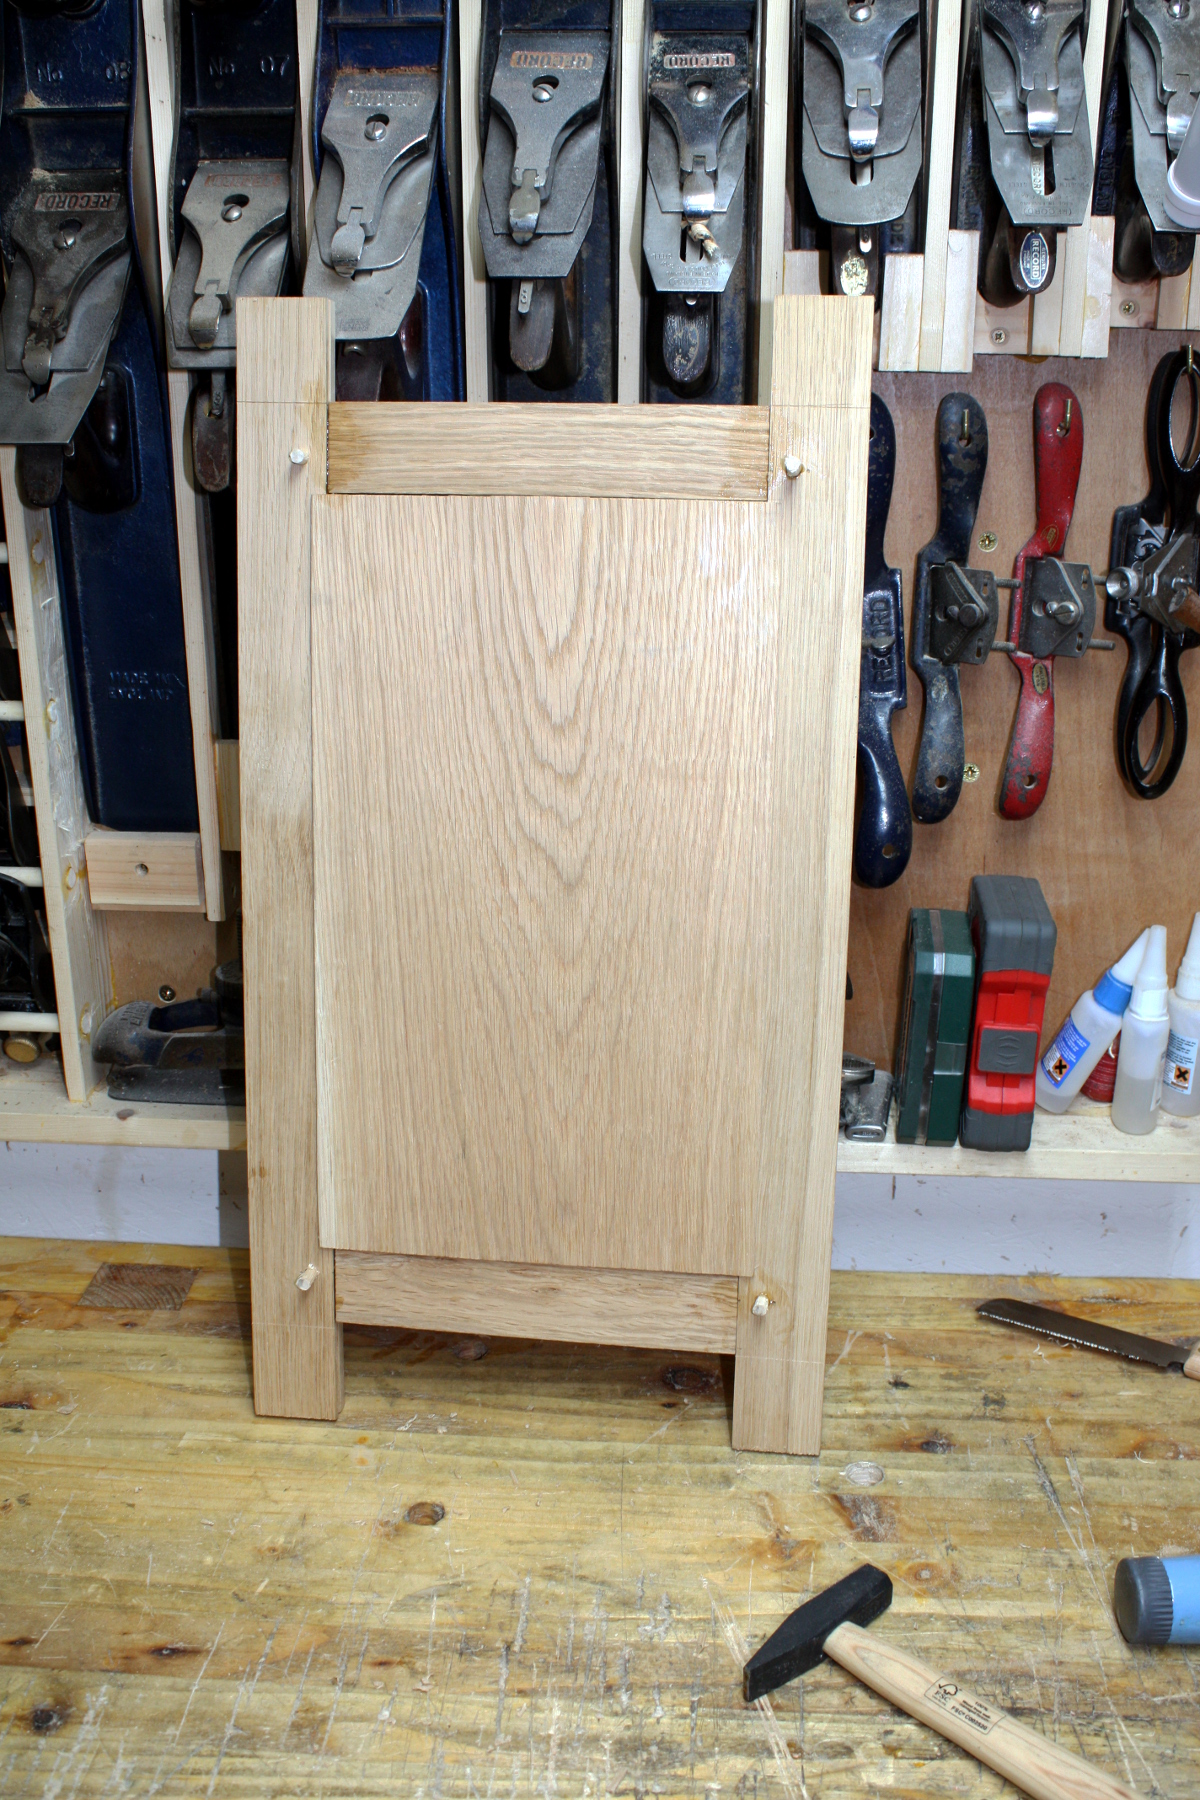
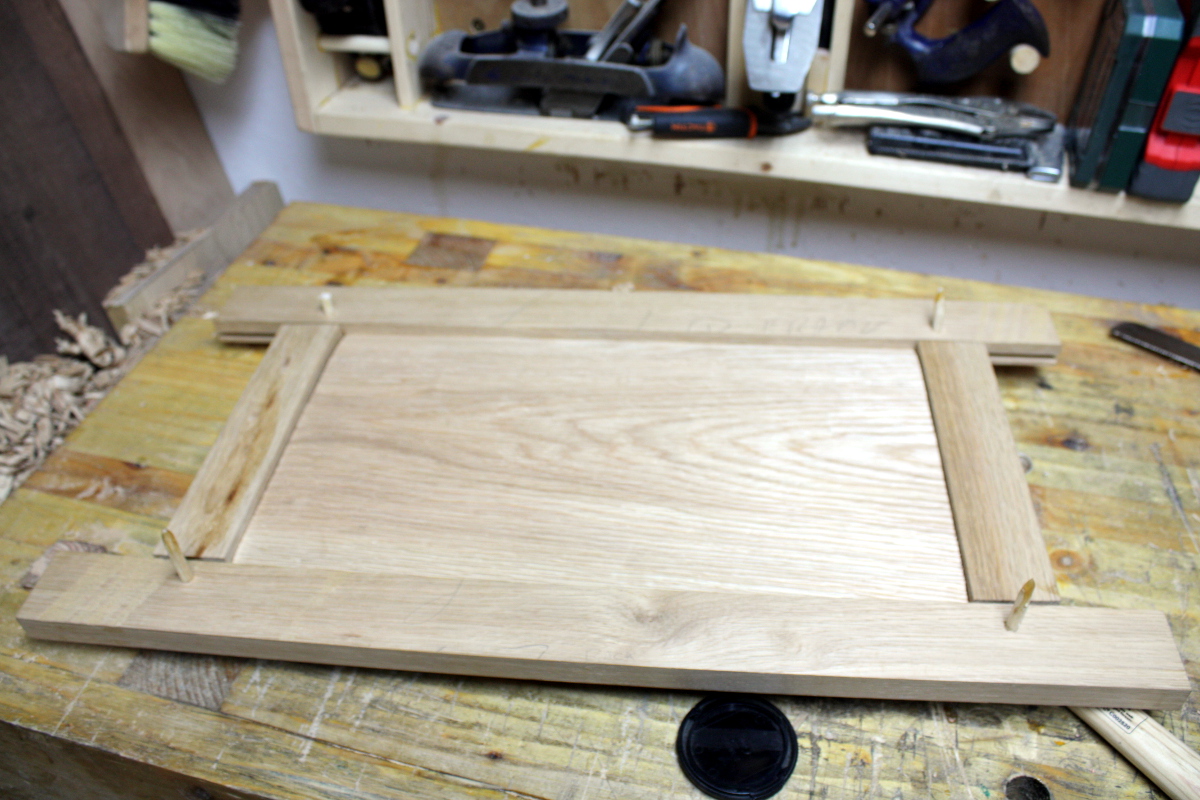
Those pegs will get trimmed tomorrow when the hide glue’s more cured, and the horns get removed then as well, though I may need to remove some of the cross rails as well, and some of the back stile because of the barrels of the hinges (not sure about that one).
Small gap, but the dust seal will be right below that so it shouldn’t matter… much….
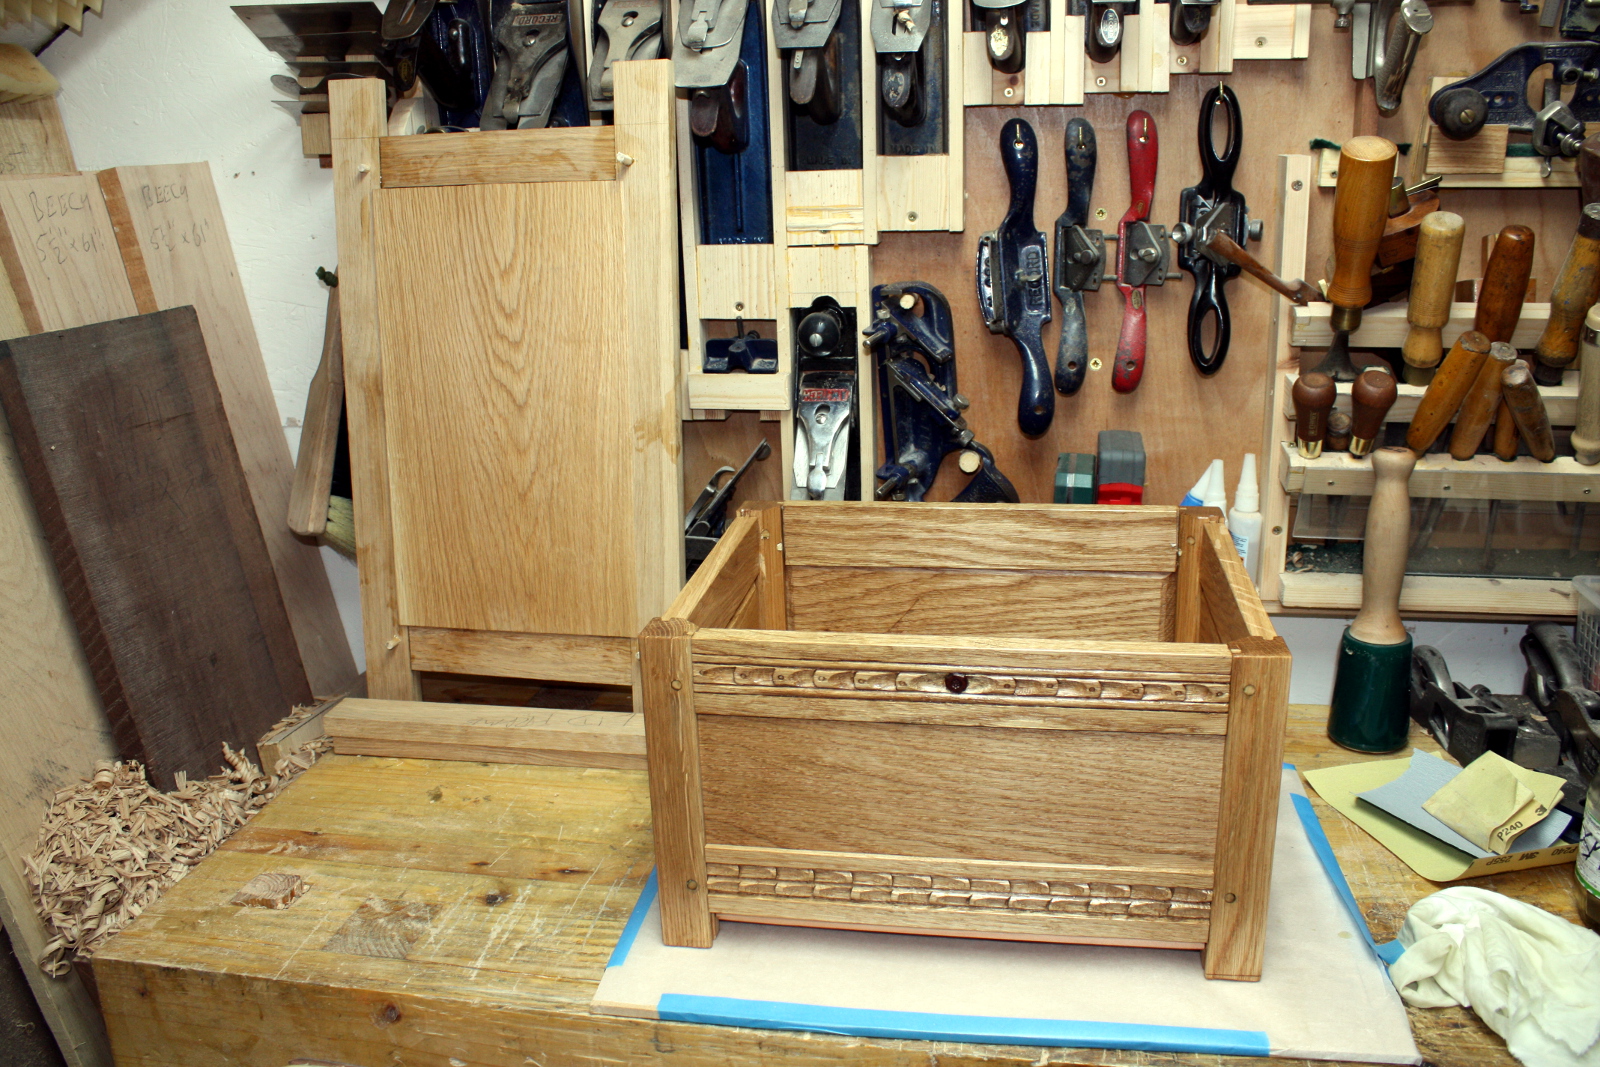
So still another half-hour to an hour of work to do here. But that should be the end of the construction and it’s just finish after that.
And now I’m second-guessing myself. I don’t remember the colour being that off, is it just my camera playing silly buggers with white balance? And I worry about exposing the tenons on the edges as I remove material so that I get a reasonably proportional lid rather than this mini-coffee-table thing. But that might just be parallax. It might not be that bad. And if it is a bit wide, maybe a bullnose or some other profile will soften the appearance? We’ll see tomorrow.
Until then, ragged on another coat of osmo on the chest body and left the lid to finish curing.
Tags: frame and panel, hand tools, mortice and tenon, oak, osmo, Woodworking