Not quite a sunny day, but at least bright and reasonably dry. So got started after breakfast and flipped the bench back up onto the sawhorses. Holy pineapple but that thing’s getting heavy. Took the flush-cut saw to the pegs and a few of the more excessive tenon ends.
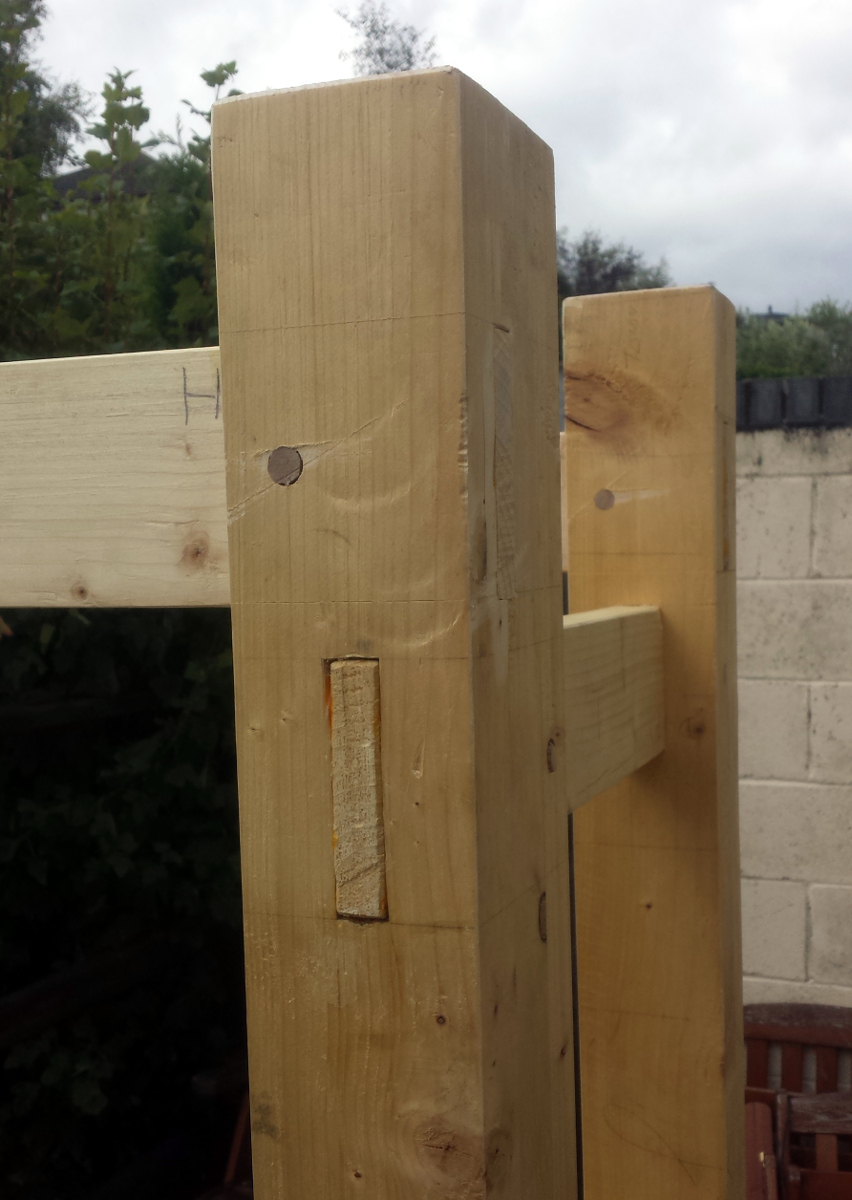
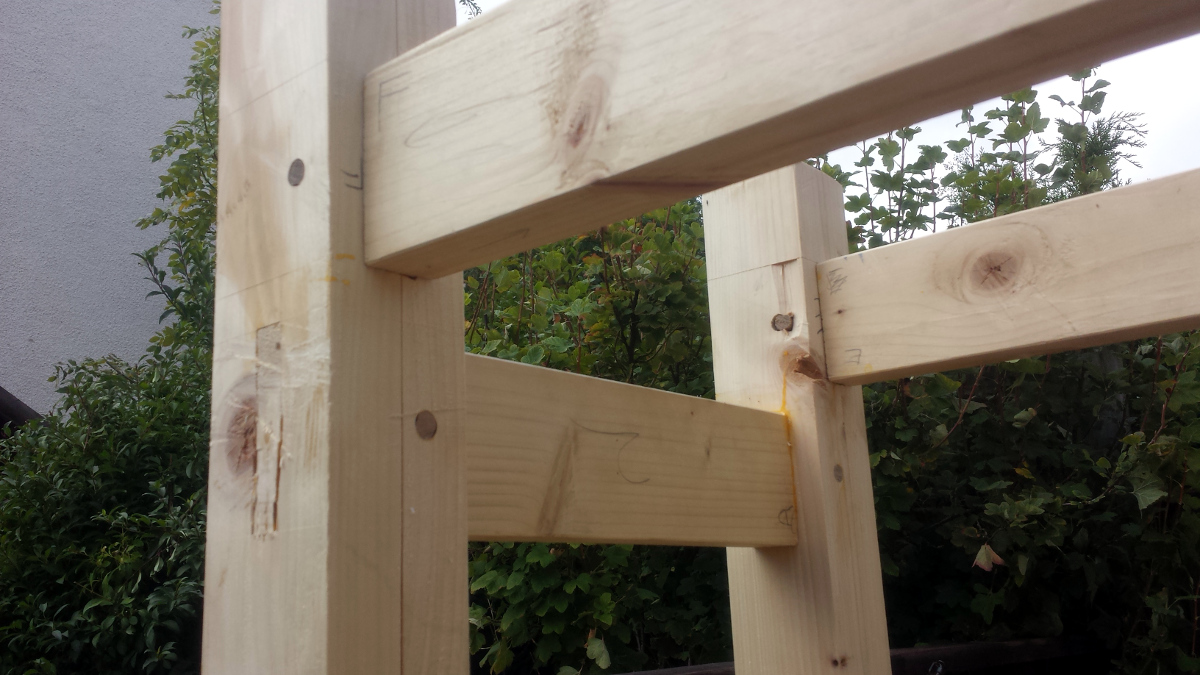
I do like the look of drawbored tenons. I’m not as fond of the surface after my flush-cut saw proved its manufacturers didn’t quite understand the concept of a flush-cut saw…
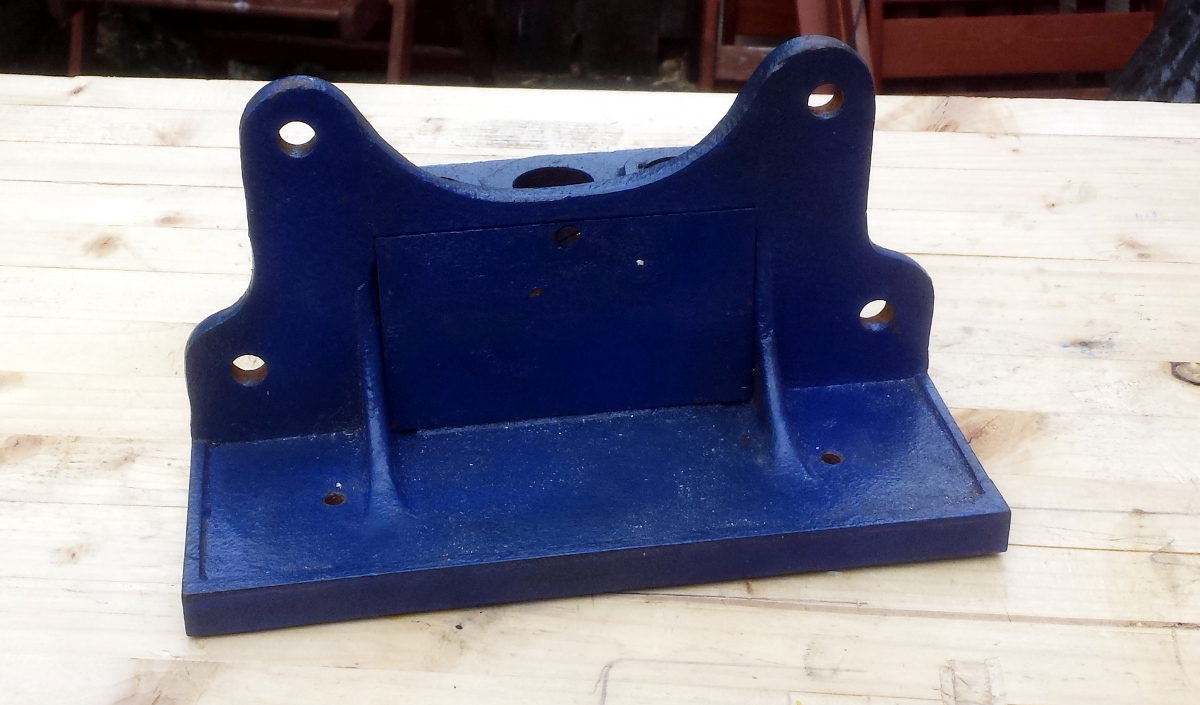
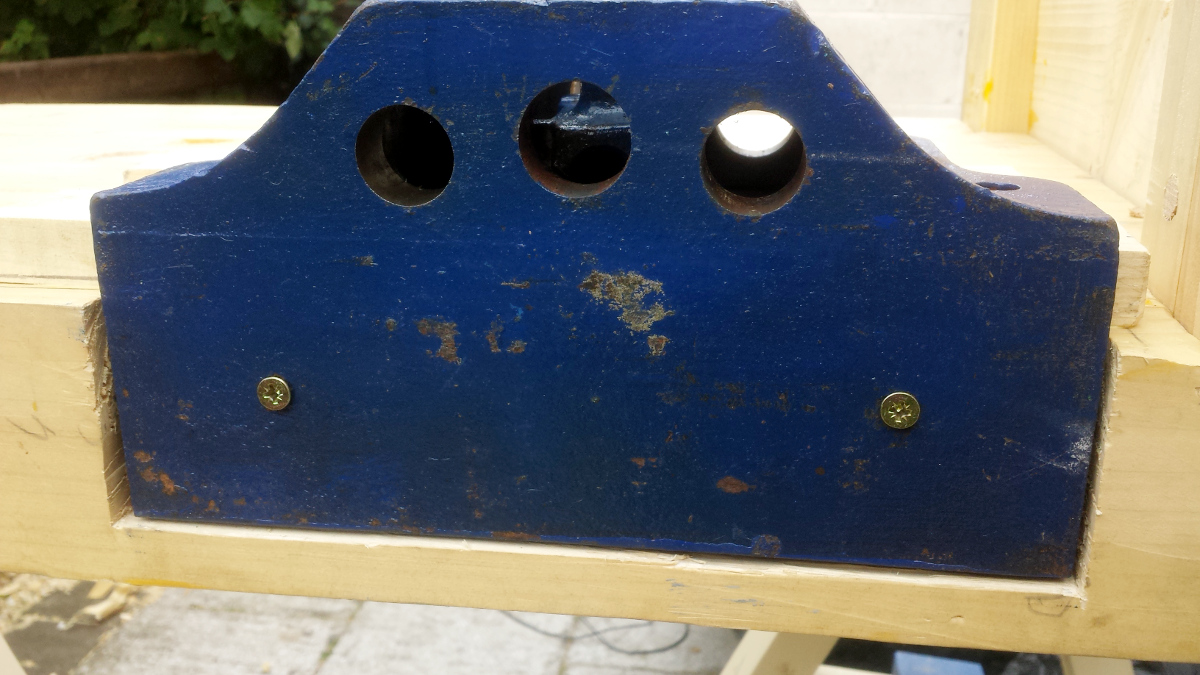
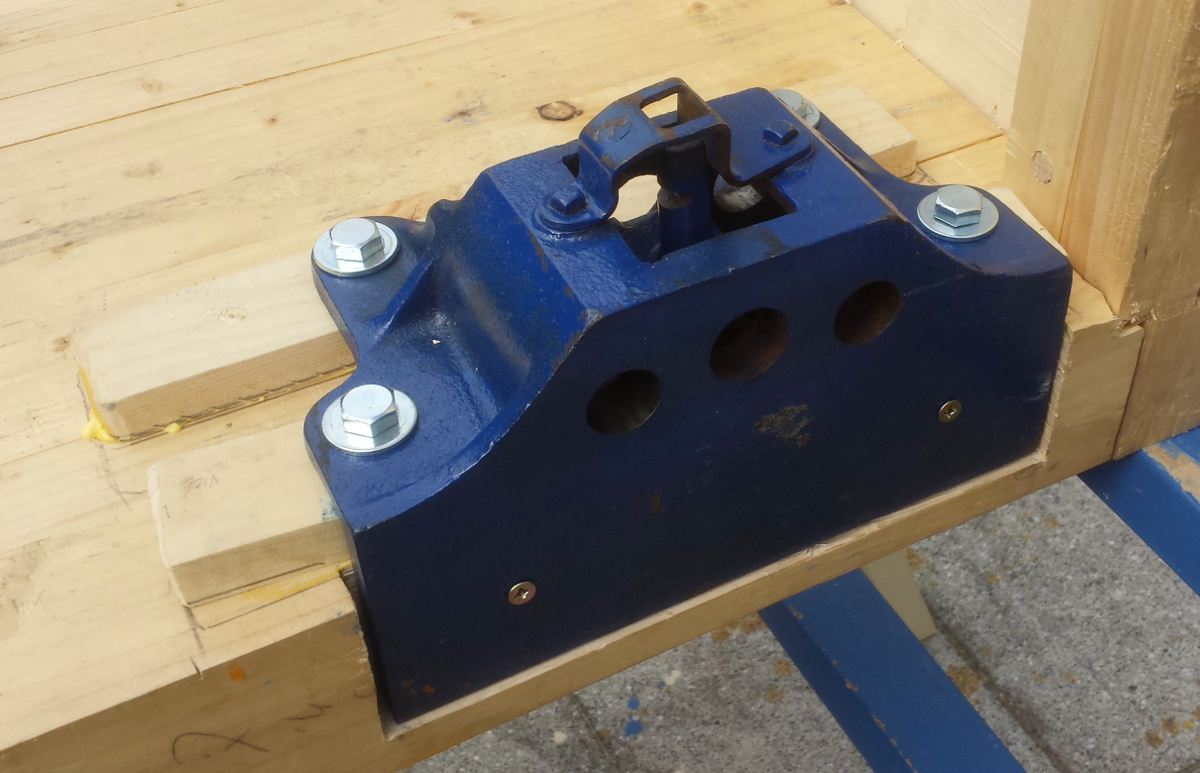
Time to mount the vice now.
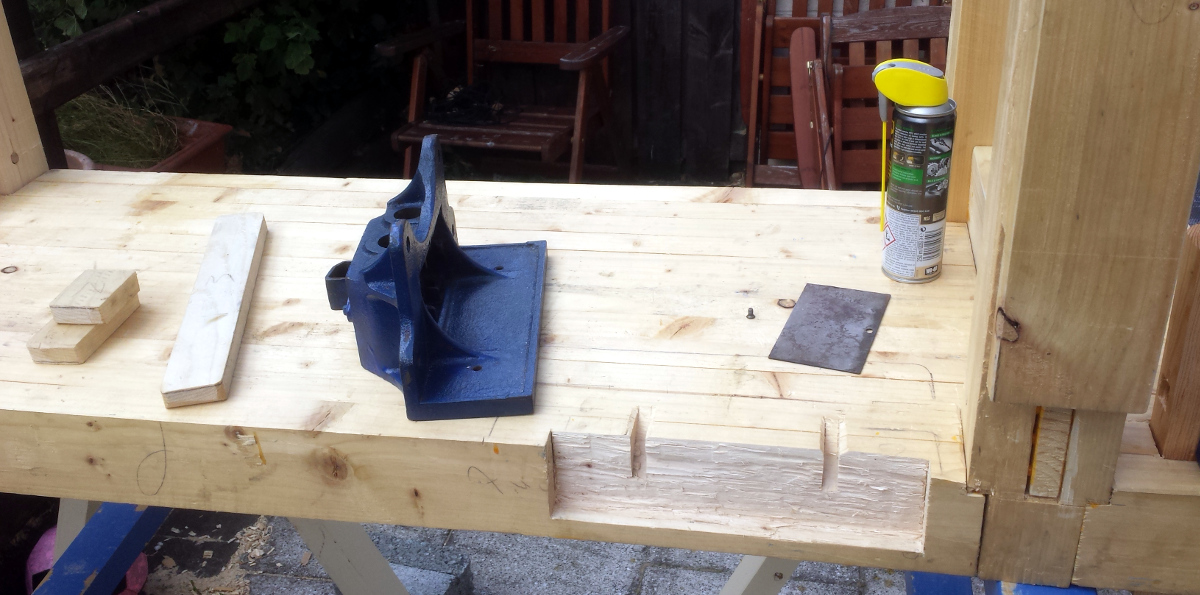
One last coating of PTFE lube to the quick-release nut and then sealed the vice back up again.
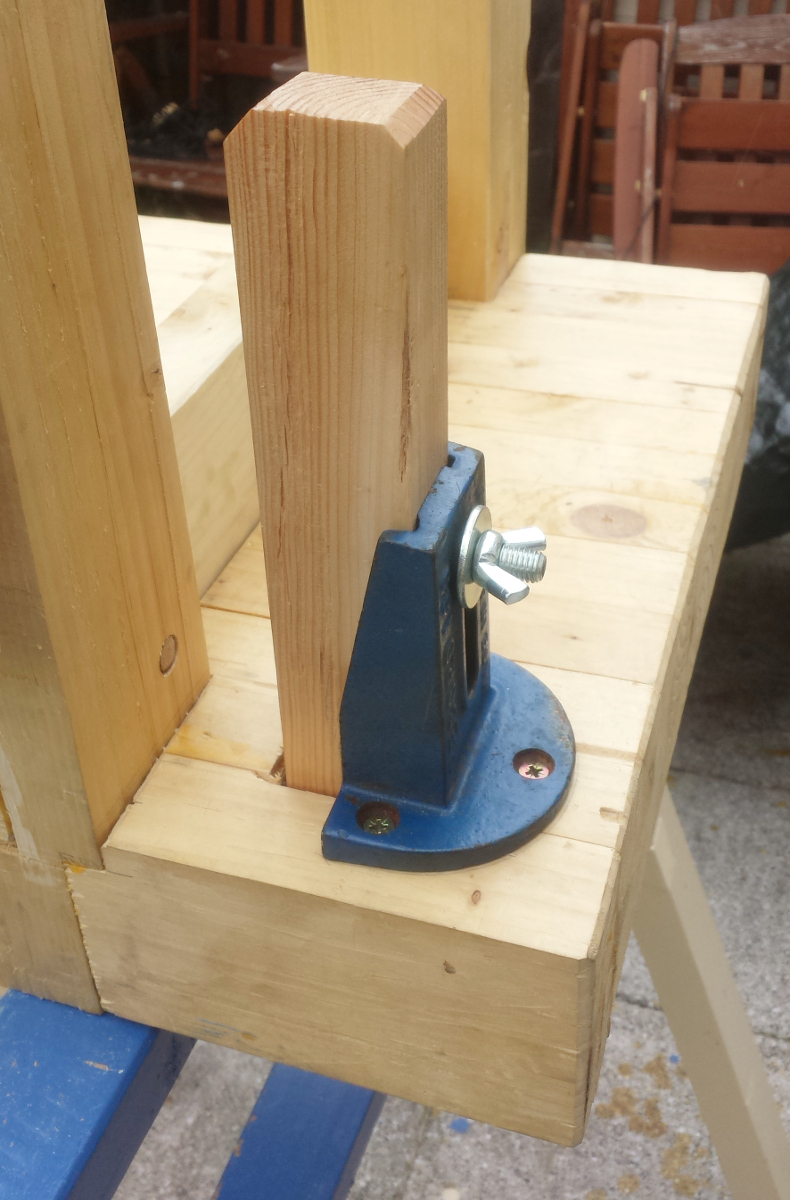
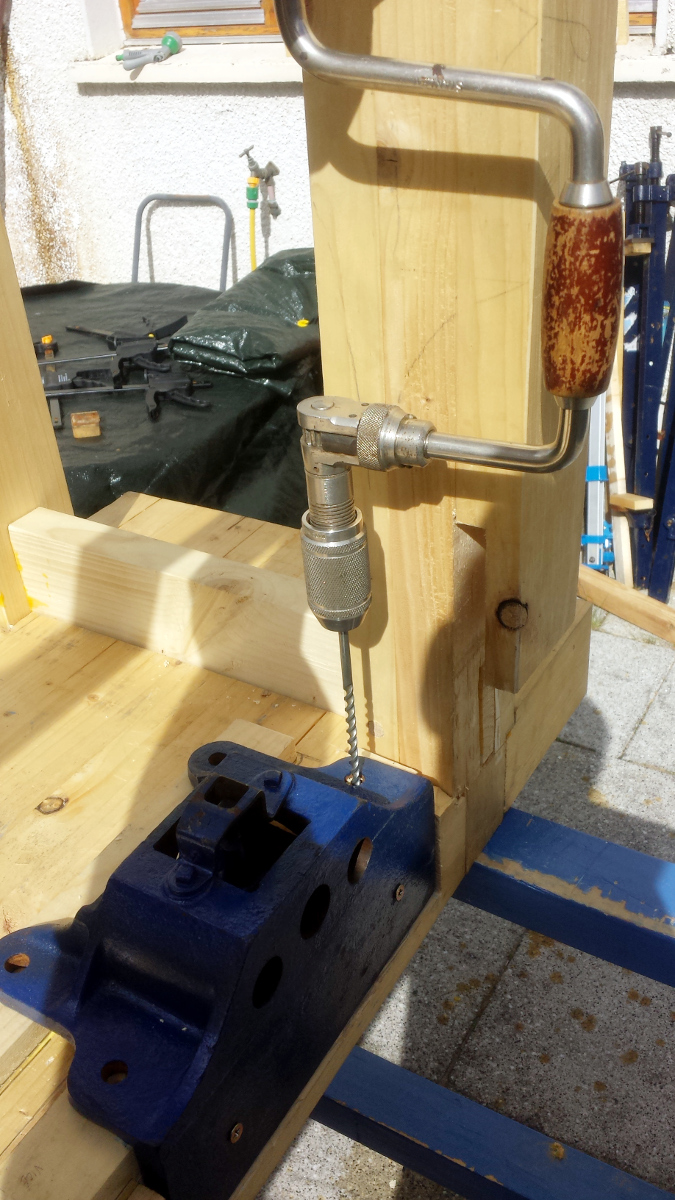
A light coat of glue on the underside of the packing scraps, then sit the vice in place. Time to drill the pilot holes for the screws through the face of the vice (because they’re there and there’ll be two inches of wood between them and the work so why not?). My eggbeater is in need of a bit of a cleanup – I didn’t get round to the vinegar bath and restoration on this one yet, I’ve been working on the workbench instead. Still, it should be fin…

Well, pineapple. Take everything off, pull out the failure of a drill bit with pliers, put everything back, and then it’s time to sully the bench with power tools. Specifically a cordless driver. Well, sod it, it’s been all wood and glue and joinery and hand tools to now, but even Sellers uses drill drivers, and the lag bolts to come are even nastier…
And if we’re sullying the bench, let’s keep on sullying for one more thing, the fitting of the planing stop…
And that’s the last time I need to use a power tool to make the bench I think…
…thought not perhaps the last time I want to 😀
Still, this is why they invented ratchet mechanisms. And when driving the lag bolts, that’ll be even easier because of my ratchet socket driver.
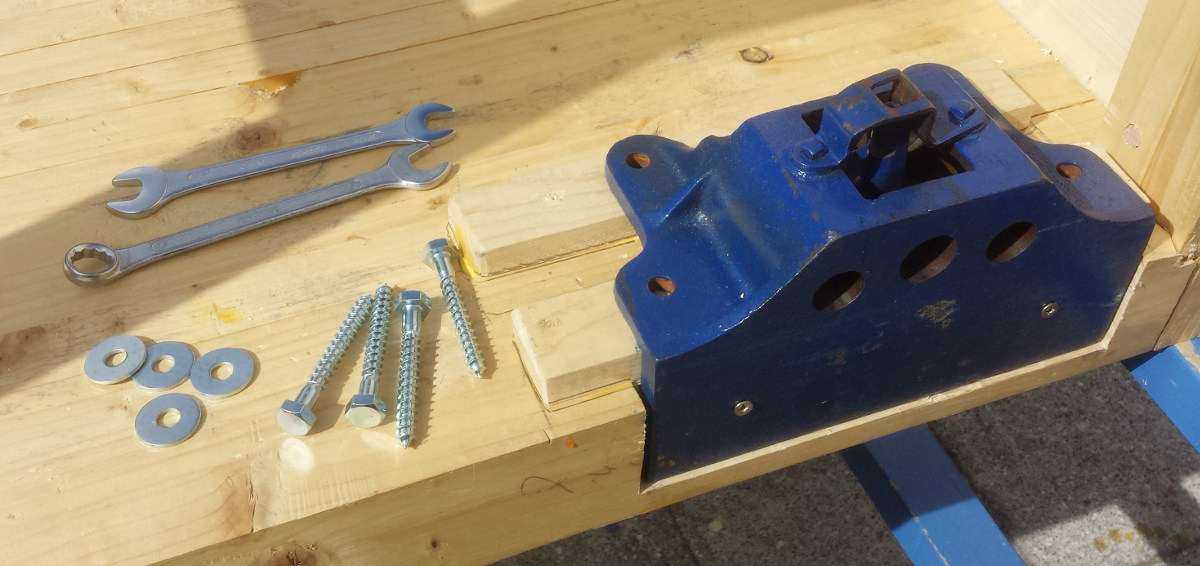
Well, pineapple. My ratchet socket driver doesn’t have a socket head large enough for the lag bolts. We’re back to hand spanners. /sigh
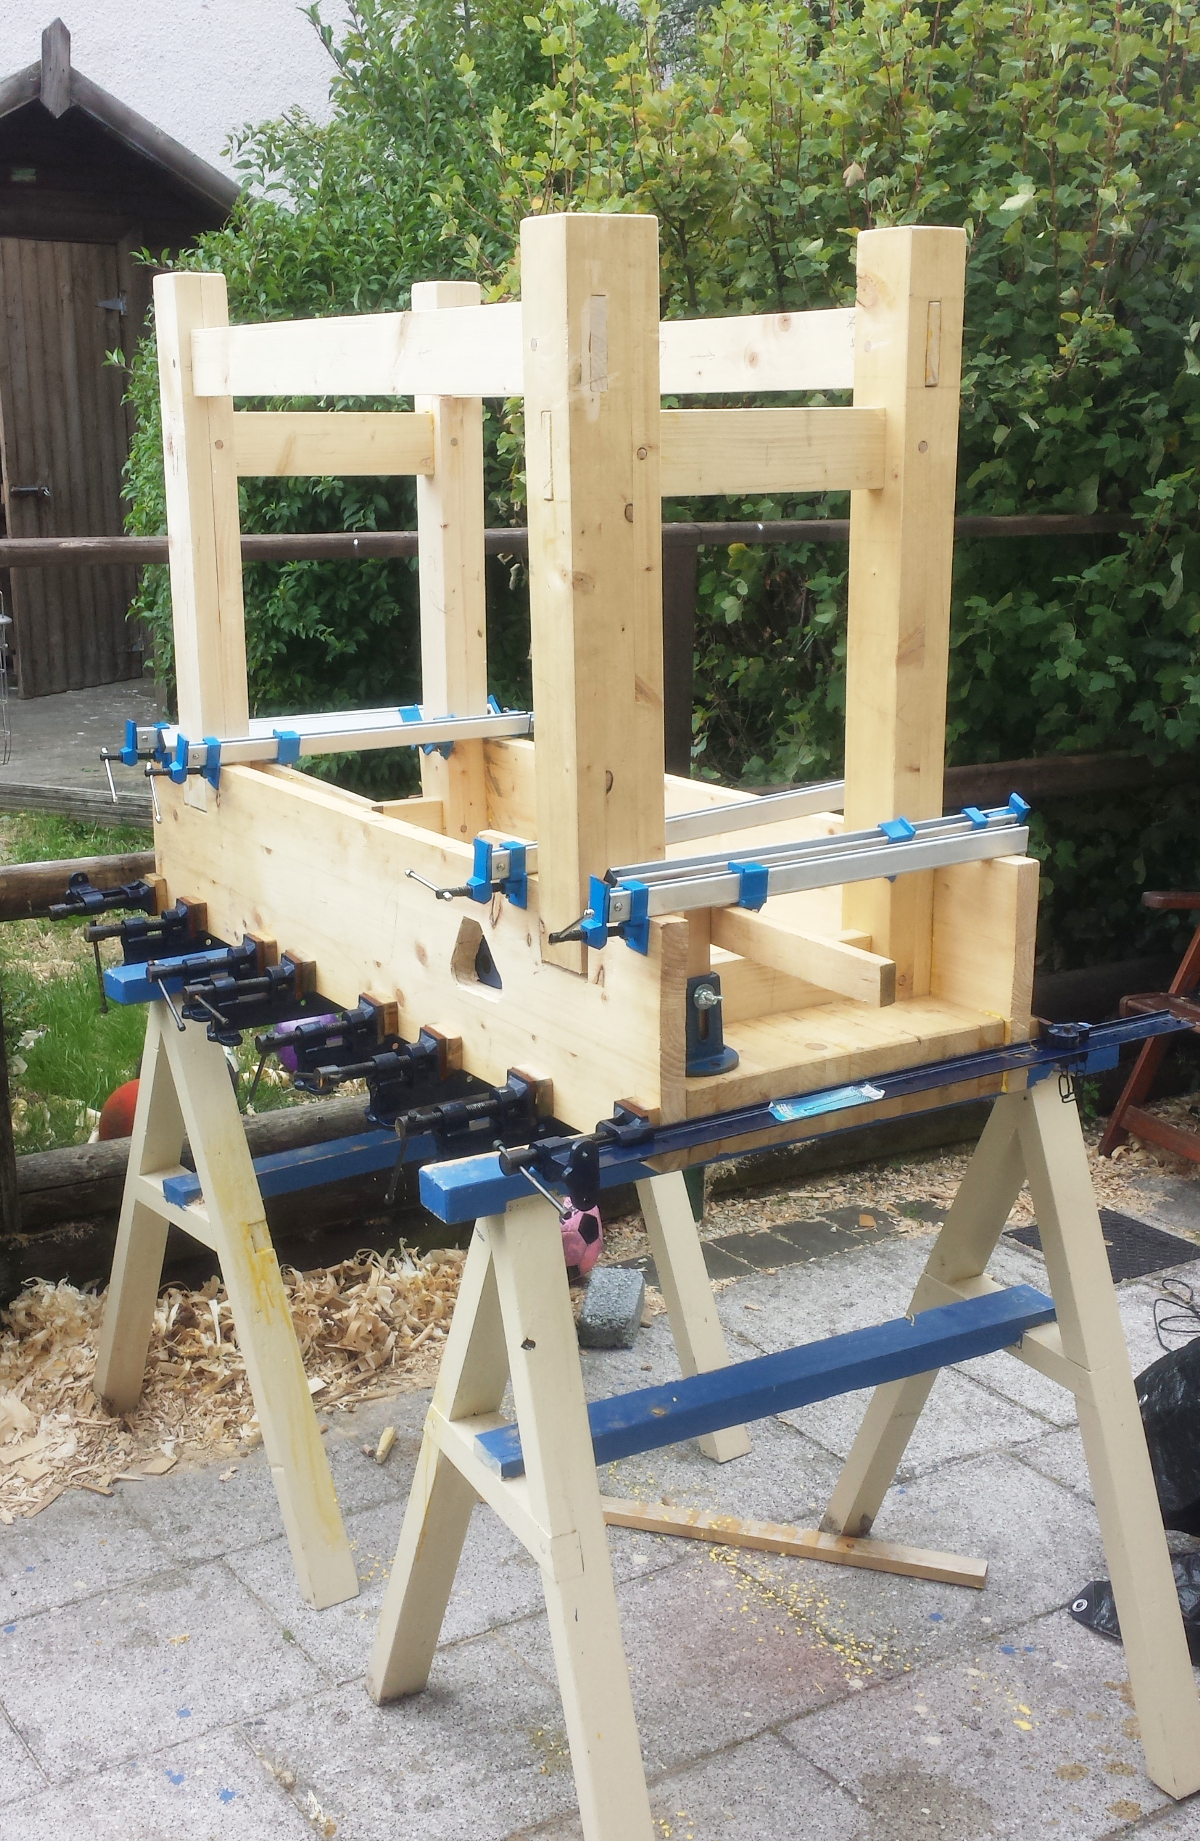
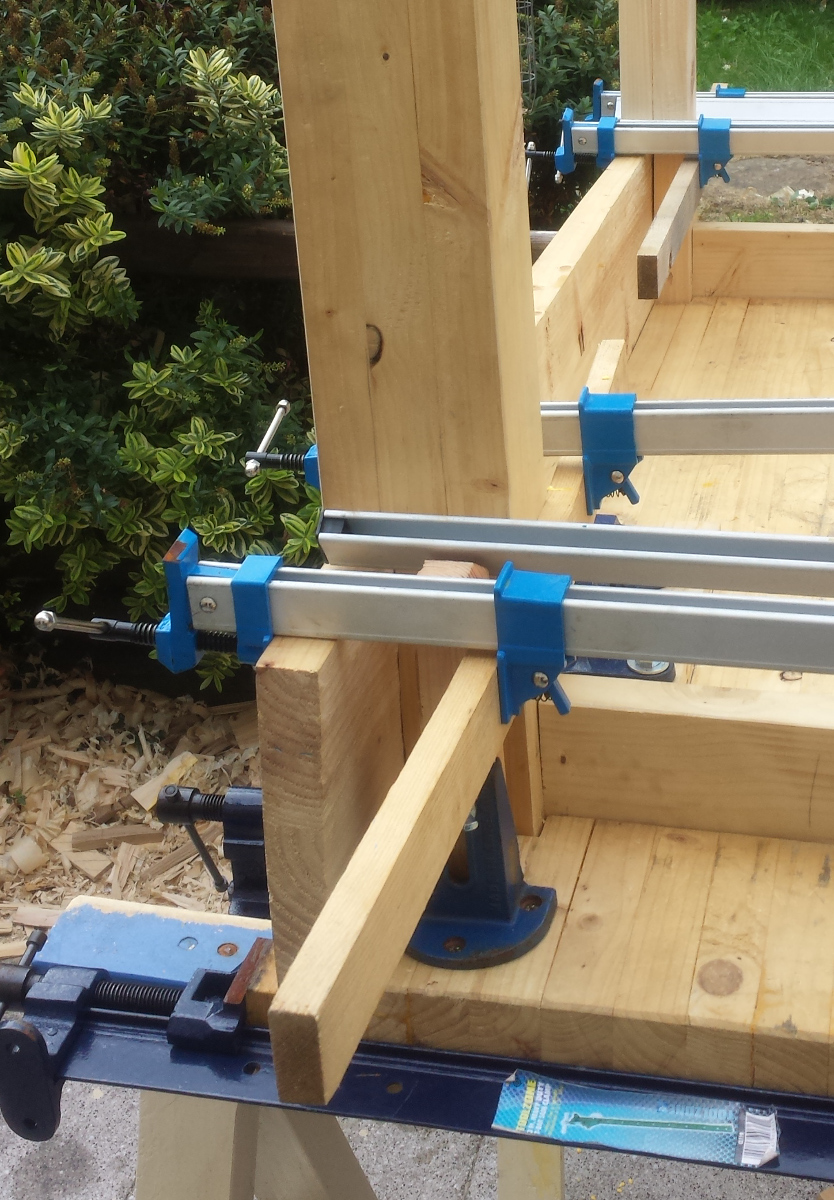
Well, it’s not the prettiest because the packing shims rotated, but sod it, it’s done and it’ll hold. Next, test fit the aprons.
After that, curse a little, trim the dados on both sides a little in different spots, re-fit and figure sod it, it’s close enough, it’ll do. And then glue-up the aprons and much cursing and struggling with clamps. Until my common sense overtook ego and asked Herself Indoors for a hand holding the far end of the heavy-duty clamps in place while I got them tight enough to hang on. And then checking that the aprons were not below the level of the benchtop and tightening each clamp in turn till it wouldn’t clamp more, and then adding more of the lightweight aluminium clamps on what will be the bottoms of the aprons to avoid them splaying out excessively from odd clamping.
And now it’s all covered in a tarp curing away in the back yard. I’ve got an offcut of 2×4 set aside for the vice face, but I figure I can best get that planed up and fitted when the bench is on its feet again. I’m not sure when exactly I can move the bench to the shed in the steps though; I’m betting it’ll be easier to plane it flat outdoors, but I’m wondering if I’d want to apply the BLO/turps finish outdoors as well?
What’s left to do:
- Flip bench off sawhorses for the last time
- Flatten benchtop
- Chop out mortice to fit end vice
- Move bench to shed (?)
- Make front face of vice from 2×4 offcut and suede.
- Assemble face vice.
- Fit end vice (remembering to put some small shims under it as per Richard McGuire’s notes)
- Drill holes for bench dogs and holdfasts in benchtop and legs
- Chamfer dog/holdfast holes (though I’d have to do this with the router, which I don’t like)
- Drown it in 3-5 coats of 50% BLO 50% Turps (the Richard McGuire bench finish)
- Strut
Tags: bench, Woodworking