edit: This recipe has now featured on boards.ie’s cooking club!
“Igor? Igor! IGOR!”
“Yeth mather?”
“Bring forth the beef. Bring forth the unsmoked bacon. Bring forth the onions, the spices, the fresh chillies and the holy smoked new mexico reds. Bring froth the salt and the cumin seed, the paprika and the uncouth star anise. Make ready the Grand Pot, heat the Great Iron Skillet, and put the beer in the fridge, for Tonight! TONIGHT, IGOR!”
“Yeth mather?”
“TONIGHT WE MAKE CHILLI!”
Every so often, you just have to fire up the pot and make a batch of chilli. There’s no other way around it.
Okay, first off, chilli is like religion in some parts. Lots of different views on it and some people get very irate when you even mention that there are alternatives to their take on it. Add beans to a texan’s chilli and you apparently risk a punch-up. And don’t ever mention the origins of the dish, because nobody knows exactly where it came from and it seems everyone claims it bar the mexicans, who think it’s a wierd kind of stew and that they have far better food at home.
But at it’s basic core, chilli is just a braised beef stew, flavoured with chillis, chilli powder, cumin and thyme. Everything else is an optional extra, but miss any of those core bits and you don’t have chilli. Please note – tomatoes are not on that list. Chilli is a beef stew, not beef in tomato sauce…
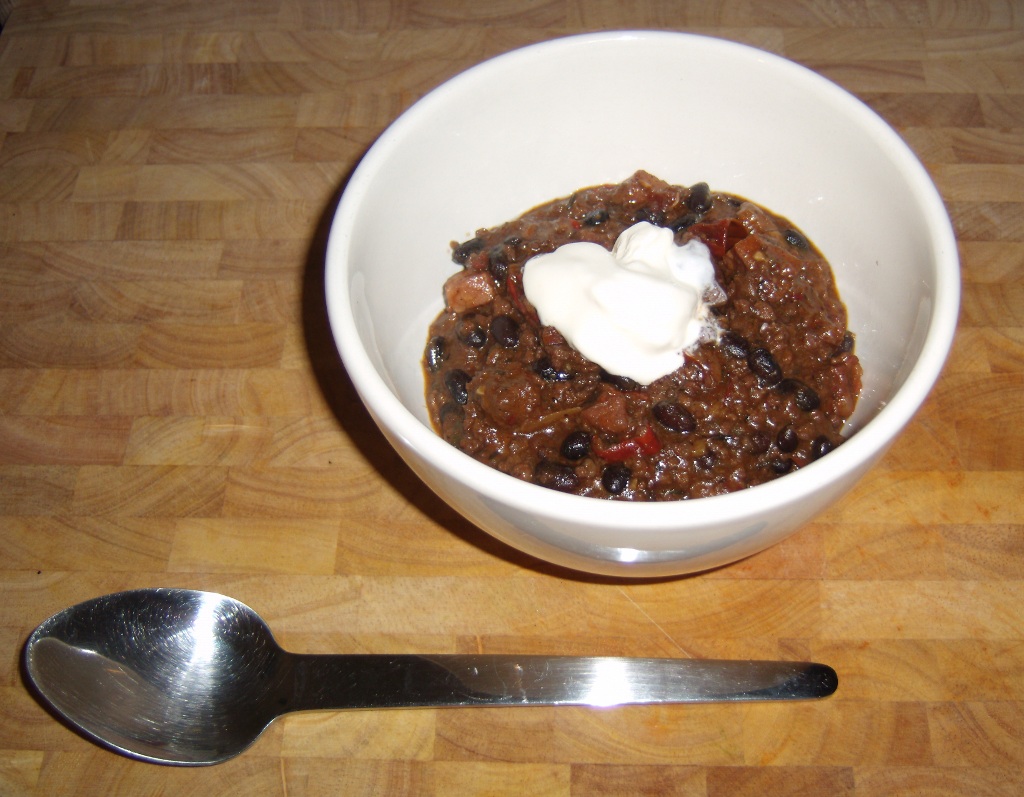
This recipe is more or less my basic workaday chilli recipe. It takes about two hours in total to make, but three quarters of that is cooking time, no stirring or checking required. Like any stew, it freezes reasonably well, and keeps in the fridge for a week – so long as you don’t make three kilos of the stuff you’ll probably eat your way through it before that. It does have beans, I like them. If you don’t, just don’t add them, it’ll work just as well. Maybe a little less liquid if you don’t add the beans, or a little more masa at the end.
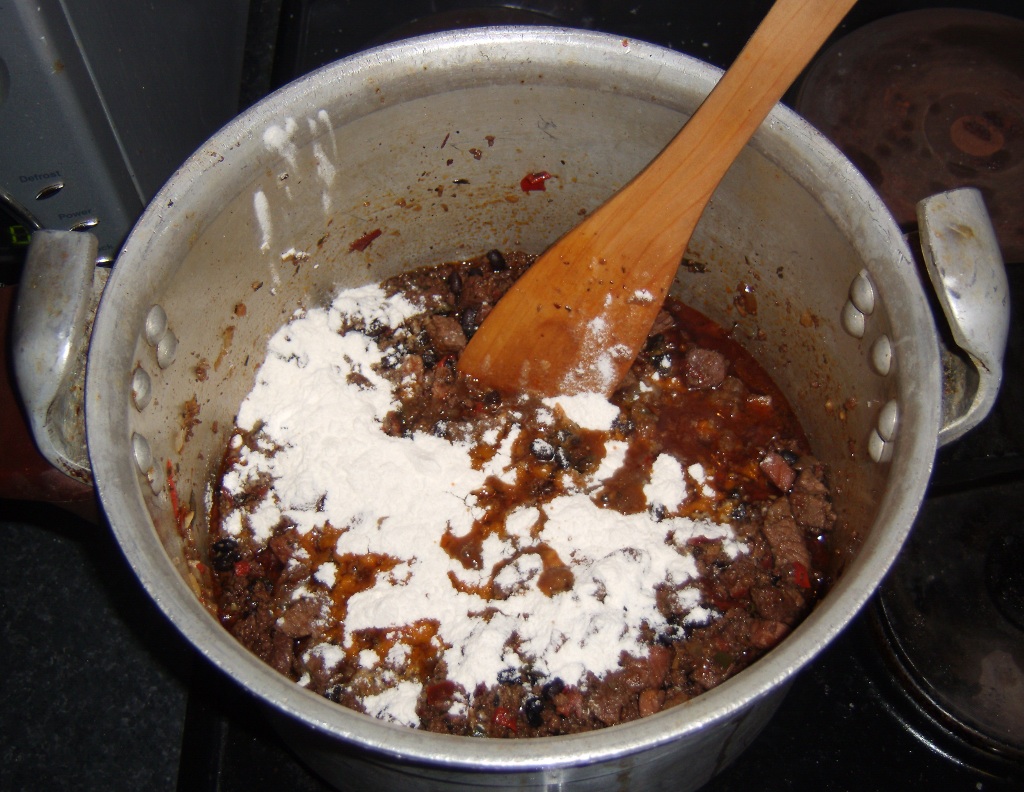
Also, there are two specialist ingredients in here. The first is chipotle chillis in adobo sauce. I get mine from Fallon & Byrnes because it’s close to hand, but there are other sources and you can find it easily enough on the net (if you buy from a uk website, the shipping’s cheap). It’s about a fiver for a jar from F&B and that one jar will do several pots of chilli. And yes, it’s worth it – it utterly changes the taste of the final chilli, and frankly, it lets you get away with cheaper meat, so it’s worth it even on a penny-counting basis. The second ingredient is masa harina. I got some in a Texas chilli-kit some friends in the US sent me as a birthday gift a while back and I’ve loved it ever since. You can get it in F&B’s as well, or on the net. But, it’s a bit of a luxury. If you can’t find it, don’t worry. Ordinary plain flour works just as well (you could smash some tortilla chips to pieces and add them in instead of flour, that works too, but you need to let it cook a bit longer so they fall apart in the liquid at the end).
And there’s a pressure cooker in the recipe. If you have one, brilliant. If you don’t, use the biggest heaviest pot you have and cook for about 4 to 6 hours, depending on the toughness of the meat, and you have to check every hour or so to ensure the liquid hasn’t evaporated away.
On to the ingredients! (Pardon the background mess, maid’s day off dontcha know. And that wonderful chopping board was €20 at TK Maxx. You have to love that place)
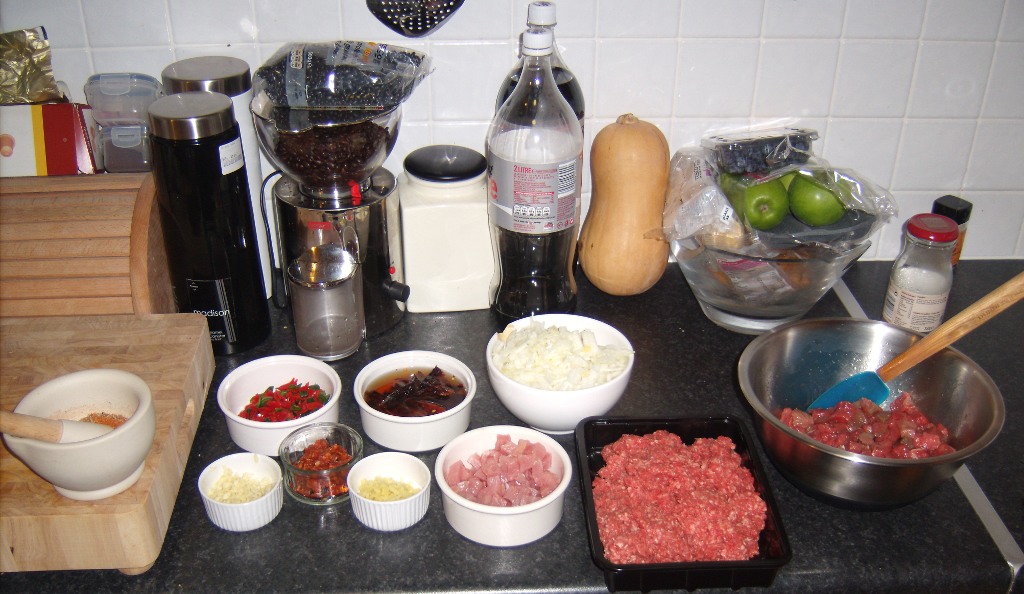
The ingredients. Back row, left to right: spice grind (more on that in a second), chopped fresh chillis, rehydrated dried new mexico red chillis, chopped onions, chopped sirloin tossed in olive oil and sea salt. Front row, left to right: smashed and chopped garlic, diced choritzo, diced garlic, trimmed and cubed unsmoked back bacon, rib steak mince.
On the meat – you can use a wide range of meats for chilli. But the key thing is, don’t buy expensive meat. Chilli started off as a poor man’s dish and good chilli remains a cheap dish. You probably don’t want to use anything in it that costs much more than rump steak (if you’re using beef). Stewing beef is perfect (chuck steaks, if your butcher knows what they are, are excellent for this too and you at least know what cut you’re getting). It looks less than appetising, but the fact is, that connective tissue in there is going to break down to gelatin during cooking, and that gives an incredible texture to the end chilli. This photos for this recipe show sirloin because it was on special at the butchers, and it’s okayish, but it’s just not as good as the cheaper cuts and I’ve never used it for chilli since.
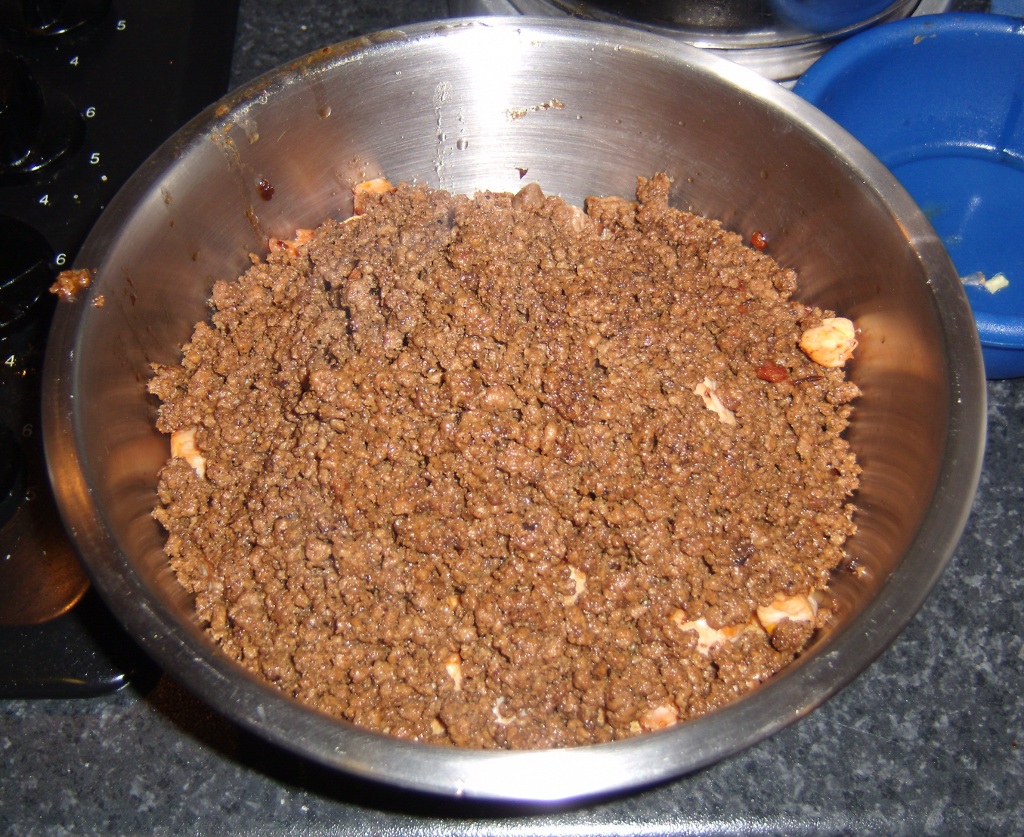
Also, the meat should be cubed, at least for the bulk of it. I always add in a little mince (I’ll use lamb mince if I can find it) to give the gravy a lot of body, but the bulk of the meat should be chunky. So take your stewing beef chunks or rump steak and cut them down to small cubes, nothing larger than an inch to a side. You should generally have one part mince to two parts cubed – the photos do show slightly more mince than that, but I’ve since found it’s better to ease back on the mince if you can.
The back bacon is just the cut they slice rashers from, but instead of cutting it into rashers, I bought a chunk about an inch wide and cubed it into small quarter-inch cubes, minus most of the fat. Like chunky lardons. You can find the bacon in a lot more shops now that we have a lot of polish folks living here, or your butcher will cut off a chunk for you. If you can’t find it, just take four or five rashers and chop them up to small pieces, but the bacon’s nicer if it’s in chunks.
The choritzo you can leave out if you don’t like it, but nearly every shop carries it these days (hooray for immigrants!). If you put it in, just cut about an inch of choritzo sausage and cut it down to small cubes, around 4-5mm per side. You don’t want too much, it’s strongly flavoured stuff.
The beans are a religious thing. Some people love them in chilli, some hate them. Some will cook the beans and serve them seperately so that the lovers won’t have a punchup with the haters. And then there’s the types of beans. Personally, I love black beans and pinto beans in my chilli, texas be damned. Ordinary haricot or navy beans (the kind Heinz use in tins) are too flavourless, red kidney beans aren’t much better despite the tradition of using them, broad beans just fall apart to mush, and aduki beans get lost. I have done chillis with up to seven different kinds of beans in the past, but mostly these days I just stick to black and pinto beans. There should be about as many beans as mince, by weight, so about a pound of black or pinto beans in this recipe (it’s black beans in the photos).
If you even think of putting sweetcorn in this dish, by the way, you’re an abomination unto dog and man alike.
And that just leaves the chillis – I like to use a mix of dried and fresh in my chilli if I can. Variety is good. If you get the dried chillis, it’s easier to have that variety – I prefer to use a mix of ancho and new mexican red chillis if I can find them (again, Fallon and Byrnes or the ‘net, and you can buy tins of dried ancho chillis which will last several batches of chilli for under a tenner). Rehydrate the dried chillis in plain tap water for a while, then drain them and squeeze them a bit to get rid of most of the water before you add them in. Leave the seeds out of the fresh chillis if you’re not a fan of chemical burns, and stick to ordinary jalapeno chillis (I tried this with a scotch bonnet pepper before and had to dump the entire batch as inedible). The amount you put in here is going to go up if you keep cooking this dish – but if you’re just starting, try about two fresh chillis and four dried ones to start with. If you like chillis, go wild.
 Oh, and if you’re working with chillis and like your eyes, spend €20 in Boots (or €9 online) and buy a box of latex exam gloves to wear while prepping the chillis. Cheapest effective solution ever.
On to the rest of the ingredients:
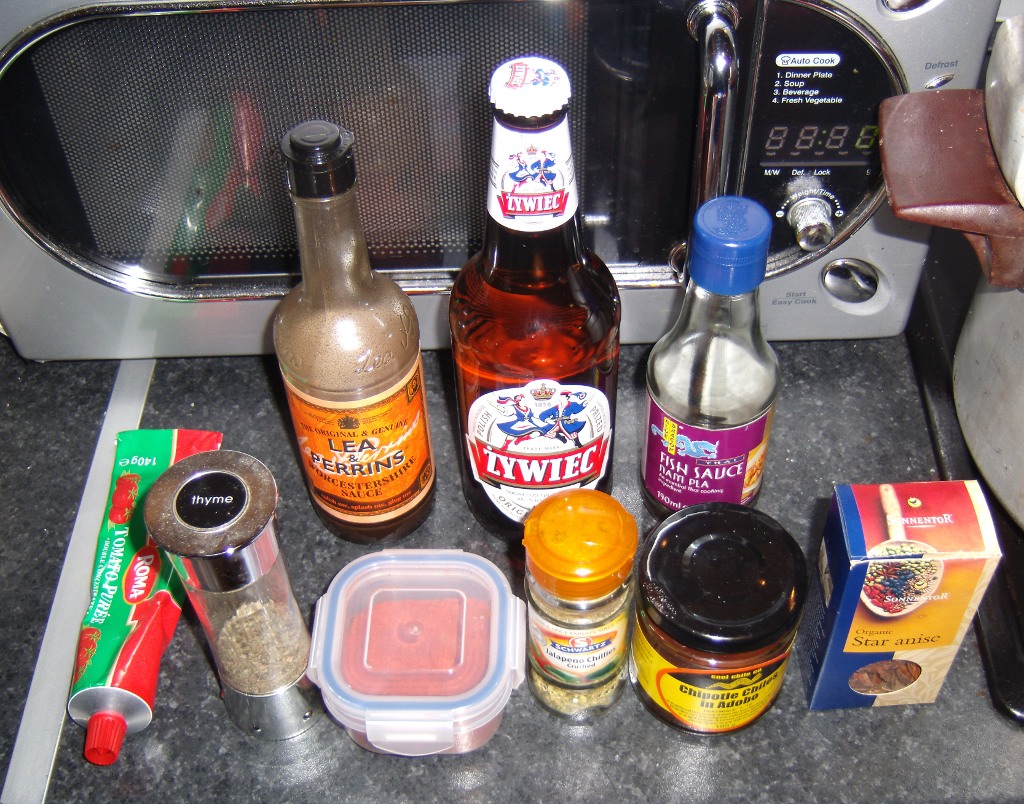
More ingredients. Back row, left to right: Worcestershire sauce, ordinary beer, Nam Pla. Front Row, left to right: tomato puree, dried thyme, paprika, jalapeno chilli flakes, chipotle chillies in adobo sauce, star anise.
No, Nam Pla isn’t a speciality ingredient, honest!
And yes, it seems a tad odd, but it and the star anise do the same thing – boost the savory taste of the meat. If you can’t find one or the other, it’s not a huge loss, but try for at least one. BTW, I prefer to put the star anise in these small cotton spice bags, belt it with a mallet to smash it, and dump the bag into the pot – it’s easier to retrieve it before serving that way. The bags are cheap (€3 for a pack of six if I remember right) and I got mine from the kitchen shop off Grafton Street, but you can find them on any cooking shop website, or make one from cheesecloth.
The beer should be any ordinary beer. Not stout or weisbier, and not lager if you can help it. The former are too heavy and get horrible with cooking, the latter are too light. And you only need two bottles. One goes in the pot, one goes in the cook. (Yes, you can use water if you want to skip the small amount of alcohol that will remain after cooking, but it’ll be less tasty).
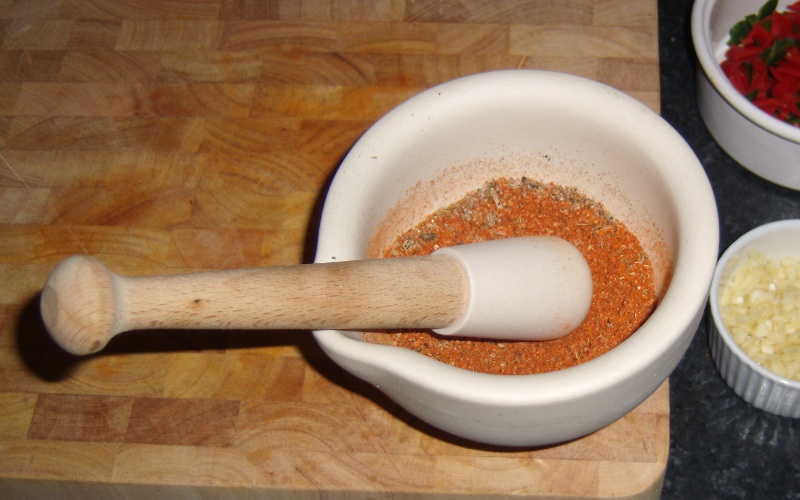
And the spices. Cumin seeds, fennel seeds, black peppercorns, sea salt, chilli powder, all ground in the mortar.
The spice mix can be a bit personal, vary it to your tastes if you wish. In this case, it’s 1tsp cumin seeds, 0.5tsp fennel seeds, 0.5tsp black peppercorns, 1tsp sea salt and 1tsp chilli powder, all ground in the mortar (though I’ve been known to just cheat and use an electric blade coffee grinder of late, though I skip the peppercorns when I do as it doesn’t do them quite so well for some reason). Cumin, salt and chilli powder are pretty much required, they form the basis of the spices for the dish; the fennel is there to try to cut down a bit on gaseous emissions caused by legume consumption and are optional, and the pepper is there to give a little kick at a different point on the tongue.
The one other thing about the spices is that they’re ground from fresh because this is a poor man’s dish. It’s far cheaper (and far tastier) to grind spices from seed because the spices last longer on the shelf (2 years -v- 3 months) when whole than when preground like you get in tesco.
Oh, and you could add two bay leaves to the pot during cooking if you want. I’ve been trying that in the last batch or two, but I’m not fully sold on the idea yet.
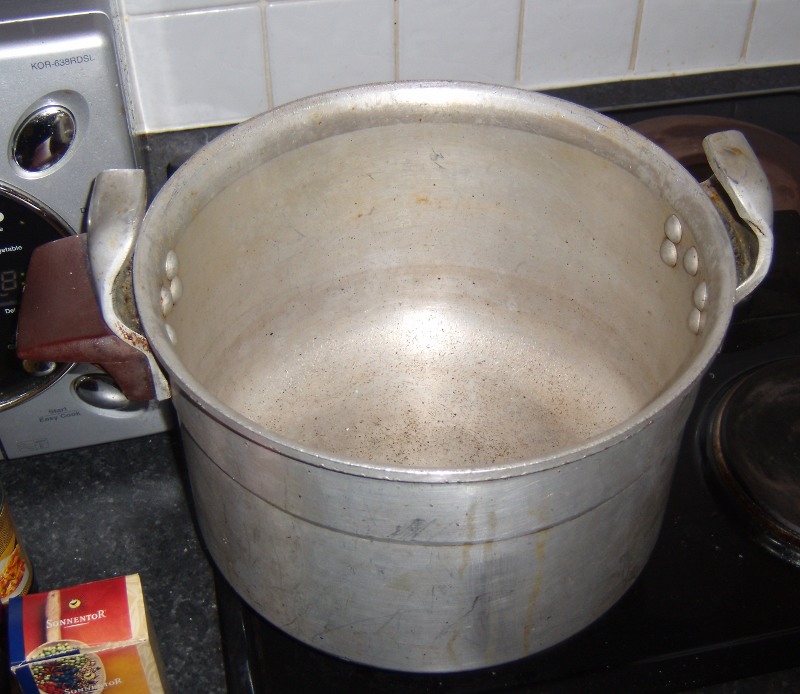
And the Great Chilli Pot, also known as a pressure cooker. This one’s a wee bit old, inherited from family, but modern ones are even better. Since it’s so heavy, we can sear in this as well as braise.
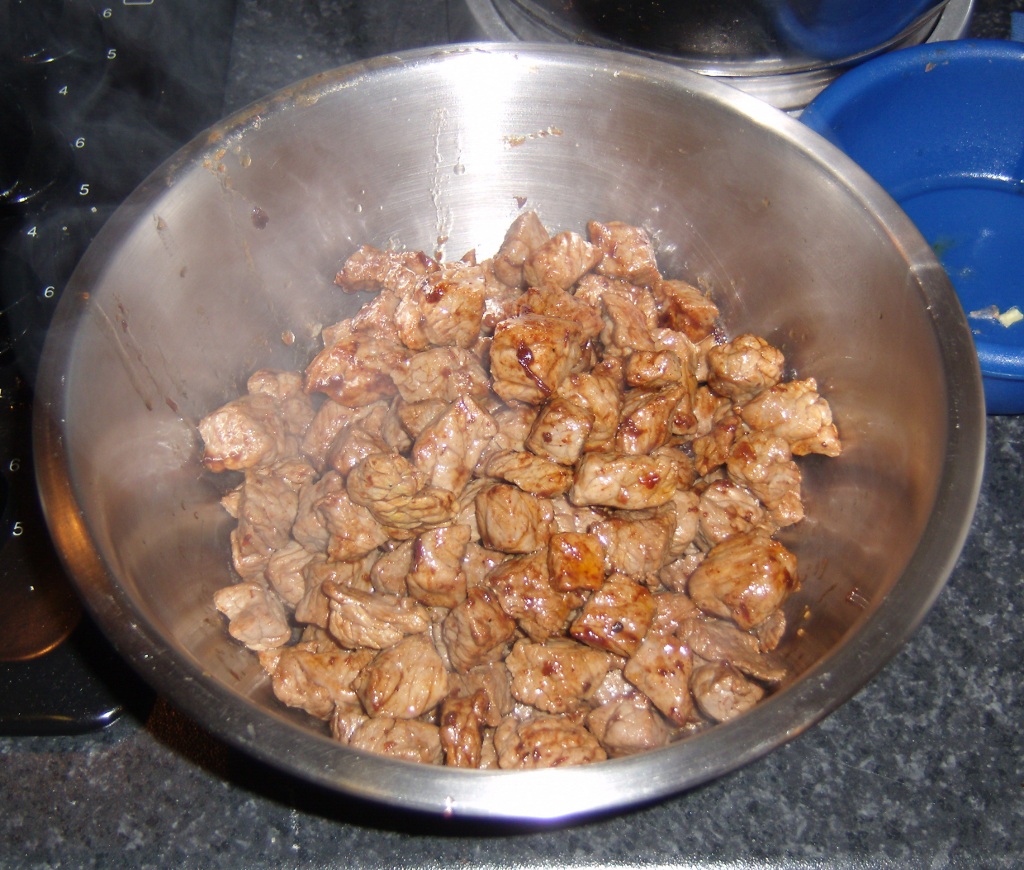
Step one: trim the sirloin, cube it, toss in salt and olive oil, then brown in batches in the Great Chilli Pot on very high heat, with one teaspoon of adobo sauce added to each batch as it finishes up. Then remove to a mixing bowl.
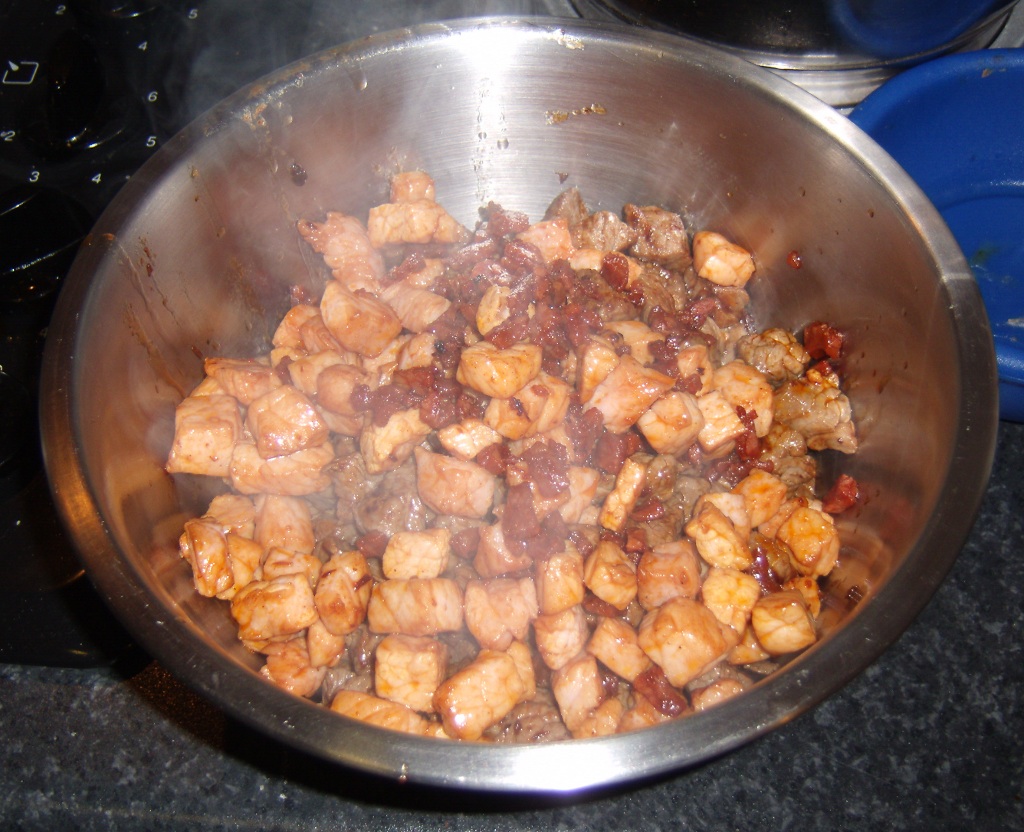
Step two: trim, cube and brown the bacon along with the diced choritzo, then remove to the mixing bowl with the beef.
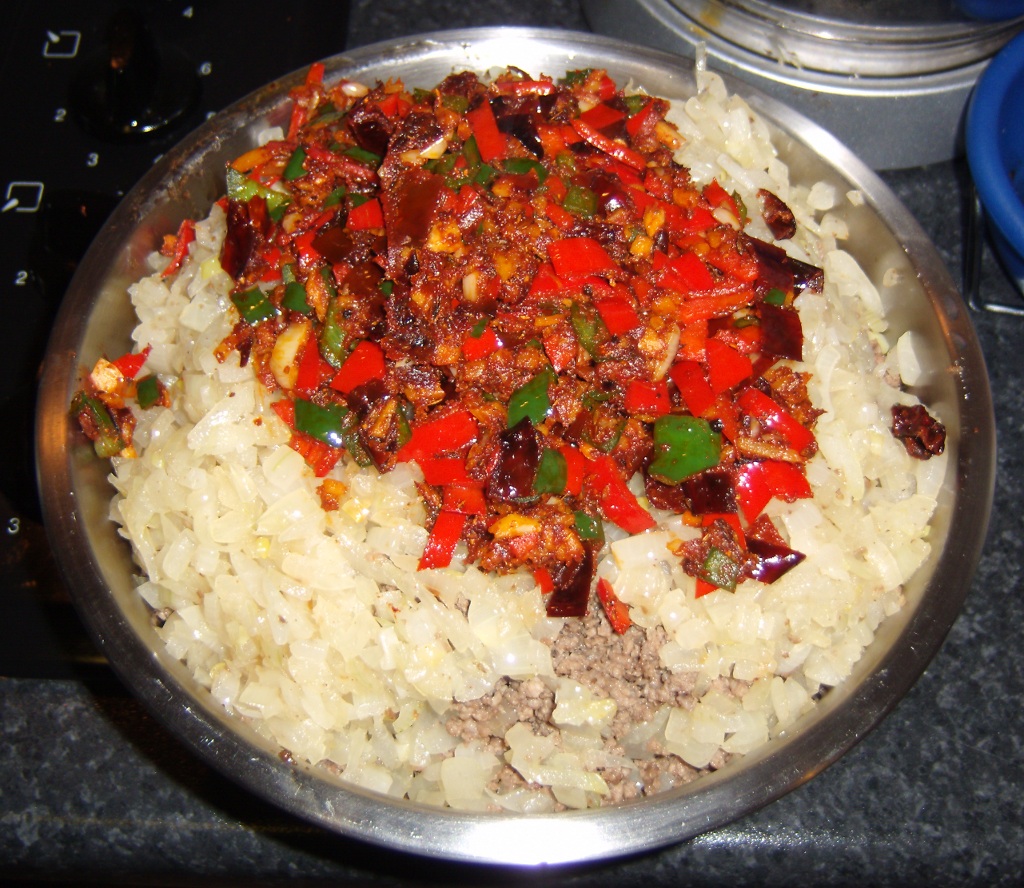
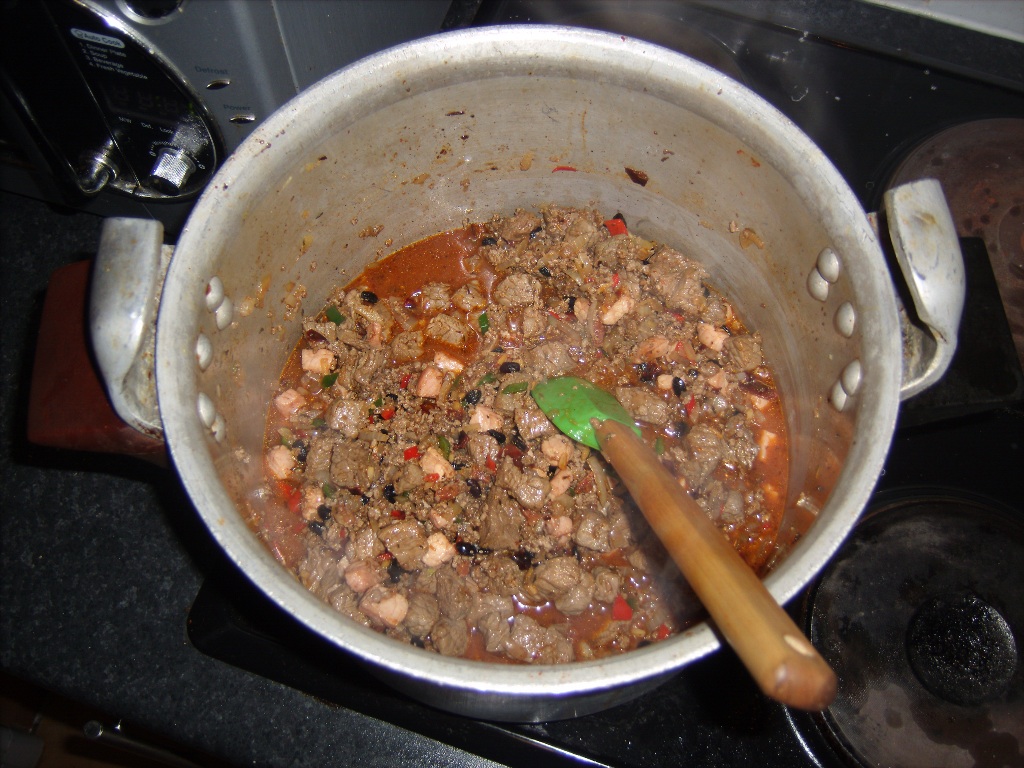
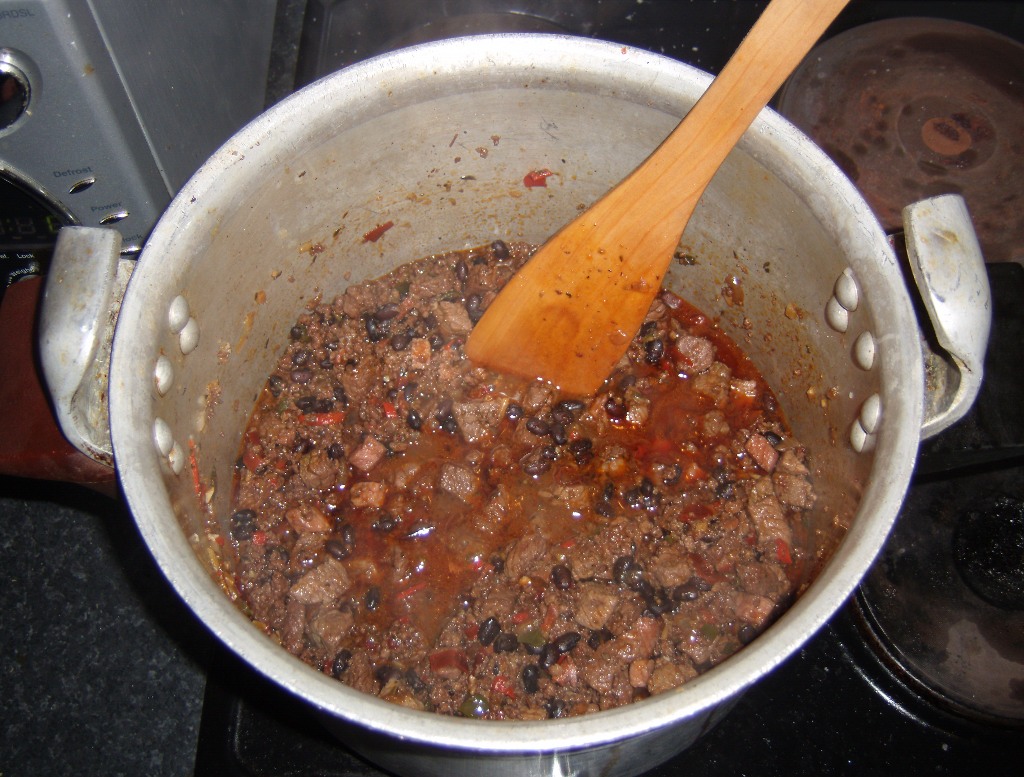
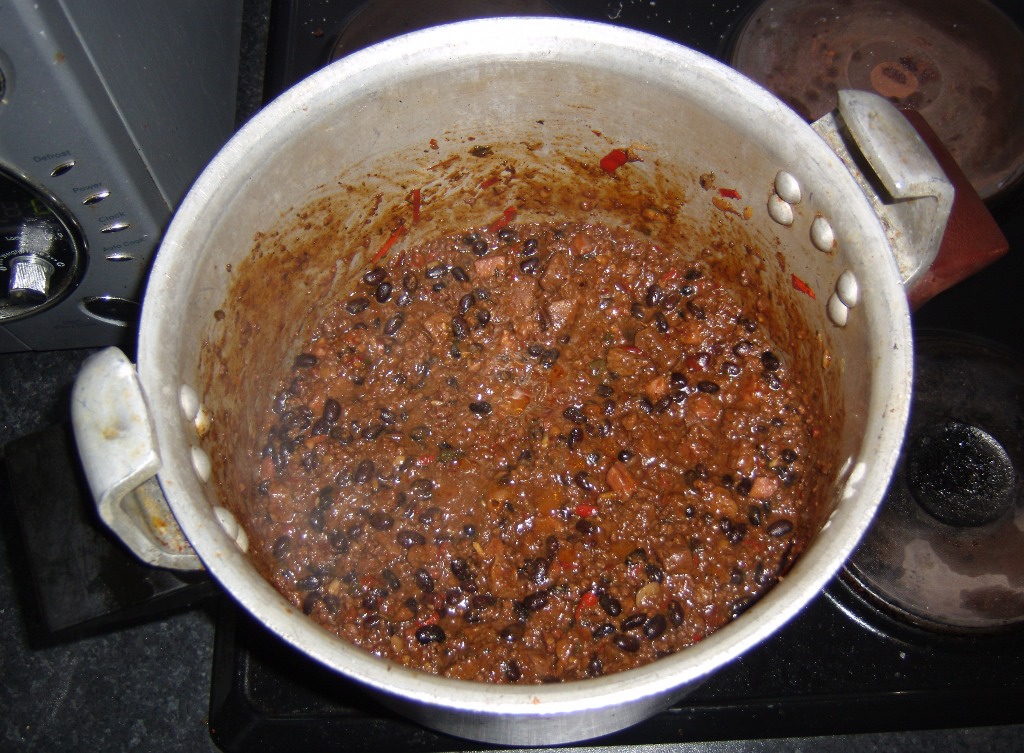
Step five: deglaze the pot with beer, then add the liquid ingredients (Nam Pla and Worcestershire) and get that boiling. Then add the dry black beans (no presoak needed) and dried thyme, and then all the previously cooked ingredients. Bring back up to the boil, clamp on the lid of the pressure cooker, build up to pressure then back off to a simmer and leave it there for an hour.
Tags: recipe


Alton Brown says use crushed tortilla chips as masa harina replacement-
Just cut down on extra salt quit a bit to make up for it.
Made some 5 days ago & it was mind~boggling.
Also: pressure cooker.
Alton is where I learnt to make The Big Chilli 🙂
(I’ve just tweaked the recipe to fit what’s easy to find in Dublin since then)
(And that is my pressure cooker! 😀 Old is Gold my friend, Old is Gold… even when it’s not pot roast night!)
[…] Chilli! (stochasticgeometry.com) […]