12
Jun 18

Bases and colours

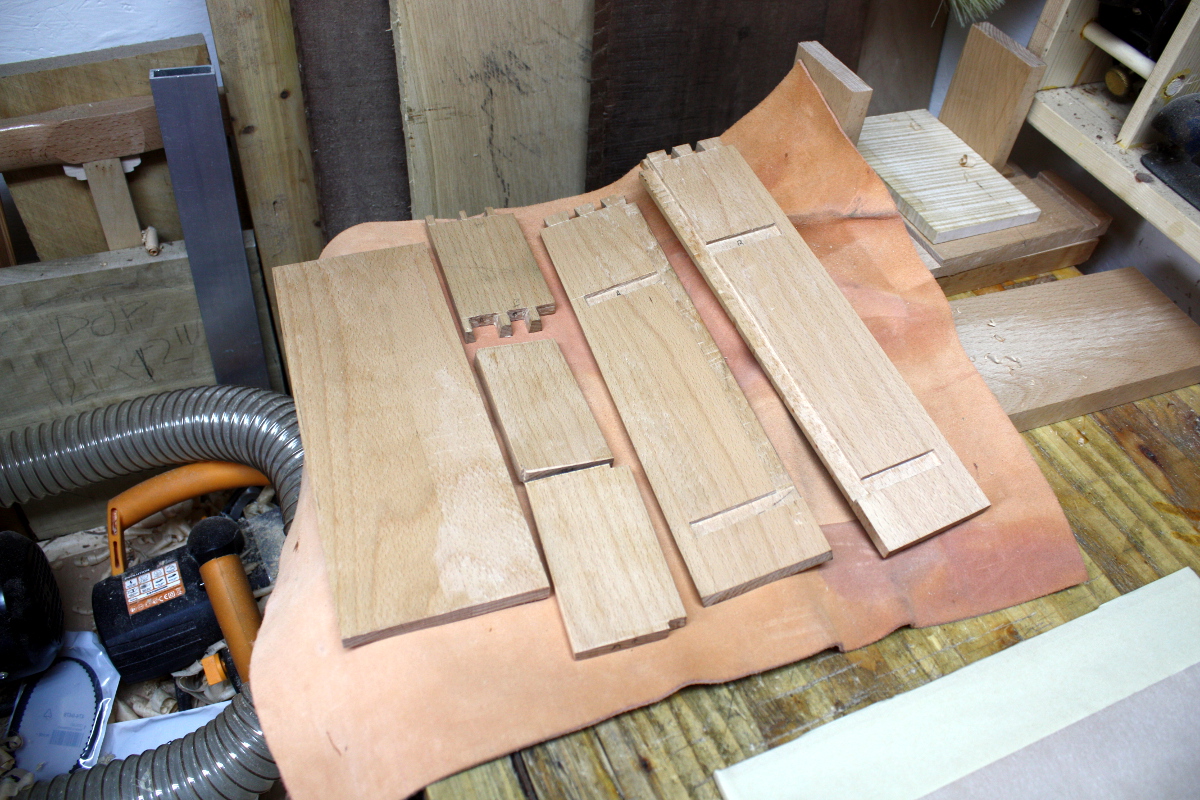
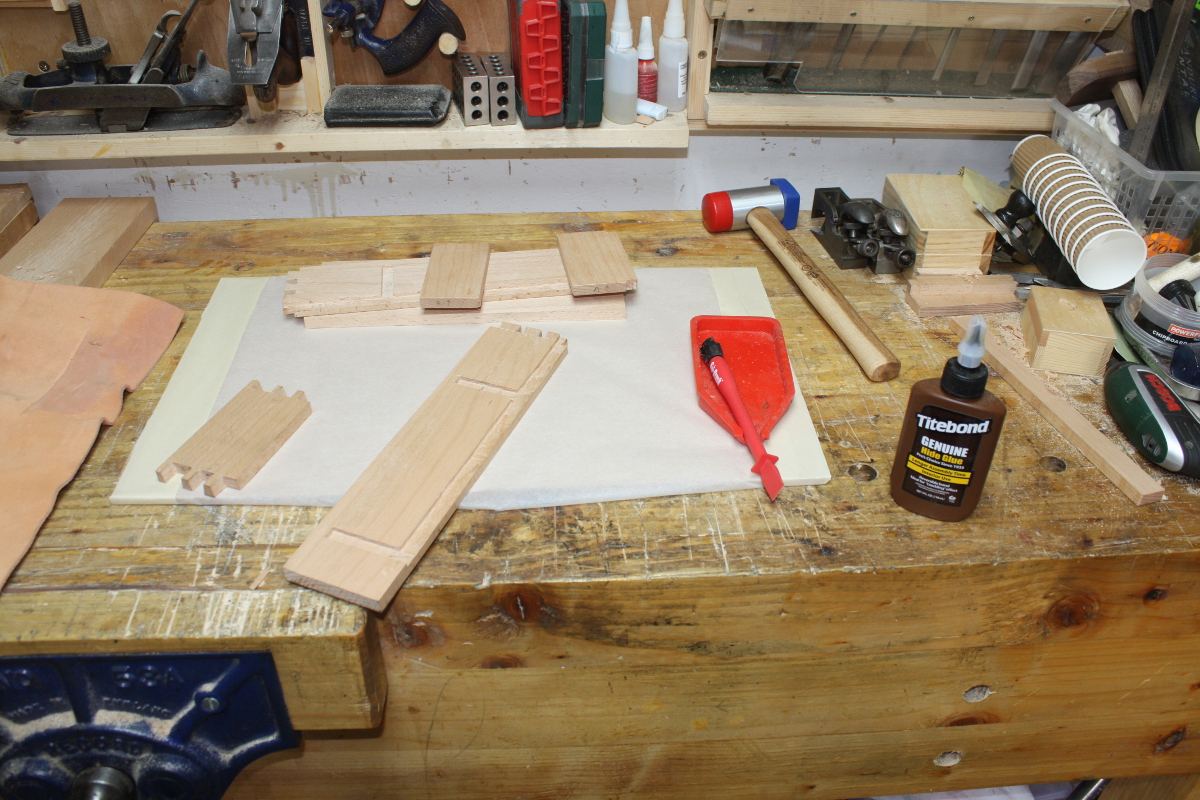
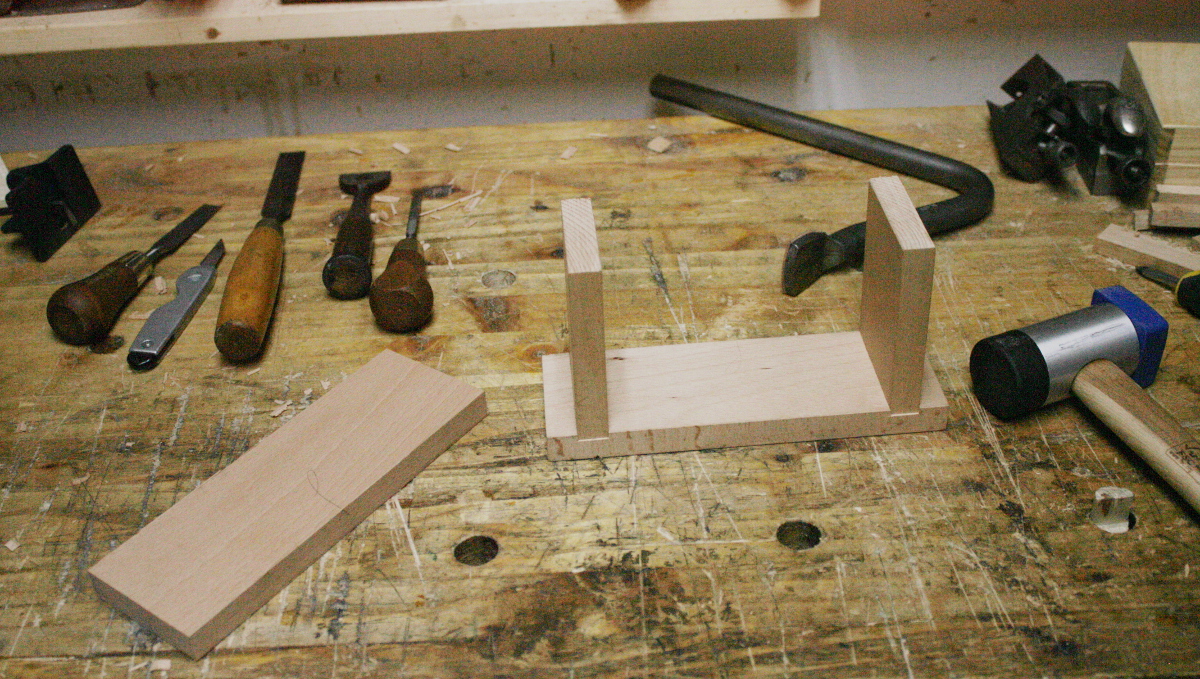
So the camera battery complained about being empty on Sunday and it got a few hours in the charger, but then come Monday, it said it was flat again. Hmmm. A replacement knockoff has been ebay’d. However, the fabrication of the handles and the glueup got missed. It wasn’t that hard, cut a piece of beech to width so it fits in the end of the box, then make a 1cm deep cross cut in the middle of the piece and chisel out a curve in it, then give up because the piece is too small to work on with the vices I have (I really need a sculptor’s vice sort of thing for a job like that) and cut the curve with the bandsaw and clean up by hand with chisels, small wooden spokeshave and sandpaper, then glue it in place. The following day (ie. today)…

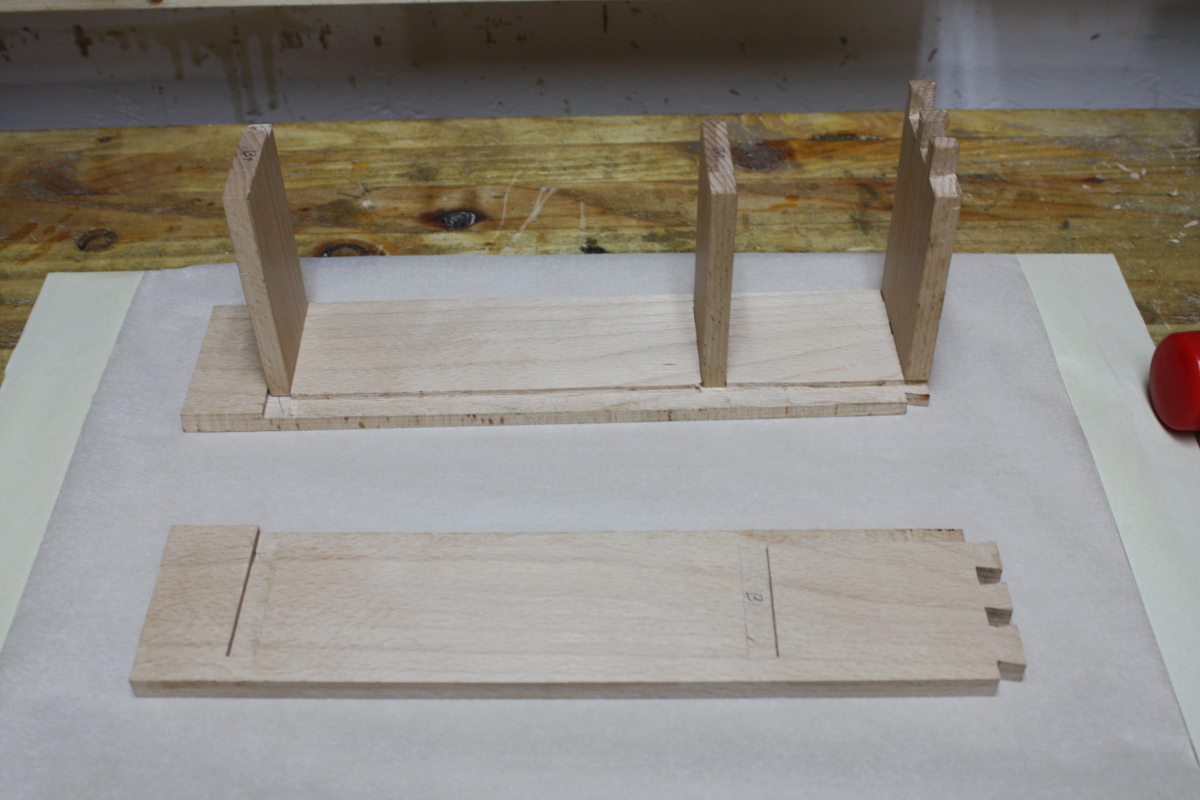
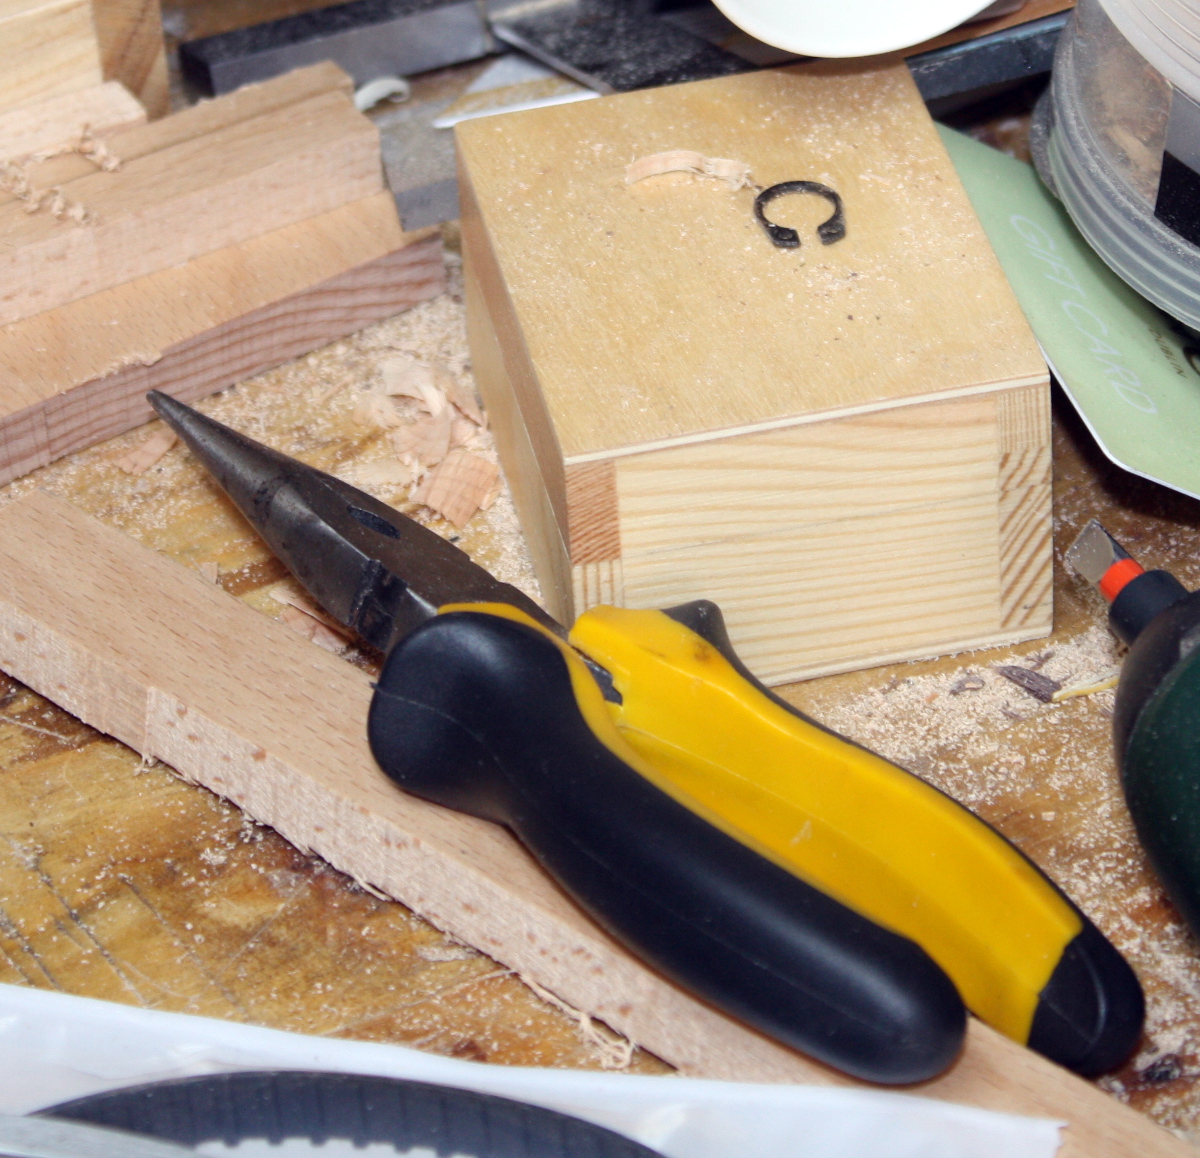
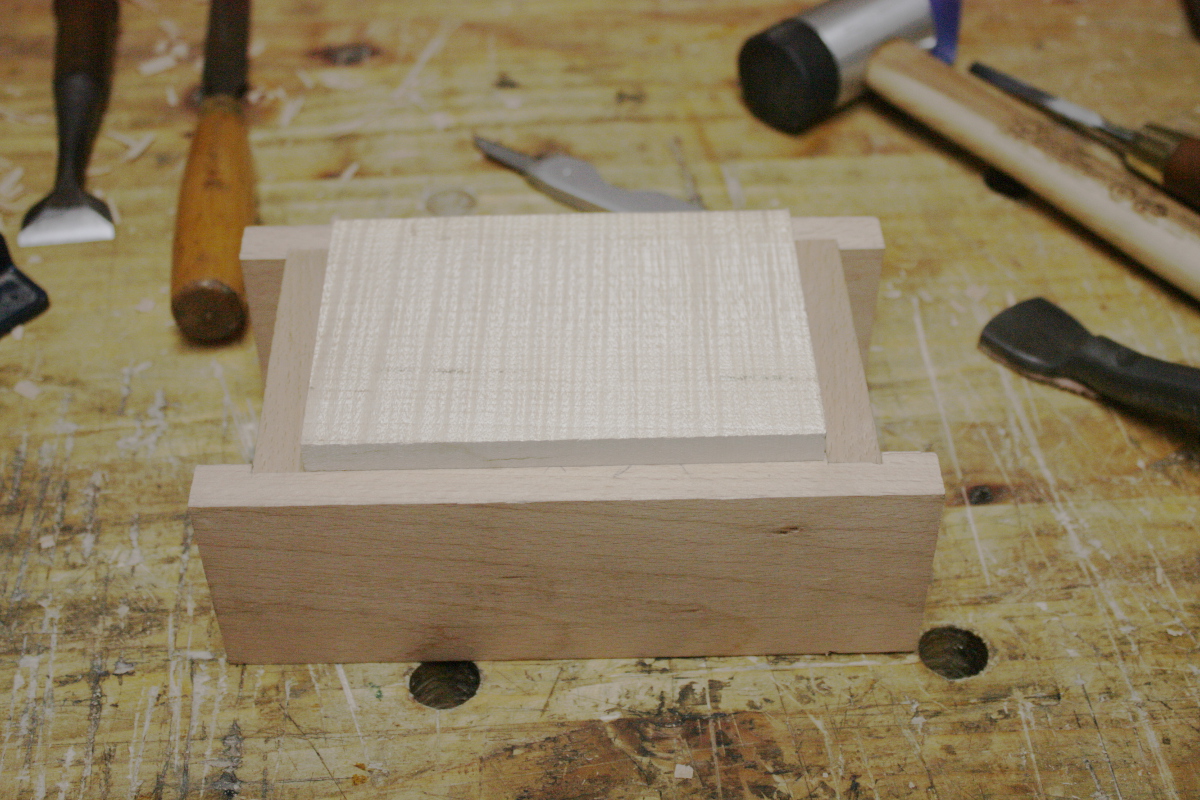
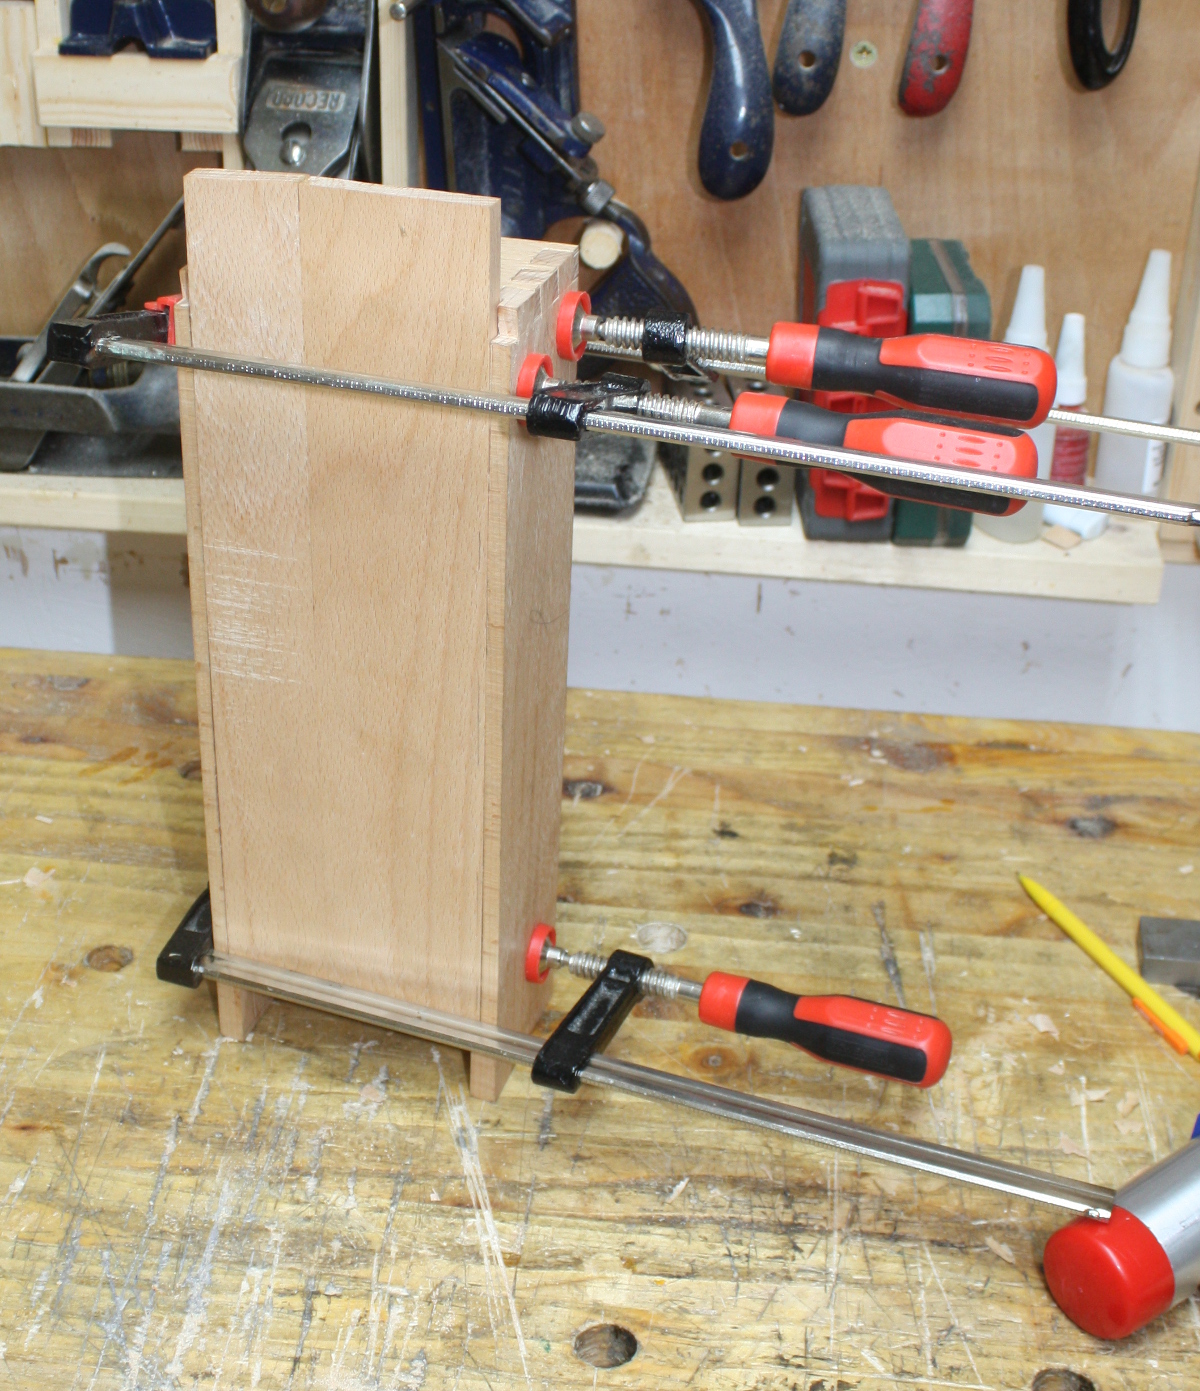
Oh, and I cut the pegs flush and planed down a bit as well. They came out nice. Now to check the handles.

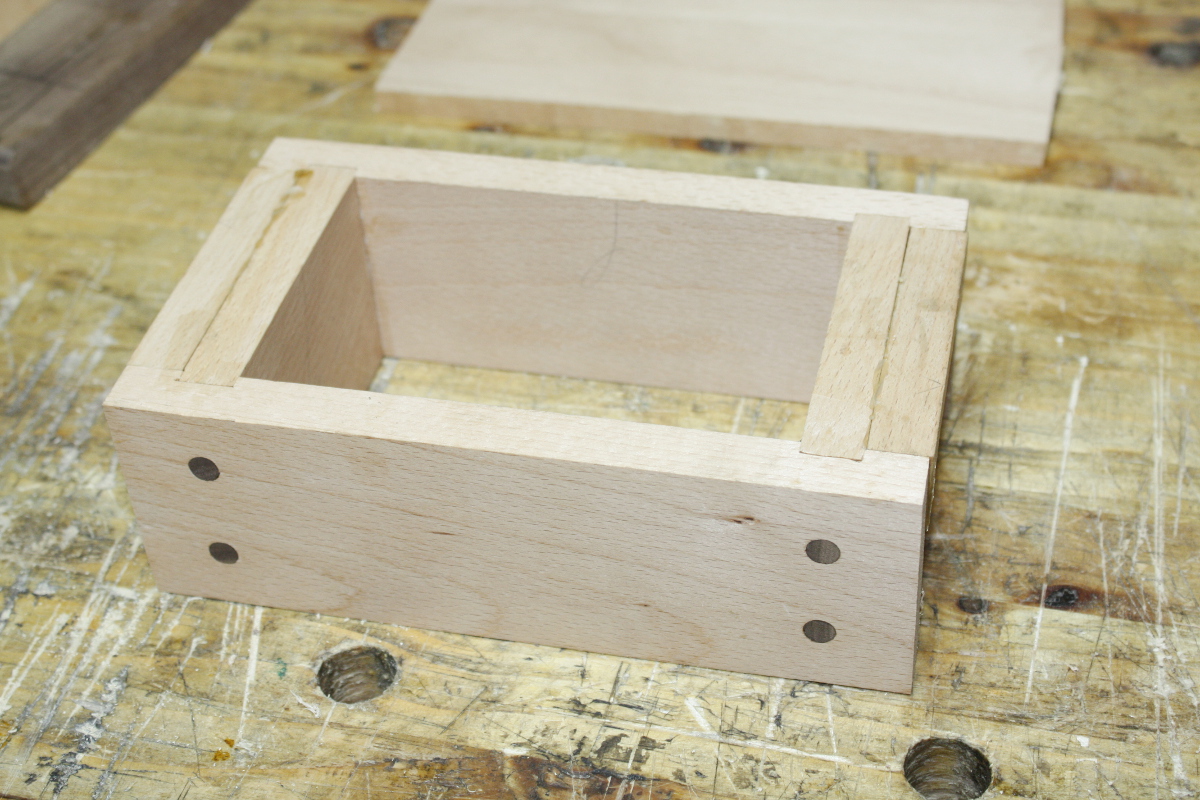
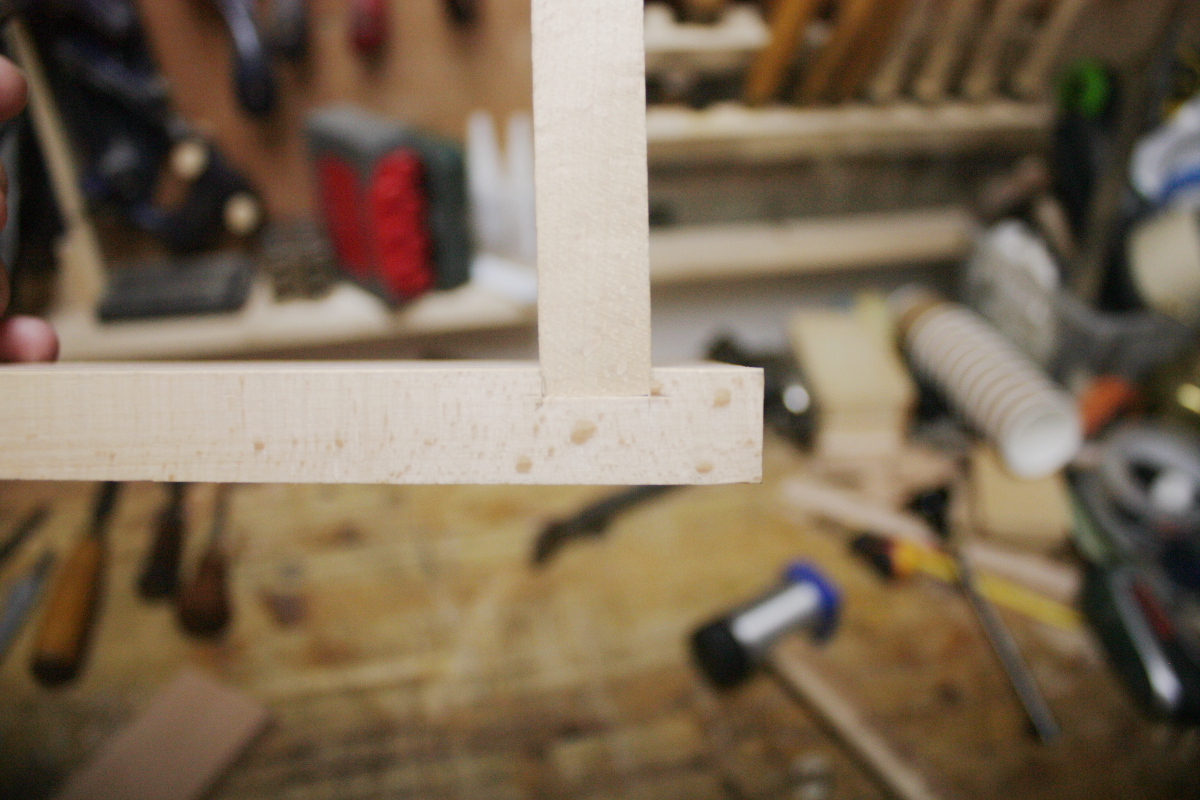
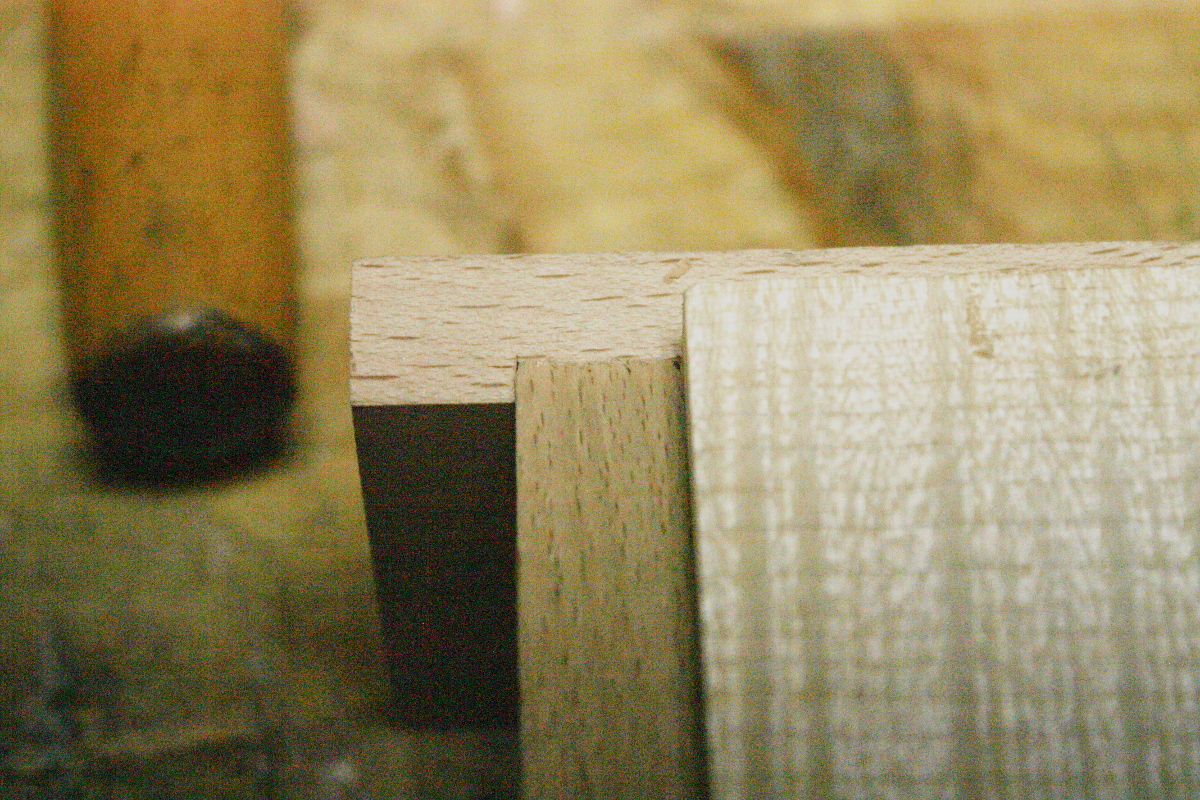
In need of a swipe with the #04…

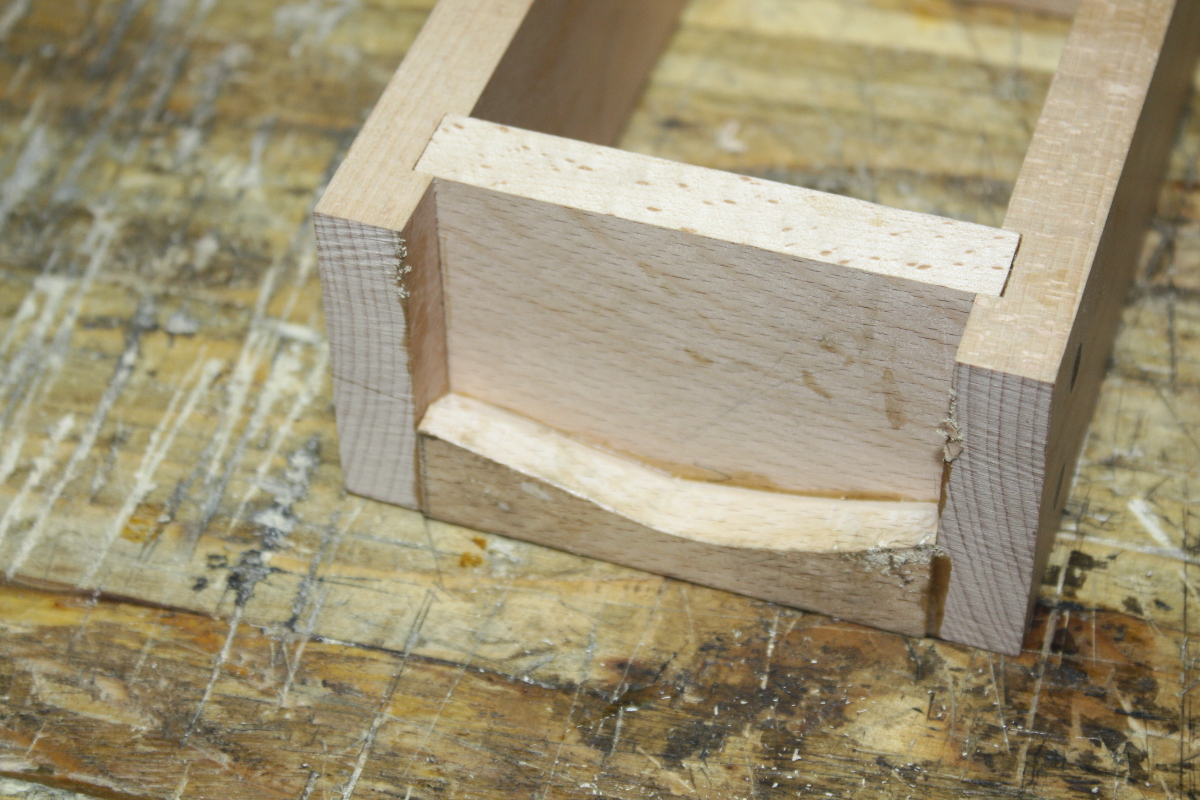
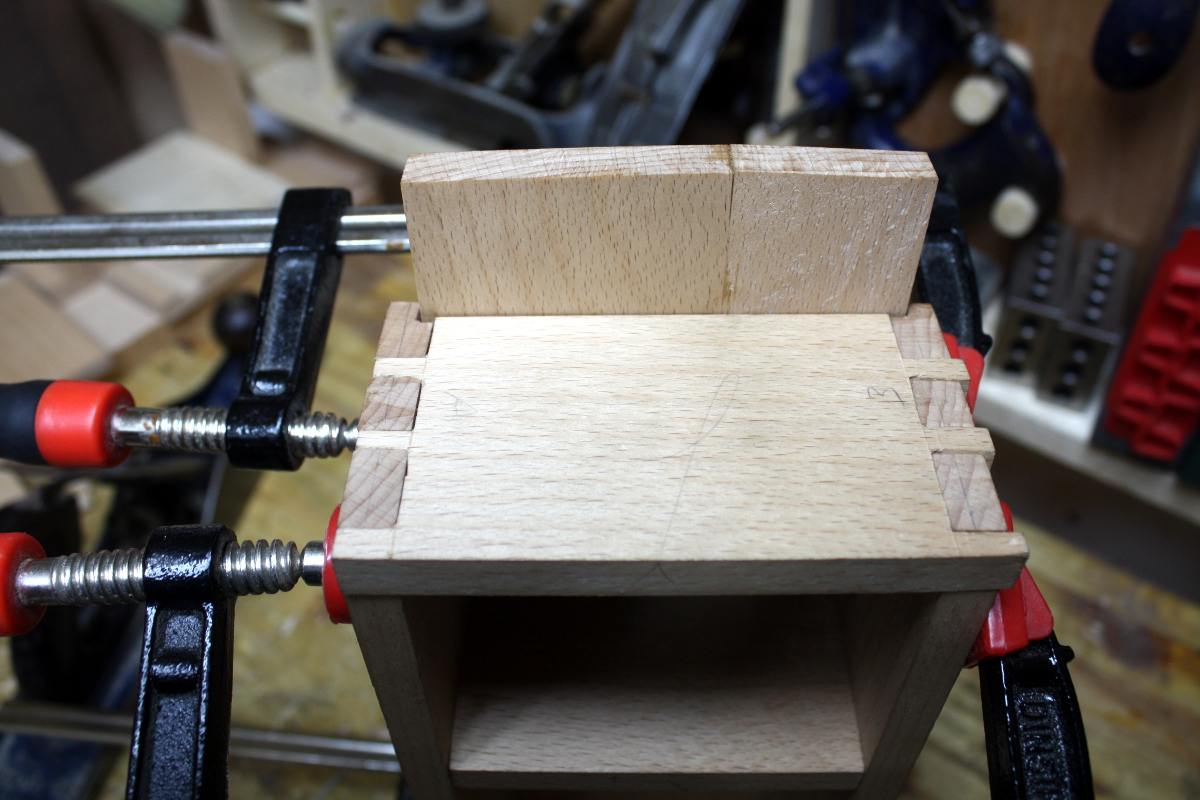
And some squinting. Yikes that looks grotty. It’s nowhere near that bad in real life, but the handle is proud of the ends and top so it’ll be planed back flush.

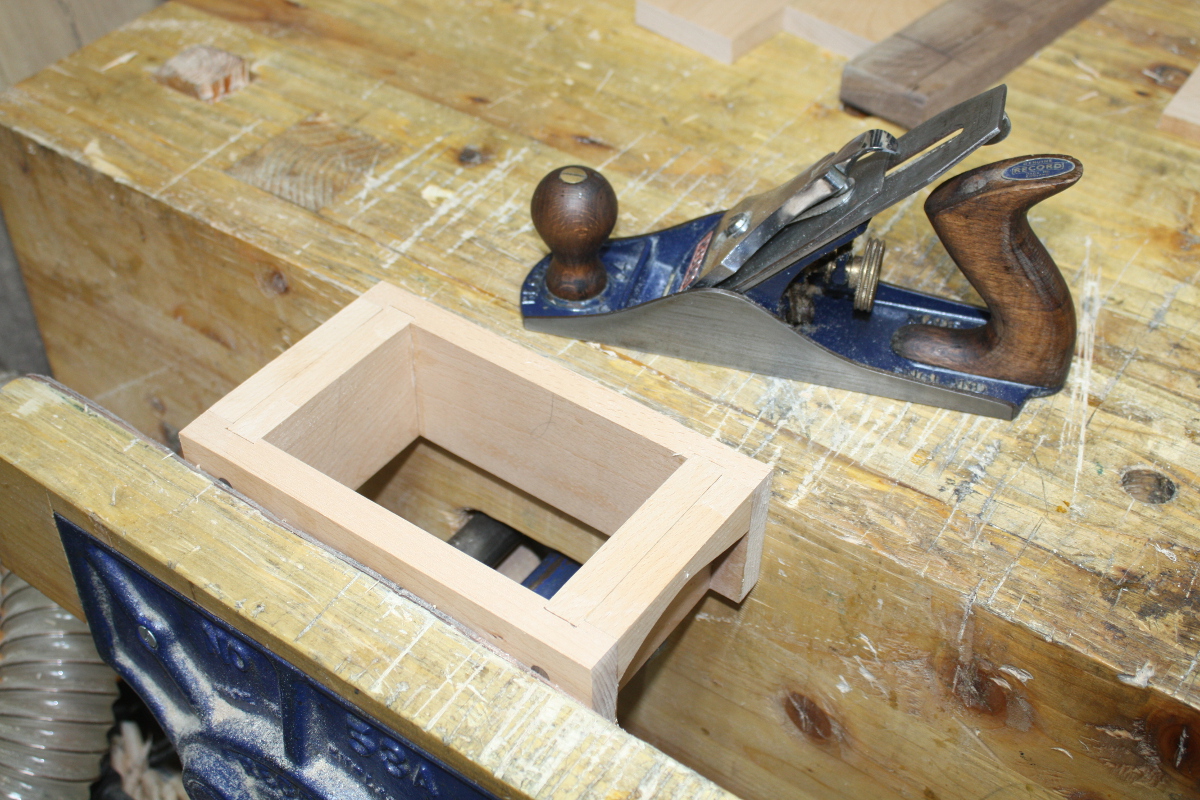
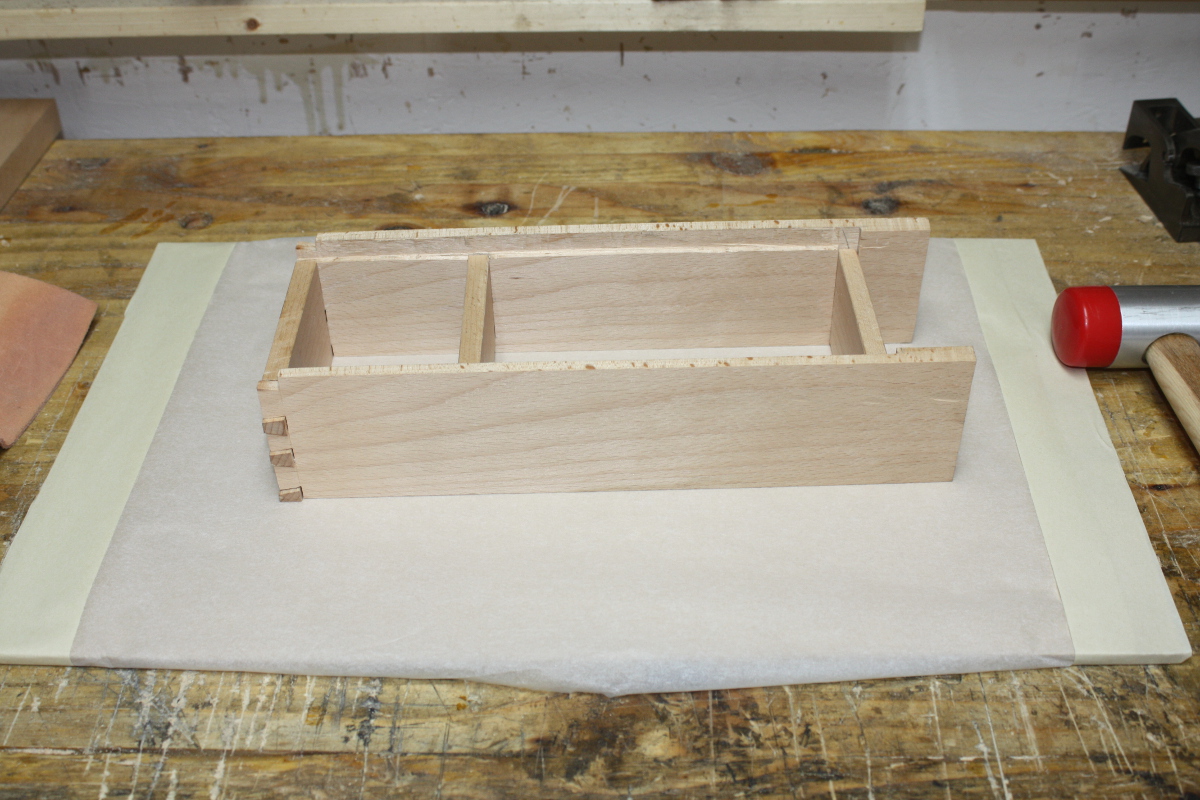
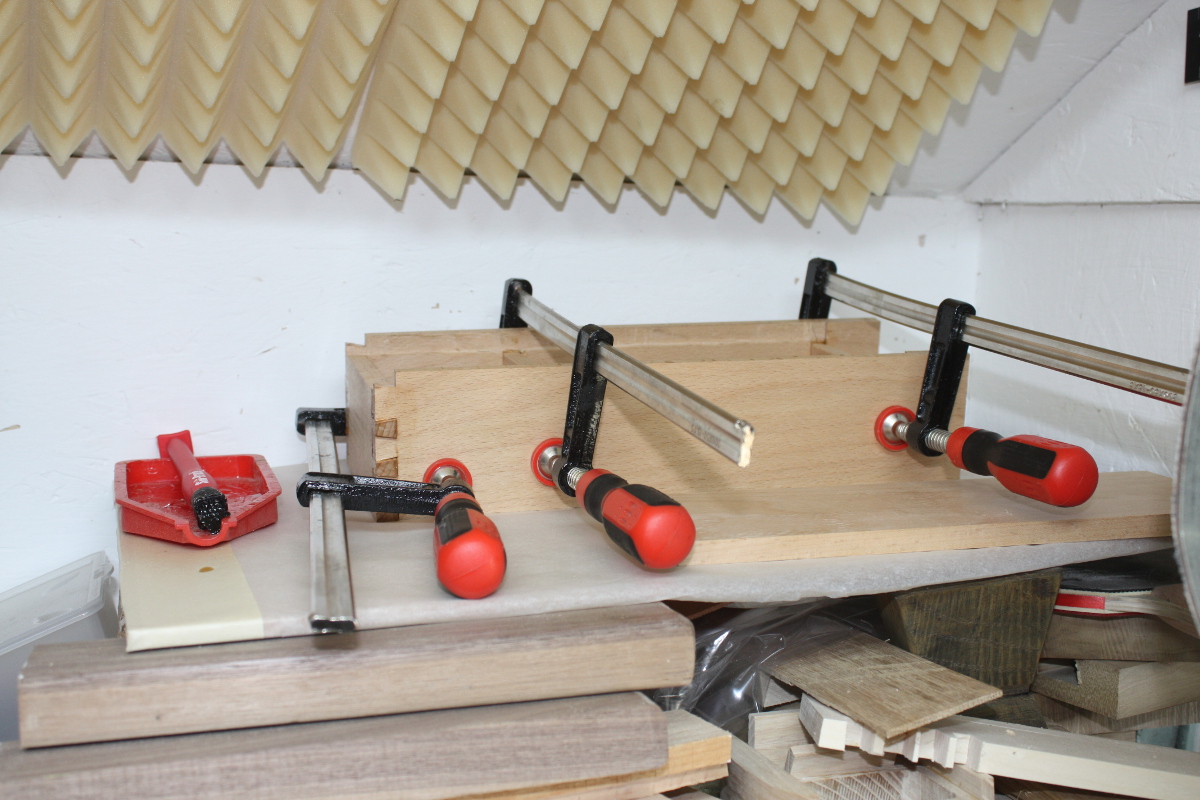
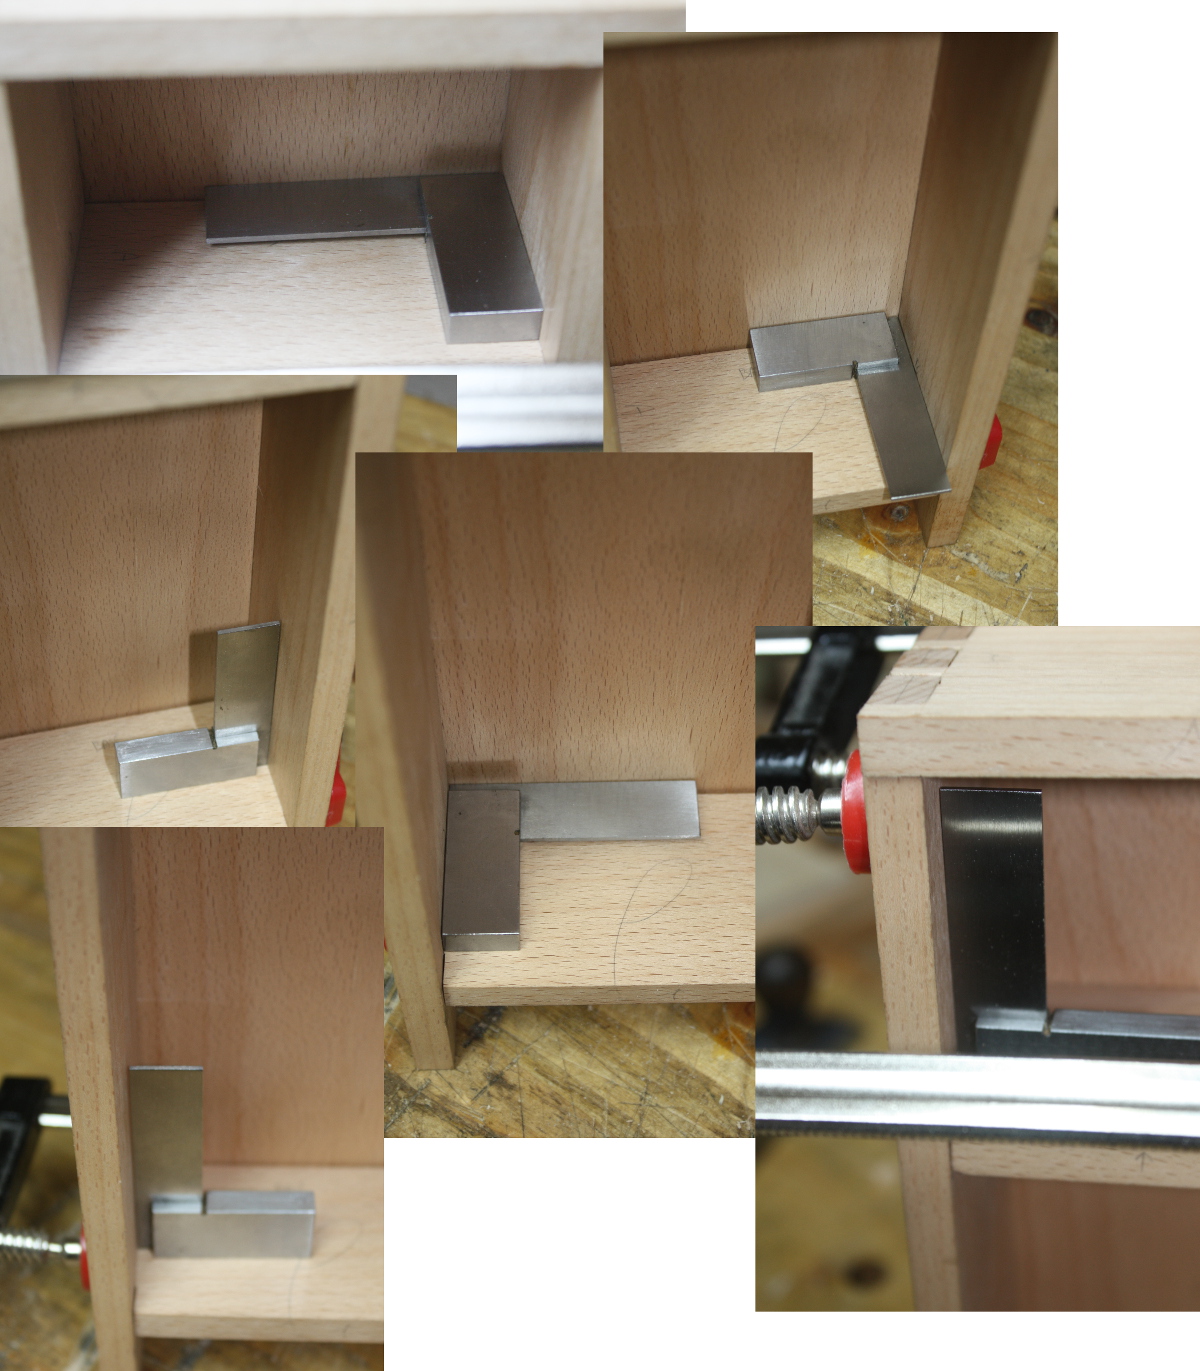
All nice and neat again. I also glued up a panel for the base when I added the handles, so I planed that clean as well…

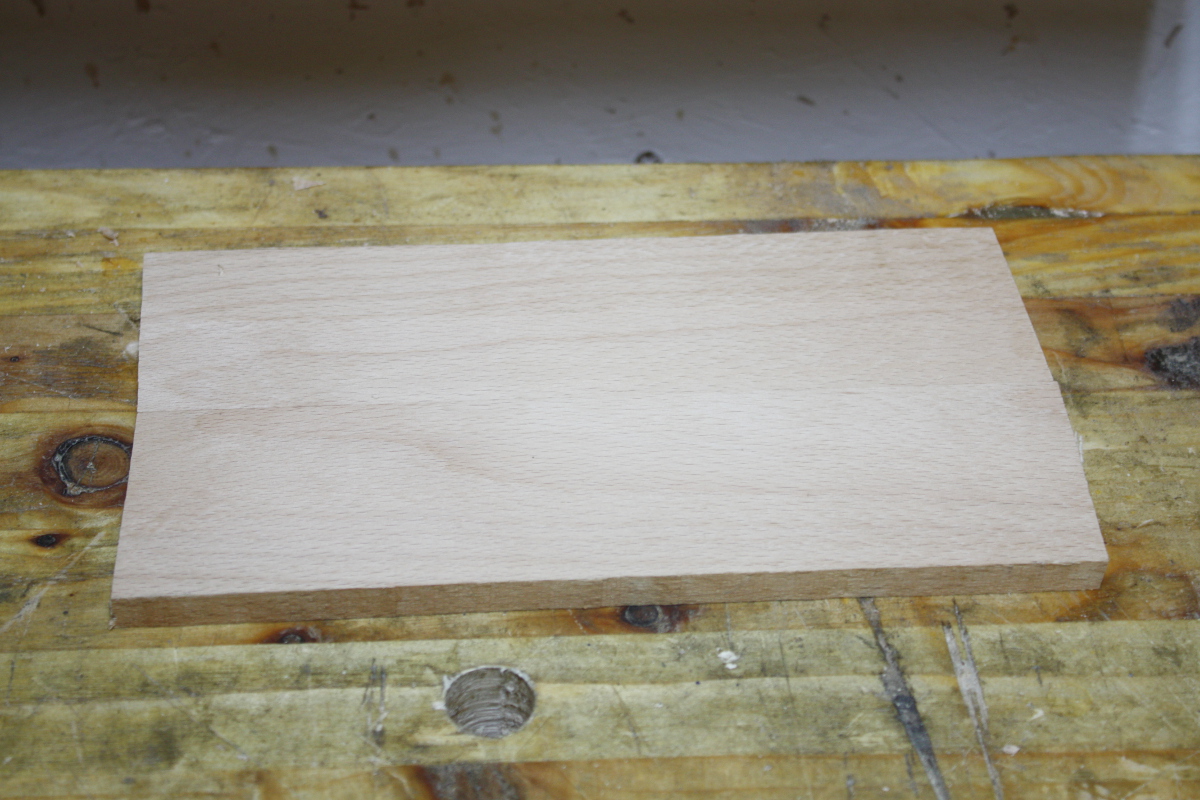
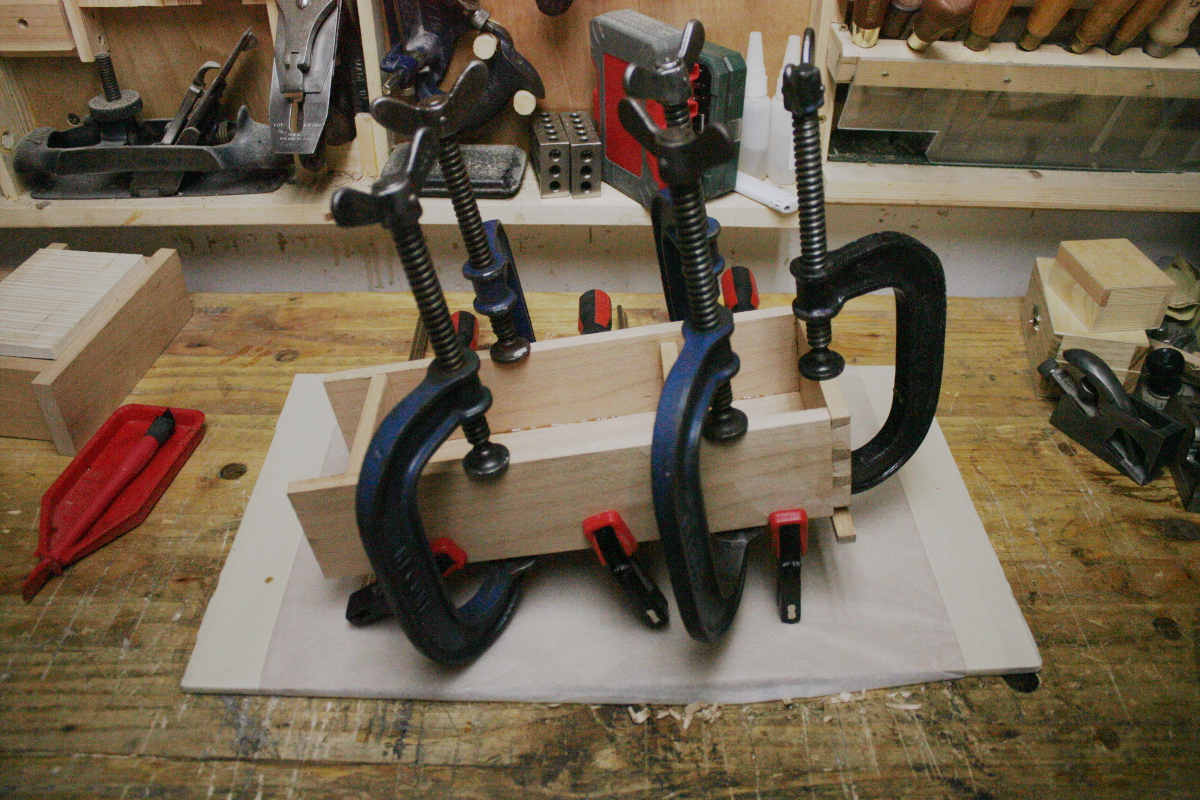
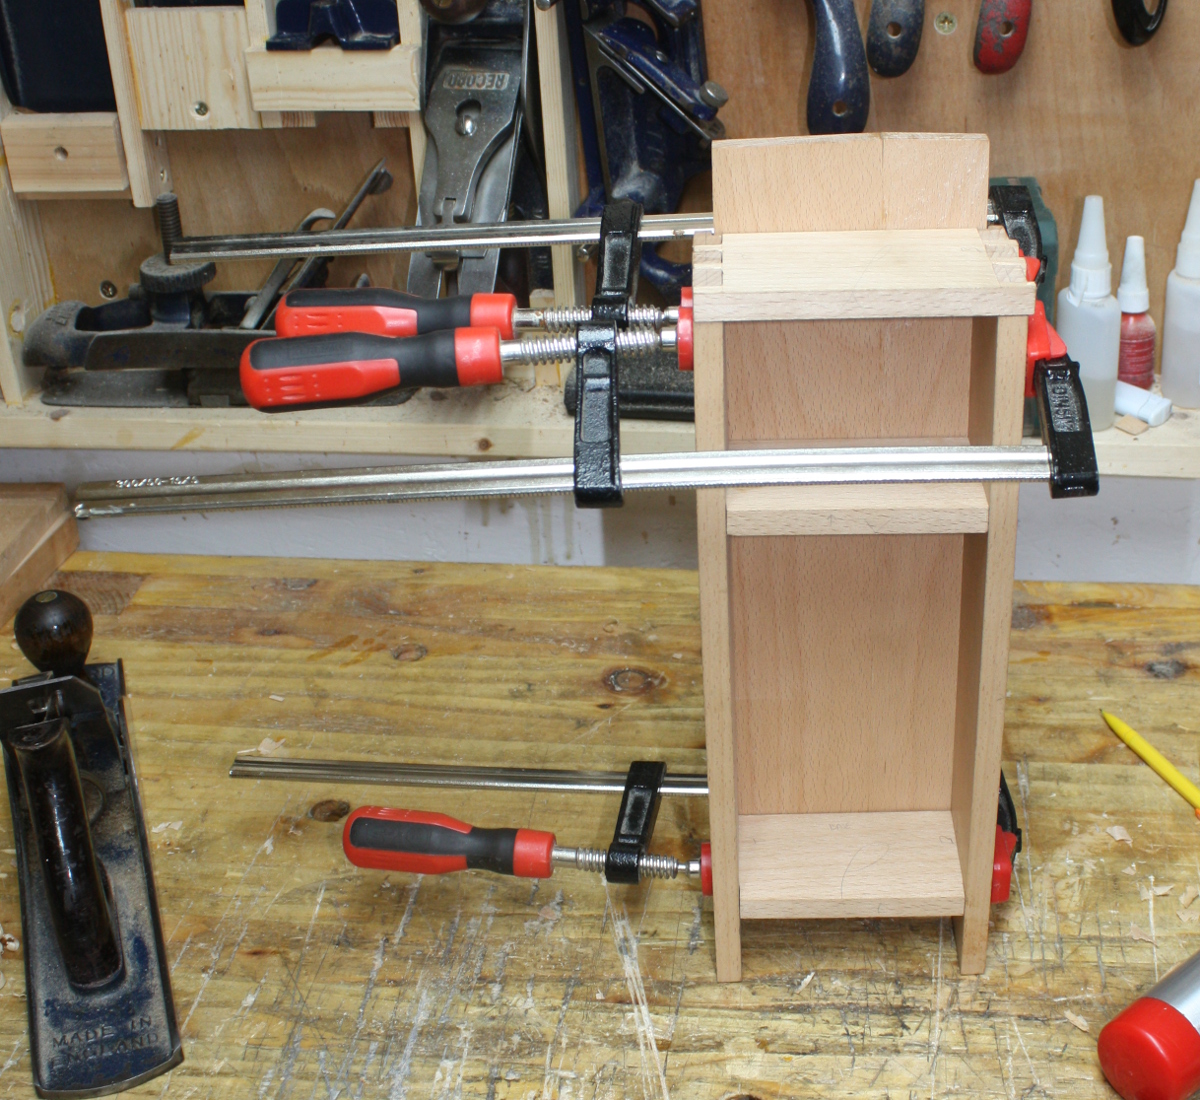
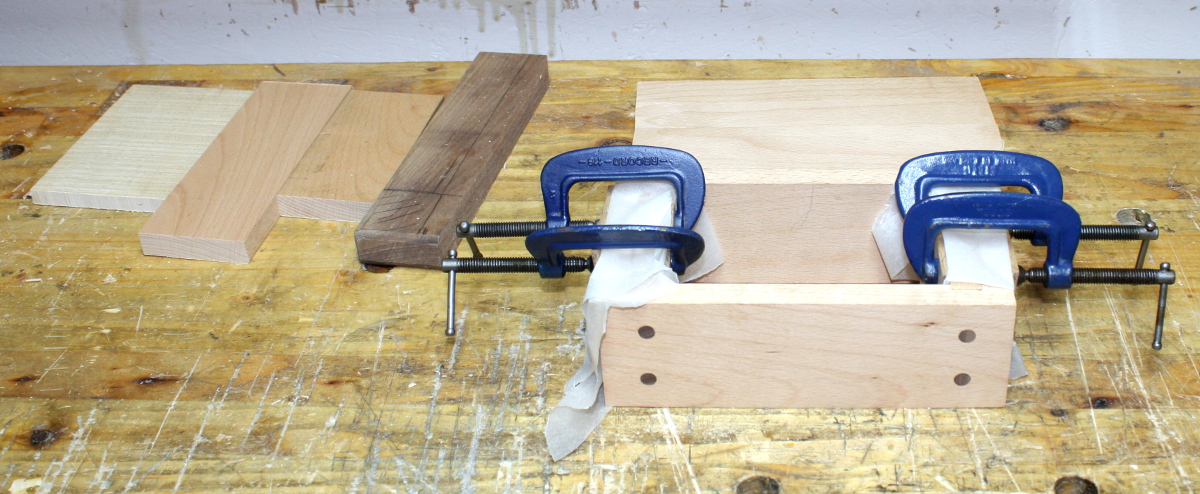
I spent a few minutes planing the lid to width and picking out wood for the end caps and the locking parts. I’m leaning towards all beech for those parts, with maybe just the key being something distinctive. We’ll see. First, the base…

And back to waiting on glue again. There’s a lot of that in this build I’m noticing. These boxes aren’t so much difficult as they are slow because stuff has to be done step by step and you can’t really do stuff ahead of assembly or in parallel – or at least, I haven’t figured out how to. If you were making them in batches you could crank them out I imagine, but one-offs seem to just be a slow thing by their nature.

Tomorrow, one end cap gets glued on and the lid gets its non-locking support bit. I don’t know the name for the part, but you’ll know what I mean when you see it.

Oh, and boss lady chimed in and she wants her locker purple. Good thing I have some stuff from crimson guitars…

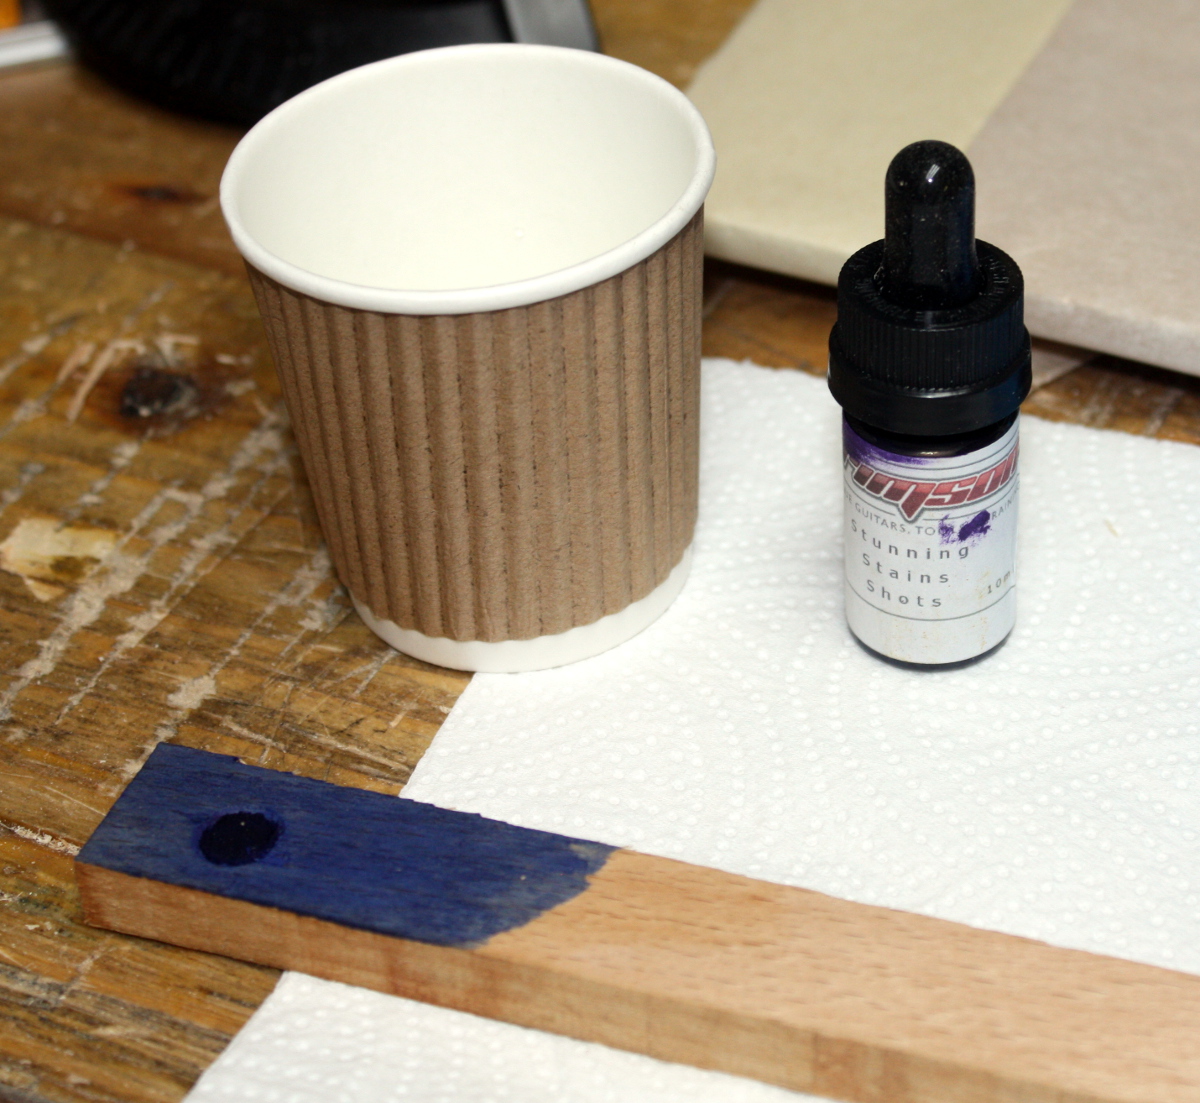
The idea is you use the eyedropper to add the stain drop by drop to water to build up the colour, right?
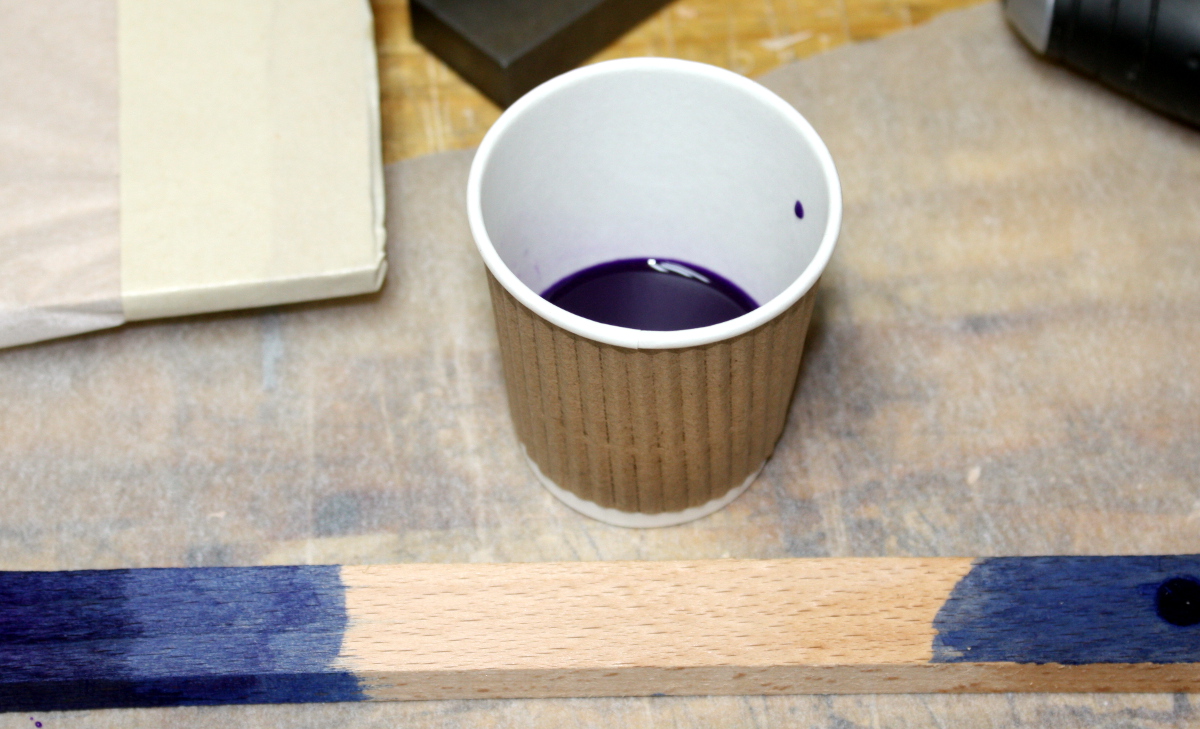
Looks okay…

Hm. That looks thin as skim milk. Ugh. Added a drop more, still quite thin. Mixed with the blue stain underneath it’s too dark.

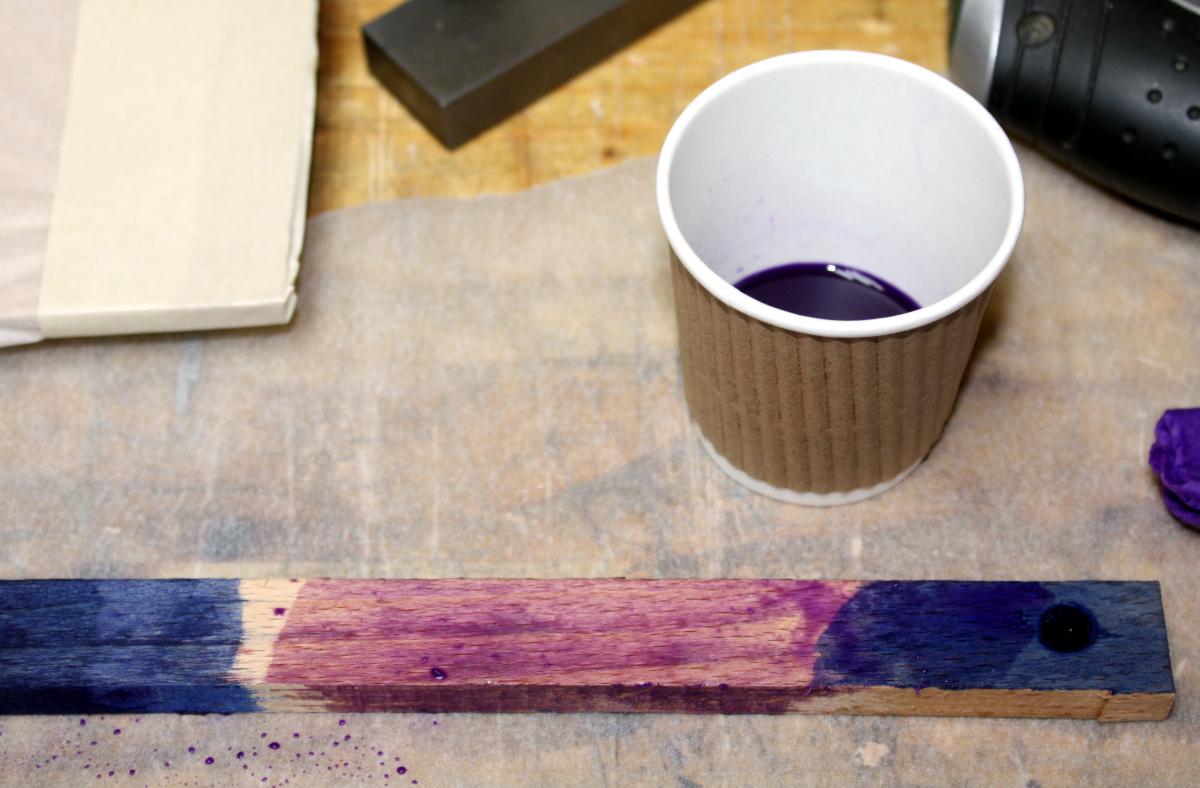
Rubbed on directly, the stain’s too dark as well, it definitely needs some dilution.

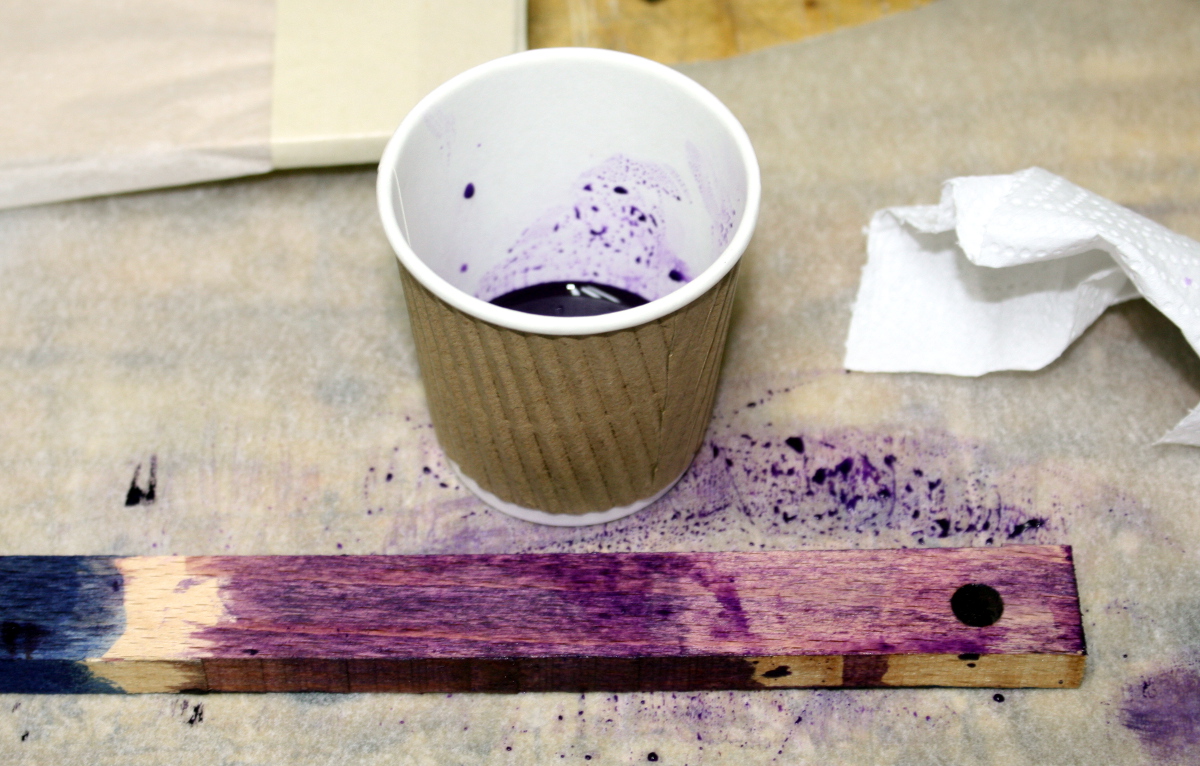
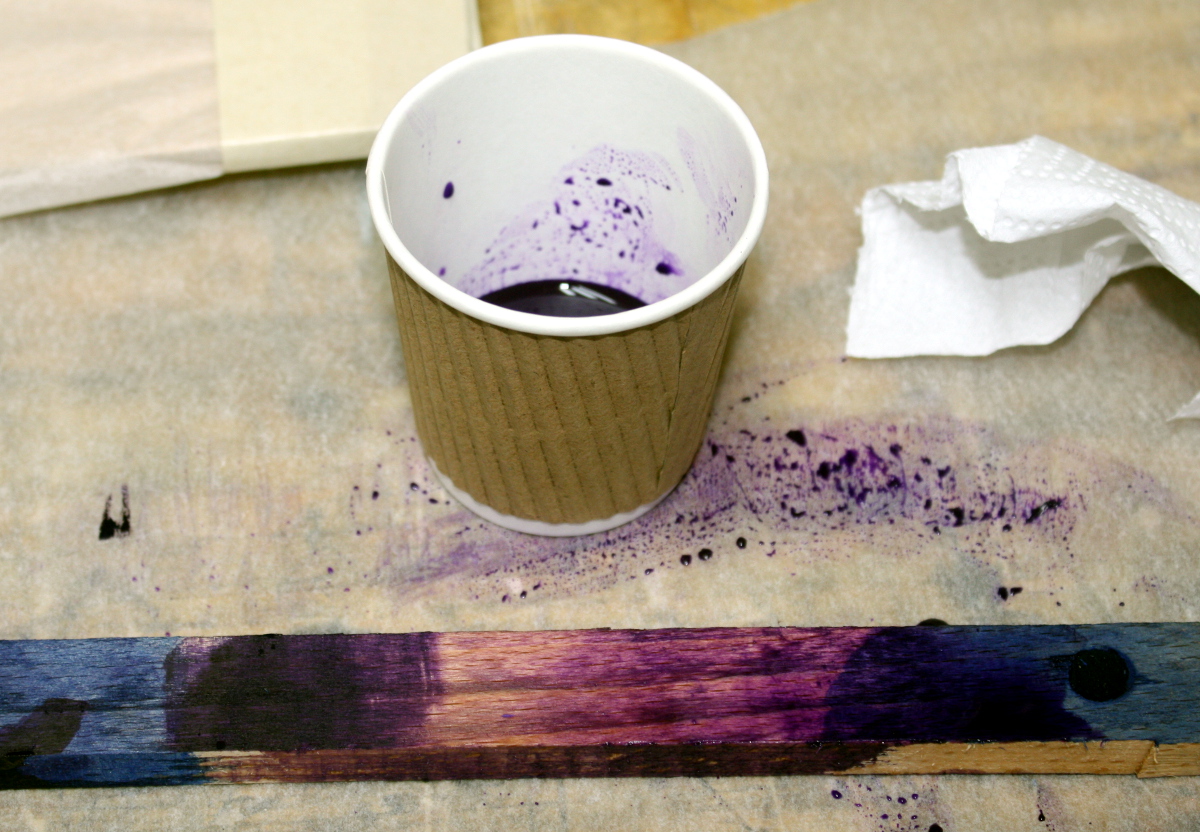
There might be a stain level in there somewhere that works, but it’s as messy as all get-out. But the purple *does* work if you add it to the cloth and then add water by spray can to the cloth before you rub it in, you get results like this:

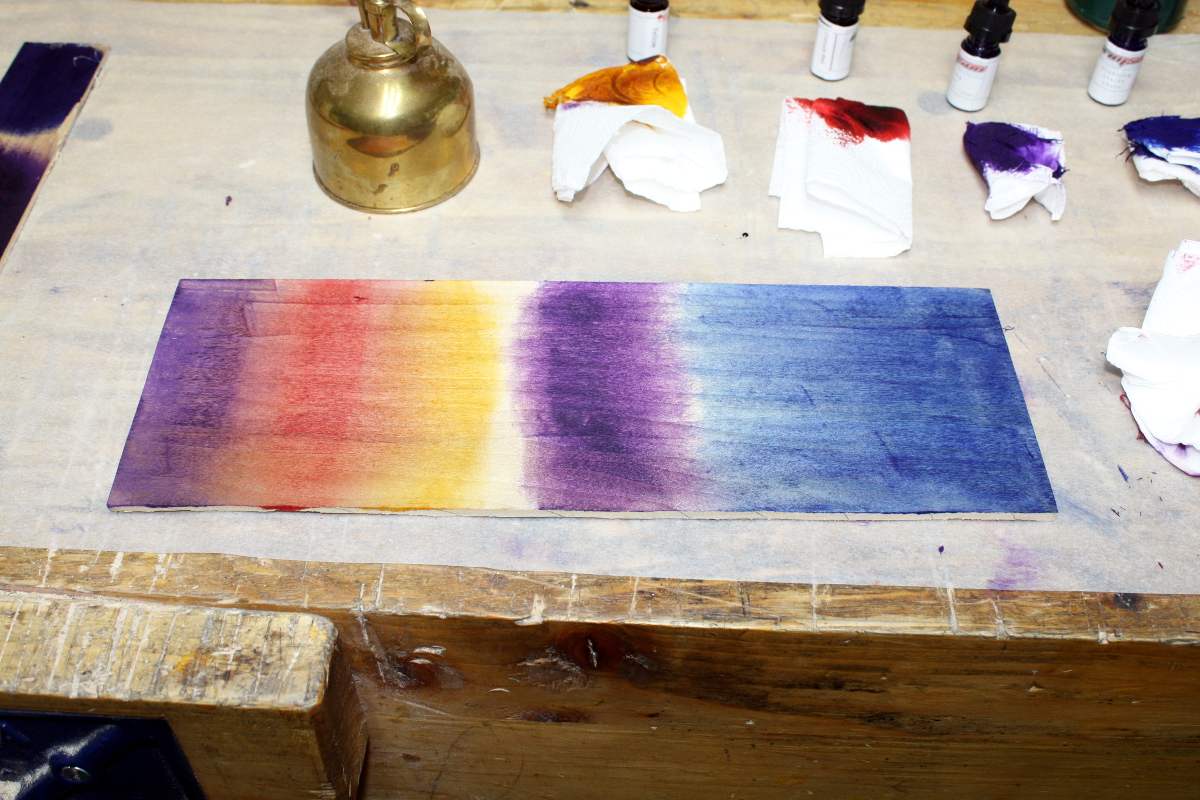
I think that hue on the far left is what we want here, and to avoid going too dark. Might need to practice more, the planed beech surface doesn’t absorb water too readily.

Of course I may need to do some brazing first, my water can fell prey to the cold spell and an accidental knock. But I have brazing rod and a propane torch…


09
Jun 18

Belting up

A few hours in the shed today that felt productive (it’s a false positive; it was just that a few end stages happened at the same time). Started off with the final fettling of the carcass for the locker and then smoothed all the interior surfaces and rounded the corners I won’t be able to readily reach after glueup.

20 minutes with #04 and card scraper and we’re ready to glue up.

Prepped an mdf surface to assemble on…

Final dry run…

Okay, looks good, knock it apart and start the glue-up.

Mise en place is as important in woodworking as it is in the kitchen…

And that’s the carcass glued up and left to cure (the back’s not glued on yet).

Then it was time to fix the bandsaw. I got some 120XL037 belts from RS (they didn’t have 124XL037, but the motor’s on an adjustable mount so I should be able to get away with it…)

Found there’s a tool I could use…

Circlips are a bit of a pain without the appropriate pliers. Bit fiddly. But managed not to break it which was good.

Then found these on the floor with all the sawdust and the teeth from the last belt. Took me a minute to recognise the lower thrust bearing from the bandsaw…

Must have come off during the resawing. That’s not exactly reassuring. Remounted them, and added it to the list of things to check.

Fitted the belt, put the wheel back on and tensioned the belt and locked the motor in place, put the blade back on and tensioned that and got everything all set up, then ripped down about five feet of beech from 150mm wide to half that (I’m planning on making a few small boxes and things with that), planed edges on all of the ripped sections (1×1′, 2×2′) so I could resaw them (hence the 73mm width, it’s the max for the saw), set up the fence for one board to resaw it to 1/4″ and 3/4″ pieces and resawed that down to size. The japanese toolbox idea I was playing with needed to have new edge pieces cut. I had tried to cut housing joints by saw and, well…

Yeah, don’t do that. Left a massive gap I couldn’t have hidden. I’ll probably slice off the bits with the joints and use the center section for the lid components or the handles.

First, cut new housing joints on the new pieces (after planing, of course). Usual procedure – knifewall, chop down, pare to wall, chop, pare, chop, pare until we’re to depth, then mark off the other side off the piece to fit, and repeat.

Went faster than before; I’m getting used to working in beech (and enjoying it). And I might have figured out how to do a reasonable housing joint.

And it wasn’t too late, so I cut the joints on the far side as well.

Right. I’ll fettle it tomorrow (just to get the reference faces all coplanar) and glue it up, then maybe drill for the dowel pins (won’t use nails on this one), and make some pegs for them from some walnut scraps I have handy that are too short for any other use.

Definitely enough material there for the lid and handle pieces.

Last job for the evening, glue on the back panel for the locker.

Fiddly but not too bad, it was so fettled that I really could have let the glue hold it in place. But if you have the clamps, might as well cinch it up (the C-clamps aren’t actually tightened down very much at all here, just snugged up to hold the back panel in while the f-clamps get tightened to get the edges in contact).

It’s not looking terrible, even if I’m saying so myself. Still need to level the legs, but that’ll do for later on. And I still haven’t the door sorted out yet, I’m thinking about how to decorate the piece of beech I have planed and set aside for the job.


I mean, what’s the point of practicing stringing if you don’t do any? 😀


Also, how the hell do you finish beech so it looks good?
To the forums!


07
Jun 18

Fettling

So the repair job from yesterday went reasonably well. There’s a lot of excess CA to clean up, that took a few minutes for the face side, and a bit longer for inside the rebate itself. Lots of chisel work, some scraping, and dug out the Record 311 with the nose off and the 077 to fettle things and clean up the rabbet to get a square inside corner. Then cut the rabbet on the other side wall, which took far less time and had no drama to it, then cut the rebate in the top piece and then test fitted it and realised my mistake – by cutting the rebate in the top, I’d introduced a gap where I thought there wouldn’t be one. How I didn’t see that coming I don’t know. So I fudged, and sawed off the rebated part, right through the dovetail joint, and the back panel will do the filling.

And then, fettling. Assemble everything, stare at it, notice one wall is not parallel to the other, figure out which of the three cross-pieces is at fault, knock it all apart, shorten the offending piece (of course it’s the one with the dovetails, so cut them 2mm deeper), reassemble everything and repeat seven or eight times, sneaking up on square gradually.

Once I was finally happy with that, I took the panel for the back, squared an edge and an end (didn’t matter if it spelched out on the far side from the squared edge because that’s coming off anyway), and fitted it in place and mark off the far side against the other side wall, and then saw outside that line and plane down to it, and test fit.

And then do the fettling cycle two or three more times, taking a shaving here and a shaving there. And eventually…

Not terrible. Some gaps here and there, so it’s not perfect, but could be a lot worse. Still have to cut the panel to length, that’s marked out for, but first check it over.

Dovetails close up (mostly). Might need to plane that top piece a bit more yet at the back to let the panel sit better on the left there. And then check for square…

That’s all grand to within 0.2mm or so, which I’m okayish with for now (hey, I’ve never worked in beech before, I’m getting used to it, okay? Plus, that’s rather thin stock, it’s just under a half-inch there).

One last joint that I’m not happy with…

Need to knock that apart and give that marked spot a swipe with the block plane, let the front of the side panel close up there. Hm. But that wouldn’t explain those gaps in the middle and rear dovetails on that side and the front dovetail is tight up – maybe I need to pare that dovetail just a hair deeper instead. Or it could be both. The joy of fettling…


…oh, and I need to fit the door as well at some point. And I got two bandsaw belts in the post today that I need to check – they were 120XL037s instead of 124XL037s but they might be close enough to do for a few days until the proper size ones arrive…