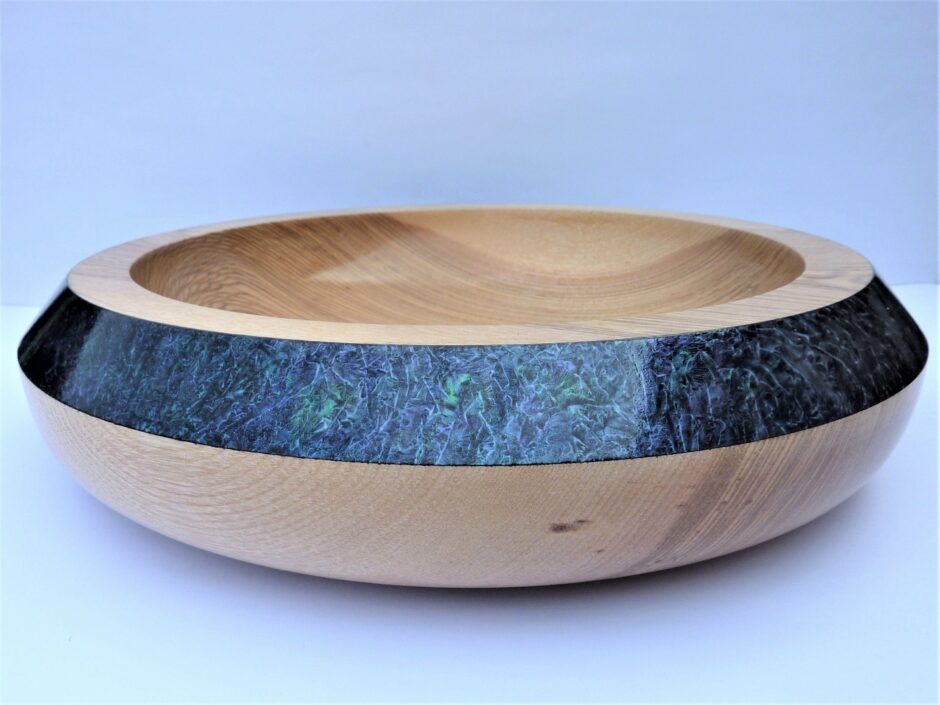
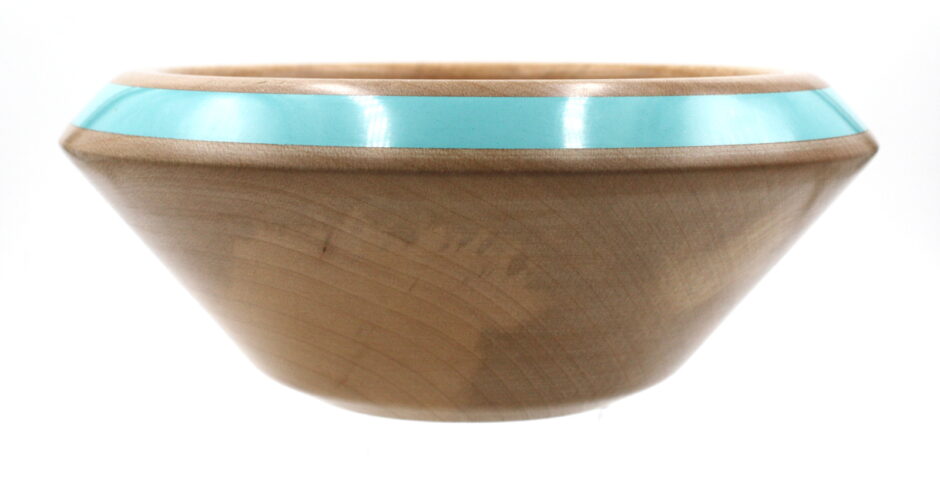
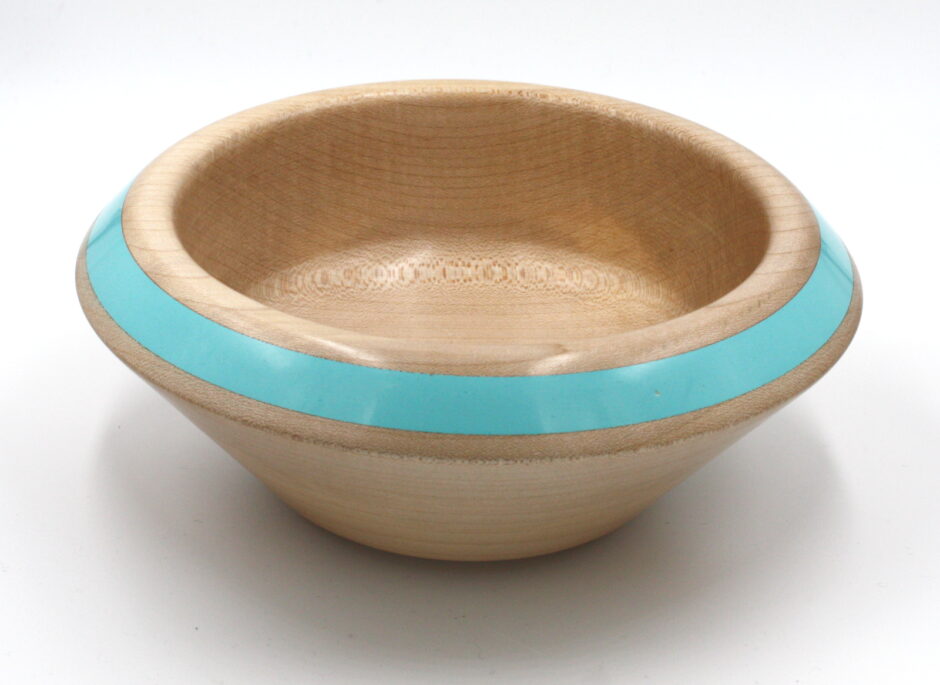
Second bowl finished this week (and by that I mean it was hanging around for weeks and I finally got to it) was a nice sycamore bowl. I saw a photo of a nice bowl a while back with irridescent metallic paints in the rim:
I like the angled rim shape there and wanted to replicate it, but I don’t have the irridescent paints so I wanted to go for a simple inlay instead. Resin would be awkward to pour into an inlay on such a rim because of the whole “liquids flow downhill” thing, but milliput might work so I thought I’d try that.
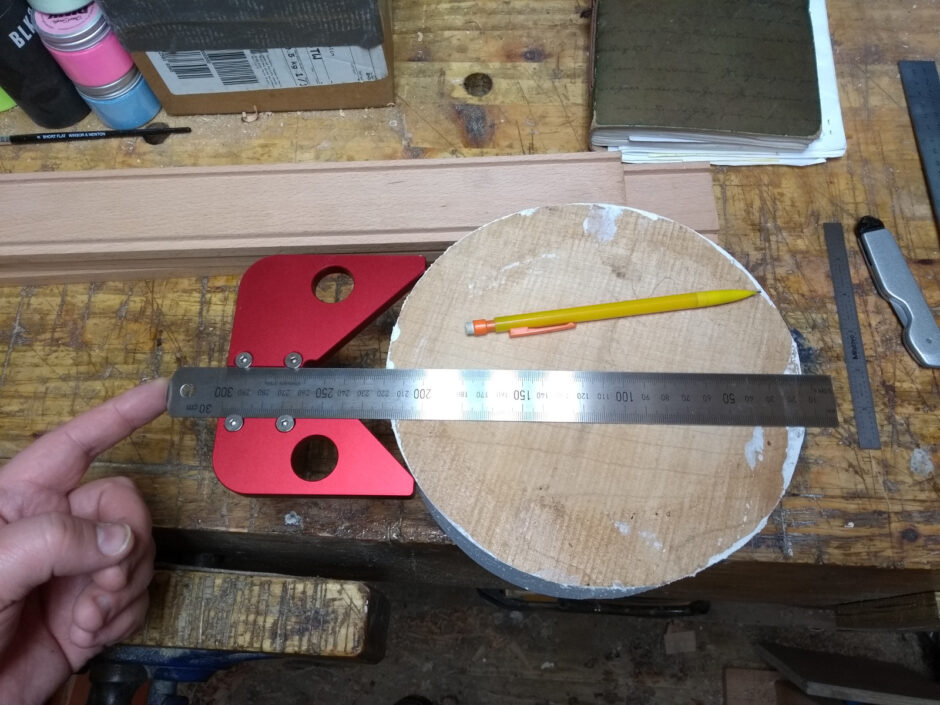
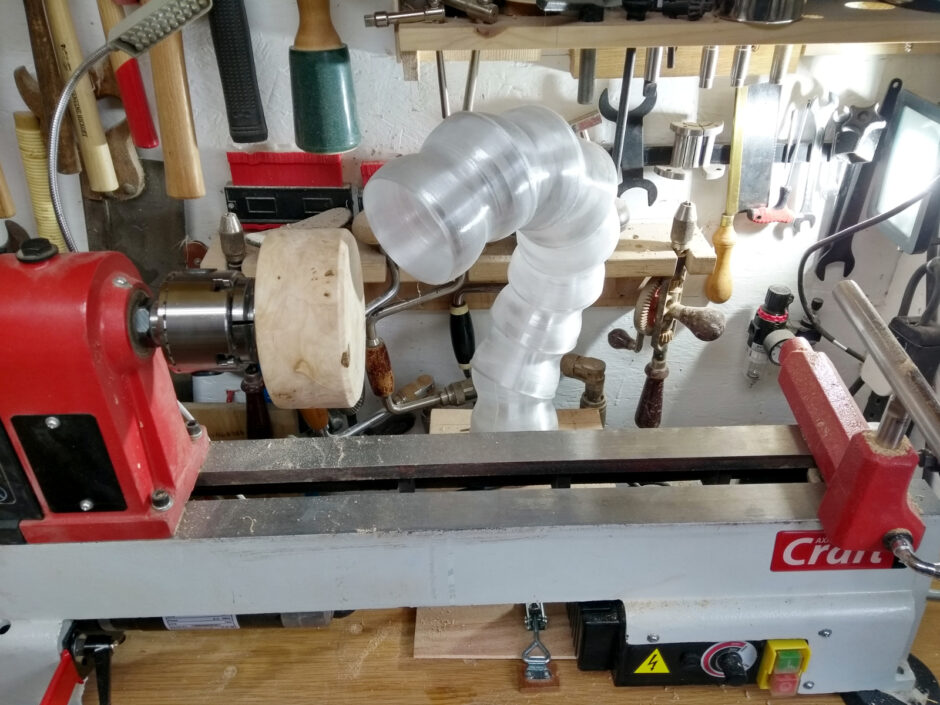
First use of the new centerfinder toy.
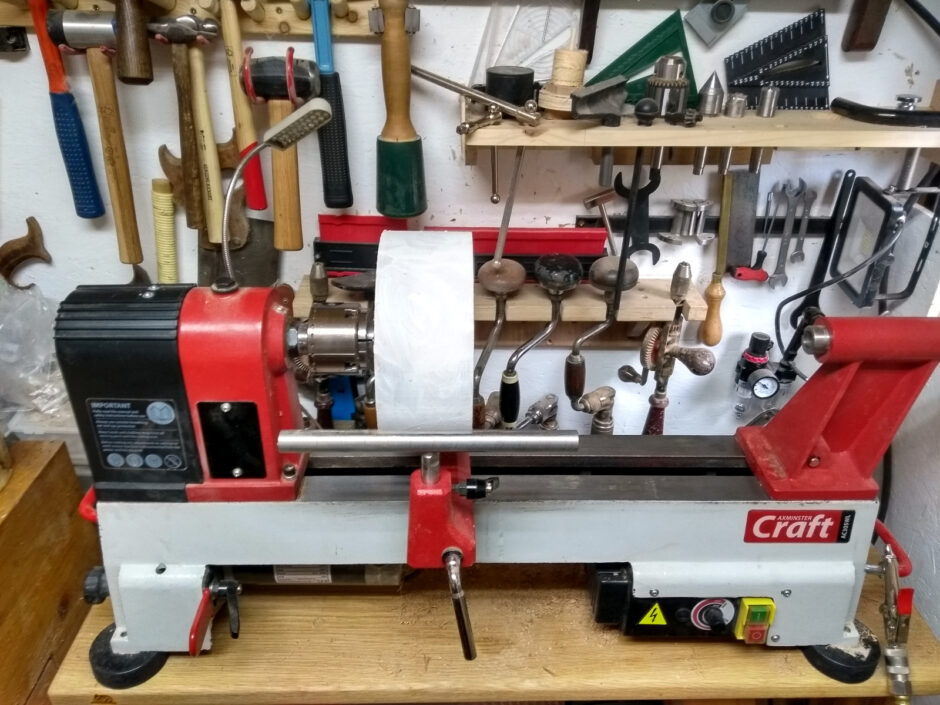
Mounted with a faceplate ring which I’m starting to really like over other mounting methods because I can take the blank off the lathe and forget it for three weeks while being lazy and then remount it and it’ll run true.
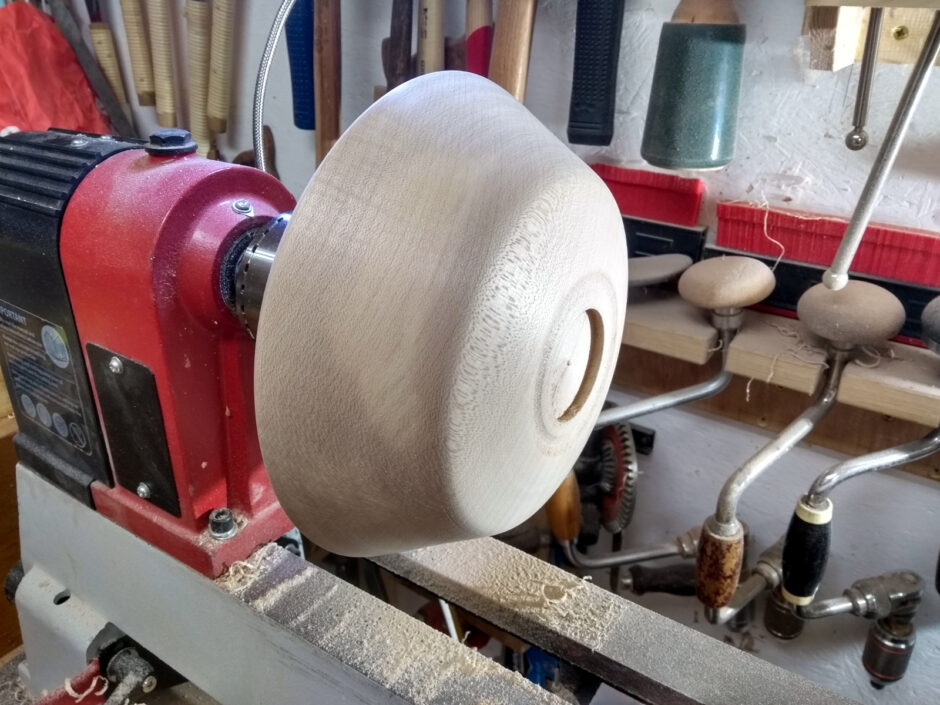
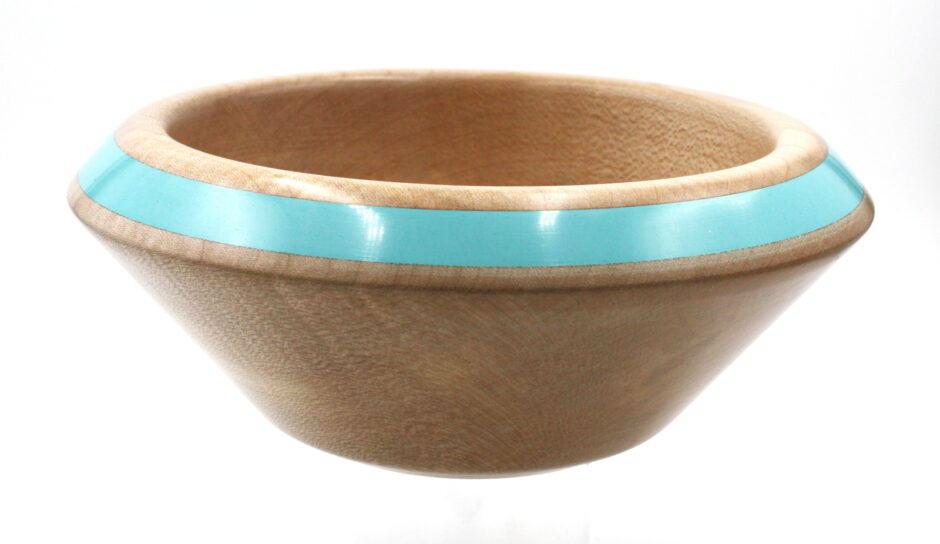
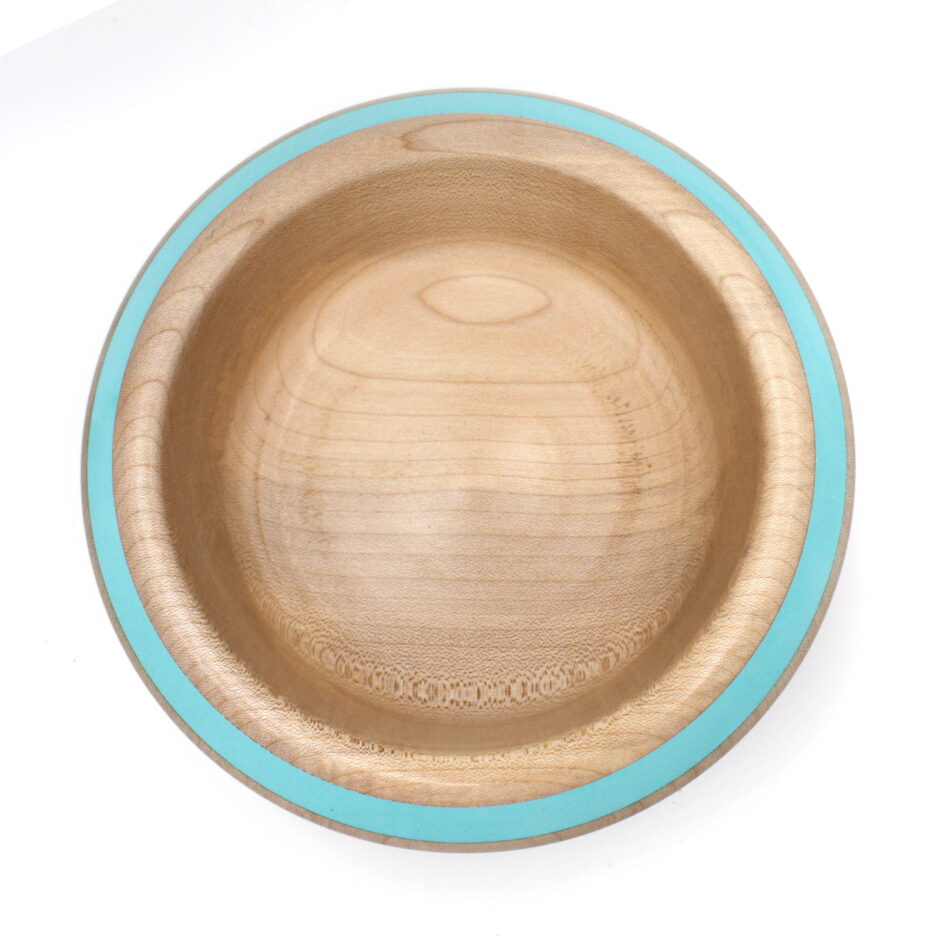
It’s got some nice grain patterns there, though that really isn’t the profile below the rim that I was aiming for, but well, every day’s a school day.
Quite happy with the rim though. Then I cut out a recess with a parting tool in the rim and filled the recess with milliput, left it cure for a day or three and then recut the rim to get a nice finish, turned the bowl around on the lathe and hollowed it out (and got to use some of the bowl gouges I got as a birthday gift from the parents for this one, especially a new half-inch bowl gouge with a factory grind rather than an Irish grind and that one makes the turn at the bottom of the bowl a lot easier to do). I managed not to take photos of any of this, until I got to sanding…
But I did get some video of the sanding, mainly to show how bloody loud it is when the dust extractor is running three feet behind you…
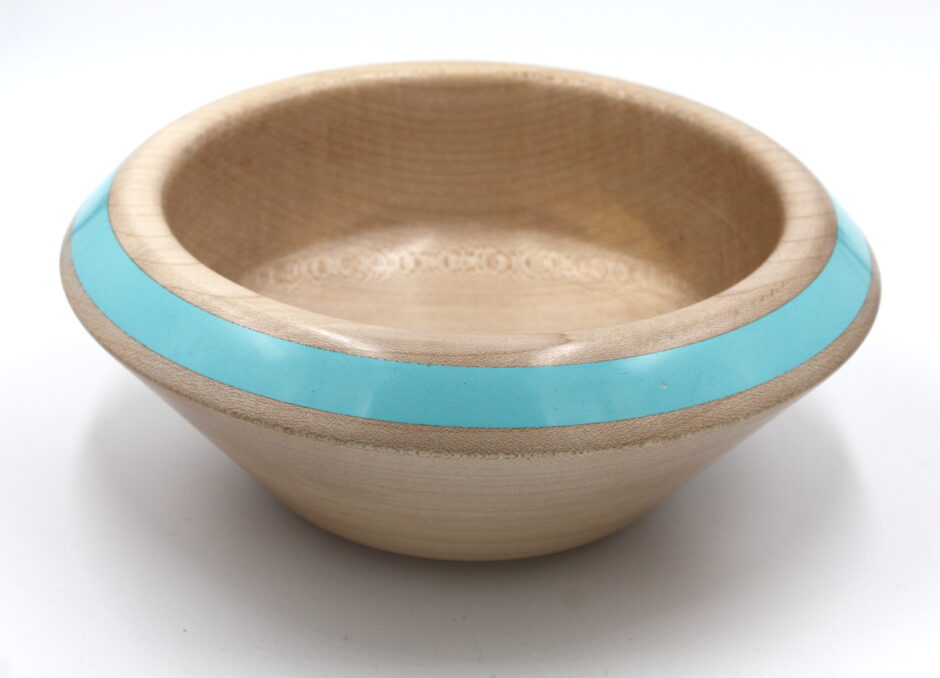
Straightforward finish – all of the 80 grit sandpaper, then up the grits to 320, then cellulose sanding sealer (thinned to 50% with cellulose thinners) and then yorkshire grit (regular and microfine) and then hampshire sheen wax.
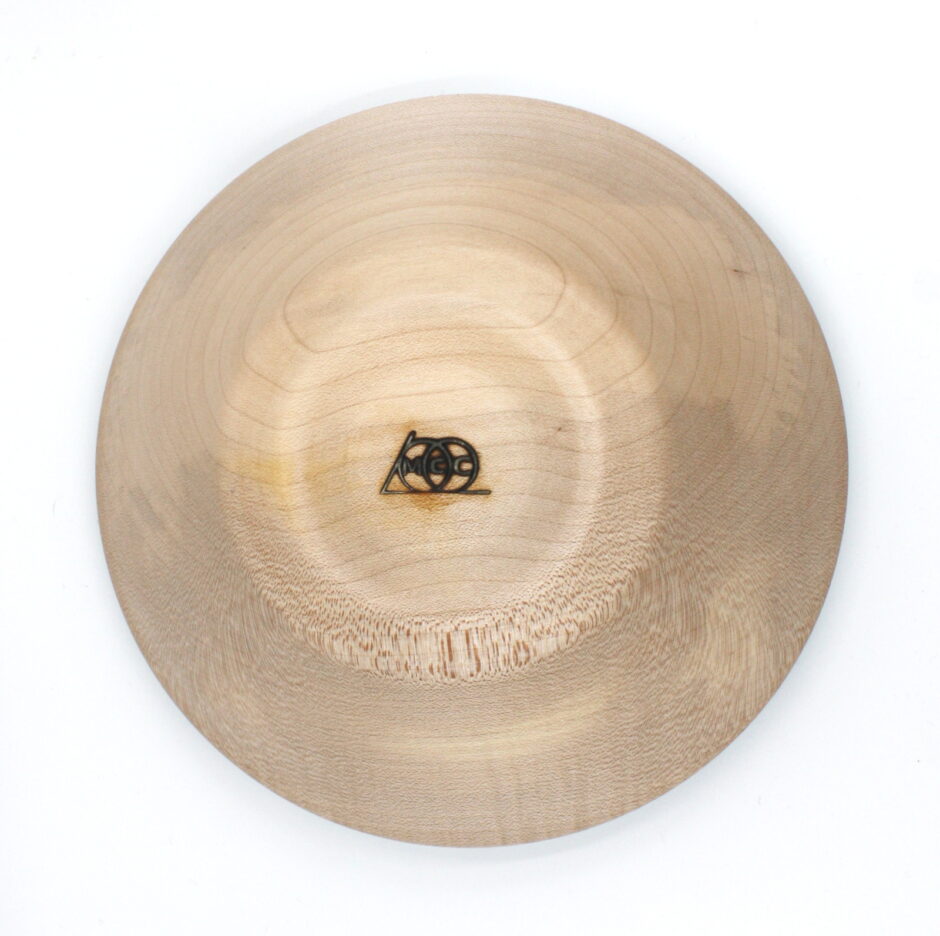
Then I flipped it again, putting the cole jaws on the chuck to hold the bowl rim, turned the recess out to clean up the foot, tidied up the base and branded it, sanded it and just gave it a coat of hampshire sheen wax, then stopped the lathe, took off the facemask and pulled out the isotunes I was wearing as ear defenders, and heard a hissing noise. I thought it was the air compressor at first, but no, it was the MAP gas canister from the blowtorch; after heating the branding iron with the blowtorch and branding the bowl, I’d set the branding iron and the torch head on a scrap of wood outside to cool as normal, and put the tank away in its storage box, but hadn’t noticed it was leaking because of the ear defenders. Reattaching the torch head and removing it more carefully got the valve to reseat correctly, but I’m rather glad I was turning with the door open now.
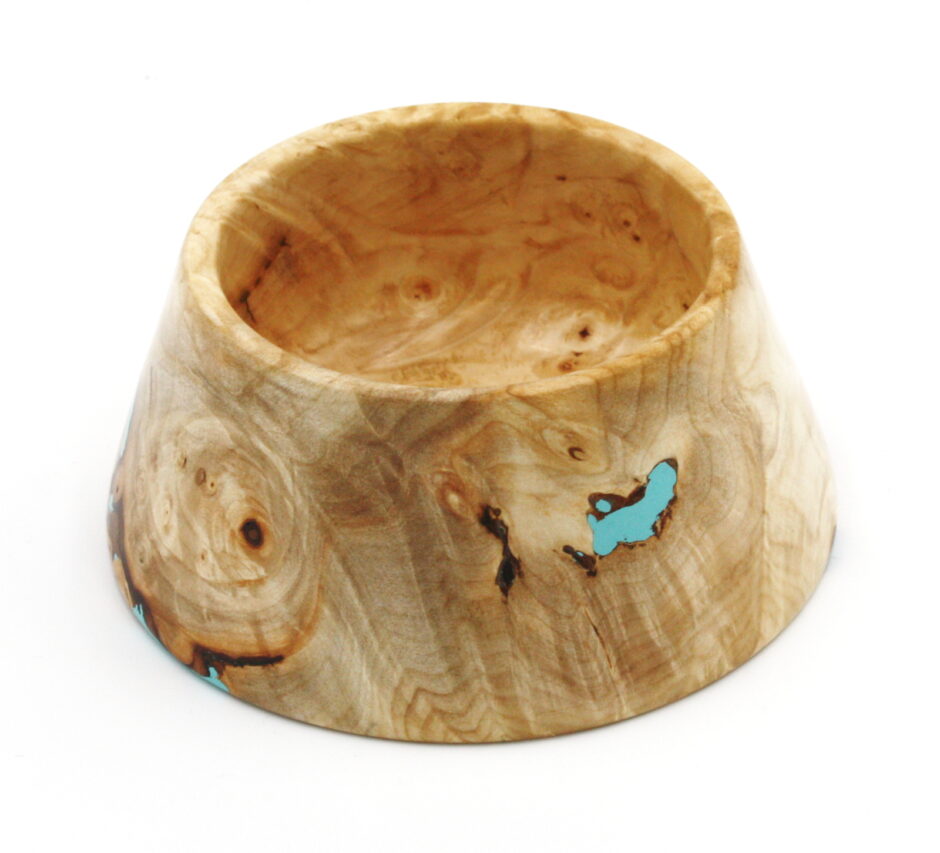
Work’s been fun and we’re both under a new lockdown and back at school here so non-work’s been even more fun. Hence little posting. But I did finish off two bowls this week, and one was my first burl piece.
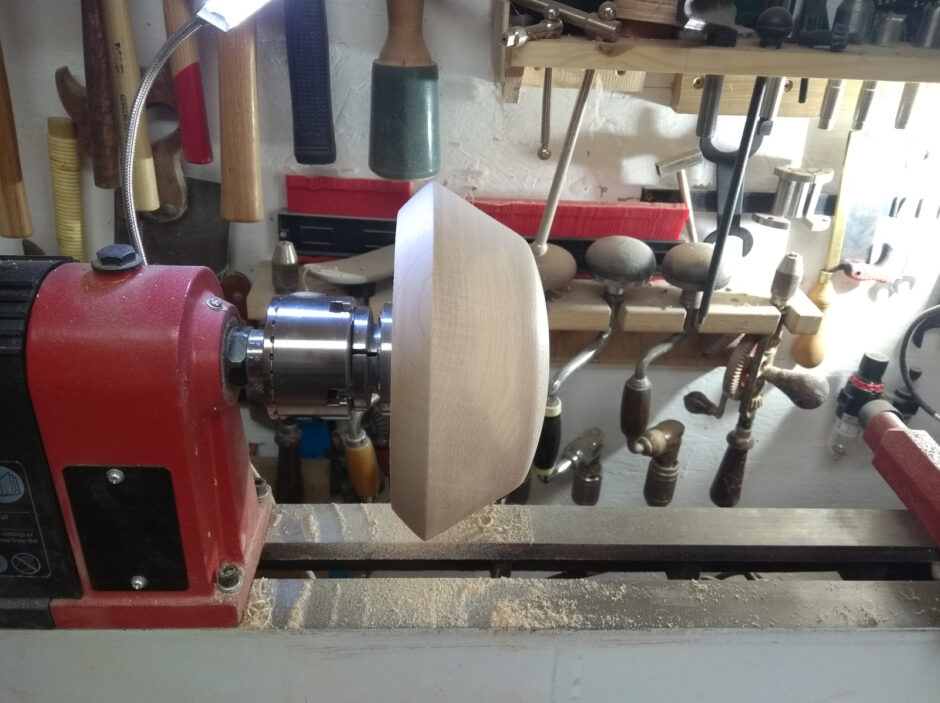
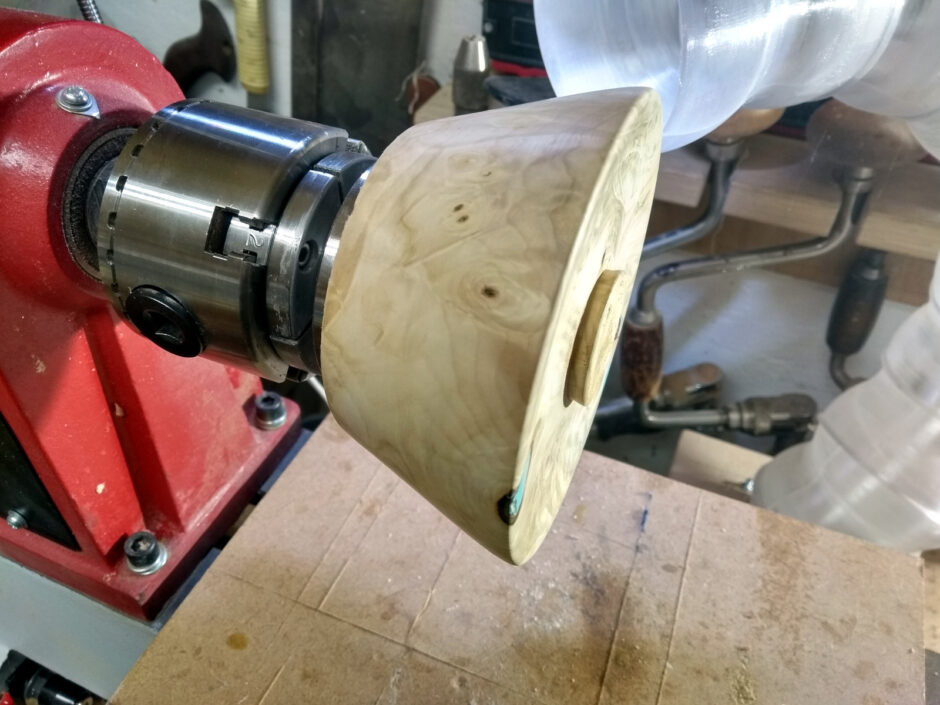
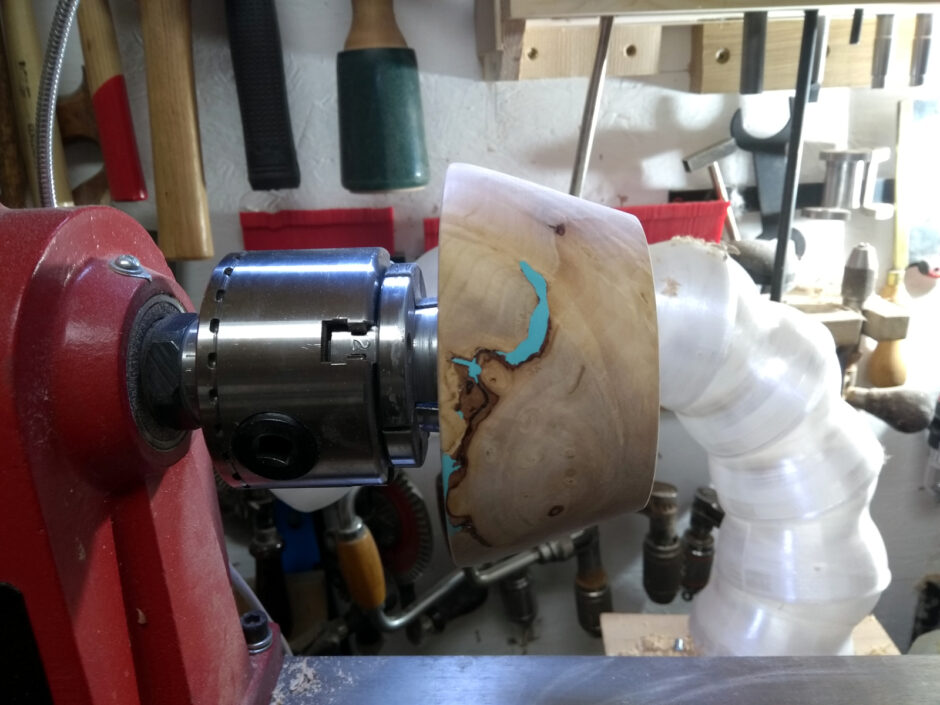
It was included in an order of olive ash from homeofwood.co.uk that had been delayed because, well, covid is crazy. That olive ash is also seriously pretty, but it’s much harder to turn so it’s highlighting every mistake I make. I might leave the other blanks for a while (I turned a small rough nightlight holder from one but I’m not happy with it) while I get more practice in. This burl though, was the opposite – very easy to cut, too easy in some places (that’s burl, everyone says). I cleaned and trued up the blank from a faceplate to get to that photo above, and I didn’t have much of a plan from here except to have the largest amount of visible grain possible and I didn’t want to do a straightforward conic section. So ironically, it became a cone…
Opted for a tenon because burl’s not as strong as solid wood so expanding jaws in a recess seemed wrong. Should have made the tenon larger by a few mm really but I was trying to maximise yield (which seems more and more to be a mistake these days). Also, you can see some punkiness on the rim there; some patches were just too soft like that, and rather than resin them like I’ve done before, I wanted to try something new because the next bowl will have a slanted rim that I wanted to do an inlay into with resin and liquid resin would be really hard to do right without cutting a lot away afterwards. Enter epoxy putty.
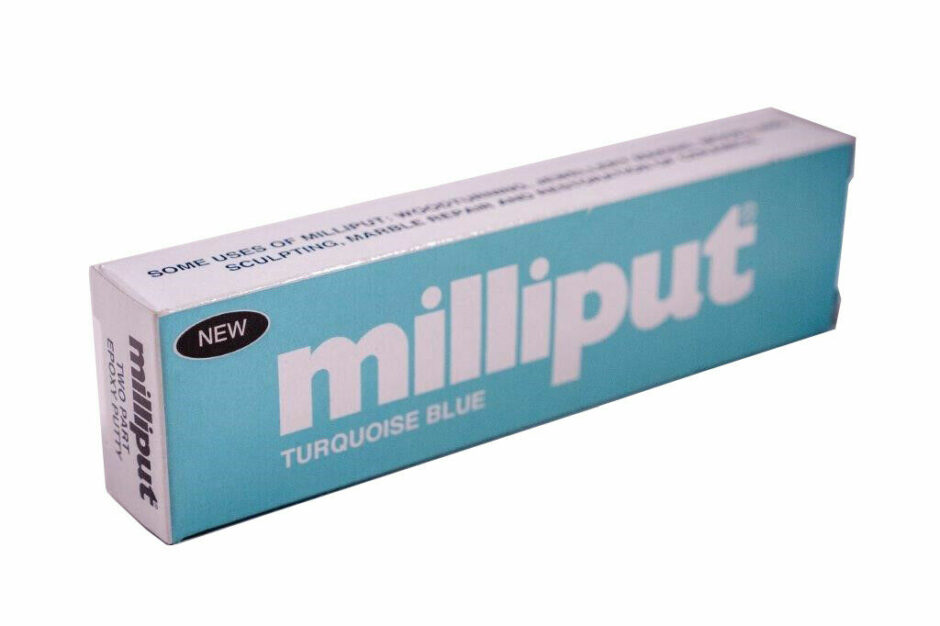
Specifically milliput, because I’d seen some youtubers using it for inlays to great effect:
(Oh, if you’ve not seen Peter Brown’s youtube channel before, welcome to the internet, you’ll like it here if you don’t read the comments)
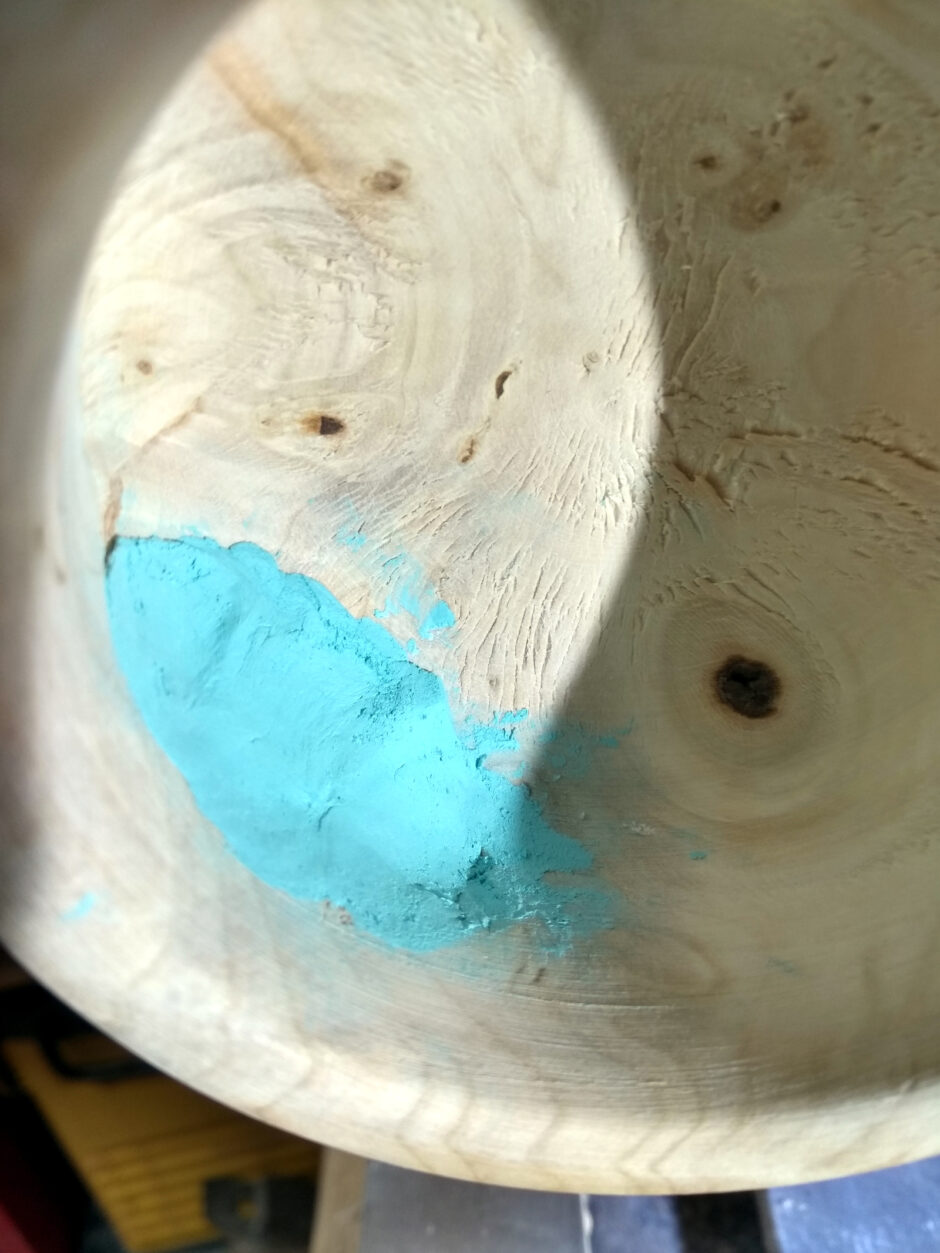
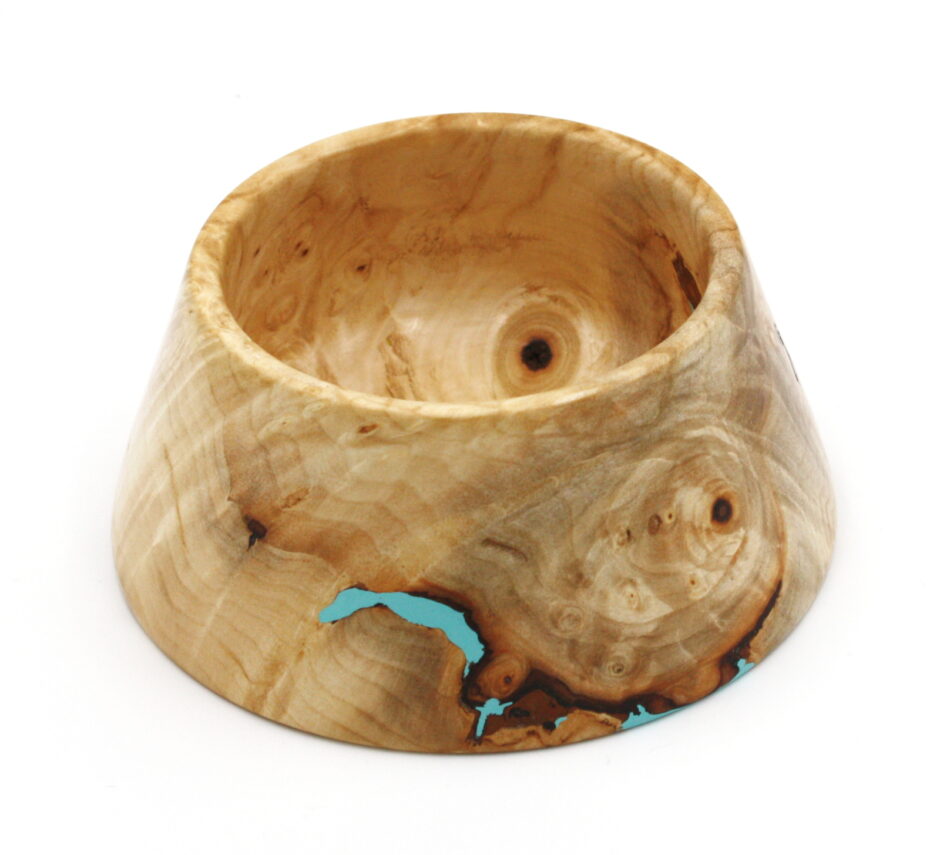
And milliput now has a nice light blue colour so I thought I’d try that because blue just works well with light maple and sycamore and ash colours. So I mixed the two parts it comes in until the colour was even (it’s very, very, very similar to mála if you’re Irish), and just mashed it into any spot that was punky (I dremmelled out the punky bits until I got back to more solid material first). Wetting a finger and smearing the milliput seems to work well to get it as even as possible.
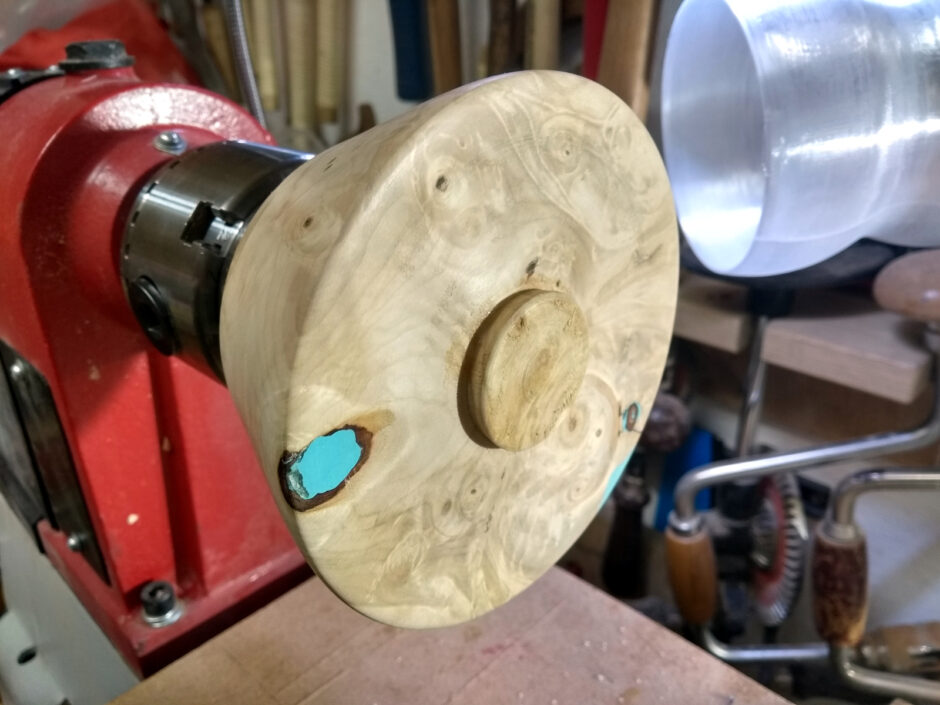
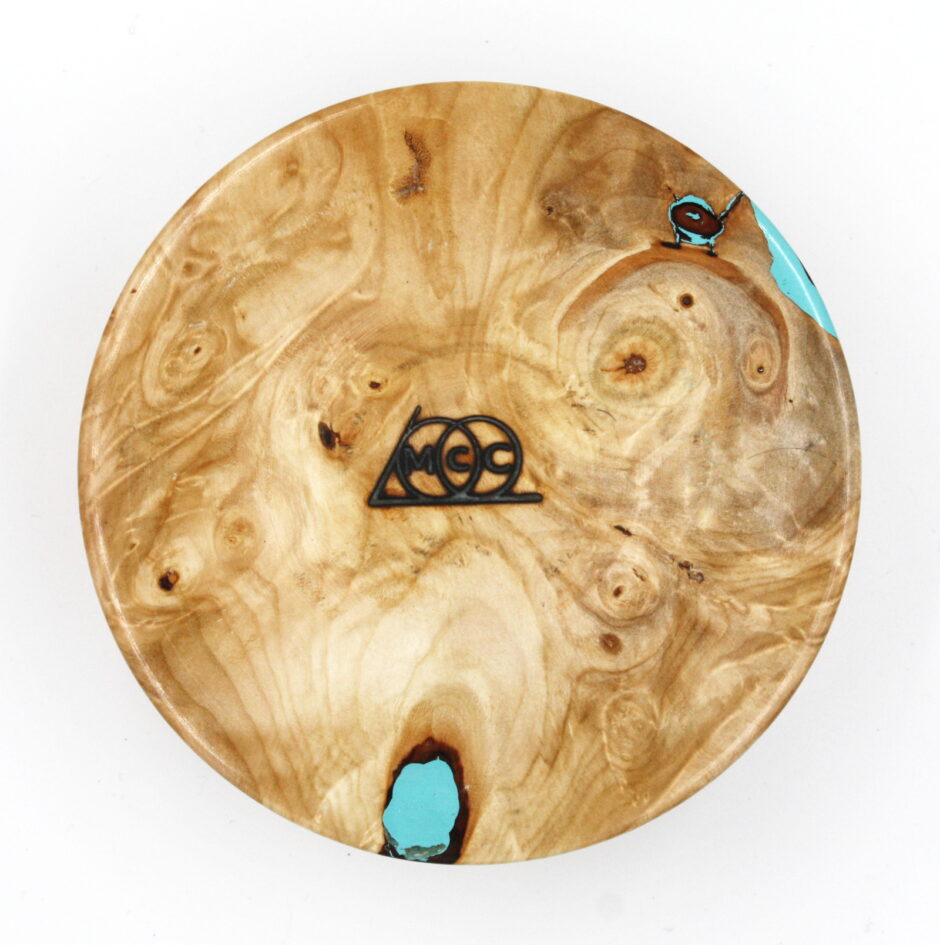
Scraped and sanded it back to get to that stage. Then I reversed it in the chuck and hollowed out the center. And now I have “hollower” at the top of my “next lathe tool to make or buy” list. Probably buy because I don’t really have the kit here to heat, bend, quench and temper steel to get the bend in the tool shaft that hollowers have.
Incidentally, that colour that almost looks like the camera didn’t record it correctly, is what it actually looks like. It’s such a jarring colour, it’s very glitch-in-the-matrix when looking at it, especially with the massive contrast between the featureless surface of the milliput and the utterly baroque feature-packed surface of the burl.
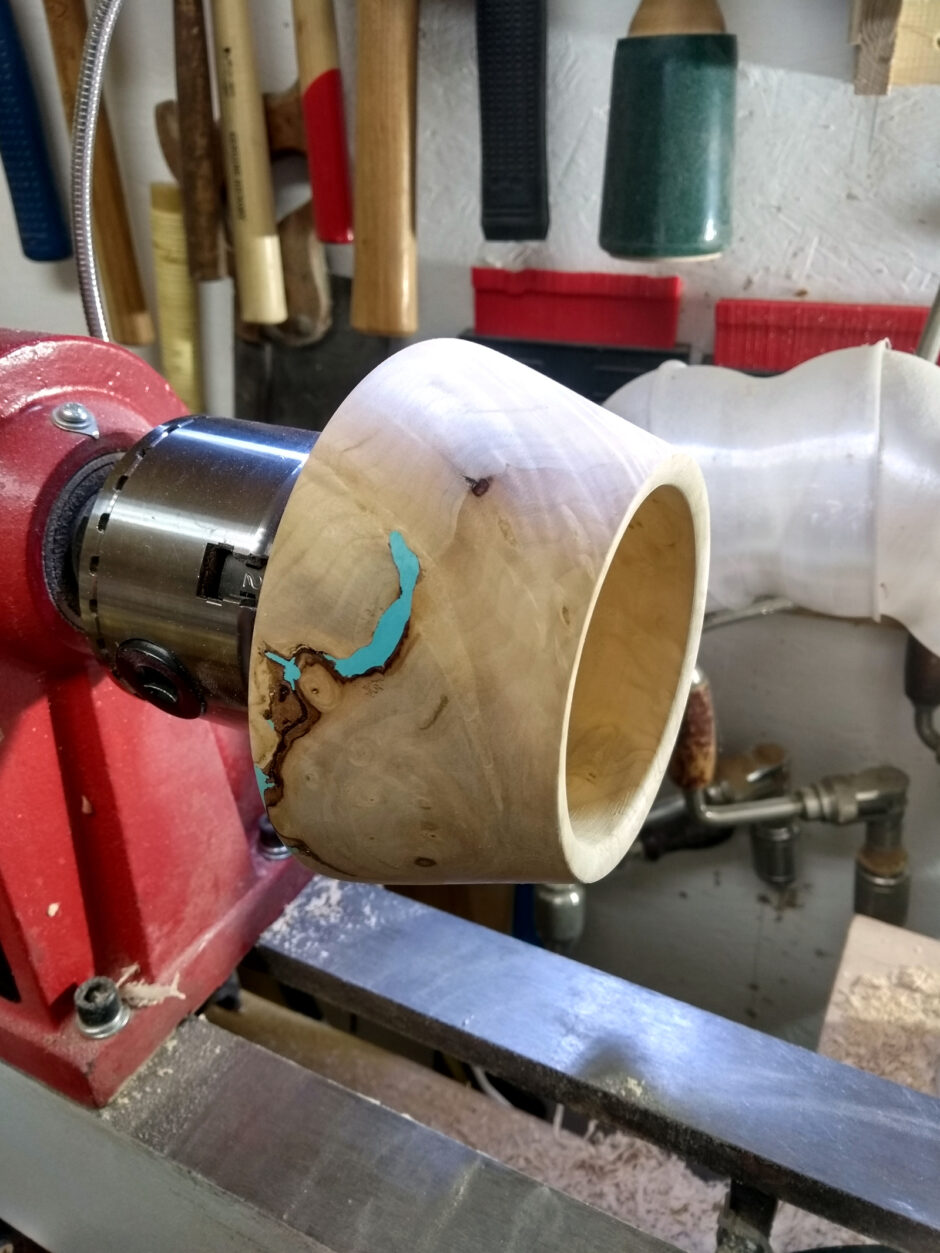
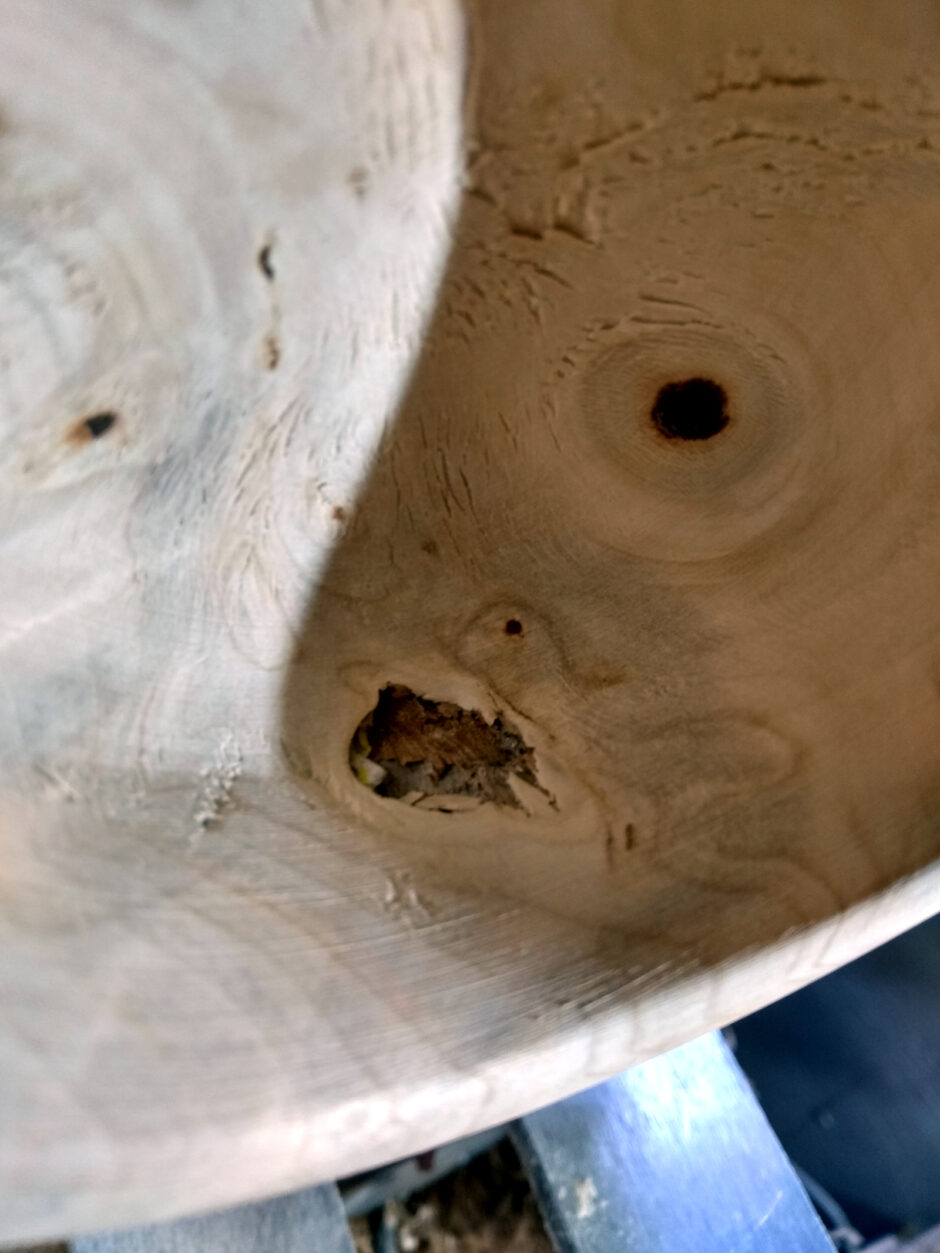
I had another punky part in the wall of the bowl which I didn’t see until I was sanding and the inside wall of the bowl collapsed into the wall (and almost popped off one of my fingernails in the ensuing catch).
I cleaned it out (this is a process disturbingly like filling a rotten tooth) and packed it full of milliput (overfull to be sure I could cut it back to a flush surface, and I think I overdid it)
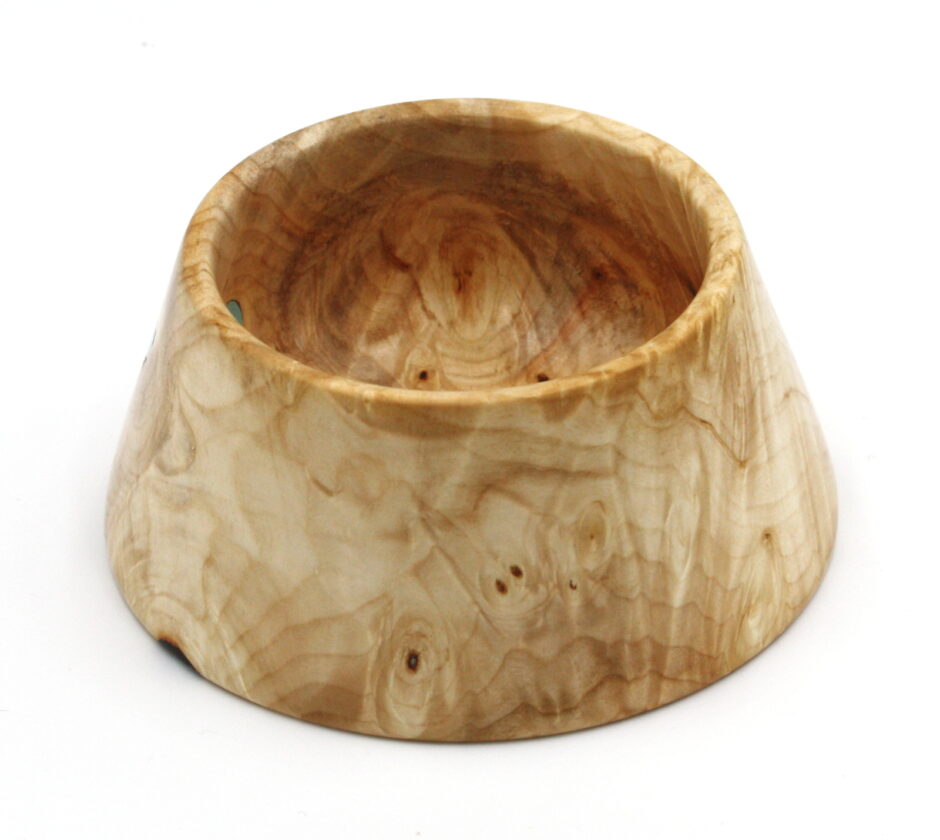
It looks mucky at this point, but it really does clean up well.
I usually prefer a more minimalist sort of aesthetic over the baroque, but burl really is an exception to that. You could stare at those grain patterns for hours. I must try this again once I can look at the price of burl blanks without wincing, but with embellishment (stains, gold waxes and the like) to bring the grain up even more.
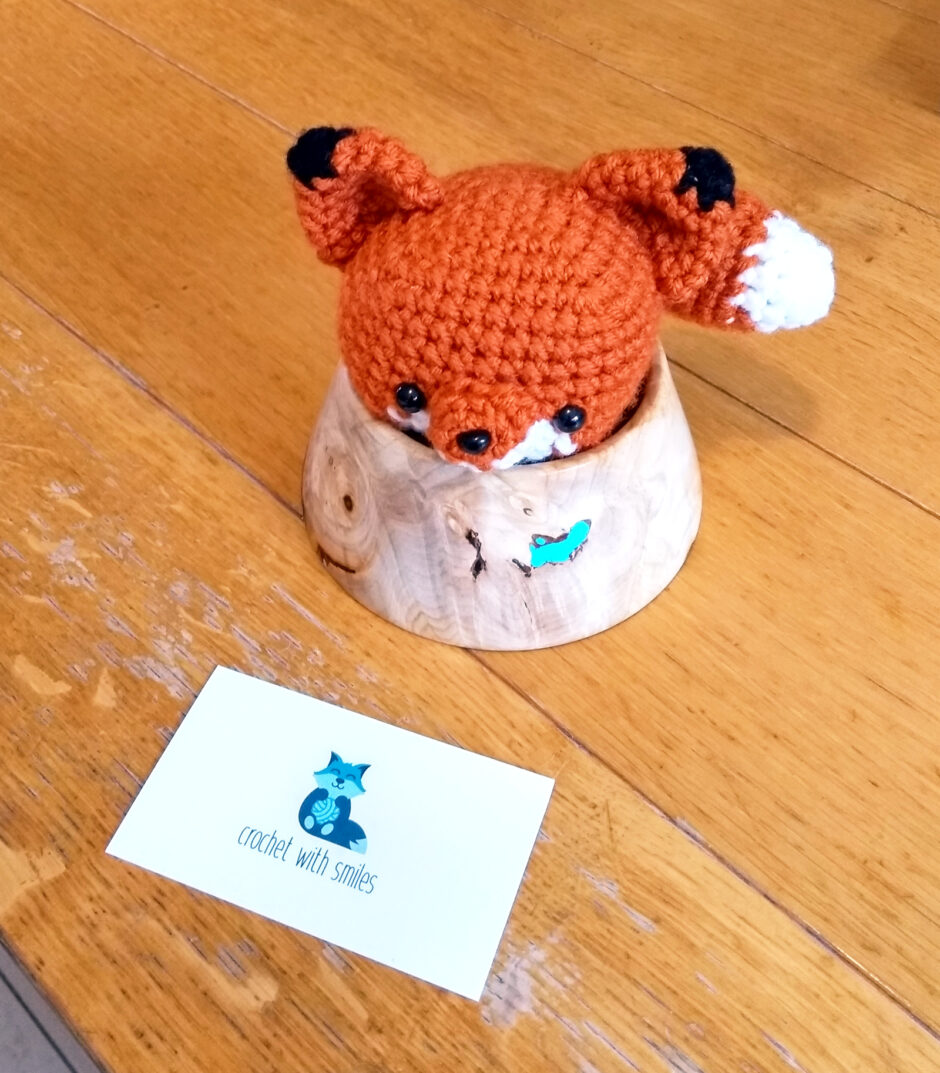
Postscript: a workmate in the US does crochet and she put up some of her stuff on Etsy a while back and I bought a piece and it fits perfectly 😀
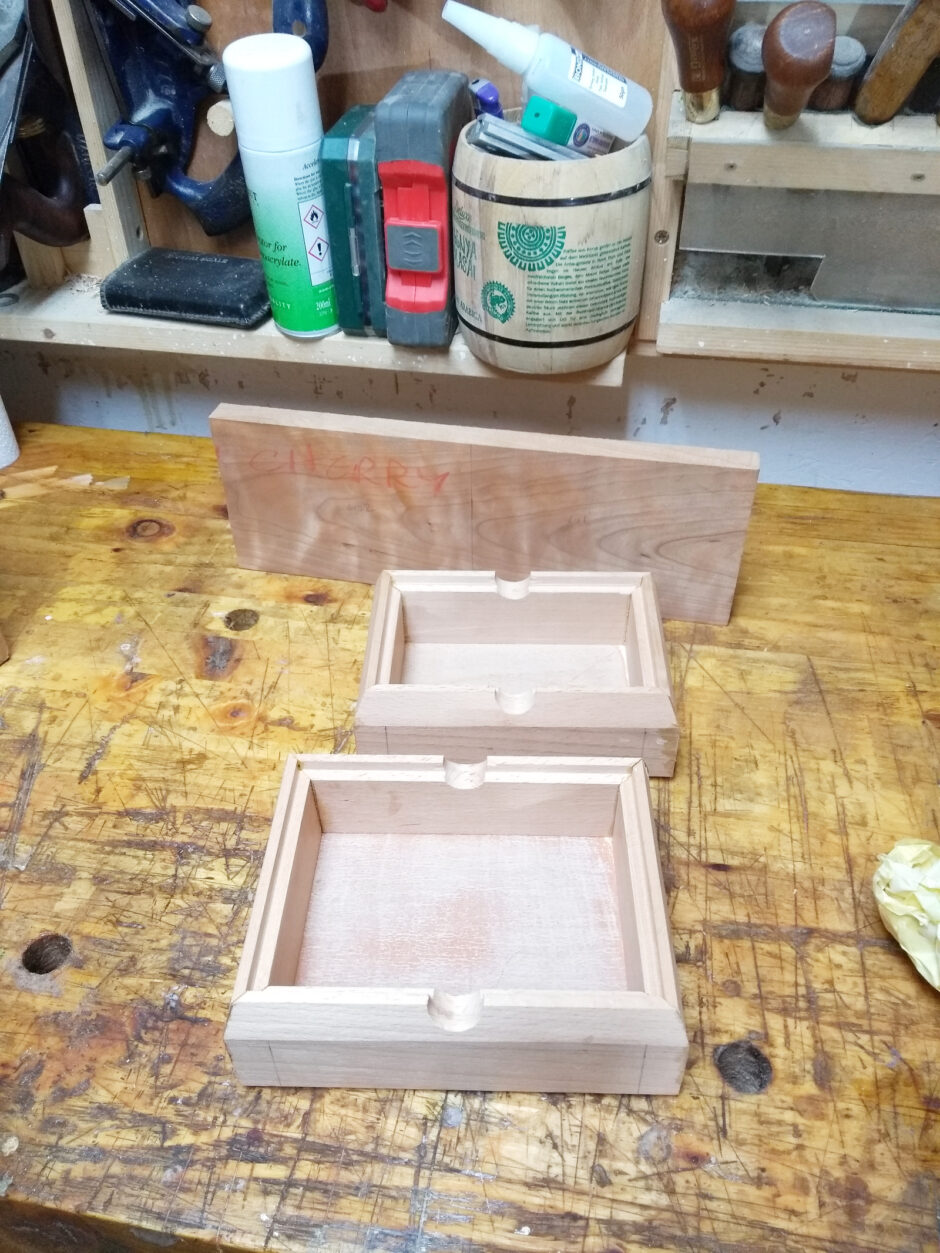
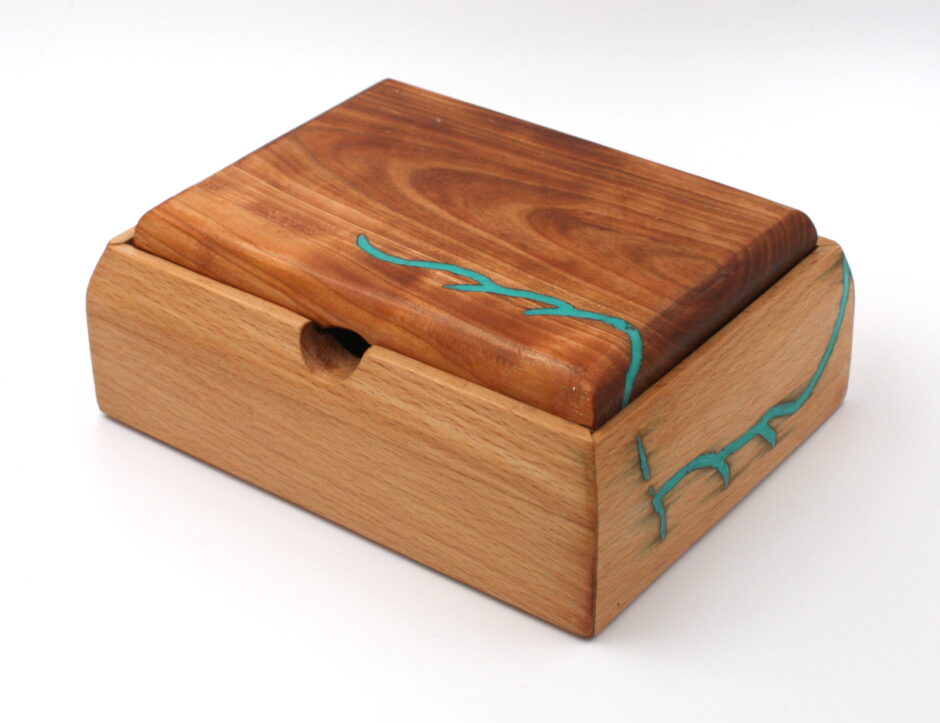
Been a lot of lathe work of late ‘cos it’s novel, so back to some rectilinear stuff. A friend was looking for some boxes for their favorite tarot card packs and I don’t quite get the tarot thing, but the artwork is interesting and there was a box design I’d been thinking about doing for a while…
Adrian Preda’s stuff is almost therapeutically methodical and precise sometimes. I didn’t go with walnut for the sides, and I did the base differently, but I mostly followed what he did here.
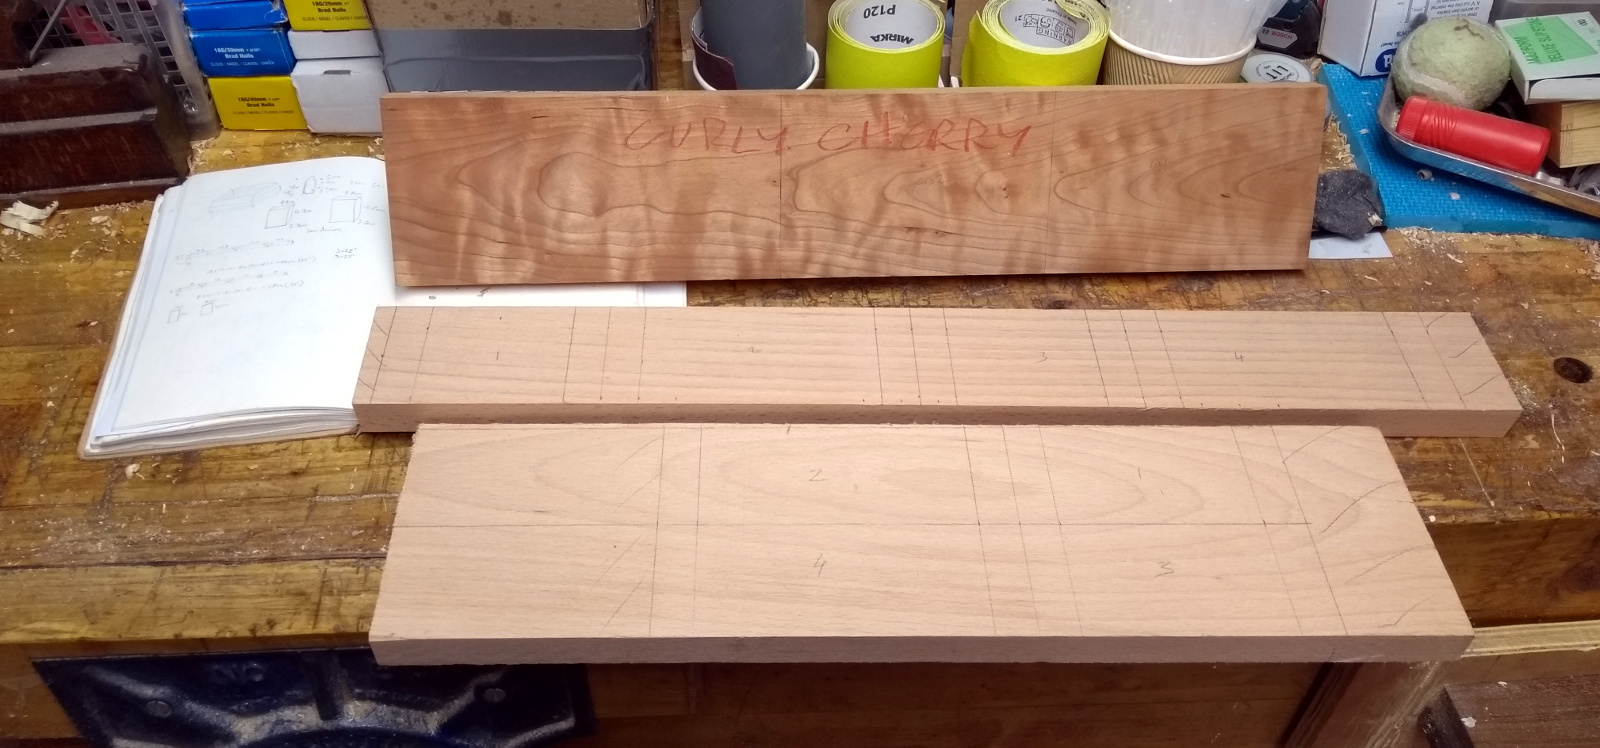
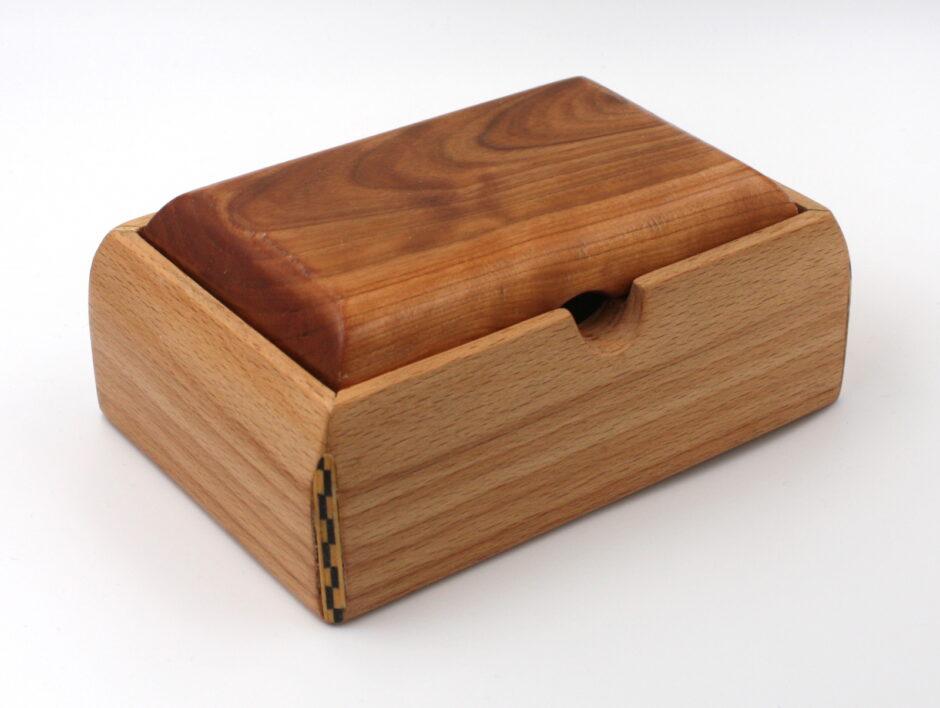
German steamed beech for the sides, and some curly cherry for the lids seemed like a good idea. I ripped the wider board down the middle so I could get all the sides out of it for the larger box and let the grain at least flow around two of the corners (it flows round all the corners on the smaller box). Before crosscutting to length, I used the #778 to cut the top rebate for the lid and the #043 to cut the rebate for the bottom – only 3mm wide and 3mm in but for a box this size, that’s fine. Then a forstner bit in a pillar drill cut out the thumbhole by just offsetting the point just to the edge of the board and slowly cutting down so the bit didn’t want to dive off to the side. I also rounded the bottom corner and put the top bevel on the sides with a handplane.
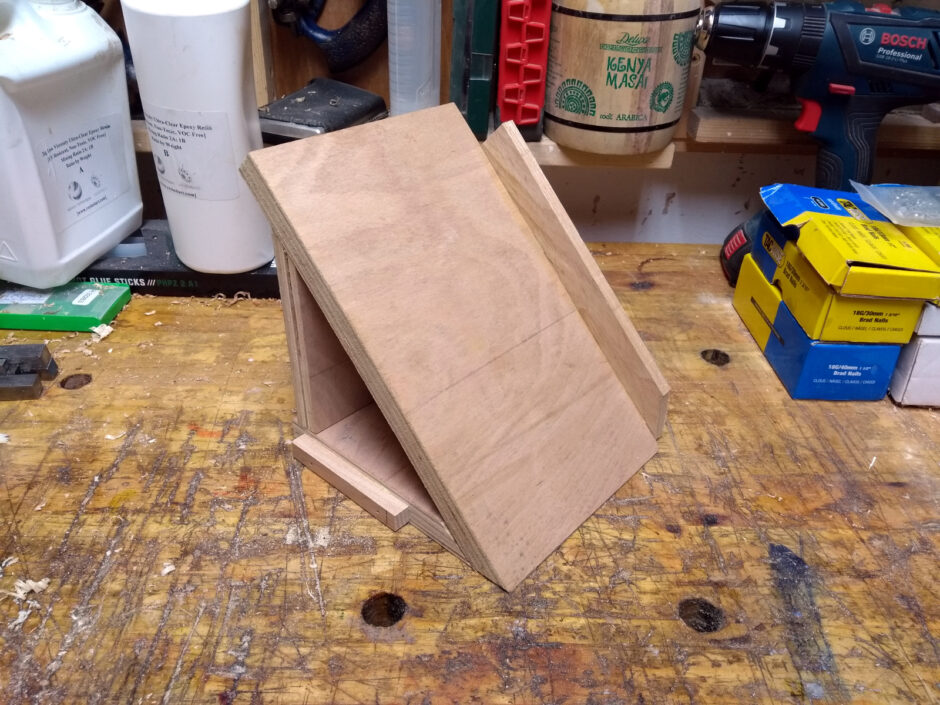
After all that but before cross-cutting to length, it was time to bring out the donkey’s ear and shoot the ends to a 45 degree miter (but I rough-cut the miter with a saw beforehand just to save on rough work as the shooting plane edge shouldn’t be a roughwork tool).
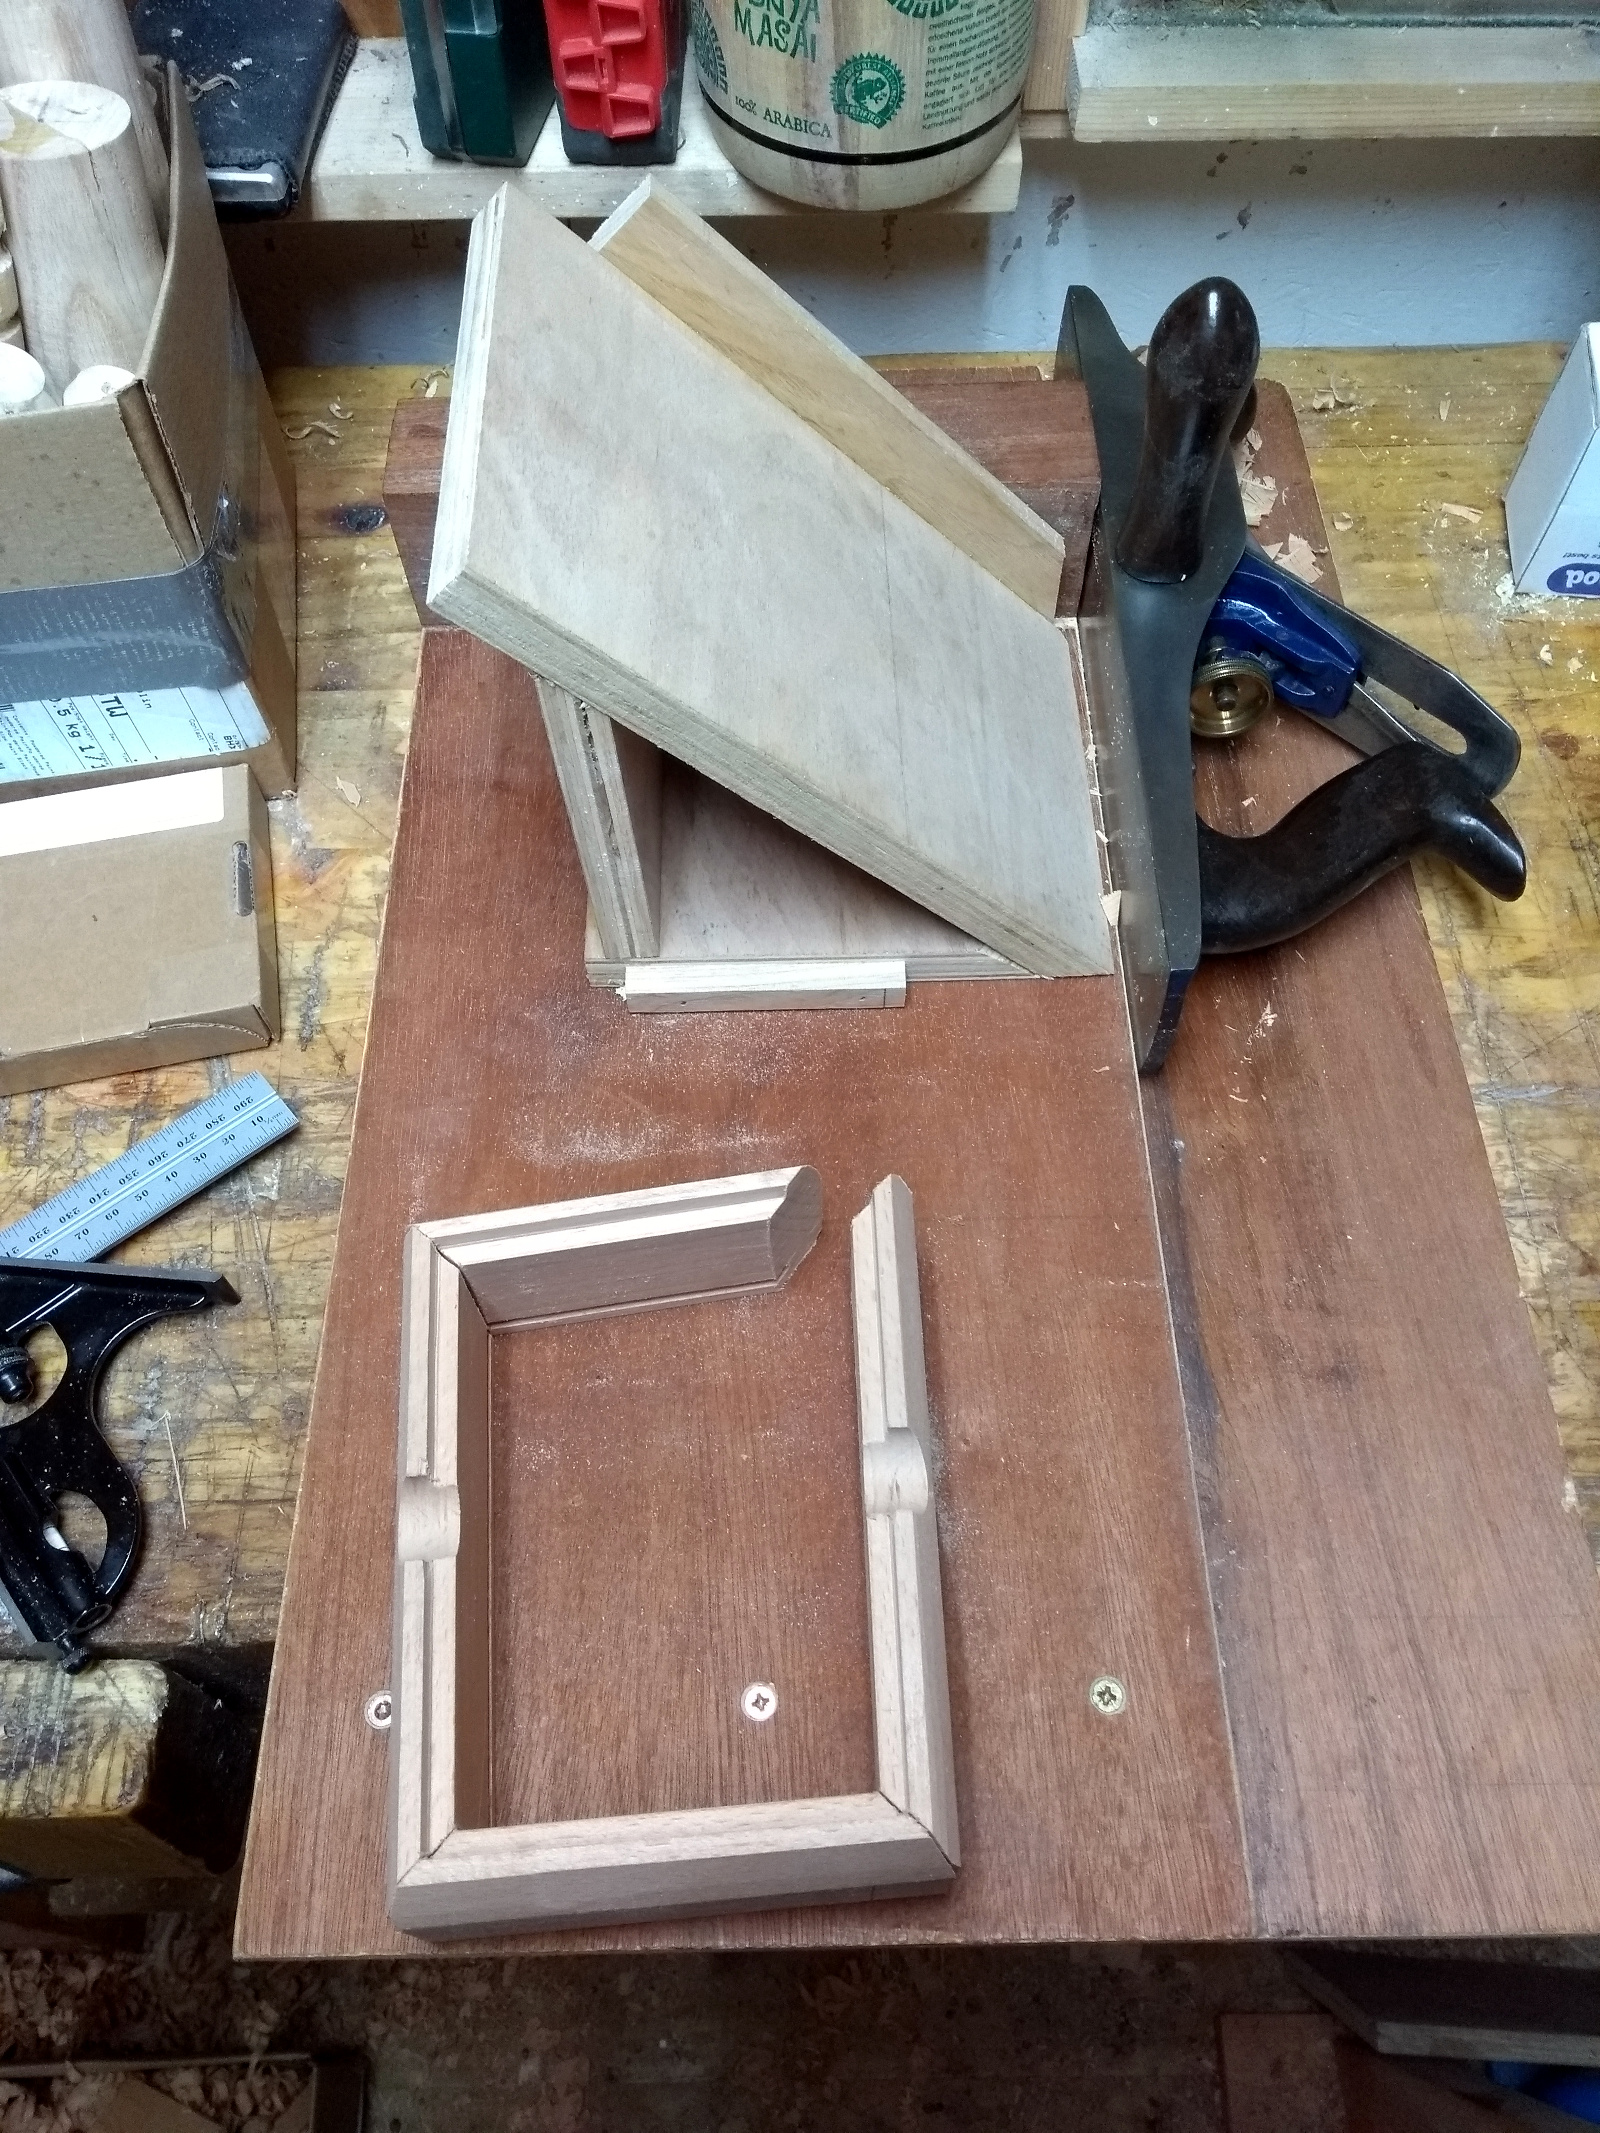
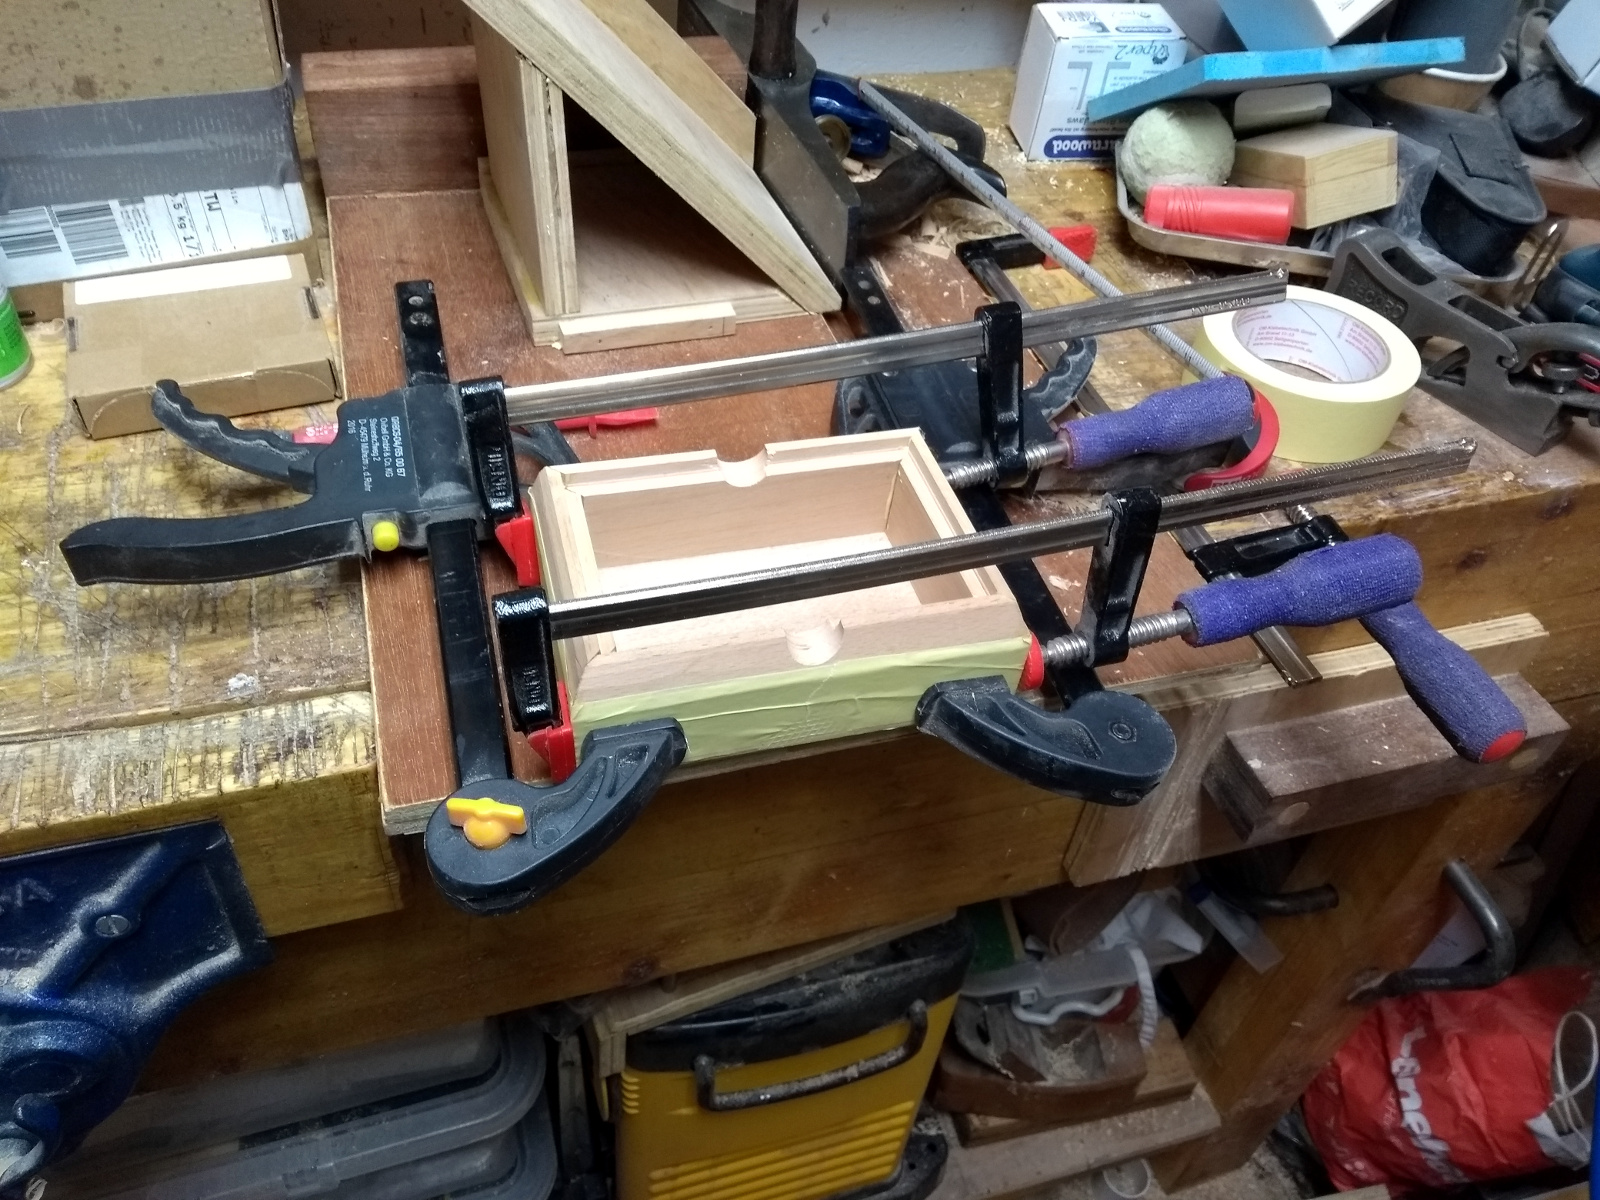
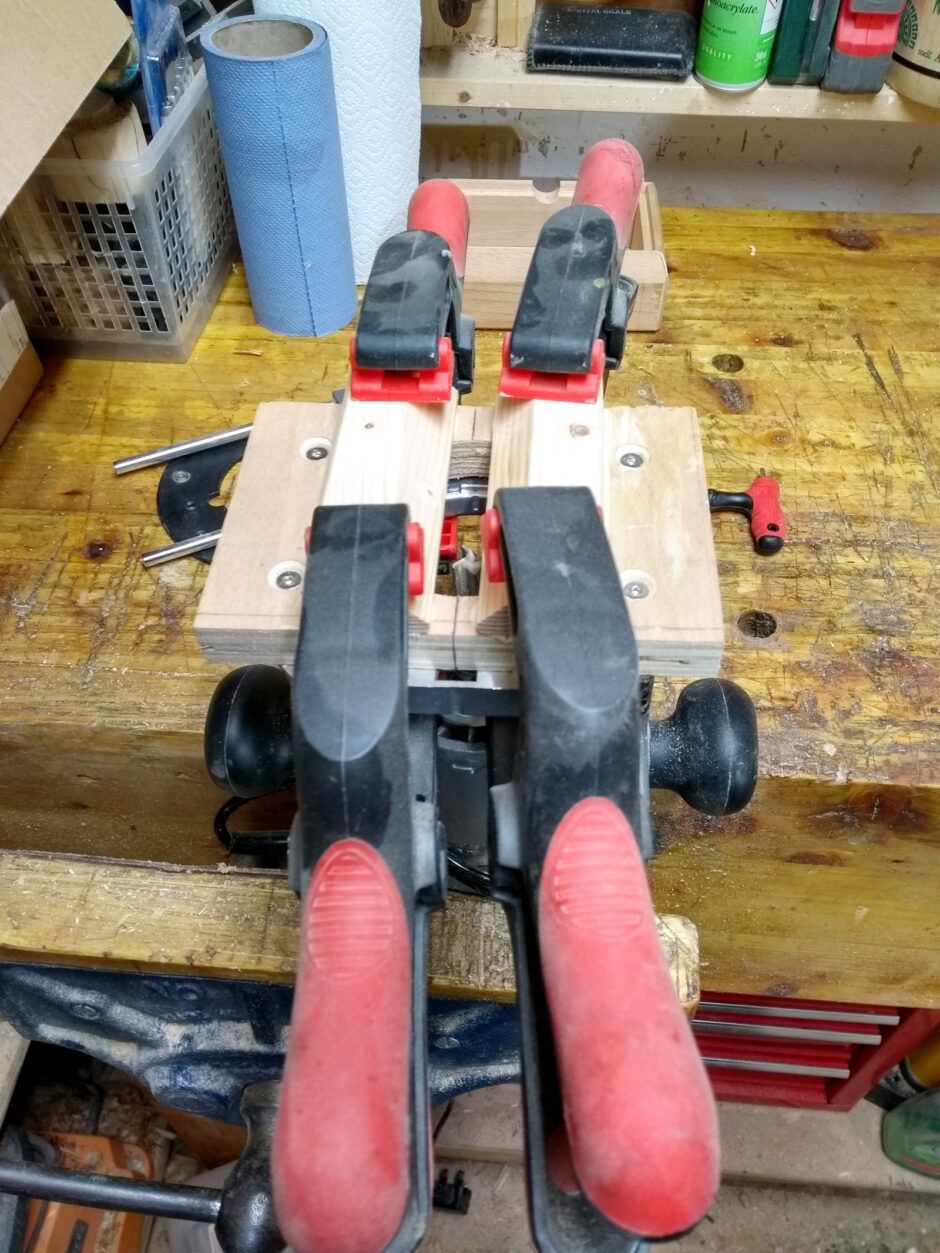
Okay, dryfit looks good, time to glue up and clamp.
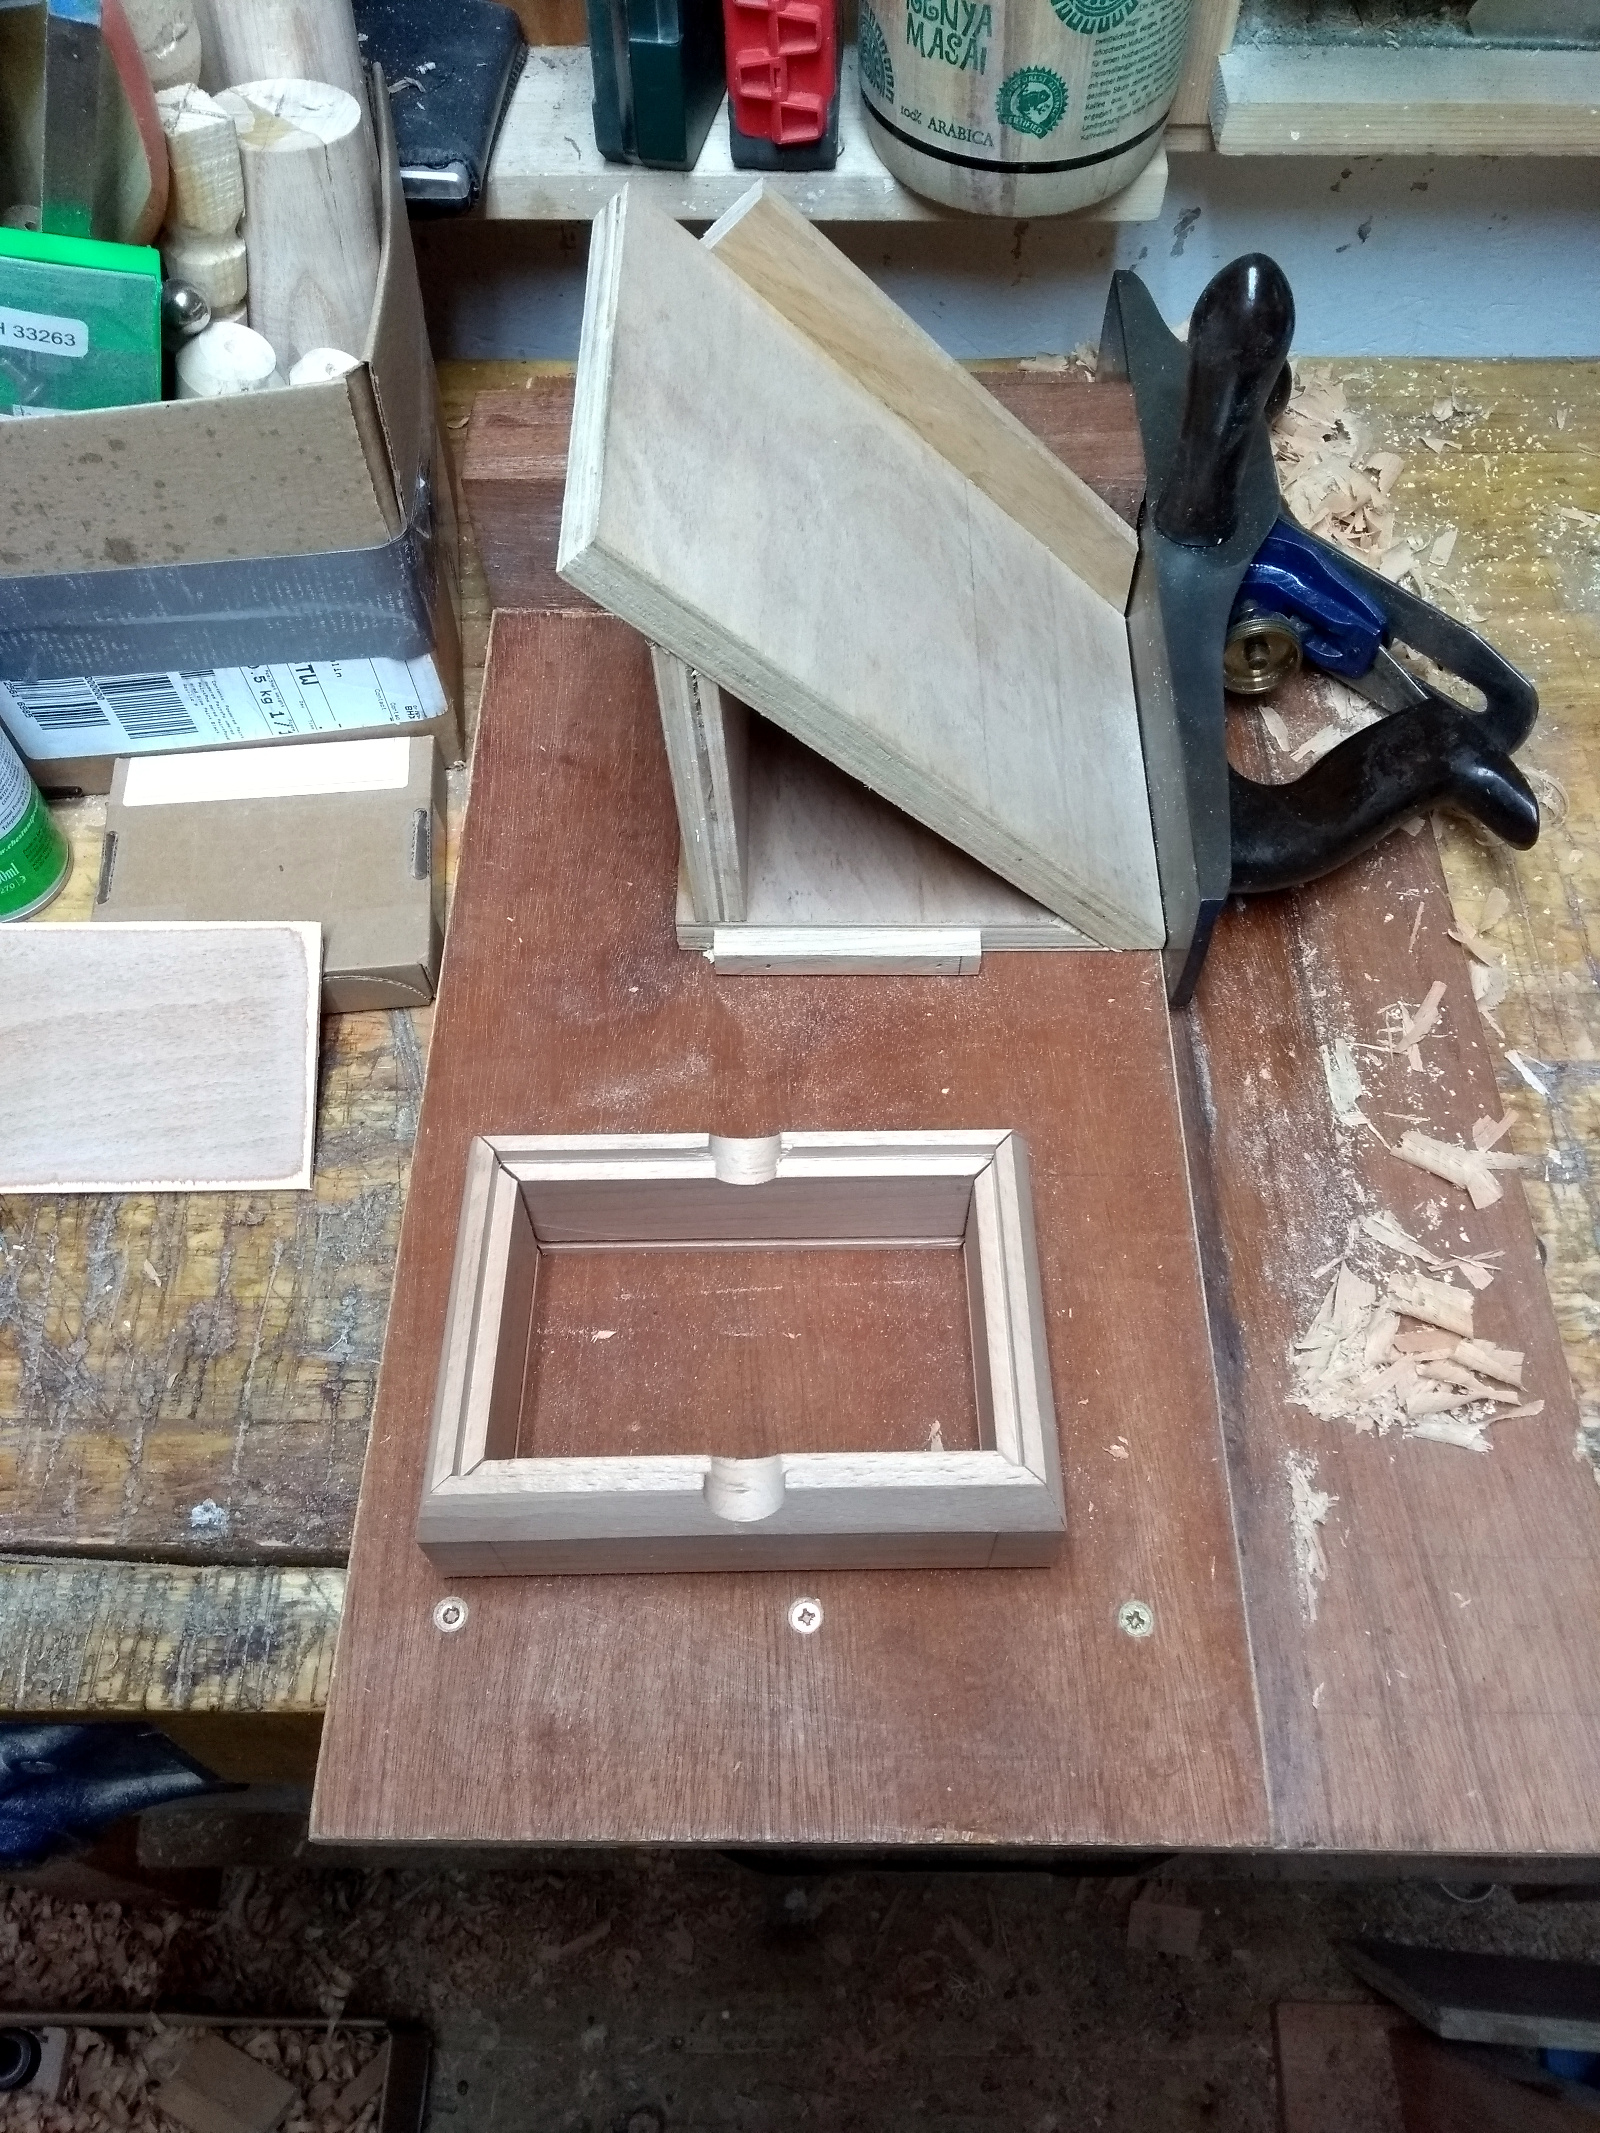
There are better ways to clamp this kind of box, I’m certain. And there’s good reason for those ways to exist, because I cocked this one right up:
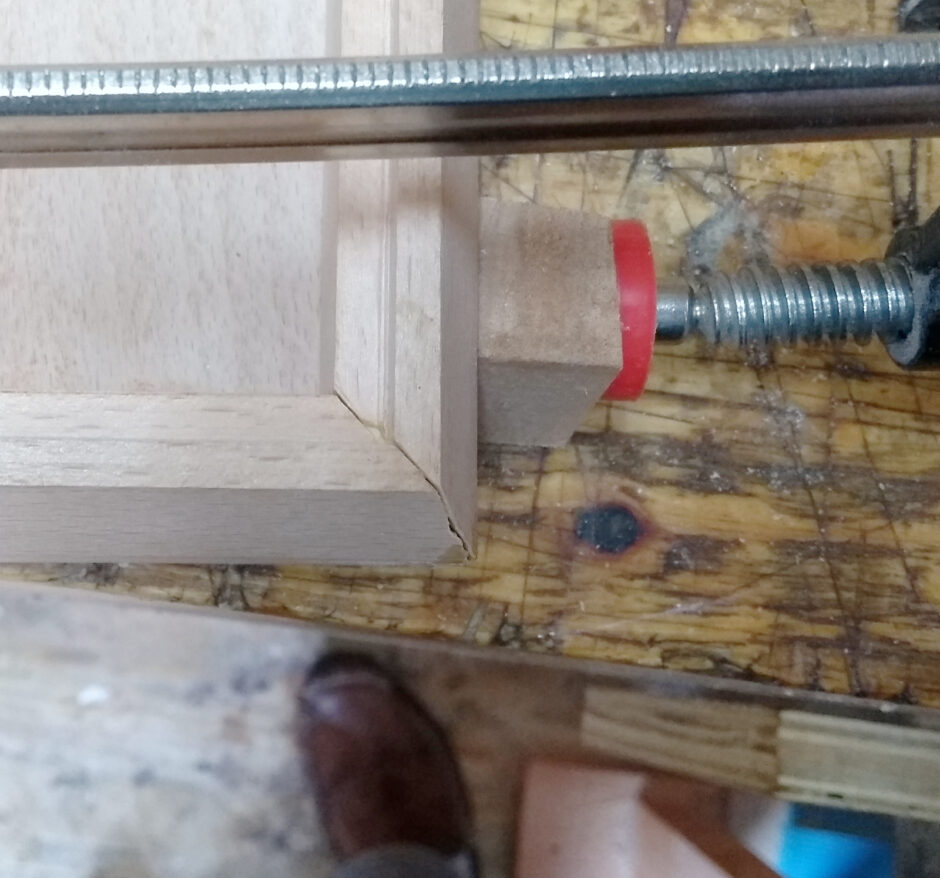
Clamp pressure was unbalanced enough that the miters slid slightly out of alignment and there wasn’t any nice way to fix this, so out with the saw and a framing trick:
The idea was to cut the joint in – you saw down the exact line of the joint and your kerf trims both sides so what’s left matches perfectly.
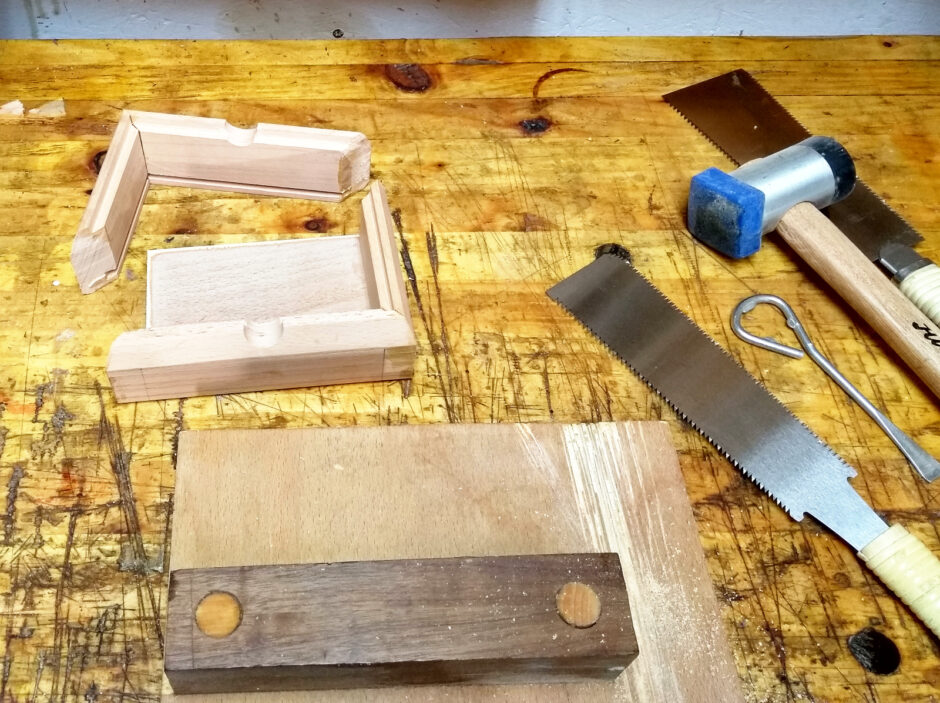
Yeah, didn’t work quite so well and after the second glueup still didn’t look right for one box (the other was grand) it was time for emergency measures and out came the veneer.
I know, it’s ugly, but I Have A Plan.
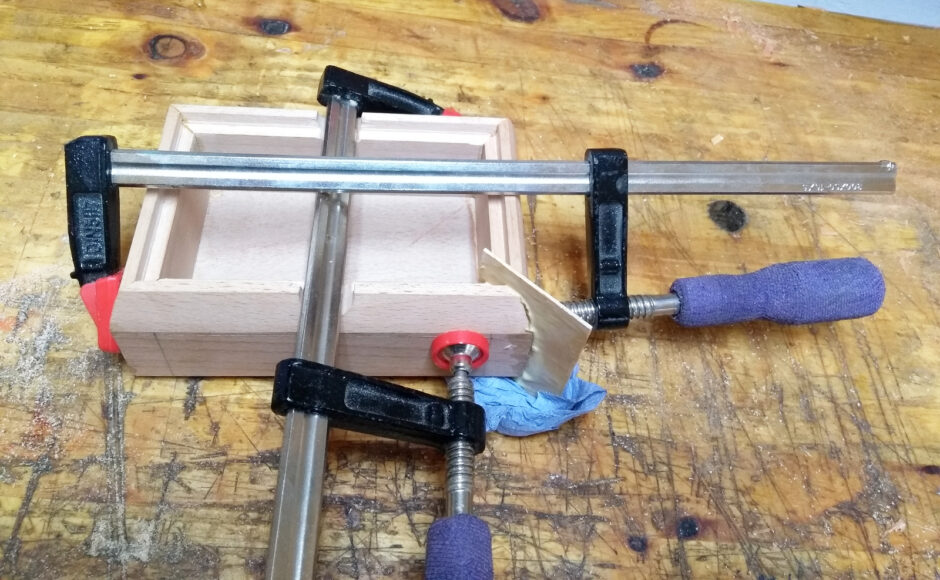
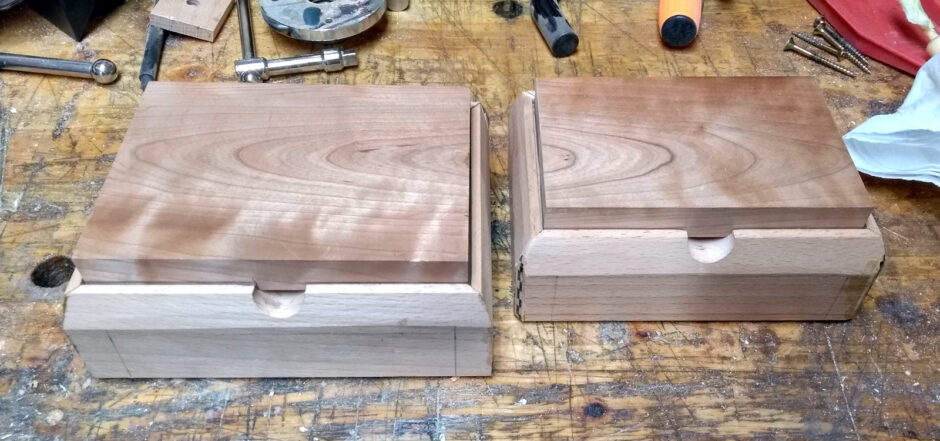
Both boxes glued up, cut the lids out now and then on with the fixing of mistakes.
I mean, shaping the lid has to come yet, but getting a nice fit first. This…. isn’t perfect but it’s not bad. Now, onto hiding mistakes…
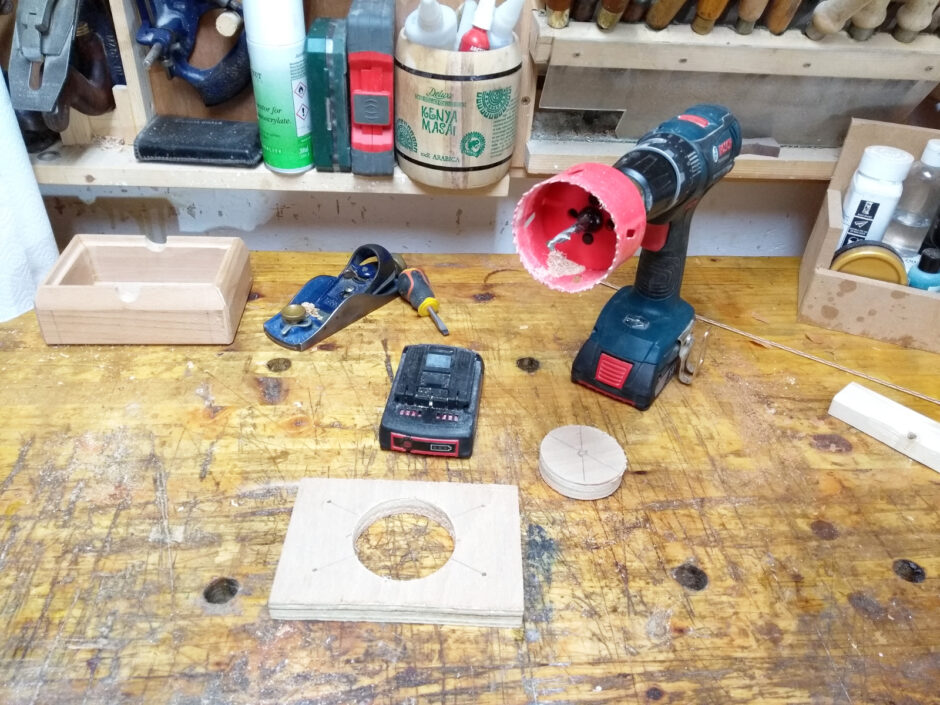
The idea is to plane the corners with the low-angle block plane to get a small flat spot and then the dreaded power router will make a pass and cut the groove for the banding to go into. But cutting a grove down into a narrow flat spot on the apex of two sides is awkward so I think a jig is needed.
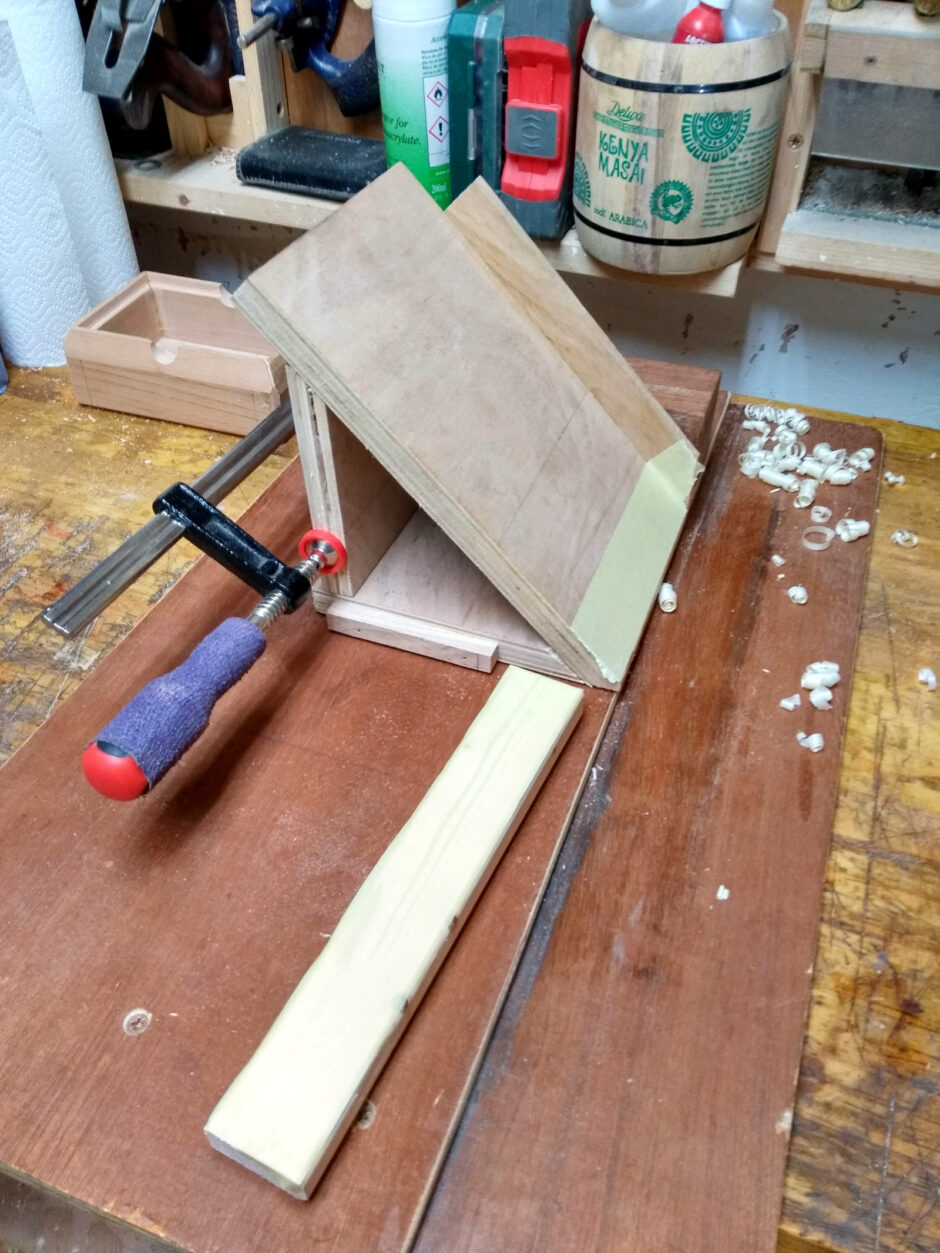
Bit of ply, mark a bolt pattern and a center spot, hole saw out a chunk, and now we need two rails which will have 45 degree slopes on them. Just grab a lath of softwood for that, but holding it on the donkey’s ear was awkward so masking tape goes on the donkey’s ear and on the lath and a bit of superglue goes on the tape and…
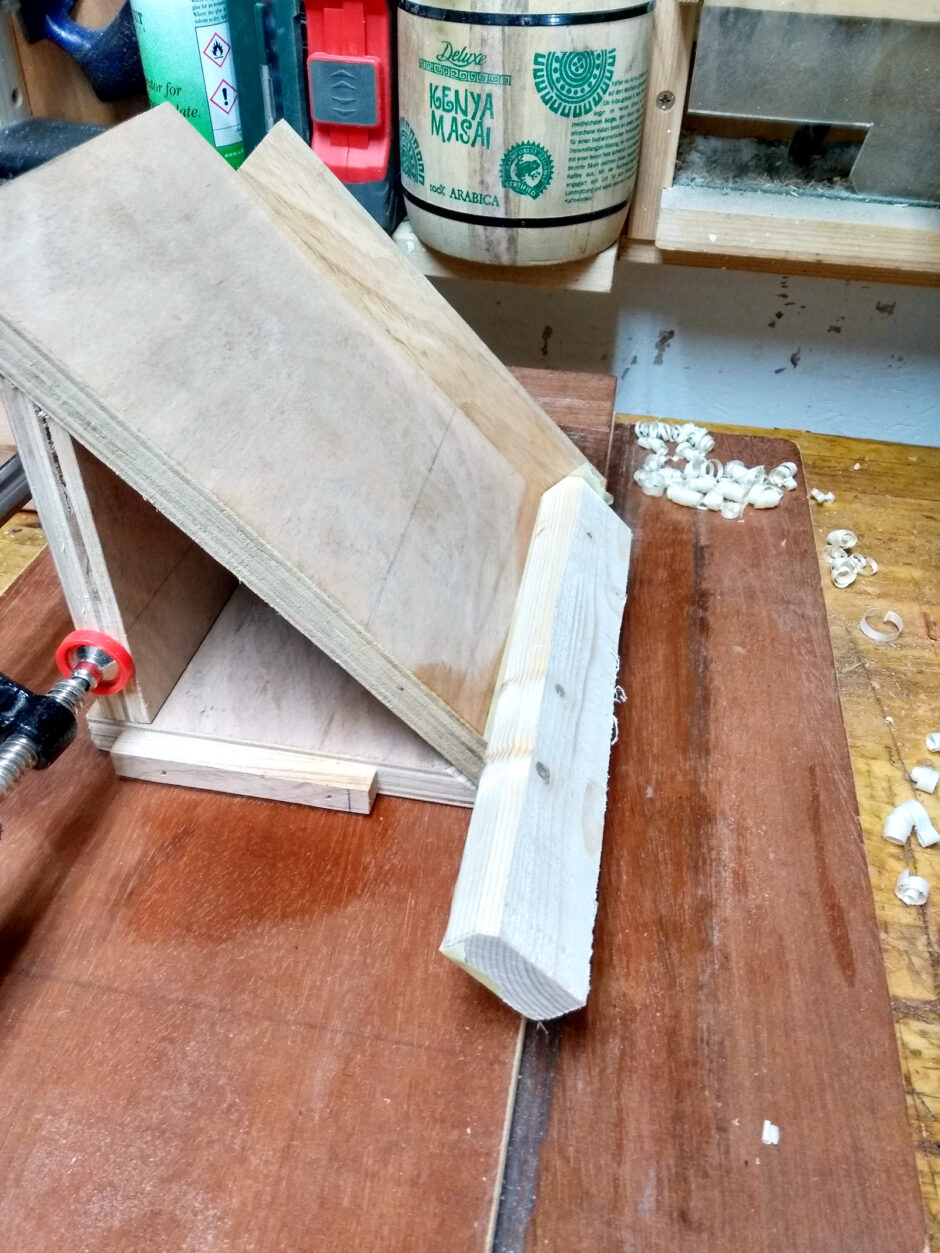
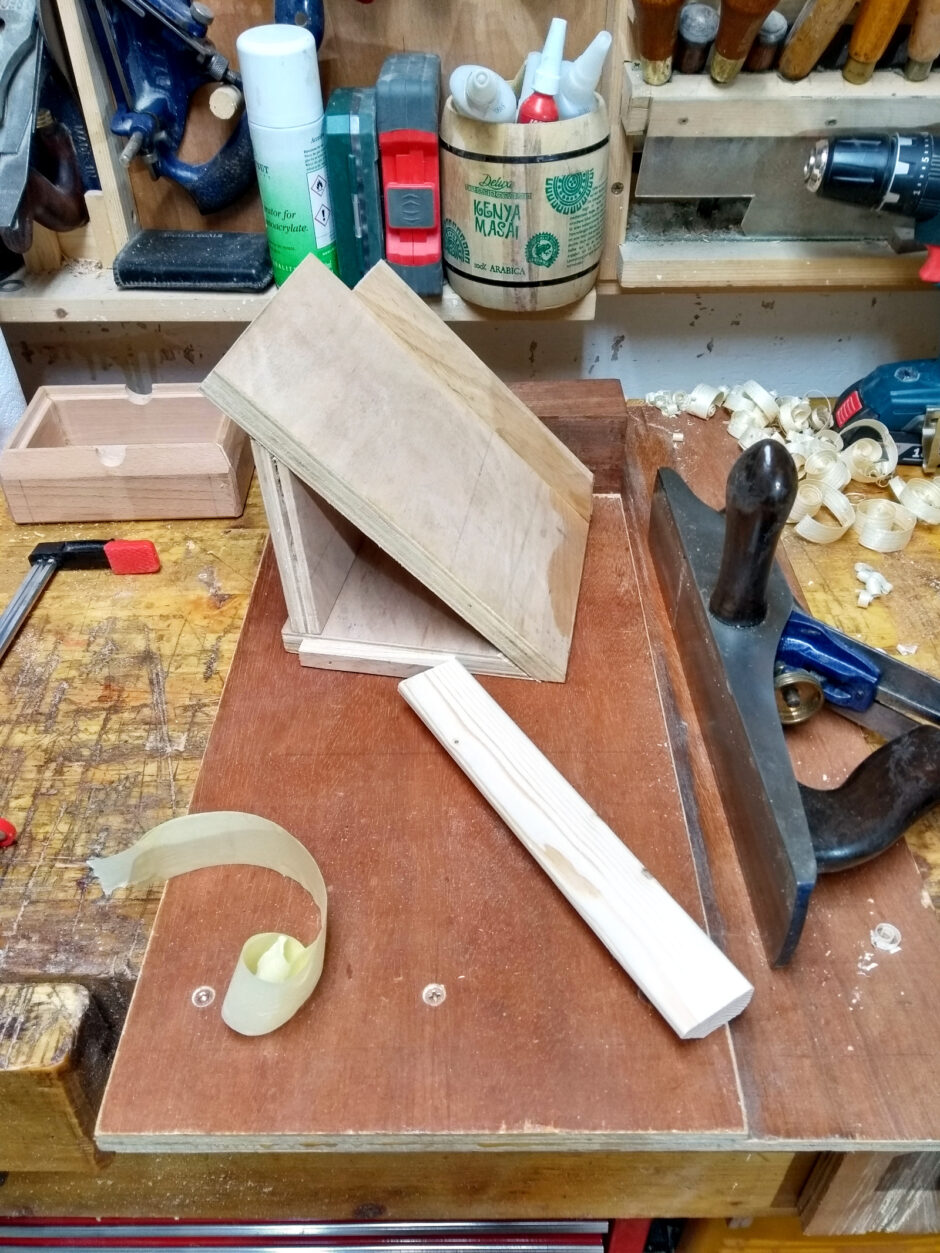
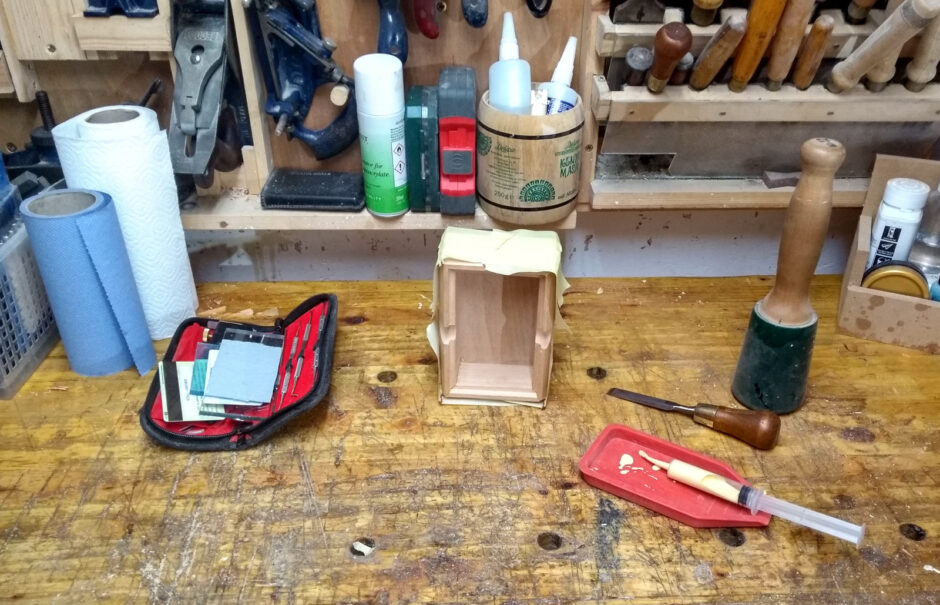
Nice and neat. Now crosscut in half and glue to the base of the jig with room for the router bit between and be careful to centralise it as much as possible.
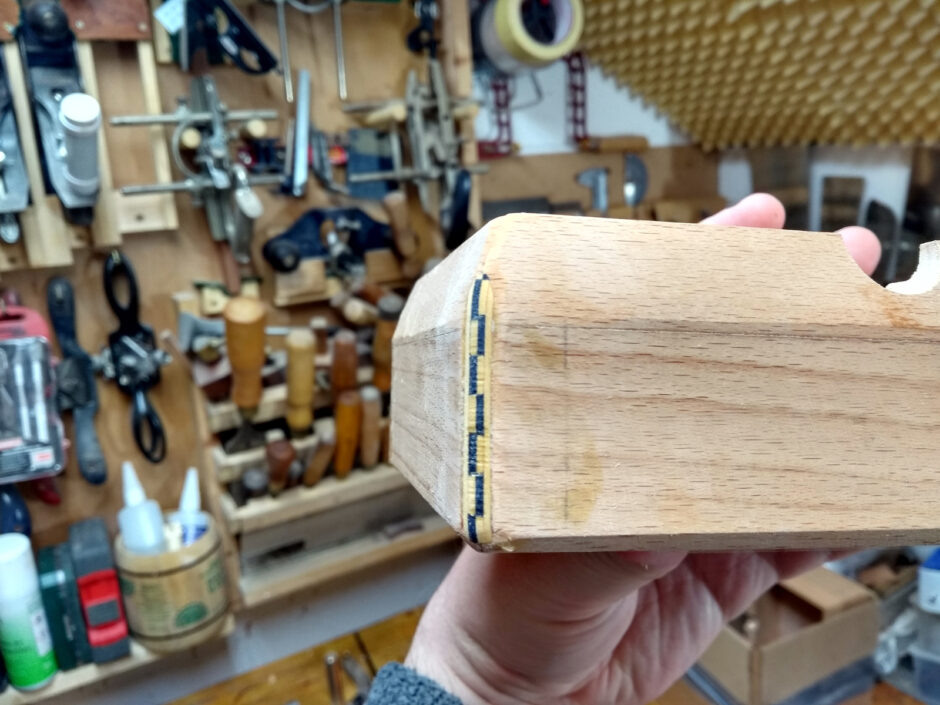
And once that’s dried, it gets bolted to the base of the router, the box goes in the vice with the corner up and I route out a shallow groove and then it’s out with the inlay tools and I cut the banding to rough length and glue it in place using the syringe of glue.
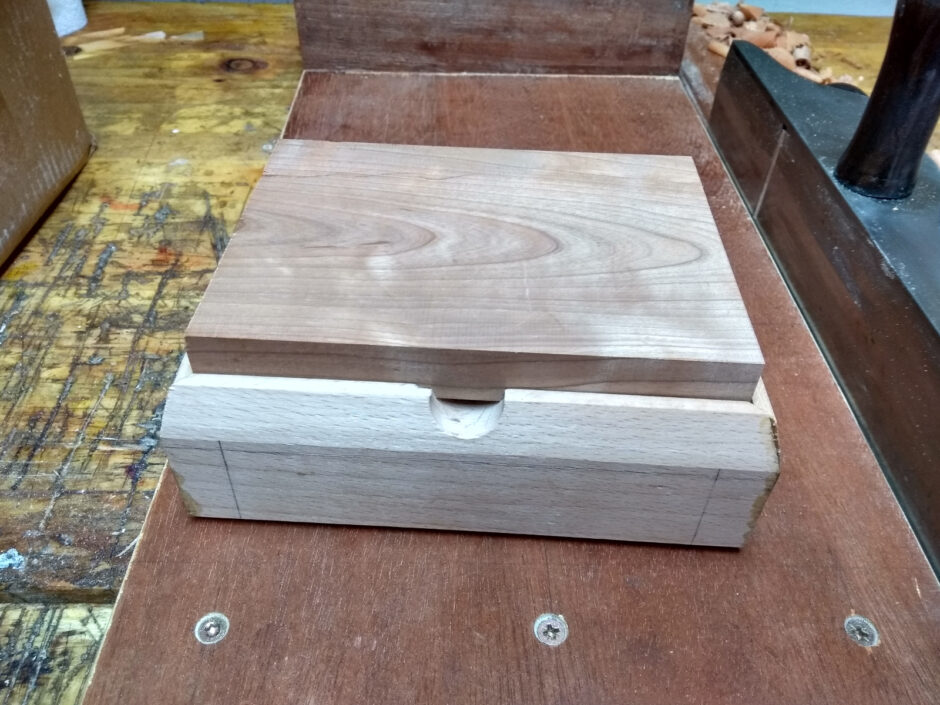
After trimming with the chisel and some sanding with 120 grit, it’s nicely blended in and the miter corner is hidden, including the messed-up one. Sssh. Don’t tell anyone.
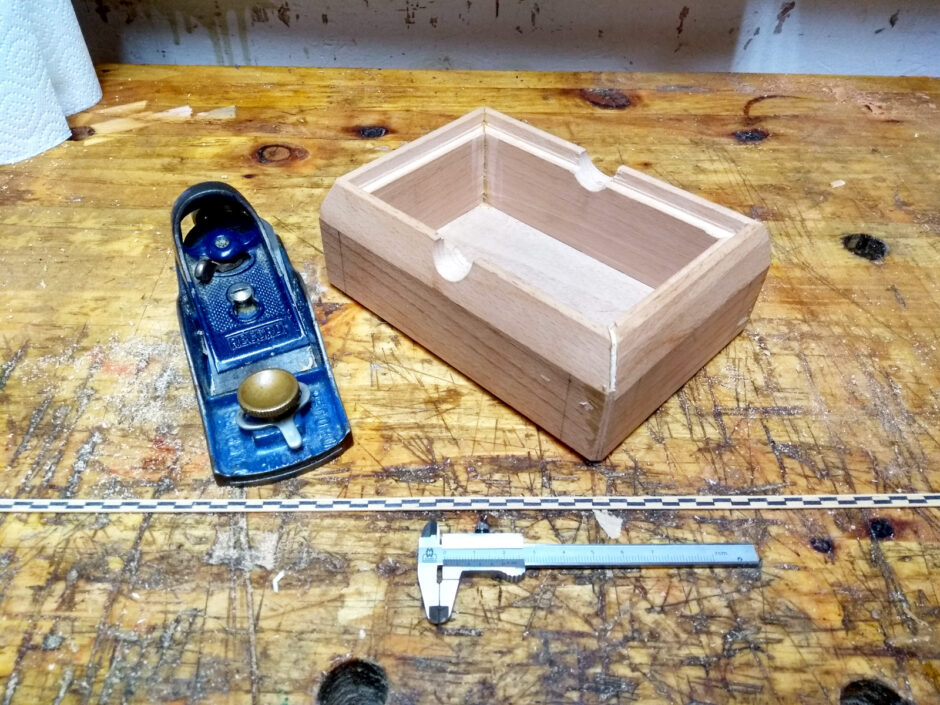
After that, I carved out two matching counter-grooves on the underside of the lids where the thumbholes go with gouge and rasp and a sandpaper-wrapped dowel and then shaped the ends and sides of the lids with a handplane, and thought I was done. And then noticed that one of the lids had a serious check in it, running half-way into the lid and that was probably a structural issue. Plus, a small piece had splintered out of the mitered corner on one box. So I thought I’d try to mask and repair both in one go.
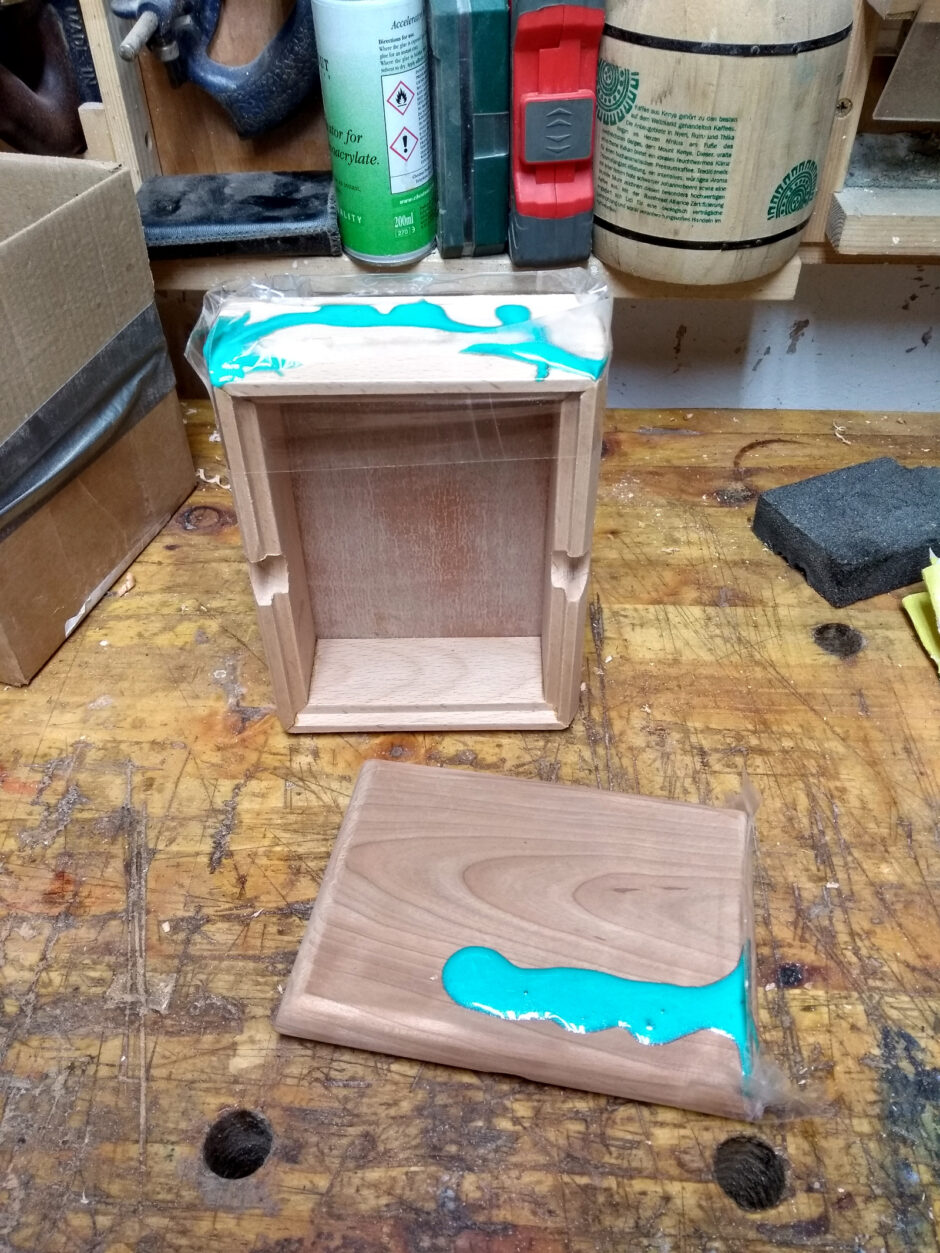
Draw along the check on the surface and rounded end of the lid with pencil and do it in half-arcs that intersect in an organic sort of way, then out with the dremel and a small ball bit and route out the wood along the lines down into the check by about 3mm or so in order to let the resin get down into the check proper and act as a structural fix while also looking a bit pretty. And of course, mix some colour and some glow-in-the-dark pigment into the resin because why would you do anything else?
The lid worked out grand. The side…. not as well. The resin leaked both out of the surrounding tape (well, that’s fixable) but also into the grain of the wood in places, which I’ve not seen before. Bother. A top-up pour of clear resin fixed the leak out of the tape, and then #04 plane and some 120 grit to tidy up and it was good to go.
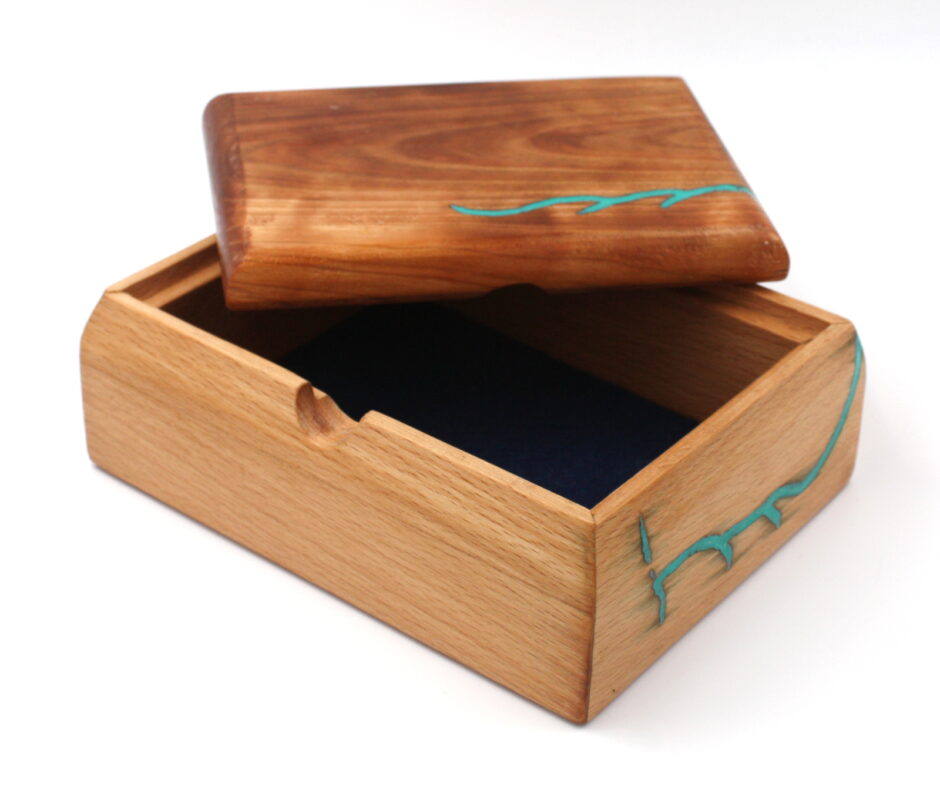
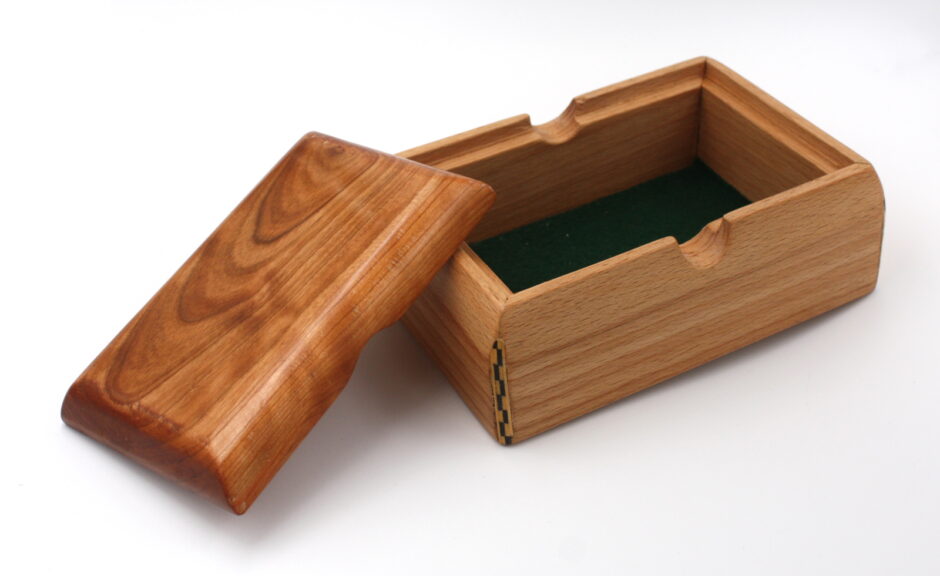
Finishing was all that was left, and I went with a coat of poppyseed oil to start, just slathered on and the excess cleaned off and left to cure for a few days, then two coats of melamine lacquer was sprayed on and cut back with 0000 steel wool between each layer, and then some Yorkshire Grit over the top of that and buffed well to a nice gloss. Then out with the buffing wheel on the lathe and I tried something new, a coat of Hampshire Sheen (the original gloss stuff which the carpentry store still had in stock even though they don’t make it anymore) and buffed that off on the softest wheel I had (so some beeswax got mixed in there as well). Then I cut some felt to fit the bottom because the plywood could look nicer and glued it in place and that was that.
https://www.rte.ie/news/ireland/2026/0313/1563277-taoiseach-us/Could we at least piss in the shamrock bowl this year? [...]
Well, apt-get dist-upgrade screwed me over and now I have no sshd and no working grub on a colo server in germany and kvms and rescue disks are now soooo [...]