25
Aug 18

Pizza

So I think I’ve gotten the pizza recipe down to “yeah, this’ll do” levels.

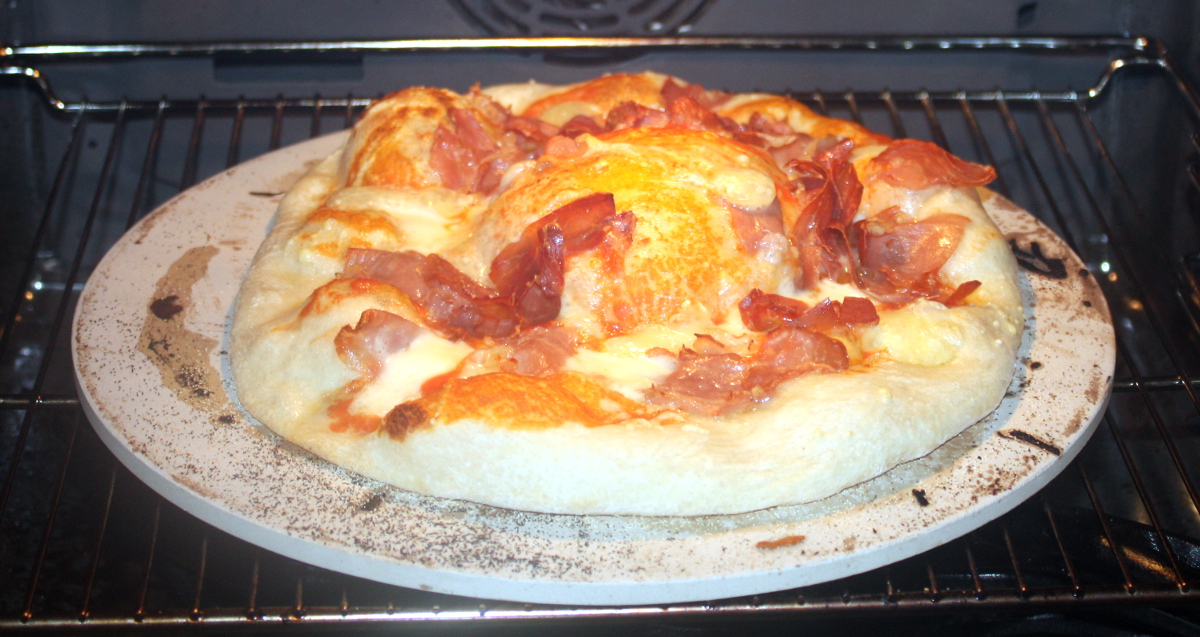
Looks good after two minutes in the oven…

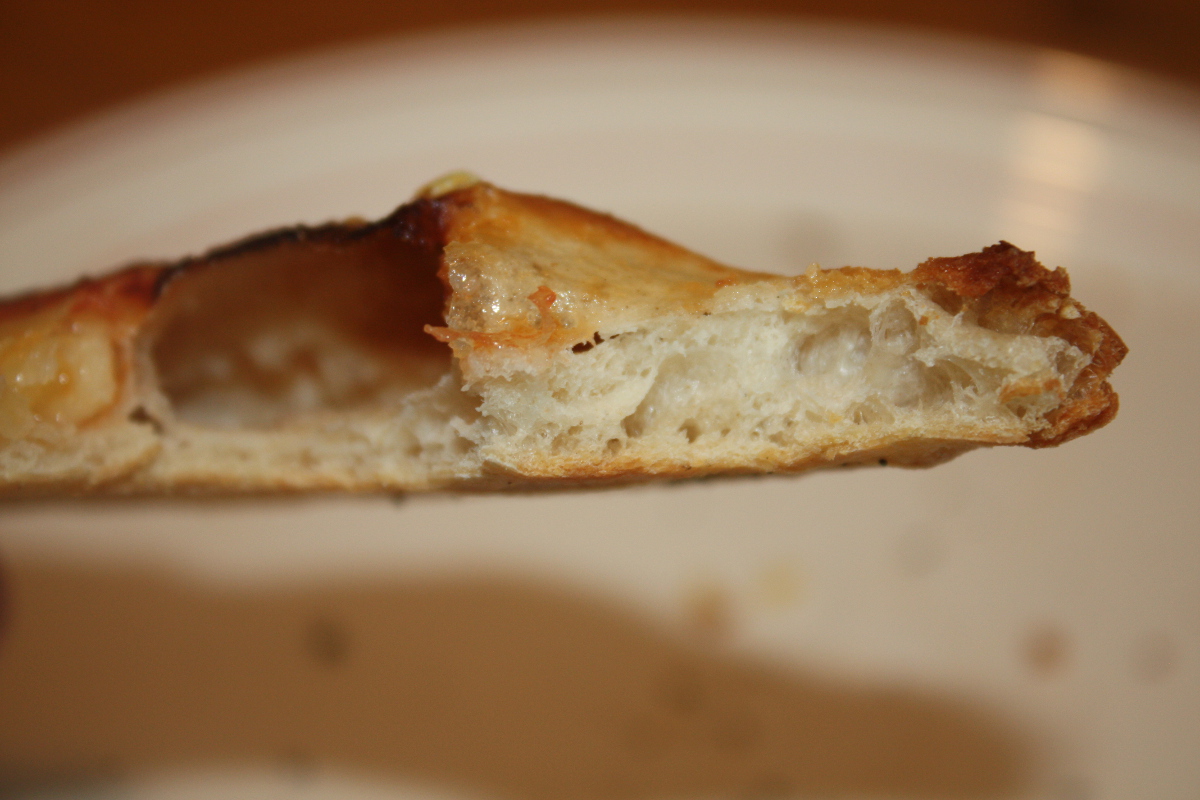
And a good crumb structure and base. Grand.

Recipe:

I usually make enough for four pizzas at once.

In the bowl of the stand mixer…

  • 325g warm water (40C if you want to get all fussy about it, “not hot enough to kill yeast” if you don’t)
  • 10g of yeast
  • 20g of honey

And give that a quick stir with the whisk and leave it sit for ten minutes so the yeast wakes up and starts its thing.

Now add

  • 500g flour made up of bread flour and normal plain flour in equal parts
  • 5g of salt
  • 10g of diastatic malt powder.

And then whisk it until it starts to come together but stop before it grabs your whisk and you have to clean it out of the inside of the whisk. Put the dough hook in the stand mixer and mix on slow until you have a dough and the walls of the bowl are clean (mostly) of loose flour. It’ll be very loose, never mind. Turn the speed up to medium and let it run for ten minutes. Give it a quick pulse at high for 20-30 seconds to get the dough off the hook, then turn the dough out onto a floured surface and work it for a minute or two by hand to knead it into a doughball. It should be sticky and definitely not that firm, that’s grand. I mean, it won’t pour like milk, but it definitely won’t hold its shape. Now wash out the bowl, dry it, oil it with a tablespoon or two of olive oil, put the dough back in and flip it about and swish it round so it’s coated in the oil, then let the bowl sit, covered, somewhere warmish for an hour or until doubled.

Now knock the dough back, turn out onto a floured surface and work for a minute or two to a ball, then use a dough scraper to divide the ball into four, roll those into balls, and then drop into zip-loc bags with a teaspoon of oil, seal and put in the fridge overnight (or for a few days, up to a week, though it’ll be rising all that time so be careful the bags are sealed or you’ll be reenacting The Blob with your own fridge.

And nobody likes seafood pizza.

When ready to cook, put pizza stone in oven, crank oven up past max (so 270C in mine), and let the whole thing come up to temperature, which will take a good half-hour or more depending on your oven. Even when the oven says its ready, it’s not, it’s lying, they all lie, it’s a Thing.

Once your fancy laser-infra-red-pew-pew-pew thermometer says the stone is hot enough, it probably isn’t anyway so take your doughball, work it out to a flat pizza shape either by hand or by rolling pin or by hydraulic press, and dust your peel with polenta because finding cornmeal in Dunnes is now difficult because, I don’t know, life. And when I say “dust”, I mean “dump a few tablespoons on there and spread it round” because scraping a pizza off a peel into a 270C oven is a bad way to make a pizza dough twist with extra cleaning. Take your pizza dough disk, drop it onto the peel and paint the top with olive oil. I mean, don’t drown the thing, just literally take a silicone pastry brush and get the surface to look glisten-y. Add a single tablespoon of tomato sauce, spread out, and some cheese and, I don’t know, gearbox parts. Whatever you put on a pizza yourself.

Now leave that sit there for at least five minutes. Ten or more if you can, shaking the peel every so often so that little bit of oil that dripped over the side because you didn’t listen to me say “don’t drown the thing”, and which is now trying to combine with the polenta to form concrete to set the dough to the peel, doesn’t get a chance to do so.

Then put the pizza in the oven. 7-8 minutes because even a 270C oven is 130C too low really for this. Pull from the oven with tongs onto a plate, not a peel, because you started making the next pizza on the peel seven minutes ago, and then transfer the pizza from the plate to the chopping board and leave sit for 2-3 minutes so the cheese starts to return from nuclear plasma form to a more firm consistency, then cut up and serve.

It’s not that bad really.

Oh, about the diastatic malt powder. It’s a fancy-pants additive made by drying malted milk down to a powder, and contains an enzyme that breaks down the starches in the flour to sugar. In higher amounts it’d turn bread to a sort of slime, but between 1% and 2% by weight, it improves the rise, the crumb structure and so on by weakening the dough a little and letting the yeast blow bubbles more easily. I’ve been trying to find it here for ages in amounts that weren’t measured in kilograms, but couldn’t until I found this crowd on amazon recently, and it’s been working really well so far. Definitely worth trying.


06
Aug 18

Wires and panel

So the walnut panel glueup went as well as I had hoped. The clamps did deform slightly – I need to do that trick of Paul Sellers and stuff them with wood – but the panel came together reasonably well.

There’s a step in the middle where one of the boards bowed though, of just over a mm, so there was some flattening to do before worrying about the surface much.

Ugly. Cross-grain planing required, so out with the #05…

At least it’s easy to see where I’m planing…

That proto-knot there in the back caused some issues with tearout that I’ll have to fix later. But the board is flat to the touch now and was smooth again after a few minutes with the #04 1/2

The chalk’s highlighting areas where even the cabinet scraper wasn’t handing the tear-out because actual lumps had been taken out during the cross-grain flattening. There may be epoxy filling required there, or putting in some inlay to hide it or something.

Also, the sides will be slanted, the shape of the desk is trapezoidal, not rectangular because the sides of the shelves splay outwards (and by the same amount as the sides angle back towards the wall by random chance). I haven’t made the cut yet because I have more boards to prep, and while the board is kicking about on the floor of the shed, that extra material is protecting what will become the edge of the desk.

Incidentally, as the desk is only 17″ off the floor and is for a six-year-old and so forth, I’m not too fussed about the underside…

So the scrub plane was used to get rid of that step on this side, and I didn’t really bother taking down the scallops afterwards. I mean, I gave it a few swipes with the #05 so it’s not “textured”, but I won’t be smoothing it with the #04 or scrapers and I might seal that knot but that’s about it for this side.

Mind you, despite this lack of worry, I’m still miffed at a certain phillips screwdriver…

Yeah, that smug looking git right there in the middle. I was putting away the #04 1/2 and the vibration of seating that back home in the till shook it off the magbar and…

Lousy git of a thing. Well, there’s another site that’ll need inlay…


At this point I fixed something small that’s been bugging me for a while. The LED lights I put up in the shed work well, but I hooked them up temporarily while I waited to get the shed properly wired with sockets and such, and I still haven’t gotten to that so all three of them are running into a single cable that plugs into the extension cable that has been running power to the shed as a temporary measure for over two years now…

I mean, for a day or three that’s… well, okay but not great even with cable clips giving the cable some strain relief, but it’s been up for ages because I was busy, so enough already…

Those are wago terminals and a wagobox to house them. I’d never even heard of these until I saw Big Clive’s video on them

I’m so used to terminal blocks that they seemed like overly expensive gimmicky things to me at first, but after the first time you use them, holy crap they’re great. Those are the reusable version (there’s a permanent version that you can technically reuse but nobody does) because I still want to do this right, but this is so much better than the temporary lash-up I had waiting to fall on my head if I kicked the line by accident and run 240V across my scalp. Which, y’know, is suboptimal. So I undid the terminal block and linked everything up with the wago blocks…

And stuffed those into the wagobox and mounted it…

And reran the cable clips and put the cables into the wagobox’s strain relief glands and sealed it all up.

Nice and neat(er) and all working again and no exposed points where you could accidentally grab or poke something and there’s a lot more strain relief on that black mains cable. Much better.

Back to work after the long weekend and a few days’ holidays tomorrow so I’m expecting a long day or two in the office, and then when I get shed time again it’ll be on to the other shelves. Being poplar, they should be both easier working and less pretty than the walnut. Not sure if they have a date with the thicknesser, but if so that’ll be delayed until a Saturday afternoon and I’m not sure how the sides would be done as there’s no way I can run those through the thicknesser inside the shed, there’s just no room; and it’s way too loud to run outside on the decking. They may need to be done by hand with the scrub plane, but at least they’re poplar so it’ll be lighter work.


05
Aug 18

First chips

So it’s a weekend afternoon so if there’s a more civil time to use a planer, it involves taking a day off work. So to the shed!

First up, fitted the DRO to the planer. Slightly fiddly, and it does still bind a little so I’m sure it needs tweaking – or I could just remember how this is for roughing work only and how it doesn’t matter all that much and never touch it again 😀

It’s within 0.1mm after a very quick calibration. That’s… rather impressive. Well past my abilities so maybe I really don’t need to do much to this. Have to be careful not to kick the DRO when the machine’s put away mind.

This looks to be where it’s living for now at least – that DRO’s a tad more exposed than I’d like, especially if I’m getting at the tools in the plastic boxes on the left, which is a regular sort of thing (I really could use drawers there but shigata ga nai). Also, the sharpening plates are now riding on top of the thicknesser and an entire crate of finishing stuff is now displaced and living on top of the vacuum cleaner…

It really is getting cramped in here. And no, I have no more wall space left after the latest addition to the wall…

Oh well. On with the project I think. I took the walnut board I was thicknessing last time and fed it through the planer four times, three on one side, one on the other, taking small cuts each time of less than a half-mm.

Hm. Oh yeah. Extraction. 😀

Well, I have a 4-to-2.5-inch reducer in the post and I’ll hook that up to the extraction port when it gets here (and I’ve ordered the bits I need for that mod to do a quick-disconnect on the extraction hood as well). For now, this is manageable – just sweep the cuttings to the floor and then hoover up later.

It’s a shock to see how fast the process is though, not to mention how easy – I mean, you’d be able to keep up with the rate of material removal using a heavy-set scrub plane across the grain if the board was small, but for anything long, this just runs away with it and in terms of effort, it’s not even a comparison. I don’t plan to use it for anything other than roughing, but for taking a quarter-inch off a board in less than an evening’s free time, this thing’s excellent.

The noise is pretty hefty, but I discovered that putting a flat cushion between the thicknesser and the bench did cut down on the really unpleasant bass notes; the thicknesser seemed to have been resonating with the entire shed and the decking outside, which was… sortof impressive? Something to remember for the other machines as well I guess.

Anyway, with the board to rough thickness, out came the #05 and some finish planing was done (the board had bowed slightly in the last week or so because it had been sitting on the bench with one side planed and the other not), and then it was on to edge jointing…

The crosshatching is to watch material removal again. It took a bit of tweaking to get a joint I was okay with, and then a tad more planing of the boards individually to get a nice joint with a spring joint space in it, and then, glue-up…

Should be okay in the morning (the panel will have angled sides so those offsets are fine). The joint isn’t bad but the top will need some work with the plane to get a nice flat surface….

There’s almost a half-mm step there in the middle and we’re flush at the corners. Well, I’ve had worse and this is what hand planes are for…