…but it’s getting closer.
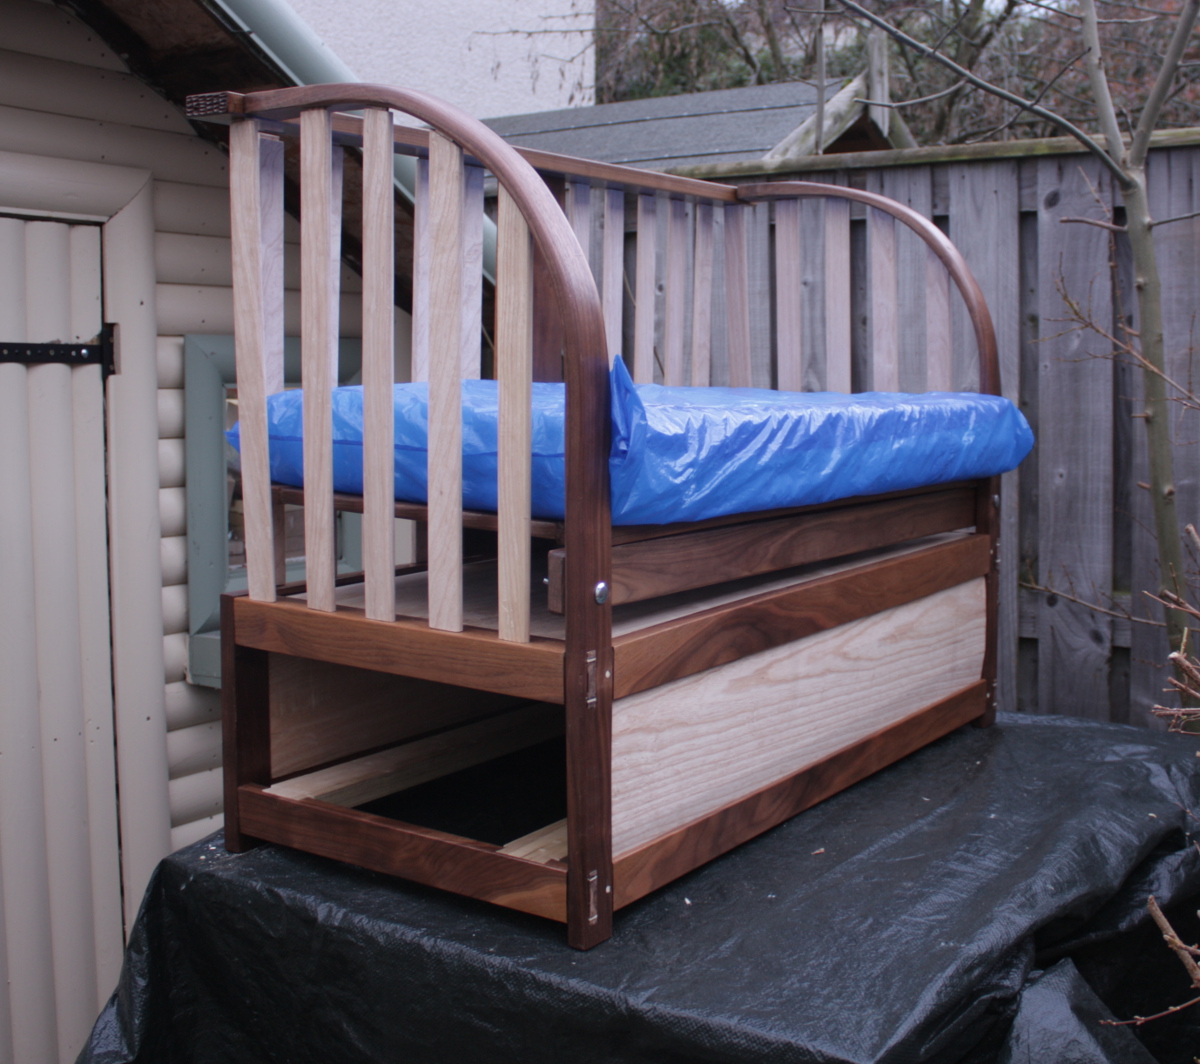
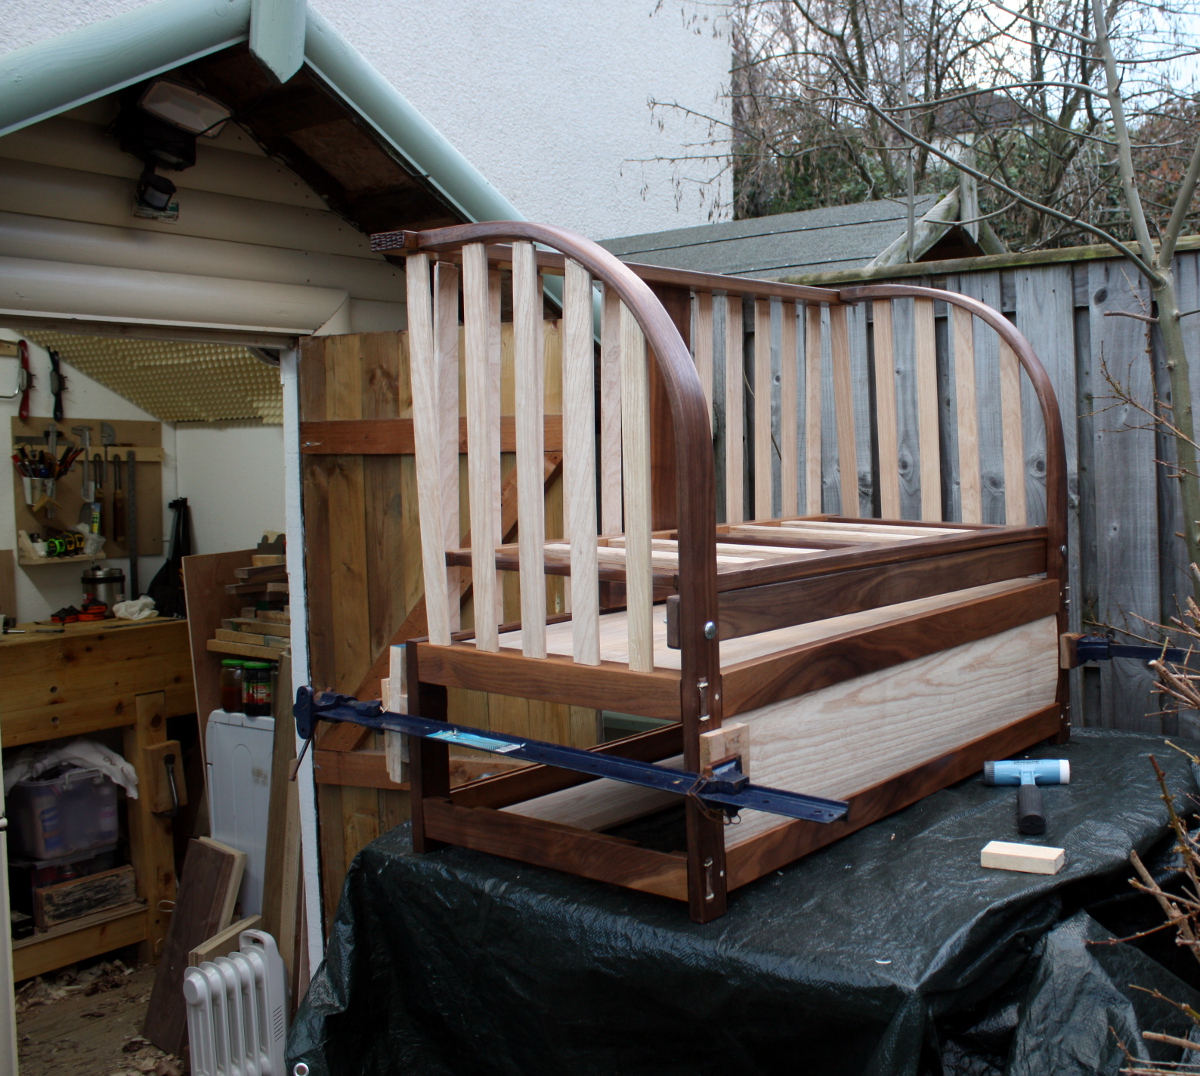
I’m kindof cheating a little there – that’s a dry-fit before gluing in all the slats. But it all fits and the mattress top is at the right height so that’s a good start.
Got the day rolling by checking on the last coat of shellac for the rear support and especially the endgrain carving, which turned out well.

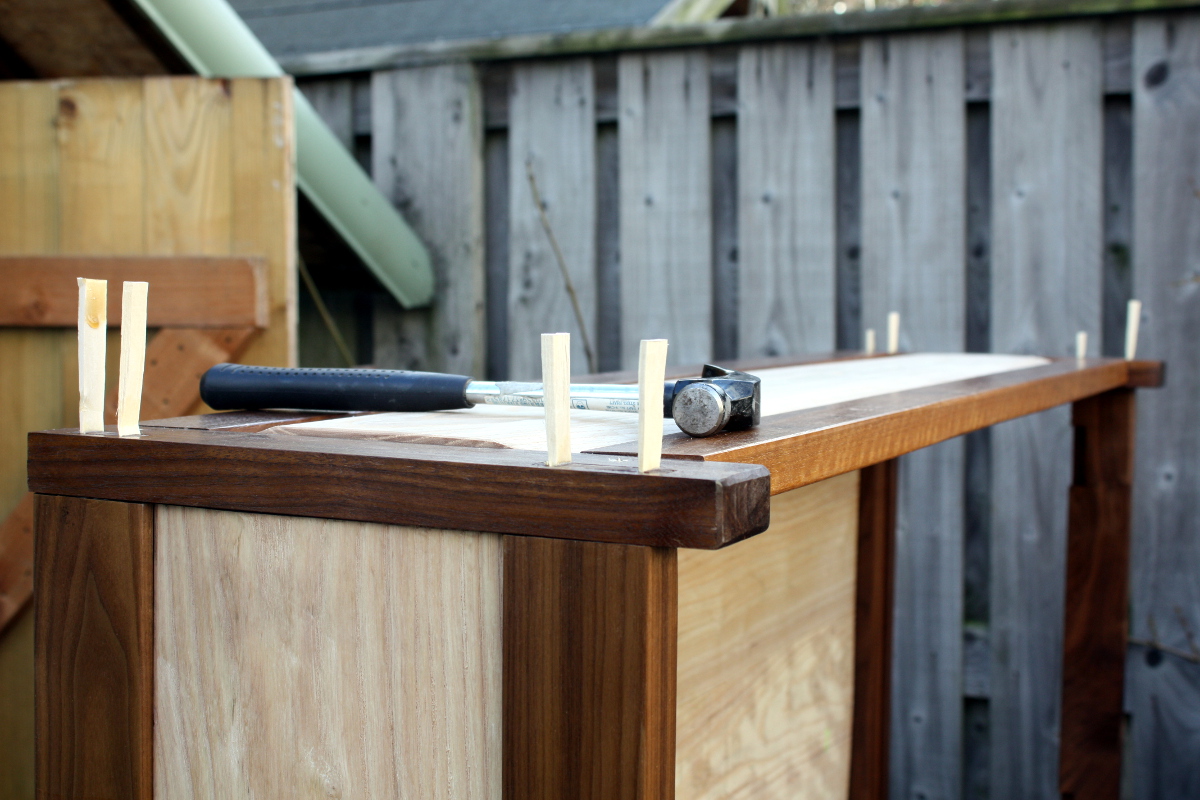
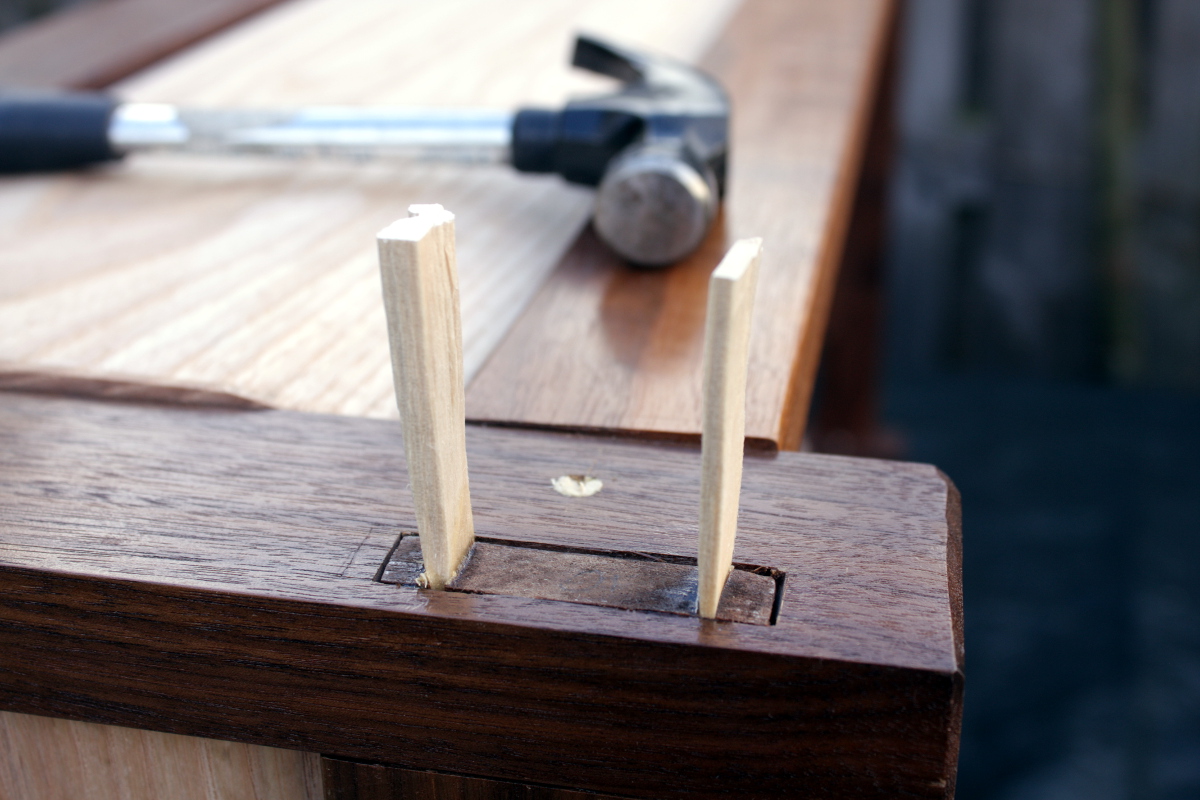
Then I put a tarp down on the assembly table, laid out the parts and rails, and dry-fit everything together. Then I stood the crib on the back panel, got out the hide glue and glued up the tenons going into the front panel, and then glued up the wedges and started driving them home to secure everything.

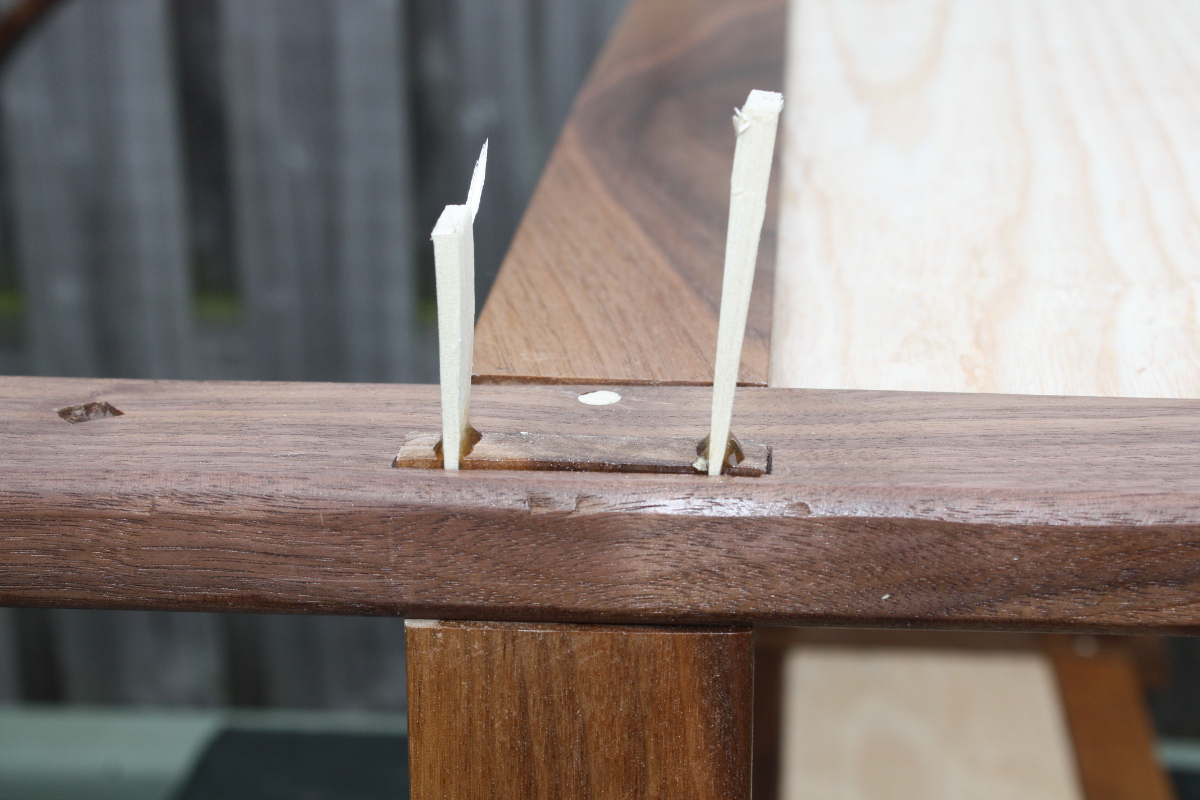
It went pretty well, even if one wedge did fail after I’d driven it home (it’s the one listing off to the left in the top photo). But enough went in to do the job, so it’s fine.
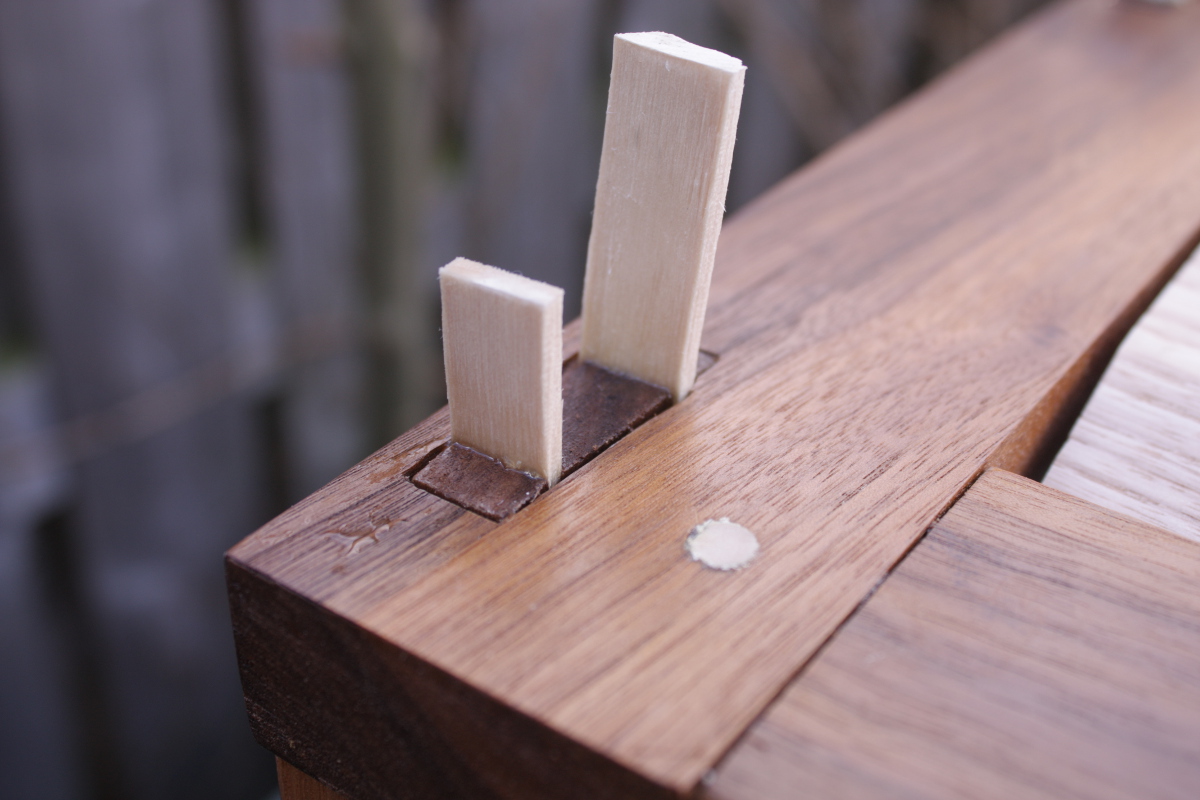
Then I took the flushcut saw and trimmed down the wedges, leaving a few mm proud only, flipped over the crib onto the front panel and inserted the end panel and dry-fit with the top panel and found – horror – a gap of nearly 2cm. The frame wouldn’t close. How I missed that I don’t know, but I spent the next hour fettling the top panel with jack and smoother and shoulder planes to get it to fit properly.
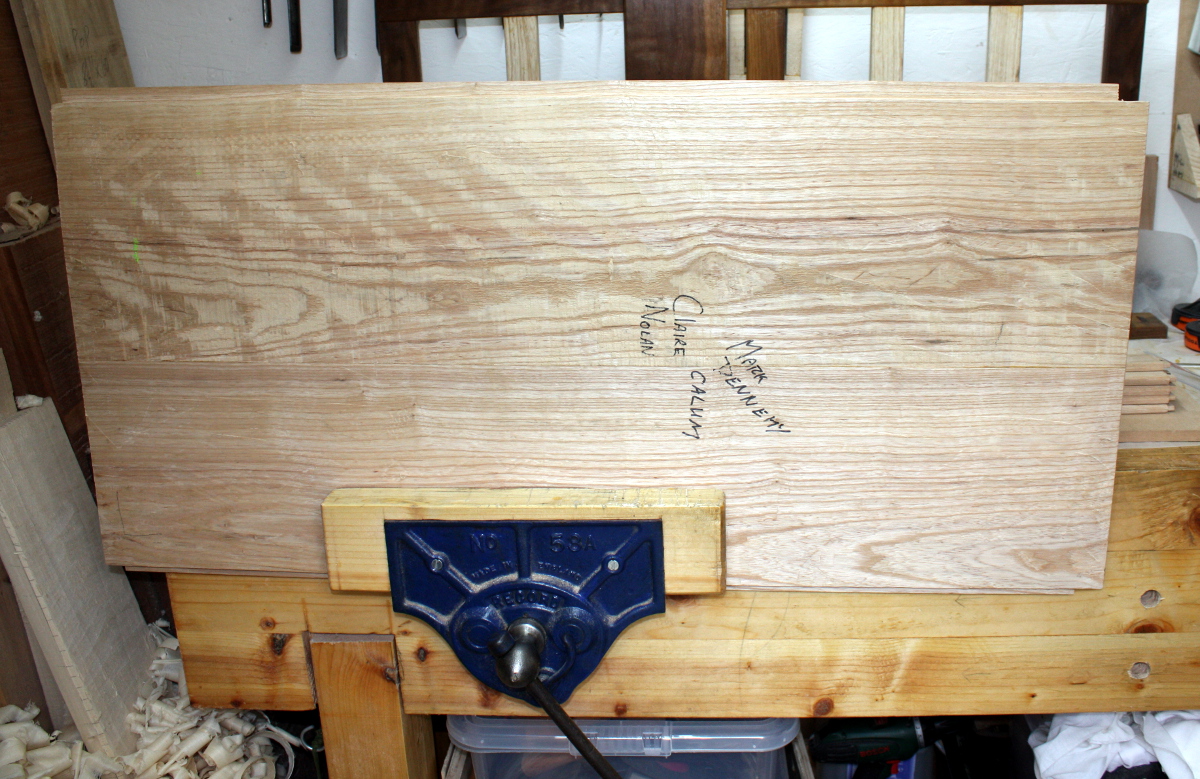 (Got to sign the work)
Then once I had it fitting properly…
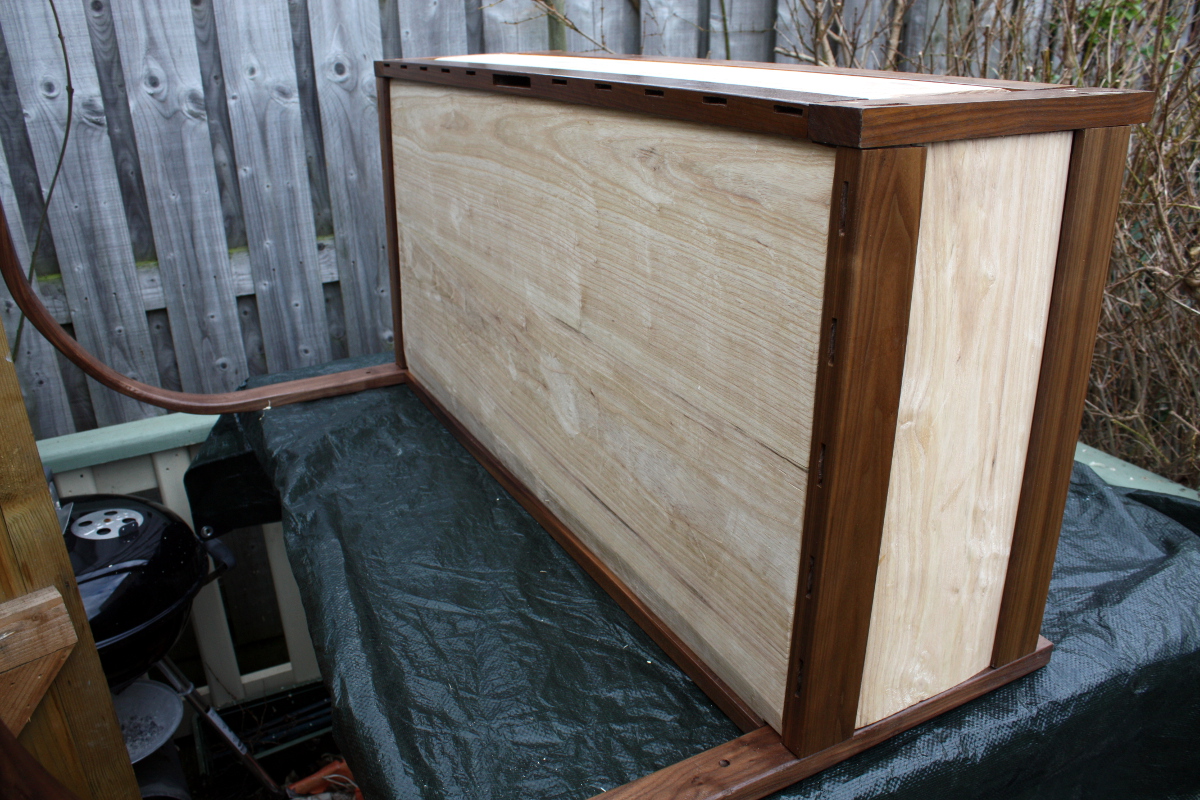
I painted the tenons going into the back panel with hide glue, seated them, painted the wedges with glue and drove them home as well.
Then I got some (now in bloody awful shape, I need to fix these again) of the heavy-duty clamps I used for the bench and clamped front to back panel to get good pressure on the joints.
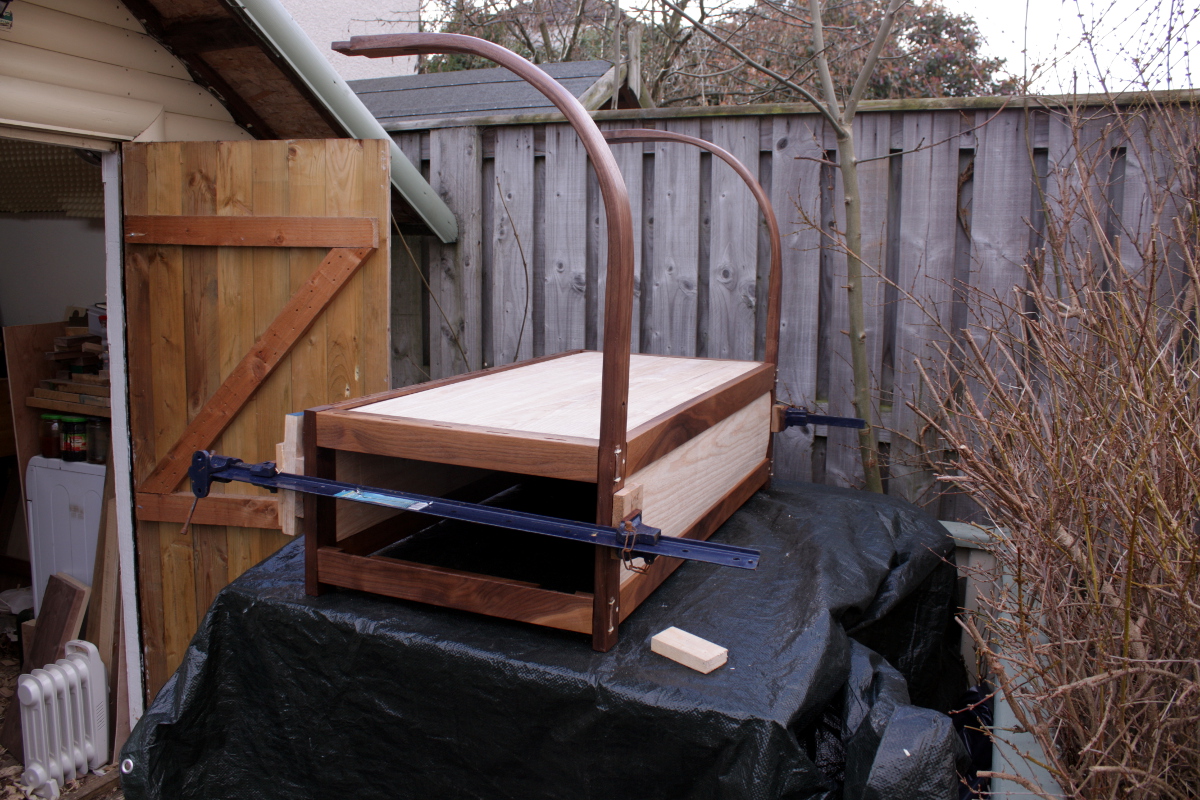
And then there was some tea. Then I dry-fitted the back support and top crossrail and the slats.
There had to be some more fettling of the back of the mattress support platform (and will have to be some more still, I’ll do that tomorrow), but it all seemed to fit fairly well, so I stuck on the mattress to make sure that it was 510mm from ground to mattress top.
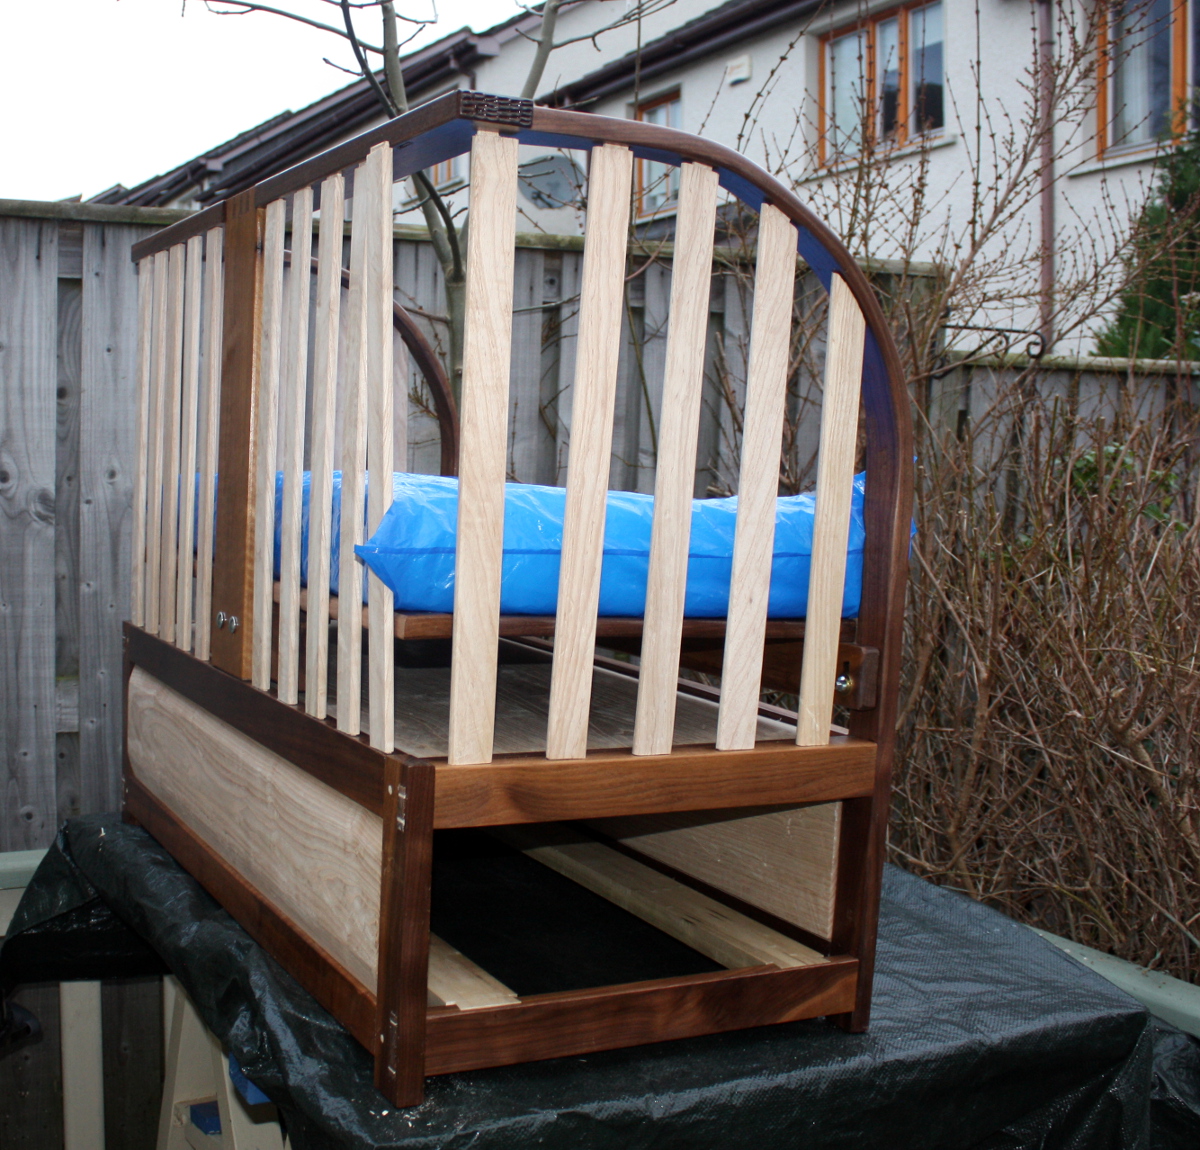
Yup, all good. And the grain pattern on the rails matched better than I’d hoped it would. I did have to remake one slat from a spare I had, but by the time the light was fading, I had the curved uprights glued and drawbored into the top crossrail and that glued into the main body and all the slats glued in place and clamped.
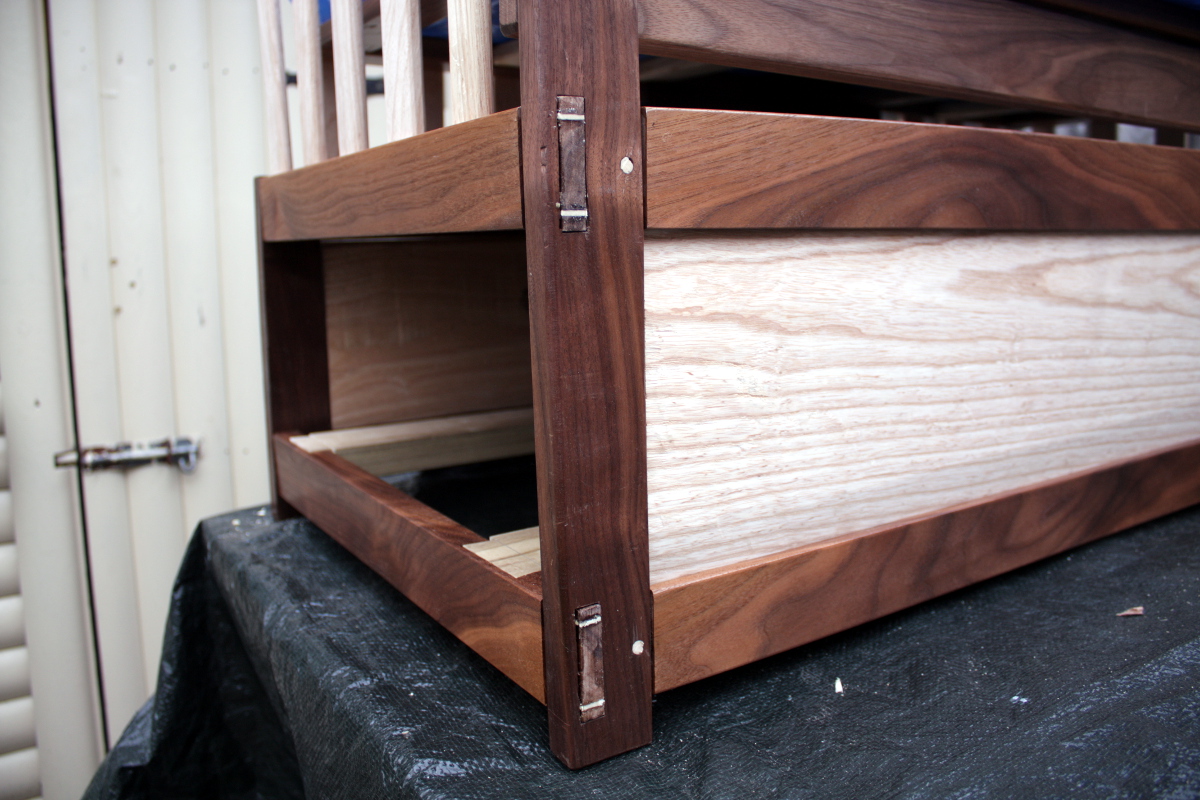
The question now is whether the hide glue can hold the slats on the left into the frame, as that curved upright wants to spring up and away from them. If it doesn’t hold, I’ll swap out the hide glue for titebond; but it should be okay.
And that was all there was for the main frame. I still have to fettle the mattress platform a little, that’s a five to ten minute job, but we’re just about done and onto finishing with the frame.
And all that leaves….

…is the drawer.
To-Do List (stuff in progress in blue:
- Make a drawer
- Thickness the boards for the drawer.
- Cut the drawer front to size.
- Cut the drawer back and sides to size.
- Cut dovetails for drawer.
- Groove drawer with #43 for plywood base.
- Maybe add runners underneath the drawer?
- Finish plane drawer front
- Finish drawer front with shellac.
- Paint drawer sides with milk paint.
- Assemble drawer.
Assemble and glue-up and drawboring of everything.- Last minute fettling and foostering.
- Finish entire assembly with several coats of Osmo wood wax.
- Close door of shed, lock it, walk away and never do another project with a deadline ever again.
Tags: crib, hand tools, steambending, Woodworking