I have a few blanks of olive ash I got from Home of Wood back before Brexit made a hames of shipping stuff from the UK to here, and they can be a bit of a pain to turn because they’re so hard, but they always make up for it by looking spectacular. So…
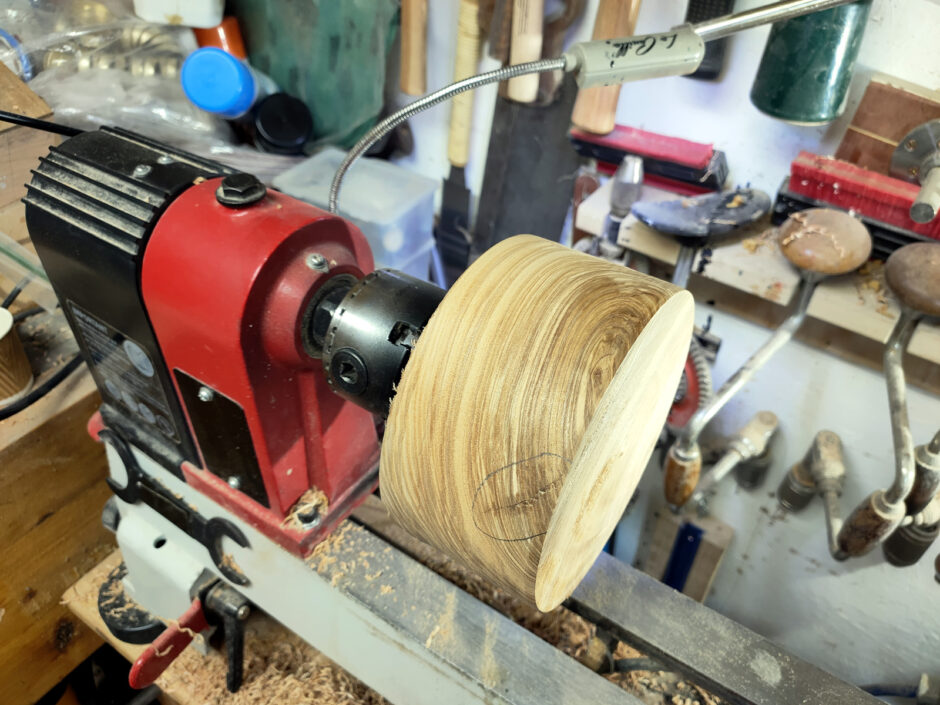
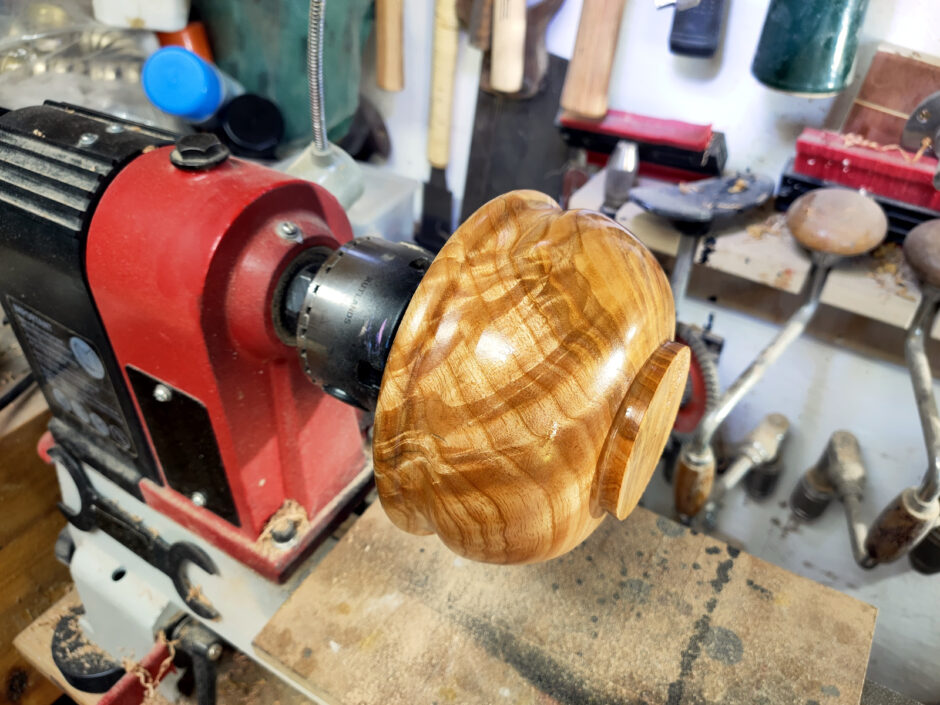
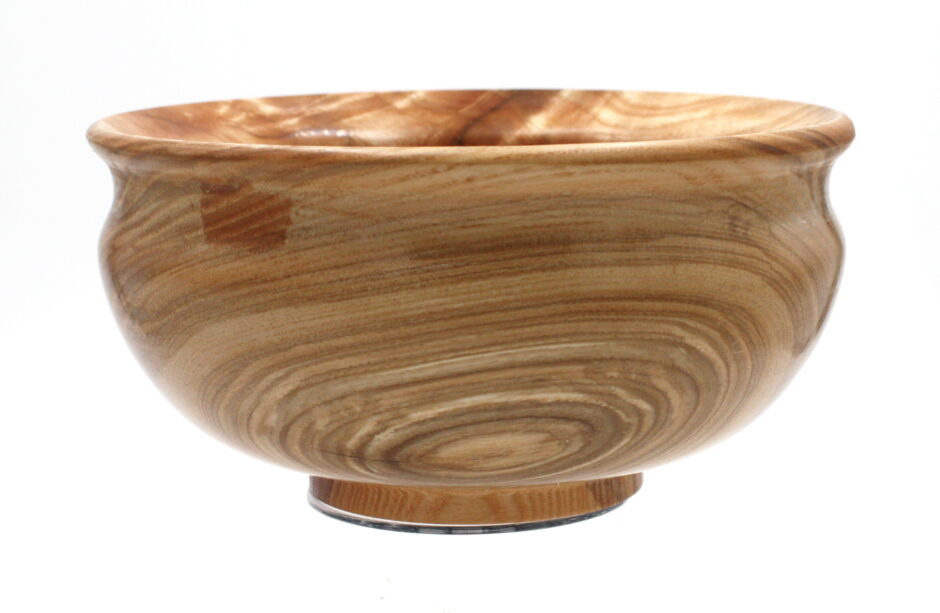
Some really lovely grain right on the corner where it’ll be turned away. Le sigh. Also an odd crack that I’d circled in pencil there and a void on the far side. This wood really doesn’t want to make your life simple. I wanted a shape that fitted in the hand well, and wound up going down the amphora road a bit again. I’m not sure this really works that well, but for some reason I keep on cutting it.
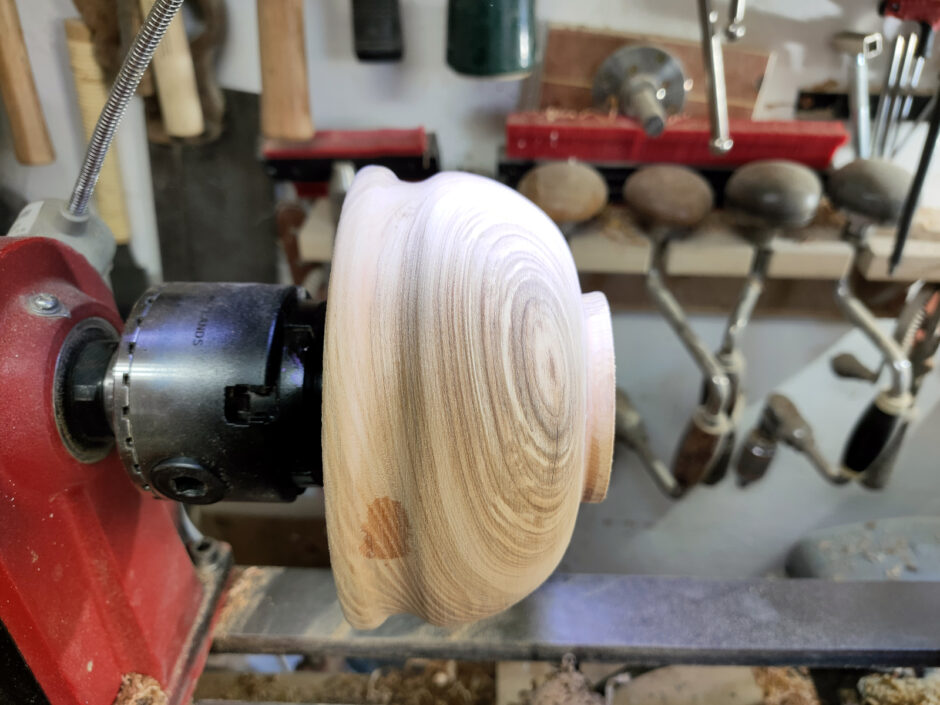
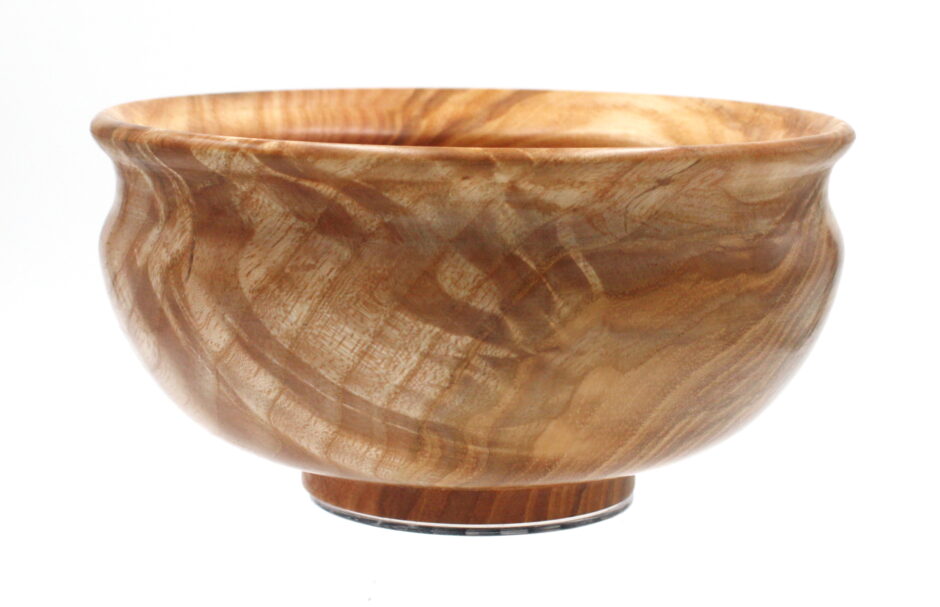
Hollowing out that shape is a bit of a pain because of the undercut being half-way into the bowl. But at least the nice bit of grain that I liked is still present.
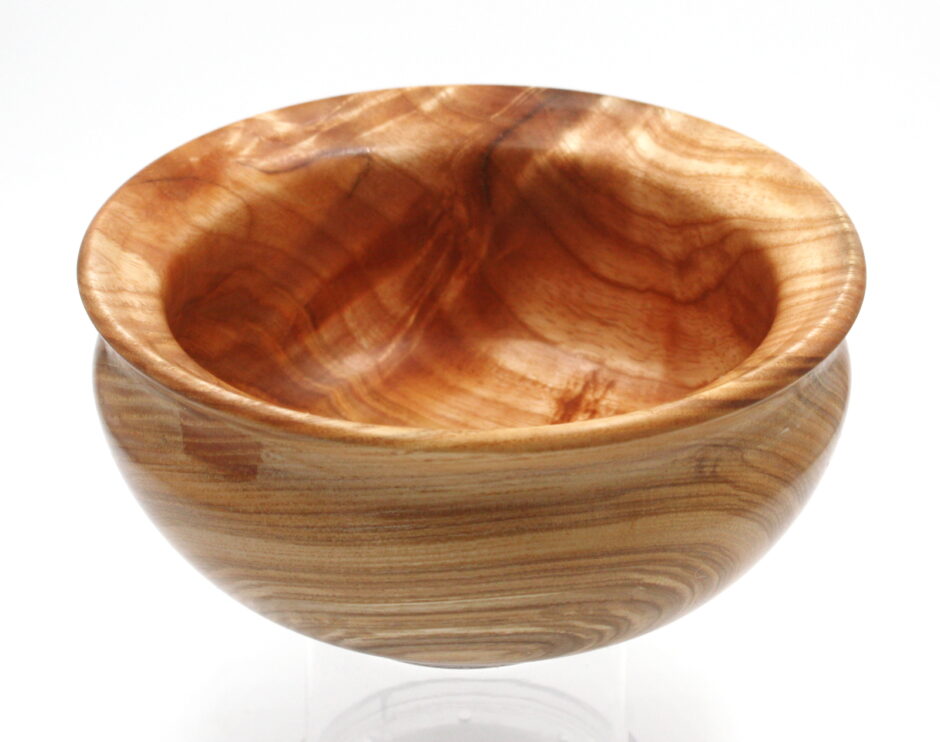
Also, wow, that figuring. That’s going to look spectacular when it’s done. Assuming I don’t muck it up. So, sanded to 220 dry, to 400 with danish oil, then yorkshire grit and then four coats of hampshire sheen wax, each left for ten minutes to set up before being buffed.
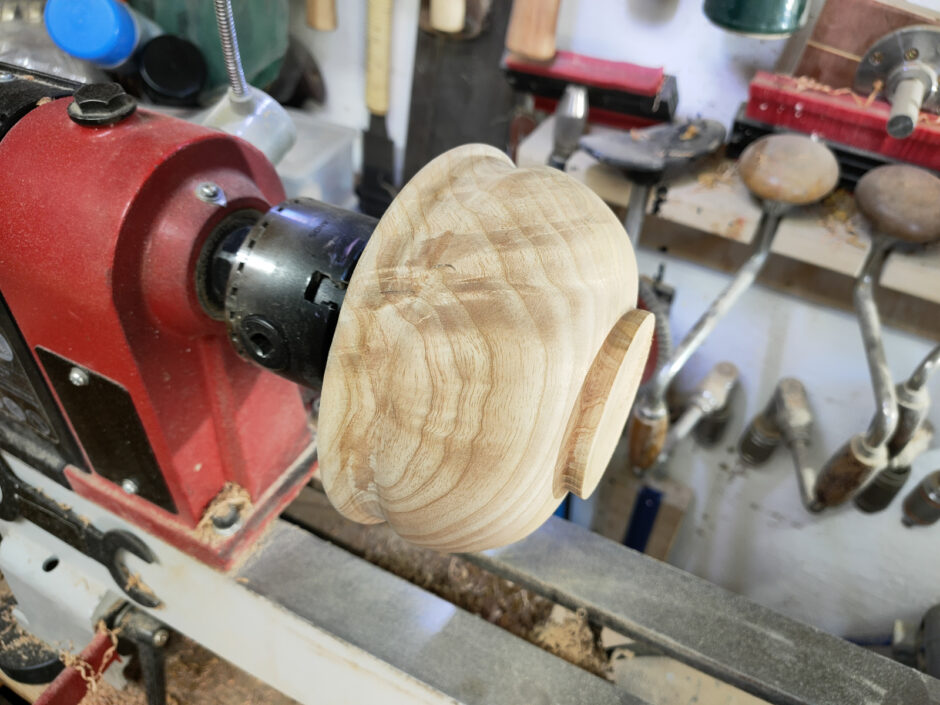
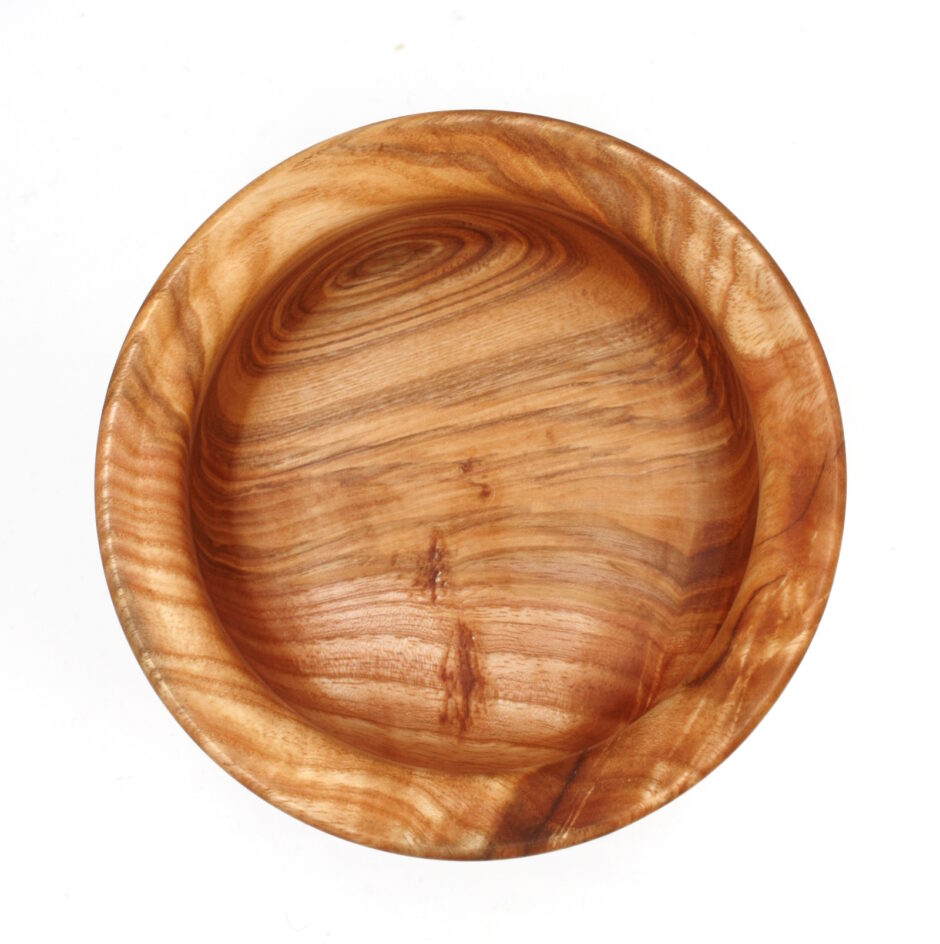
The grain came out nice but it’s the figuring that’s the star here.
I’m guess this must have been from under where the branch was and this is all stress-related figuring but it’s really pretty.
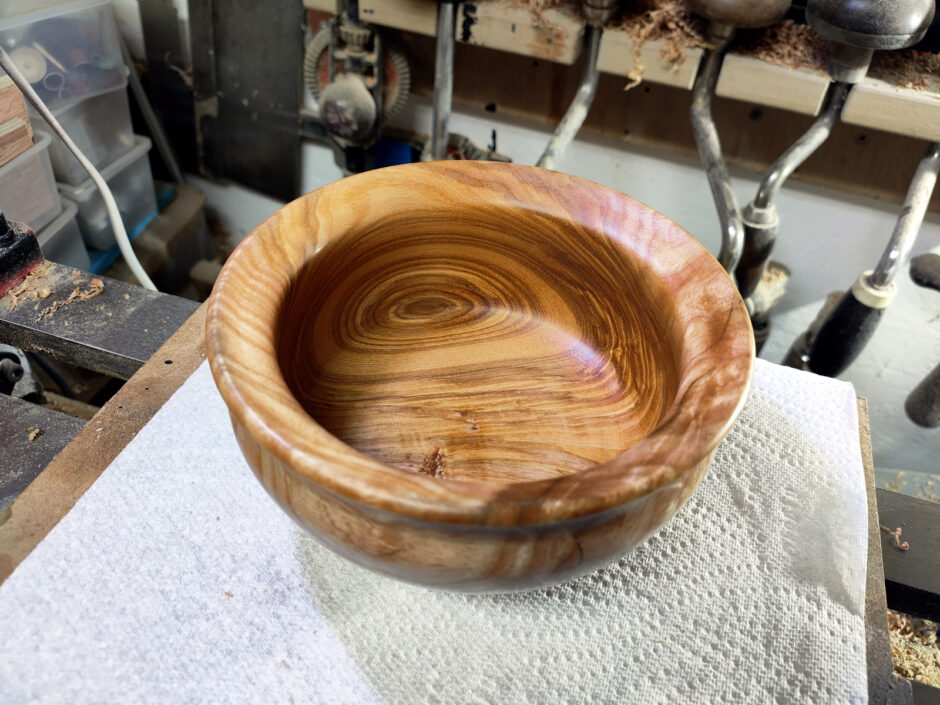
So, reverse the bowl and hollow out, which went well but was a lot of small cuts and grumbling about tearout in odd spots and stress cracks opening up. I really need to get a bottom feeder bowl gouge to handle that transition from side to base and to do a bottom cut rather than a scrape. But it turned out okay. Poppyseed oil and hampshire sheen for the inside so it’s foodsafe.
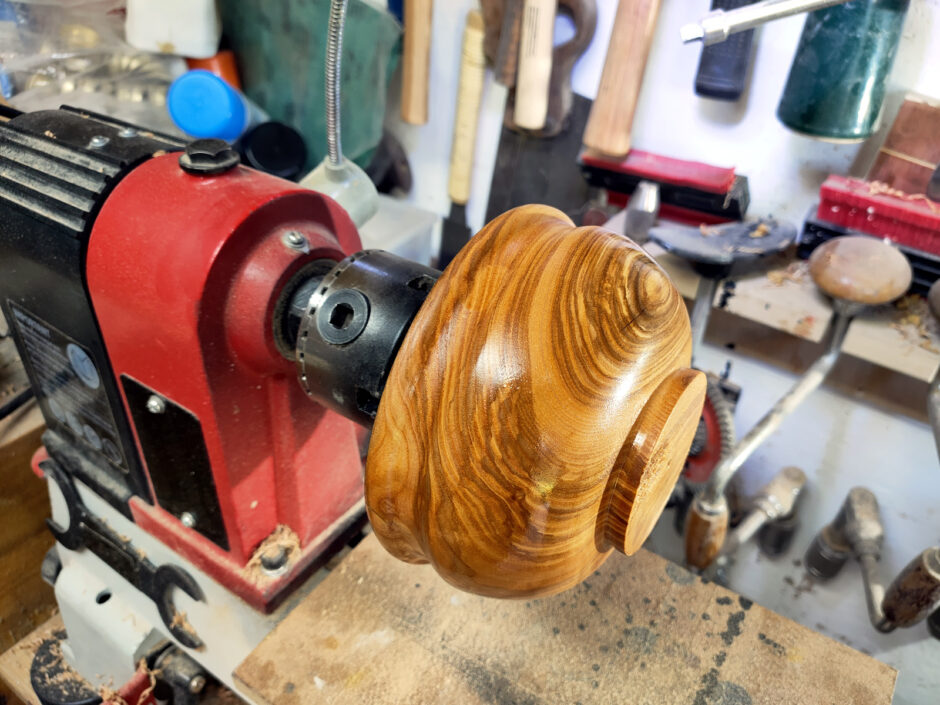
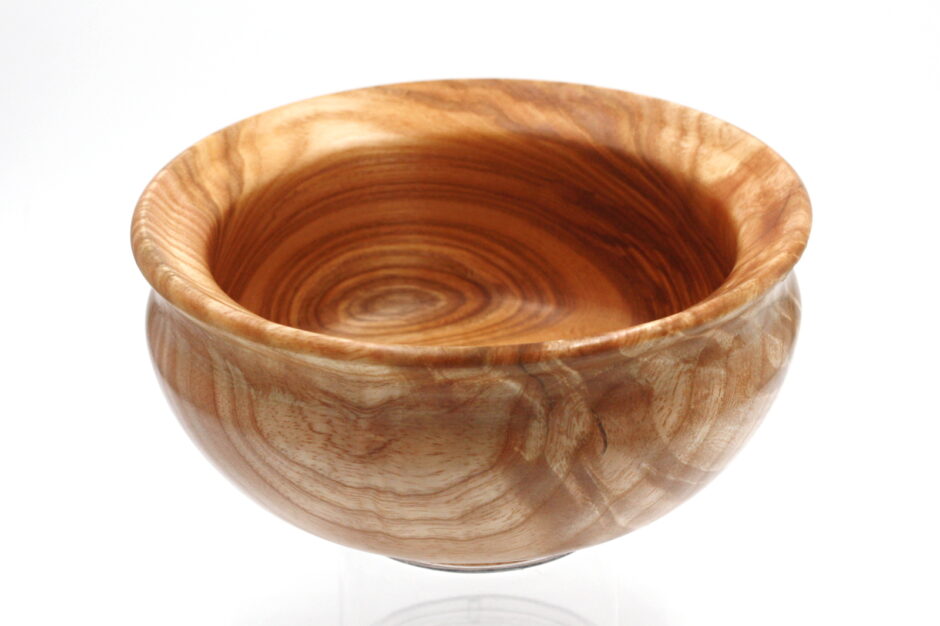
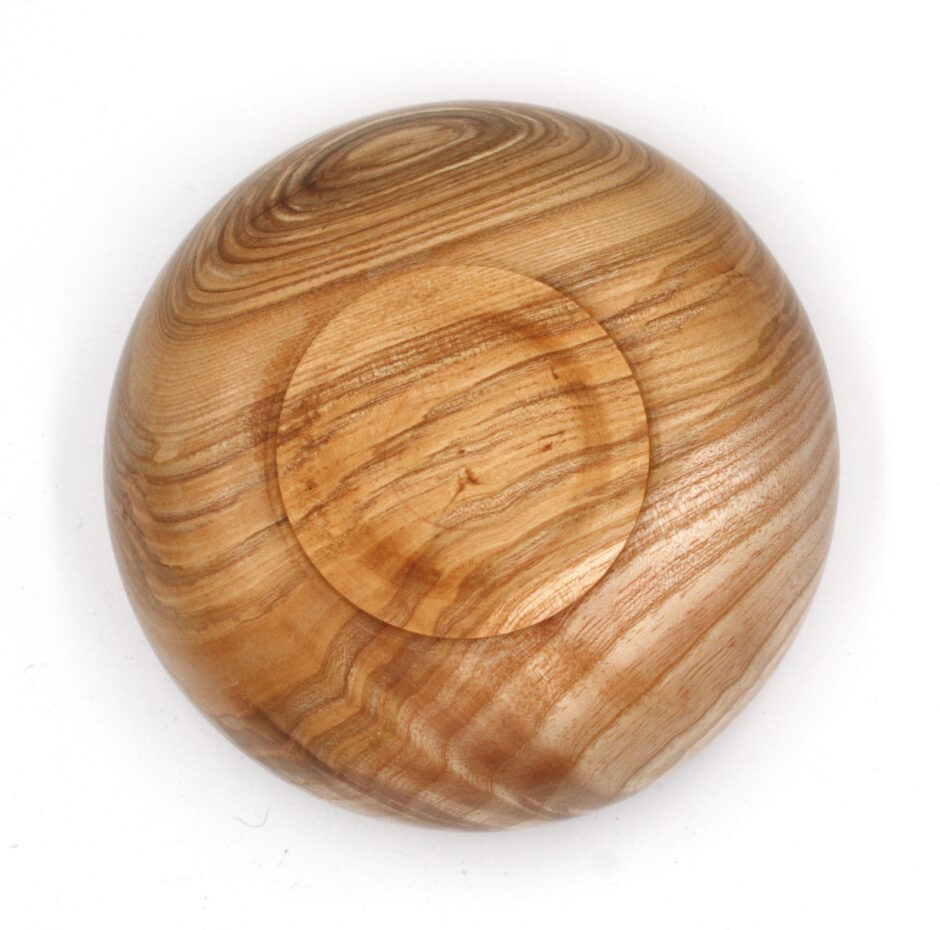
Then reversed the bowl onto a pushplate and shaped the foot and a bit more danish oil and wax there.

Totally forgot to brand it, I’ll do that later on. For now, it’s done and it fits in the hand well and it’s pretty, so I call that a success.
Tags: ash, danish oil, hampshire sheen, olive ash, poppy seed oil, yorkshire grit


1) > Some really lovely grain right on the corner where it’ll be turned away
Why couldn’t you reverse the mounting so you didn’t turn away the grai n you liked?
2) Outside lookes lovely, but – espcially after your thin wall post – the inside bottom third looks thick and clunky. Maybe it’s the angle in the photos.
1) Because if I had, the amount I would have lost making a new foot and getting past the screw holes from the faceplate would have meant I’d lose it anyway and get a smaller piece as well.
2) Yup, it’s very chunky in comparison. I’m still learning how to hollow out when it’s not an open form, like that thin walled exercise was. When there’s an undercut, it gets much harder. But I have since gotten a new gouge to make into a bottom feeder so hopefully it’ll improve.