So there’s a podcast I listen to here in Ireland called TortoiseShack (I guess they’re more a channel than a single podcast these days, they’ve spun up dedicated special-interest podcasts), which has a lot of voices we don’t get to hear on RTE much. Longer chats with data protection experts like Simon McGarr (which is how I got interested in them), talks on green politics with people who know why you can’t have a forest of walnut trees, discussions on the homeless crisis with Peter McVerry, that sort of thing.

I’ve been throwing the price of a cup of coffee at them for a while now on patreon, but I was reading how one of the two guys who does the podcast is running 2,020 miles this year for charity (he finishes next week) and I had the idea to make them a desk ornament because if you look at their logo, it’s almost like it was designed to be made as small bits on the lathe and joined together:

I figured, the head is just an egg, the legs and neck are just slightly curved cylinders, the tail is just a cone, and the top and bottom shells are just unhollowed bowls. Sure, there are tenons and mortices and the neck hole of the top shell might need a holesaw but I have those, and maybe that angle at the front would be a cut on the bandsaw with the table at an angle, but all that’s doable. So over the last week I did it.

First five minutes went well, I missed a flaw in a bowl blank because it was painted over (what idiot thought that was a good idea?) and it bounced off my faceplate (remember, Norm was right). But the rest of the turning was easy enough, and I put a small tenon on the back of the bowl where the woodscrew was holding it (and a little undercut) for reasons that show up later.

Nice grain pattern really. Wish I had brown stain to match the logo better but oh well. You can see the lower shell on the lathe there in the top left as well, the yellow stain isn’t very evident there though. I think I’d have needed to go full-on Furini with an airbrush to get colours that matched the logo though, so I’m settling for just evoking it rather than replicating it 😀 I’m also skipping the plates for the same reason – I could dremel them out but the design on the 2D logo doesn’t actually translate to 3D well when you try to figure out what the shell would look like from the top, so I’ll leave that bit out so long as it’s still recognisable at the end.
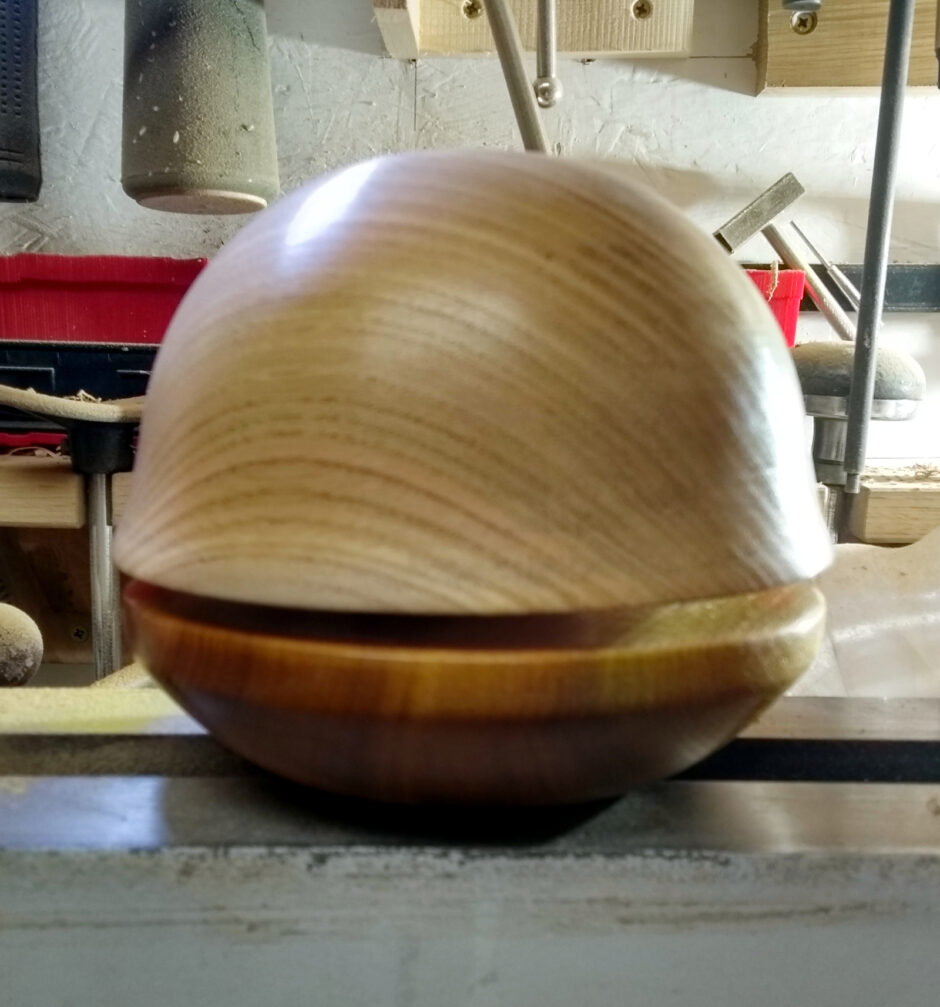
There’s a tenon on each piece here which is why the gap between shells is so large. Next up, the head, neck, legs and tail…
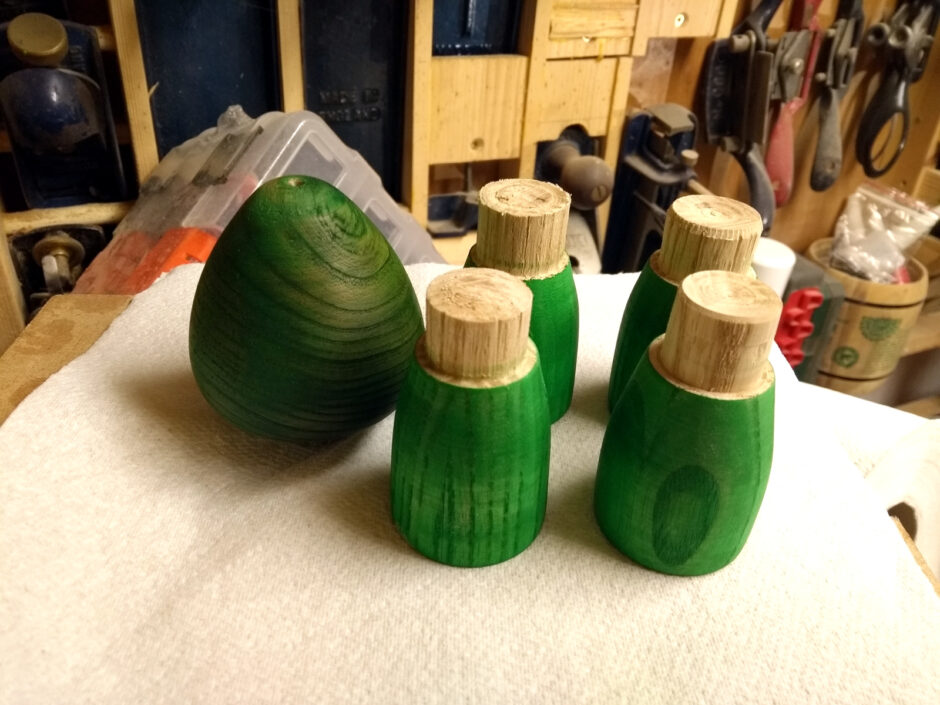
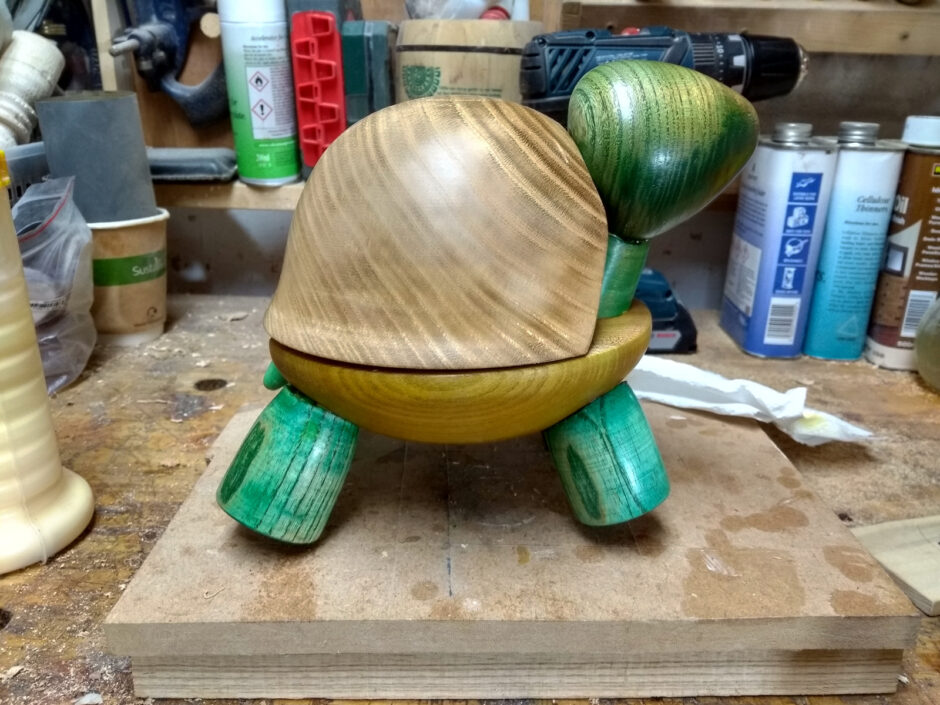
The green stain looks a lot nicer here, but it doesn’t stay that pronounced through sanding alas – here I’d stopped sanding at 120 hoping to get deep penetration of the stain, leave it overnight then hit it with sanding sealer when the stain was fully dry and sand to 320. This didn’t work – the sanding acted like the stain was still fresh and a lot of it came off. But that aside, this part went quickly – I did the head and legs over one lunch hour and the tail and neck in an hour that evening (the legs all came from one blank I’d made to make a toolhandle from but I wasn’t using it, so they were very fast to get to this stage).

Yes, I know. Go on, laugh away, get it out of your system…
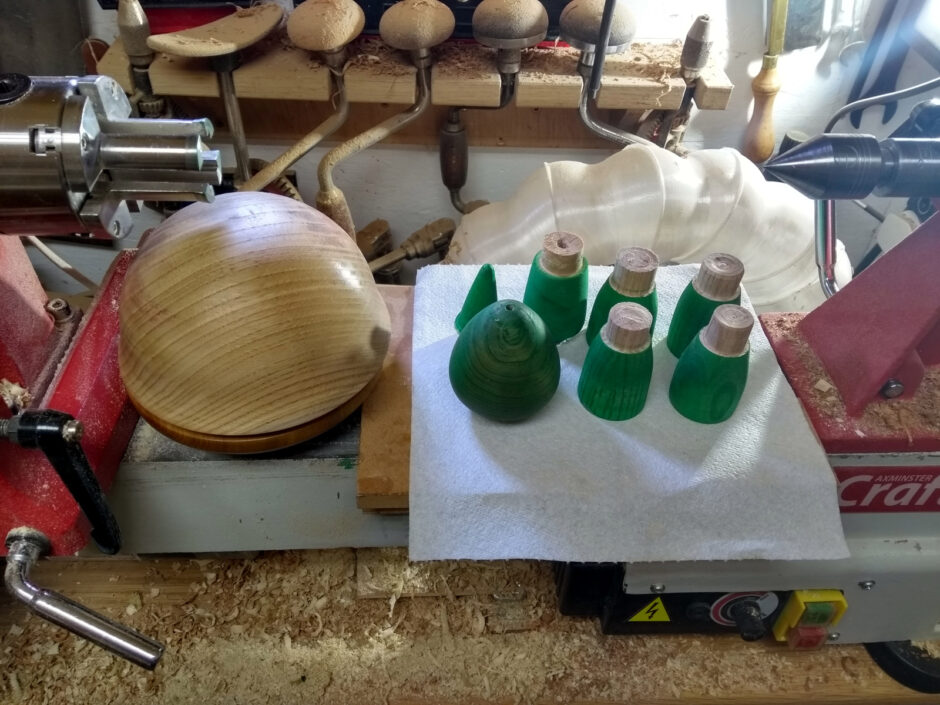
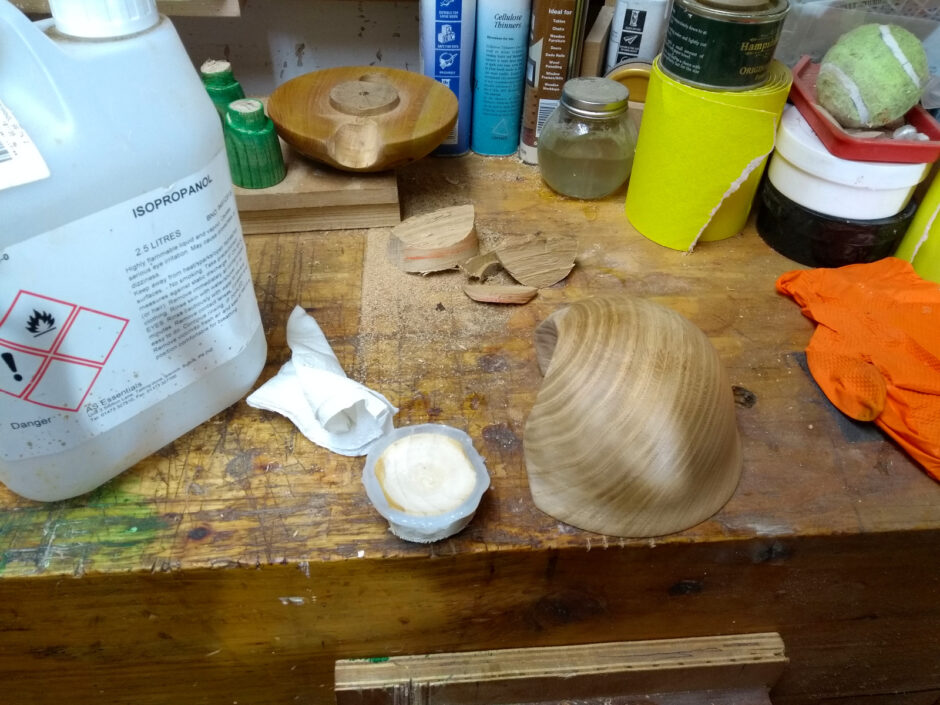
That’s everything drying at the end of the first day. Everything from here is just fiddling and fettling really.
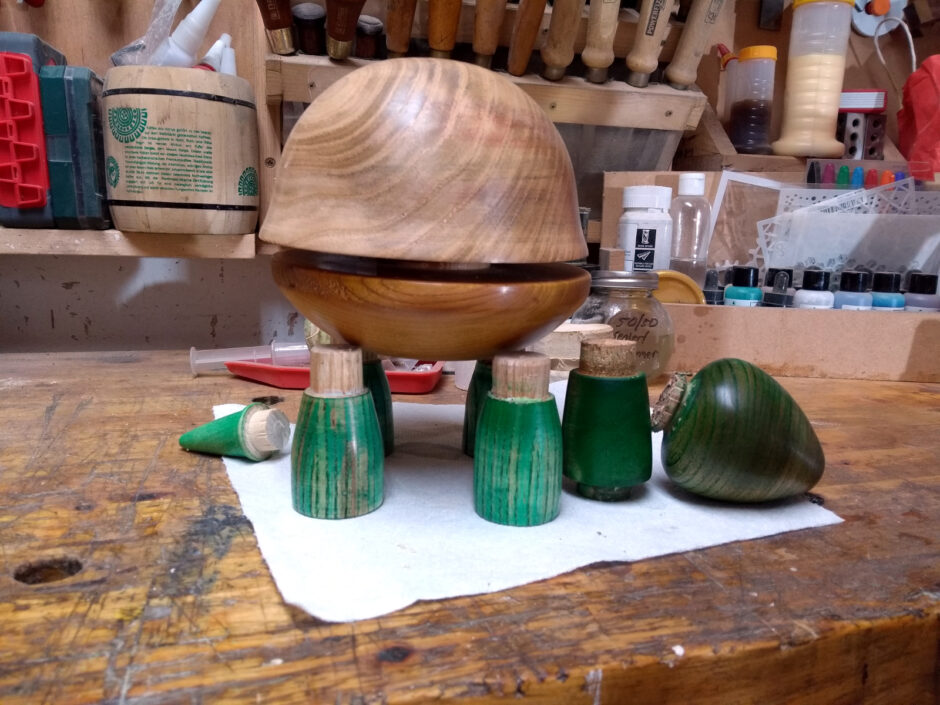
Right so we need tenons and mortices. The legs, neck and tail have tenons already, and to drill the mortices I have this new famag 1″ forstner bit and a drill 😀
The neck and head were easy enough, and the mortices for the legs go in the underneath of the shell. At which point I discovered one of the tenons was not like the others…
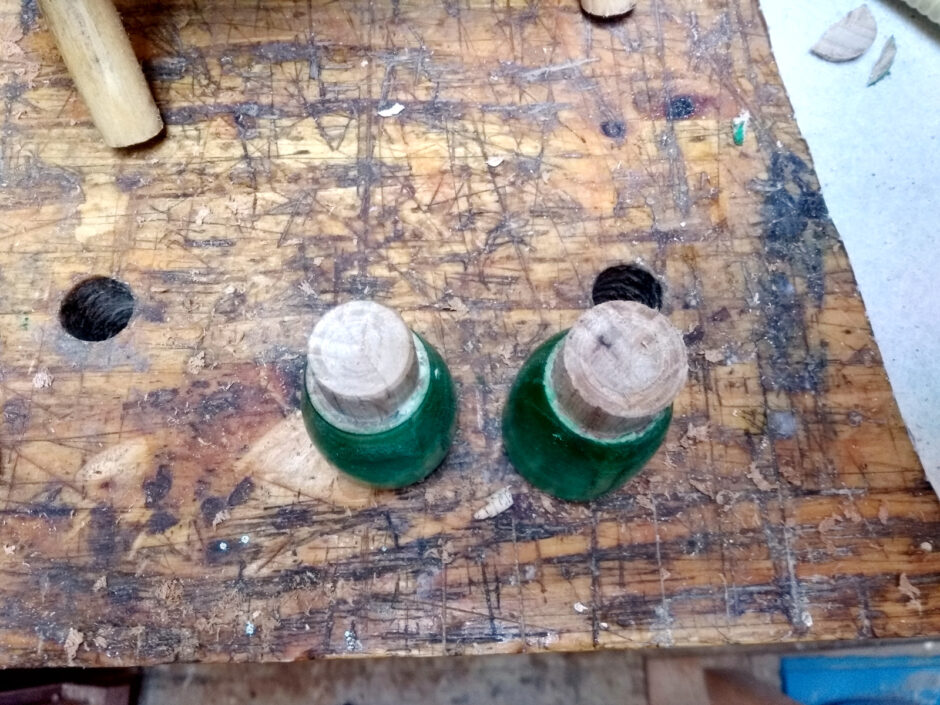
Whoops. Much smaller, way too loose. No way glue’s going to cover over that much of a gap, there’s a good 1-2mm on either side between tenon and mortice. So…. grab one of the other bits of spindle blank I’d made up and the #04…
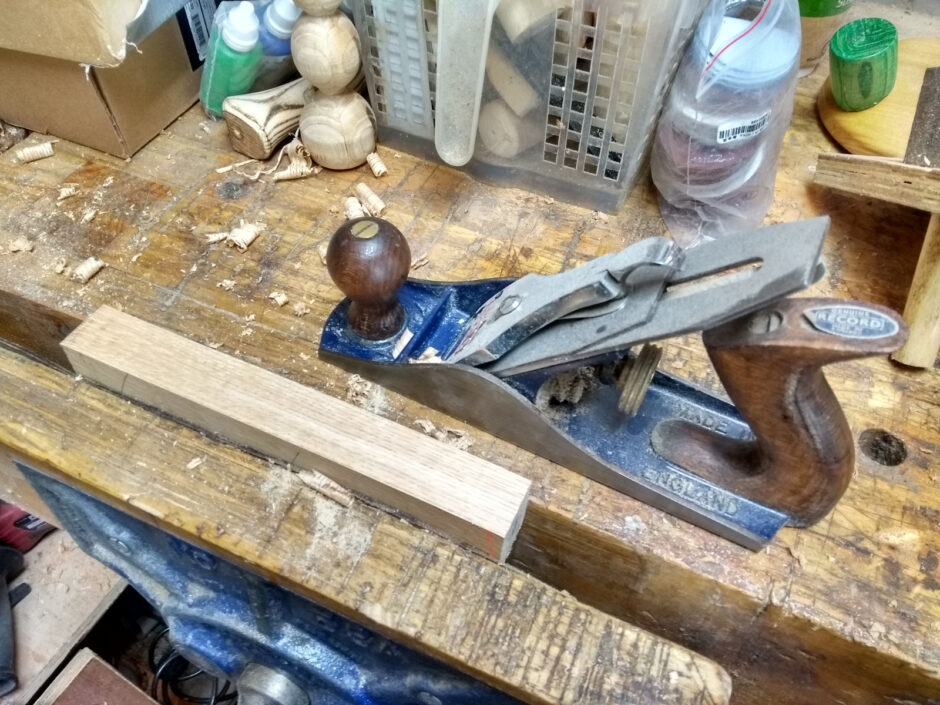
Make a few shavings, moderately thick…
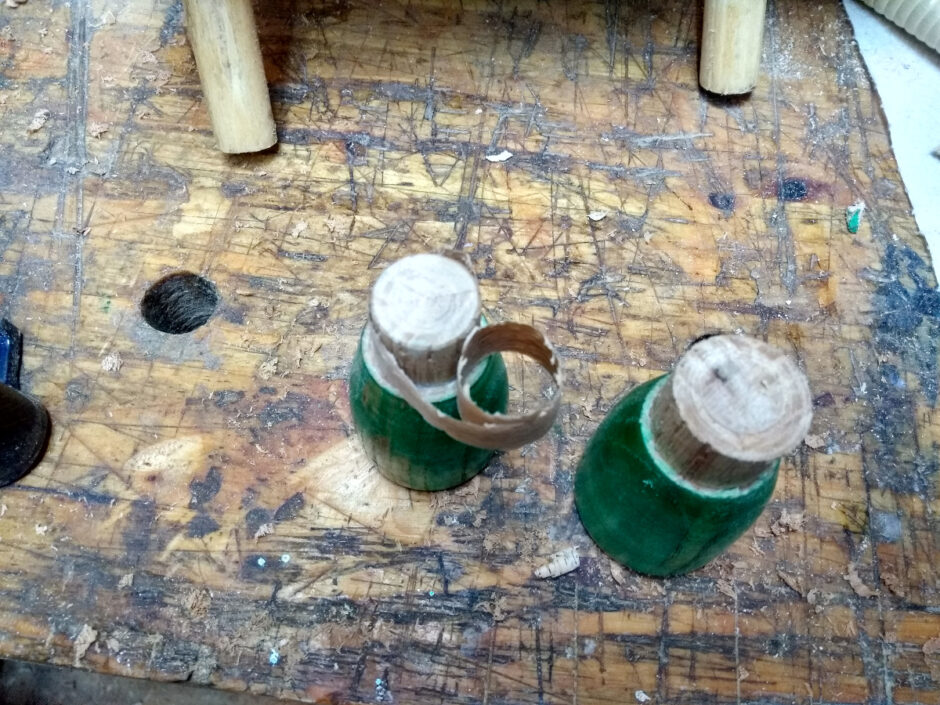
…wrap the tenon and glue the shaving in place…

Not perfect, and if I was less lazy I’d remake the part, but it’ll fit and hold now.
There was also a lot of fiddling with scribing the shoulders of the tenon to the surface of the shell, which was curved and of course the mortices are angled as well so that was fun. Hold a pencil flat on the surface, scribe against the leg, trim to that line with a chisel and undercut as well, then check the fit and fettle as needed. Fiddly, but not complicated.
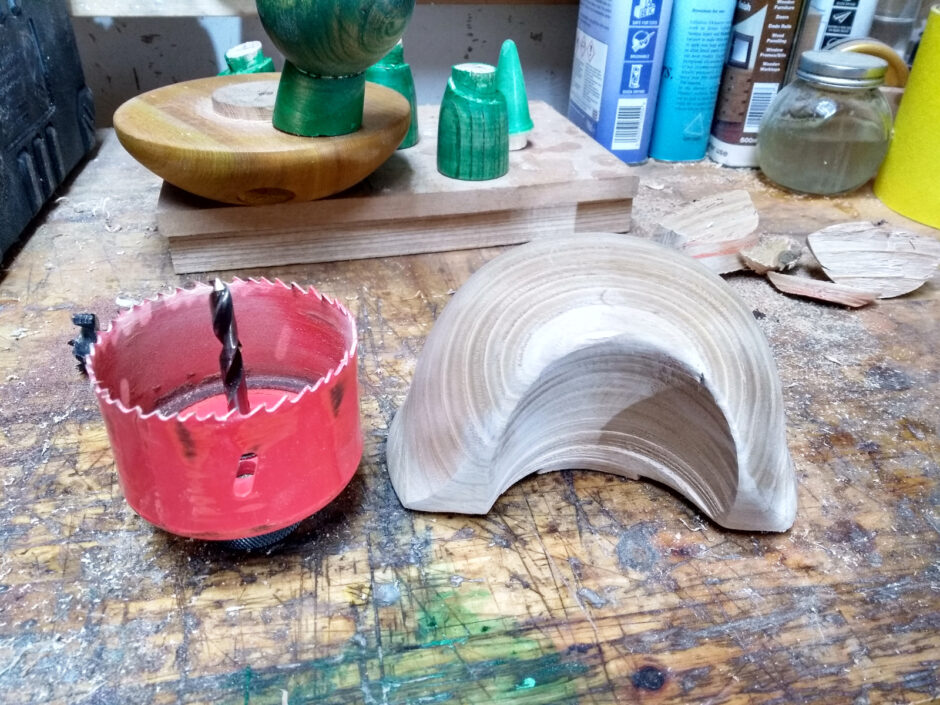
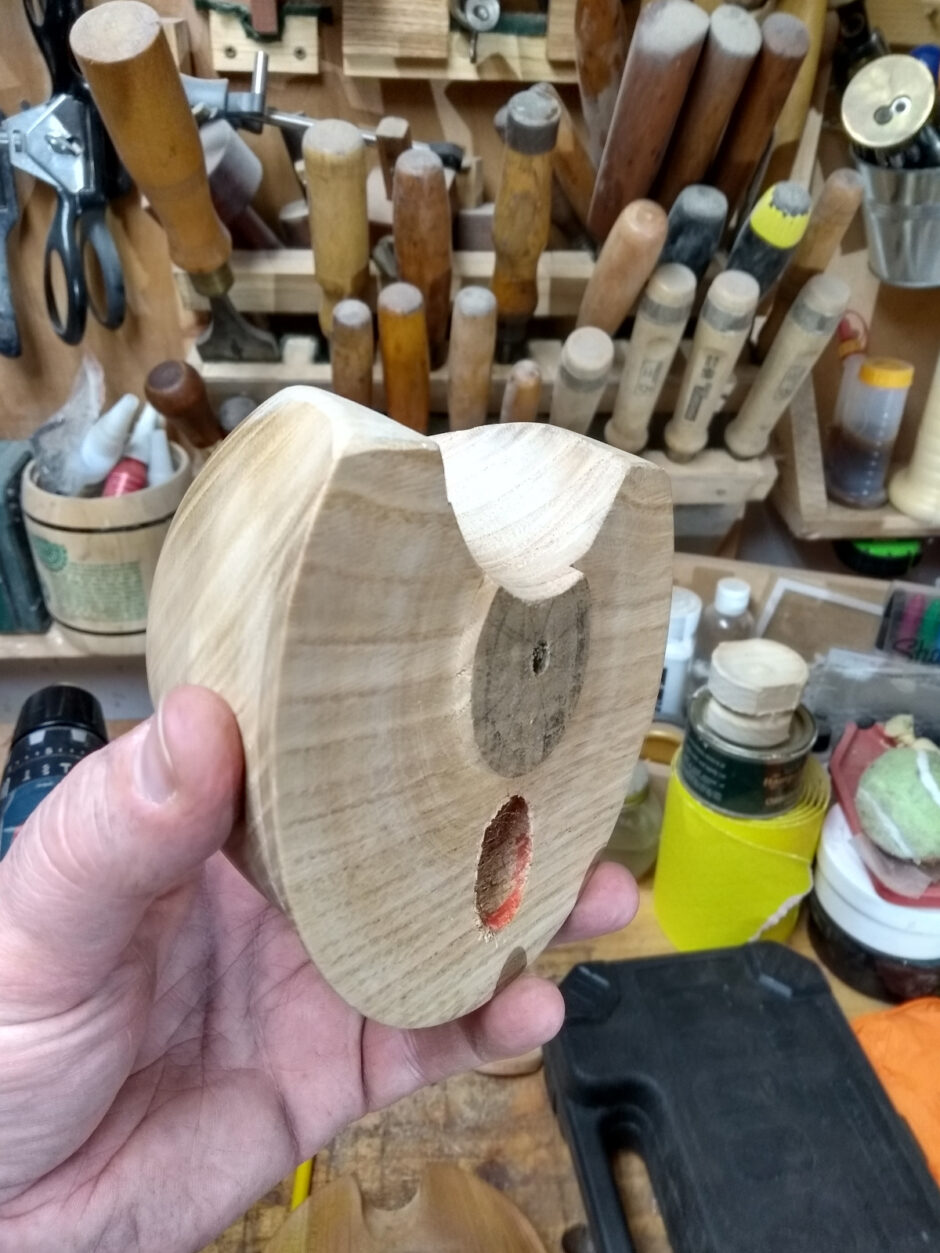
And with that done, it was time to cut the neck hole in the top shell. Pillar drill, hole saw from lidl, janky-as-anything workholding setup with the shell propped up on a block at an angle and away I went, expecting it to all go horribly wrong at any moment. And it kinda did, I had to stop half-way through and use a chisel to knock off some waste because the saw was bottoming out on the top of the shell. And the second time I just took it out of the pillar drill and tried to finish the cut with the fretsaw by hand but couldn’t, so I put the holesaw in the handdrill and used the kerf of the cut so far to guide the last inch of the cut, knocking out more waste with a chisel as I went. Messy and janky and there’s about six better ways to do it that I don’t know of, but it worked and a quick cut on the bandsaw with a tilted table later and the top shell was done.
The mortice for the tail was cut by hand with a smaller holesaw (as the tail’s tenon was also too small and I figured I’d save myself another shaving trick).
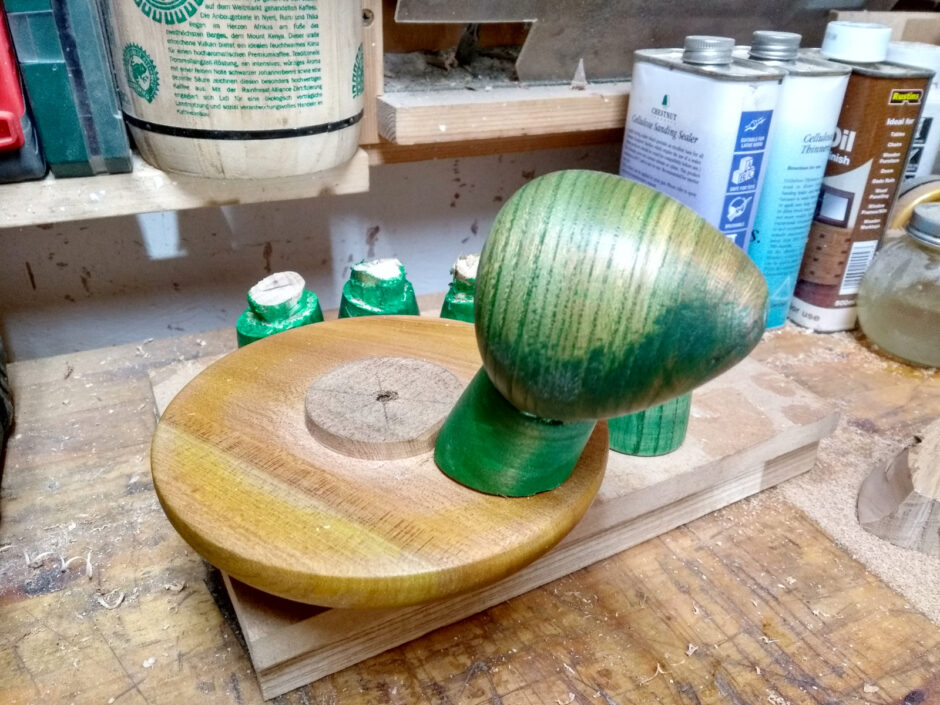
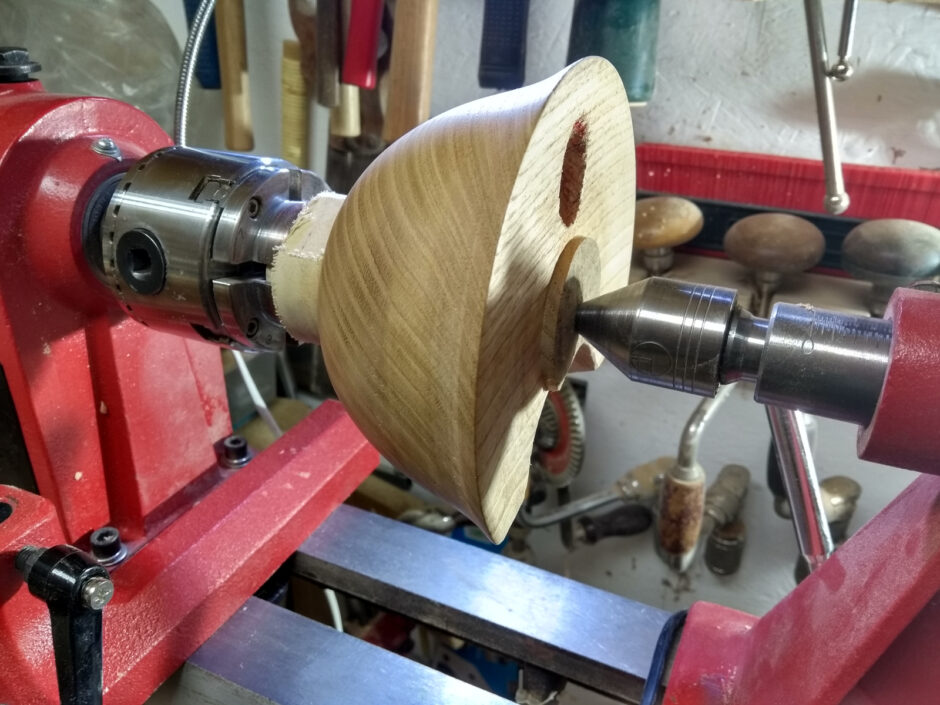
Right, now I just need to turn that tenon off and make it a shallow mortice to match the lower shell’s tenon and….
oh. Shite. What do I hold the sodding thing by? There’s no tenon on the back. Well. Feck. Off I ran to youtube looking for a thing I’d seen last month that I thought couldn’t possibly work, and figured I’d take a chance.
Took a small scrap block, pinned it up against the closed chuck with the tailstock, turned it roundish, put a tenon on it, reversed it and grabbed the tenon in the chuck, faced it off, made the face concave and chamfered the face’s edge, and viola:
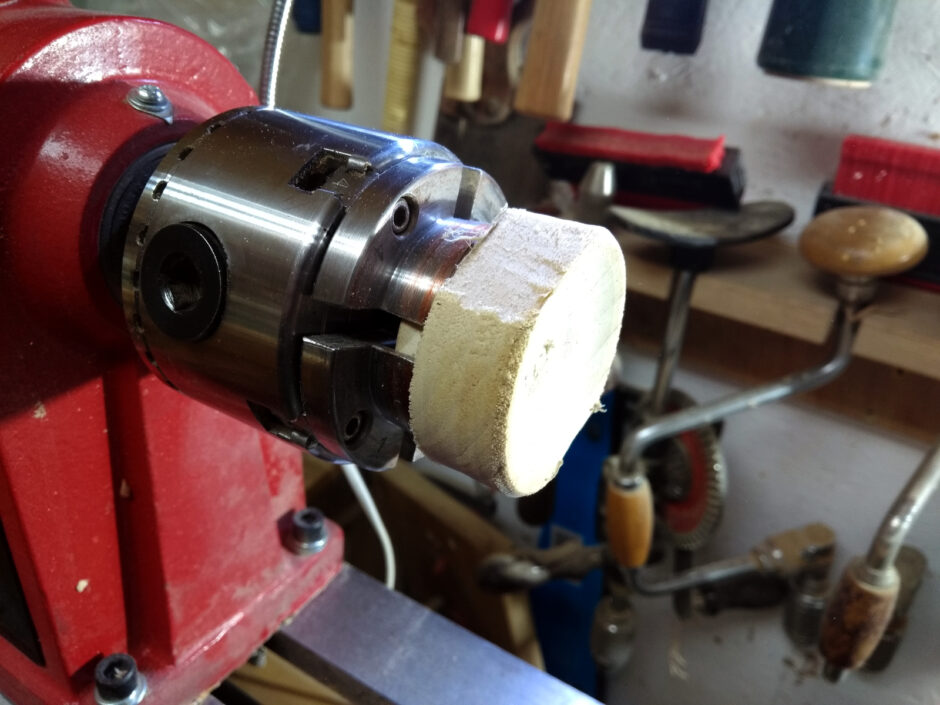
Glue block. You think you’re nervous now, just you wait. Put the shell into the concavity, and line it up by eye and pin it with the tailstock…
That looks very janky, how are we gluing that asymmetric unbalanced load… why are you reaching for the hot-melt glue gun?
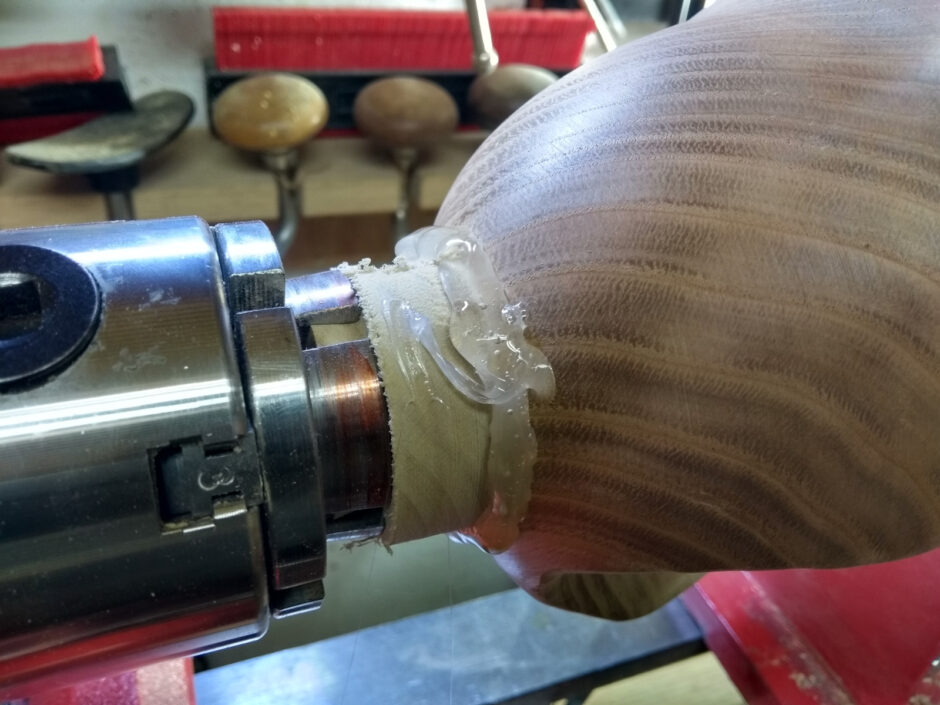
You’re shitting me.
Oh, seriously, there is no way this works. I’m going to lose teeth doing this.
gonnadiegonnadiegonnahaveastupidcoronersreportgonnadiegonnadie…
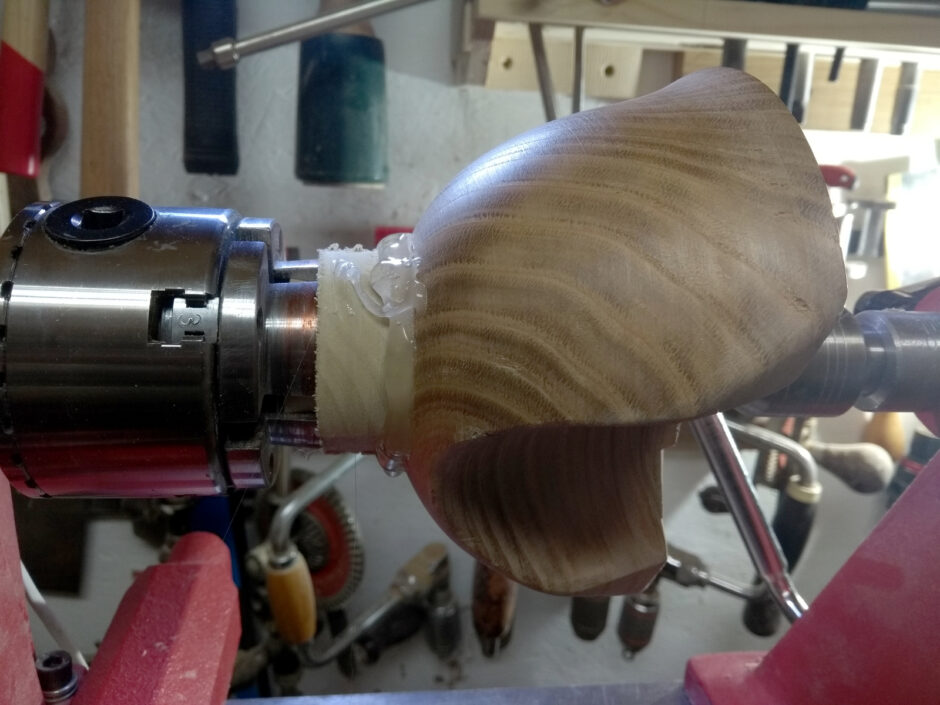
Wtf? It worked? I lived? A thing on youtube worked? What the hell…
And painting the glue line with isopropanol (or meths if you have none) gets the glue to let go a minute or three later with no surface damage. This is witchcraft.
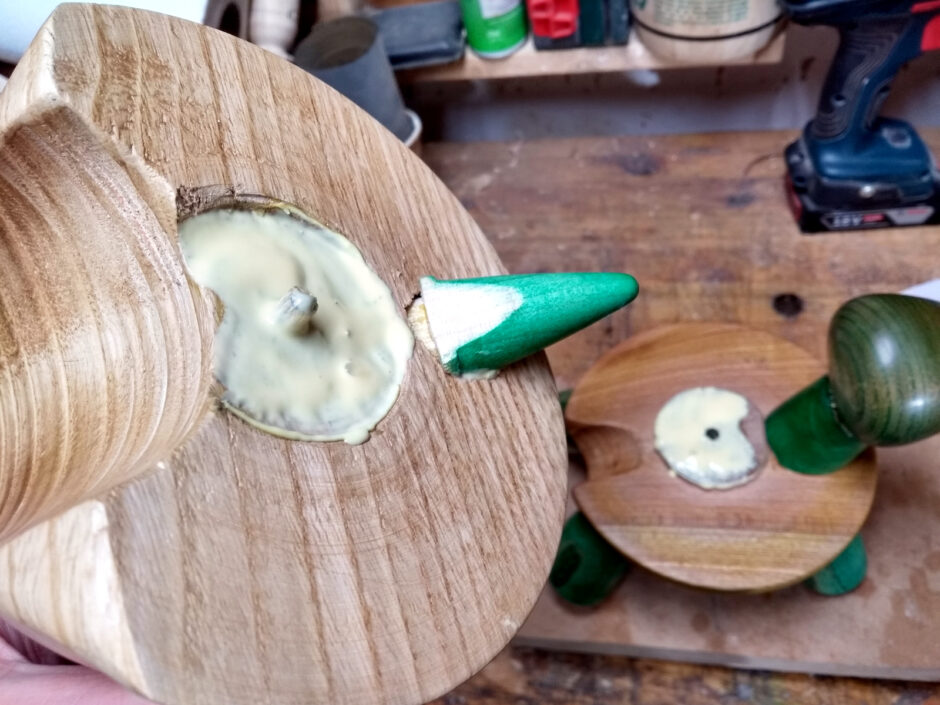
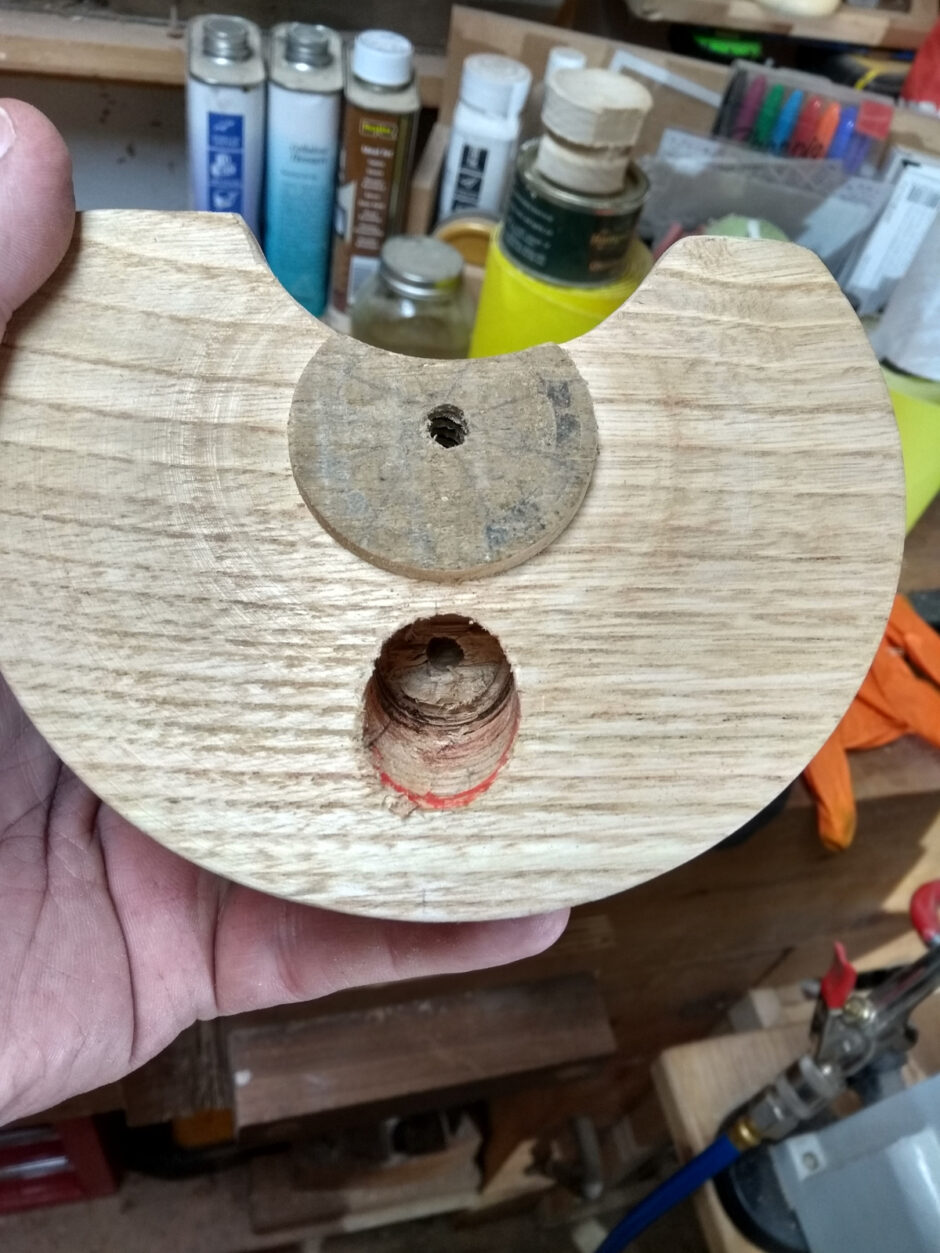
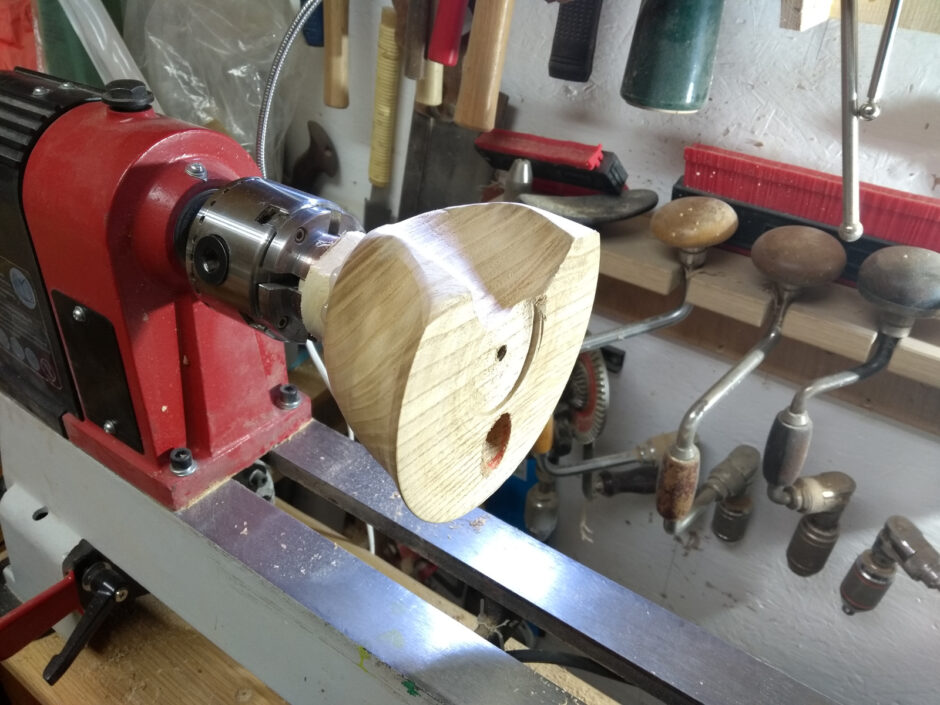
But now I can glue up, and here you see why the wormscrews were good – the hole left behind fits a small dowel for alignment. Had to trim the tail to get a good fit but…
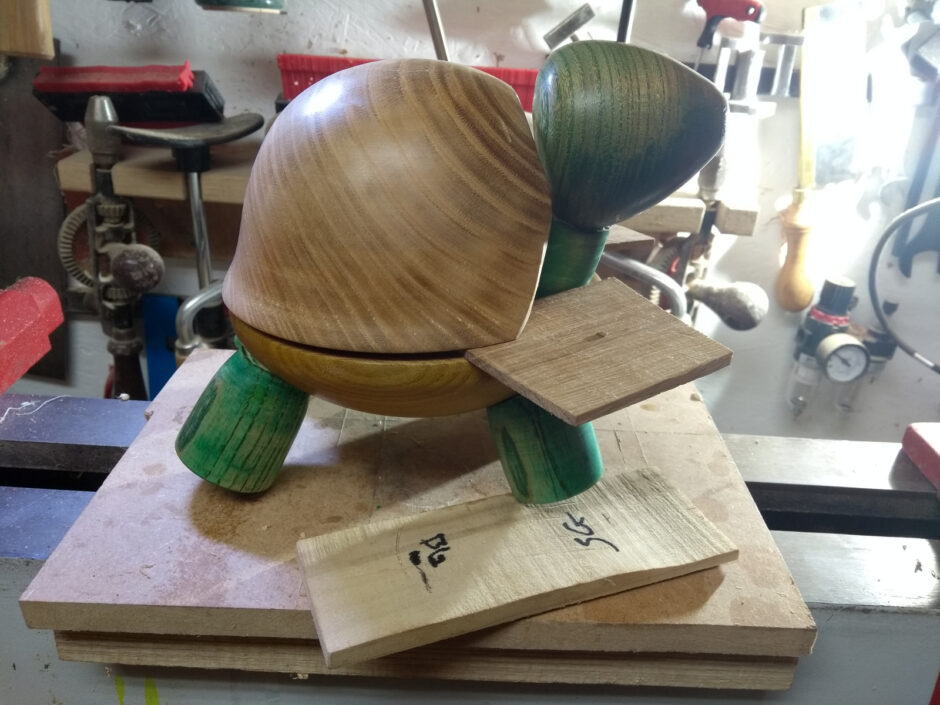
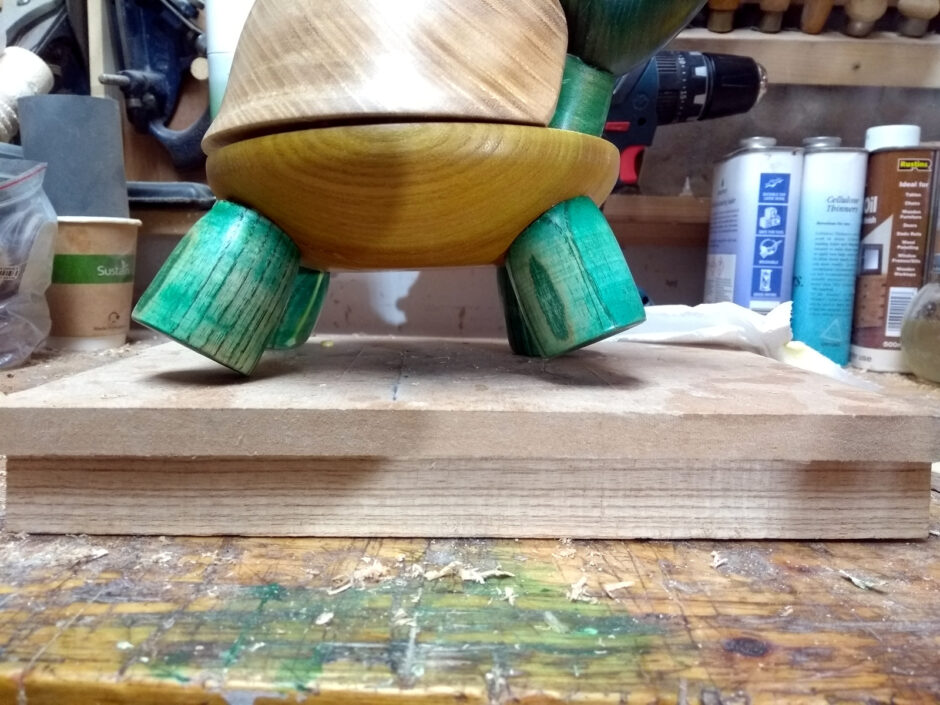
And now we let the glue dry. Shims are in place to keep the gap on the shell even, and the shim under the leg is because one of the legs in the logo is in the air as the tortoise is trotting. Yes, it’s a back leg in the logo. Glue-ups are hectic, okay, mixing up front and back is just a thing that can happen…
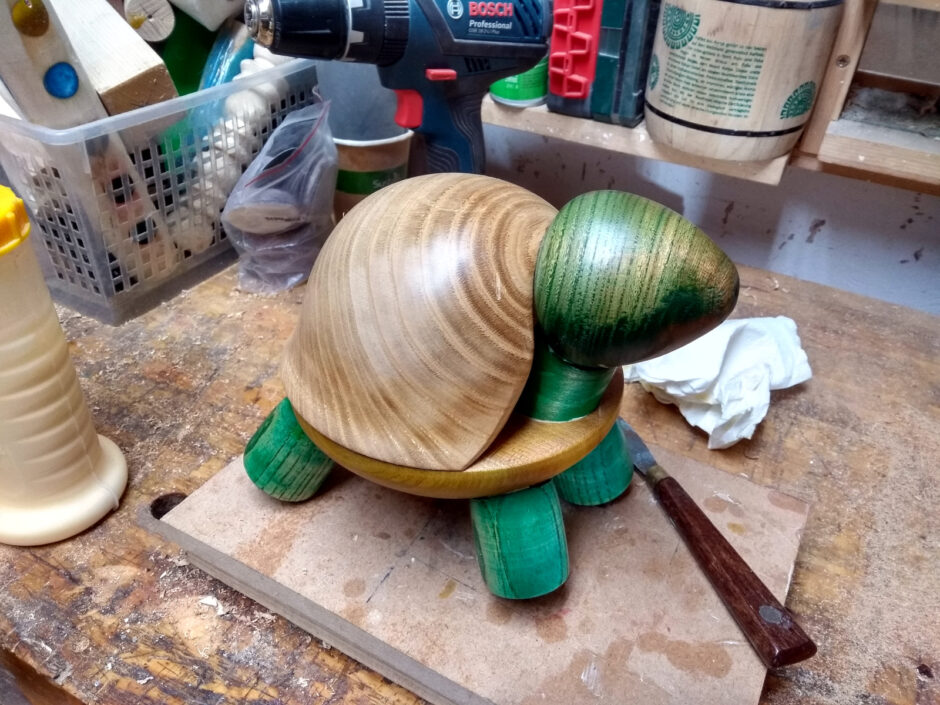
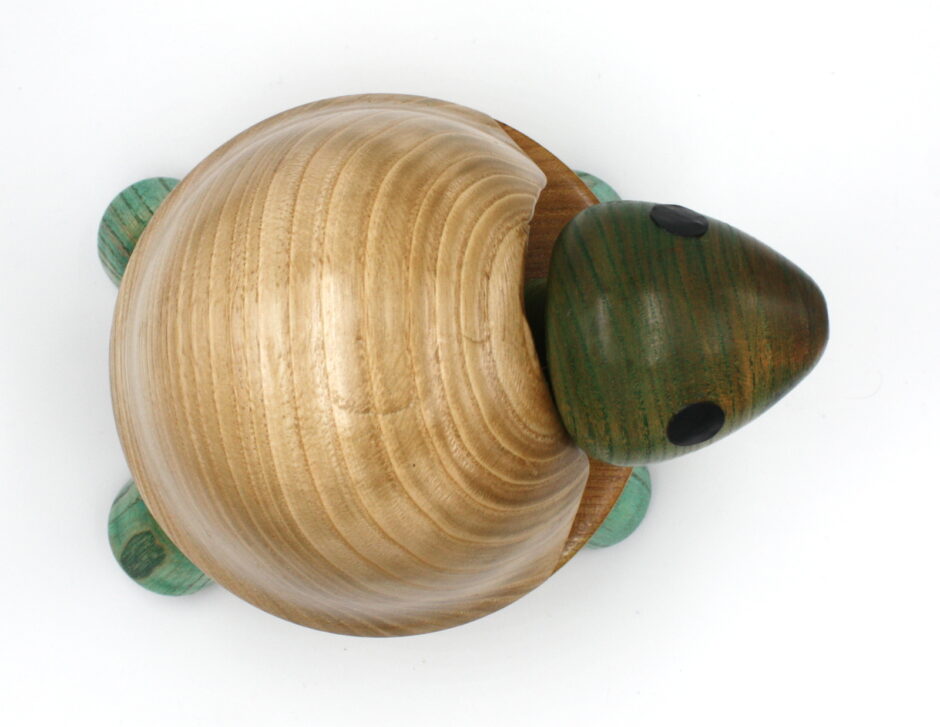
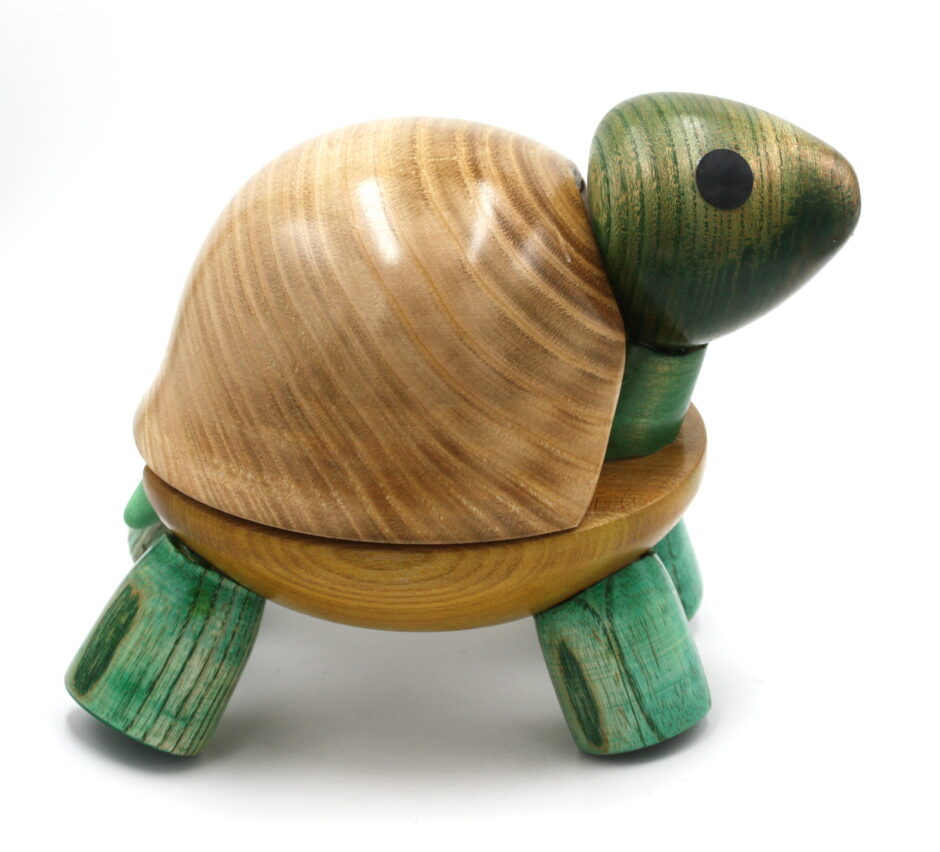
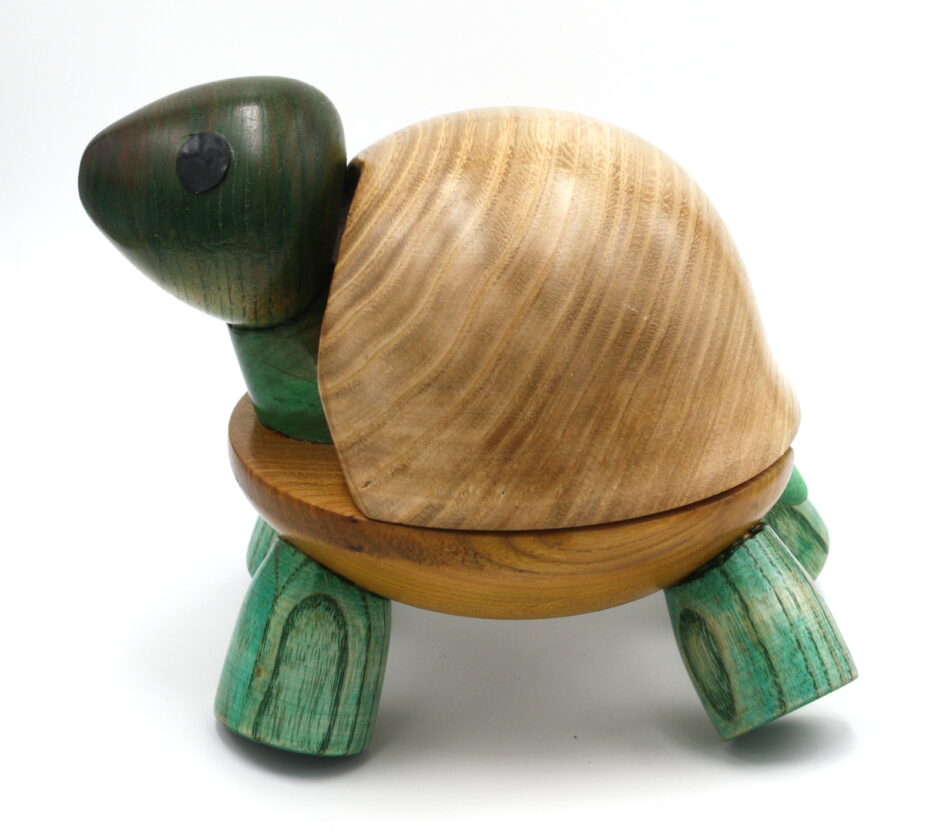
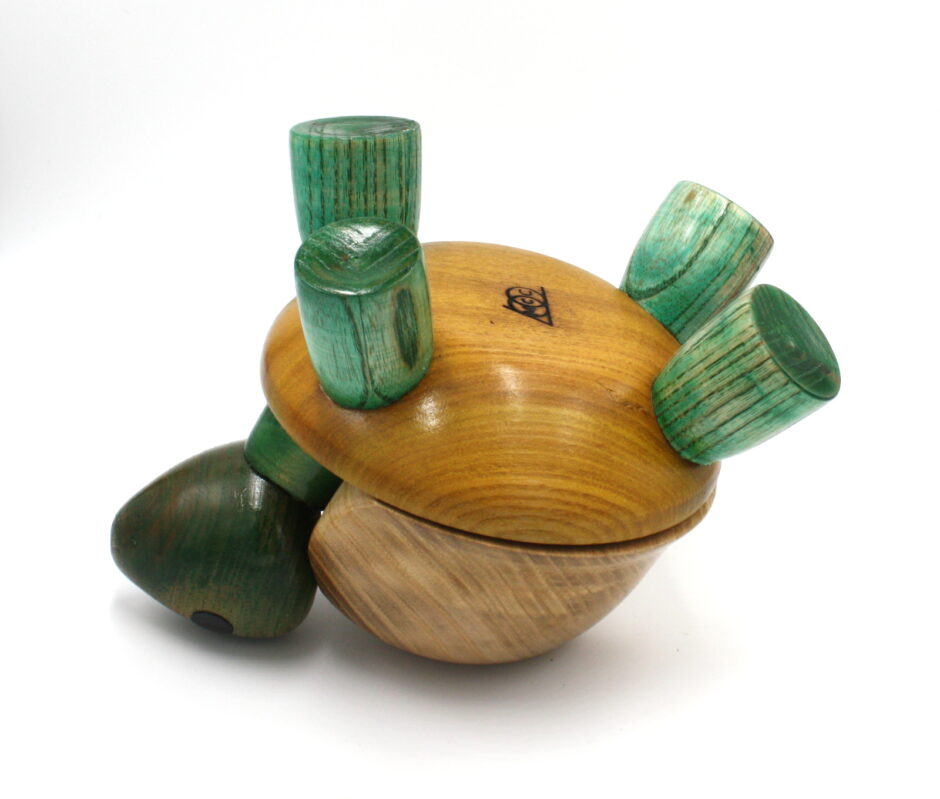
And there we go. I’ve done some pre-finishing here. The various parts have all been sanded to 320 by this point, and treated with yorkshire grit, yorkshire grit microfine and a bit of hampshire sheen, but I then put the buffing wheels on the lathe and ran up through the wheels with them to get to this level. I branded my mark into the bottom shell and sprayed with melamine lacquer and gave that overnight to cure, then cut back with 0000 steel wool the next lunchtime. For eyes, I took some googley eyes from the case of them I have here (what? don’t you have a box of googley eyes? why on earth not?) and just used the pupils. Attached with superglue, then point the heatgun at them for a minute until they soften and then mould them to the curved surface of the face. Let it all cool, give it another coat of melamine, let that cure off and then give the shell a final coat of microcrystalline wax and hand buff to a shine.
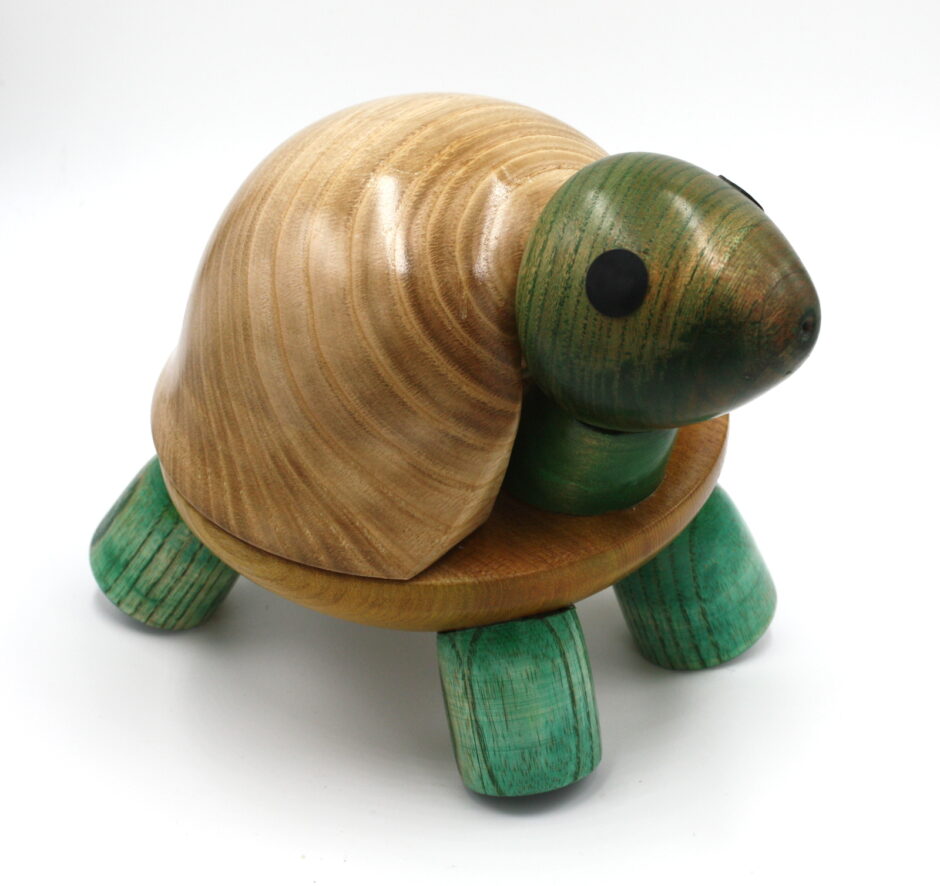
It’s not too bad I think.

I can even see it helping out with fundraising for the podcast…
‘course, now I have to make a second one for Calum. At least now I know one or two things to not do for the next one…
Tags: glue block, hampshire sheen, stain, tortoise, tortoiseshack, toy, toys, tricks, yorkshire grit


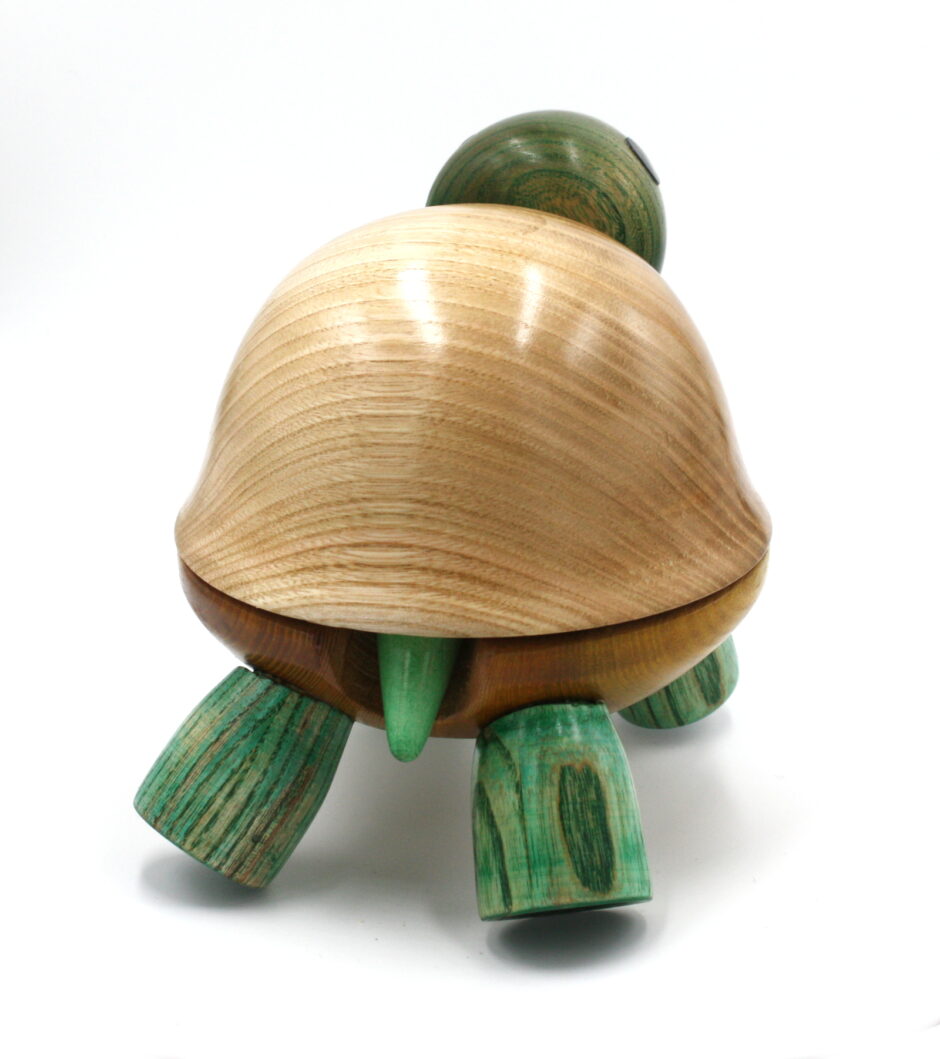
His little tail is the pièce de rèsistance ! Fabulous detail.
The tail turned out hilariously nice 😀 That was totally unexpected 😀