So ten years ago today…

The traditional gift guide says ten years is… tin. Hm. Really? Was tin some seriously sought-after material at some point in the last few centuries? Weird. But okay, tradition is tradition…
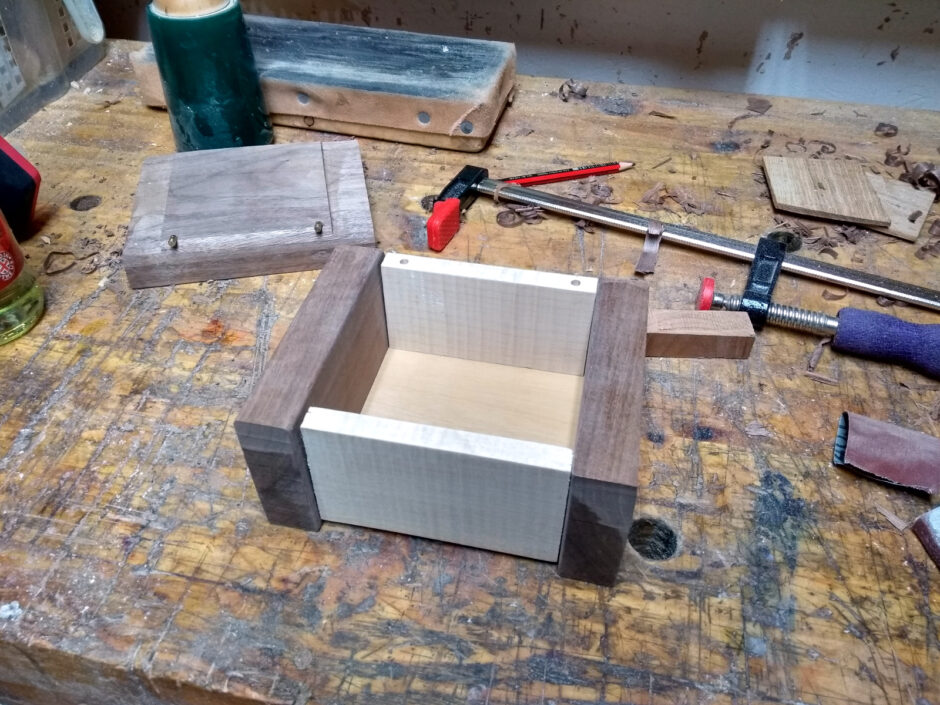
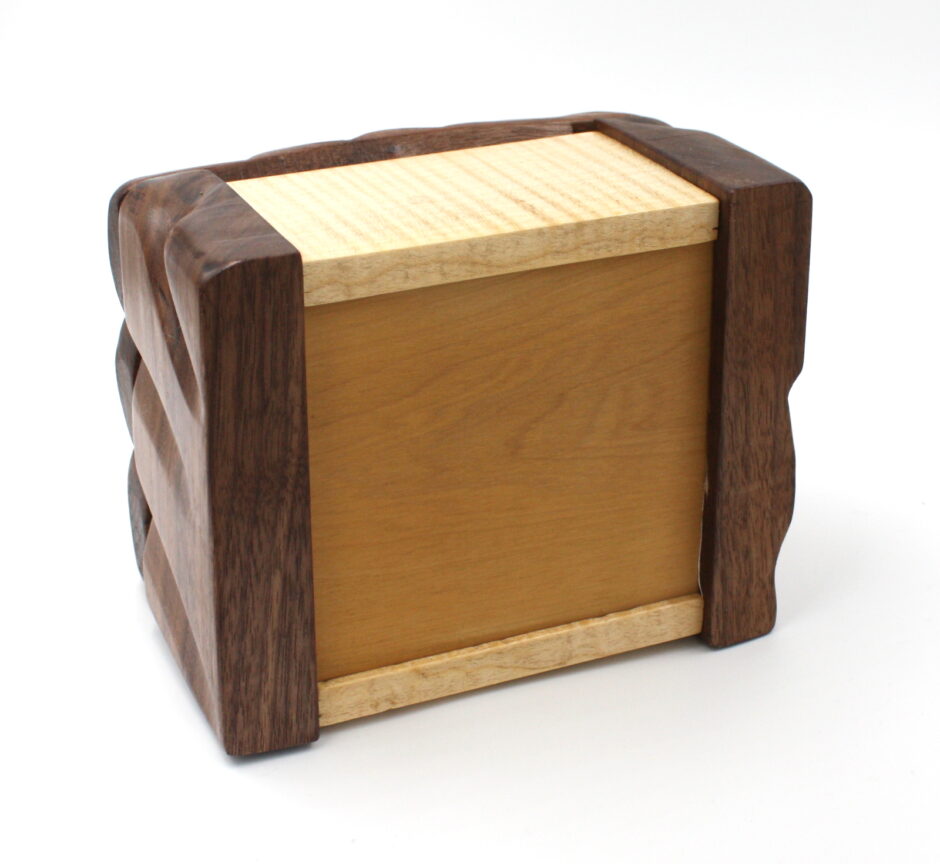
We can at least make a nice box though. I have some walnut and I still have some of that lovely rippled sycamore Custard gave me when I was searching for thick veneers…
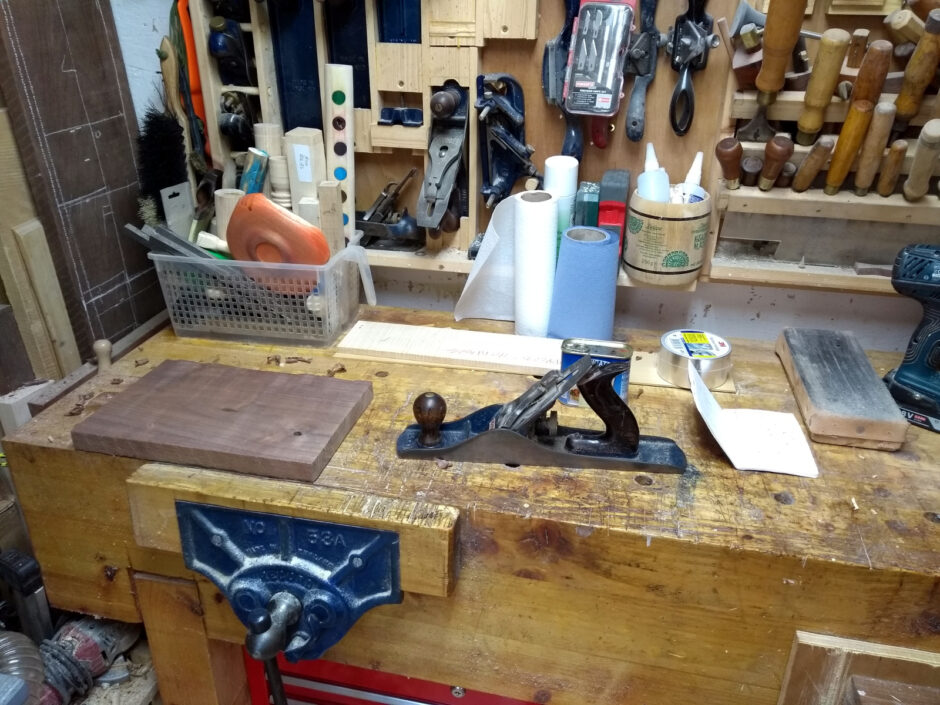
Simple design from a joinery point of view, so just mill the components and cut to size to match the tin…

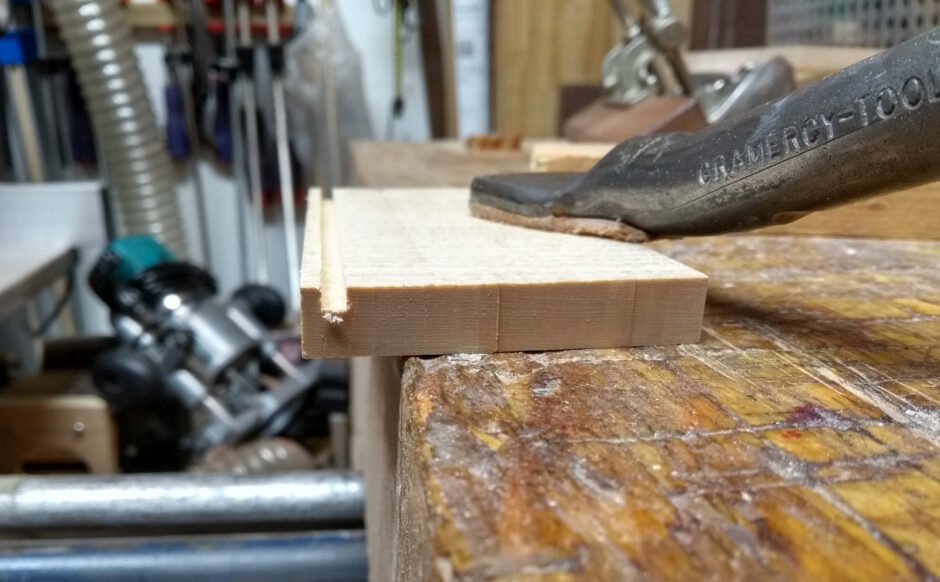
Grooves in the base of the front and back panels and in the sides will hold the base, which is 3mm boxwood (lovely material, it’s a shame it’s so hard to find).
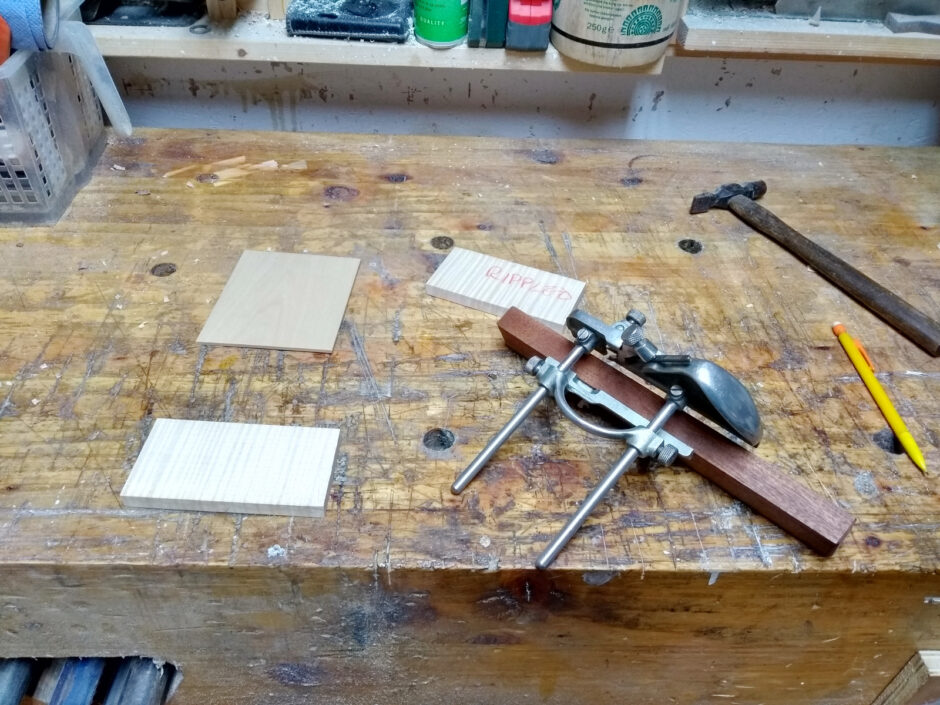
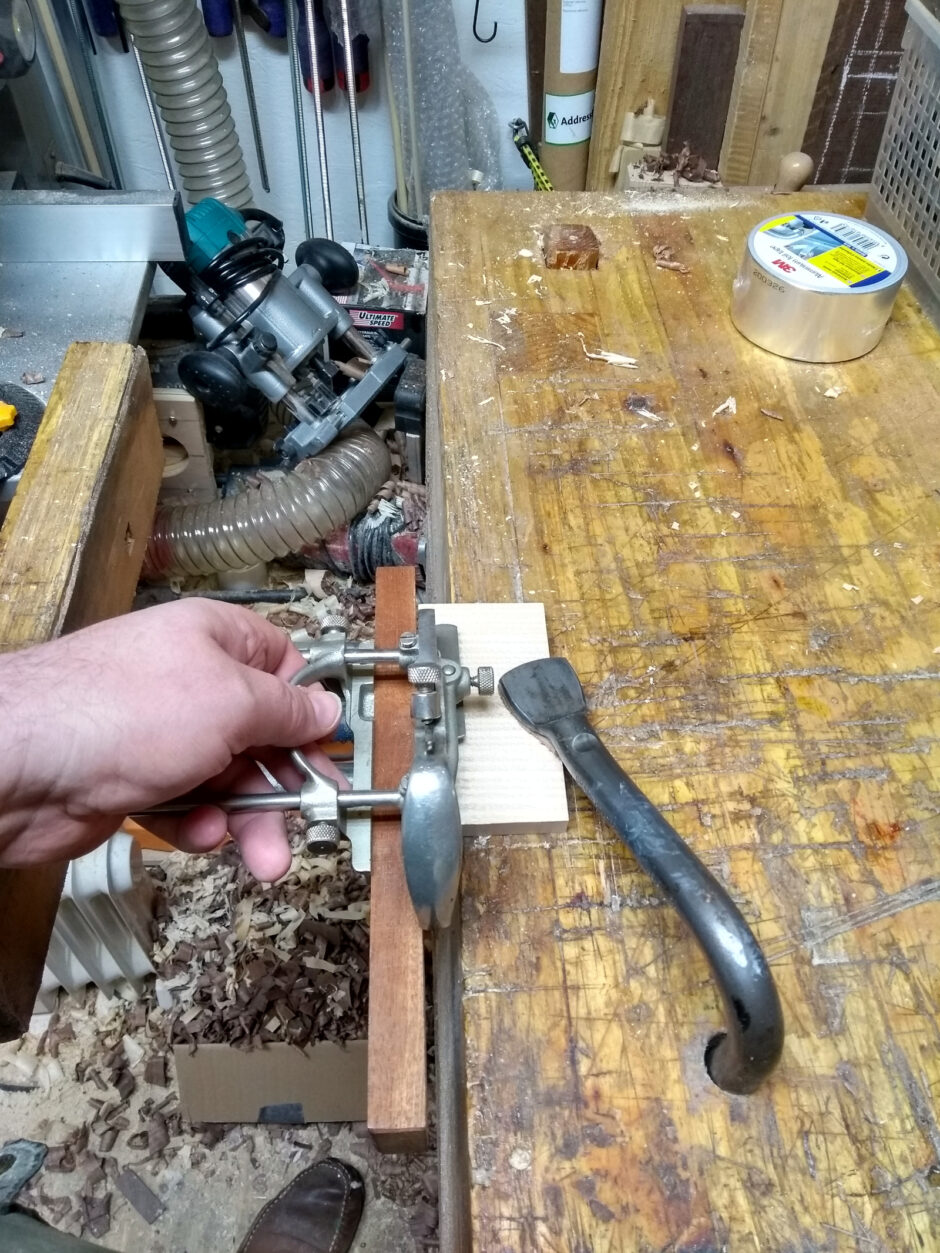
It’s almost a single-use plane but it’s the best tool for this task really. The depth of the groove and the distance from the bottom of the panels is set using the boxwood base directly.
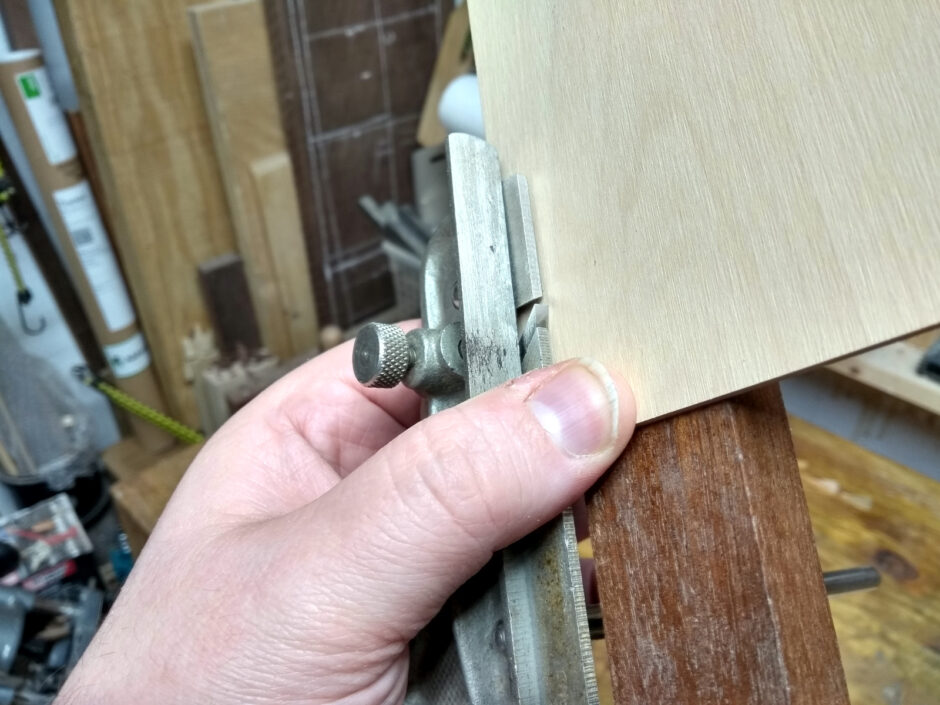
Then just groove away.
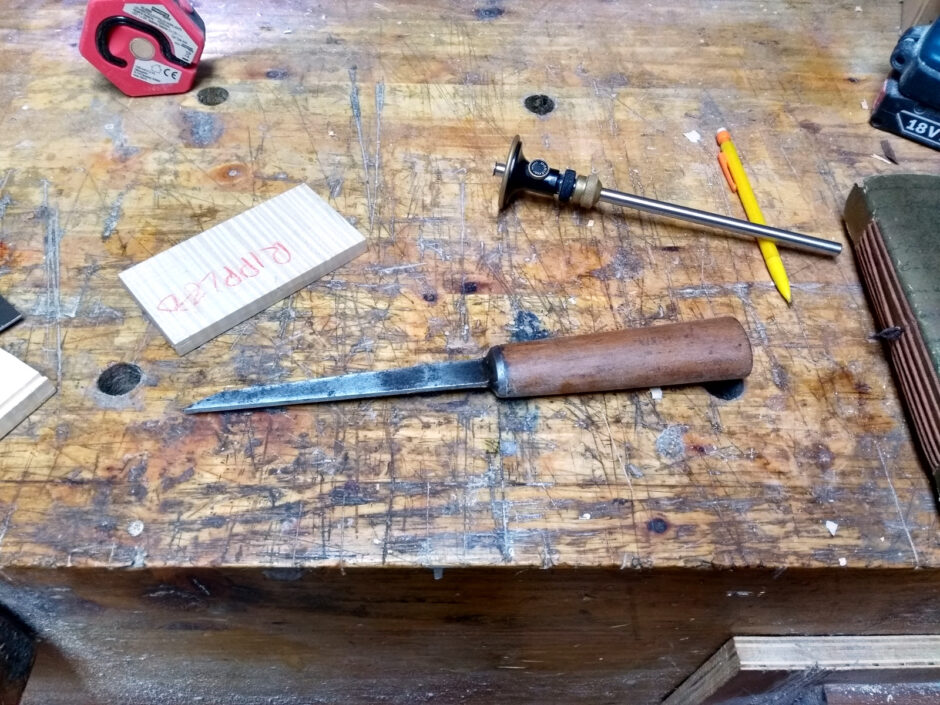
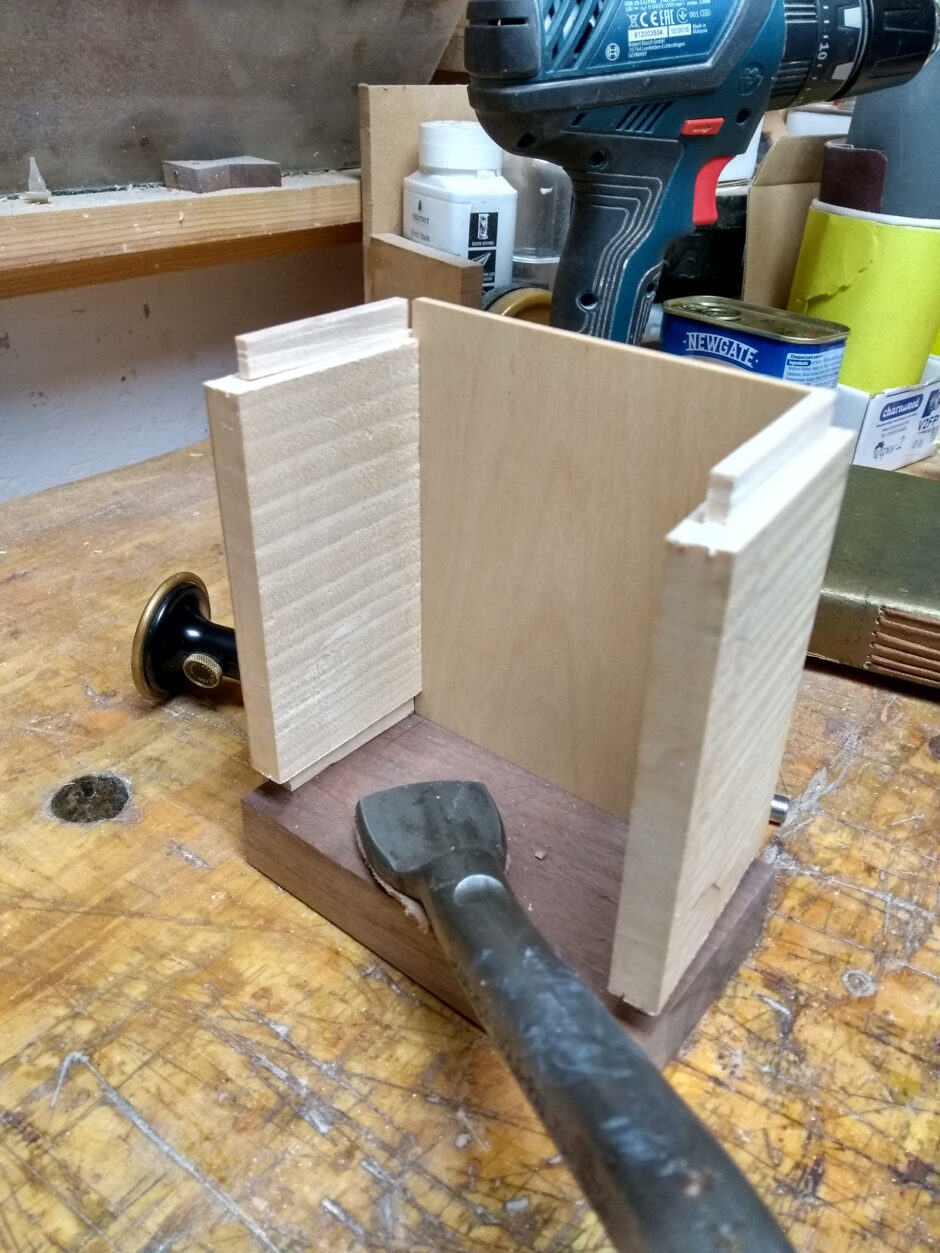
For the sides, because you don’t want to run off the ends with the groove, a different approach is needed; and at this point I discovered the narrowest of my usual chisels was 5mm wide and the groove is 3mm. A 1mm gap on either side would be a bit unsightly, so I was about to get out the grinder wheel and convert one of the older chisels to life as a narrower chisel when I checked the less-used ones and bingo…
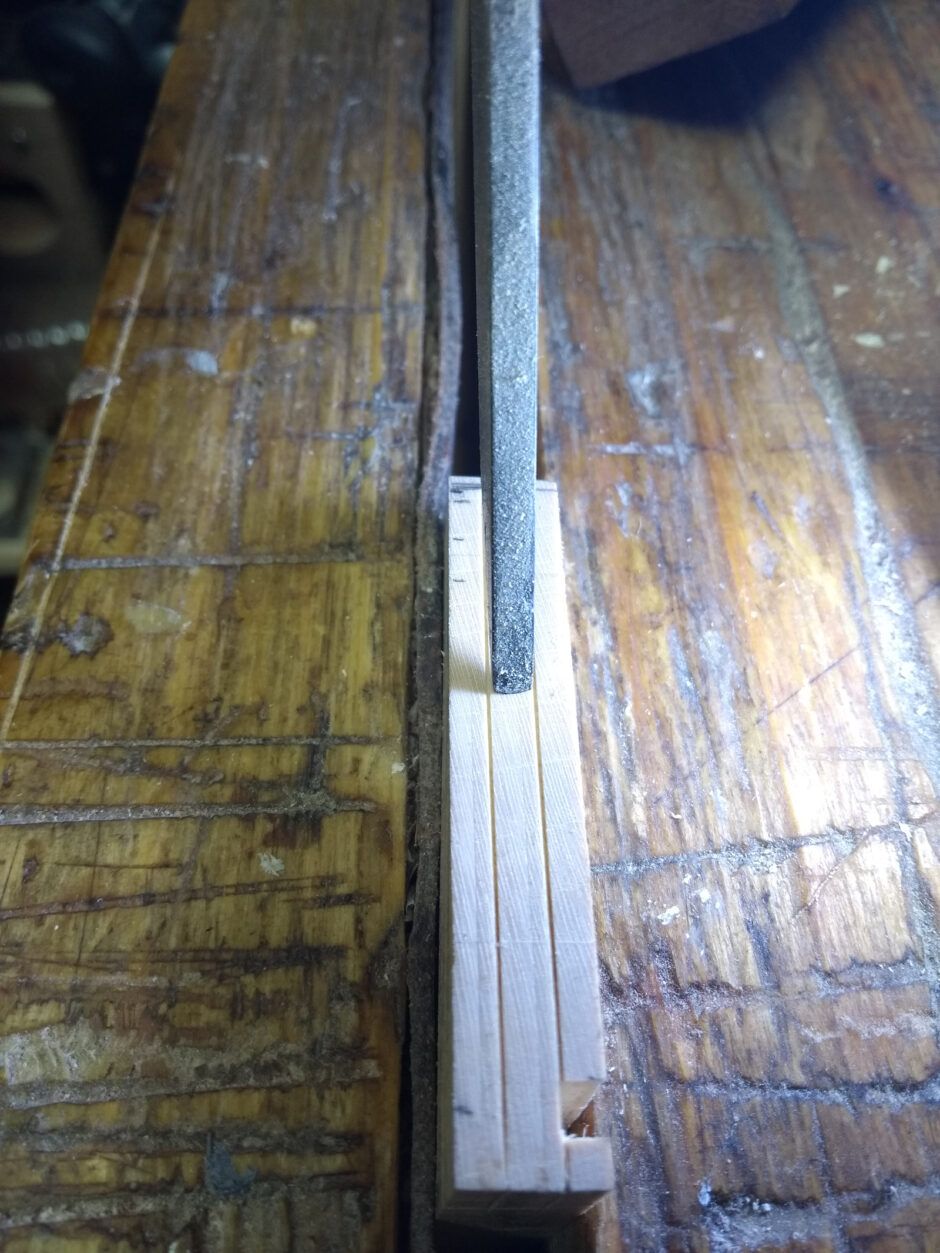
3mm almost on the nose (actually a tad under). Hilariously, this wasn’t some engraving tool or fine work chisel, this is a morticing pigsticker designed to go through several inches of oak…
This gave me a giggle or two, but then on with chopping out the mortices for the base in the sides.

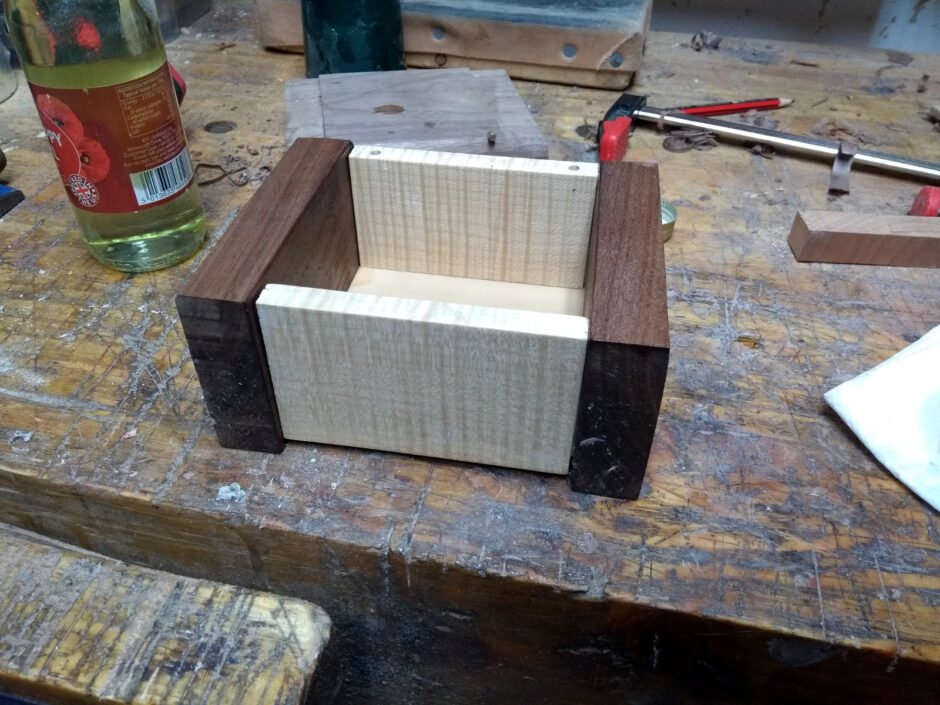
Tappy-tap-tap, as they say. Very shallow mortice, only one pass with light taps required, then a bit of scraping with the tip of the chisel to clean up and then check for fit.
The cross-grain mortices are less straightforward because they’re cross-grain and very narrow. You can’t really chop along the mortice for these. I tried cutting them like a housing dado but that wasn’t really getting it done, so I resorted in the end to knifing in the edges of the mortice rather deeply, chopping a little with the morticing chisel to a mm or so down to define the mortice, then drilling out the rest and cleaning up with the bevel-edged chisel.
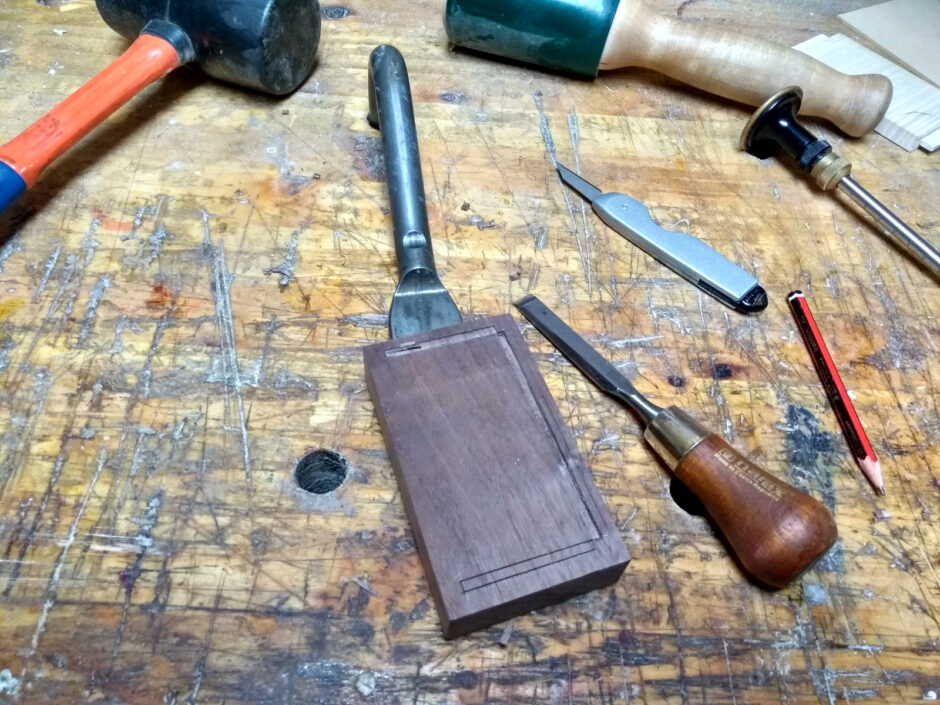
Worked pretty well.
Then just repeat on the other side.
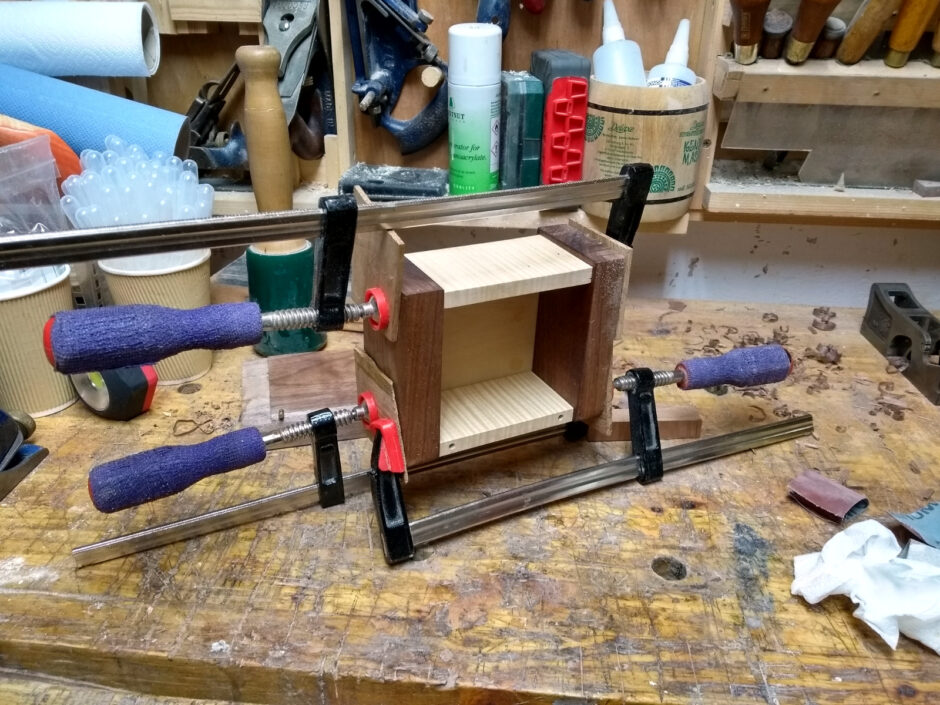
There’s a fair bit of fettling with all this as well but it got there in the end. I also drilled holes in the back panel and lid for the barrel hinges (butt hinges on this scale are something I still can’t get right). Then it’s time to knock it all back apart and sand the panels and the inside of the sides and the base and prefinish the insides because it’d be much harder later on, and then I gave everything a coat or two of poppyseed oil (it’s very light so it doesn’t darken the sycamore much).
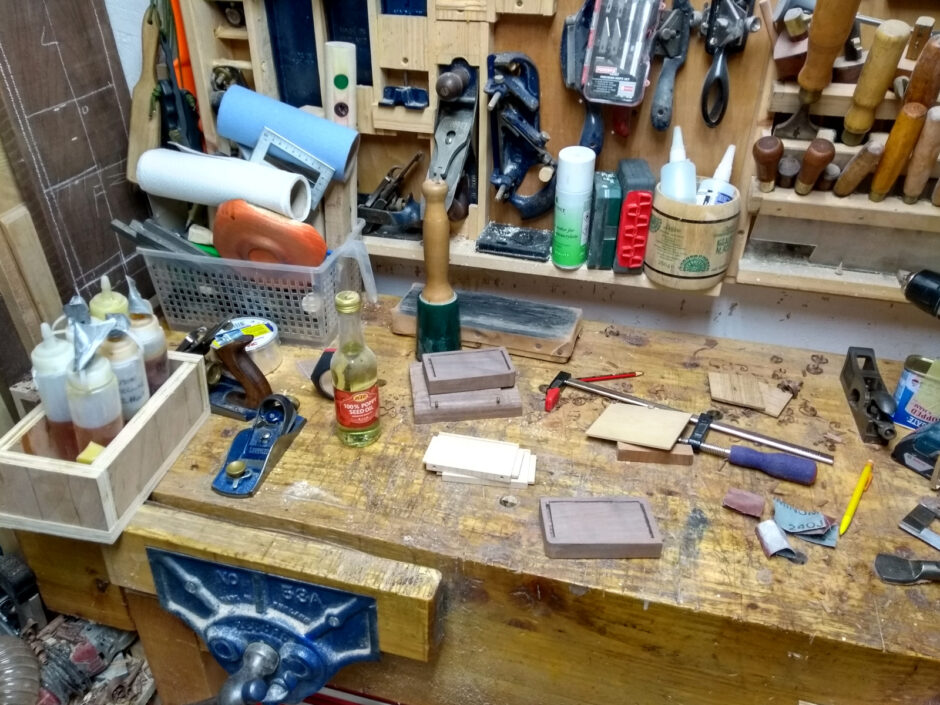
And then glue-up. Just titebond here, no need for the hide glue and it was cold so it wouldn’t flow well without faffing about with hot water.
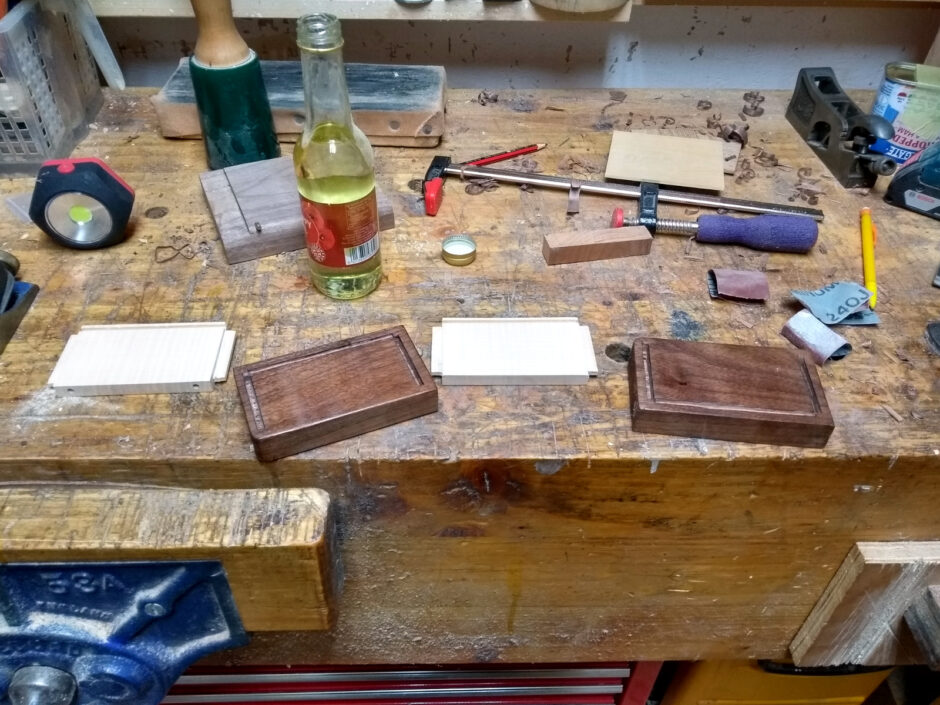
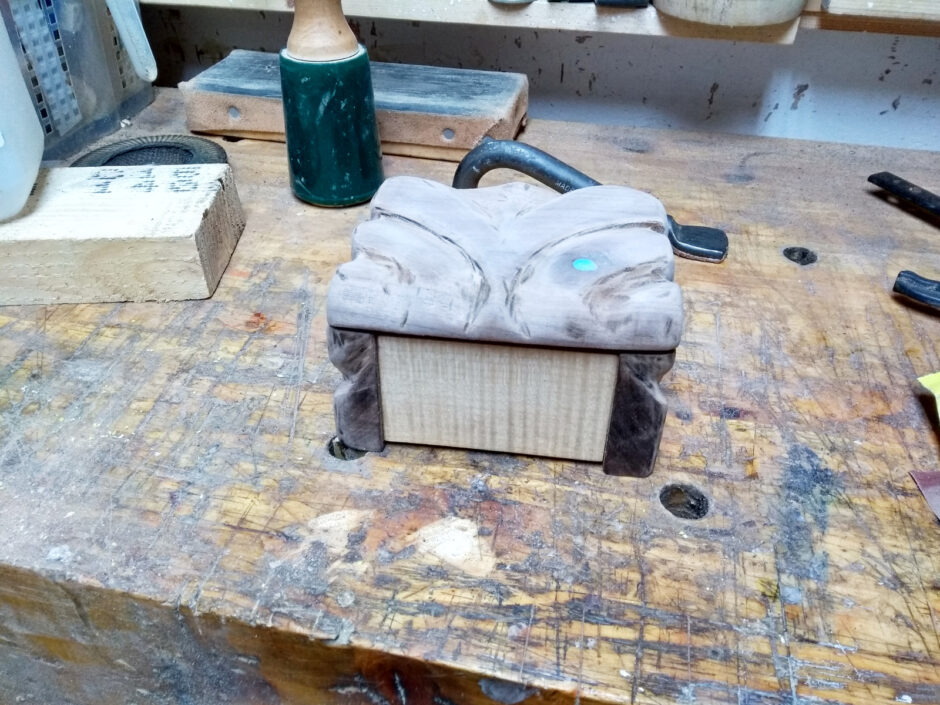
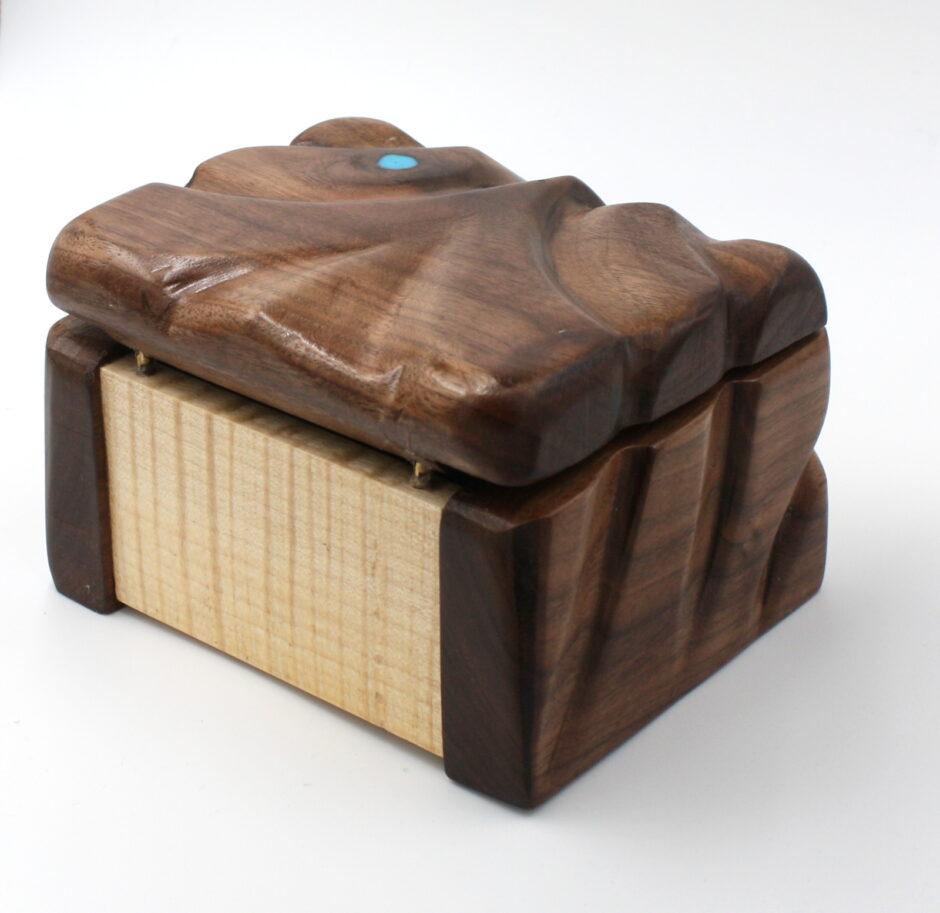
Along the way to here, the lid changed from rippled sycamore to more walnut because of a realisation about the size of the box and the lid (ie. that the lid was too narrow to cover from front to back unless it was sitting inside the box and I didn’t have the hinges for that). But the walnut had a knot so it was resin time again (I mean, it’s me, of course it’s resin time).
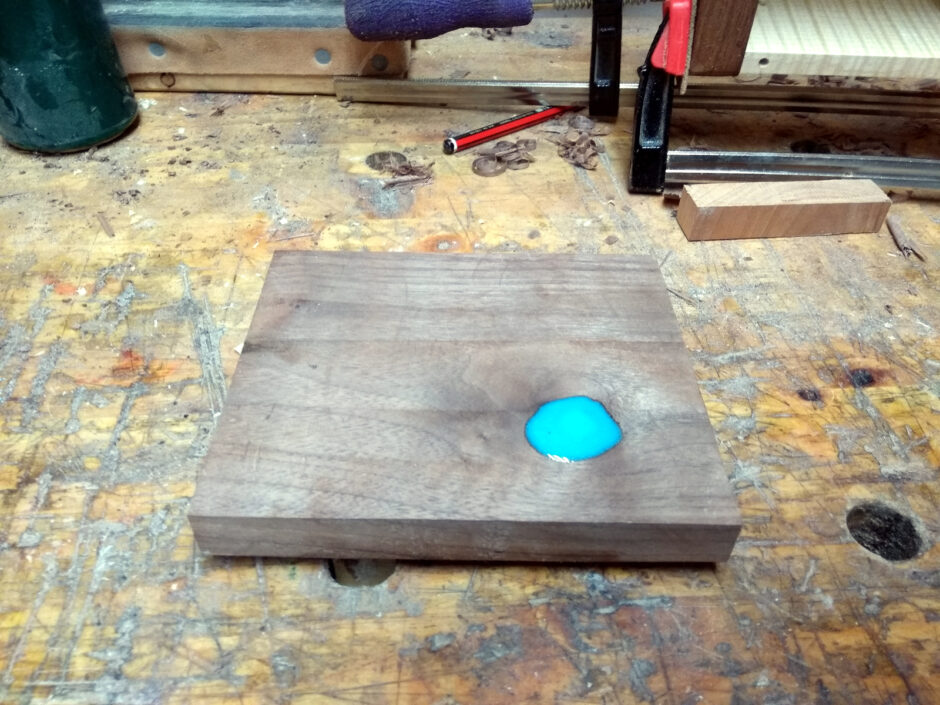
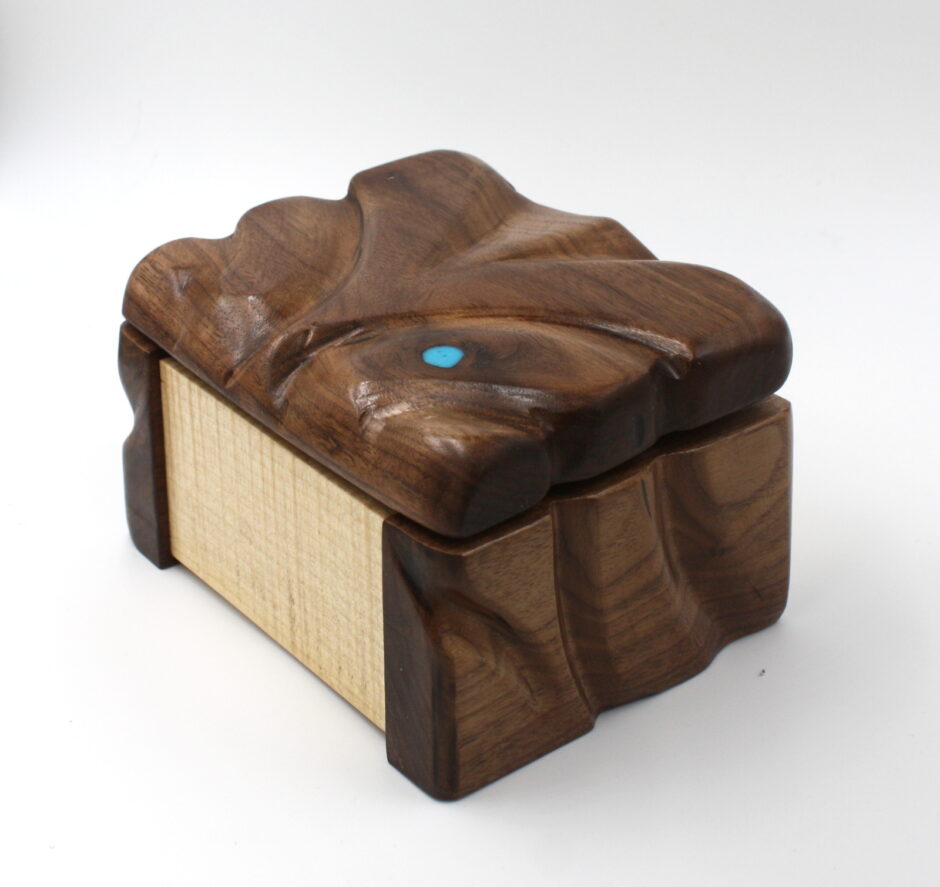
And that came out nicely after scraping and sanding down the lid. It’s a little beauty spot. But the box is a bit… chunky at this point. Not to worry, that’s part of the plan. And now I get to try to be delicate with industrial tools…
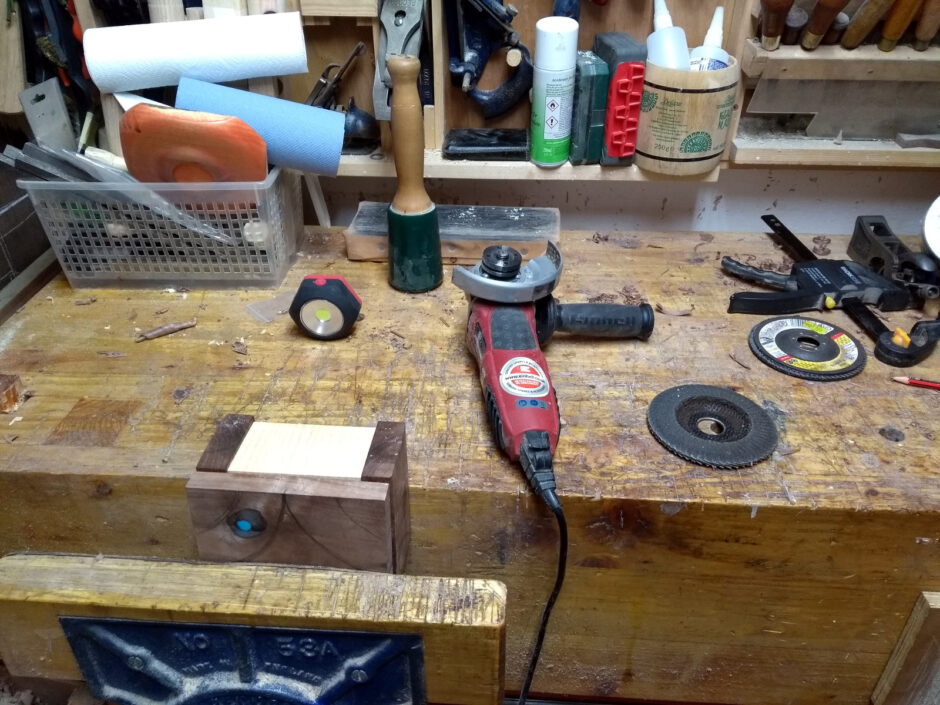
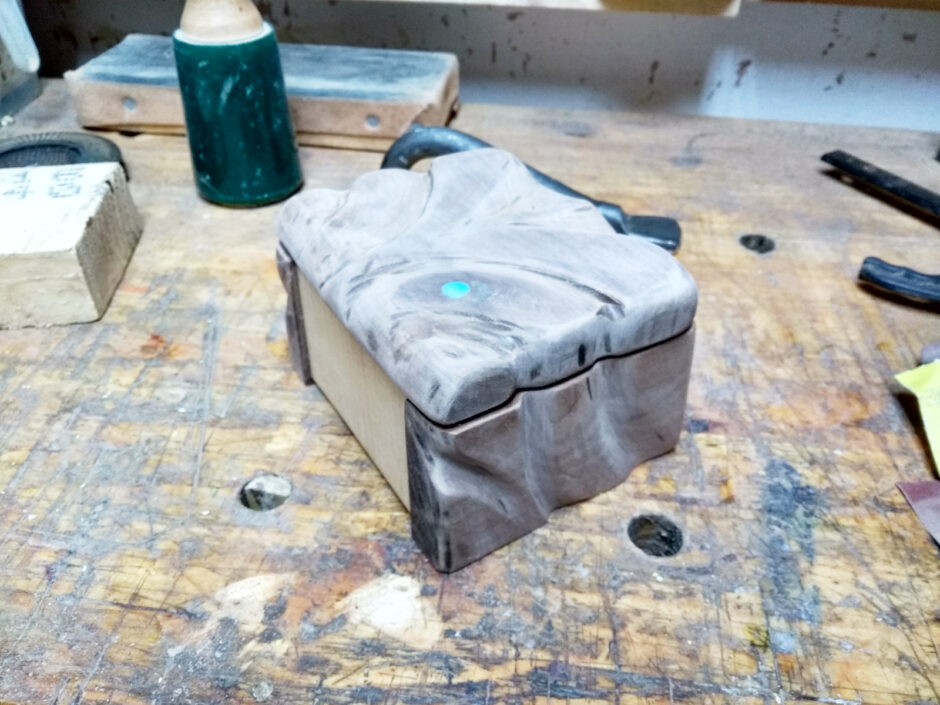
Angle grinder and a flap disk in 40 grit and one in 120 grit. It’s like using a power router only without the convenient handholds or the reference surfaces or the safety features. Exciting times…
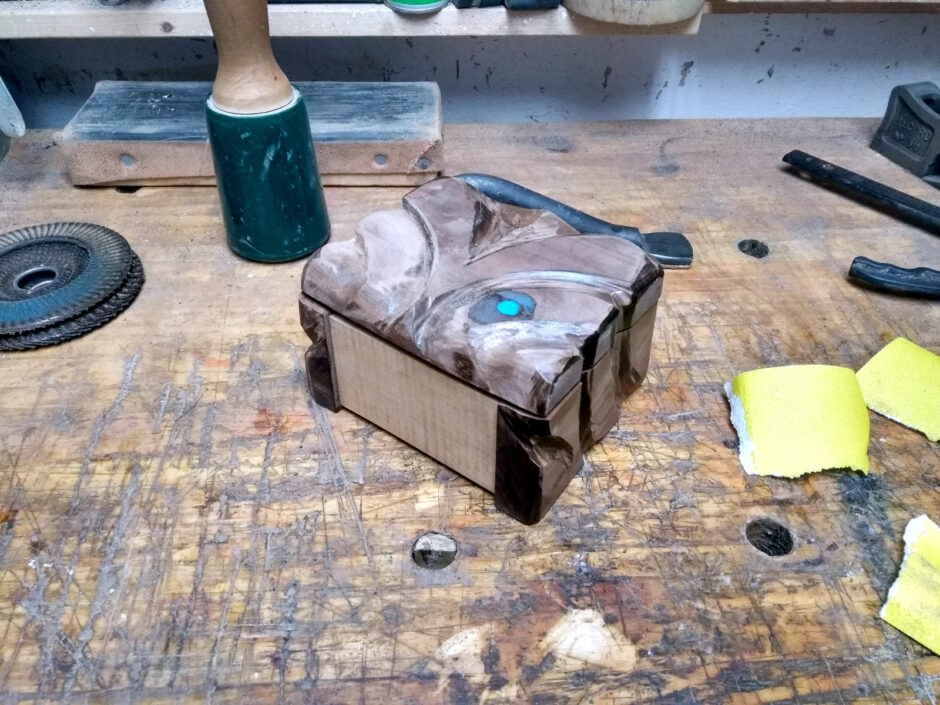
Worked though. And now a lot of handsanding with every grit from 80 to 240. The cloth-backed sandpaper from the lathe was very useful here especially with the parts in the carved grooves.
Okay, now for finishing. First off, wipe off all the sanding dust with a dry rag, then with kitchen paper soaked in isopropanol. Then two coats of poppy seed oil.
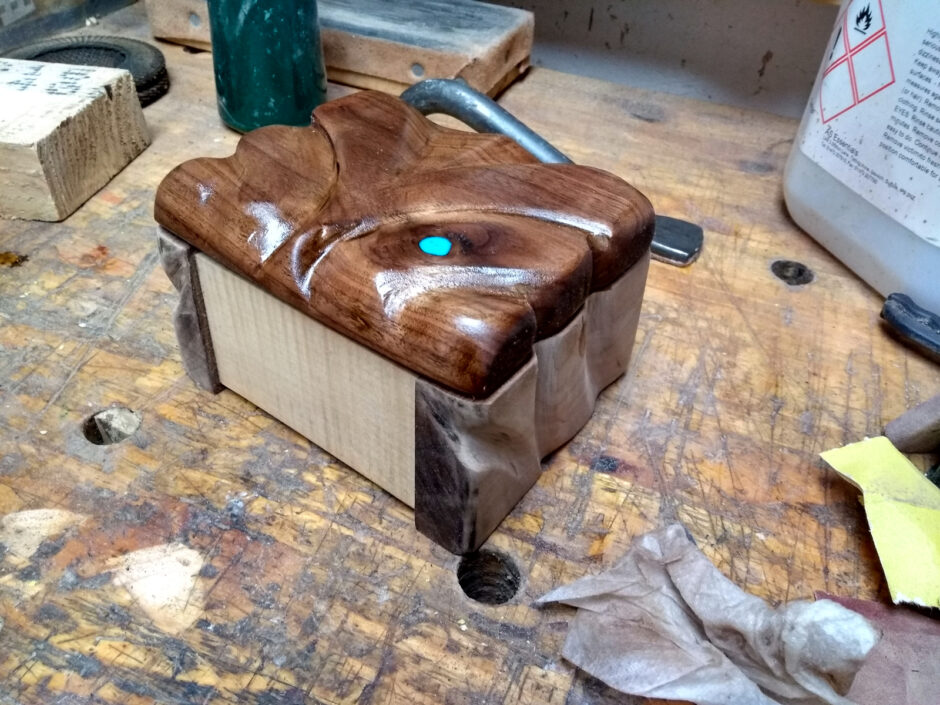
Makes a difference!
Next up, a new lathe toy, the burnishing wheel. It’s not a fancy one, it’s just the chestnut products basic one. Works well. I will say that I didn’t expect it to be quite so grabby though, and it did bounce my hand off the chuck which wasn’t fun. Be careful out there folks…
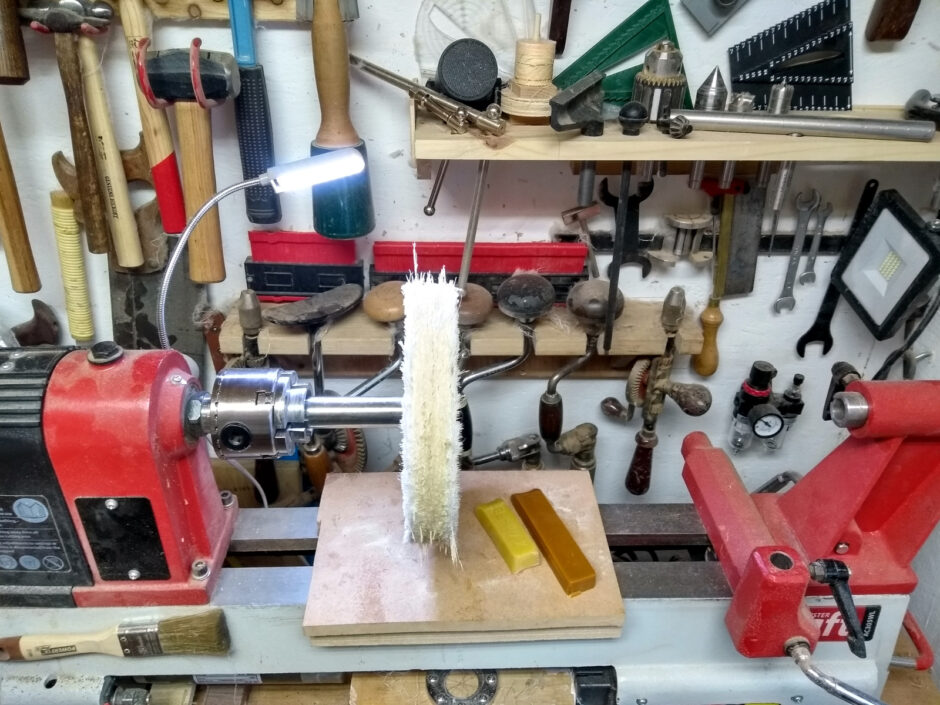
And yes, I mixed carnuba and beeswax at the final stage. Also, I was unprepared for the sheer amount of cotton fibres this thing throws everywhere. It looks like the spiders were working overtime in the shed.
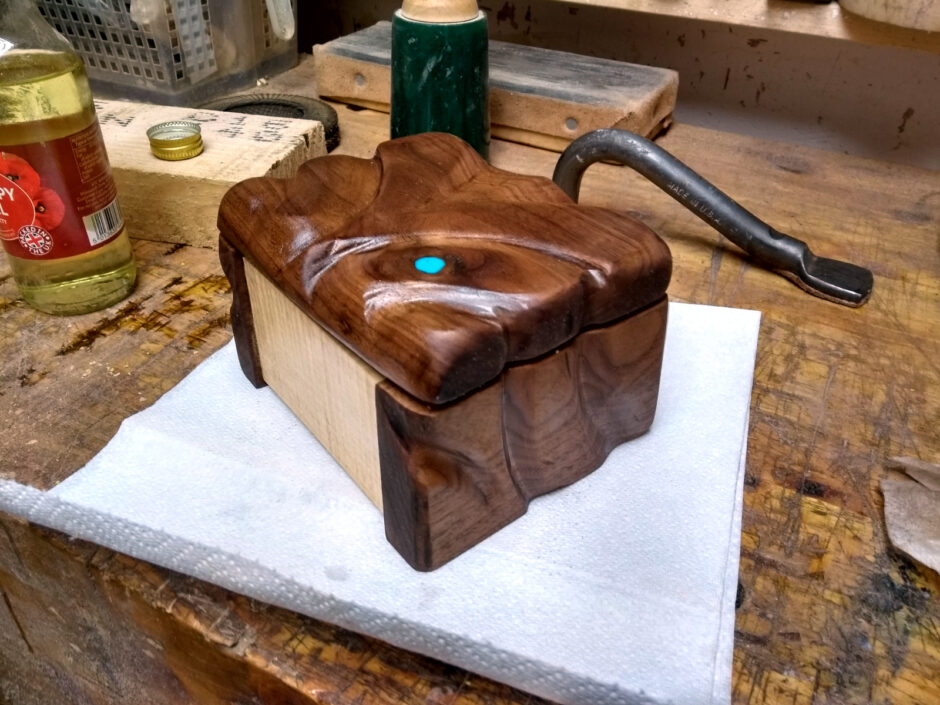
Worth it though.
And after that, two coats of blonde shellac with another buff on the final wheel after each coat, and finishing was done. Final job was to epoxy in the barrel hinges (finishing was easier with the lid separate) which was a tad fiddly because of course it was, hinges are my nemesis. But it worked…
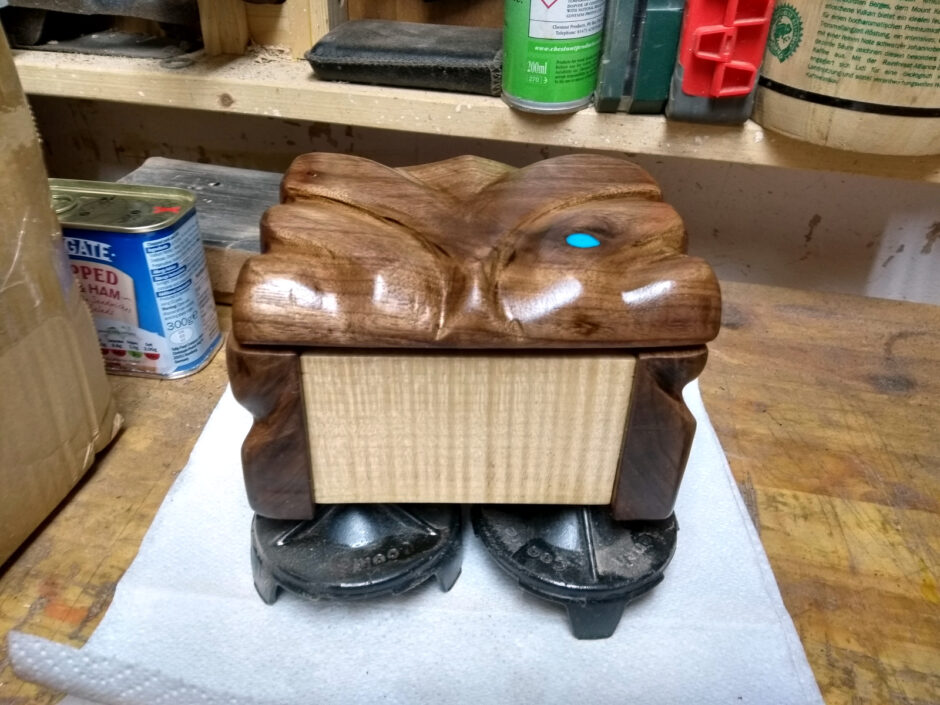
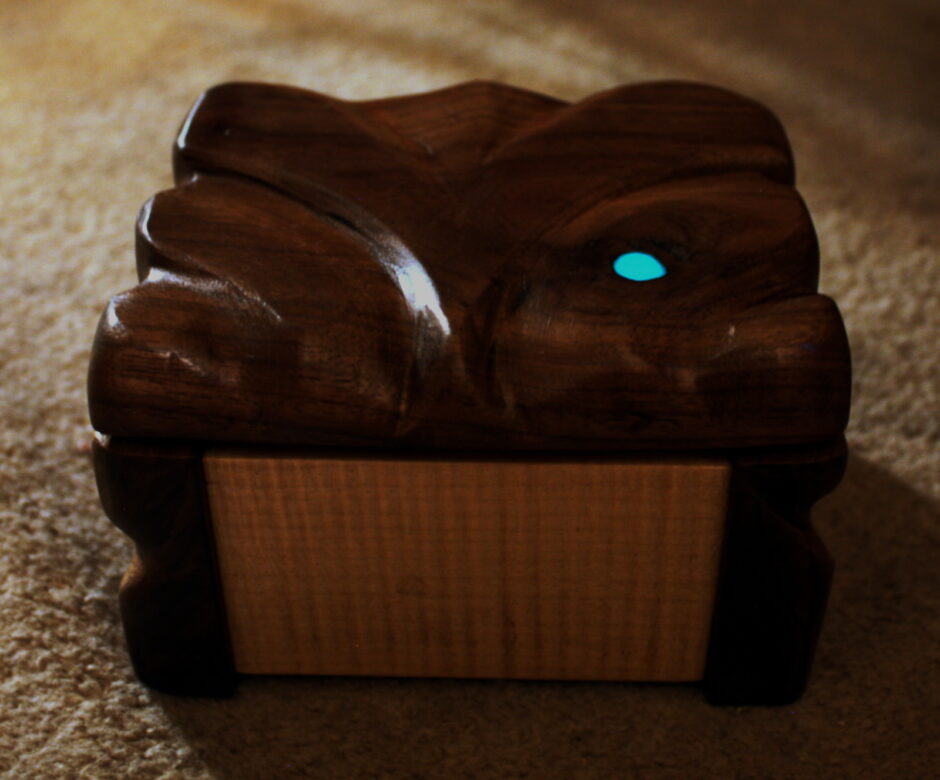
The resin dot glows in the dark!
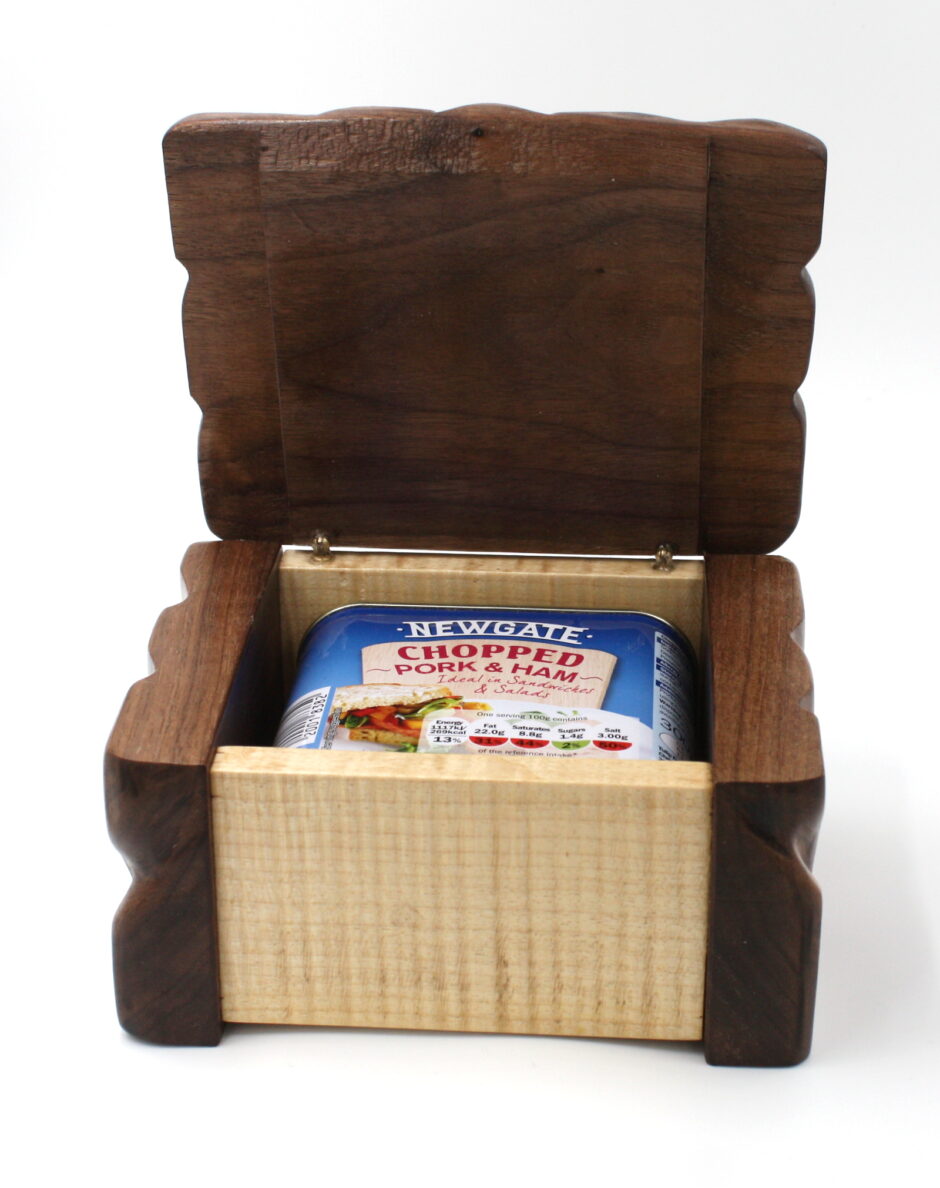
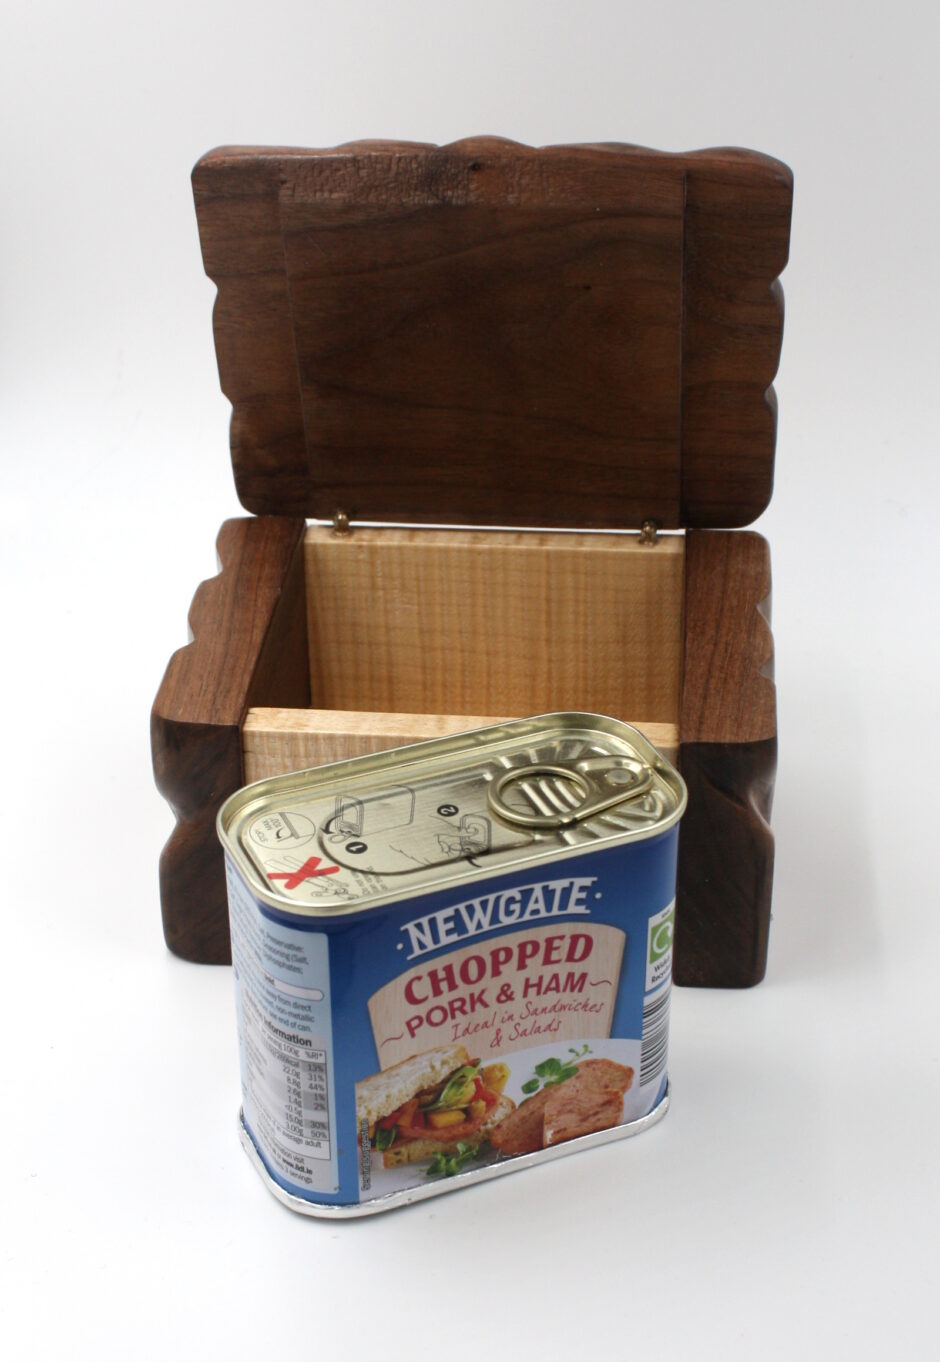
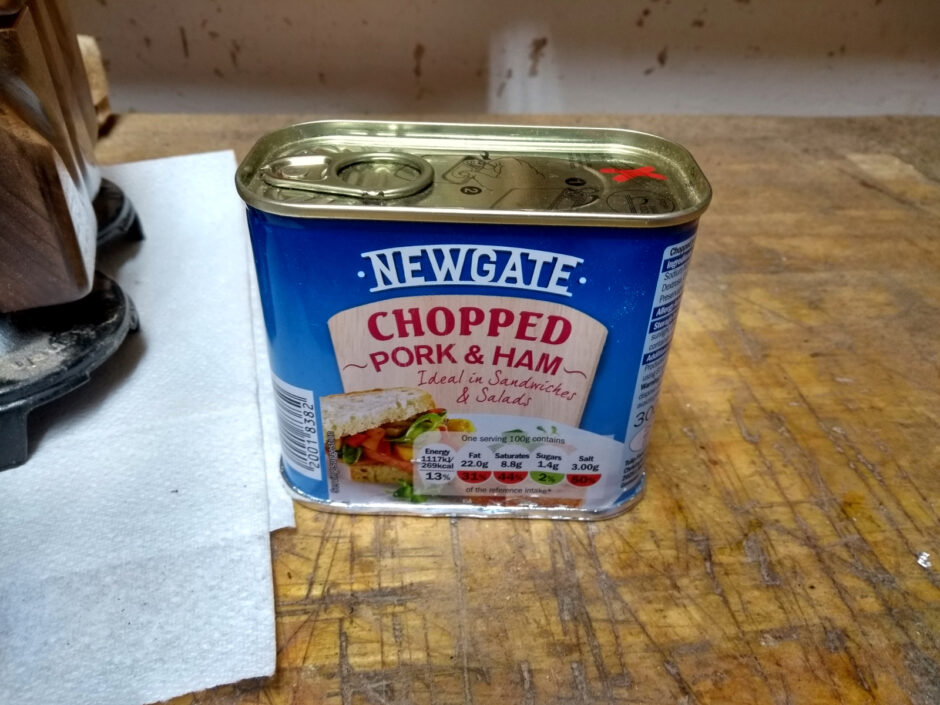
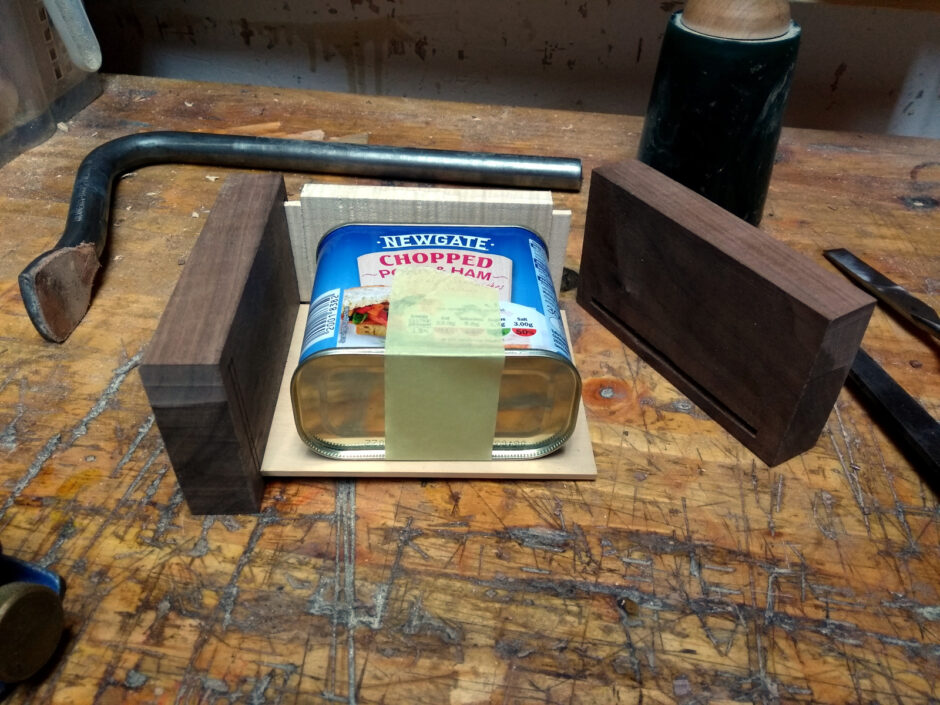
Also, yes, that’s a tin of spam.
And also, no, I’m not that bad.
Tin is the traditional gift, but tradition can go jump in a lake.
Tags: boxwood, resin, rippled sycamore, shellac, sycamore, walnut


Congrats on ten years and I like the direction the box took
Very cool Happy Tin anniversary 🙂
Well done
Bob
Congrats on 10 years! Very nice way to present the “tin present”.
If your lathe adventures have taken you to power sanding, a Jacobs chuck in the headstock holding a 2 or 3 inch hook and loop mandrel lets you spin the sandpaper and manually present the wood to the paper. An additional way to sand things like the carved box lid.
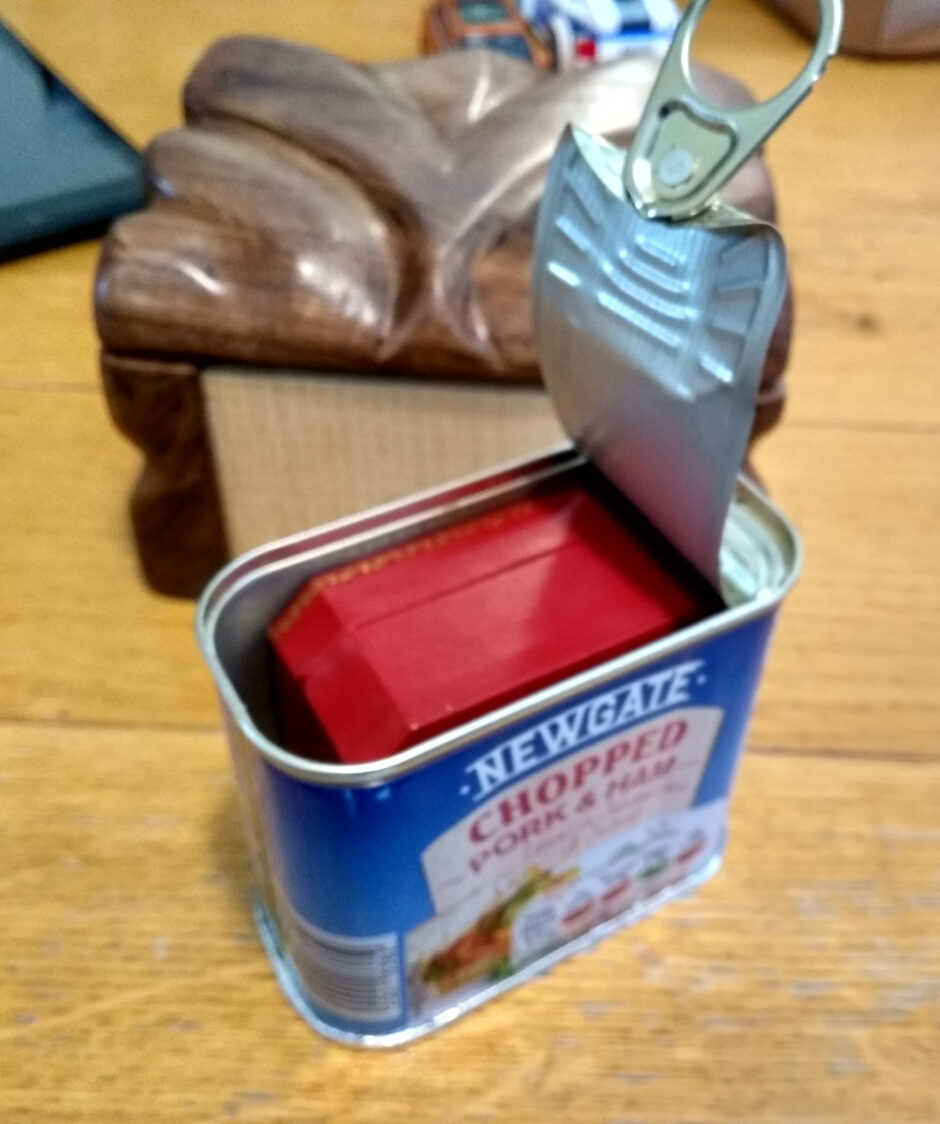
Congrats. I have 10 years coming up. How did you get the gift in the tin can?
Mark,
Congrats,
Sure goes fast doesn’t it.
ken
Cut open the bottom of the can with a kuhn rikon lidlifter can opener Joe, cleaned the can, put the gift inside and sealed it again with aluminium adhesive tape and burnished and trimmed that so it wasn’t immediately obvious.
Burnishing wheel:
What I wuz told:
With a new mop, hold a wire brush across the rotating wheel. This rips out a lot of the loose threads. Then, with a cigarette lighter in one hand and a small wooden board in the other, go round the wheel singeing off the “hairs”, using the board to smother any smouldering remnants. Run your hand round the mop after you’ve finished to make sure there’s nothing still alight.
Don’t load too much polish onto the mop.
After a while, the mop may get clogged. Clean it with the wire brush. If needs be, repeat the singeing.
Best practise is one polish/one mop. If not, use the wire brush again to clean it of one polish and then recharge with the new polish.
Thanks for the tip San!