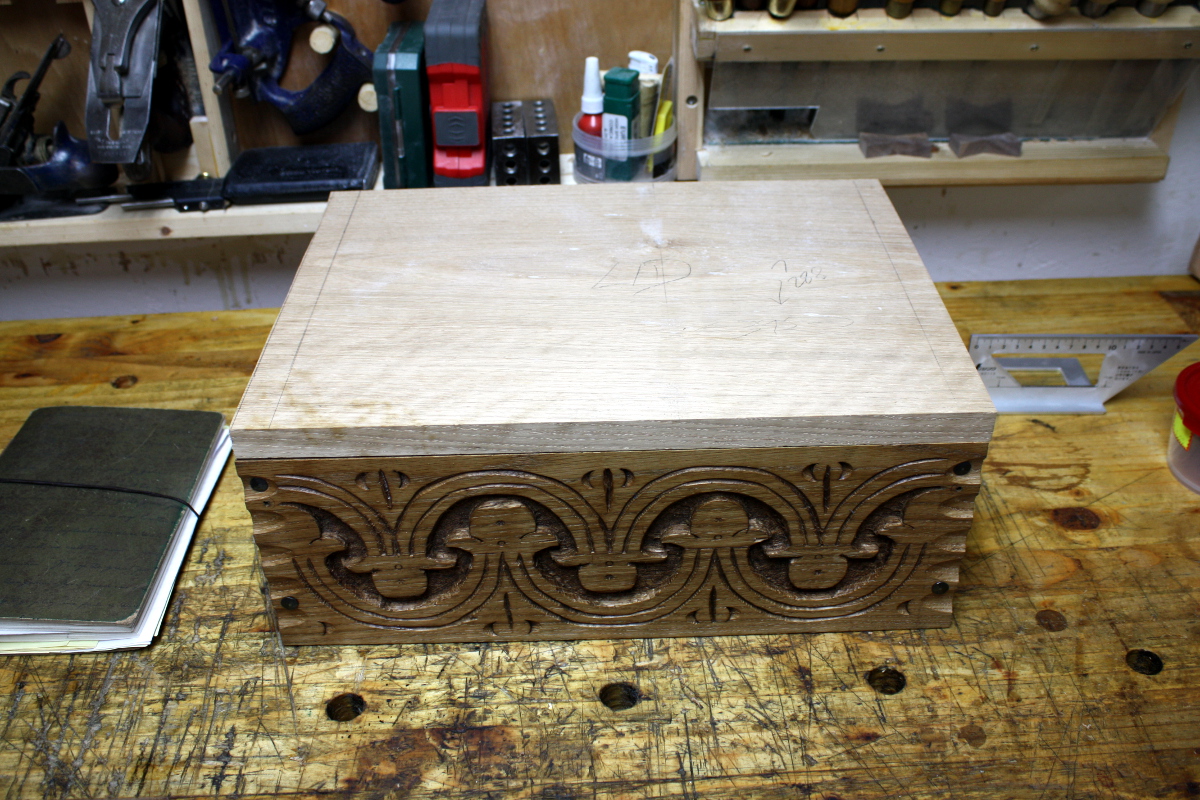
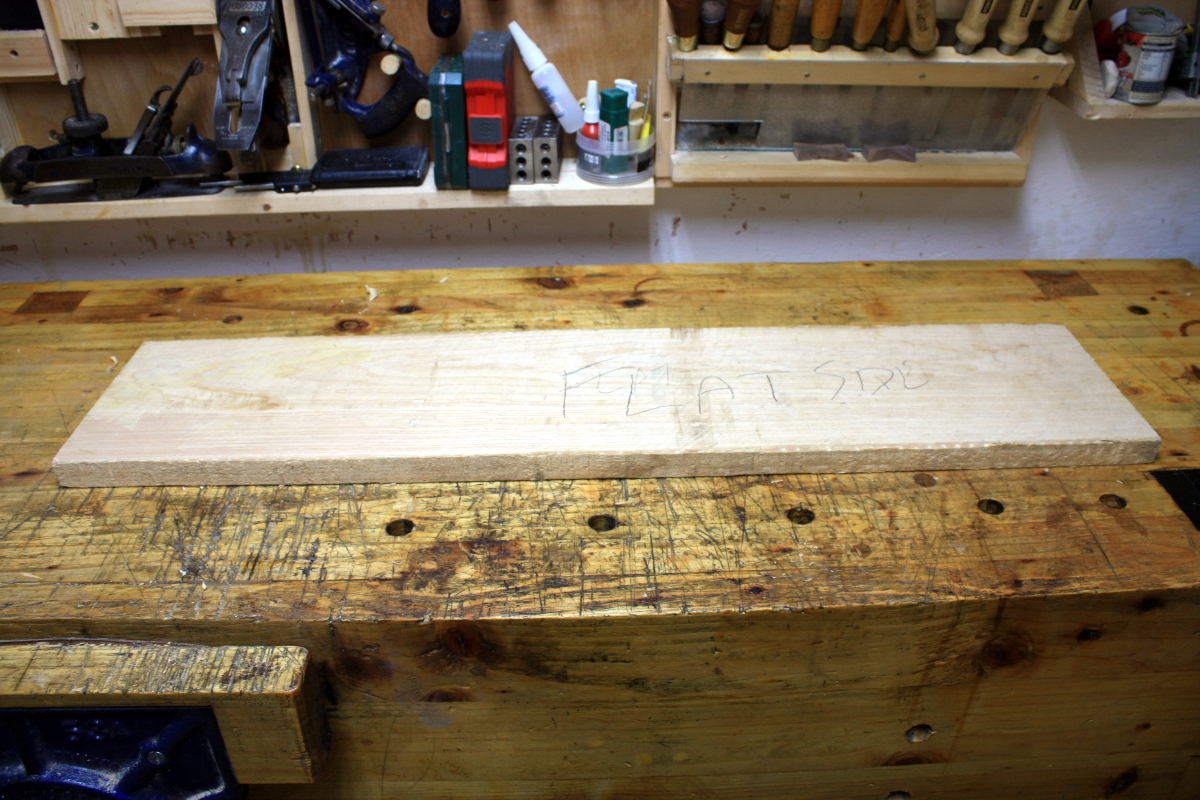
May day bank holiday weekend. Going to try to finish up the box. First up, the lid, which I already have a piece prepped for:
Also, bought two new tools, this time off aliexpress.com rather than ebay.co.uk. You wouldn’t think of aliexpress for hand woodworking tools, but there are a few…
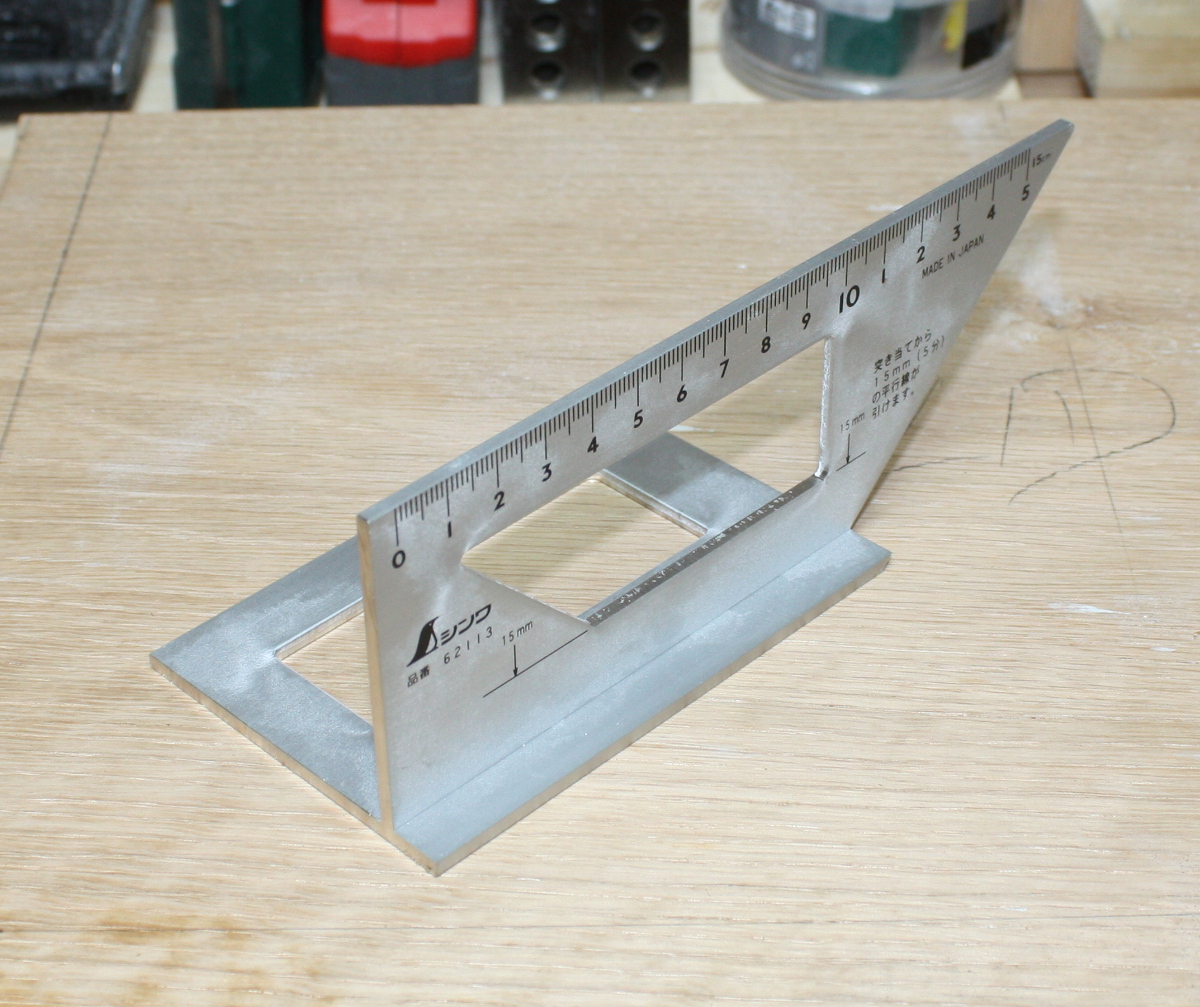
A clone of the shinwa saddle mitre square, and…
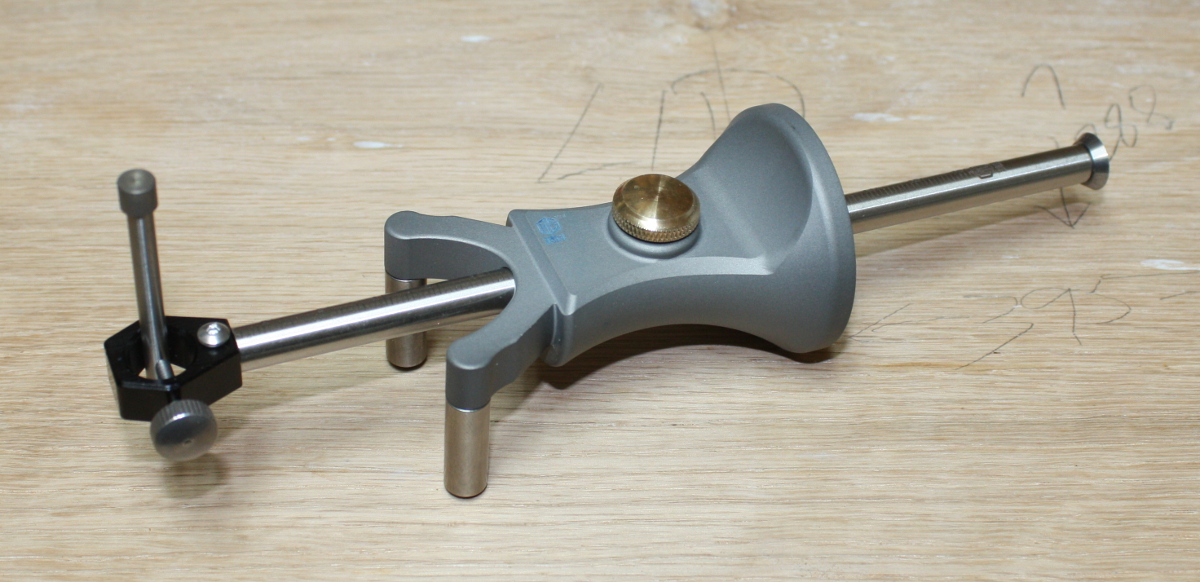
A marking gauge. Works like a normal marking gauge on the right hand side there; on the left hand side, you have two contact points that rotate, so you can mark a line “parallel” to a curved edge. Neat.
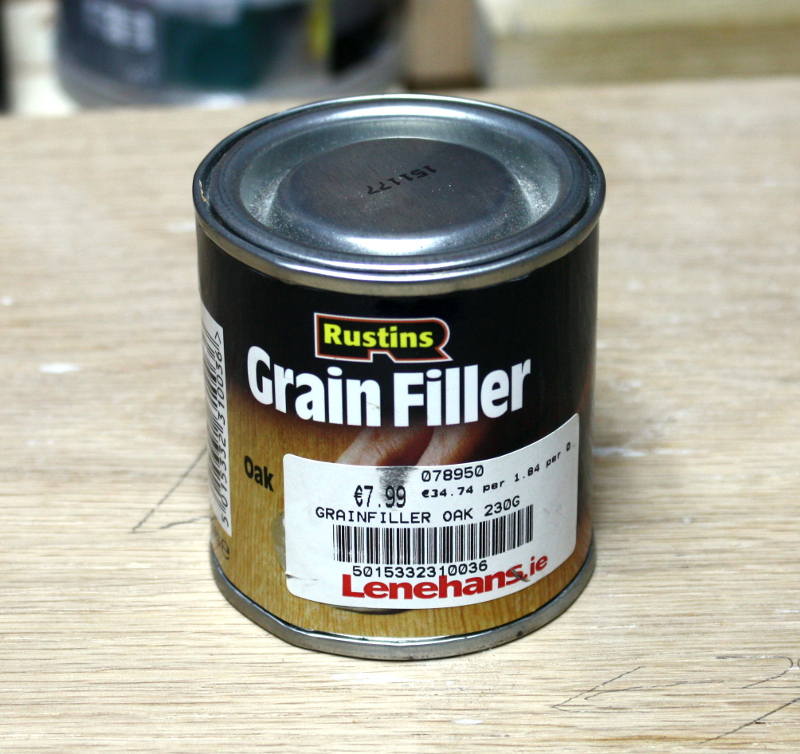
Oh, and I want to try that resin experiment again, but this time seal the oak grain so the resin can’t wick into it.
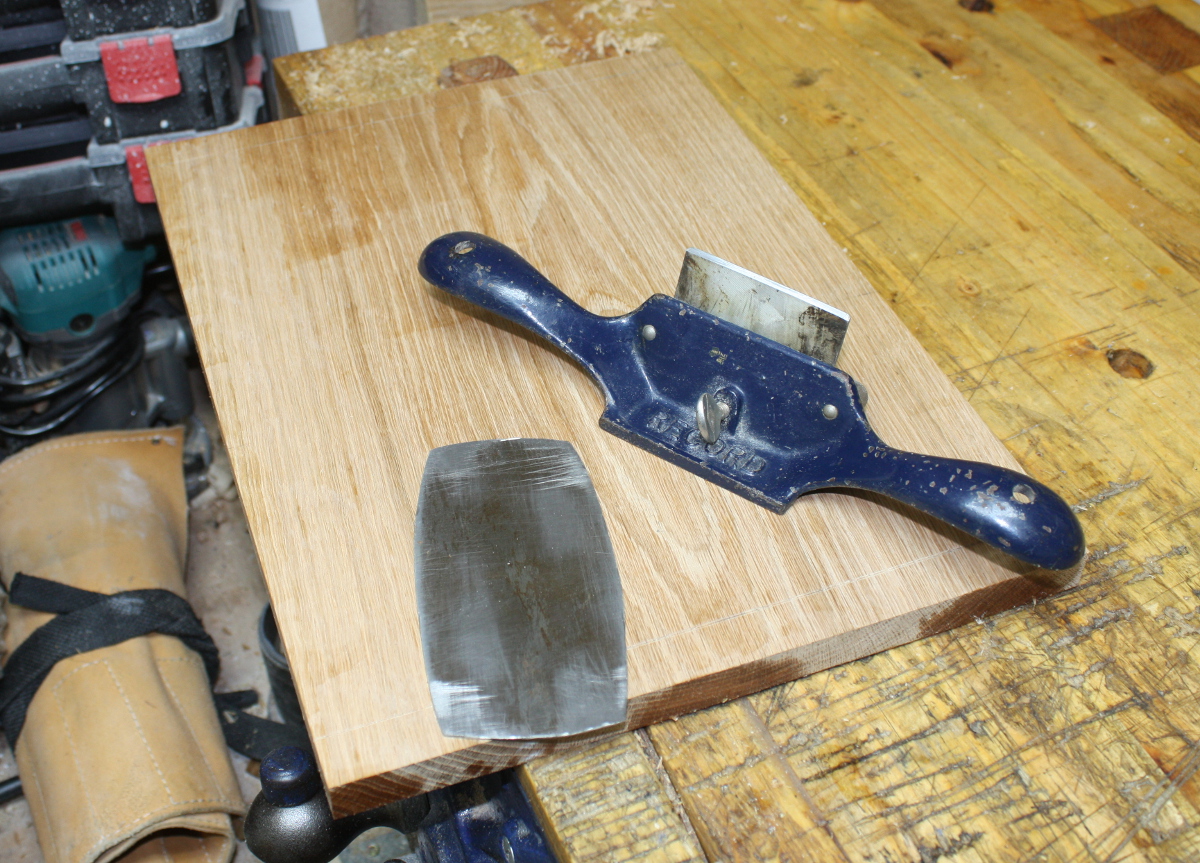
The lid’s been sitting around for a while. It had twisted very slightly. Fixed that with a few #04 swipes and then took the #80 to the surface to clean it up nicely, with a few focussed bits from the cabinet scraper. With that done…
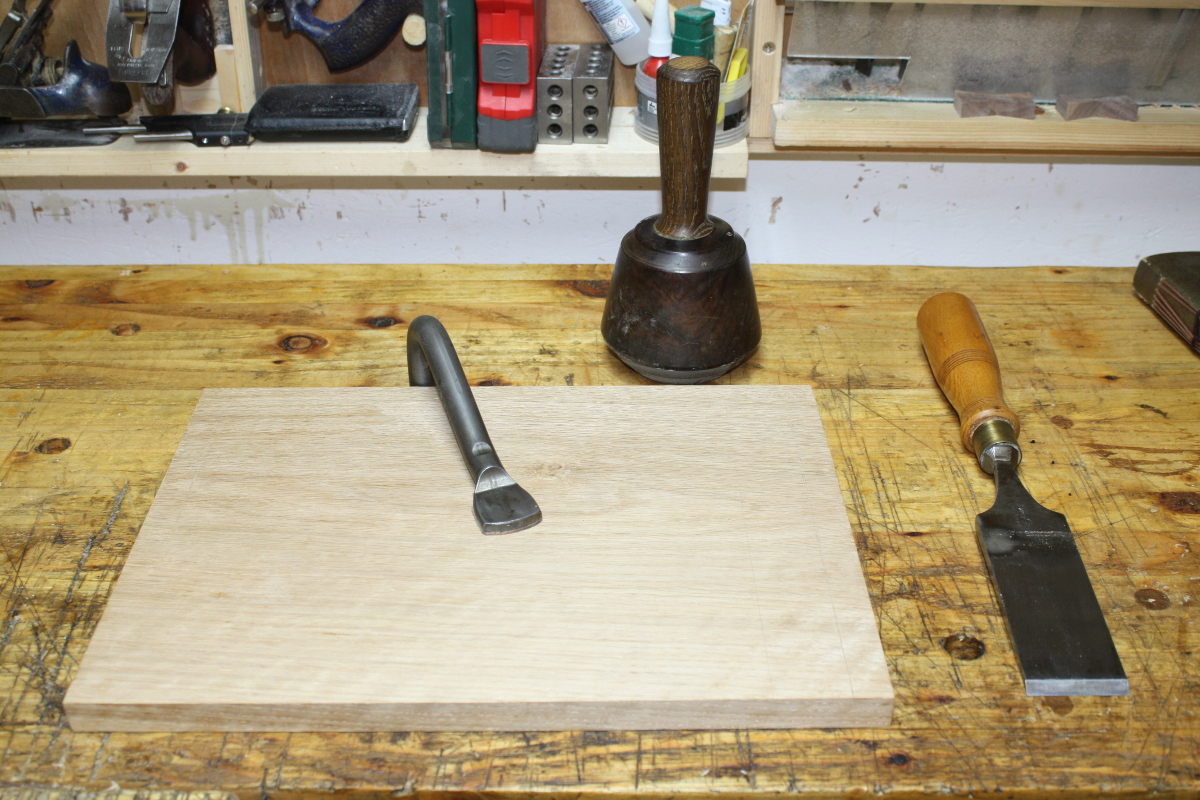
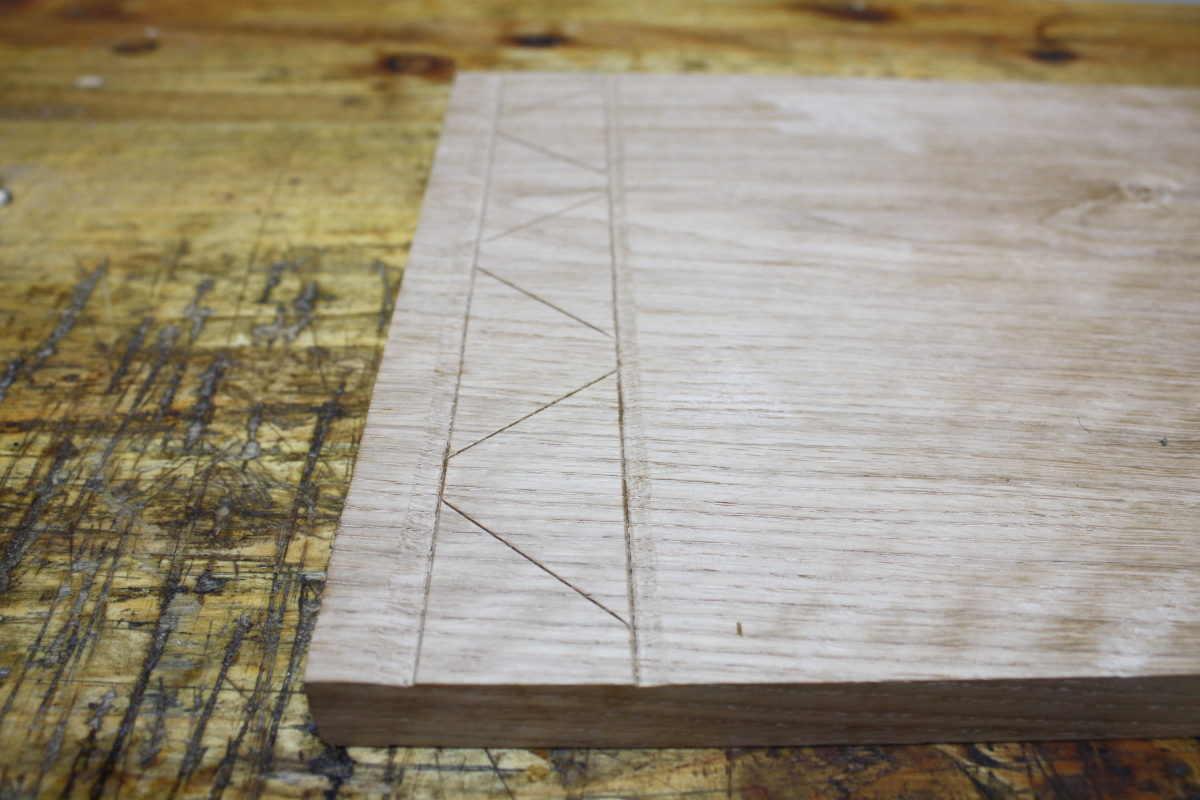
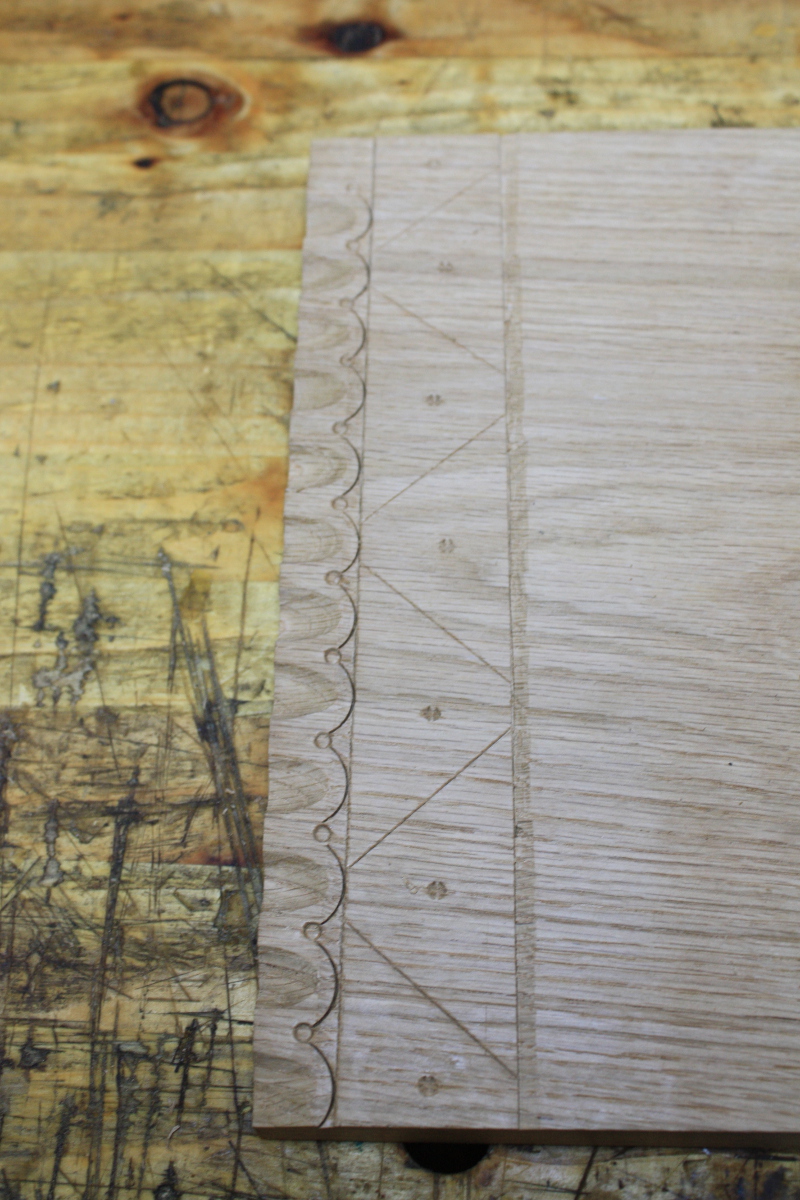
Just a little decoration on the top.
Some straight-chisel work, and then I want to treat the long lines like a knife wall, so there’ll be a little low relief to it.
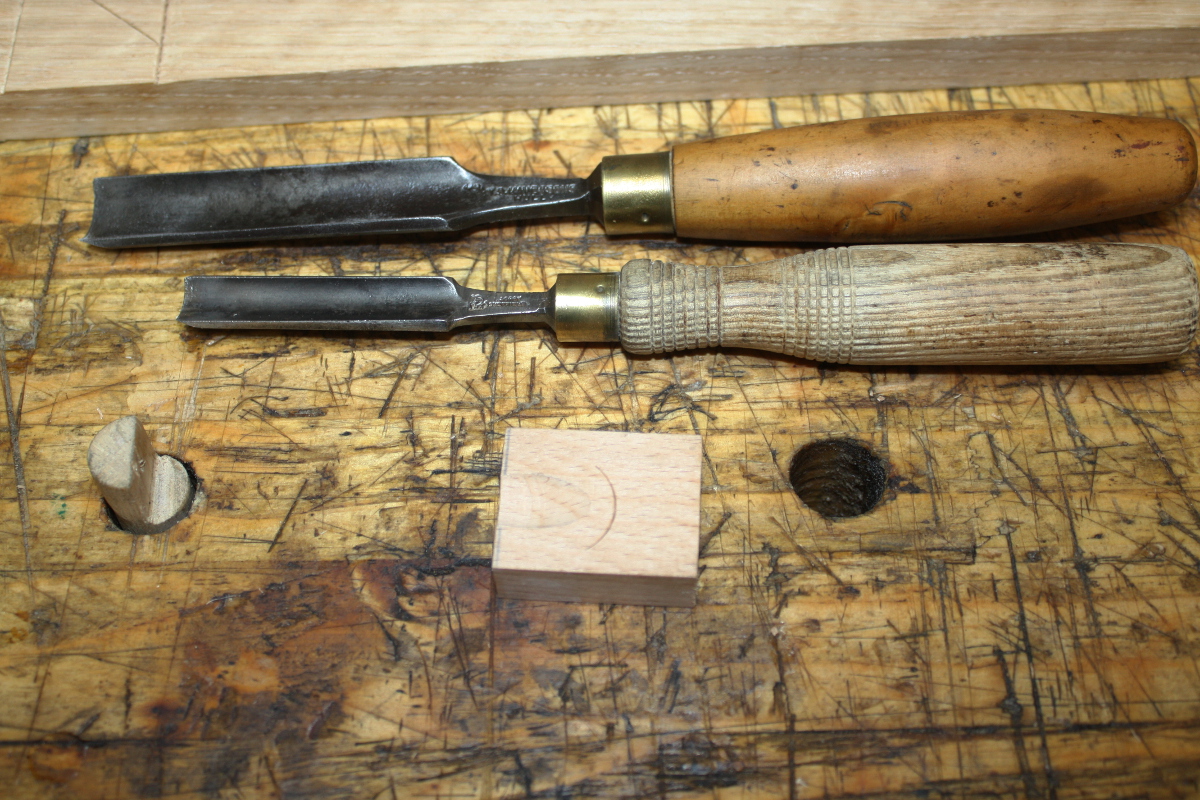
That’ll do. Next, gouges…
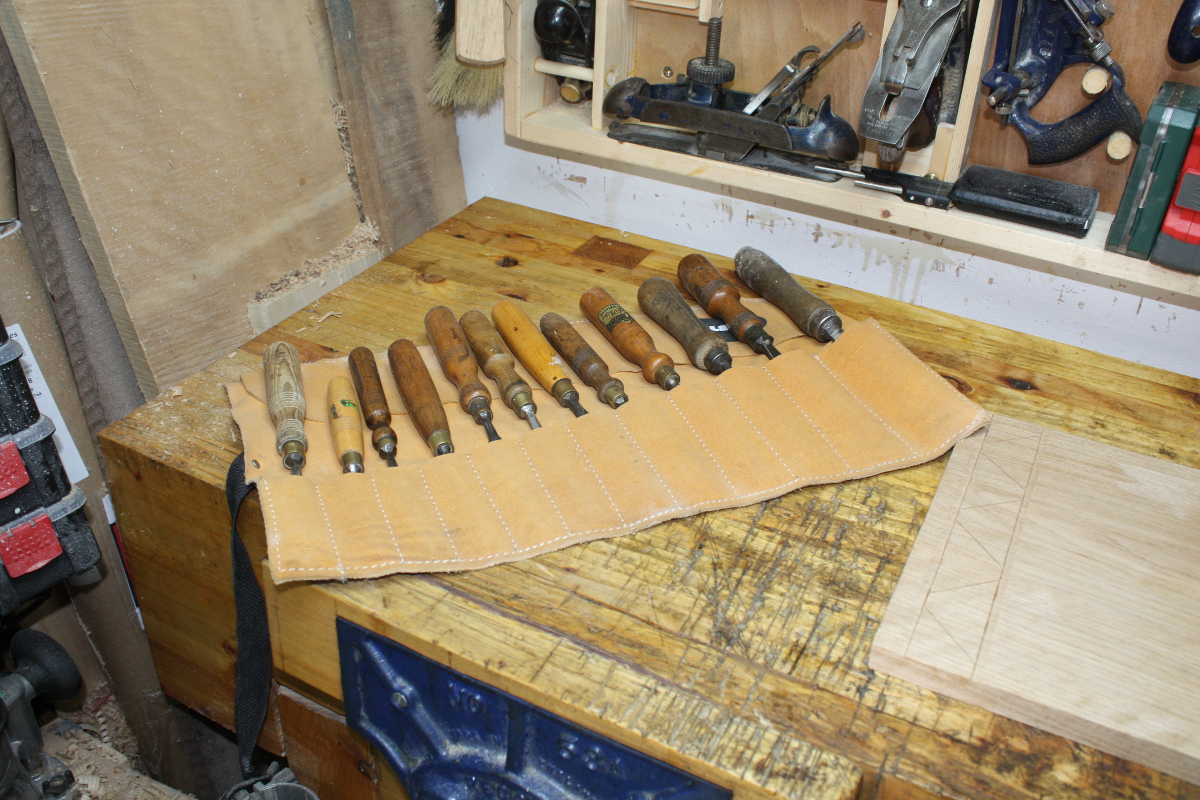
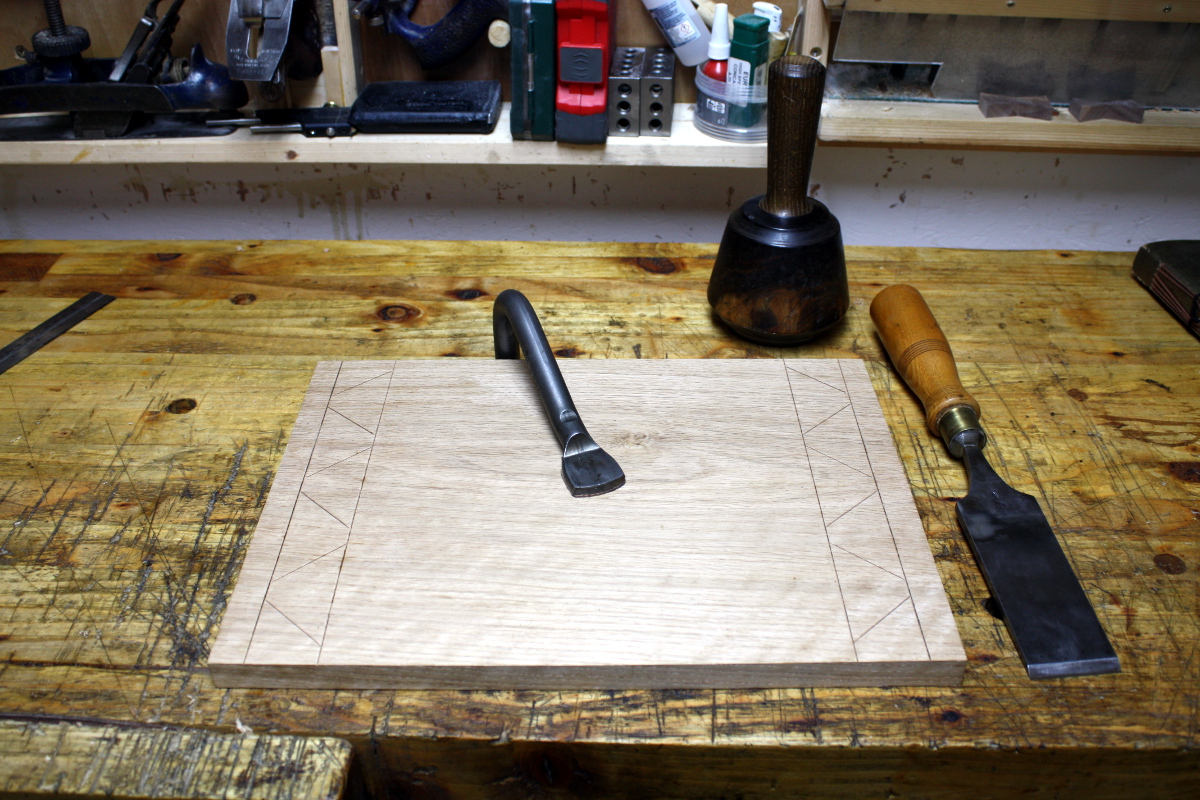
A bit of experimentation and picked out two.
Right, so chopping with the larger chisel to set up the pattern:
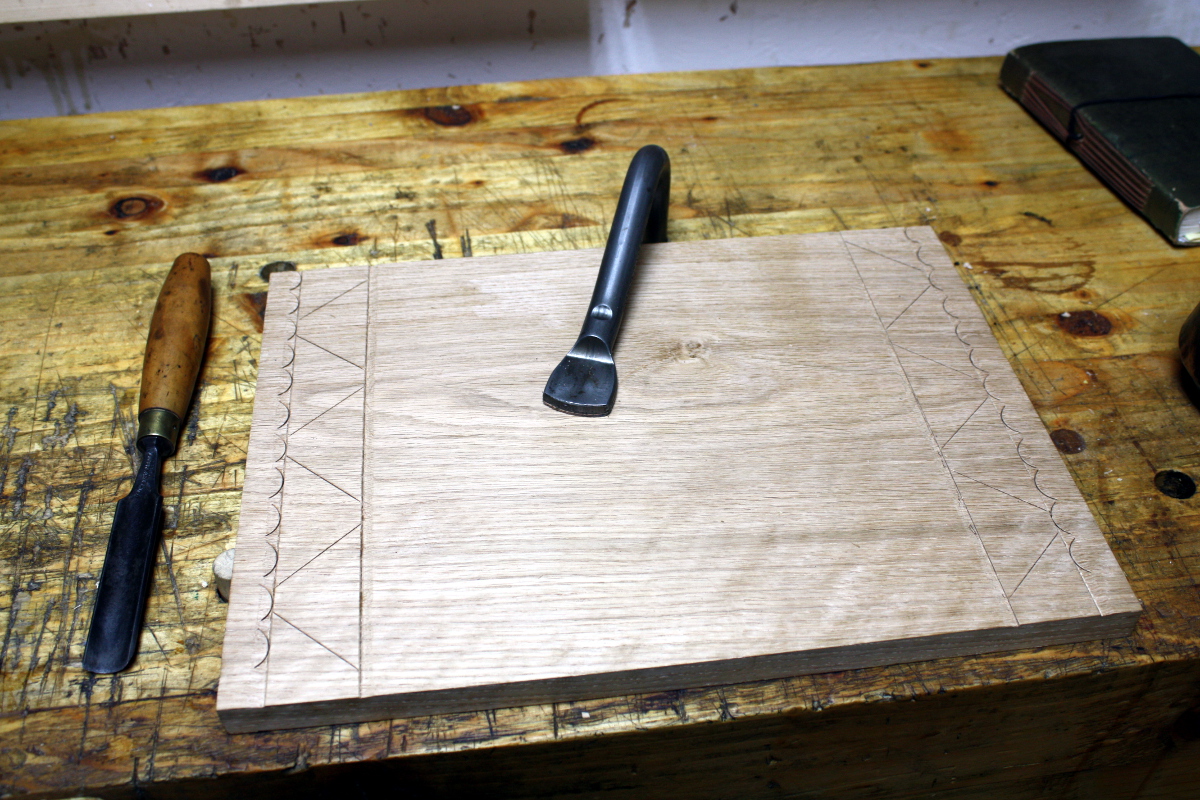
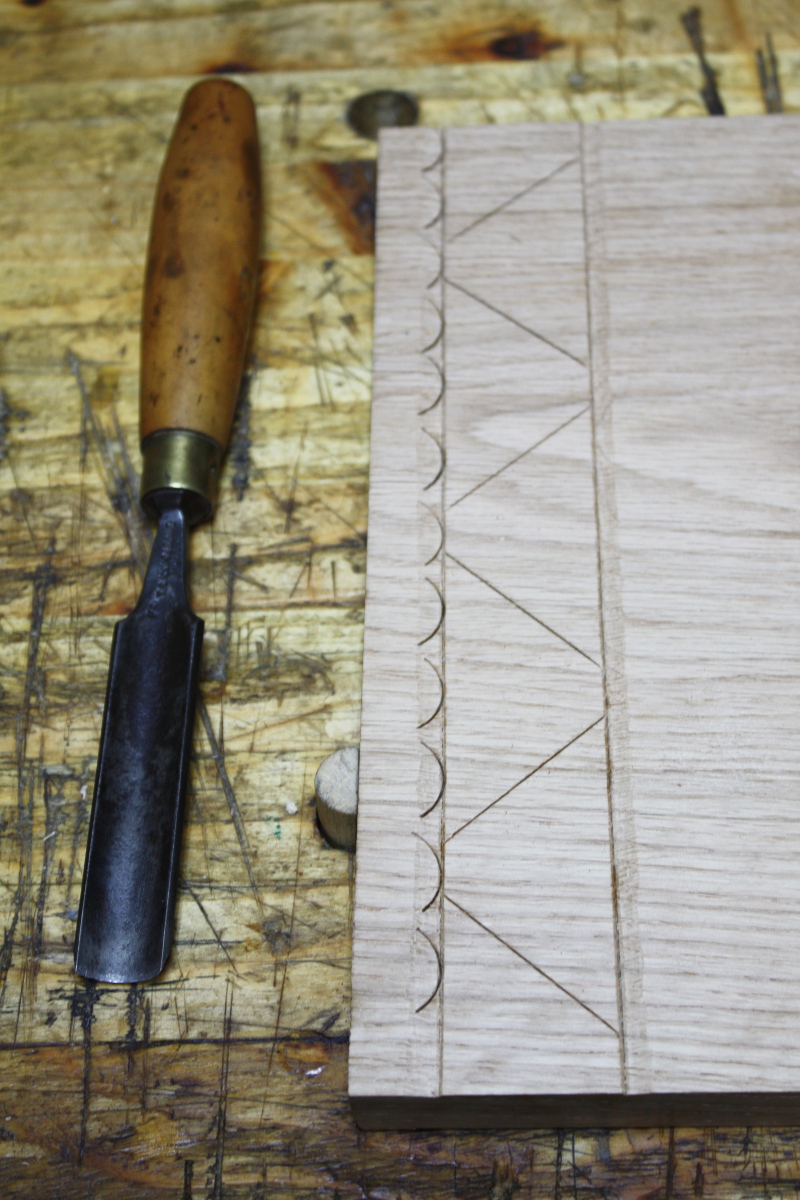
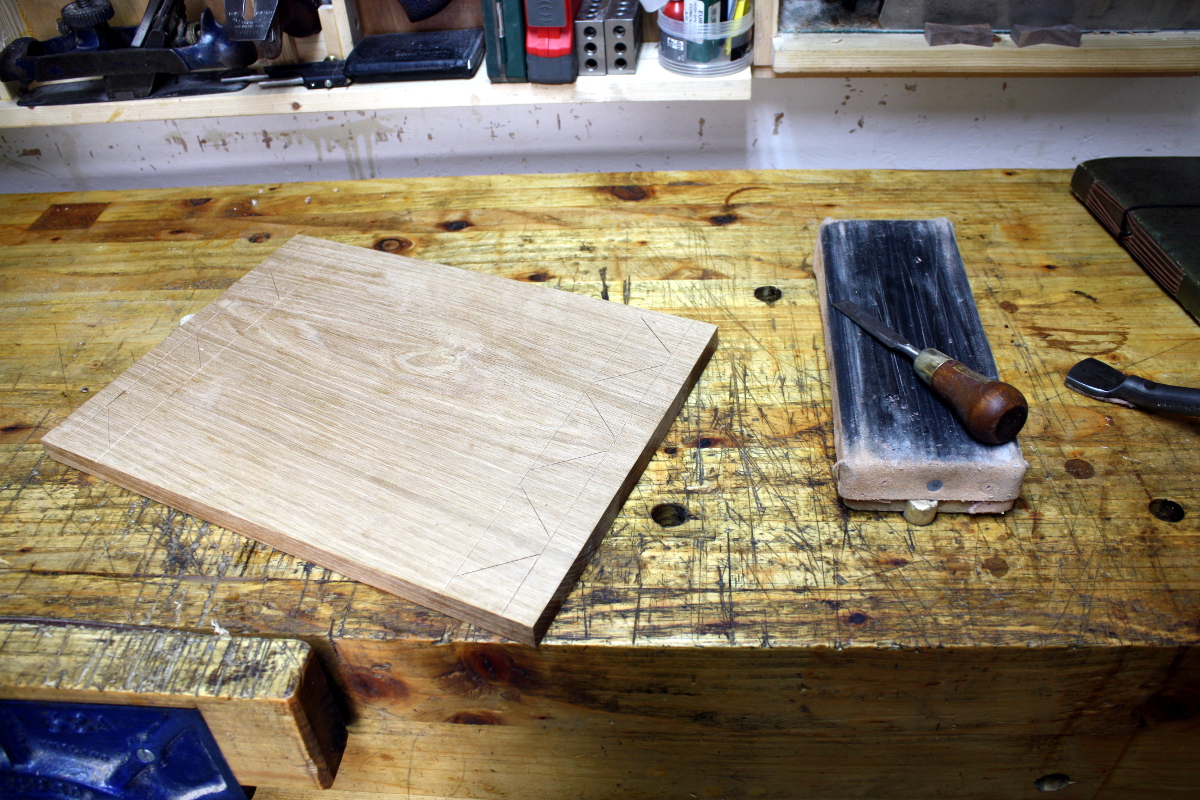
And now use the smaller gouge to take out some scallops so the endgrain edge has some decoration.
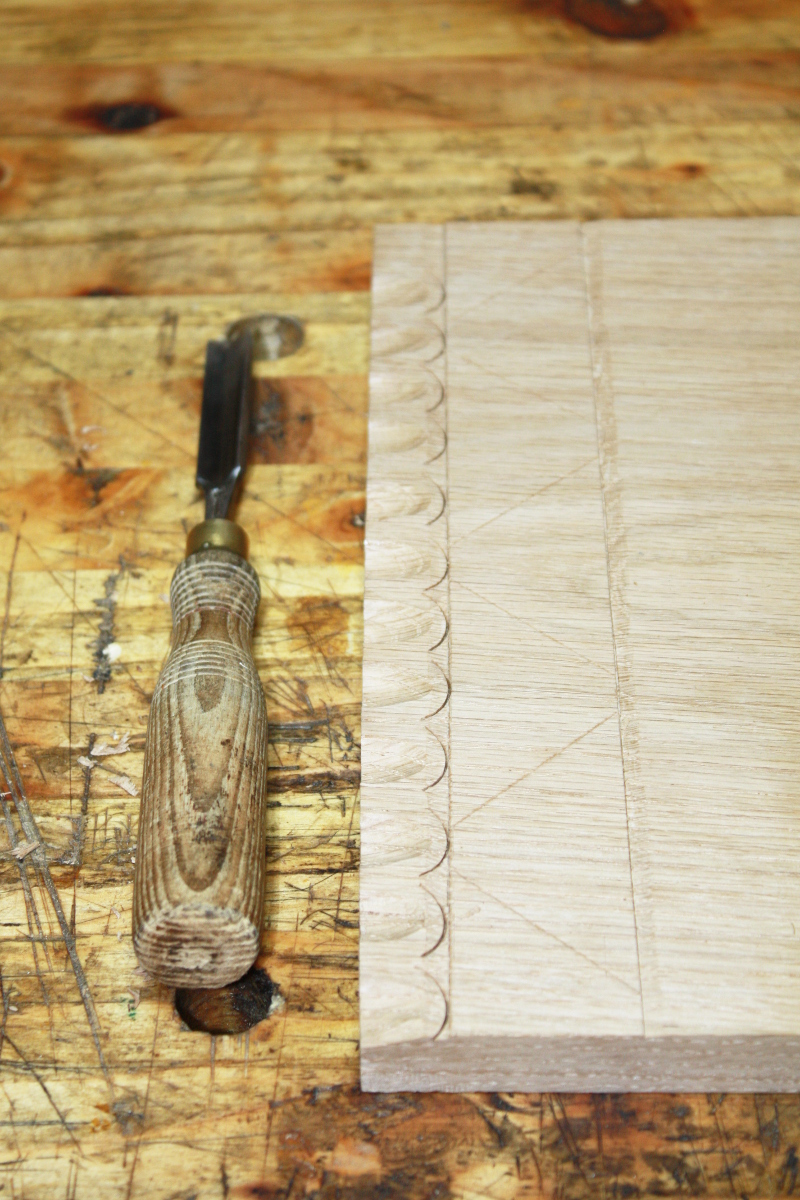
Okay, now some punchwork to add a few decorative points.
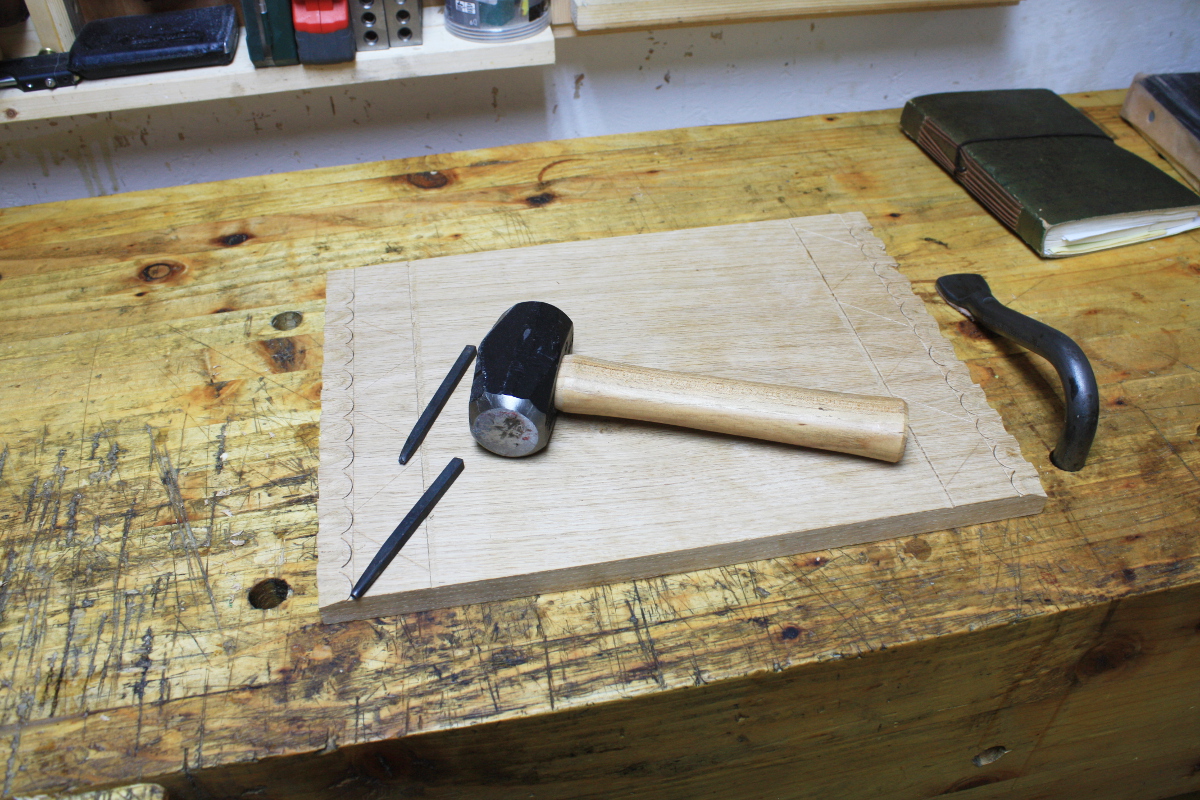
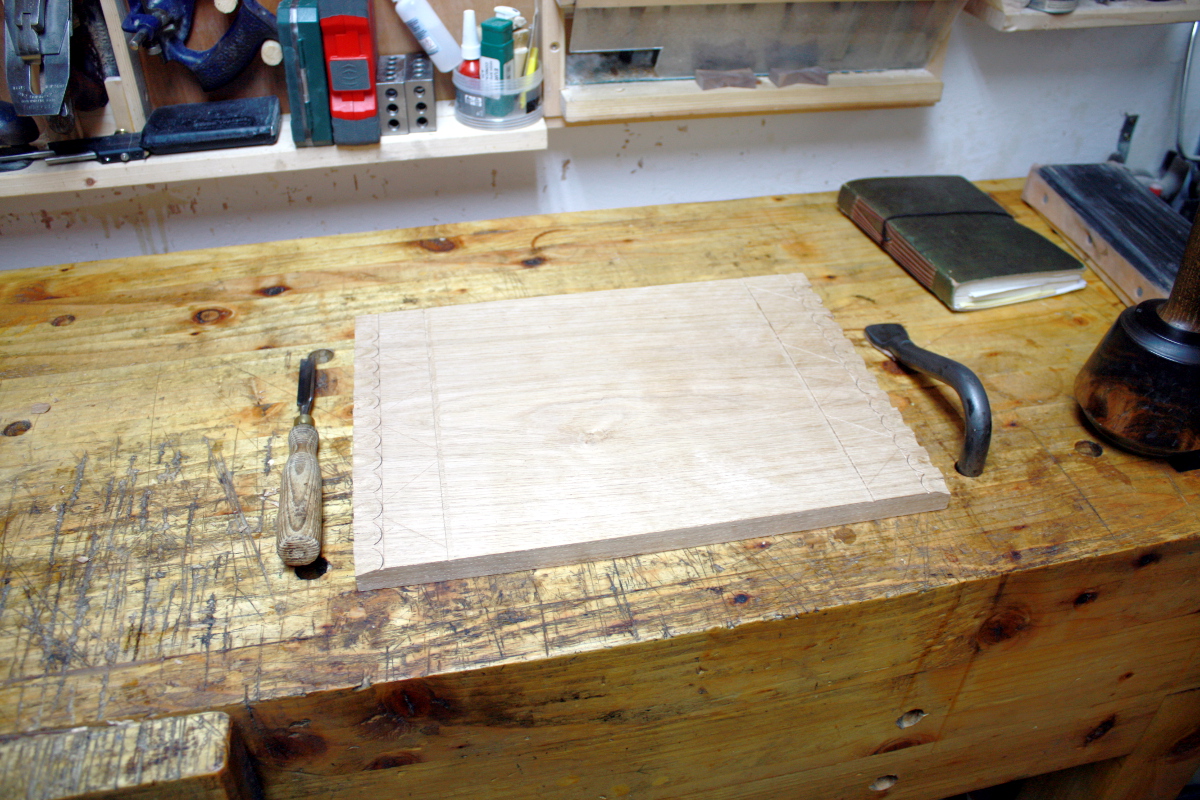
I’m happy with that.
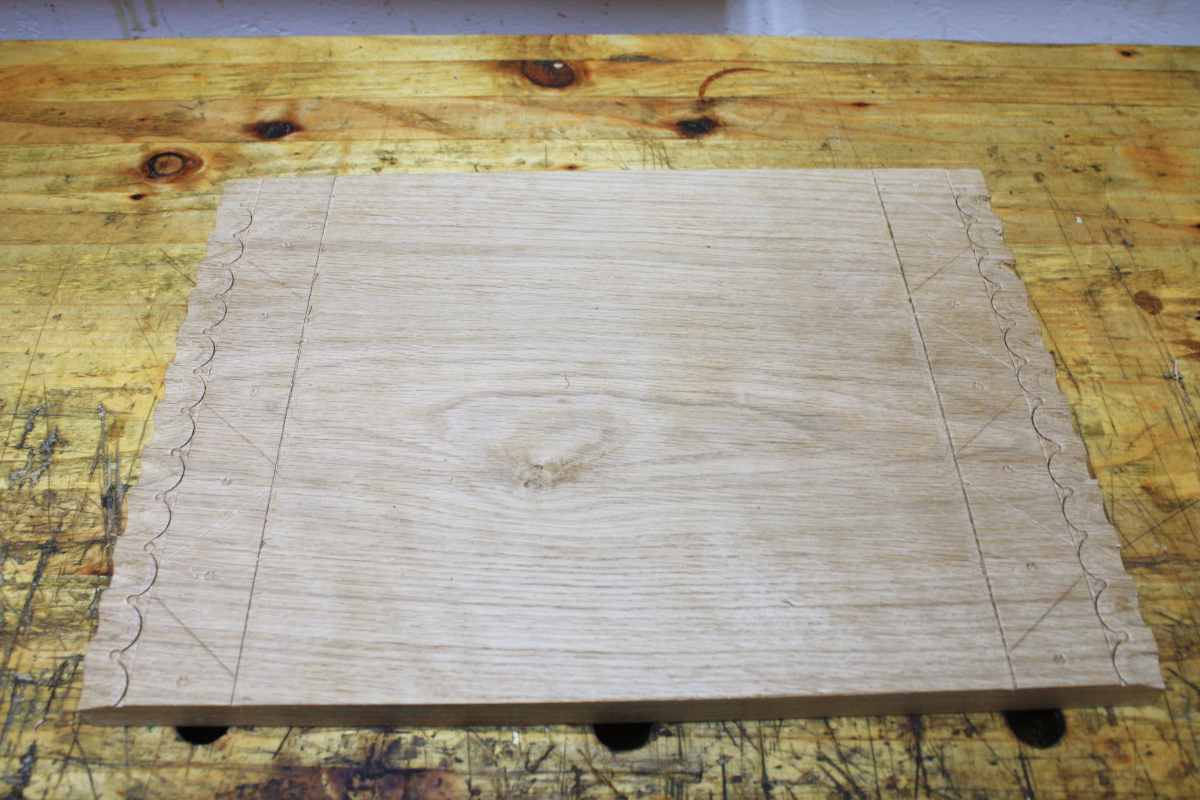
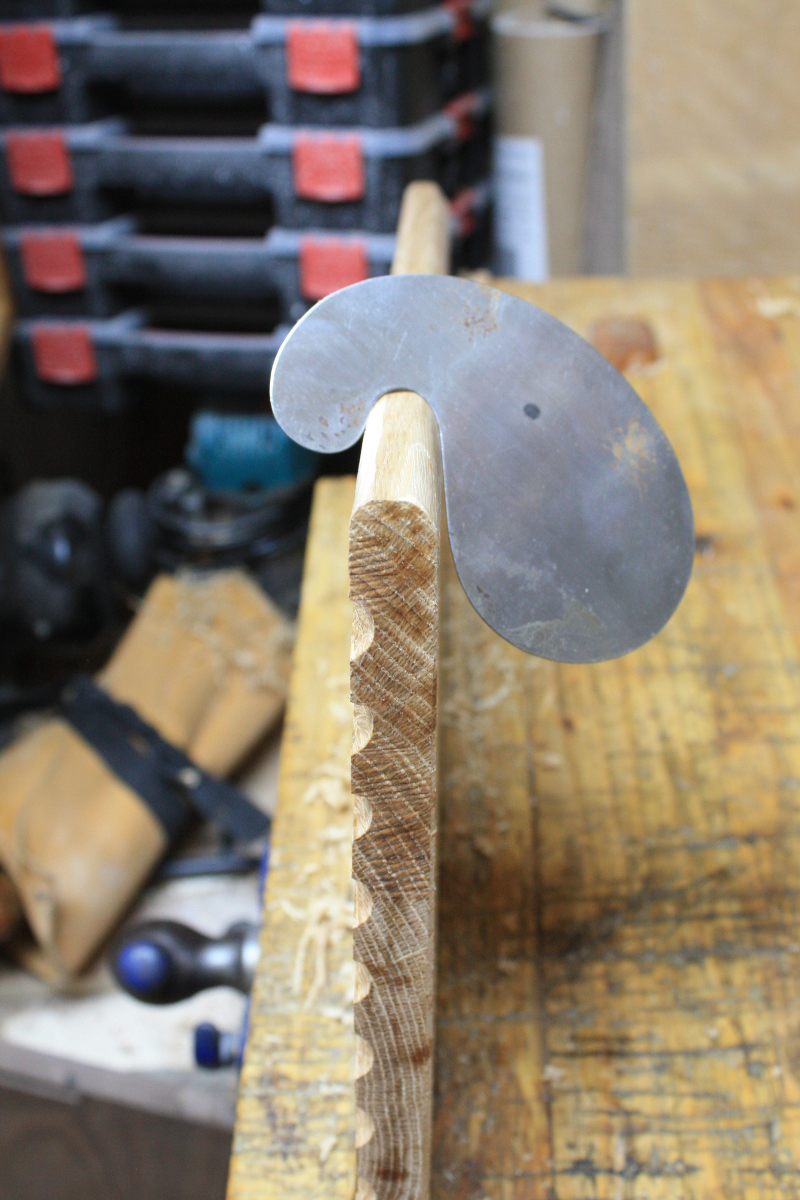
Okay, now just some breaking of edges and shaping of the front edge:

Gooseneck scrapers are great for this.
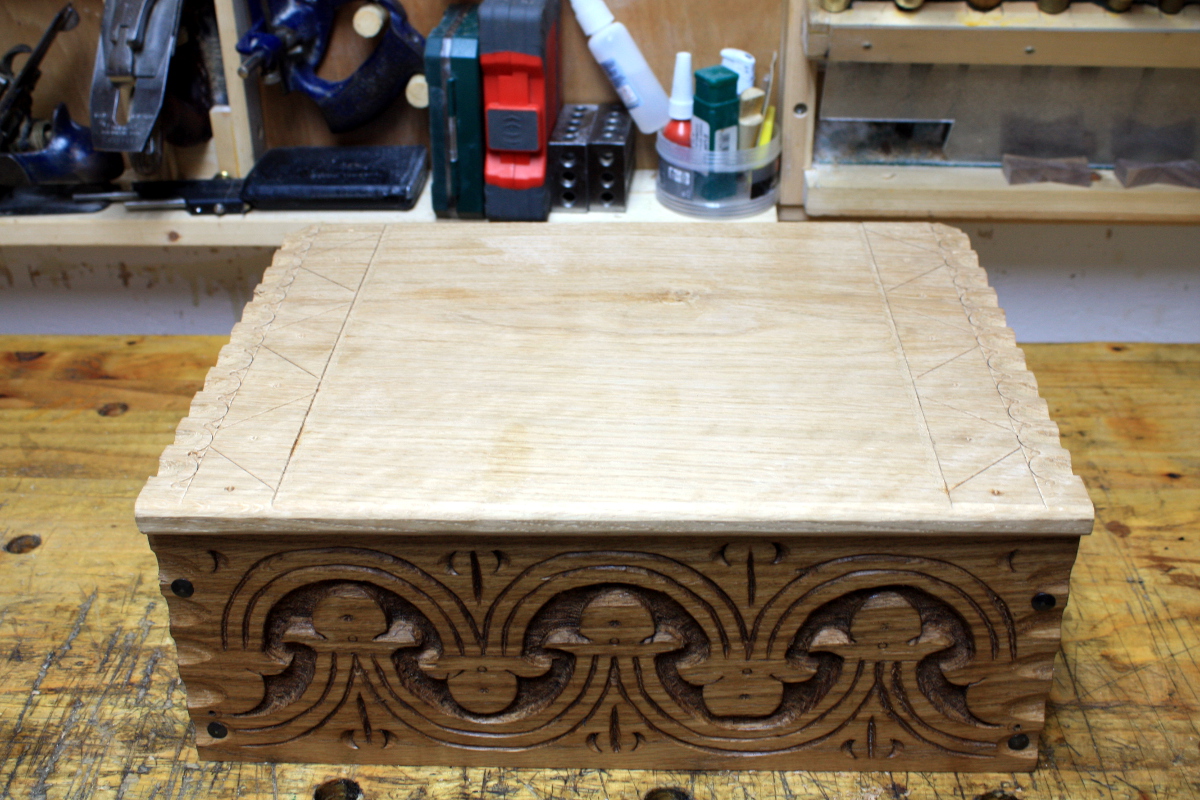
Okay, that’s the lid done.
Add some linseed oil and that’ll fit in nicely.
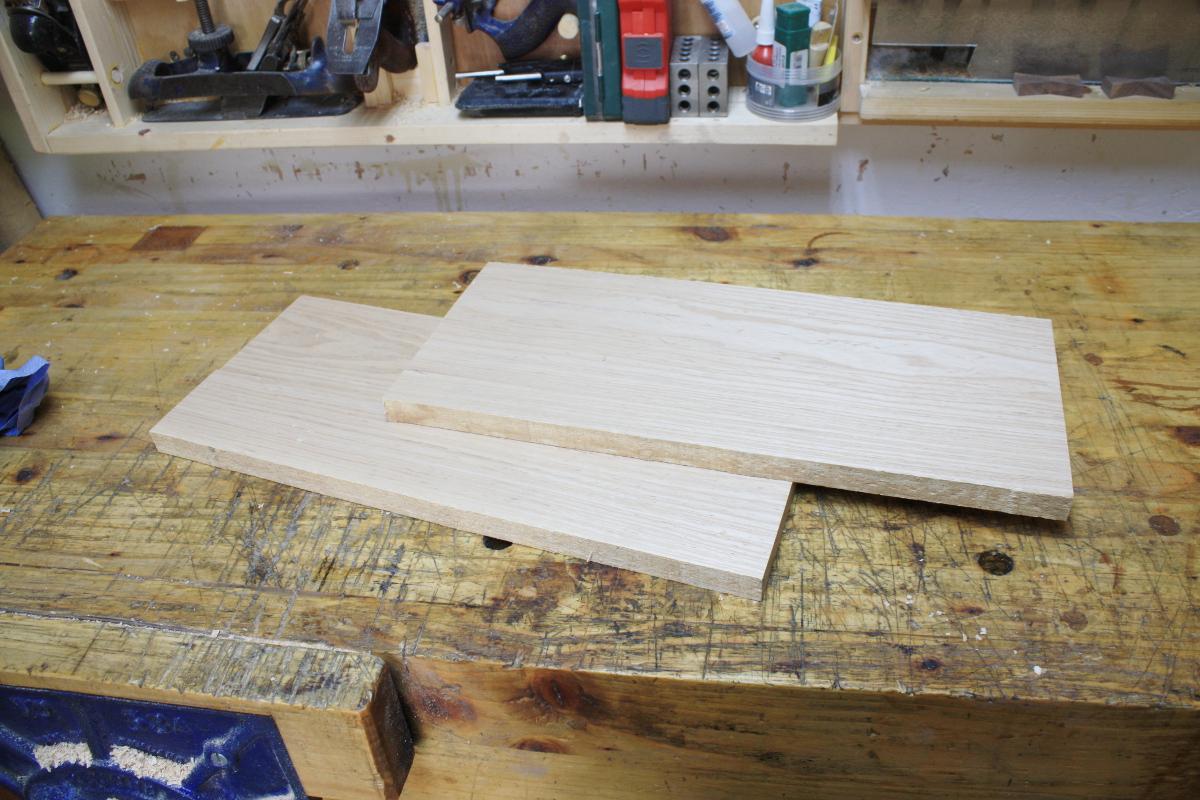
Now the base. I don’t have enough ash offcuts to make a shiplap base, annoyingly, but I have a small offcut of an ash board that I can use if I hack it in half and make it into a panel.
Flattened it with a #05, but I’m not thicknessing this by hand.

I hate the noise, the PPE, the mess and the fuss, but the speed is nice.
Done in about 15 minutes. That would have been a few days before now.
Okay, so #05 to clean the edges, then do an edge joint with the #05 and #08 and glue up with liquid hide glue.
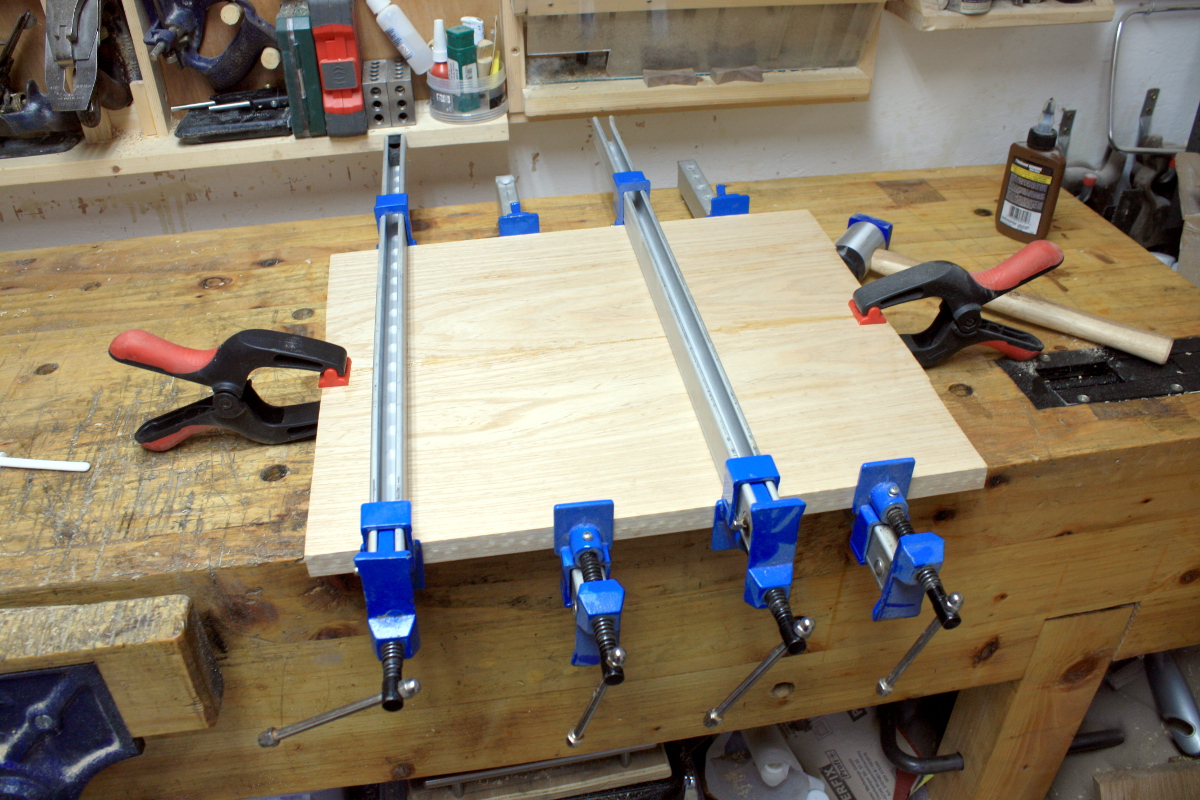
That’ll be ready come tomorrow and I’ll just attach the board to the base and fit the hinges, douse it in a few coats of BLO and that’ll be that.
Tags: ash, card scraper, hide glue, oak, scraper


I like the carving on the lid. It is a nice effect on what would be an otherwise plain jean flat lid.
The marking gauge is a Bridge City Tool copy.
Huh, the MG-4. Which they don’t make any more and which was selling for four times the price of the knock-off. Neat.
Yeah, I thought it needed a little something Ralph, even if only on the edges to take the endgrain look down a little. Only took a few minutes as well. I have the base done now, it’s just a plain ash board with some bevels at the edges. Need to nail that on and do the hinges and then I can just lather on the BLO and call it done…
Looking good, Mark! Nice carving on the lid. Not much overhang, so I’m assuming hinges. Looking forward to more!
Thanks Ron, and yes, slightly less overhang than I had originally intended. Something went awry by a half-inch or so during the process. Oh well, next time will be better…