Yet another diversion from the desk (where I’ve done almost all of the basic shaping and am ready to start cutting the sliding dovetail part which is the complicated bit).
This is a floor mat:
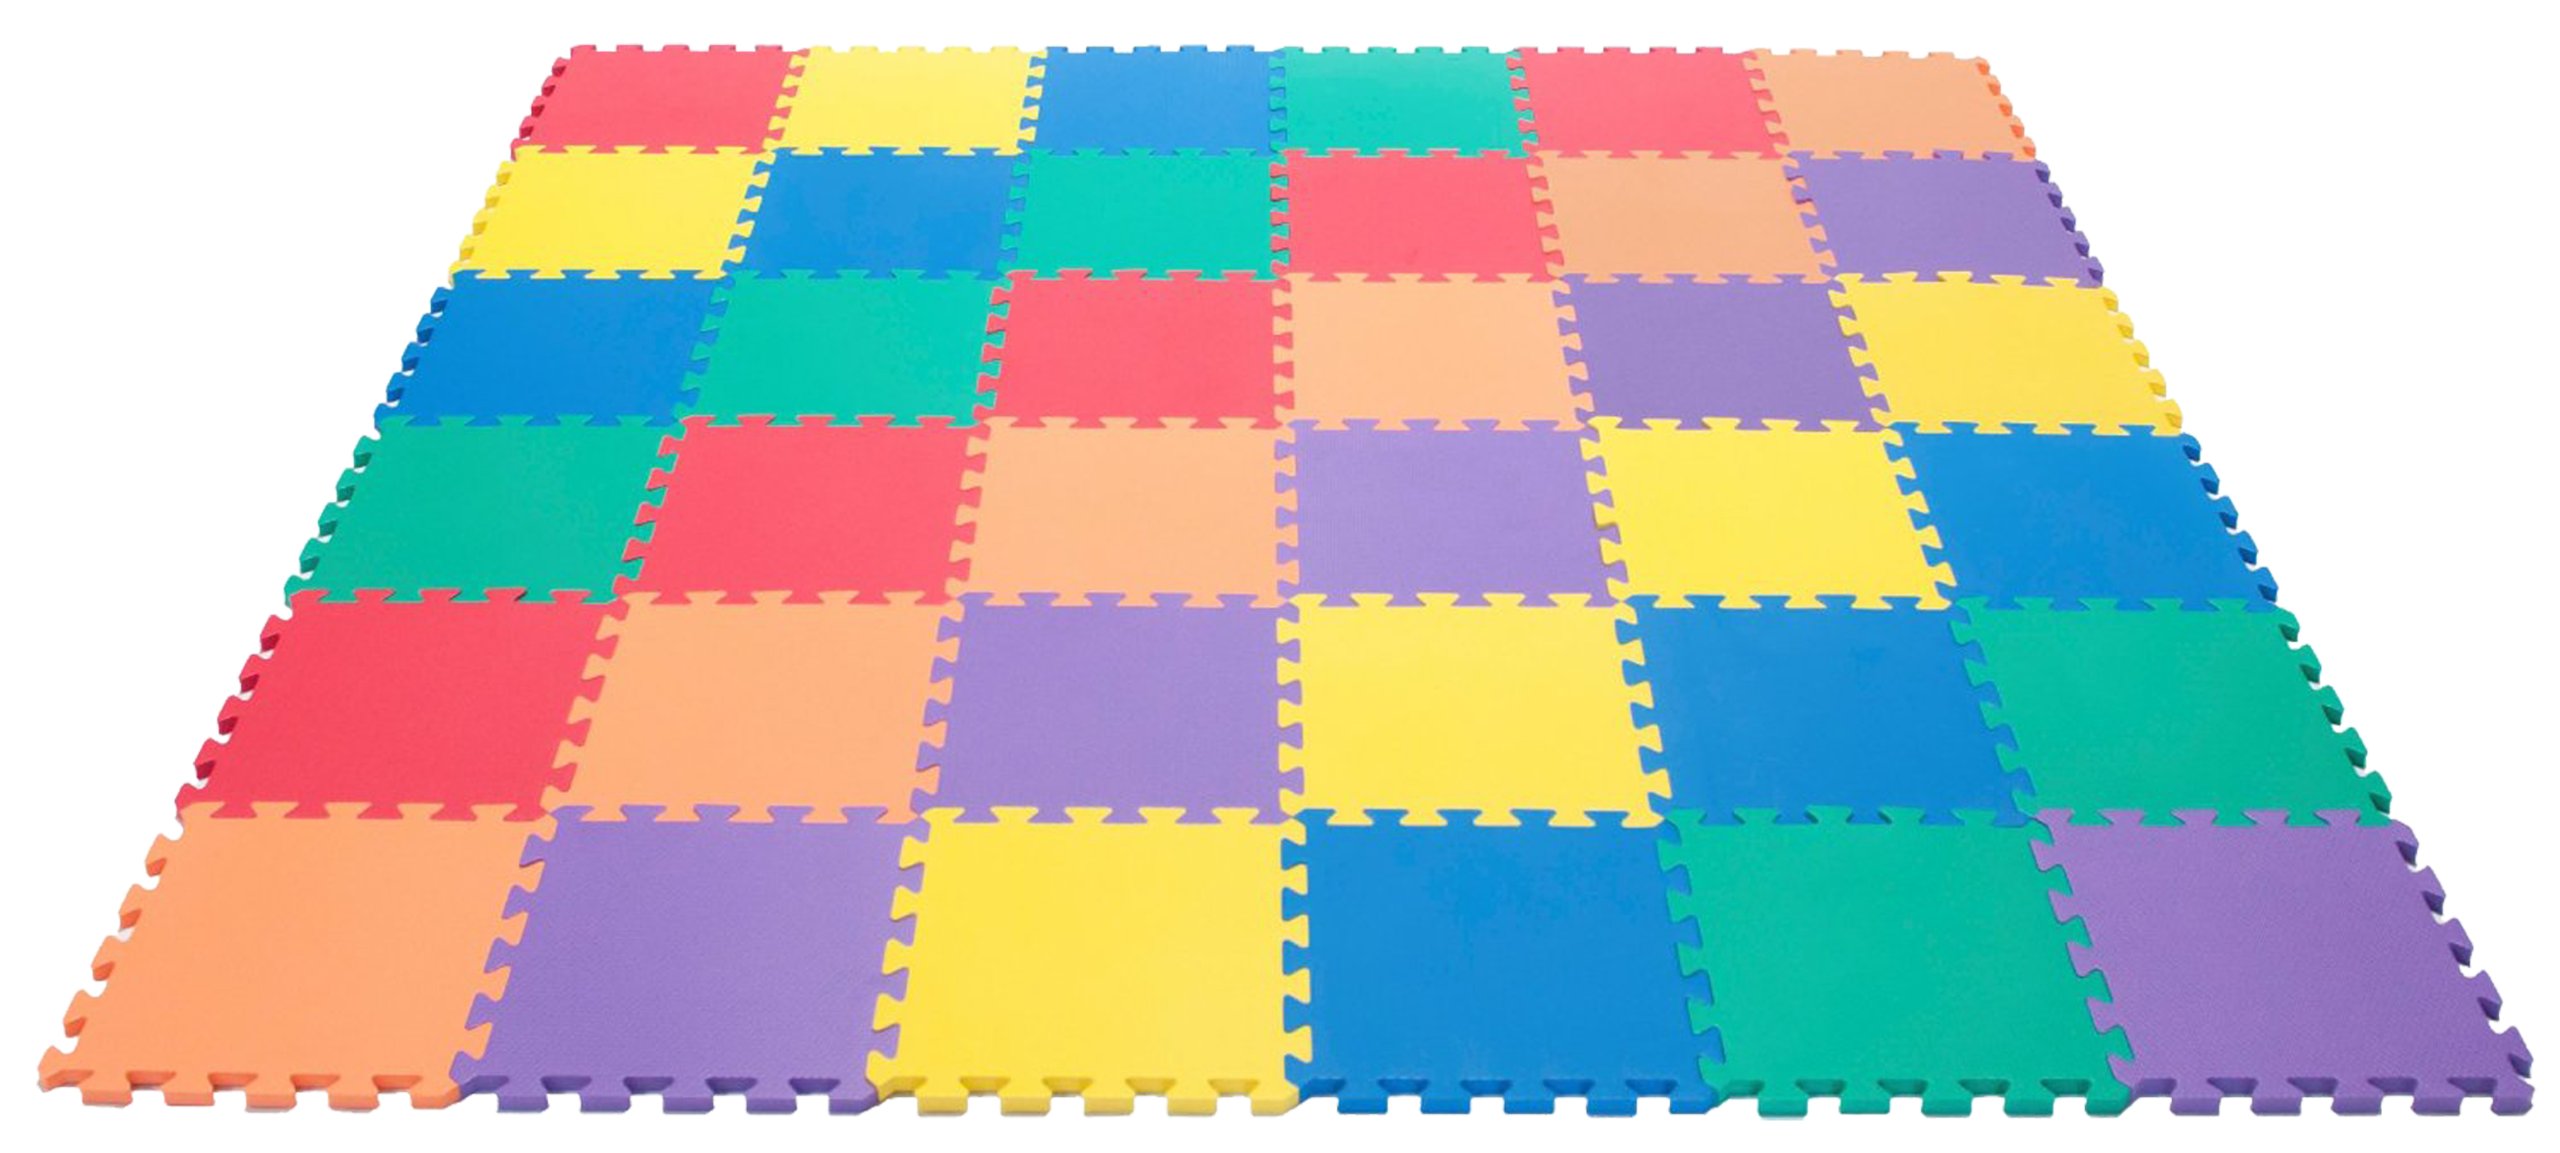
They’re cheap, they’re foam, they go together like a jigsaw, and they’re being sold everywhere (including the local car parts and doo-dads shop halfords near us) for very little money. And they’re EVA (Ethylene Vinyl Acetate) foam and are the base material used by cosplayers for a lot of costumes and props (that’s the grown-up’s word for “toy”):
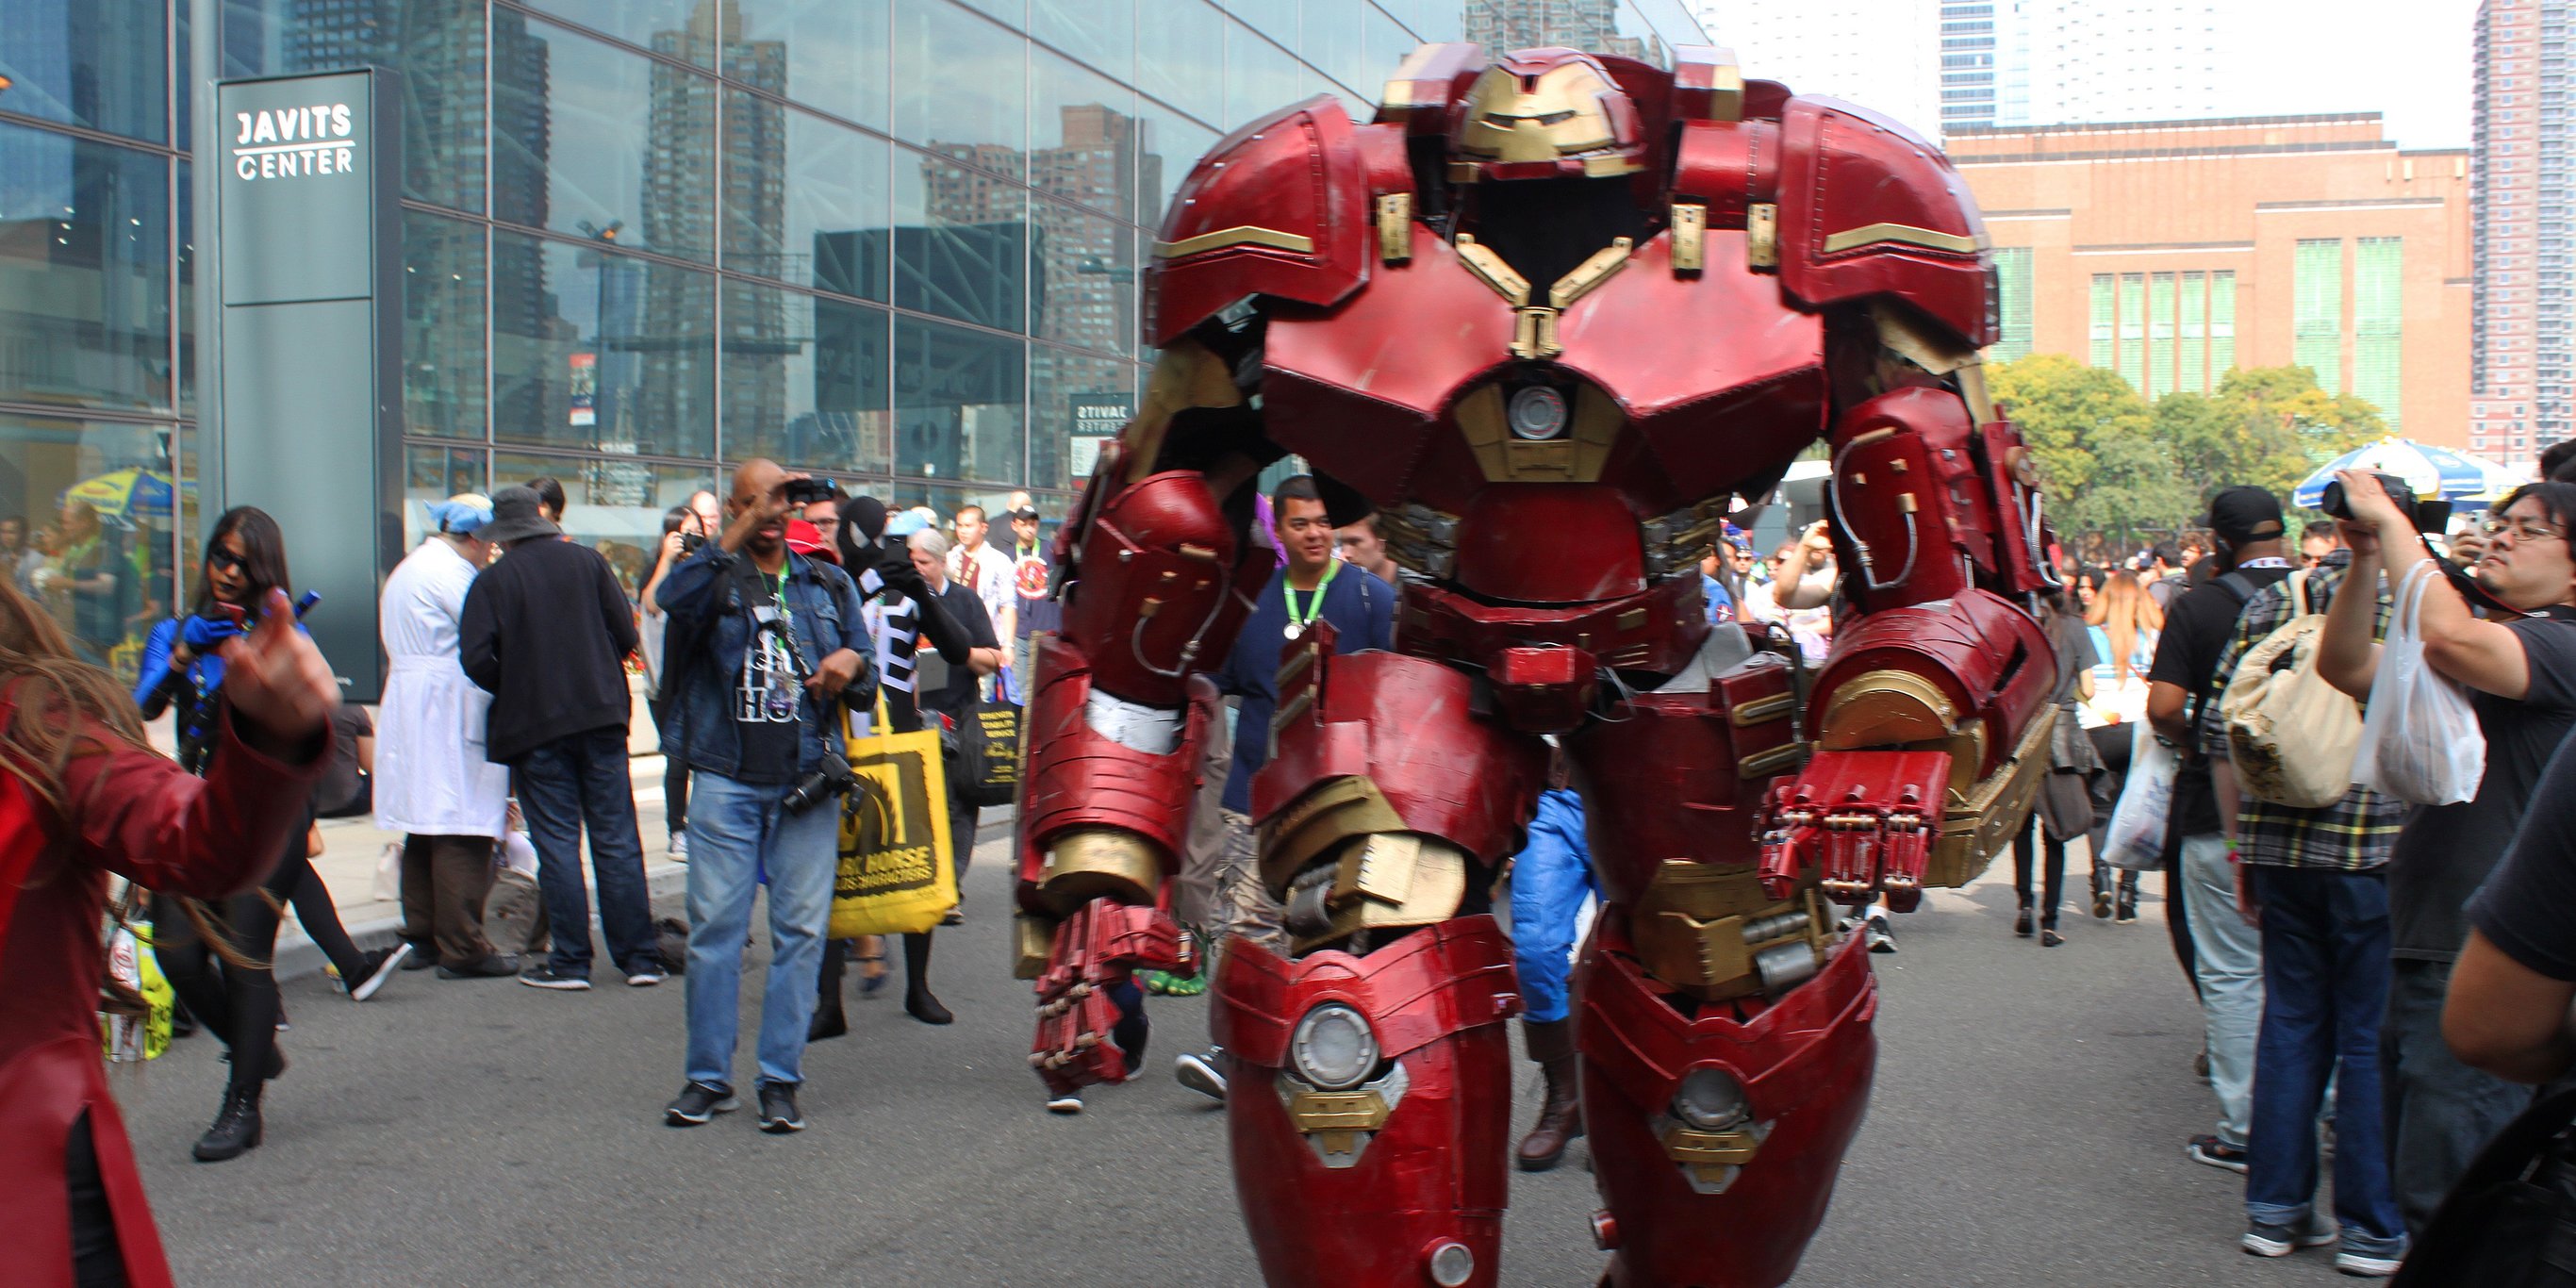
Yes, that’s a 9 foot tall hulkbuster Iron Man costume made entirely out of foam. And yes, halloween is approaching and yes, junior wants a costume, so I thought it might be fun to at least make a part of it. Meet Catboy:
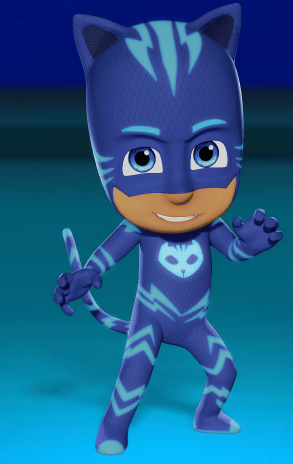
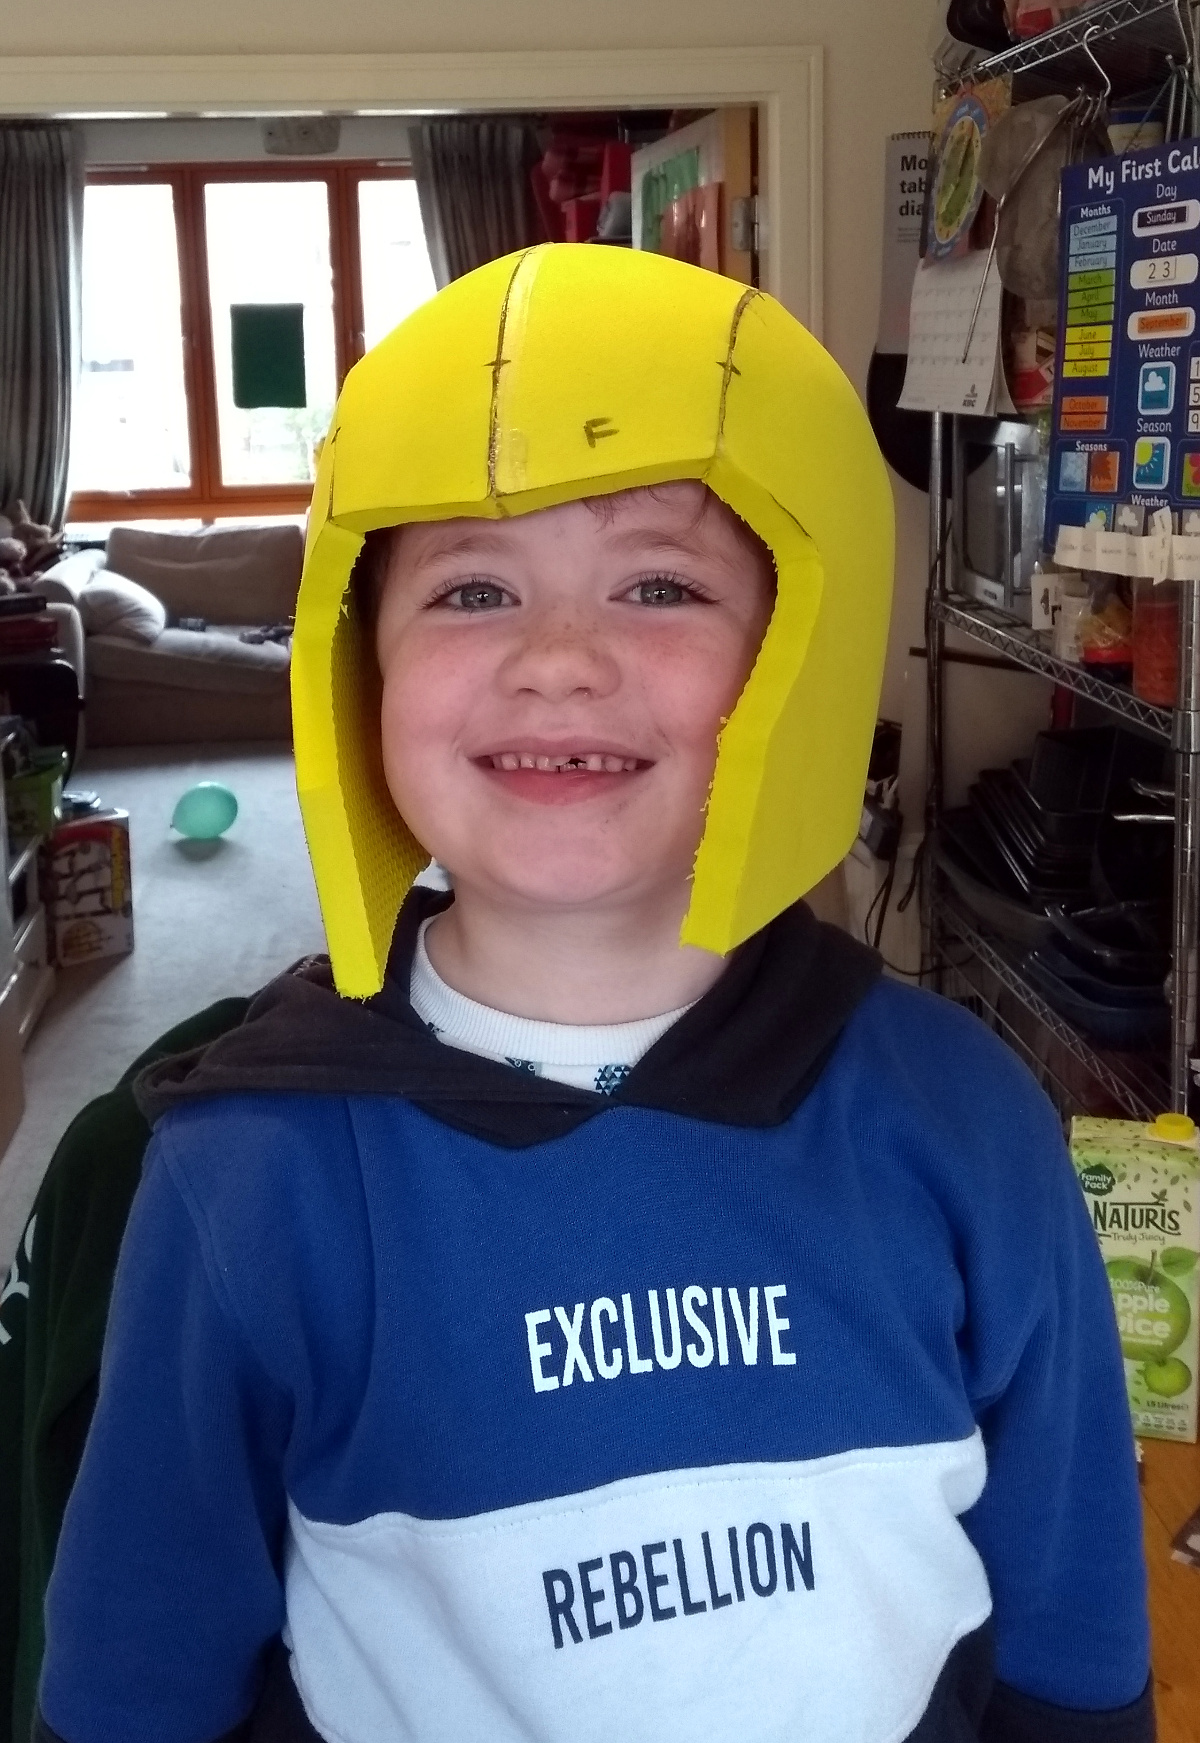
Currently Junior’s choice. The bodysuit and tail we can buy, and the mask I thought would be easy enough to do, there are tutorials and patterns all over the net for stuff like this (it’s basically batman’s cowl in blue with smaller ears), and I thought I’d do a simple non-costume helmet first, figure out what the stuff is like to work with, make the mistakes, and then make the costume one after that. So take one:
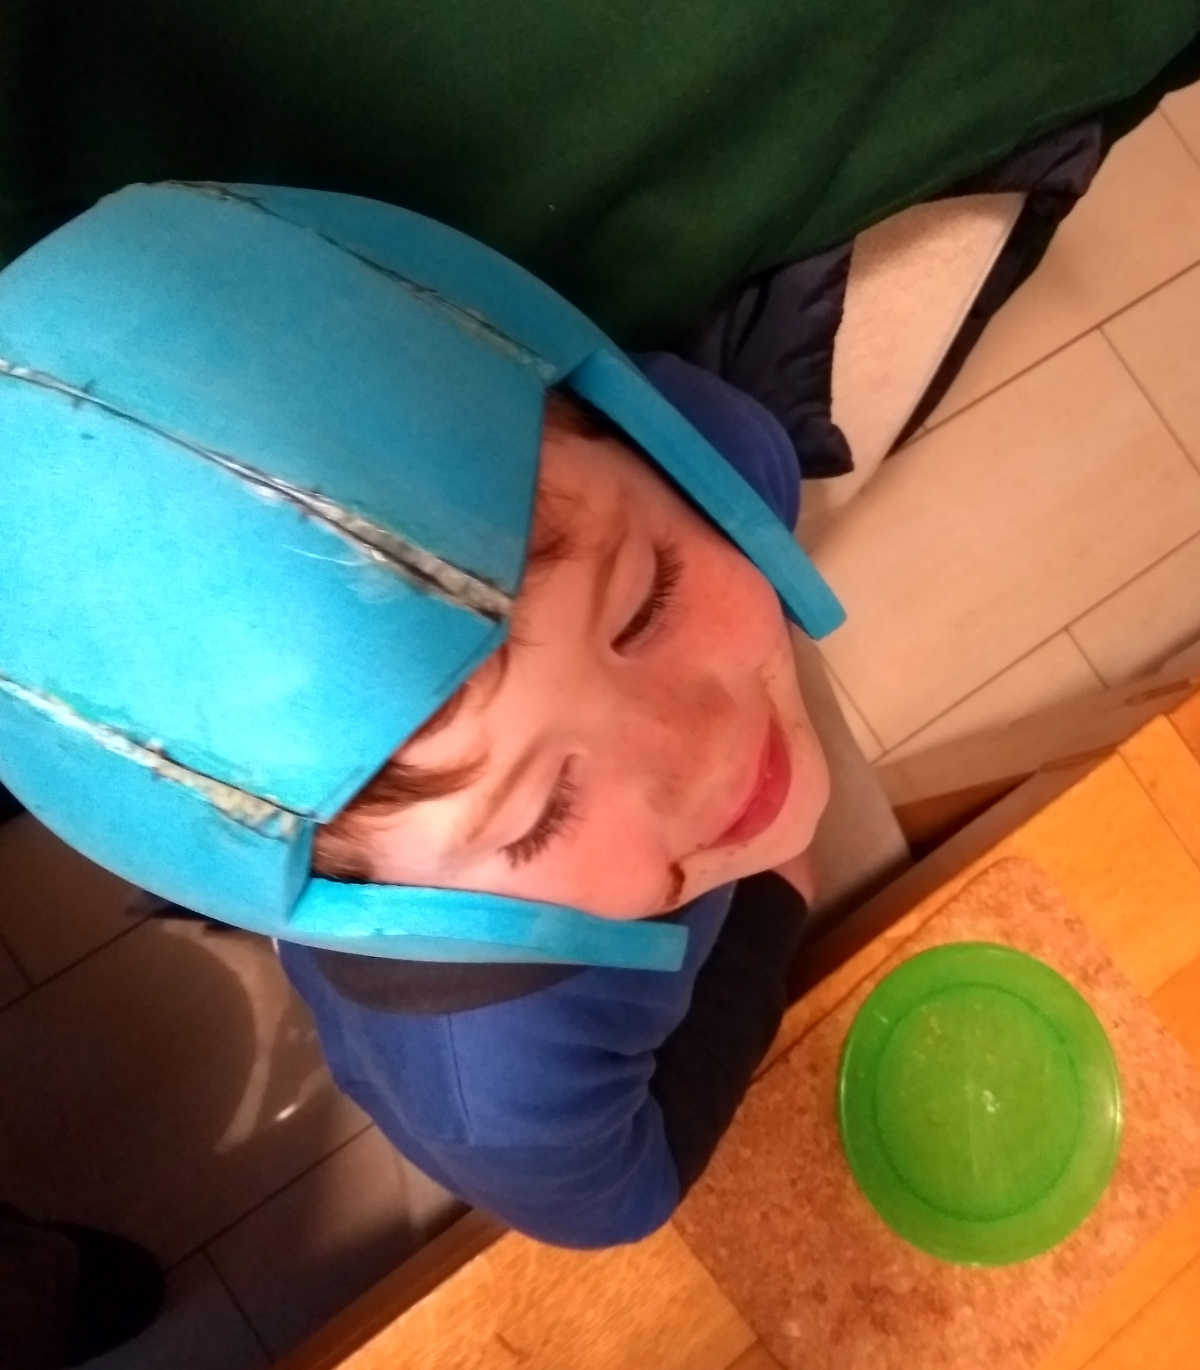
Too tight and the seams wouldn’t seal right. Okay, knew that was going to happen. Take two:
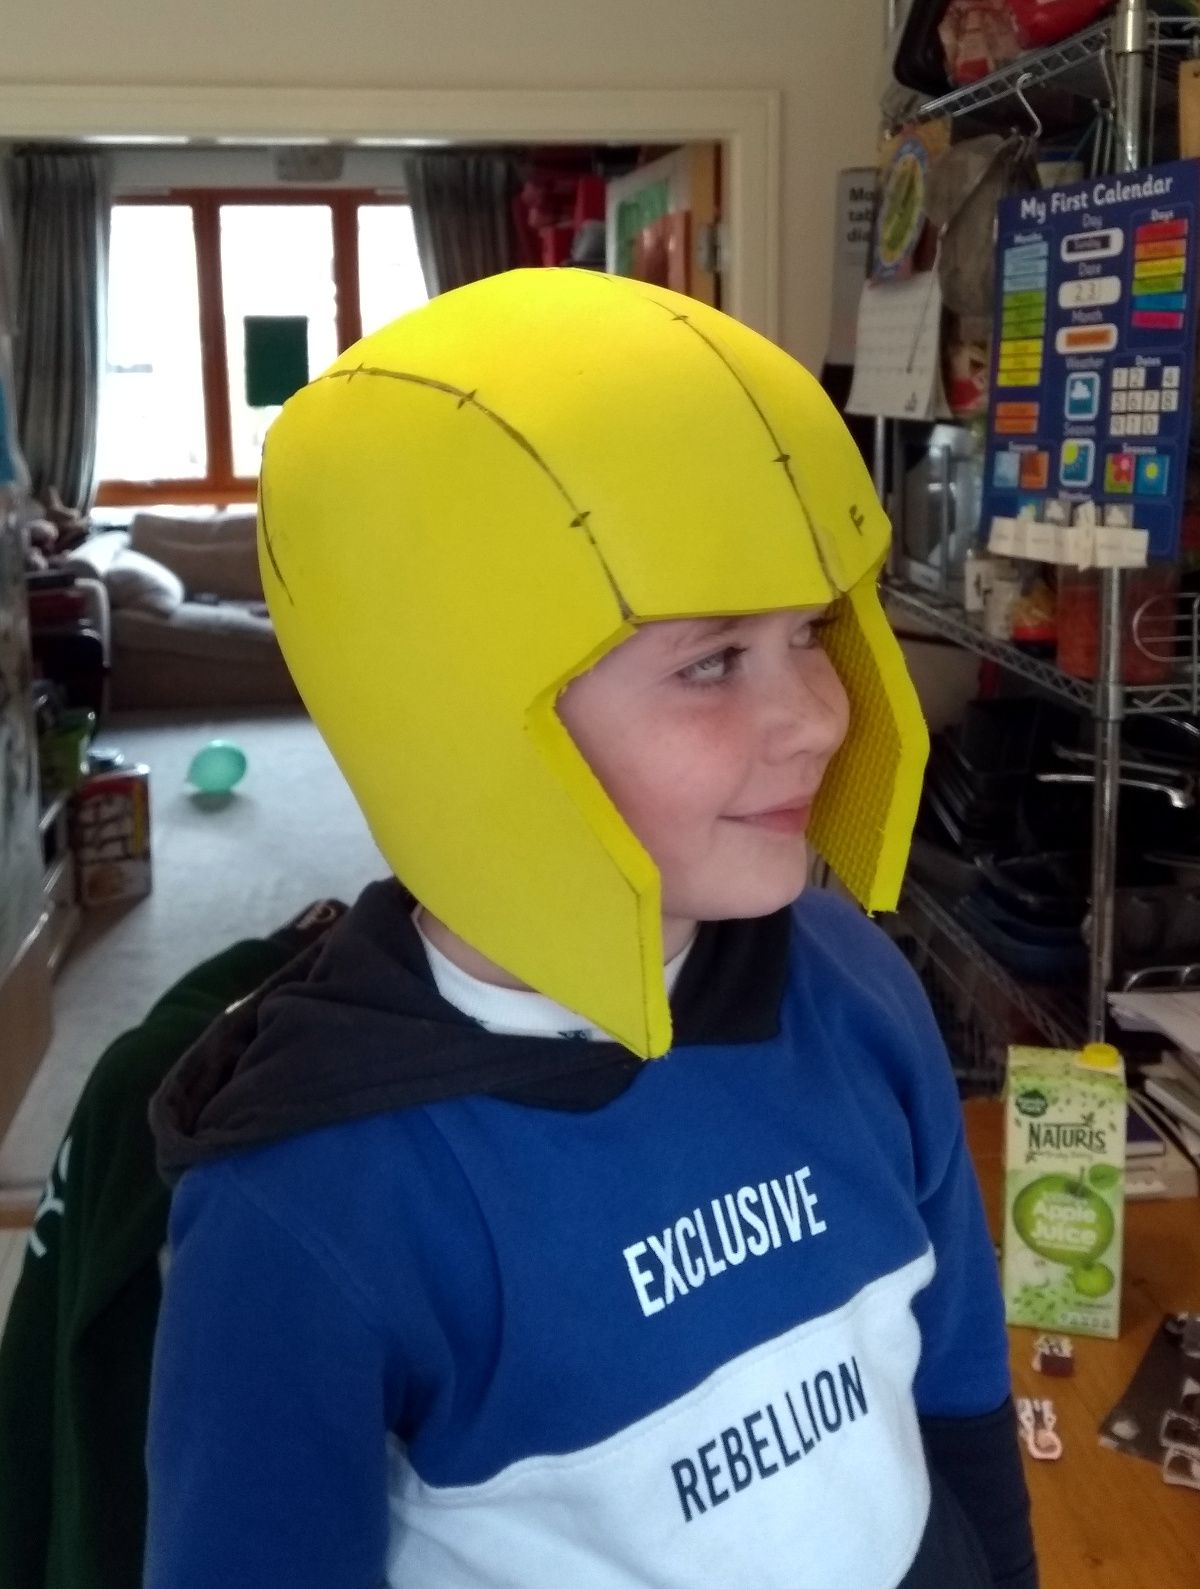
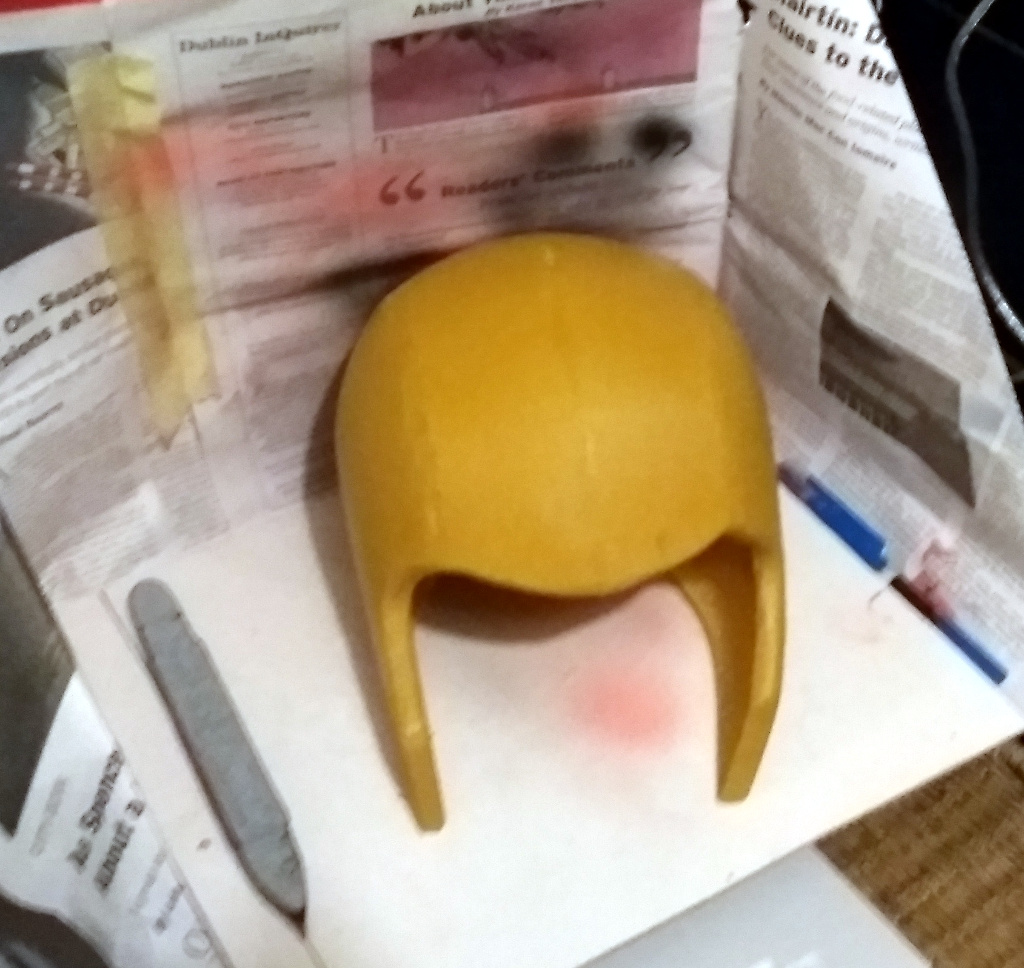
Much better, and then sealed it, primed it and it’s ready for painting.
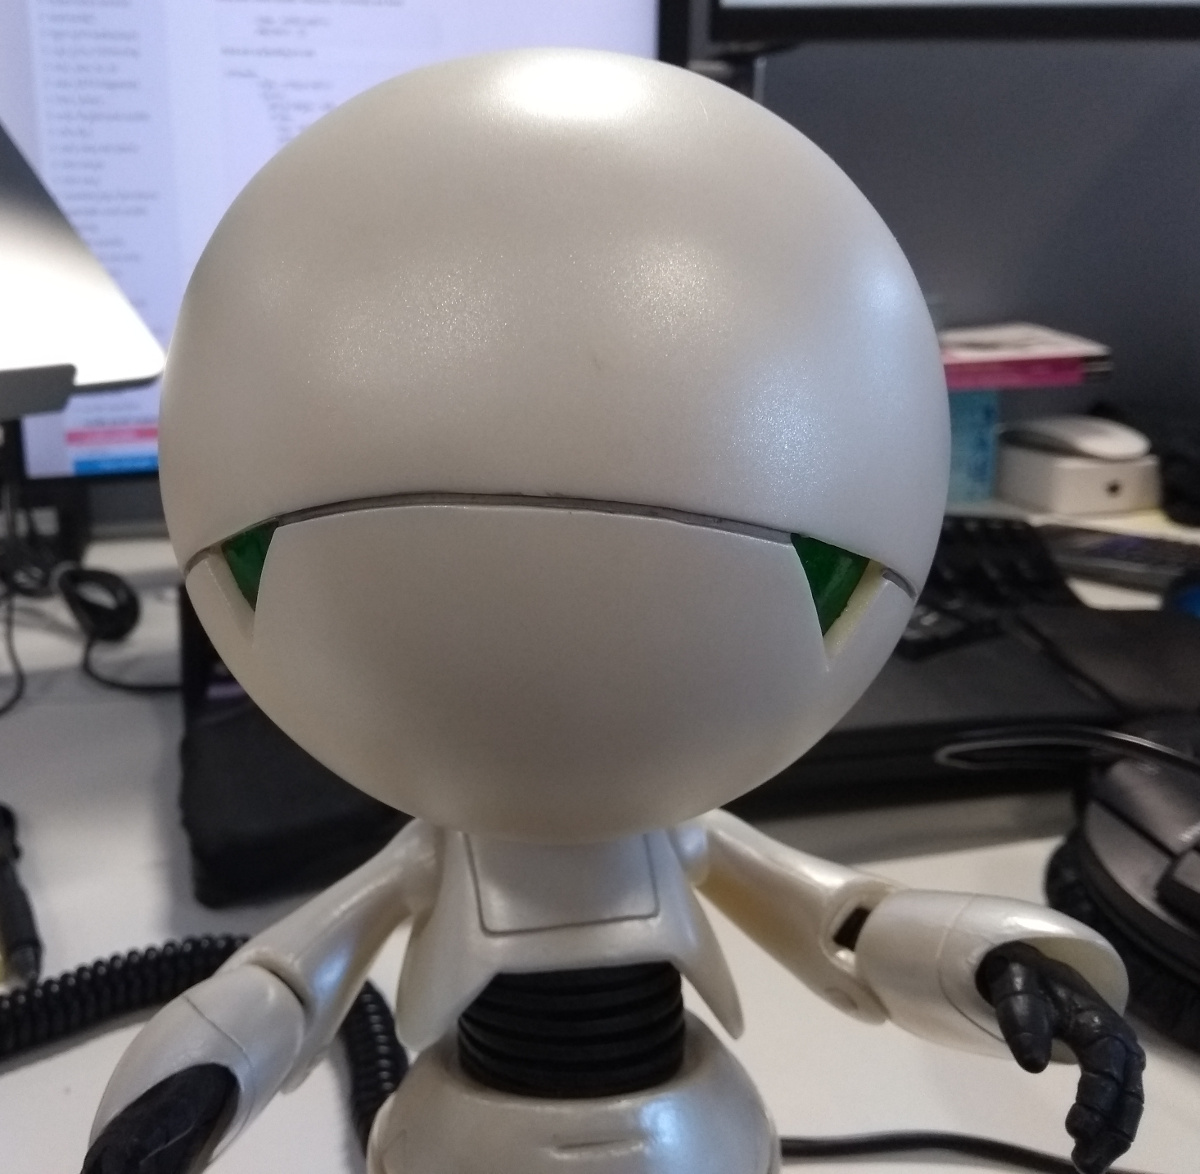
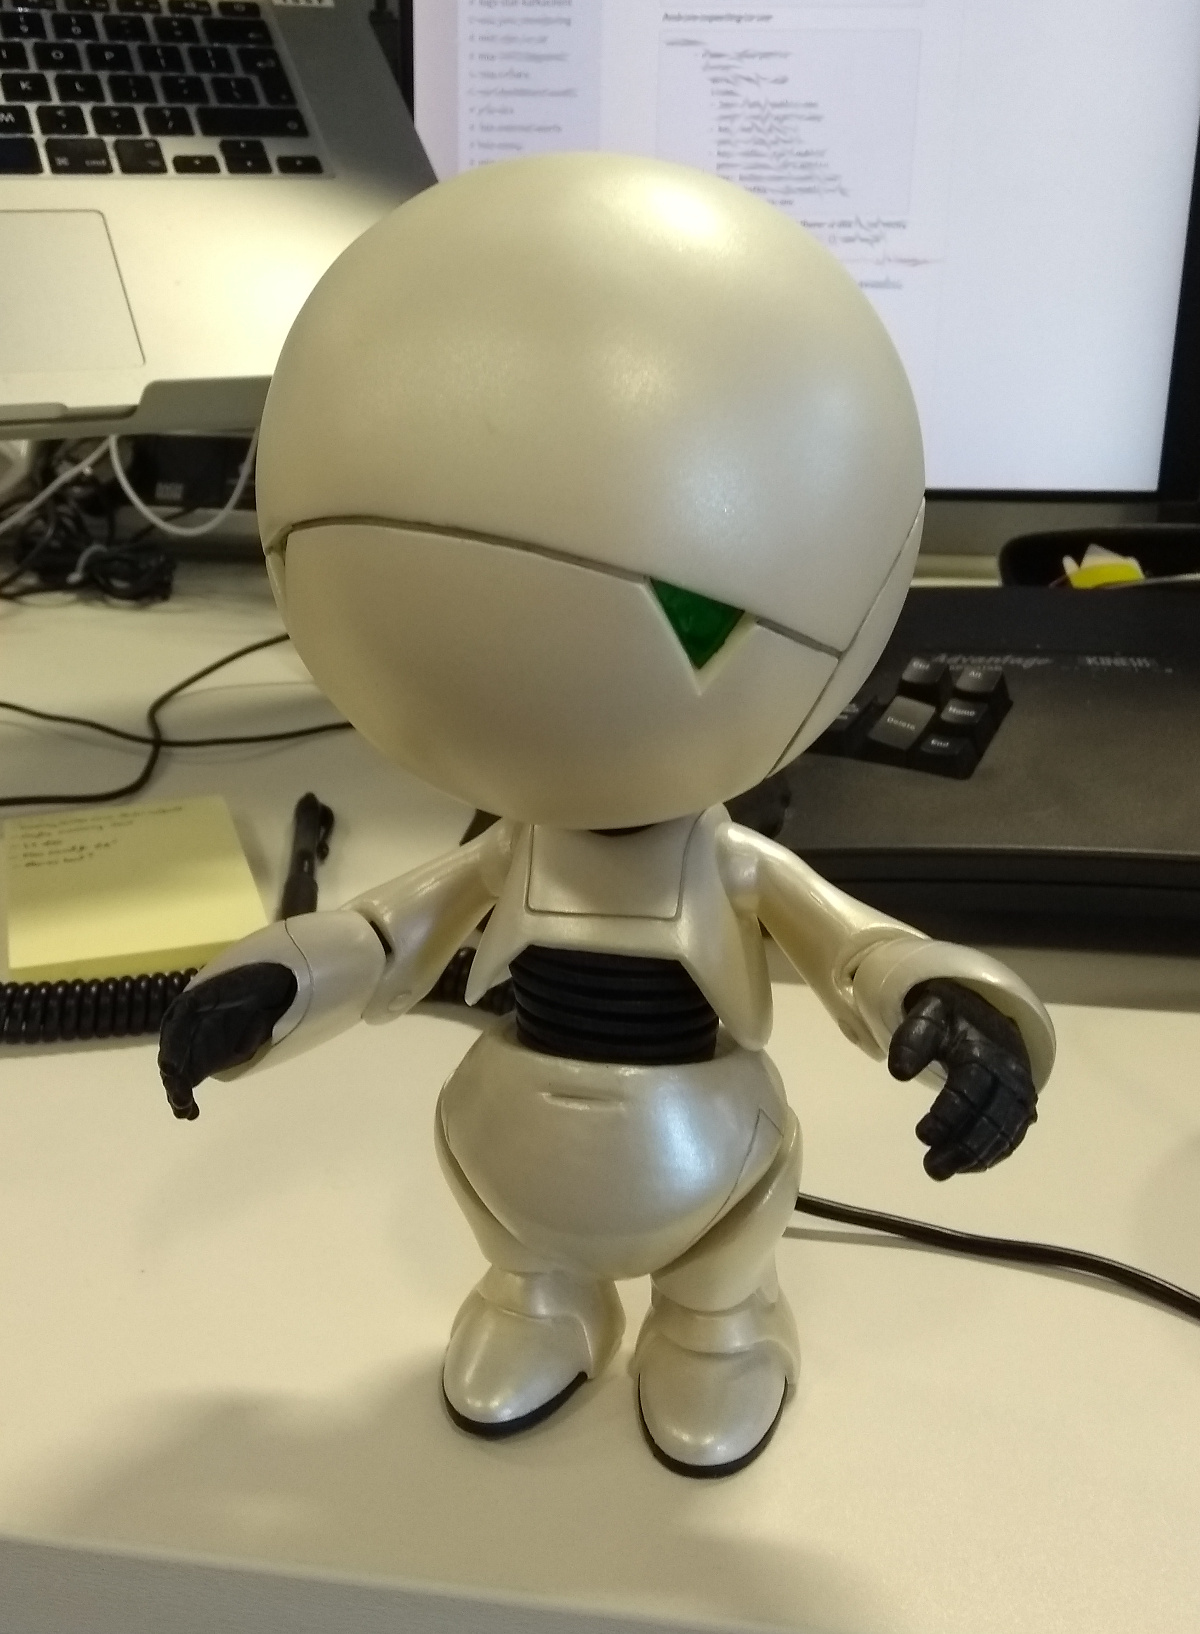
And at this point, my diversion got diverted and work had a Thing and for that Thing, because Reasons, we wanted a large Marvin the Paranoid Android head (not enough time for a full costume) with about four days to do it in. (Marvin’s the team mascot). So…

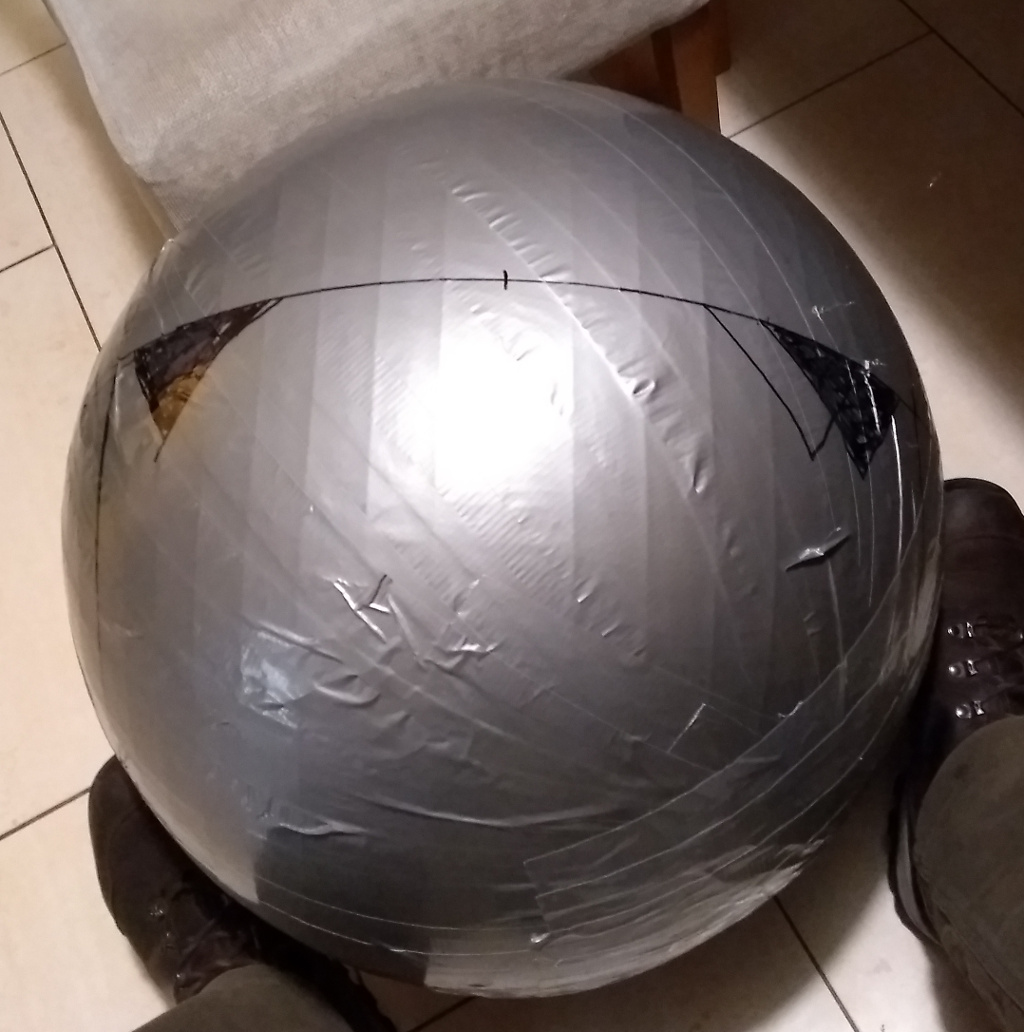
Take one gym ball, and cover it in cling film. I’d prefer to take a beach ball and cut it along the seams for a pattern but it turns out that finding a beach ball in the shops in Dublin in late September is tricky. So gym ball it is and after the cling film comes the duct tape.
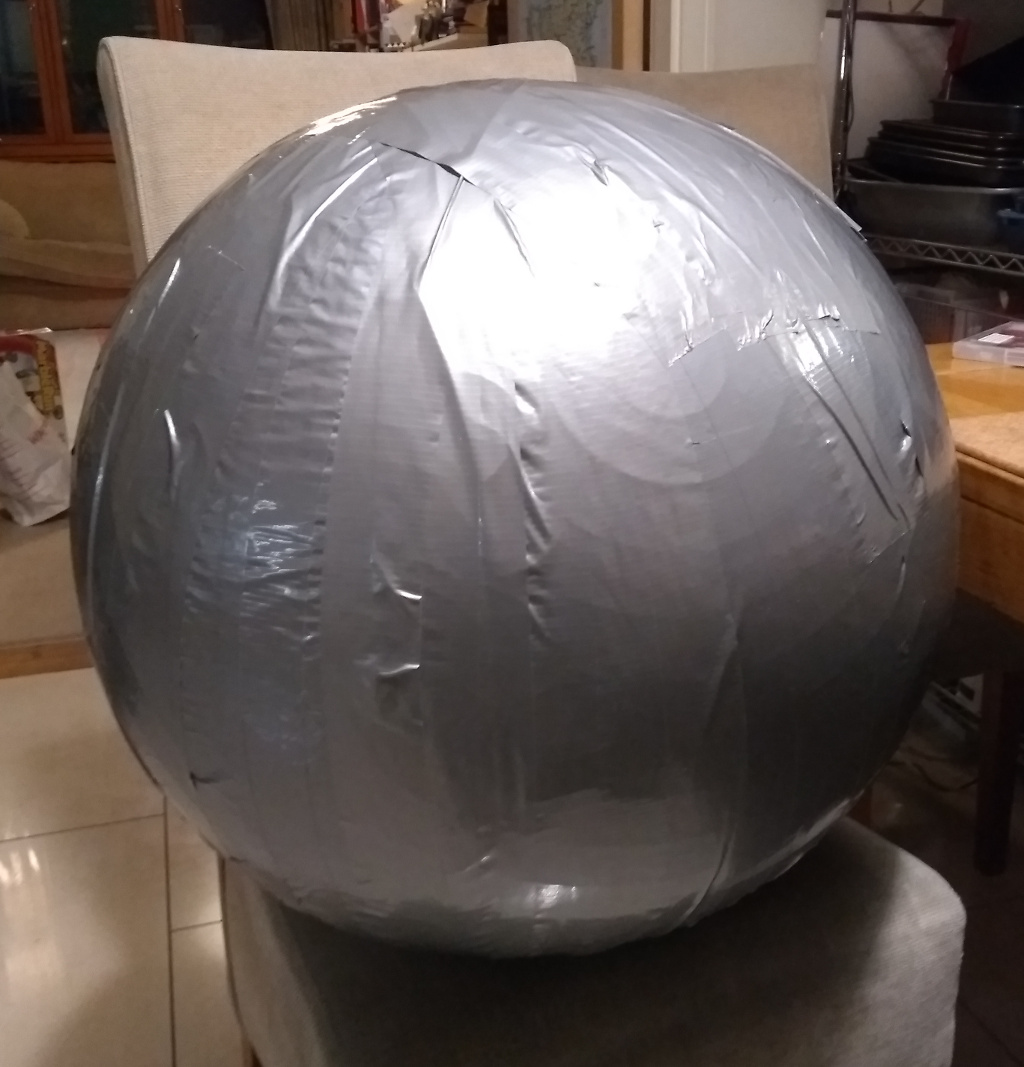
Just over half a large roll in case you were wondering. And now I’m wondering why you were wondering in the first place. But okay, you be you.
Next, draw on Marvin’s “face” — at this point I should say I’m using the later american film as a model because it’s a lot simpler to do, there are less facets involved:
I did think about doing the whole costume, for a full four seconds before writing off that idea as insane. But the head is basically a large featureless sphere, I could do that…
So, draw on the “face” on the duct tape with a sharpie…
Now, add the lines to cut along, making the pattern you use later. This is simple, it’s like doing 2D map projections of a 3D globe, you know, the whole mercator-v-peter-projection stuff, all that, only now with scissors!
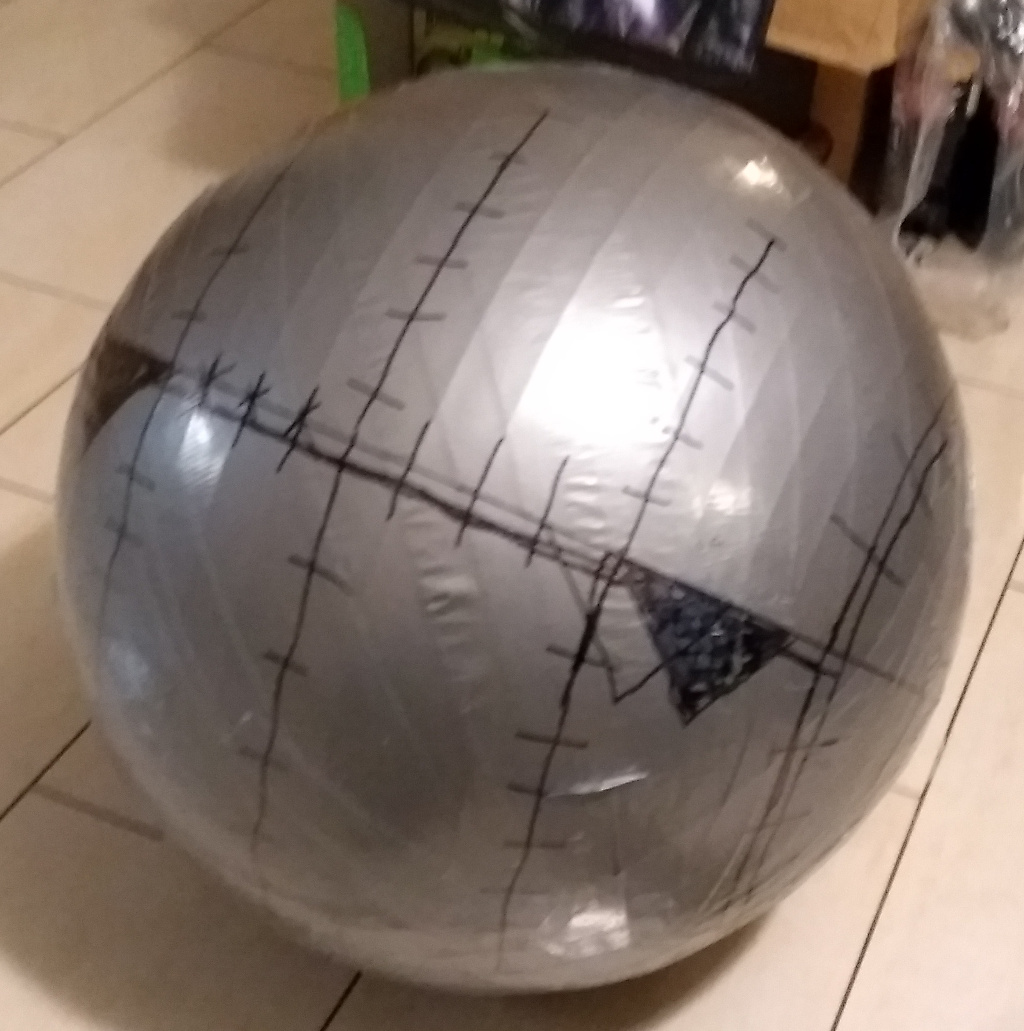
The cross-lines do make it look like Marvin Meets Pinhead, but they’re registration marks so you can line the patterns up again later. And there are a lot of patterns because they all have to fit onto the mats later. Now, finding the neck hole, carefully snip between the duct tape and the gym ball, work a scissors under there, and when you have access, cut out all the patterns.
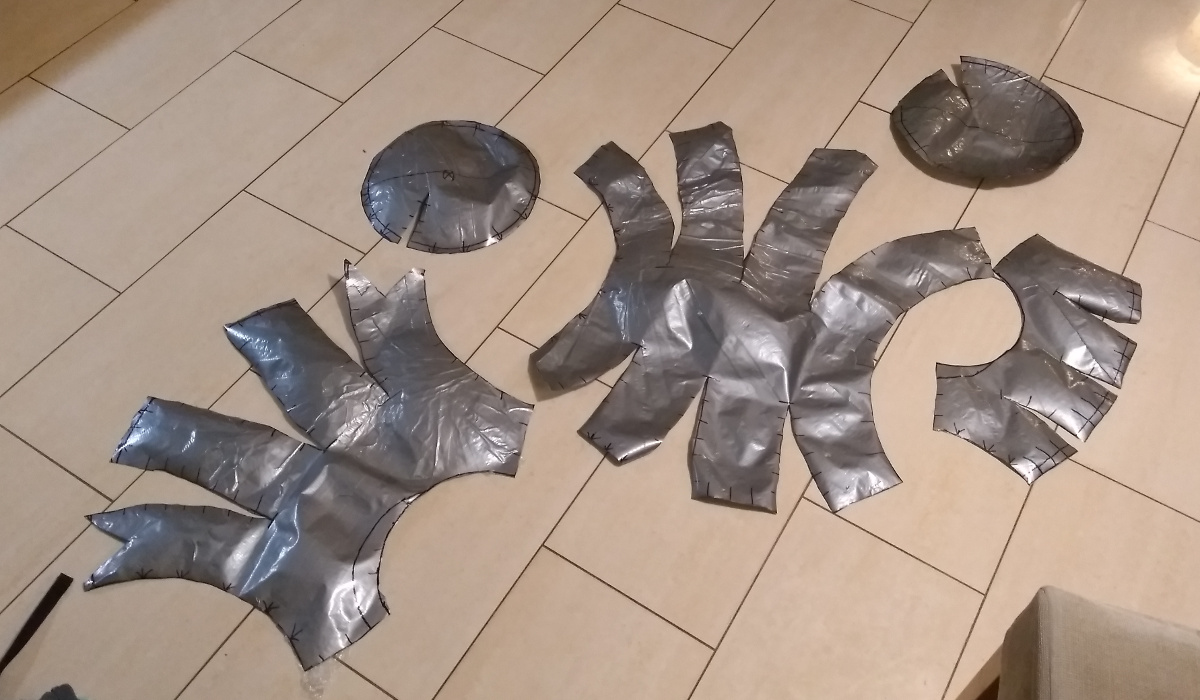
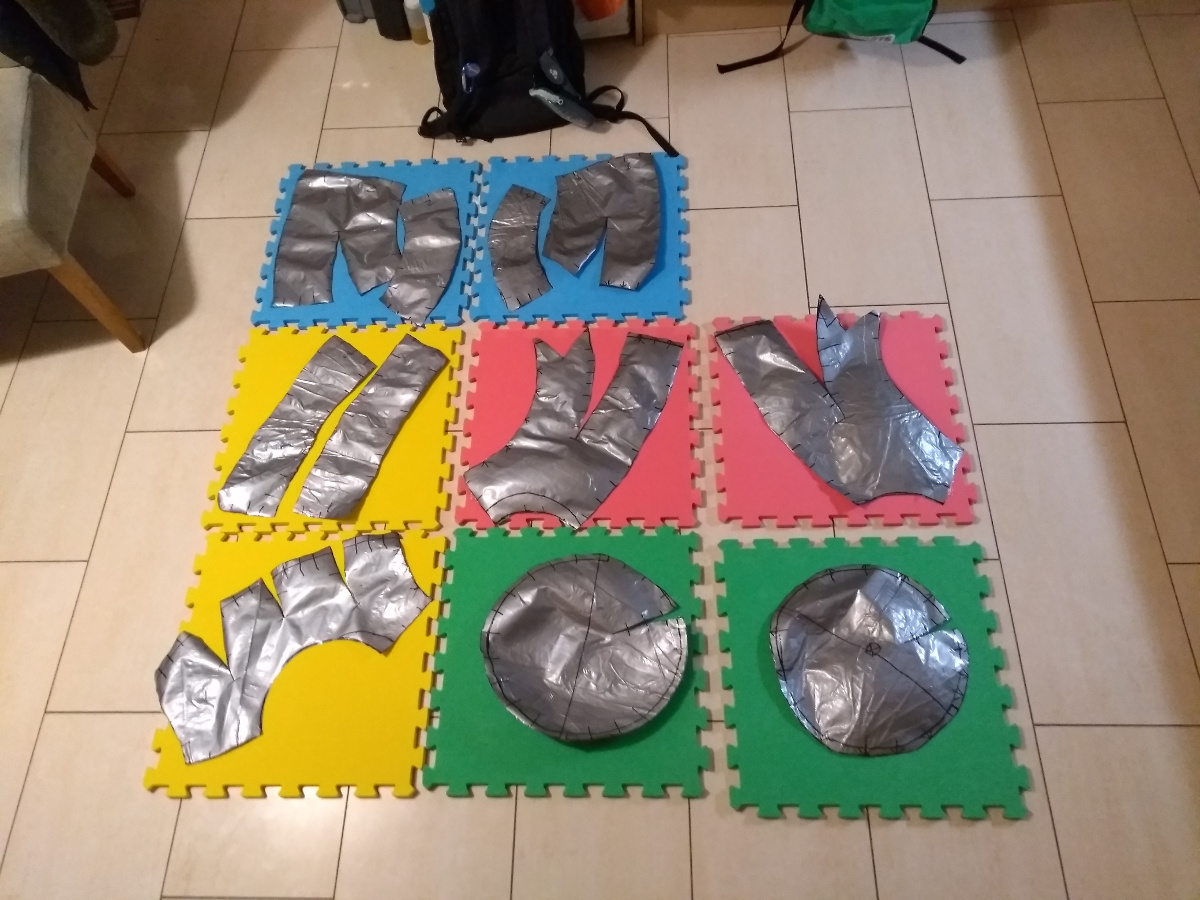
You’ll notice between this photo and the next that we go from mutant science fiction octopi and their serving plates to lots of smaller shapes – that’s me taking the patterns back to the ball, figuring out how to make them into smaller pieces, drawing more pattern lines and reference marks and cutting them up further. They all have to fit onto the mats y’see, because I don’t have large enough rolls of this foam stuff…
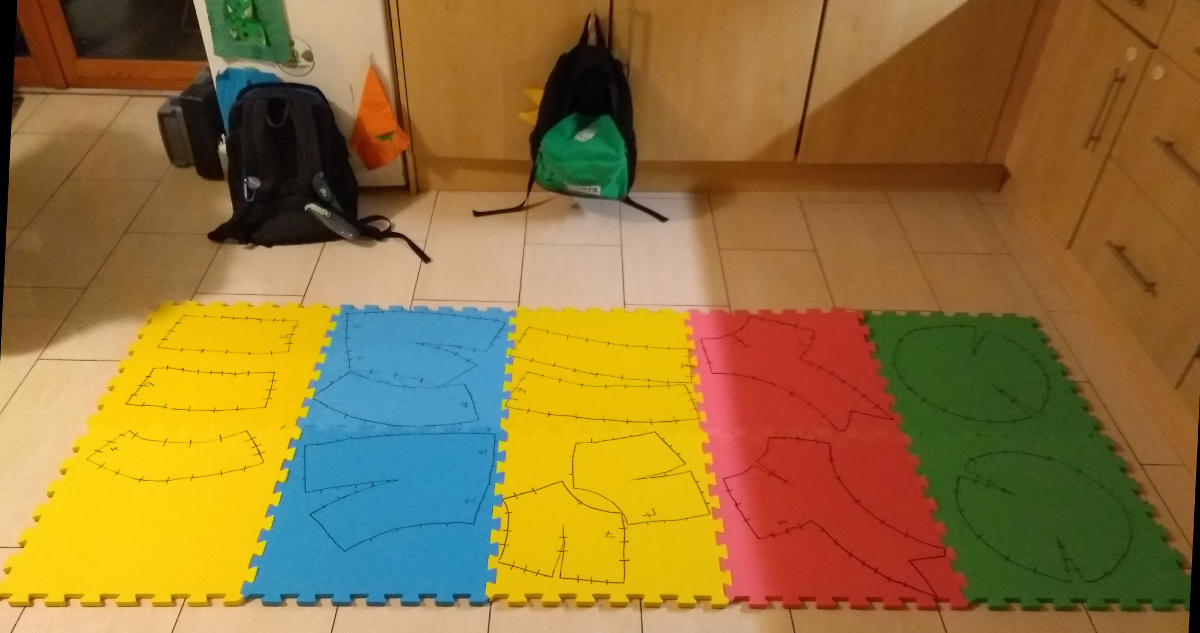
Now, pin down the pattern with common pins, trace around it with the sharpie, remove the pins, mark in the reference marks across the lines (you can only put the ticks on the outside when tracing) and write in any alignment hints (eg. “side 1”) inside the lines and you’re ready for the next step:
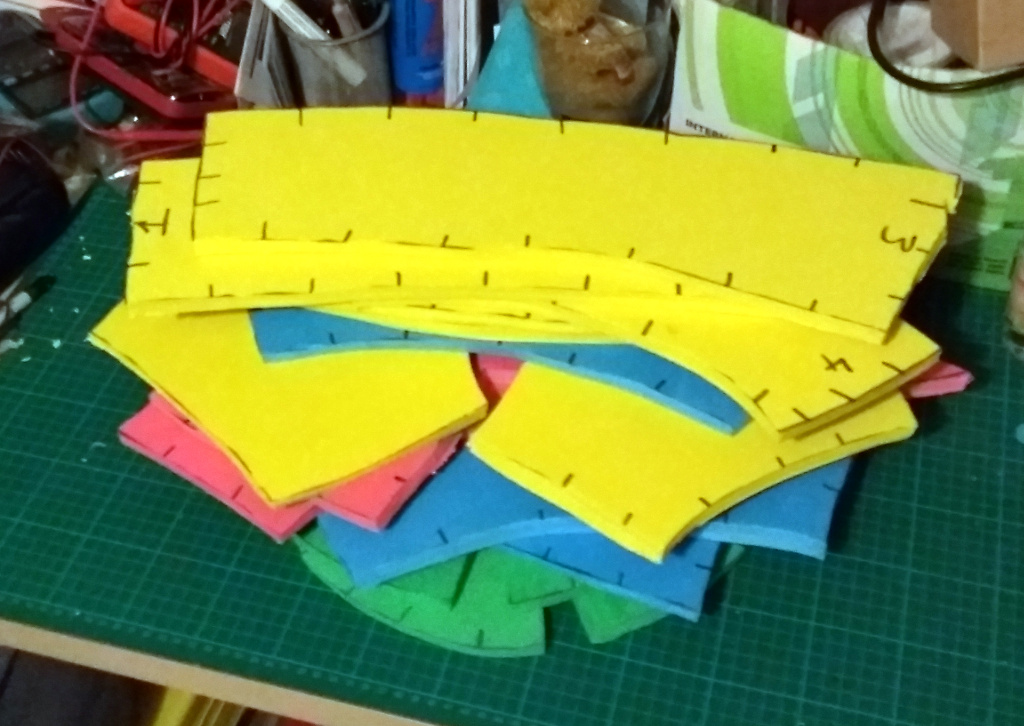
Now, you have to cut them all out with a scalpel (or stanley knife or utility knife) and remember that this stuff dulls knife edges faster than paper does…
And that was the first three hours or so.
After this point, you sit in the back yard with the kitchen door closed, and you take a dremel and sanding drum to the edges of the foam, clean up any raggedness on the cuts, get the edges square to the faces, trim the edges if there’s any line left (you’re trimming to just inside the line) and generally tidy up. Afterwards, you’ll look like you fed a smurf to a high-speed blender, which is why you’re in the back yard. I recommend safety glasses and a respirator because inhaling that much stuff is a complete pain and having to brush your teeth to get rid of the green and pink is weird.
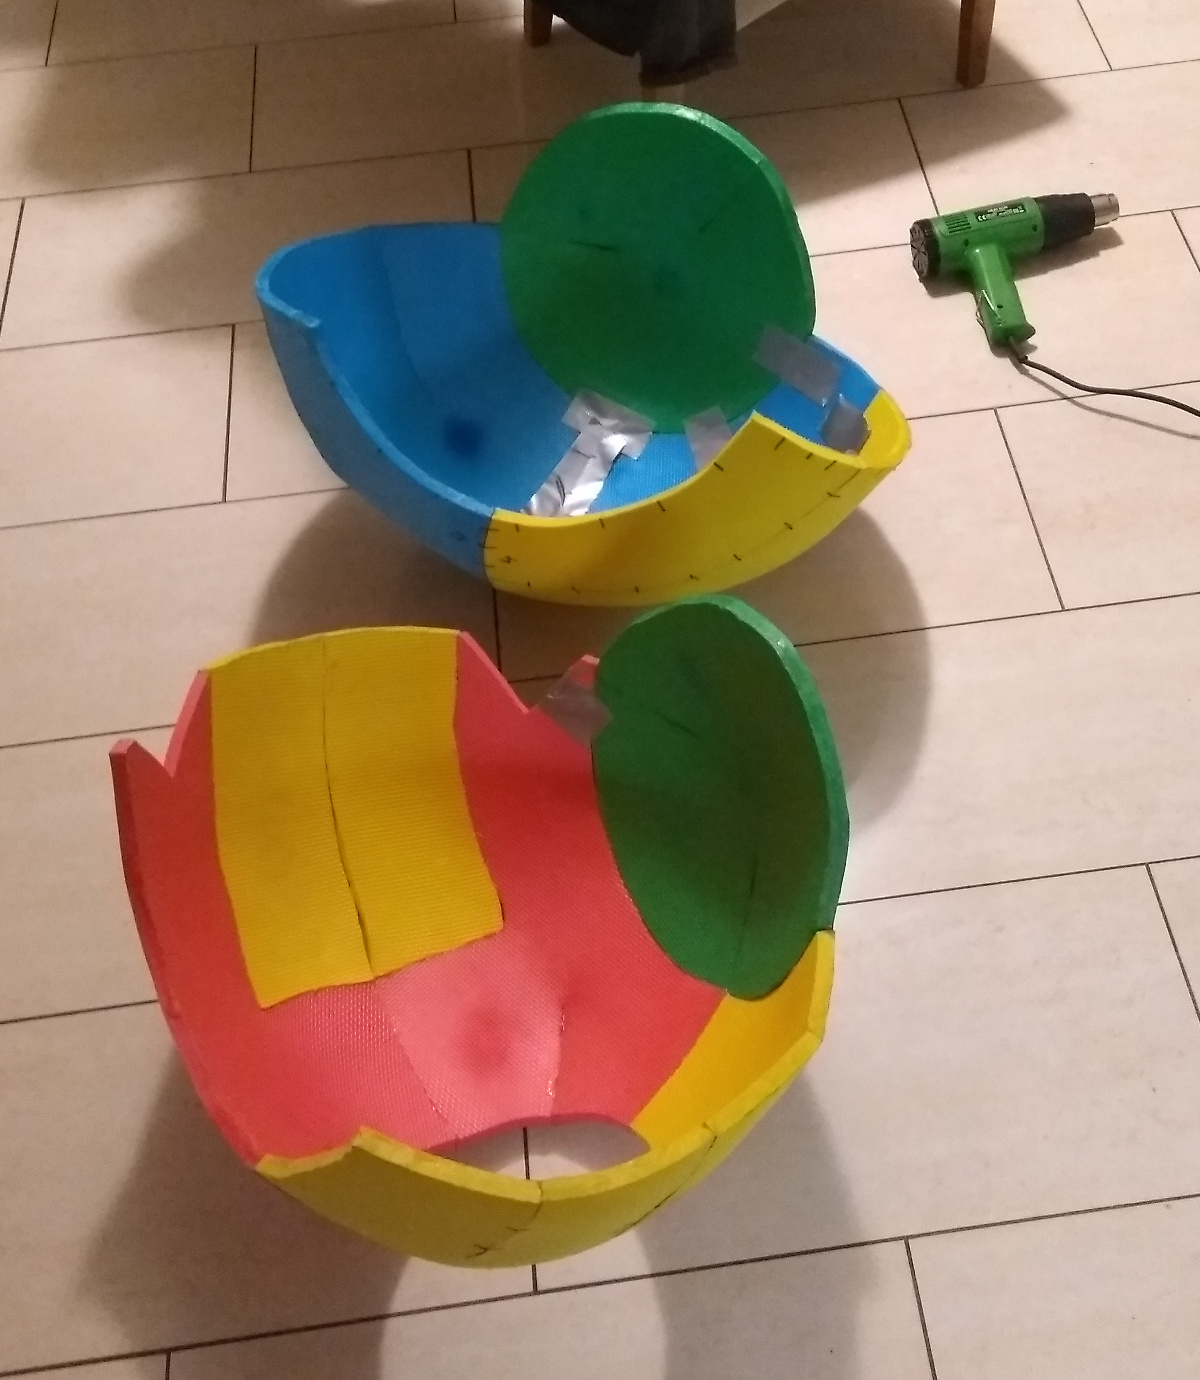
Once you’re done with showering all the crap off you, you can get on with gluing it together with contact cement. In the US they use stuff called Barge, in Europe they buy stuff off special cosplay shops because of course they do, and here we can find Evo-Stik Impact in woodies, which works. Take a heatgun (go buy a really cheap one for 25 quid somewhere) and you heat the foam with it, then give it a small curve in the direction you want it to go and let it cool and set (the curve doesn’t have to match, the glue will do the work there for you, but you want to give it a start at least). Paint both edges with contact cement, run the heatgun along it briefly on a low setting to help it start to dry (you’re not drying it really you’re just stopping it from running), give it another 5-10 minutes to let it set up properly, then push the edges together, lining up the reference marks. That last bit is what sets the shape, so do it right.
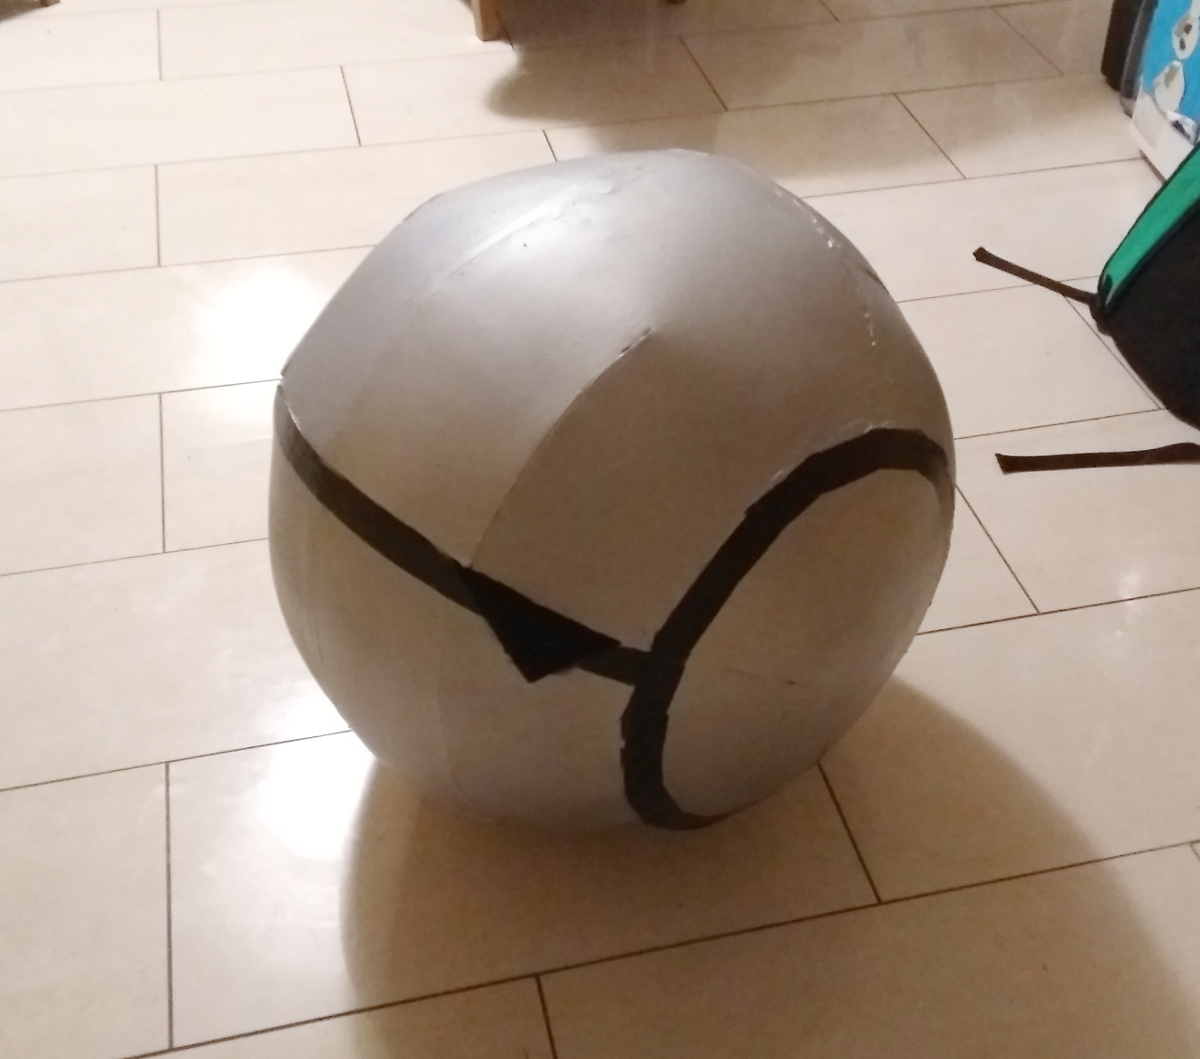
After an hour or so of this, you get a shape.
At this point, you should realise that you’re at home and this has to get transported to the office and that it’d be a great idea to stop with assembly here so it’s less unwieldy; and then you’ll realise that it’s too floppy to prime and paint like this and you have no choice but to assemble it fully first.
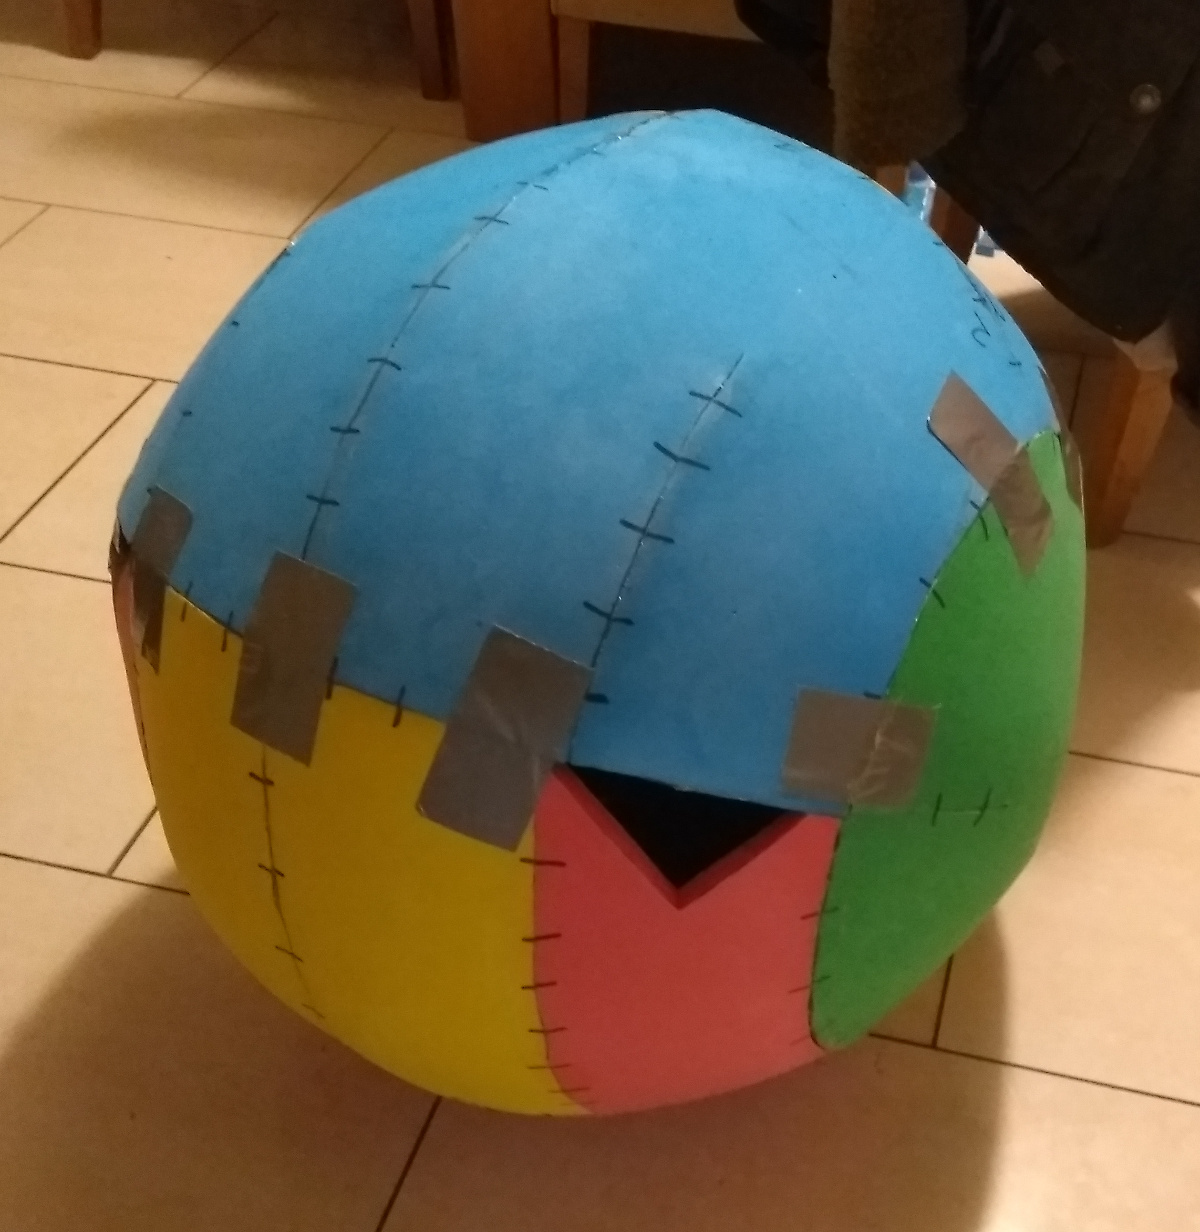
The duct tape is acting like a clamp here, it comes off later.
Oh, by the way, this next bit? REALLY bad idea.
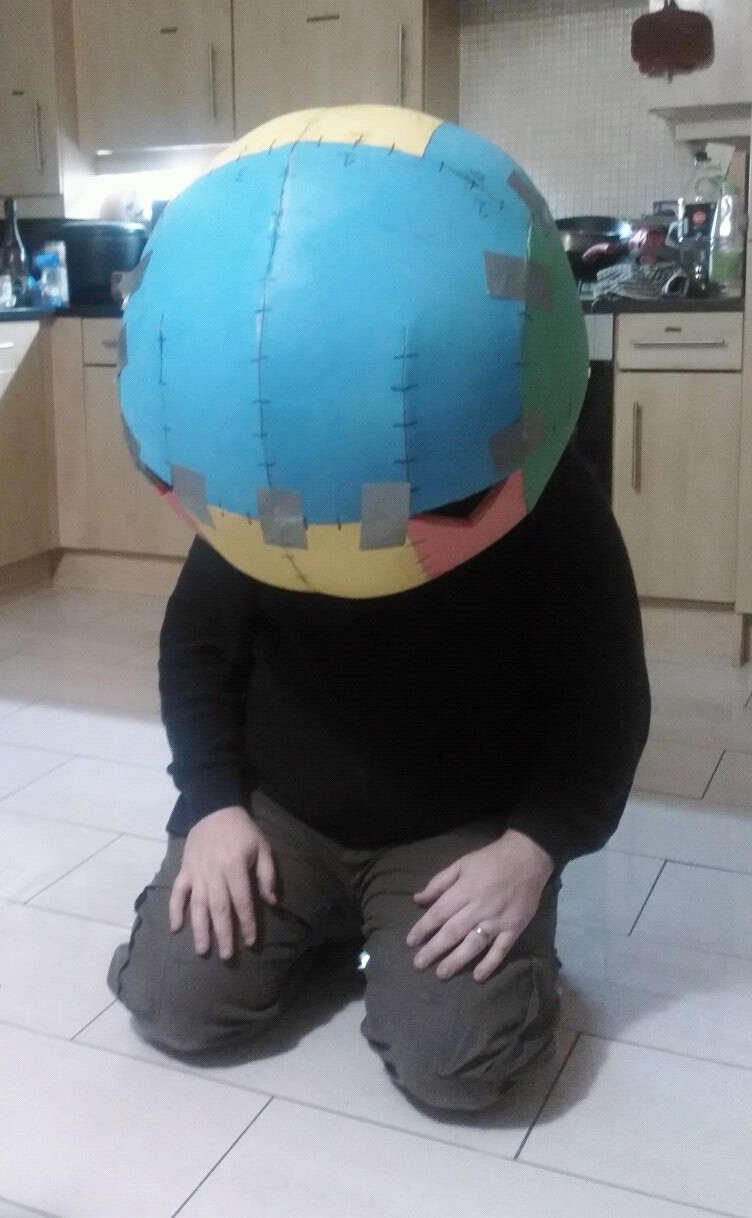
Don head, inhale, realise that half a tin of contact cement offgasing into a confined space you’ve stuck your head into will make the walls melt.
Instead, leave it alone overnight to let the glue finish bonding.

Run the heatgun on high all over the surface early the next morning so that the surface cells of the foam melt slightly and seal over (it’s too small to see, but the surface goes from feeling slightly rough, like foam, to smooth like plastic). After that (because this process will open up some seams as well as all the ones that didn’t close in the first place because your cuts and trimming weren’t up to par), seal the gaps with silicone sealant that you’d normally use for, I don’t know, grouting? Then paint all over with wood glue thinned down with water to the consistency of thin yoghurt, and go to work. When you get home, you have a primed and ready to paint sphere. If you had more time you could sand it and dremel the worst away and improve the shape and the surface smoothness to properly smooth, but that’s for people who do things right, not people who’re in a rush, amirite?
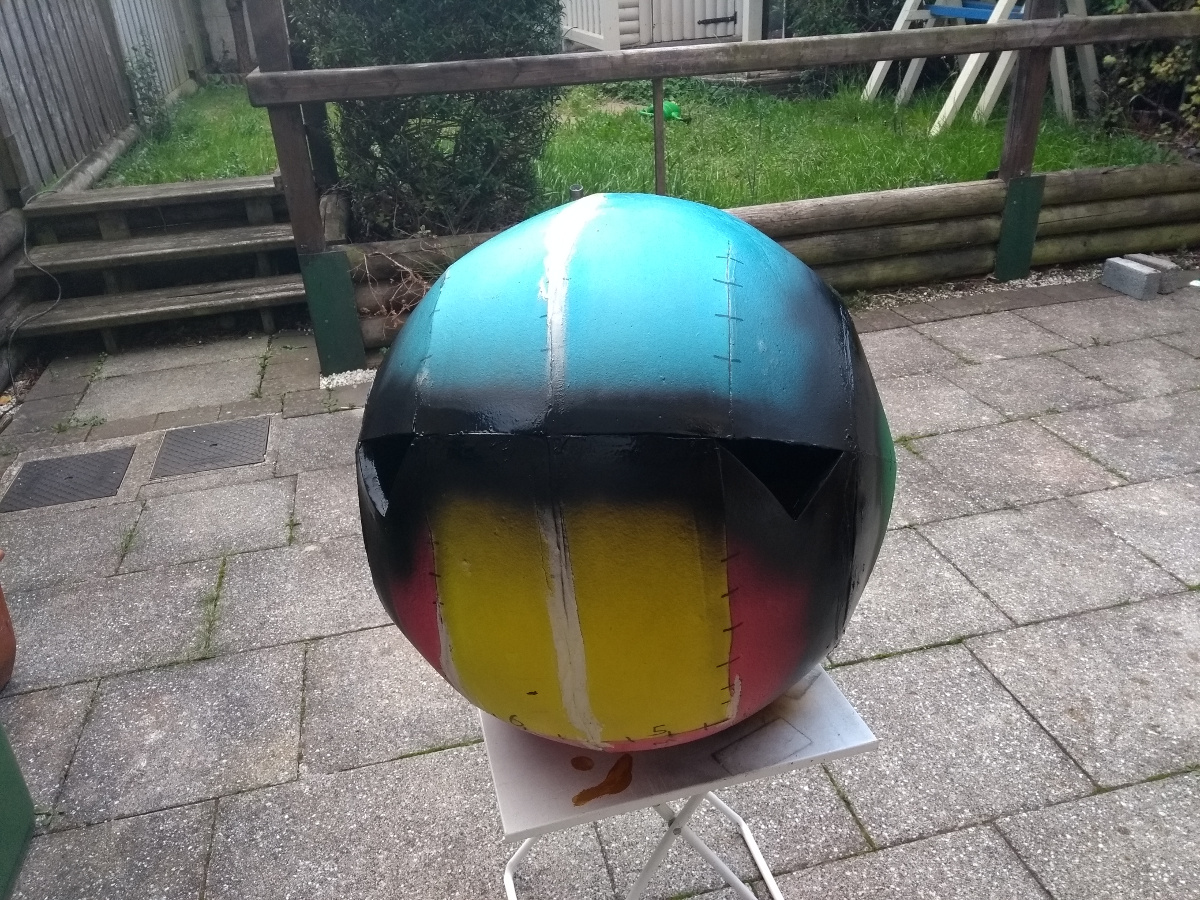
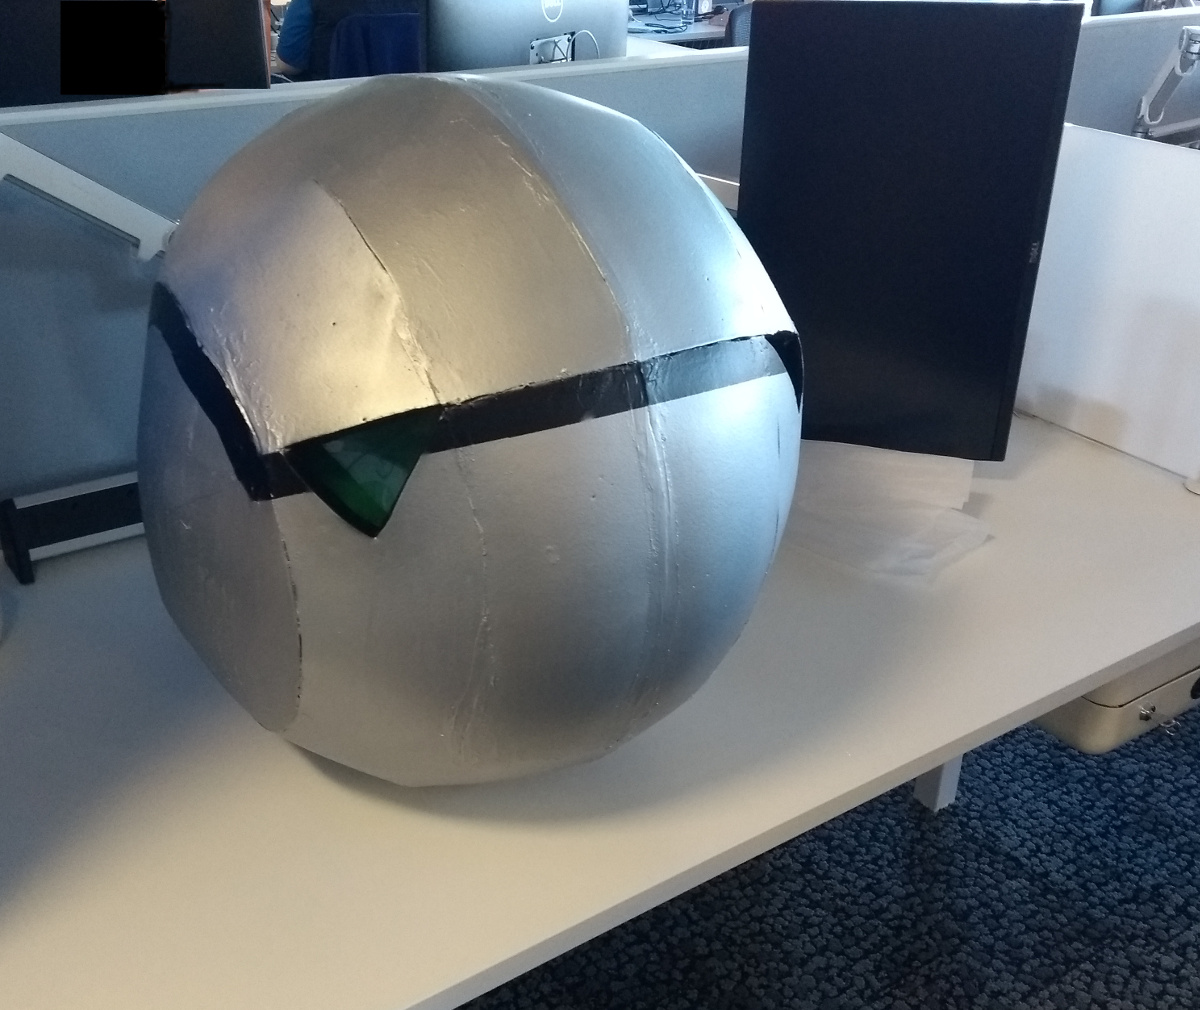
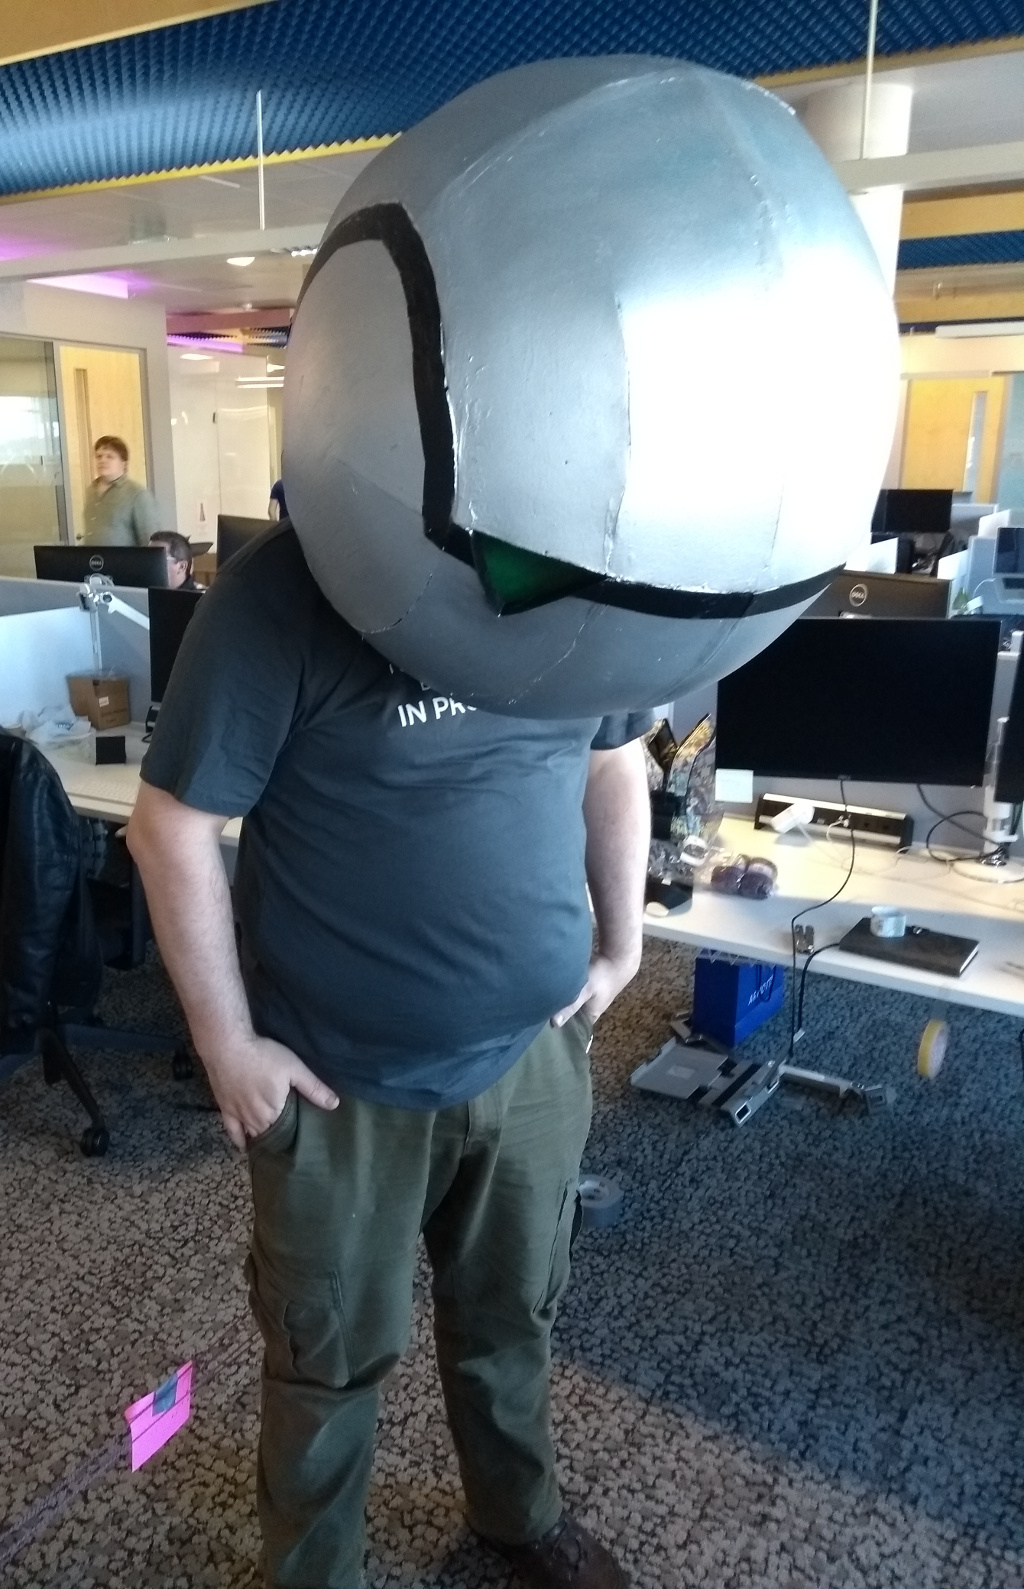
First up, the Daryl Hannah look. Black spray paint (no time for brushes) along the seams that had the lines in the original head. Two coats, wait a half-hour for it to dry enough, then masking tape along the seams, burnish well, and then two to three coats of silver car spray paint (I got everything for this build from halfords because of a mix of laziness and desperation) and after that’s had a half-hour or two to set, peel off the masking tape and give it two coats of clear lacquer so the silver won’t come off on everyone’s hands.
It’s not terrible, given the time rush (started Monday night, delivery on Thursday morning), but I did forget the masking tape in one area so it’s fashionably asymmetrical:
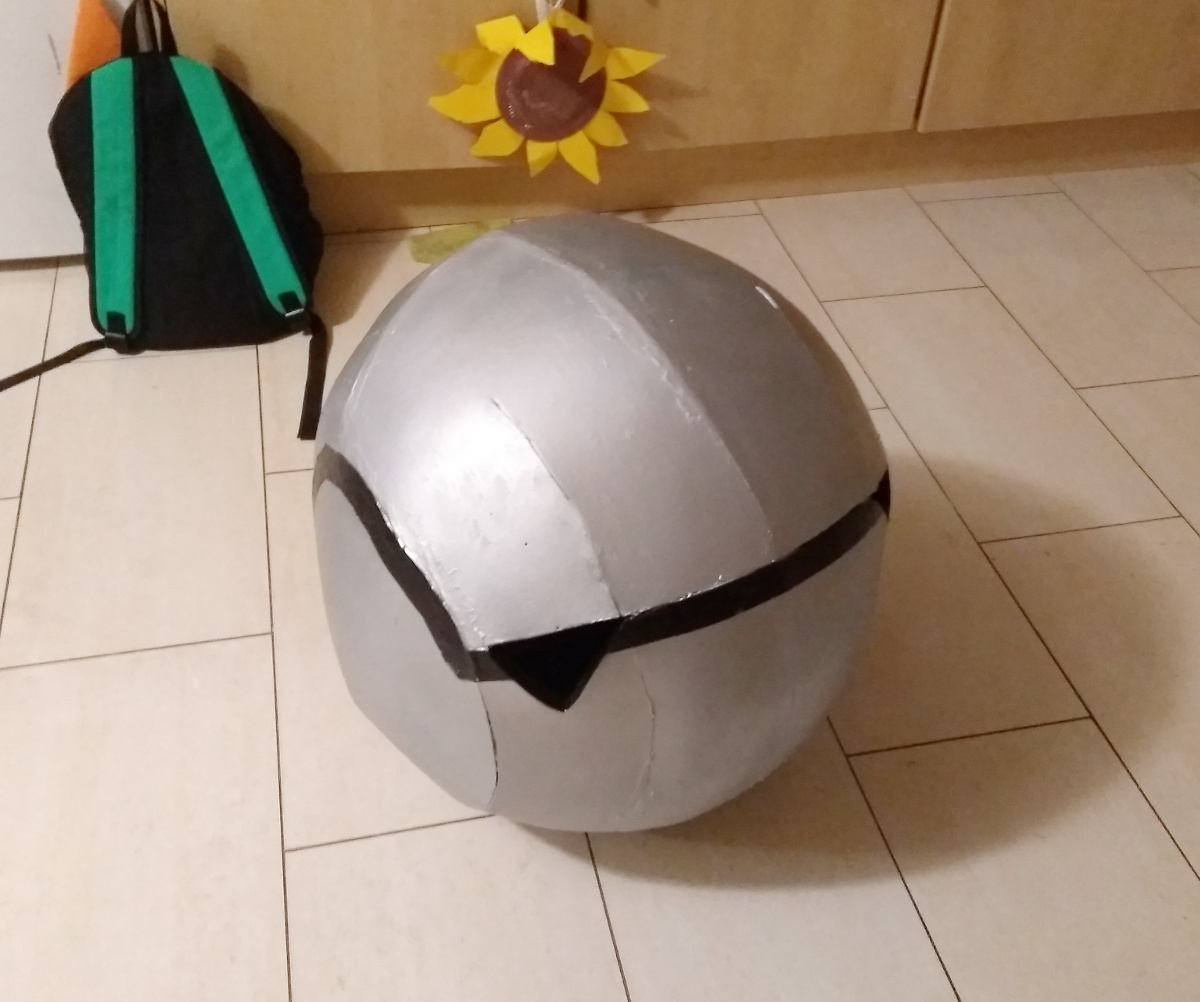
Symmetry. Don’t talk to me about Symmetry.
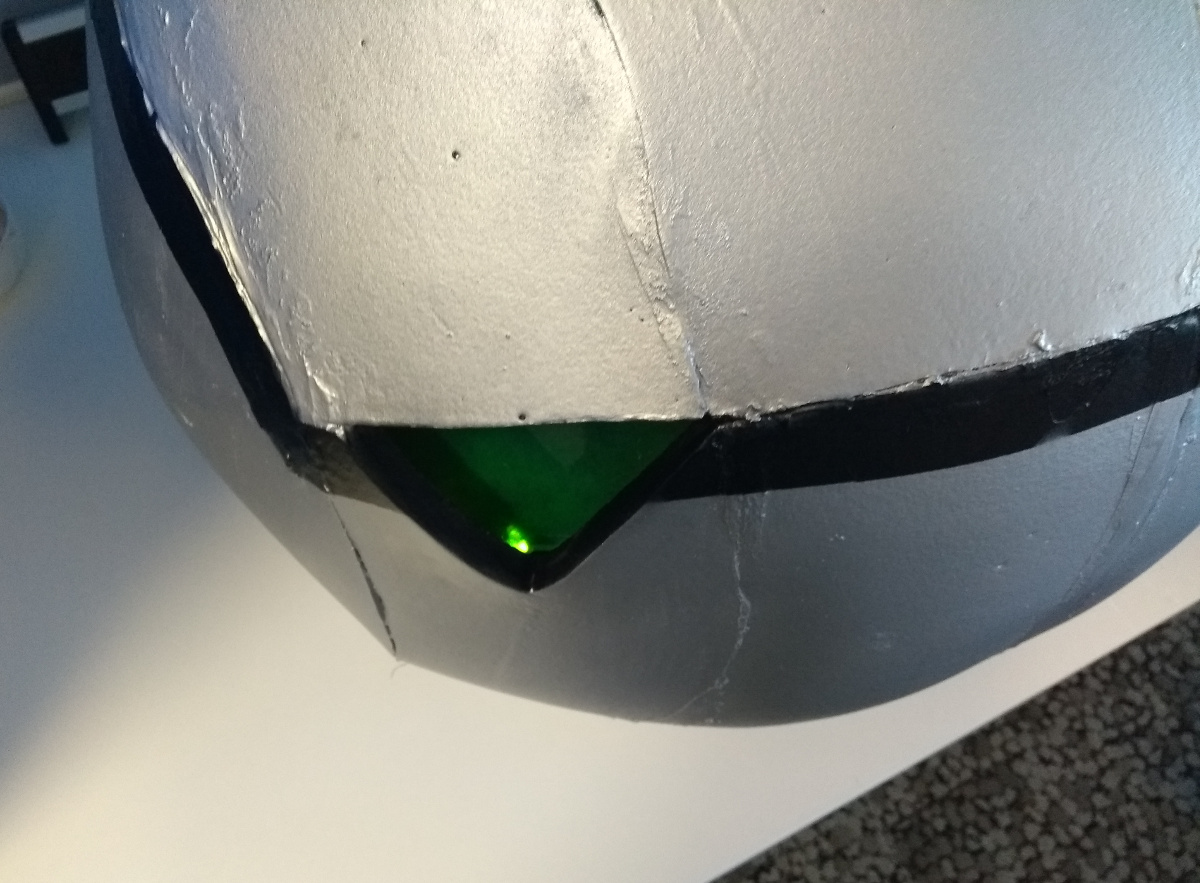
Oh, eyes. Take some thick acrylic, mist the back with green spray paint, drill 5mm holes in the edges, fill with hot glue, shove a green LED in there, wire them all up in two parallel strings of five which are are in turn wired in series for each eye and in parallel to the battery pack via a 25-ohm resistor (battery pack is 6V via 4AA’s, the wiring and resistor falls out from that, also the resistor should be a one-watt one, or (in my case) four 89 ohm resistors in parallel which isn’t exactly the same but is close enough for rushed work – this has to work for two hours, not ten years). Shrink-wrap the legs of the LEDs to keep from shorting them out and so people can see the pointy bits more readily.
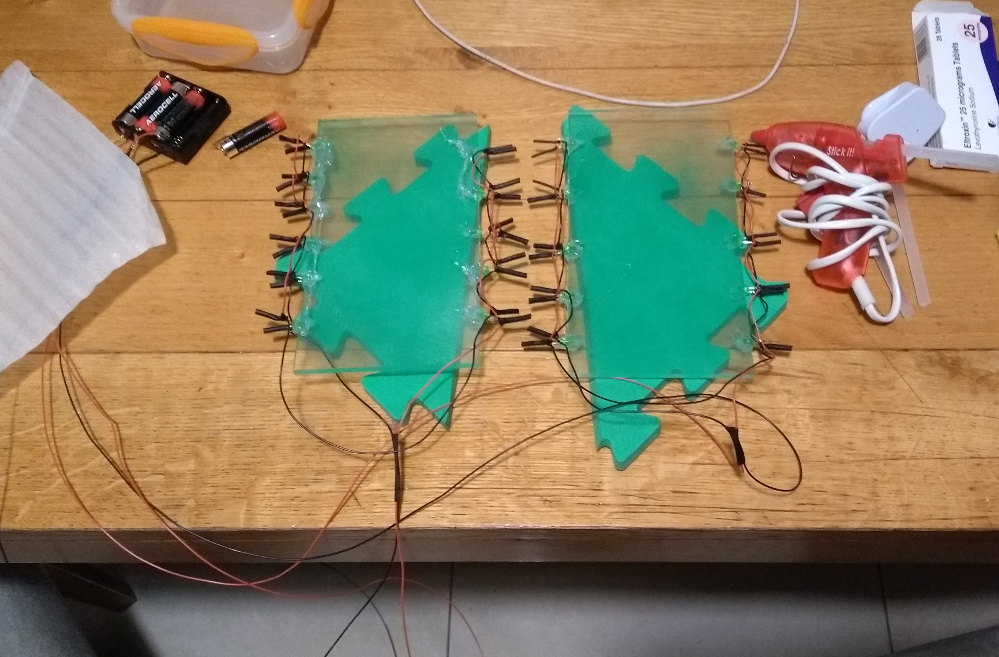
The foam is just travel padding there btw (I stacked them up in between foam bits and cling-film wrapped the lot for transport and hot-glued the acrylic in place in the office).
In the dark, they’re grand:
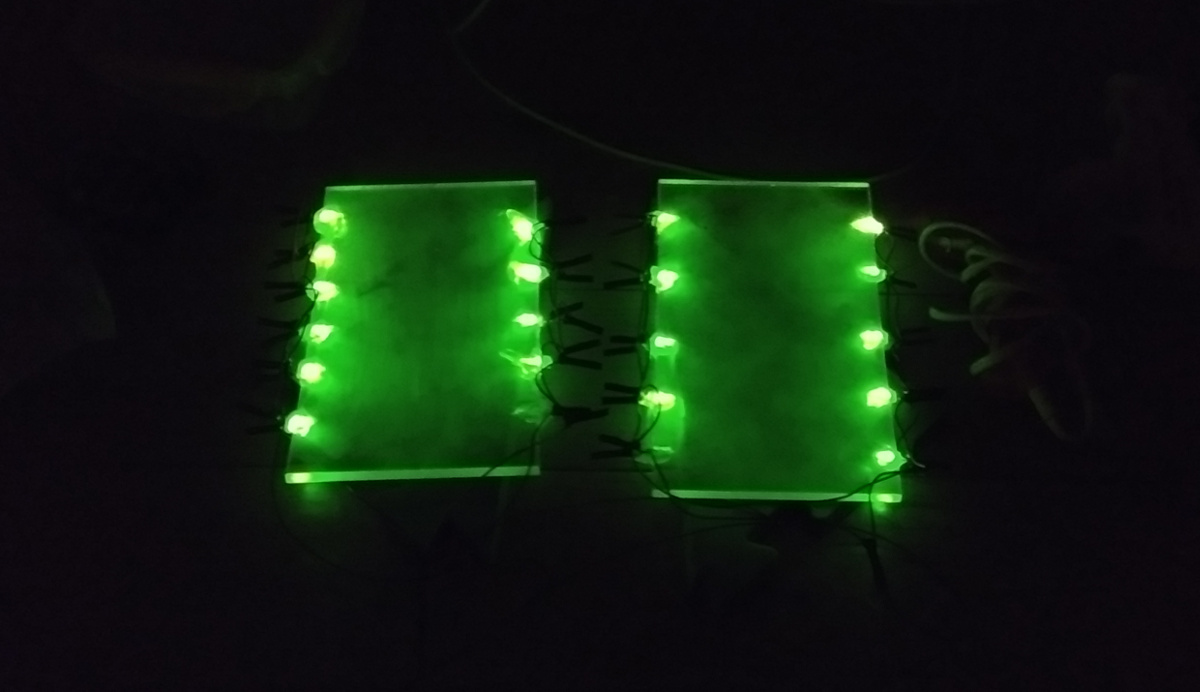
Neat, actually, bar the one that blew (or I wired up backwards because it’s now 0200h). In daylight… not so much 🙁 But the paint and the acrylic and the fact that the paint is on the back side saves it.
Now, carry this, by hand, on the luas green line all the way into Dublin, walk from Westmoreland Street to Abbey Street and take the luas red line all the way out to Smithfield. Because, you know, the lolz.
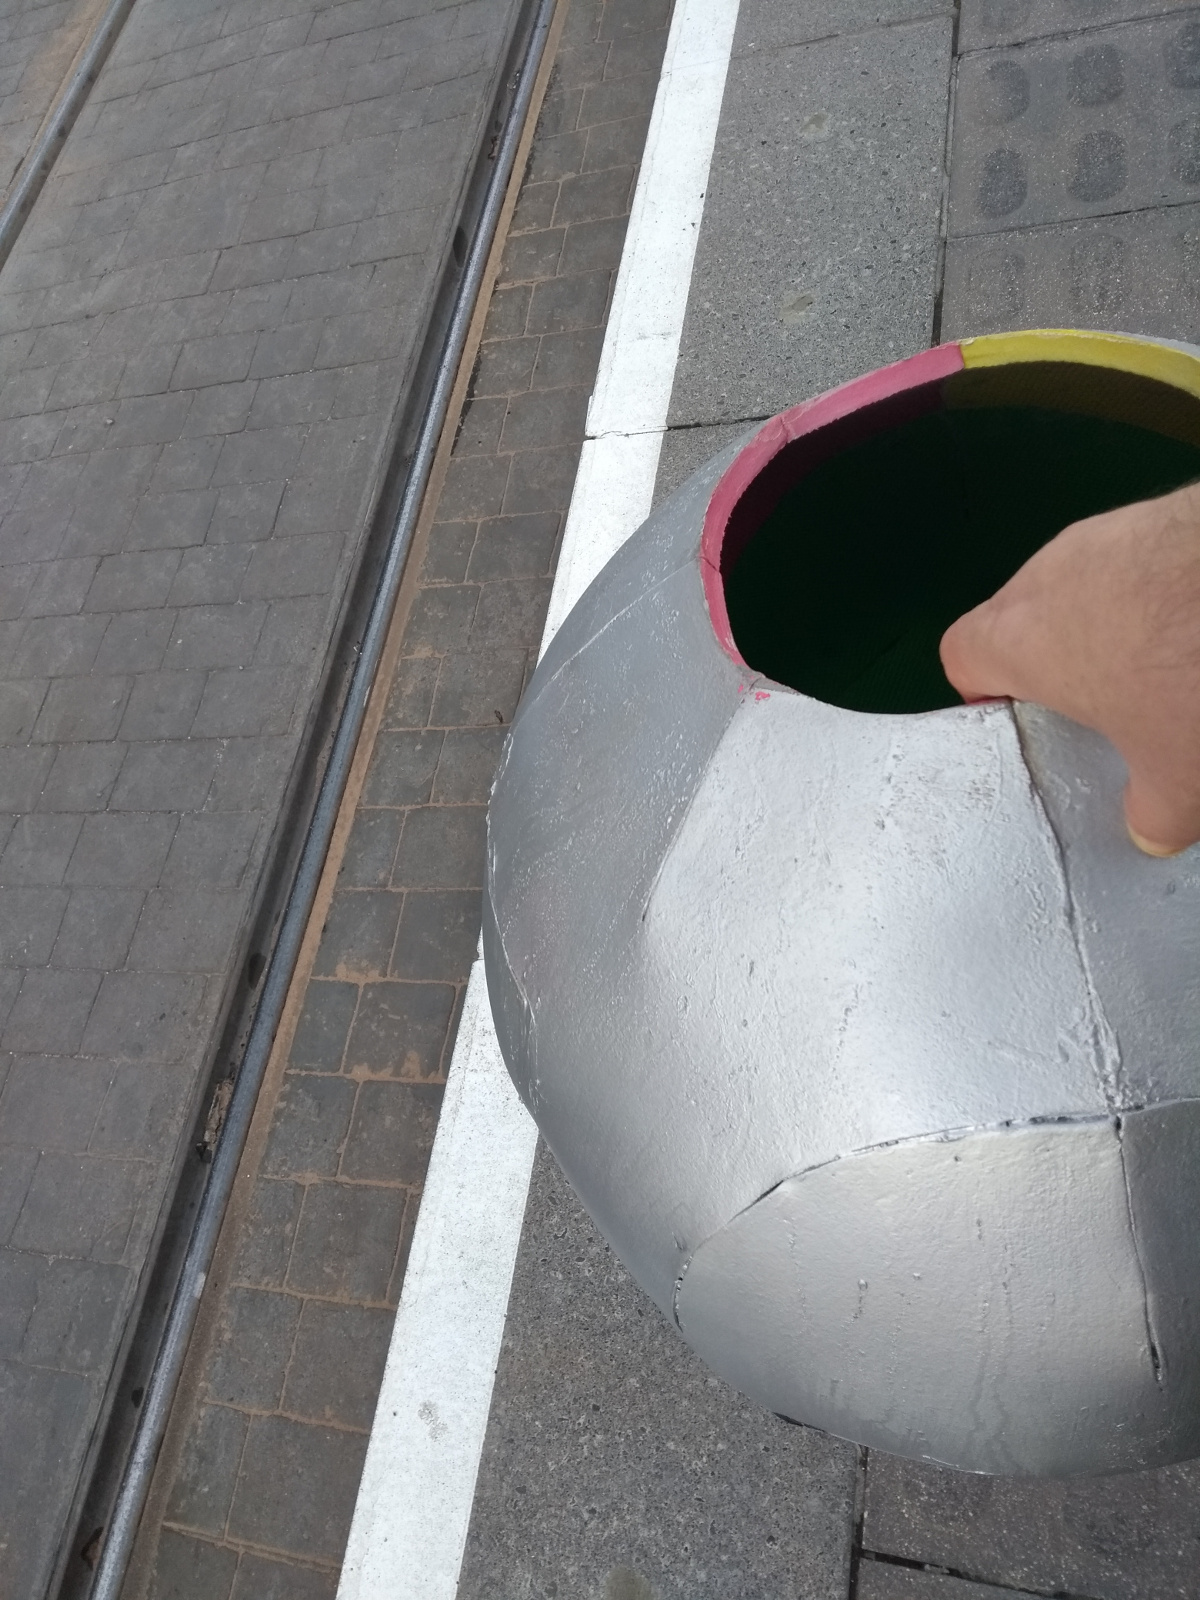
Rather a long way to walk carrying a severed android head.
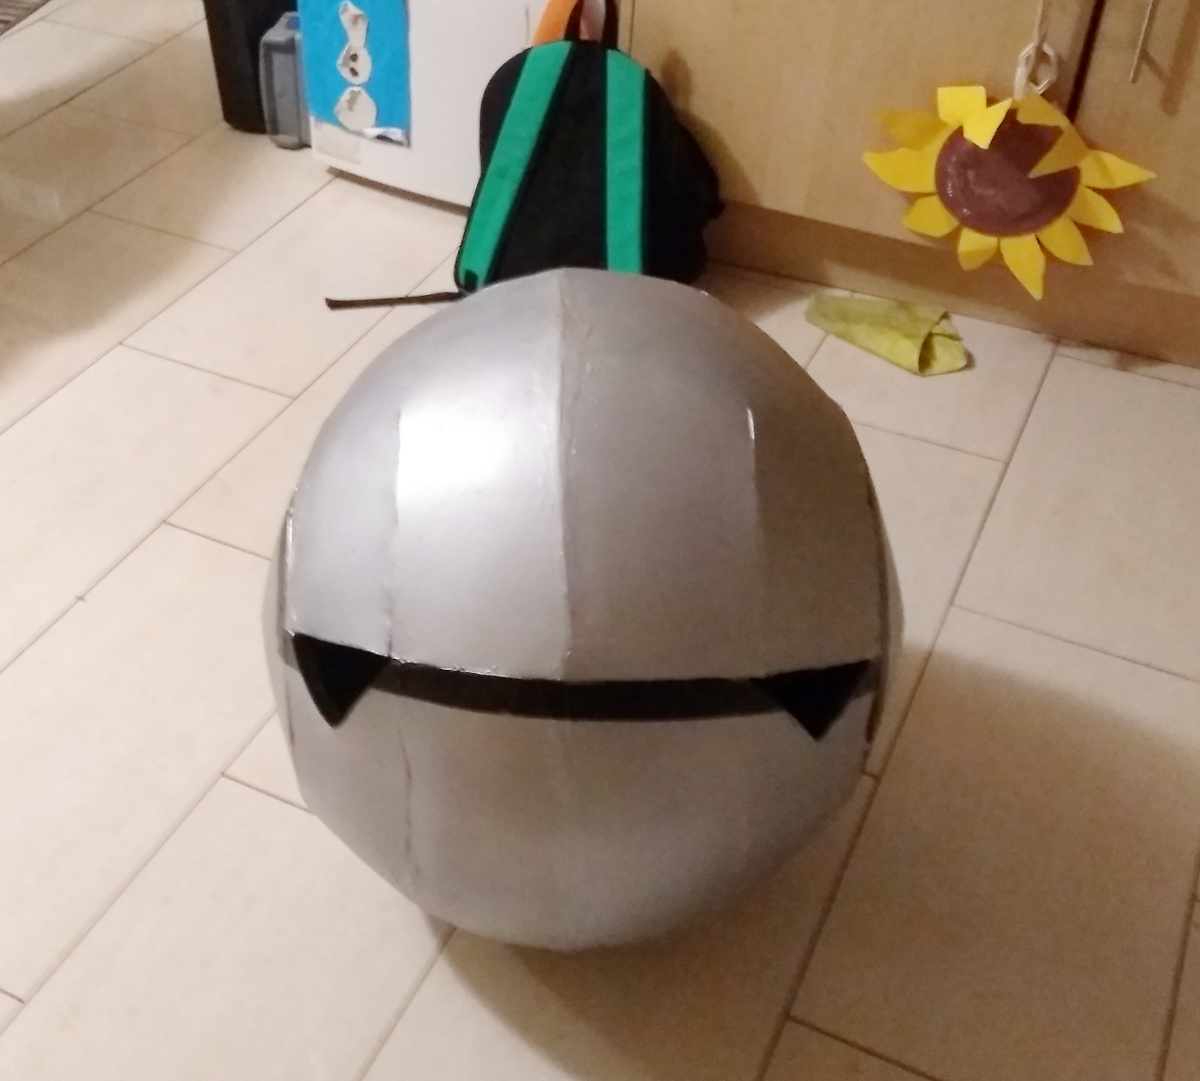
But, made it:
The eyes are lit there, so you see my point about it not being bright enough 🙁
I think the idea’s okay, but maybe use dyed acrylic that was slightly thicker, use LED tape on the edges, and spray-paint the back with a mirror paint of some kind? Something anyway.
I ache, therefore I am.
Now, where was I with that desk…


Interesting technique. It was not available 50 years ago.
I used “papier-mâché” to make a Viking Helmet and heads of string-puppets.
I used newspaper’s paper strings and wall-paper glue.
(It seems “papier-mâché” has no translation in English).
Papier-mâché is a safe technique that your son could use by himself. One can make wall-paper glue with flour and water.
Sylvain