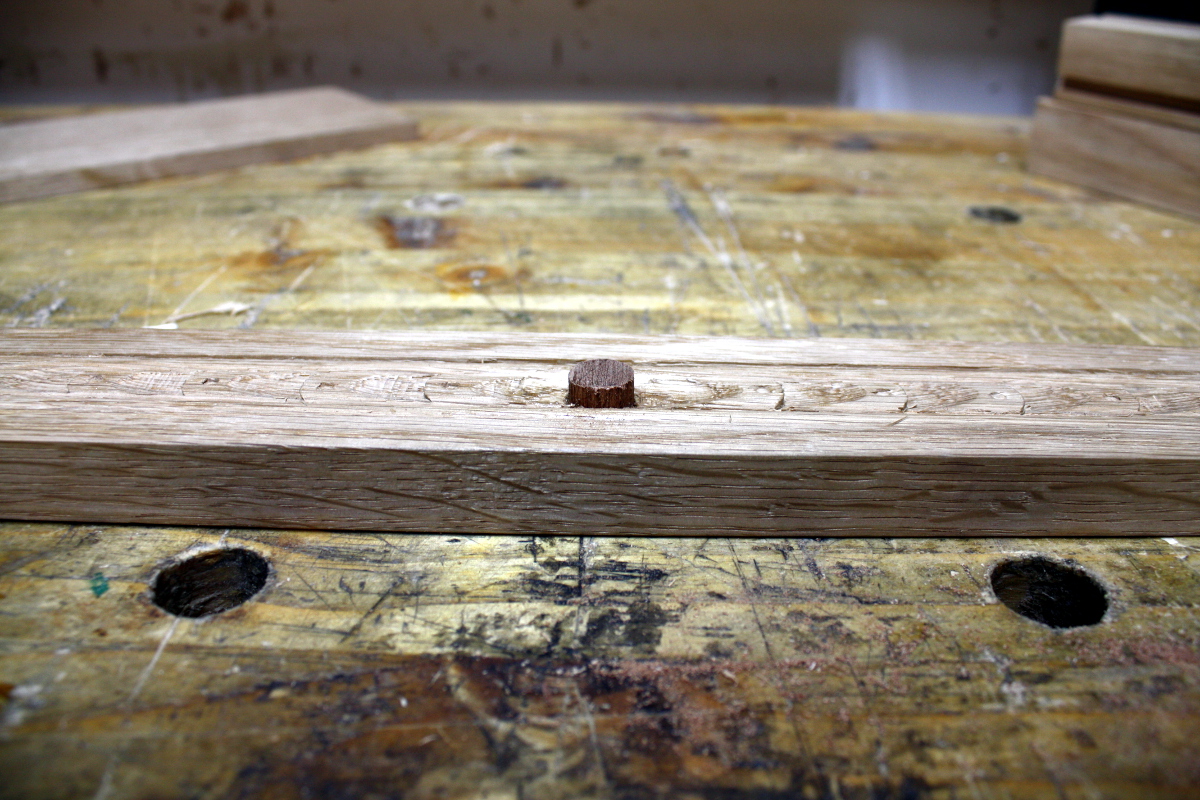
Getting close now. Started today by cleaning up the inlaid peg in the front rail.
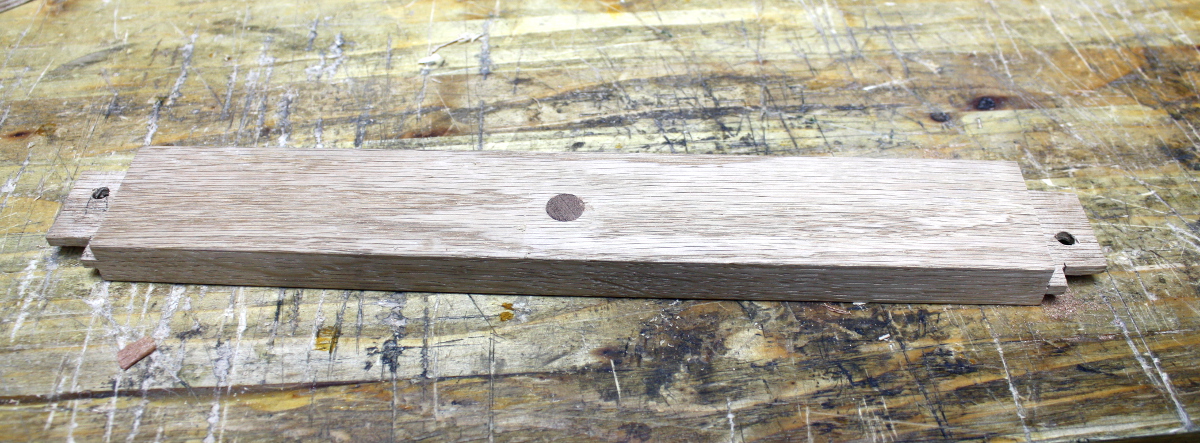
I’ll just trim down the front side while I think about what to do with it, since it’s a central decorative feature.
And now on to the main job, the panels. The panels were mostly flat and close to size already so it was mostly detail work and fettling and finishing.
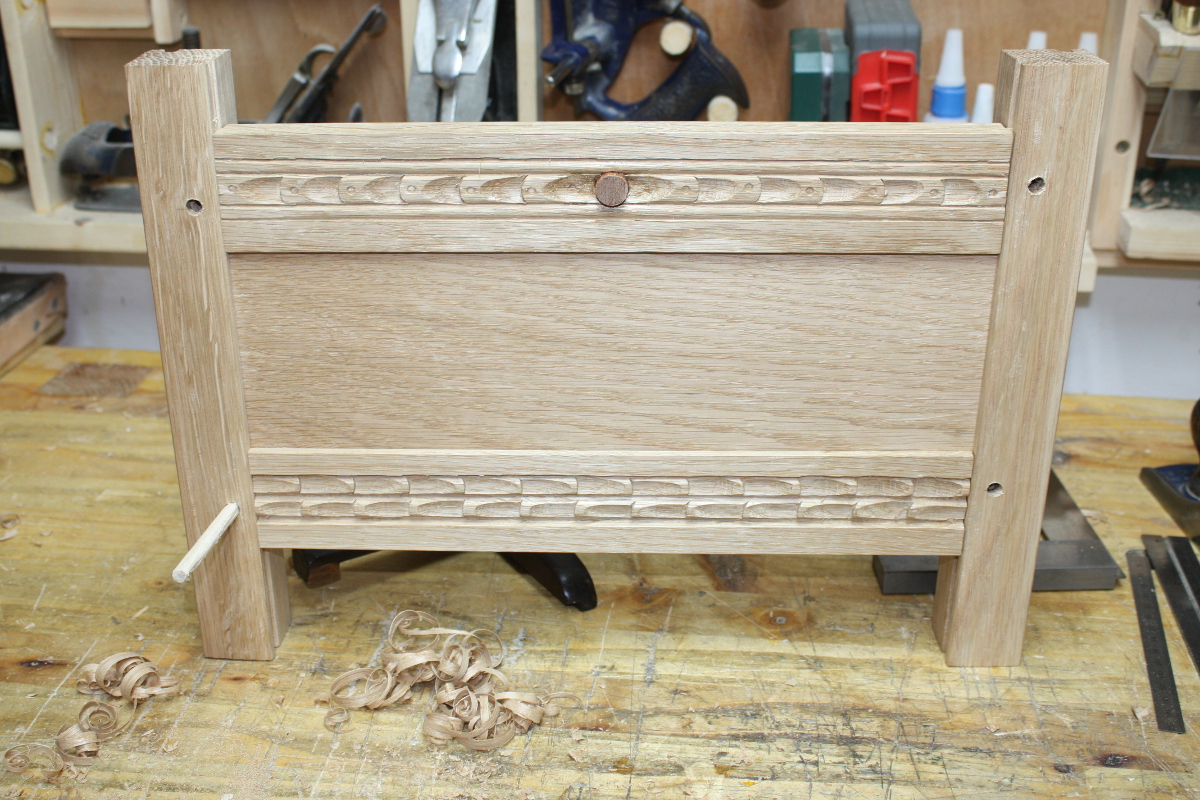
Doesn’t look terrible. For each of the frames, I assembled two of the rails into a stile and got the measurements for the panel from that.
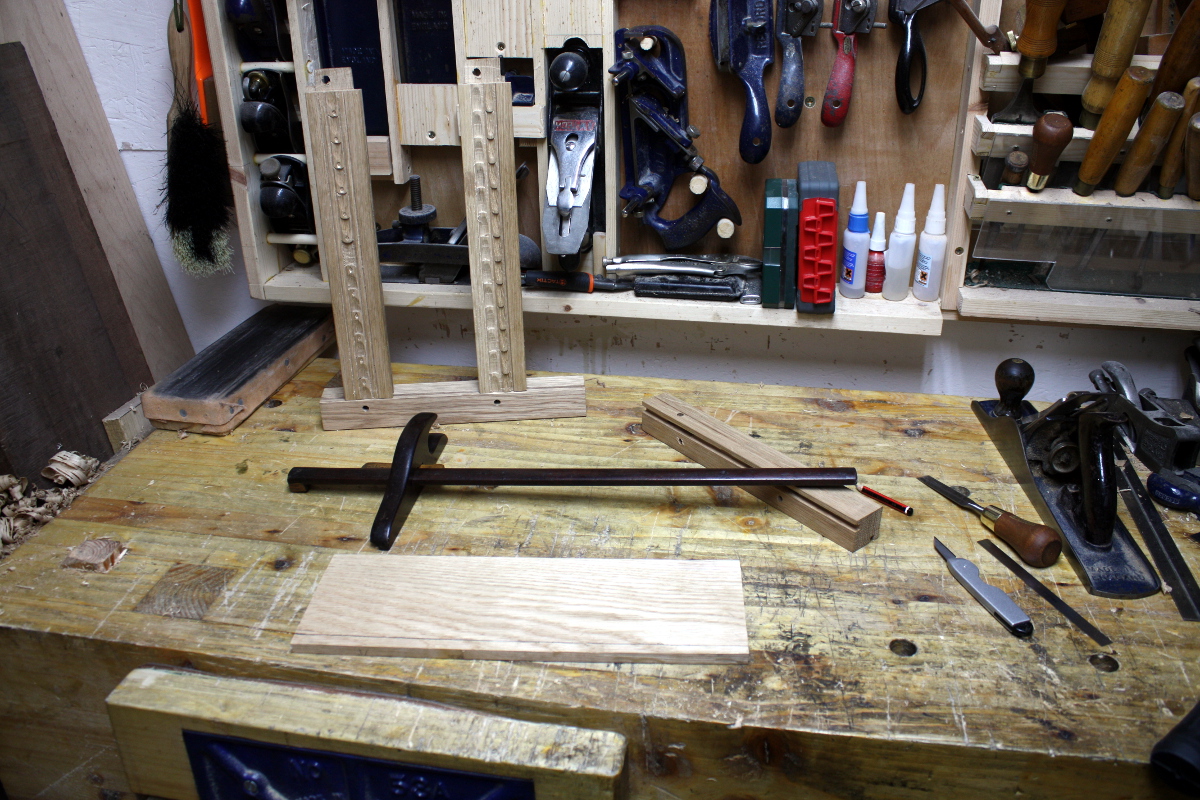
Mark it off with the panel gauge and rip to width with the ryoba and plane to a smooth edge (I’d already planed the reference edge and shot both ends on the shooting board with the T5). Then plane a bevel on the back side of the panel with the #05 on both sides and one end. Test fit in the frame and then mark off the length; cross-cut with the other side of the ryoba and plane a bevel on the remaining end (carefully to avoid spelching the finished edges). Then test fit in the assembled panel and make sure it’s a snug fit but with just a little wiggle in both directions – and by just a little I mean if I shove it, it shift less than half a millimeter in any direction, but it does shift so it’s free-floating.
The panel is oak like the rest of the chest, so according to the hardwood databook, I can expect 2.5% shrinkage going from the shed’s humidity to indoors; that translates to about a tenth of an inch of shrinkage across the width of the panel and the grooves are a quarter inch deep so they should hold. But I don’t want it so tight that any increase in humidity causes the panel to destroy itself. In the end I got the fit I wanted on all the panels though it was a bit of a faff with one of the side panels to get the angle of the bevel right.
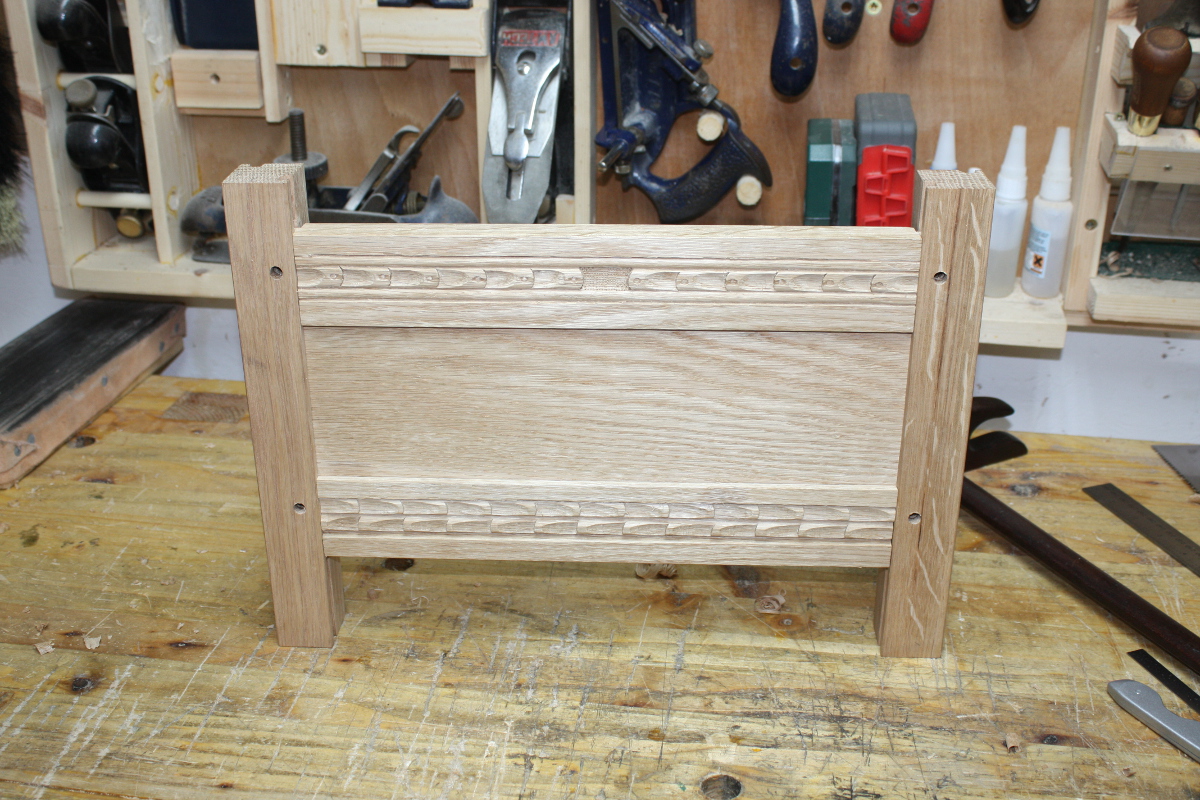
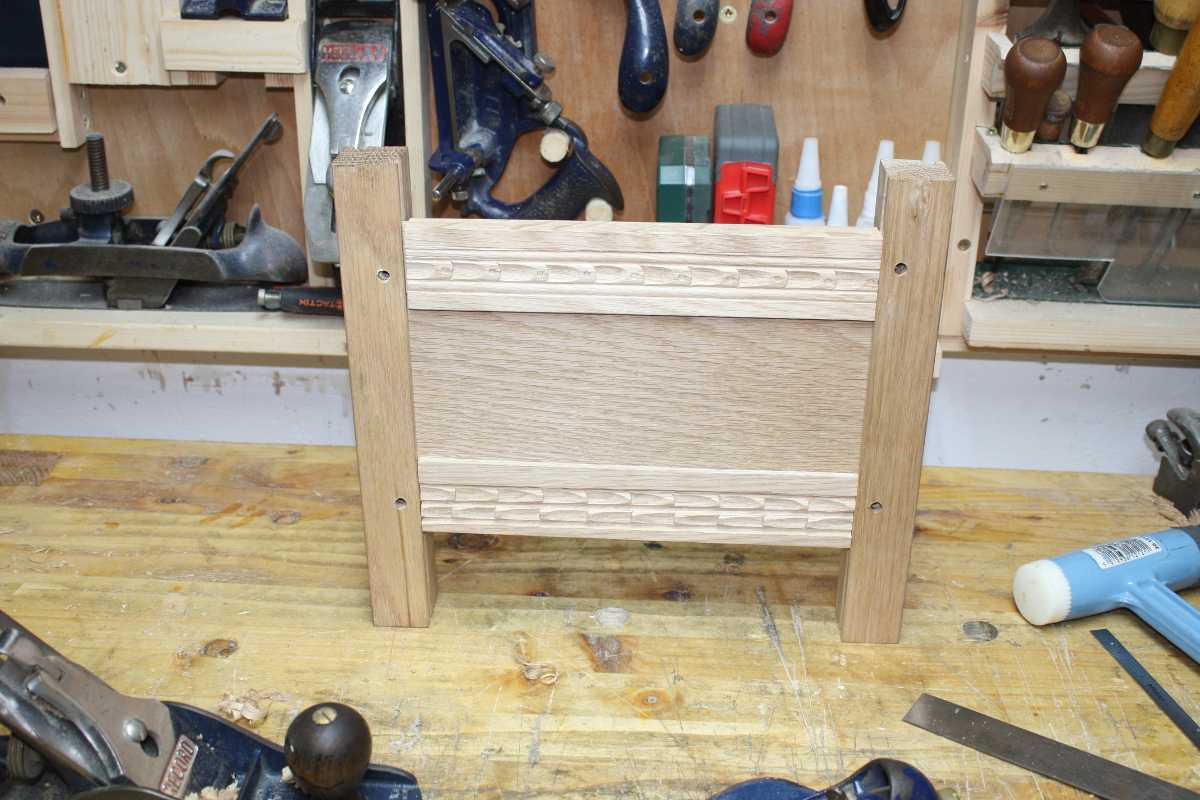
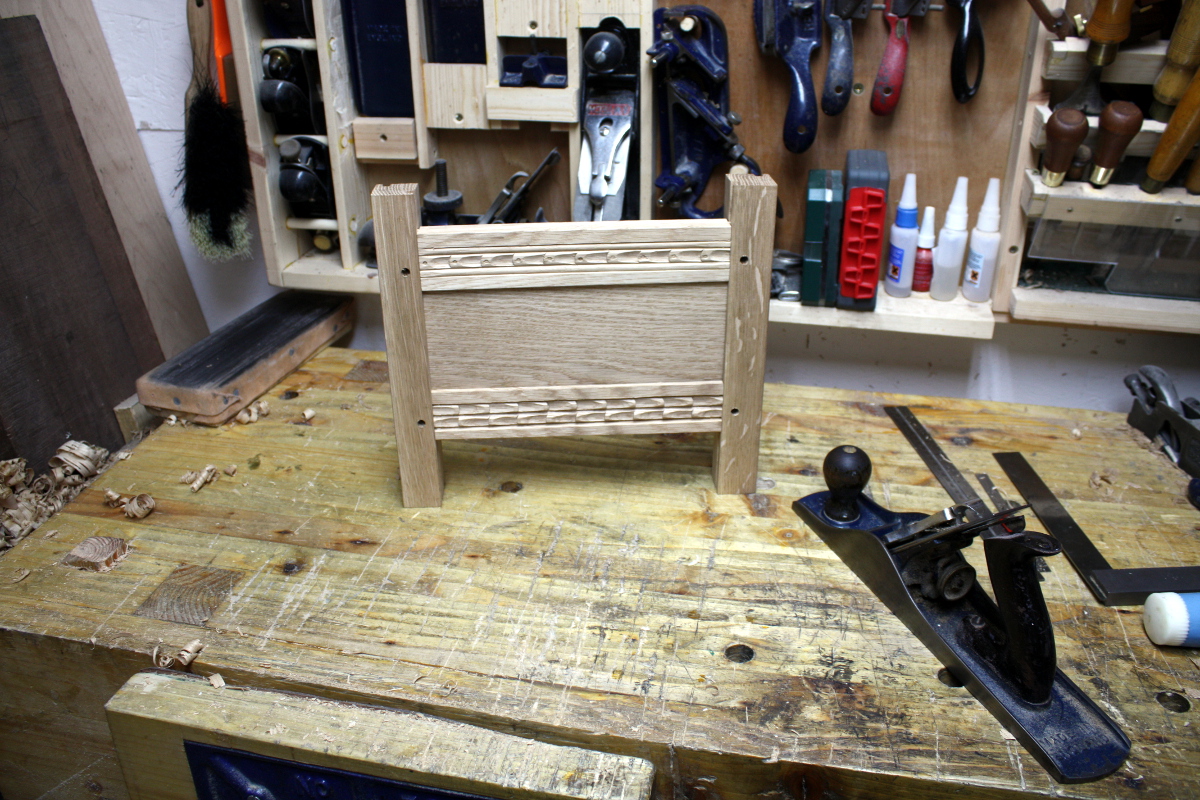
And a dry fit of all the frames:
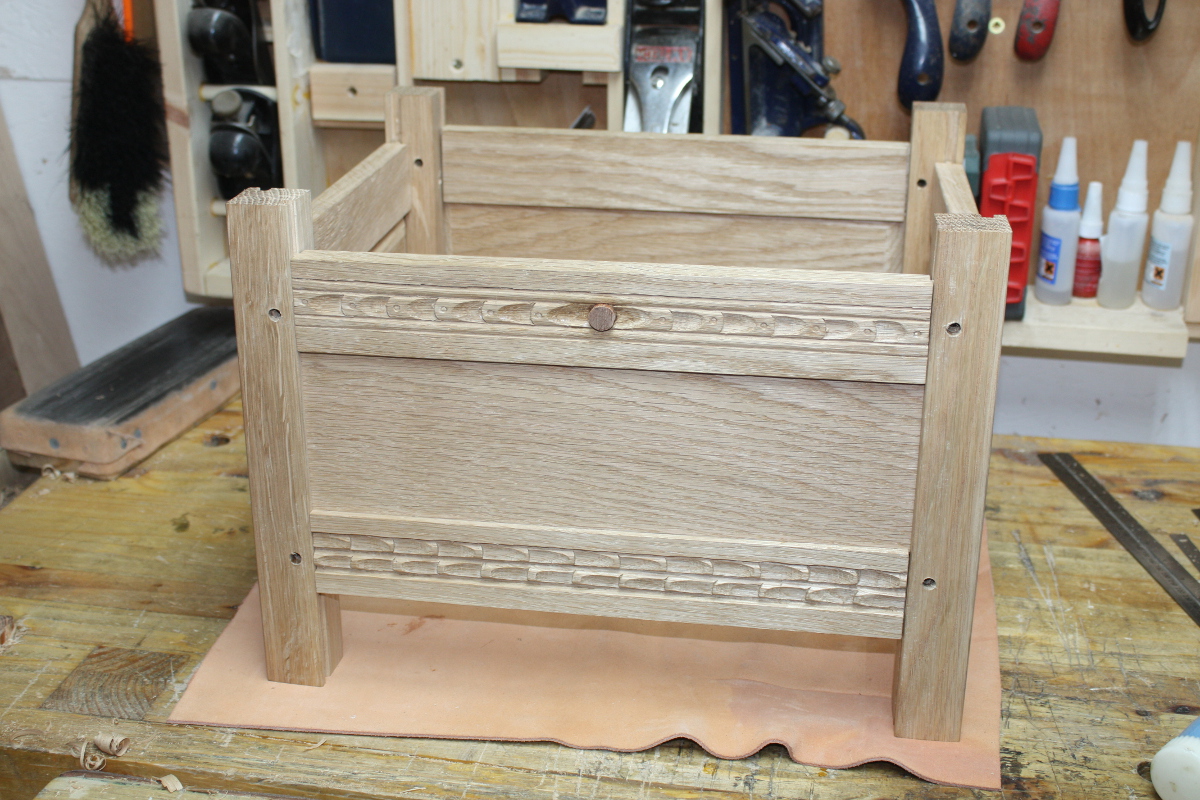
I didn’t think it looked too bad and then I looked at the side.
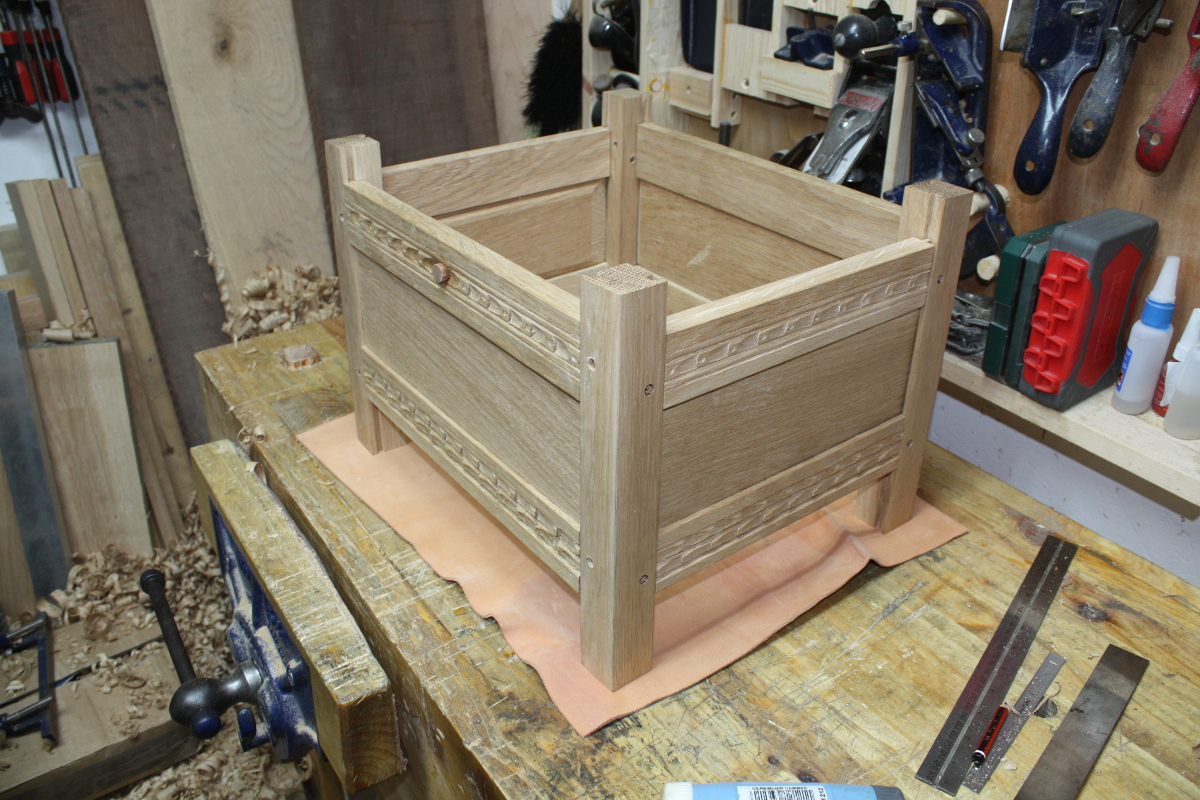
What the… the pattern isn’t flowing the way it’s meant to.
Some head-scratching ensued and I finally figured that at some point while doing the drawboring I managed to do the stage-left/audience-left confusion thing, only with chest-left/my-left. I’d swapped the sides. Worse, I’d drilled the drawbores that way. I must have been tired, given that I also managed to drill the drawbore pin holes on different sides of the centerline for half the rails. Oh well, they’ll still work. However I now had to redrill the drawbore holes on half the rails. Yeesh. Still, there won’t be too much stress on this piece and the glue and floorboards will add to the strength. It should be fine.
Besides, I couldn’t leave the pattern broken, it’d give me a headache. So I swapped the sides and redrilled drawbore holes.
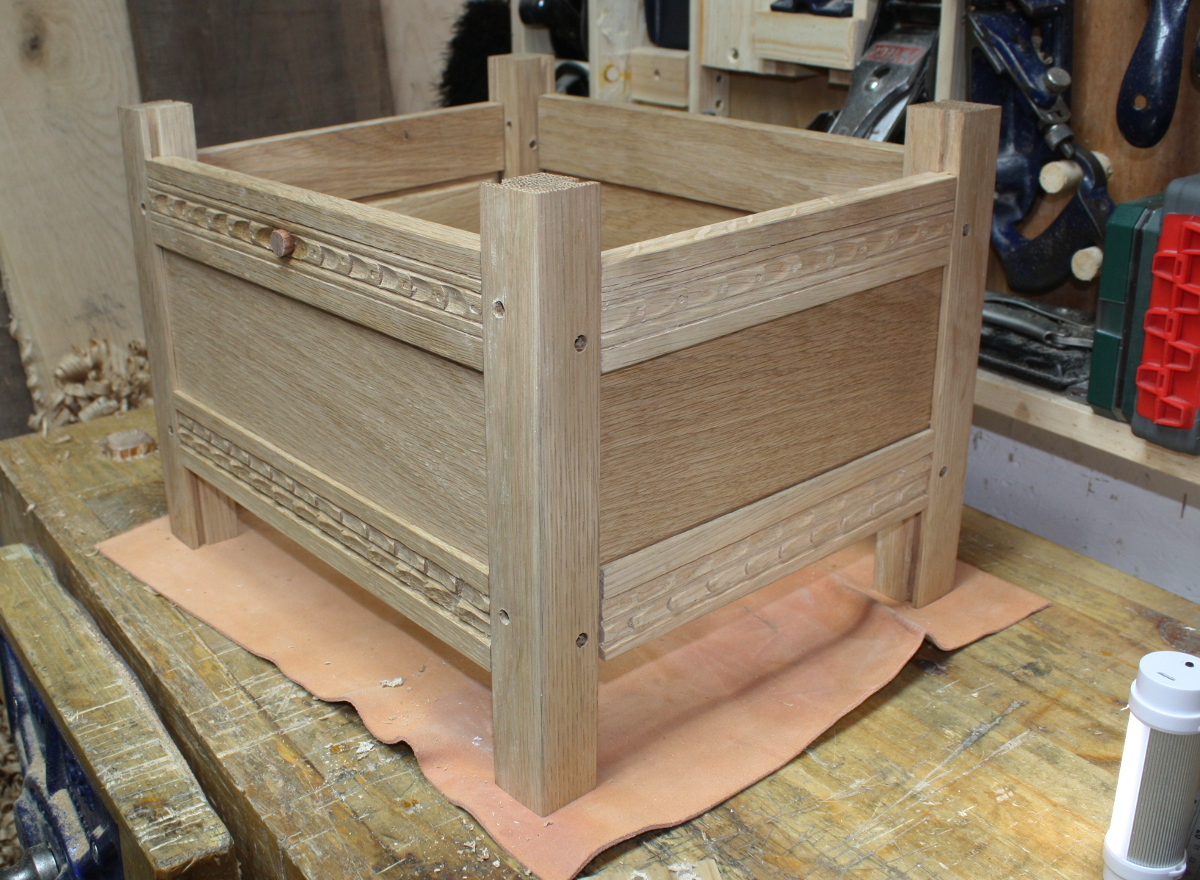
Worth the effort, now the pattern flows around the chest as intended. Two jobs left now before assembly of the carcass. First off, what to do about that central element in the top front rail. I tried to carve it over but endgrain in sapele is uncooperative so I just cut it flush, chamfered the edge slightly and punched a flower into it.
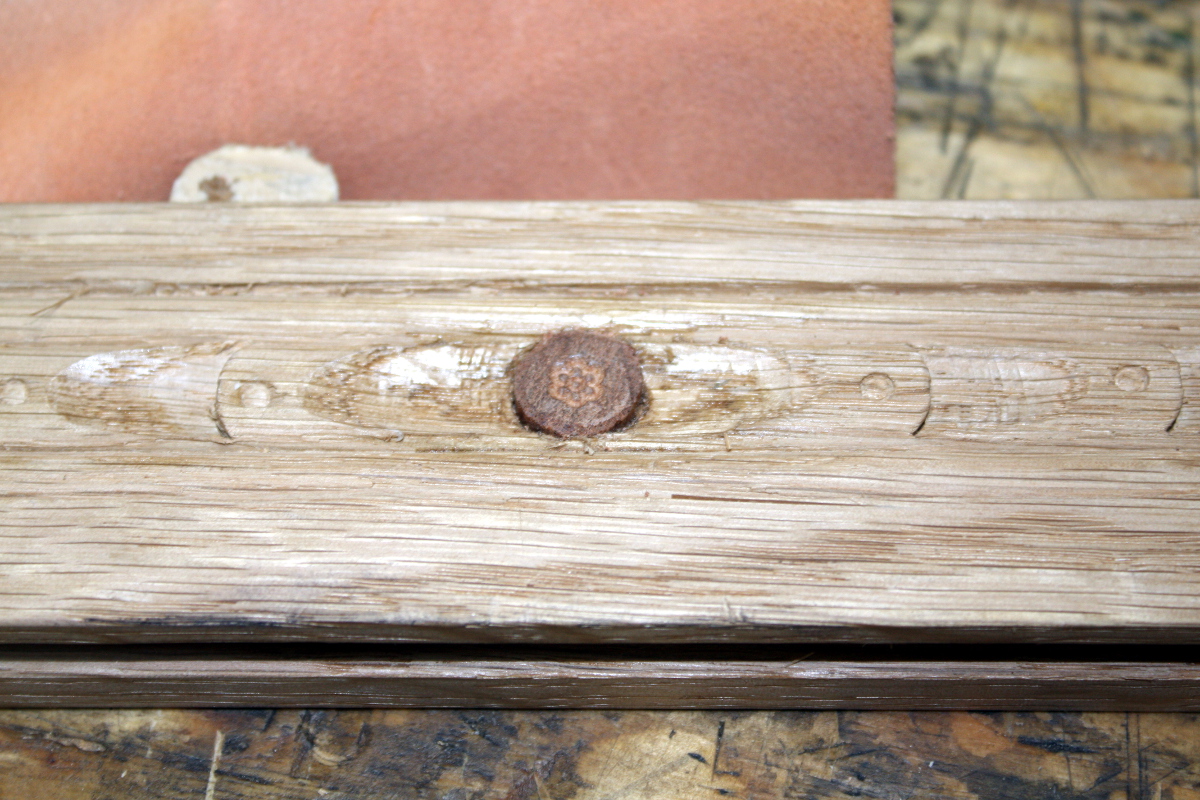
Should do. Last job: plane down the inside of the stiles. For this, I need some V-blocks so I made some in a hurry.
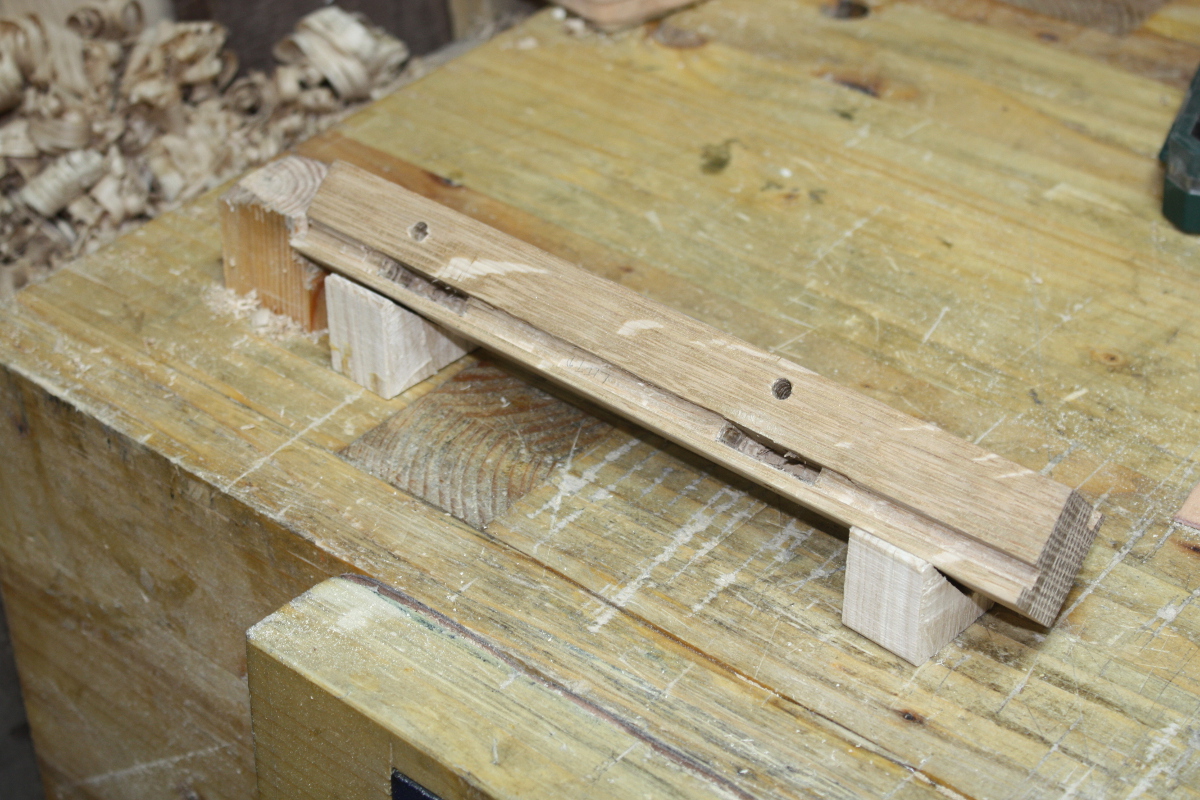
Not stable enough to plane on though, so I drilled through the bottom of the V, countersunk heavily to get the screw away from the piece and then screwed both to a backing board (one of the less twisted rejected rails):
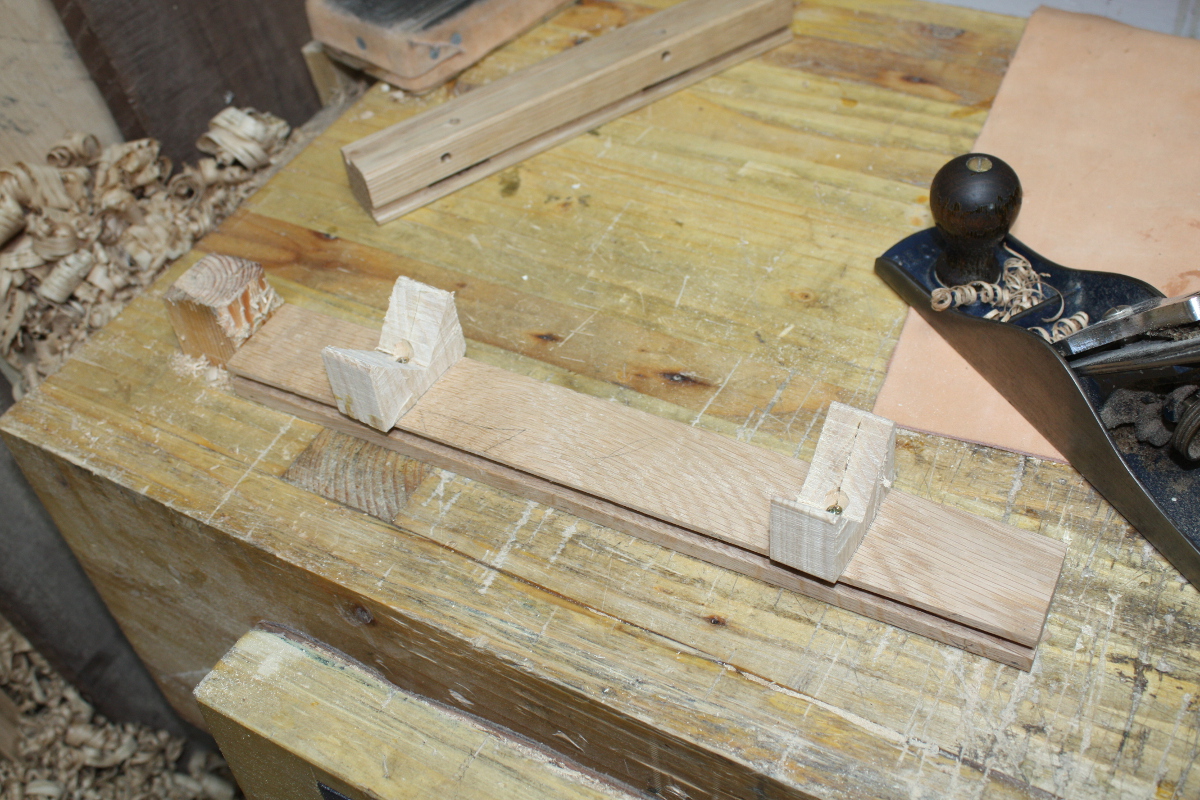
I must remake that later, it’s too useful a jig to not have a decent version of. But for now, deadlines, so I made do and planed down the inside to pencil marks made while the box was assembled.
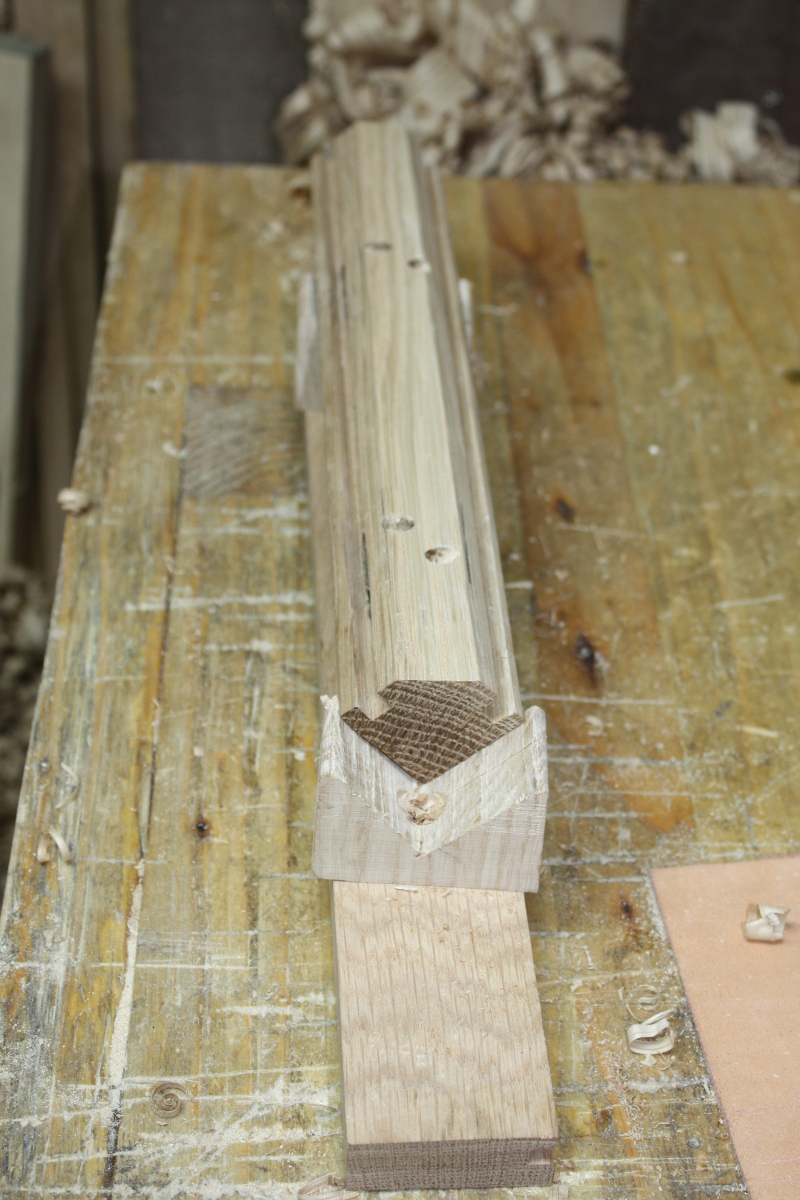
If those drawbore holes look asymmetrical to you, it’s because they are – this is why having a drill press would be nice. But they’ll still work, it’s all good. It’s “character” 😀
With that job done, time to assemble the carcass, so out with some clamps and hide glue and all the other bits I’d need.
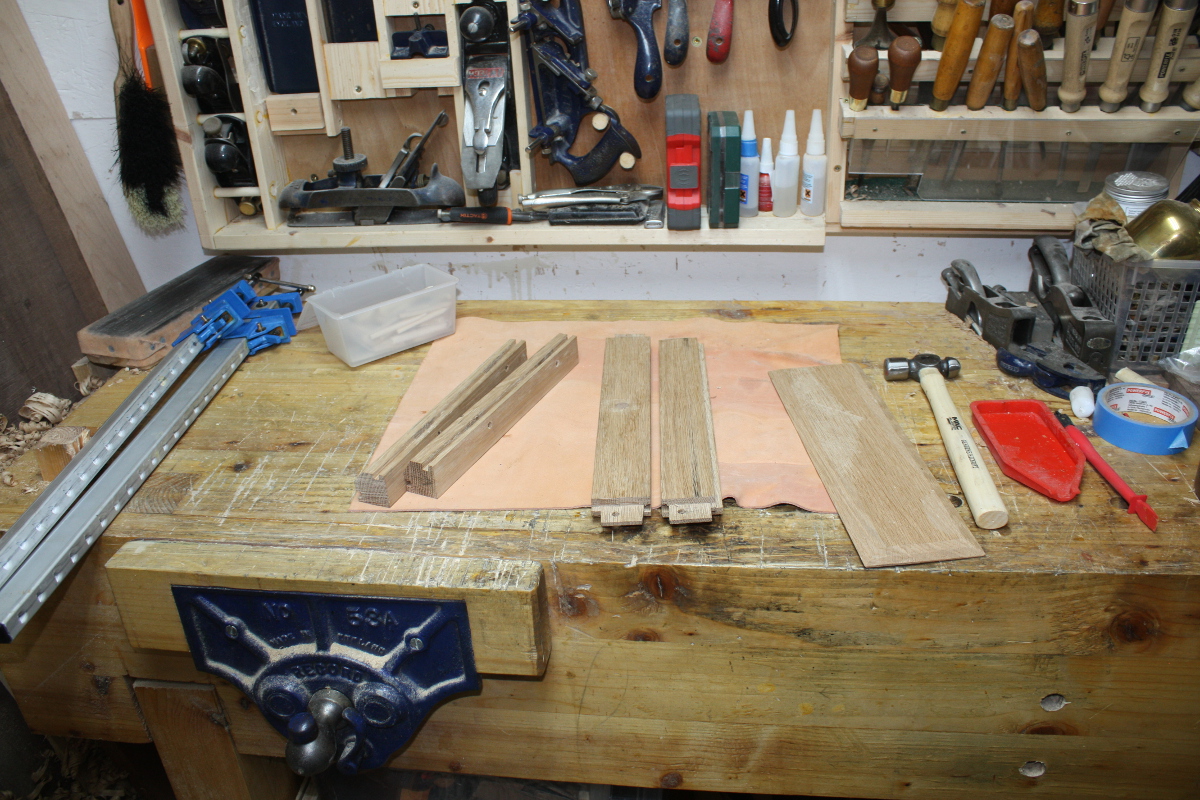
Started with the front frame.
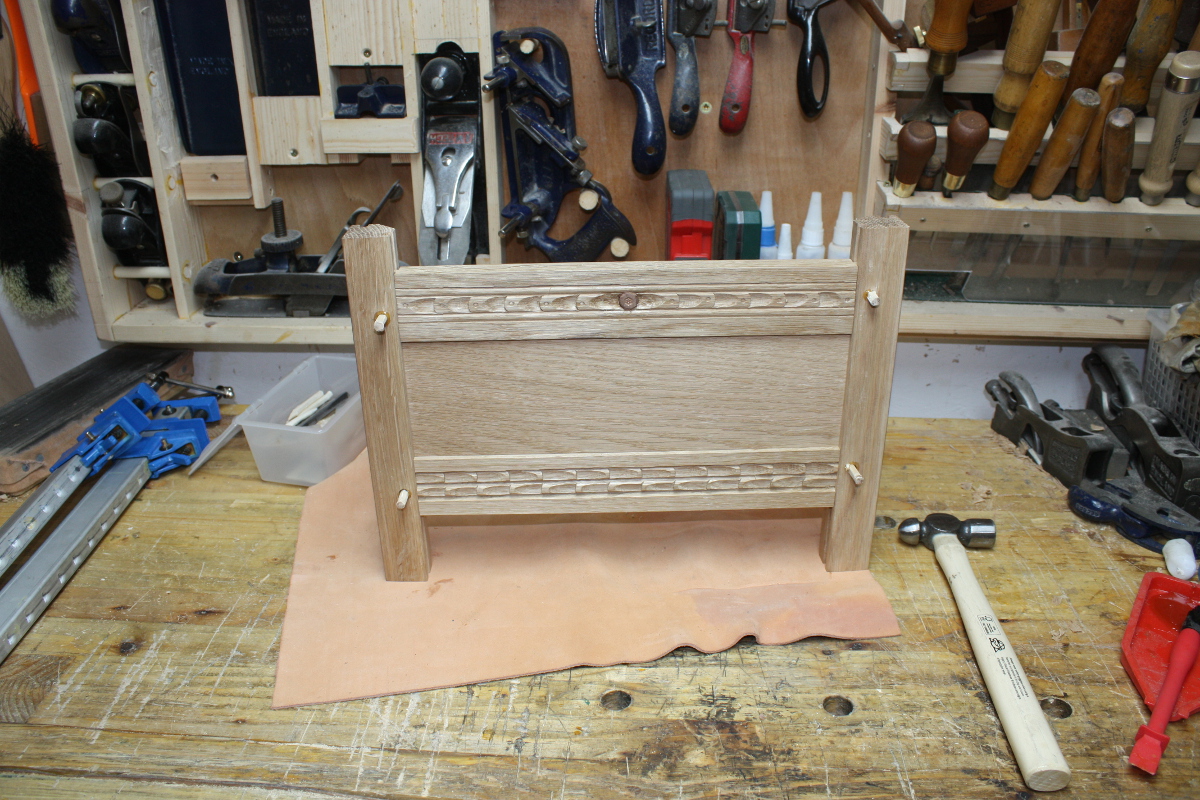
Glue tenons, insert tenons for both rails into one stile, dip peg in glue, hammer home while listening for any cracking breaking noises (there were none, so yay!). Then slide panel into place, glue the other pair of tenons (carefully so as to avoid accidentally gluing the panel), and tap the stile home with the soft-faced deadblow hammer, then drive in the other drawbore pegs. Repeat for the back frame:
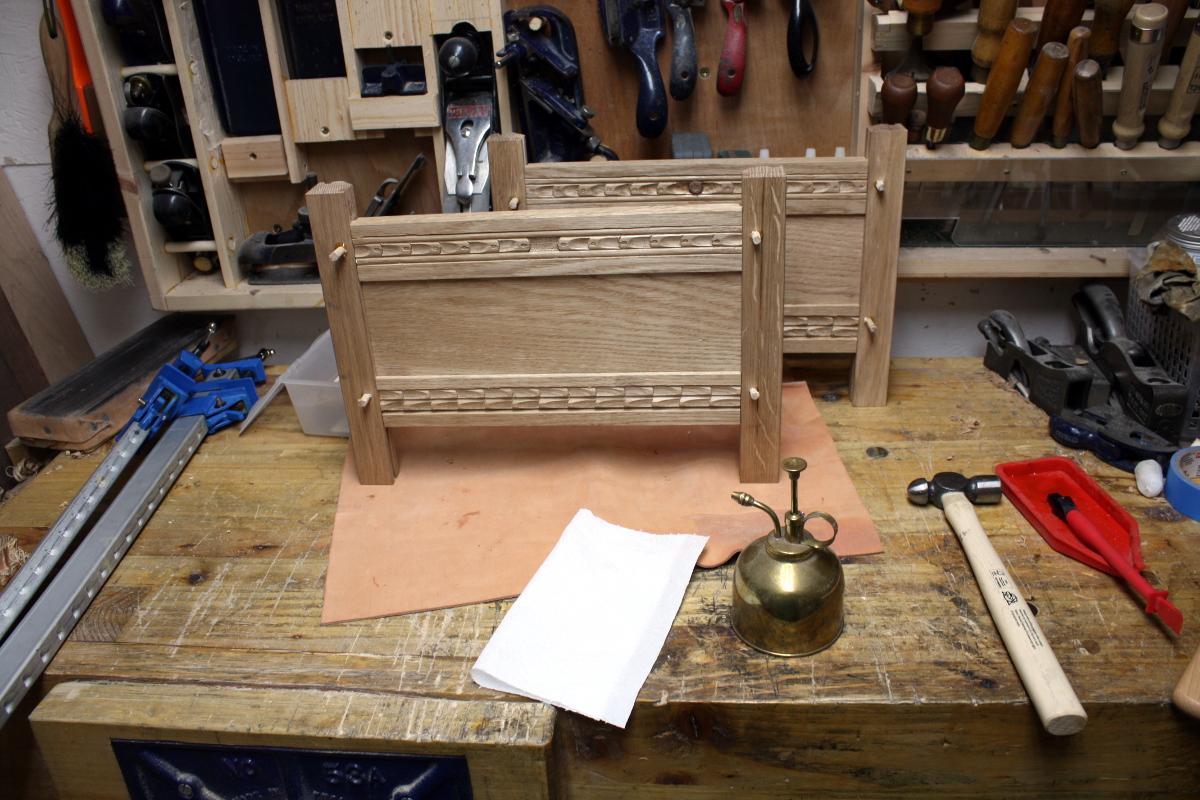
Incidentally, those brass plant misters are a handy way to have water on hand to dampen paper towels for things like glue squeezeout cleanup.
I trimmed off some of the pegs from the back side (not all, for strength, but just enough to not get in the way of the rest of the process – I’ll clean up fully later).
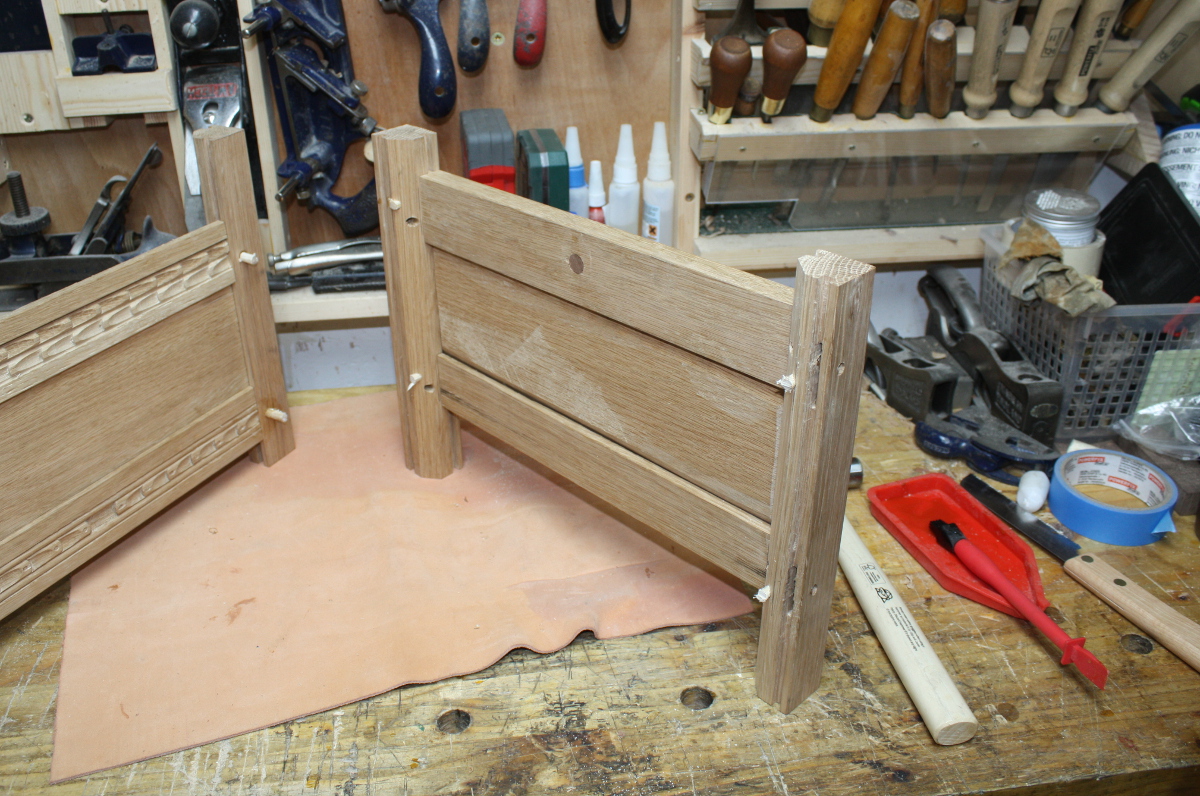
Now things get a little awkward; fit the four side rails into the front frame, with glue and drawbores and fit the panels.
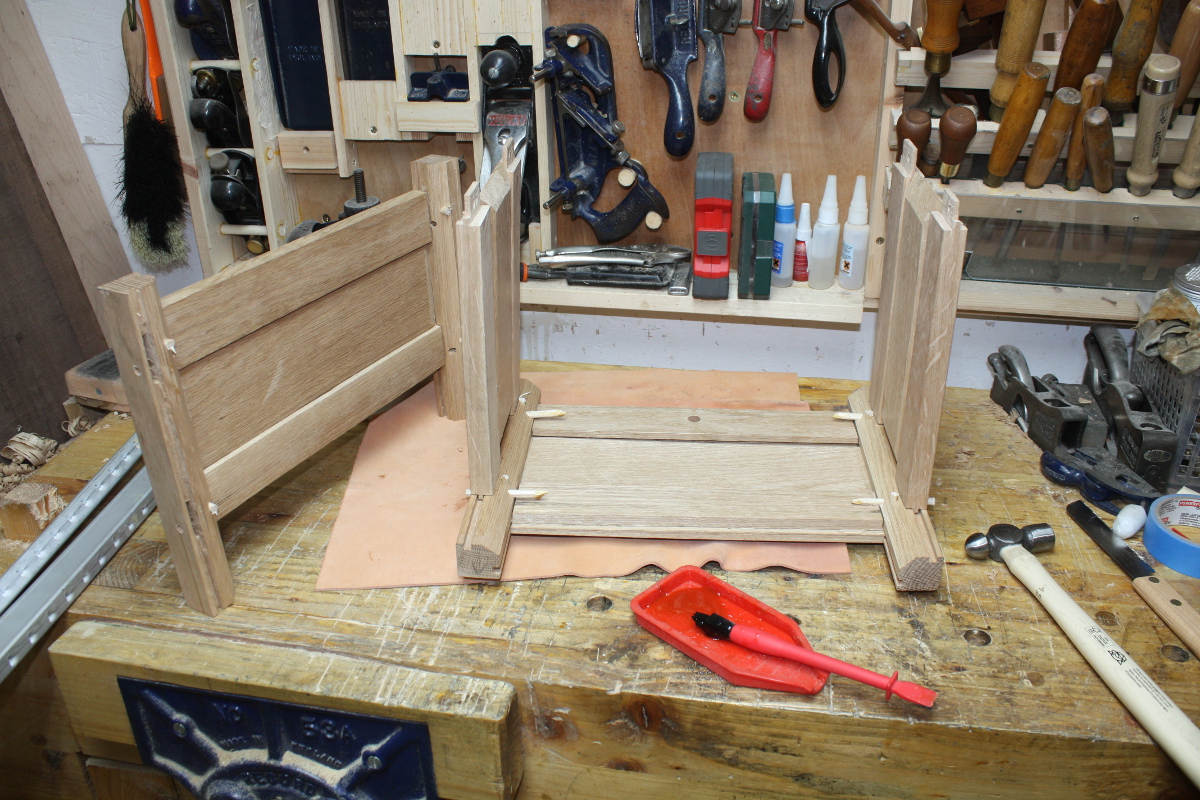
I’ll come back and tidy up the pegs when the glue’s cured. And now for the really finicky bit – glue up all four tenons and lower the last frame into place on top of all of them at once. This is why dryfits were so important. Also, because the bottom frame is resting on the drawbore pegs right now, you can’t tap the frame home with the deadblow, you have to use the clamps to squeeze them home and then secure it with the drawbore pegs.
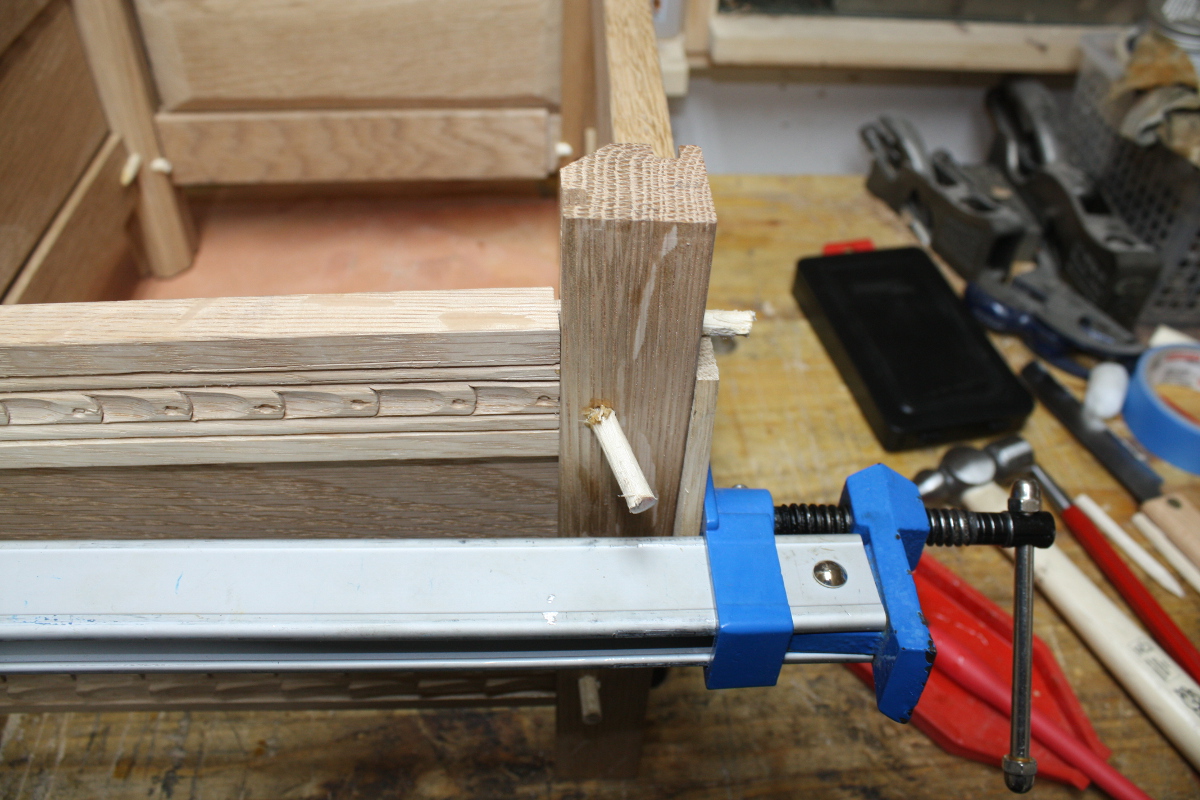
There’s always one…
The drawbore hole was just fouling the panel on the far side enough to stop the peg and the next hammer blow was just off-center enough to snap the peg. *sigh*
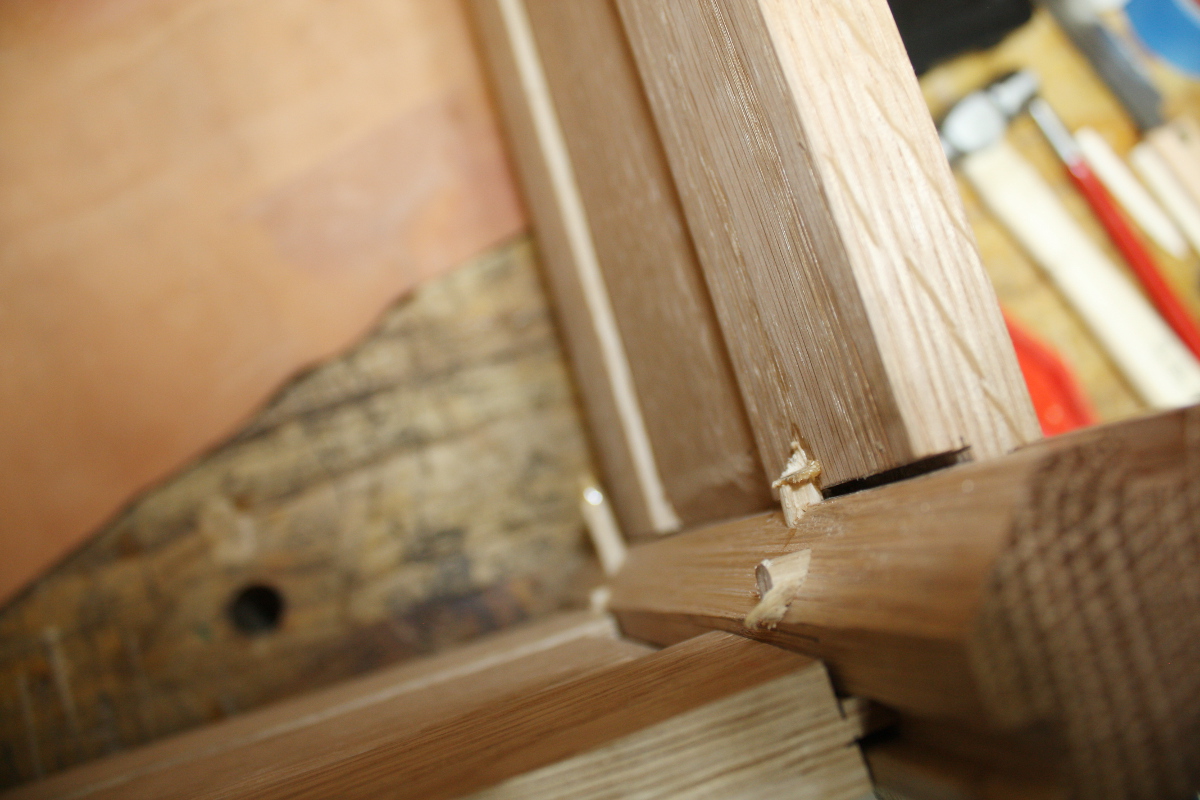
I guess cleanup’s going to be more fun that I expected. Oh well.
Final assembly of the carcass is now done, and it looks nice.
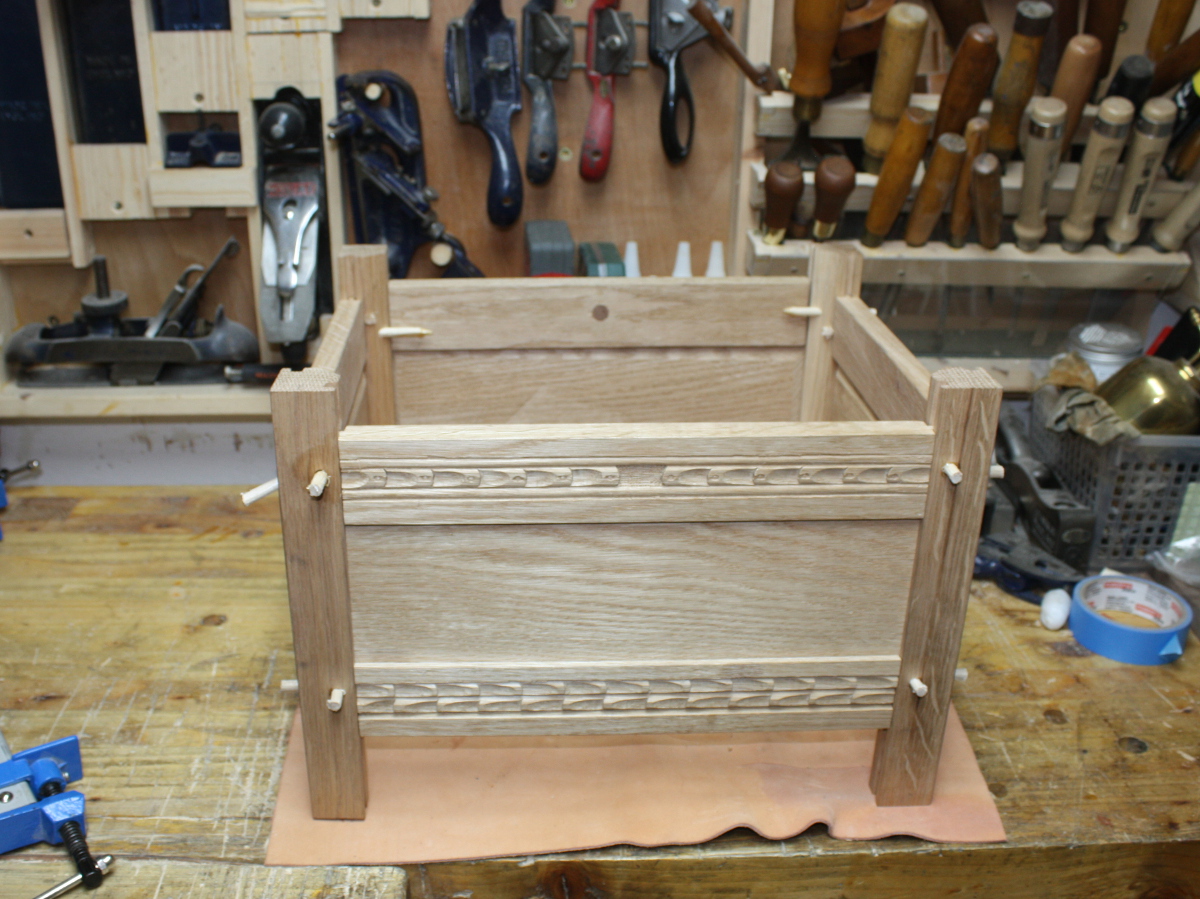
Still things to do, but I think I can get the first coat of finish on the box tomorrow night even if the lid isn’t ready or attached (I’ll want to cut the recesses for the hinges first though I think). Maybe. I’ll just be using Osmo on the box, keep it nice and simple.
TDL:
Rip out lid frame parts- Groove lid frame parts
- Cut lid frame M&T joints and drill for drawboring
- Measure out lid panel size
- Groove lid panel
- Shape lid panel
Cut box tenons and drill M&T joints for drawboringGroove bottom box rails for floorboards- Crosscut floorboards to width
Plane panelsCut panels to final sizeBevel or rebate panel edges to fit grooves in railsPlane away inside corner on stiles- Cut edge floorboards to fit around stiles
- Clean up drawbore pegs and any missed glue squeezeout
- Saw off top horns
- Plane top of chest so all four sides are exactly level
- When floorboards are fitted, stand chest on legs on a flat surface and mark off base of legs to eliminate any wobble
- Cut legs to size
- Shape legs
- Assembly
- Hinges
- Finishing with Osmo (three coats at least)
Tags: drawboring, hand tools, oak, Woodworking

