I *had* hoped to get everything done this weekend. However, I’m on-call this week and something went sideways on saturday evening and took ten hours to fix, so no dice there. But I’ll get some time in lieu and that’ll let me get the assembly finished this week (I hope) and the crib should be completed by next weekend (or over next weekend). It depends on what goes wrong and how many coats of wax I put on it.
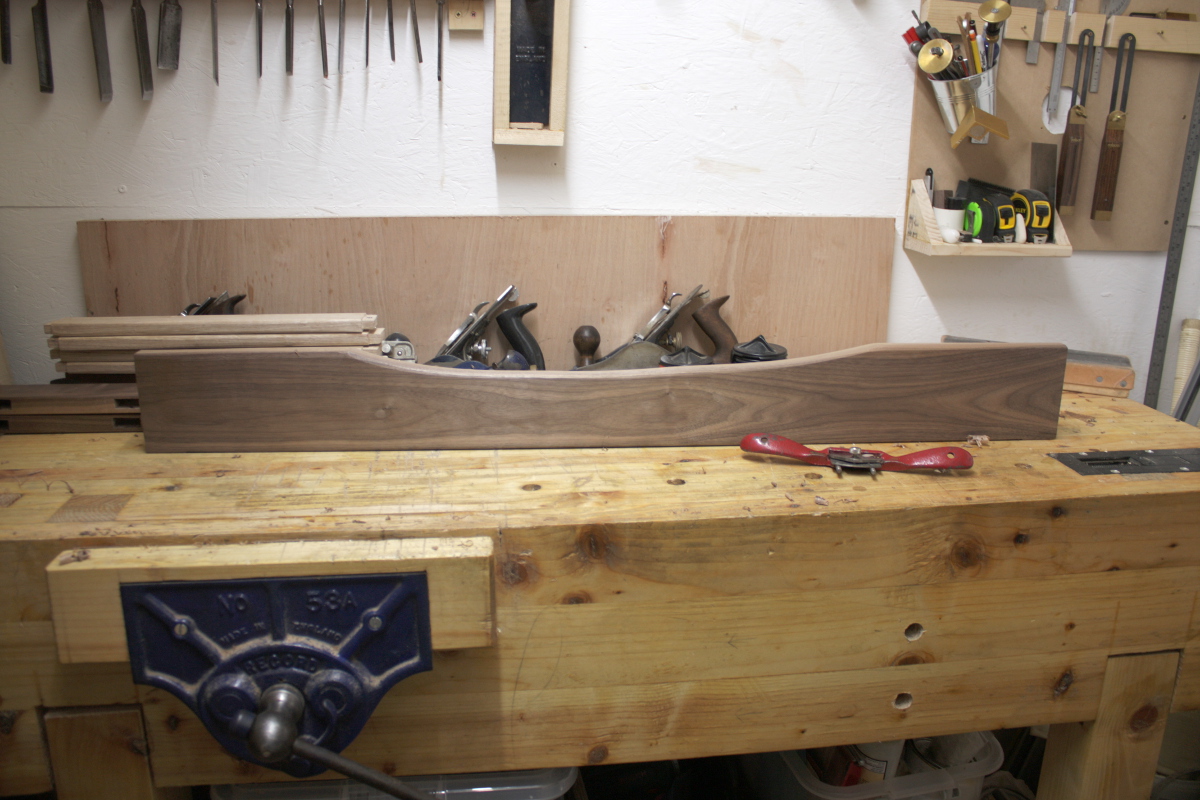
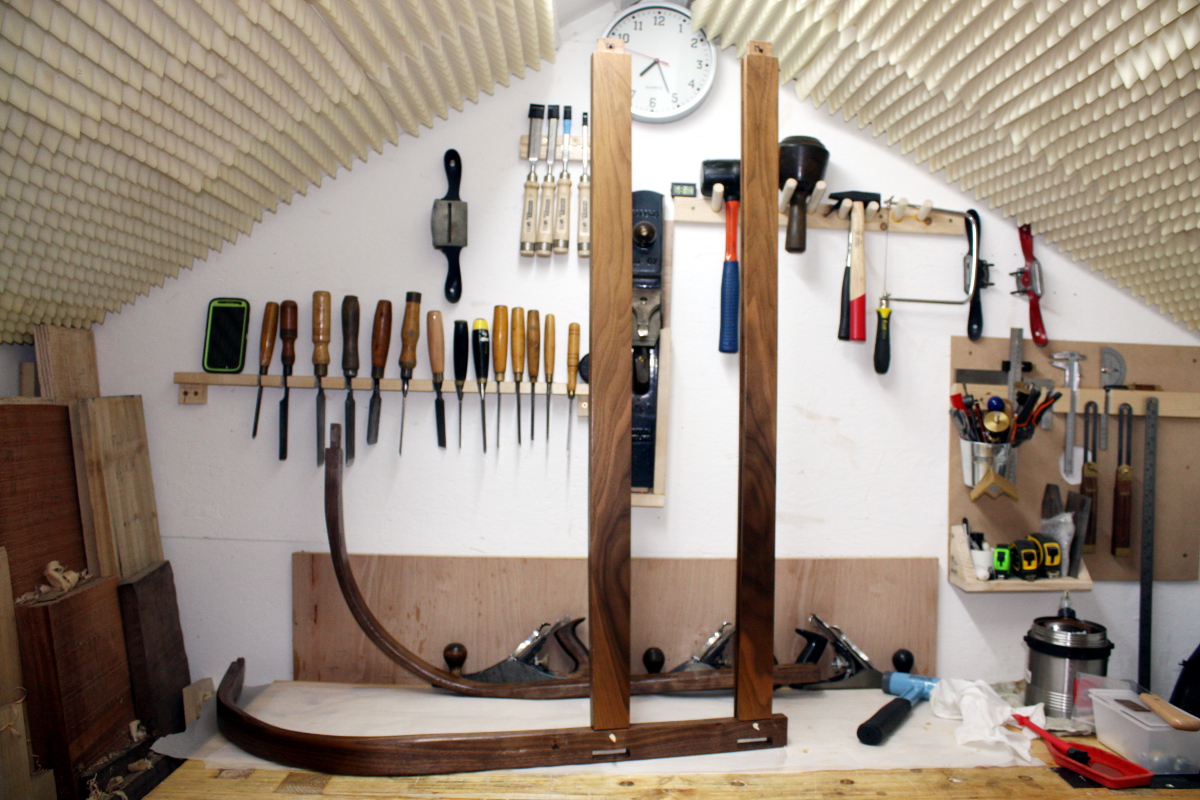
That was the beautiful carved mattress platform support. Then I did a dry-fit test to see where to carve slots in it for the bolts and discovered that that lovely curved bit would be inside the top panel. Well. Drat. I had to rip the board down the middle, cutting off that lovely profile. Oh well.
Once I had it ripped down and planed and rounded over, I had to cut the slots for the bolts. And I tried to think of a way to do this without using power tools, but nothing came to mind that would do the job very well (drilling lots of holes in a straight line being harder than you think with an eggbeater or a brace and bit). So out with the router, some faffing about with adding a wooden fence to the metal fence attachment because it was guiding along three inches of endgrain and the metal fence bit for some reason has an inch-sized hole in the middle, and then even more faffing about with workholding.

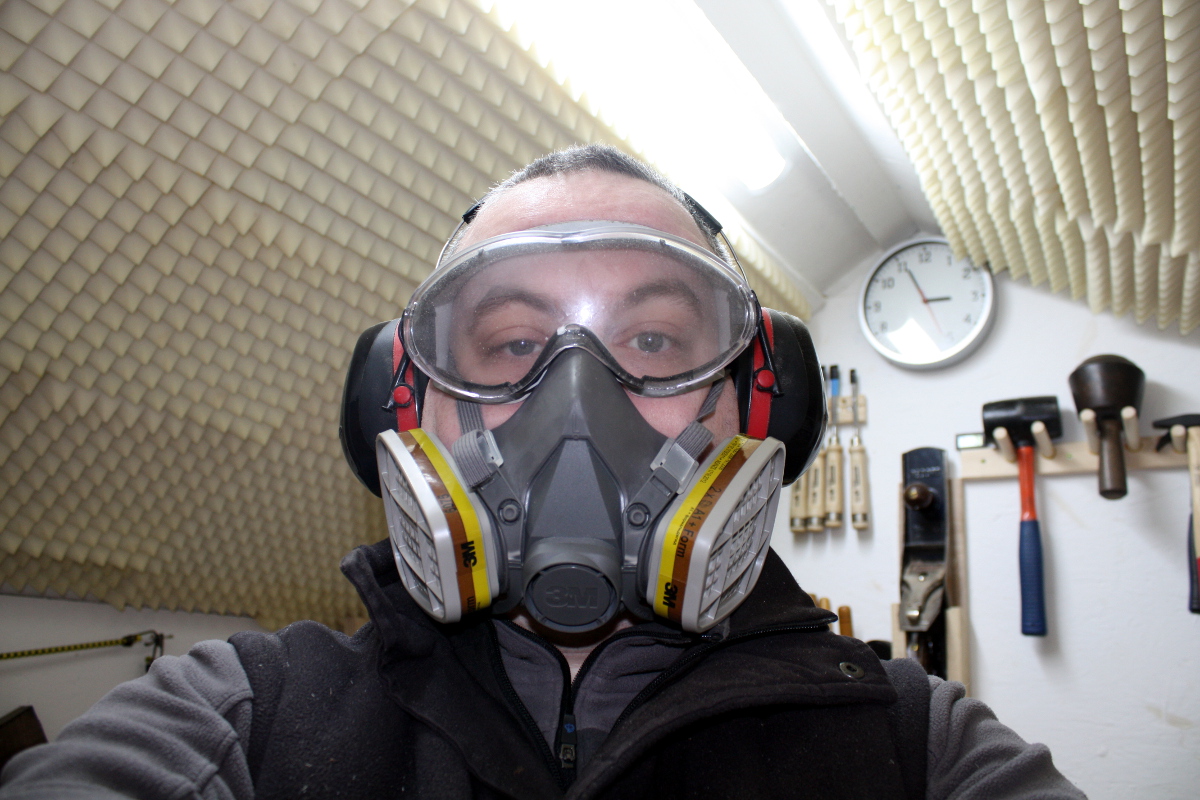
I get that a lot of people like these things but they mostly just annoy me. Maybe they’re more fun when mounted in a table. Or the smaller laminate hand-held ones, this one is a bit bulky to haul around lightly. And it’s so fecking loud, especially in an enclosed small space. And the dust, it’s basically fines it’s so small. You wind up wearing a metric buttload of protective gear.
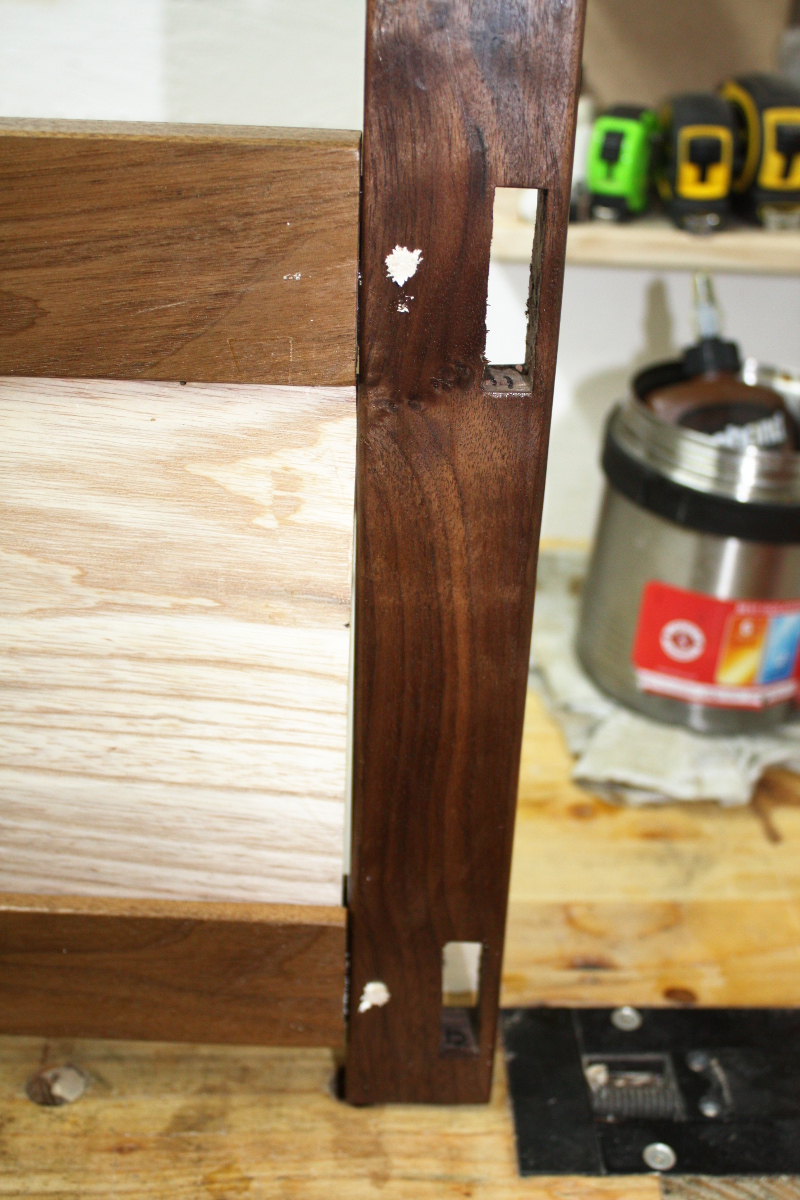
It’s a total pain is what I’m saying. And all that faffing about for two of these:

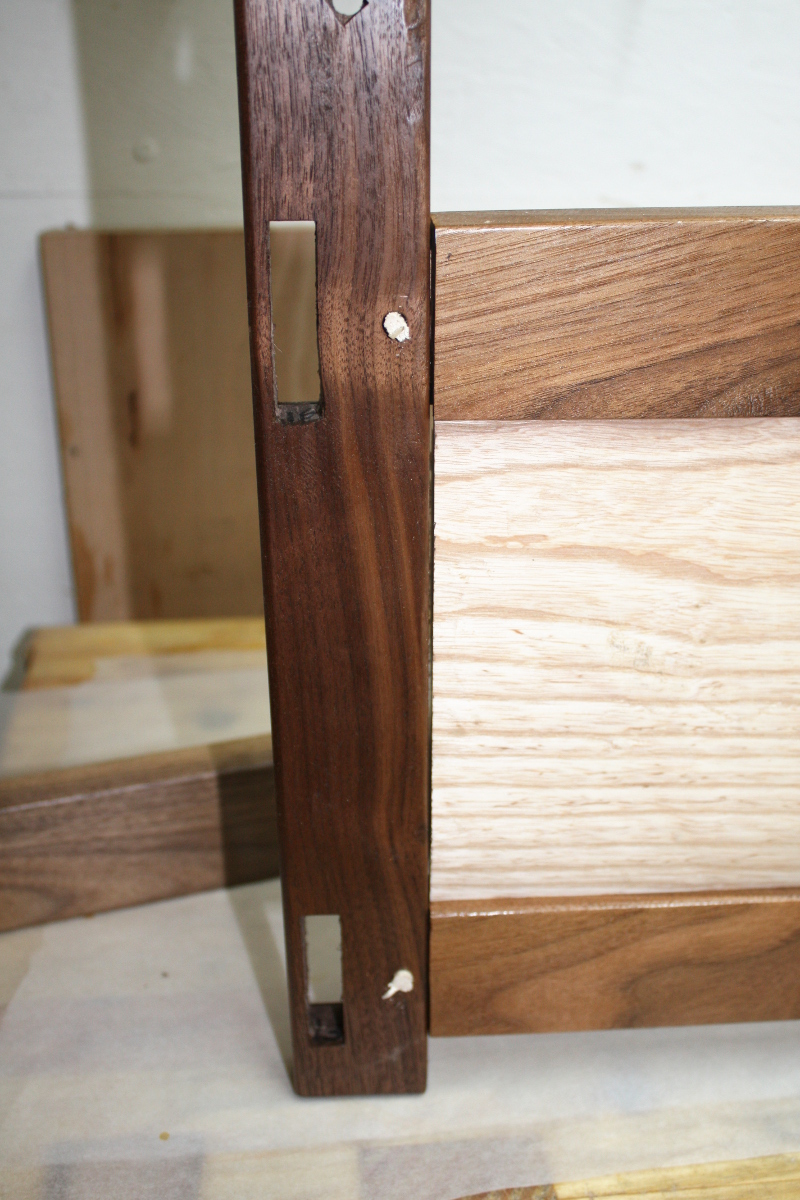
Gah. But at least it’s done. Then I dry-fitted the slot to the hole through the front upright…
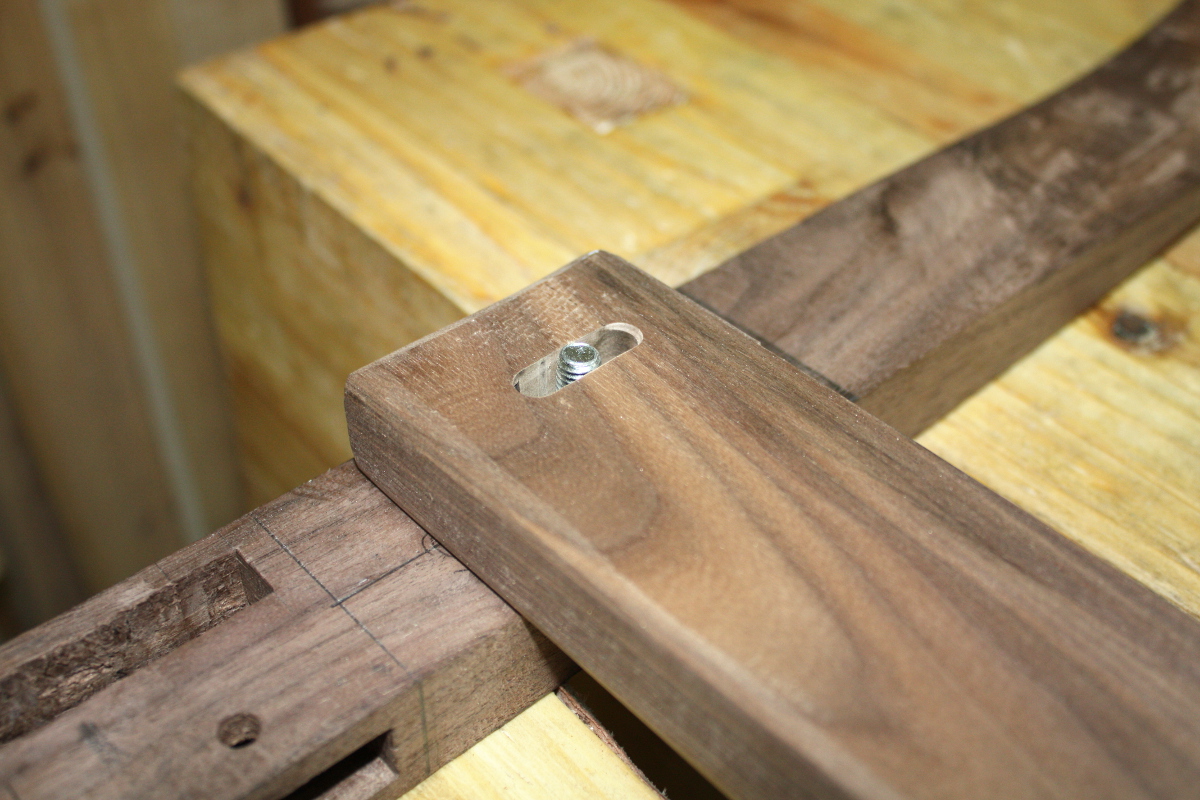
Yeah, M8x50s just ain’t cutting it. Had to get some M8x60s at woodie’s later on.
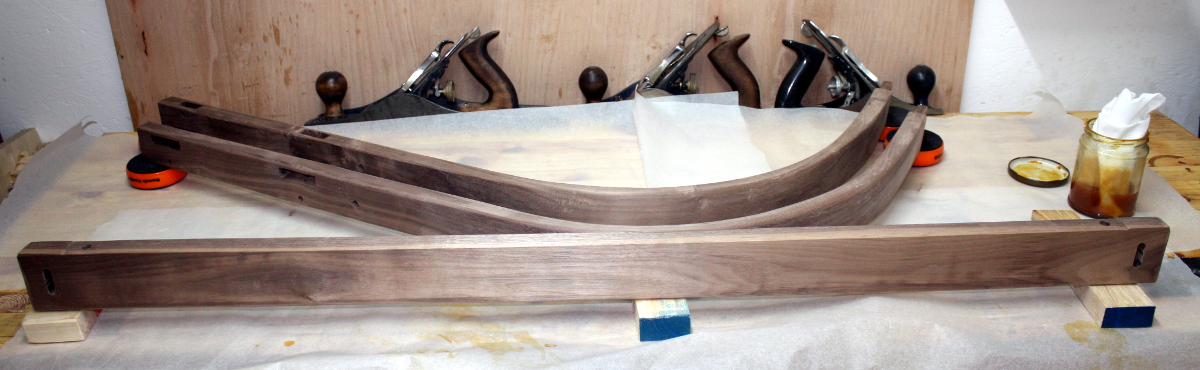
Then I set up to start shellac’ing the uprights and the platform support now that I had the last of the cutting done on those; and this is where the phone rang and I had to abandon things for the rest of the night. I did manage to rag on the first coat of shellac before legging it so at least that got done. Then at the end of the night (somewhere around 2am) I took a break while debugging stuff to clear my head and I got the second coat of shellac on.
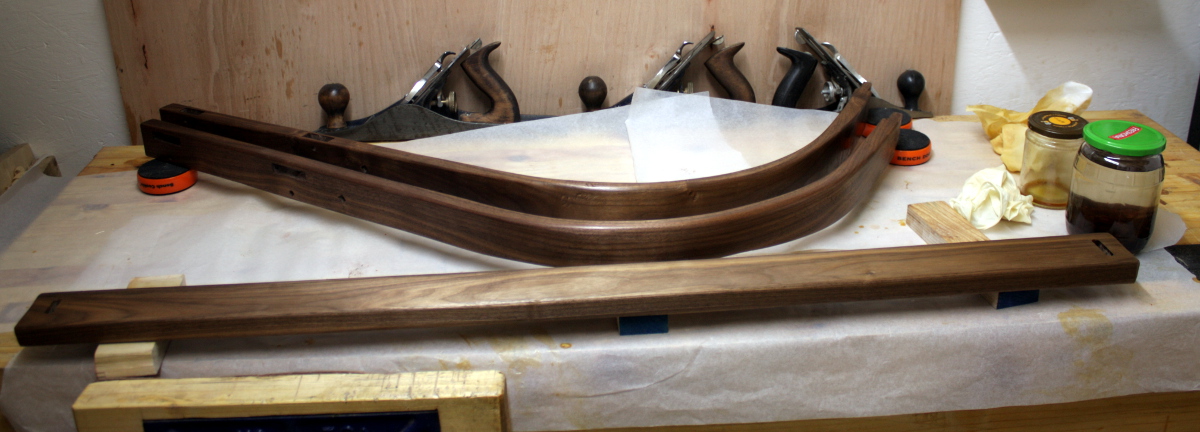
I used up the last of the shellac I had on hand for that coat, so that large jar on the right there is the last of the shellac buttons I had (need to order more flakes soon) and some isopropyl alcohol (it’s a 2lb cut, or in metric, a 24g per 100ml cut, or in a more useful form, a 24g per 80g cut 😀 ).
The problem is, when I made up the last batch, it took the guts of a week to dissolve and that was during the summer; at -1C, this was going to take a fortnight to fully dissolve and I really wanted shellac tomorrow. And I didn’t want to go buy a different shade of ready-made shellac in woodies or something equally desperate. A few of the finishing forums online talked about putting the jar somewhere warm in the house to speed it along but not to heat it (ever boiled isopropyl alcohol on a gas hob? Think crêpe suzette only you’re probably the one on fire and there’s burning resin everwhere). And then I had a thought…
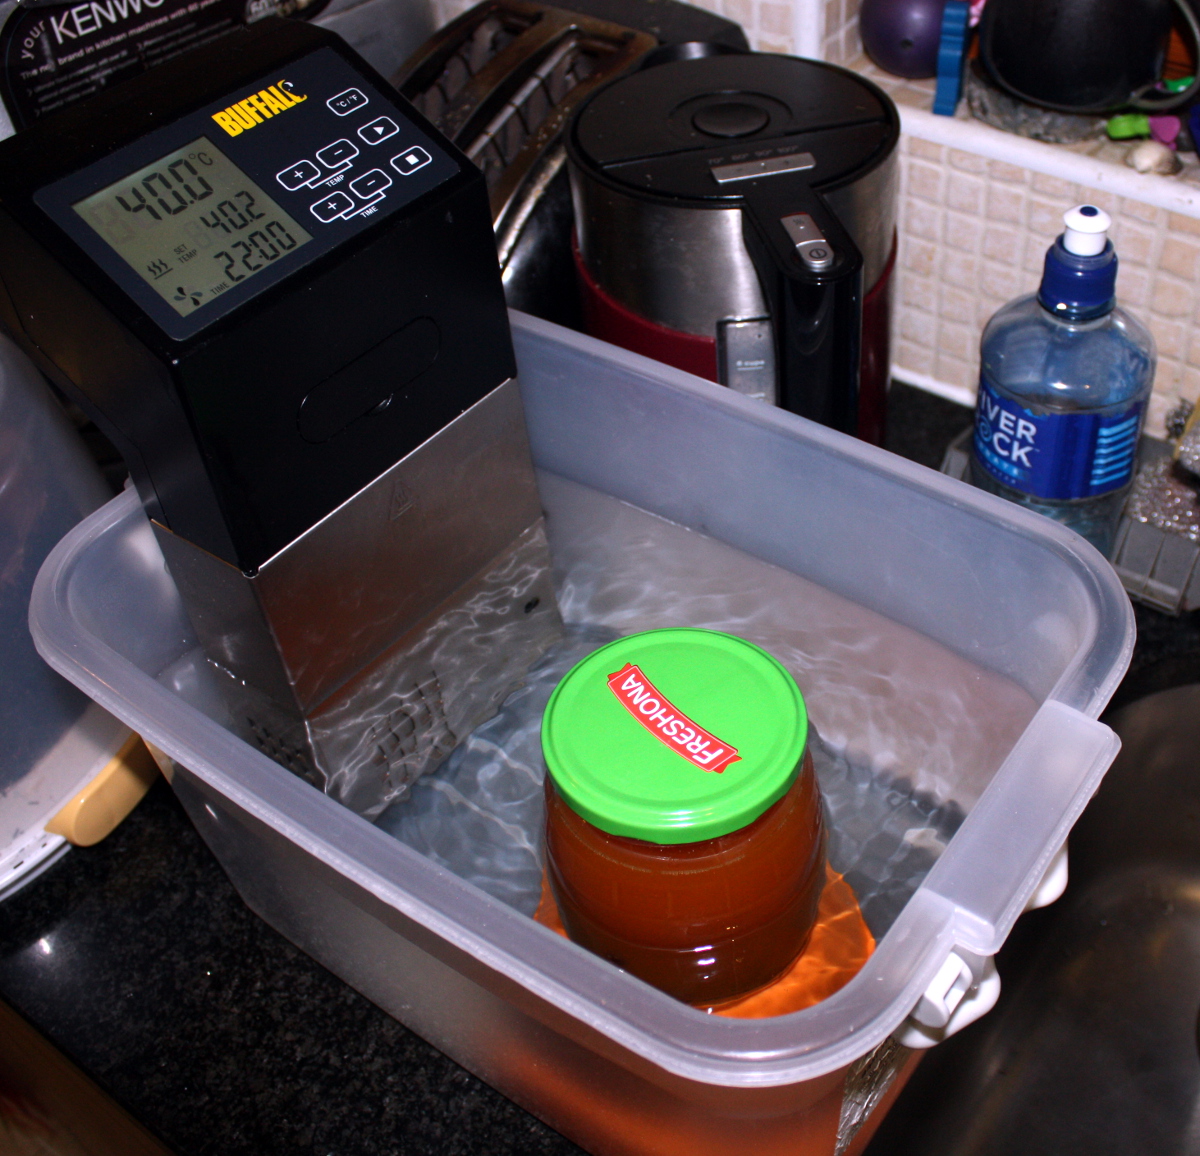
Sous vide shellac. Eat your heart out chefsteps 😀
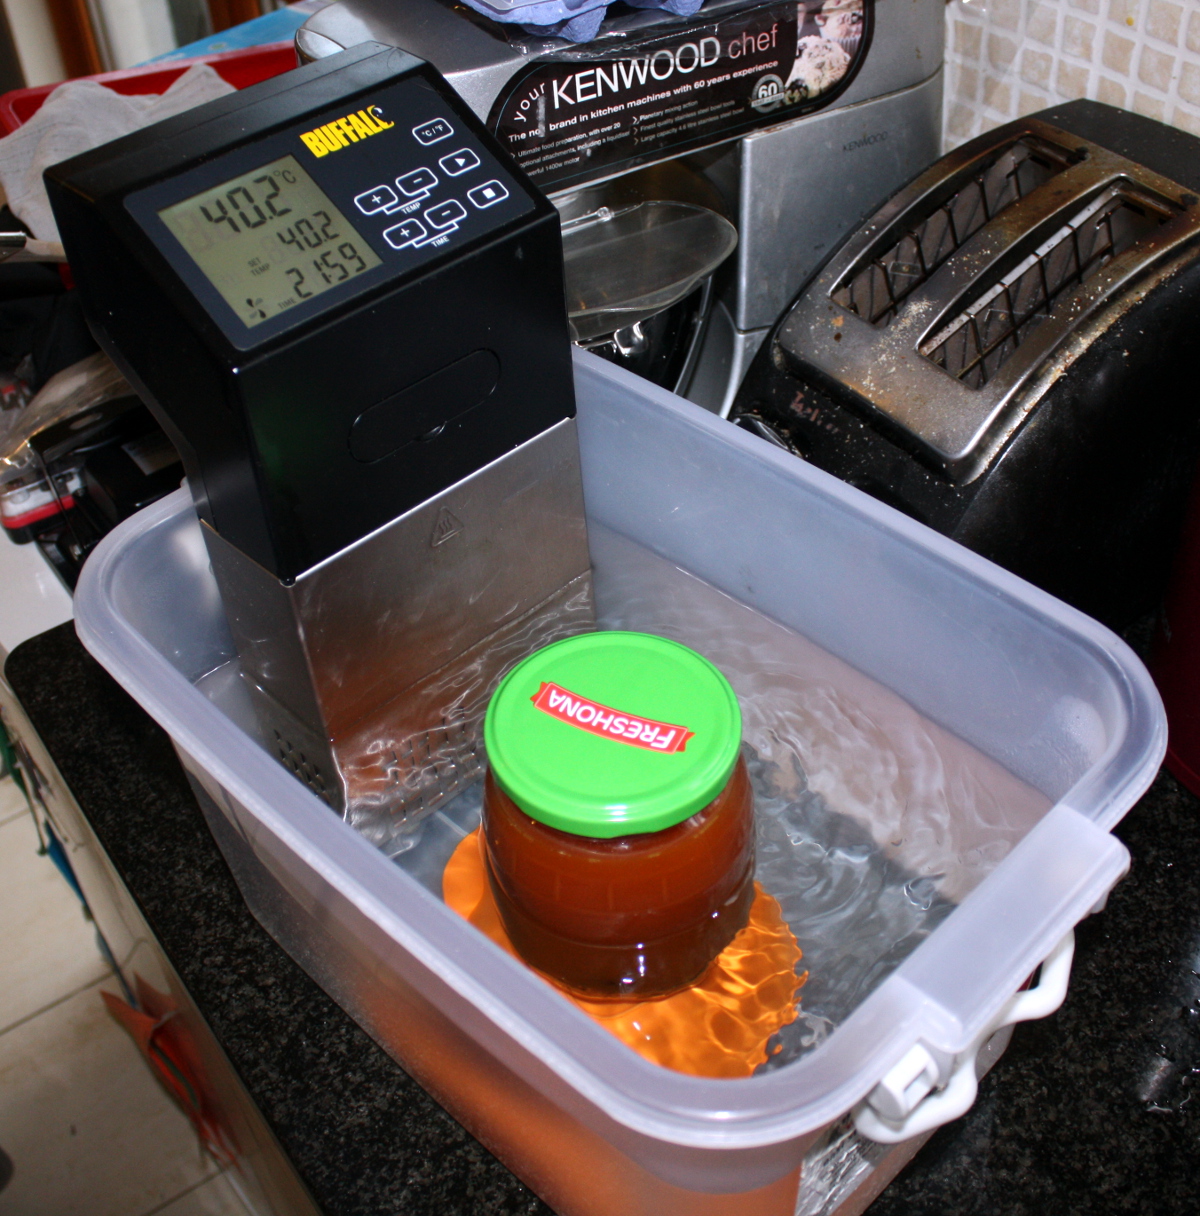
And the next morning it had worked! 🙂
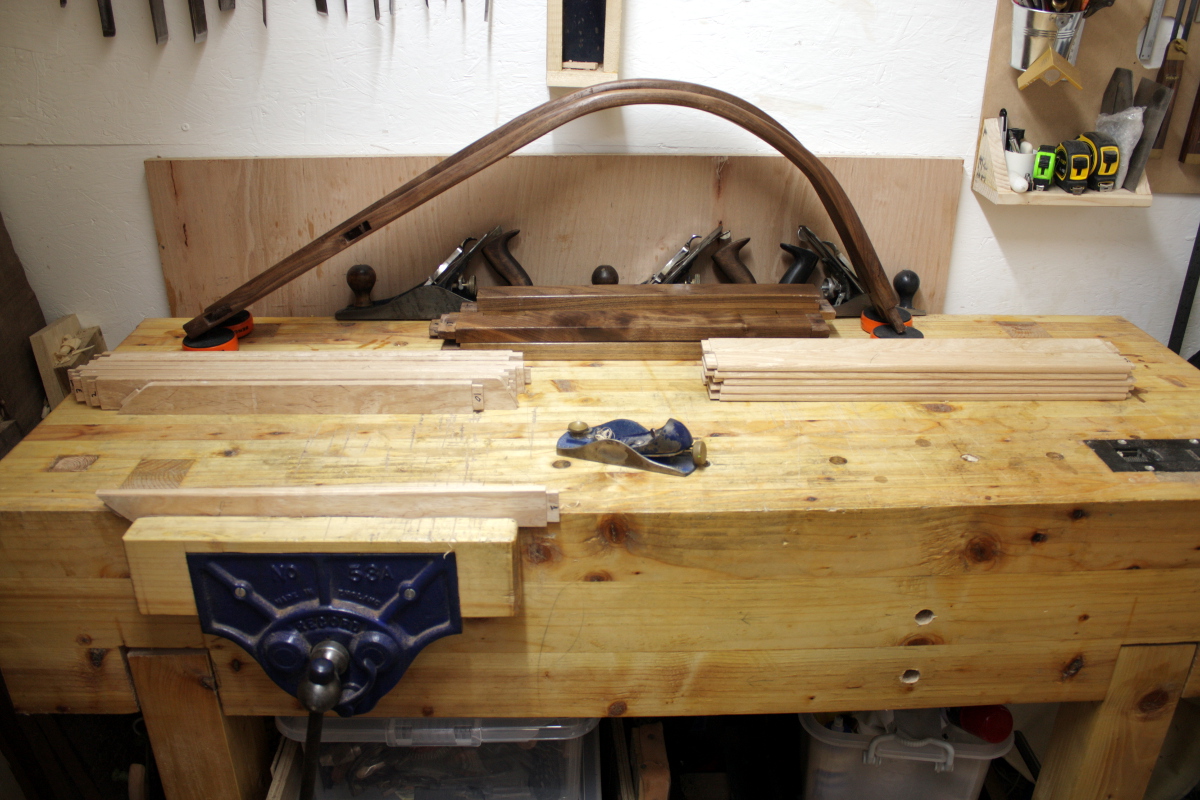
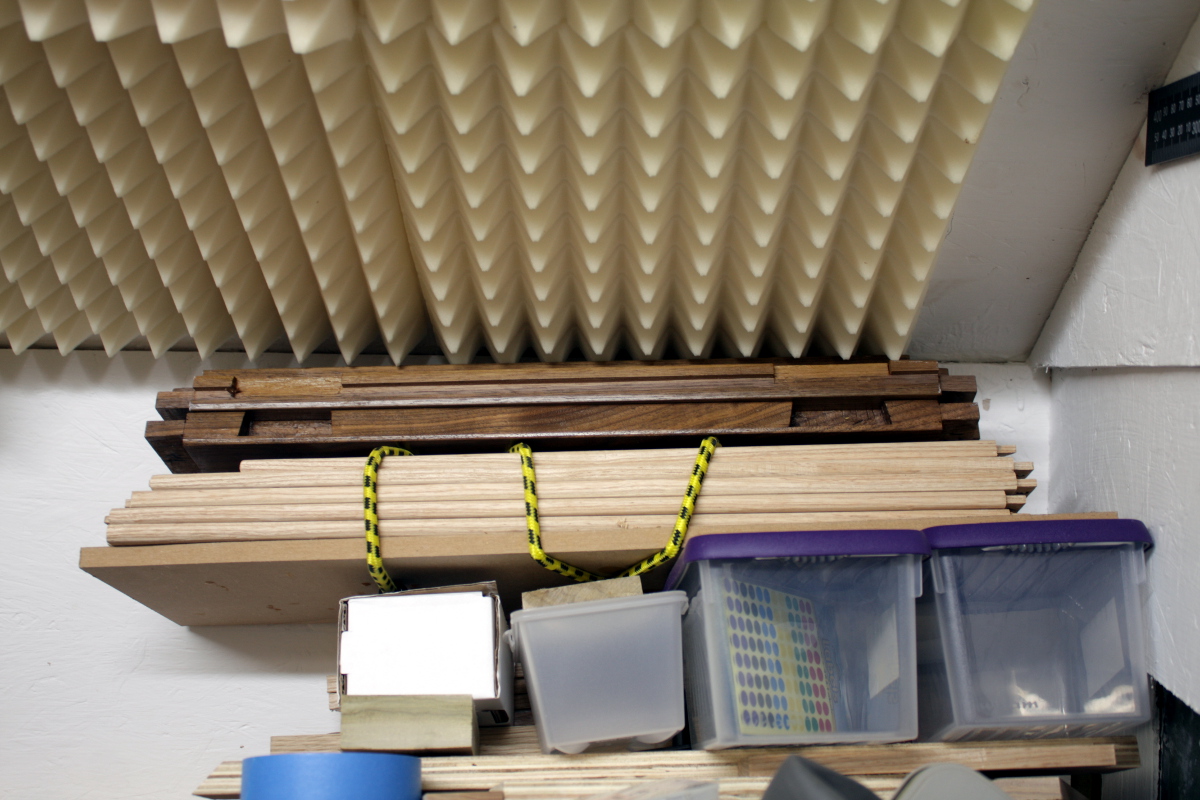
First though, time to finish the slats. They all needed to be finish planed, and the side slats needed to be rounded over, and all the edges got a light sanding as well (because kiln-dried ash is a bit like planing a cream cracker and the only way to get it really smooth was sandpaper). And three of the slats had somehow not had their tenons cut so that got done as well. And then I stacked them all on a bit of scrap MDF to protect them, wrapped them in a bungee cord and set them to one side until I need them later, along with the finished cross-rails.
Next up, gluing in the alignment pins on the mattress support.
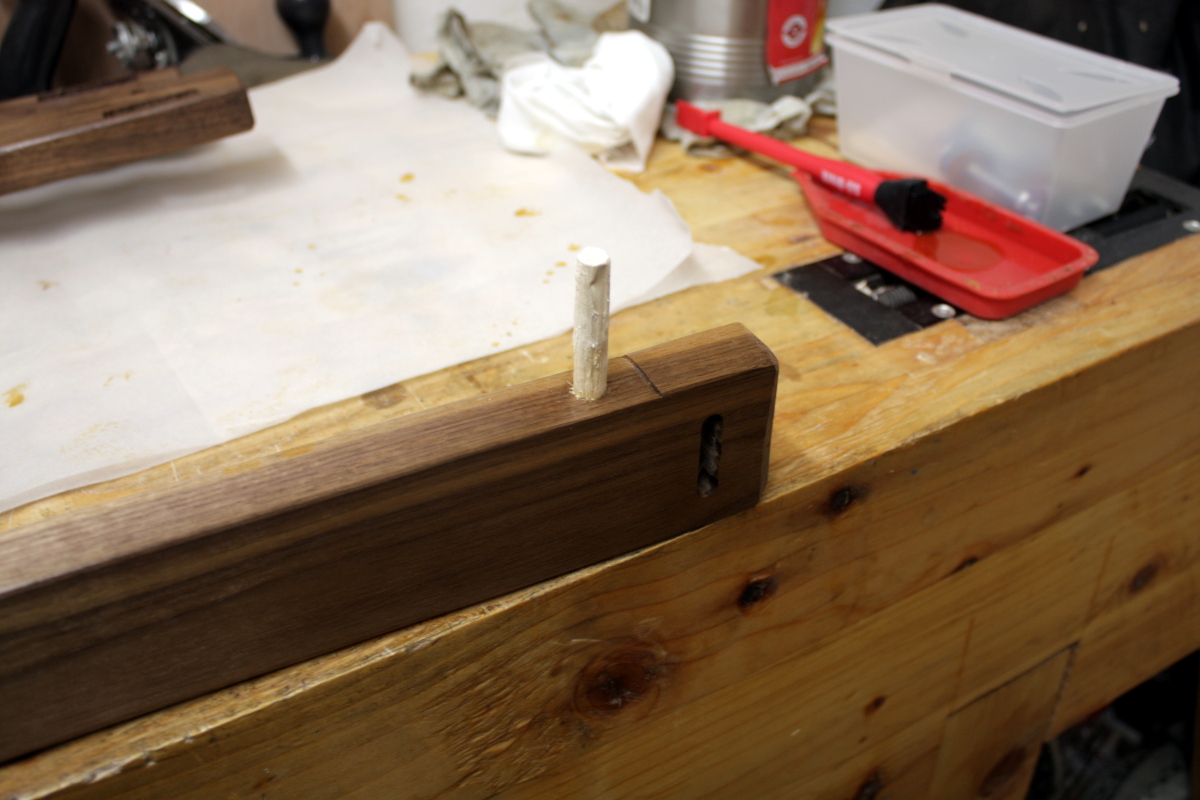 These get glued into the support, but not into the platform itself; that can be removed if required.
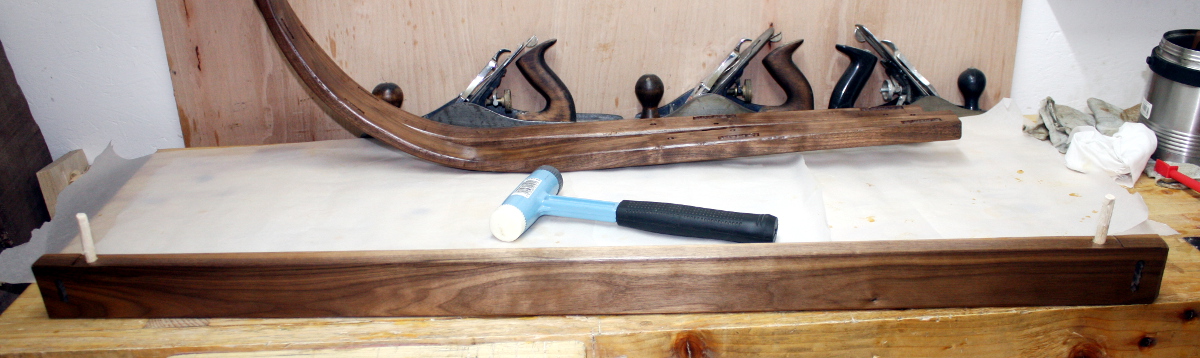
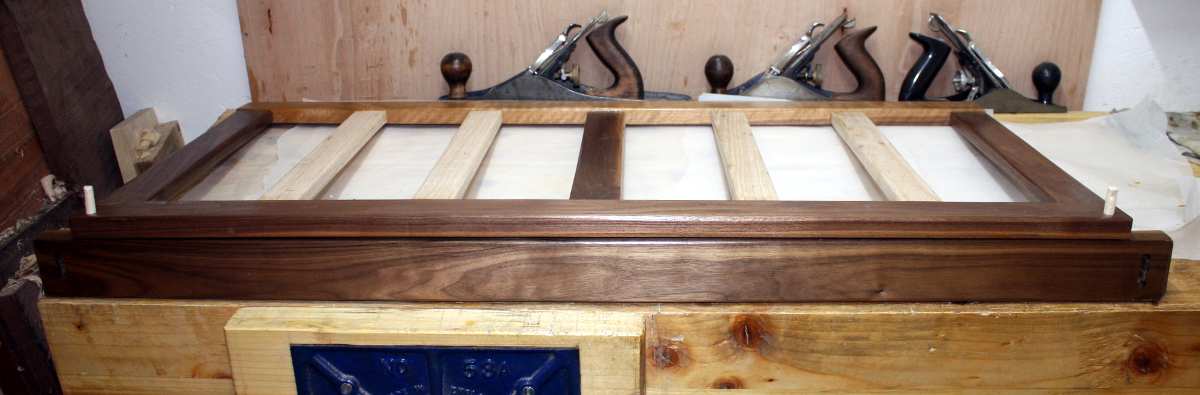
It was much prettier with the curve. Oh well. Time to get on with assembling the front part of the cot now.

This proved… awkward. Hide glue and drawbores, so no clamps needed, but the roof and the walls were getting in the way. That’s a sign your shed’s not big enough 😀
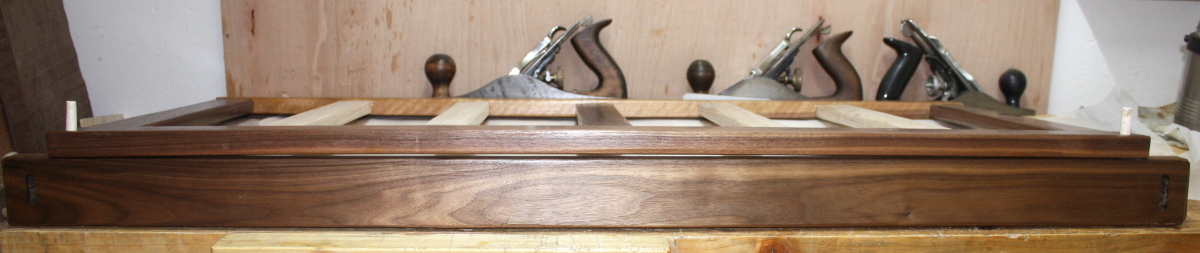
Drawboring went reasonably well; no unpleasant snapping noises, though more gaps on one side than I’d like.
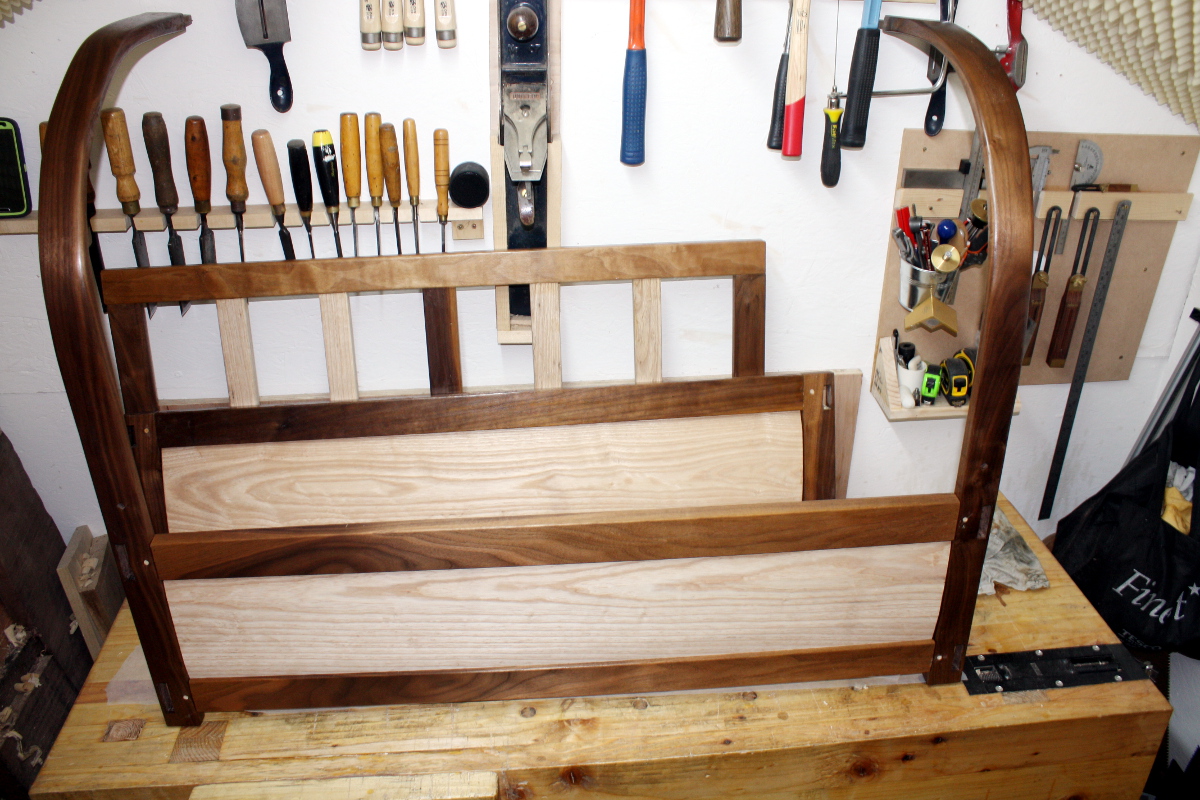
It was awkward enough with one rail in place, with two it was downright difficult. But managed it, then lowered the whole thing to the floor, slid in the panel, glued on the other upright, wrestled it back onto the table and drawbored those joints and viola!
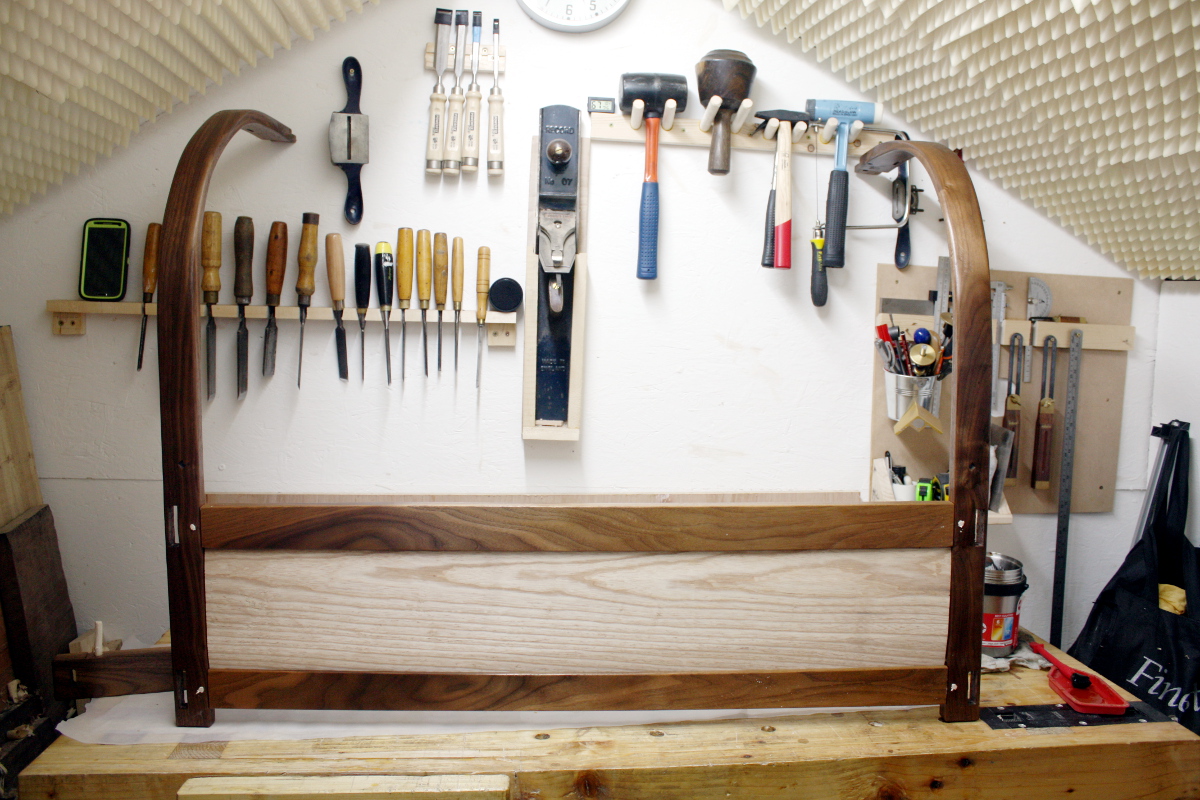
It’s not bad really. Not perfect though – there are gaps at the joints 🙁
Not so bad on the left; not so hot on the right. Oh well. Next up, I figured I’d put the mattress platform on the support.
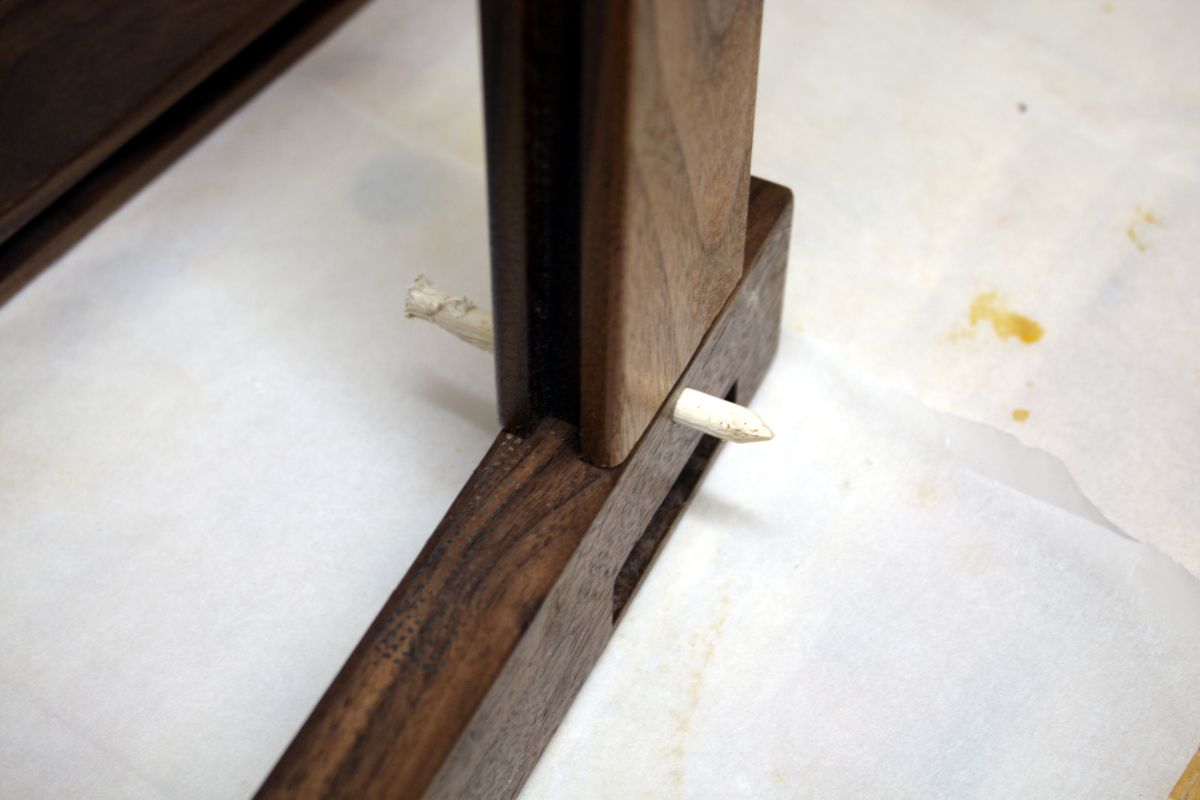
You’ll notice there’s a gap in the middle there between the two. That’s deliberate (well, to be more honest, when I saw it I went with it instead of getting rid of it). The idea is to have a little spring in the build for when you put a load (or a baby) on the crib’s mattress.
I mean, that much is probably overkill, but still.
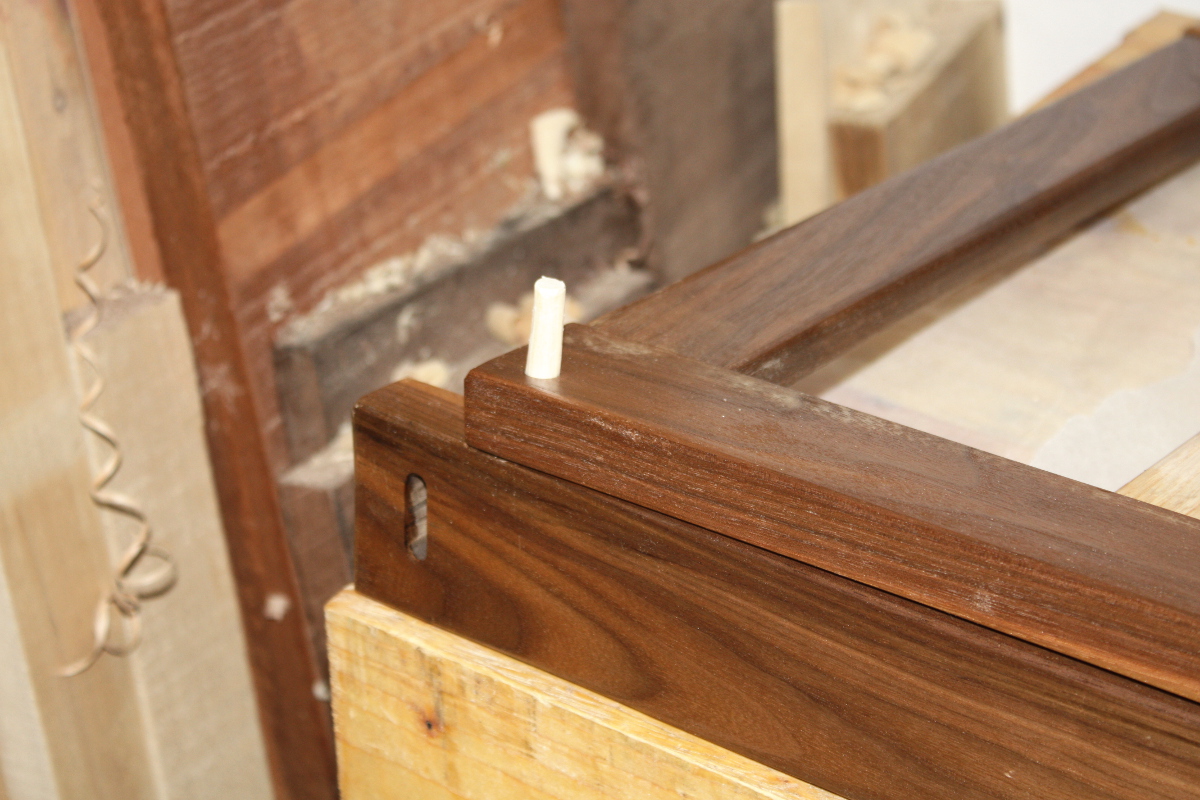
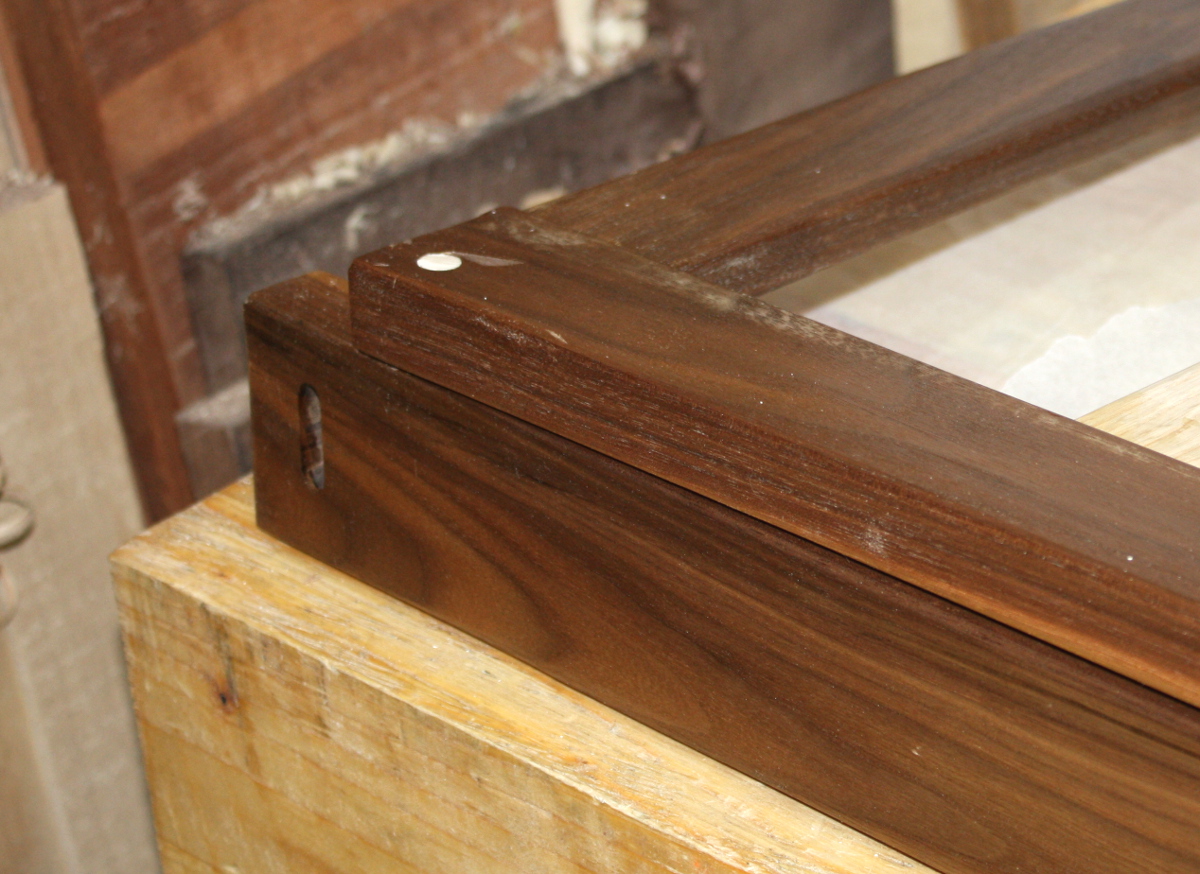
Trimmed off the pegs flush with the platform (again, they’re not glued in, so the platform can freely flex). And that was about all I could do for now. The glue on the front half has to cure before I can do the next step, which is to assemble everything and get the level for the rear support for the mattress platform. Then I can drill the holes for the rear bolts and cut their corresponding slots, and then shellac the last two pieces of the frame and do the final assembly.
And then build the drawer of course. The back and sides of that are currently roughly cut to size and halfway through thicknessing, and the front is also roughly cut to size but won’t need thicknessing. I do need to have the whole thing assembled before cutting it to size though, which is why I’ve not done it ahead of time.
Still. Nearly there now…
To-Do List (stuff in progress in blue:
Cut grooves in platform supports and matching holes for bolts in the curved uprights and the rear support uprightFinish plane the curved uprightsShellac the supports and the curved uprights- Thickness the boards for the drawer.
- Cut the drawer front to size.
- Cut the drawer back and sides to size.
- Cut dovetails for drawer.
- Groove drawer with #43 for plywood base.
- Maybe add runners underneath the drawer?
- Assemble drawer.
Finish plane all parts.Finish walnut pieces with a few coats of shellac.- Paint drawer with milk paint.
- Assemble and glue-up and drawboring of everything.
- Finish entire assembly with several coats of Osmo wood wax.
- Close door of shed, lock it, walk away and never do another project with a deadline ever again.
Tags: crib, hand tools, power tools, router, shellac, Woodworking, Workshop