Started off the day with the second coat of shellac on the mattress platform pieces.

Left that to dry and started working on the rear support for the mattress platform. It’s basically an inverted ‘L’ shape made with a simple rabbeted butt joint, and while it’s probably overkill, I decided to put some wooden nails into it just for a little extra strength. So out with the bit and brace…
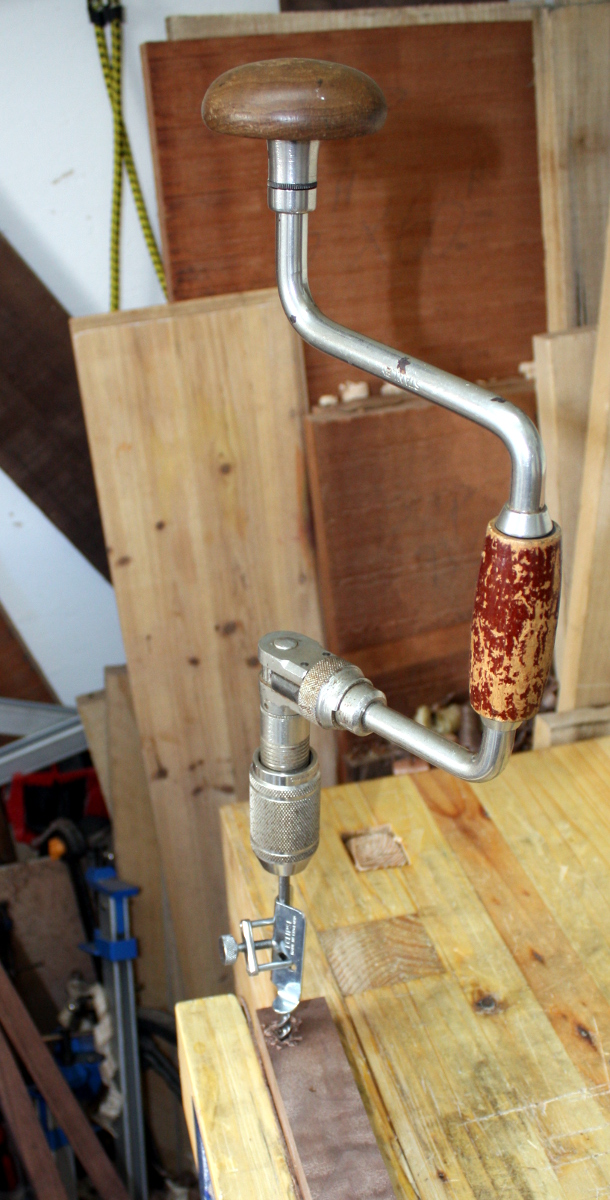
And that funky looking thing on the bit is a nifty eclipse depth stop that I’ve not had much excuse to use up till now…
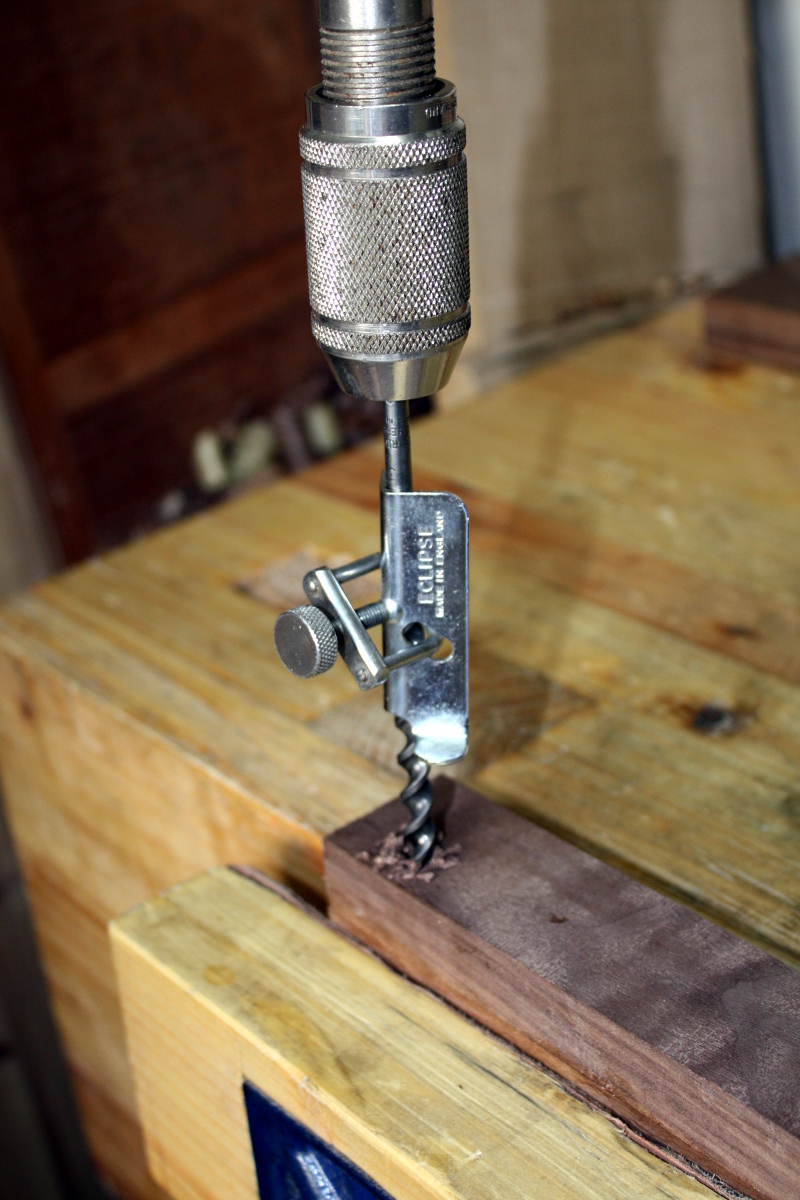
Much nicer than just marking off with a sharpie or messing about with tape. With those holes predrilled, I planed off the glue lines and smoothed the outside faces and then set that aside while I drilled the holes for drawboring the front panel and the joints between the curved uprights and the top crossbar. By the time I got through that, the second coat on the platform pieces was done, so I sanded that down and gave them another coat of shellac.
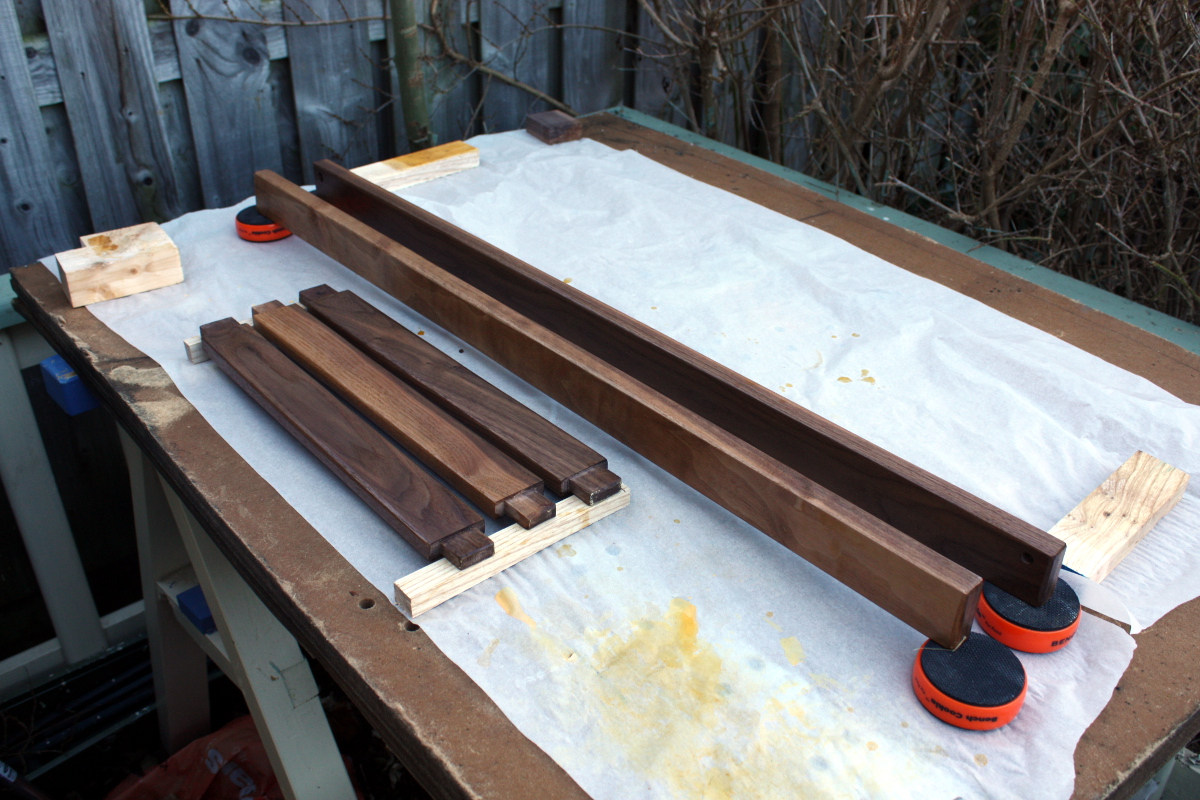
Then I rived more stock to make up the drawboring pins and the wooden nails and the locating pins for the front support for the mattress platform.
It’s a fast process, but good grief is it loud, especially in an 8’x6′ shed, even with the echo-damping soundproofing foam on the ceiling. I have to wear ear defenders when doing this. And of course, you have to hit your thumb at least twice during the process (happily with the deadblow hammer rather than the lump hammer; that one would delay typing up a blog post for a few weeks while the finger bones healed).
The weekend’s shopping and dinner intervened in the process here, and afterwards, I finished off the nails and then used two of them on the rear platform support.
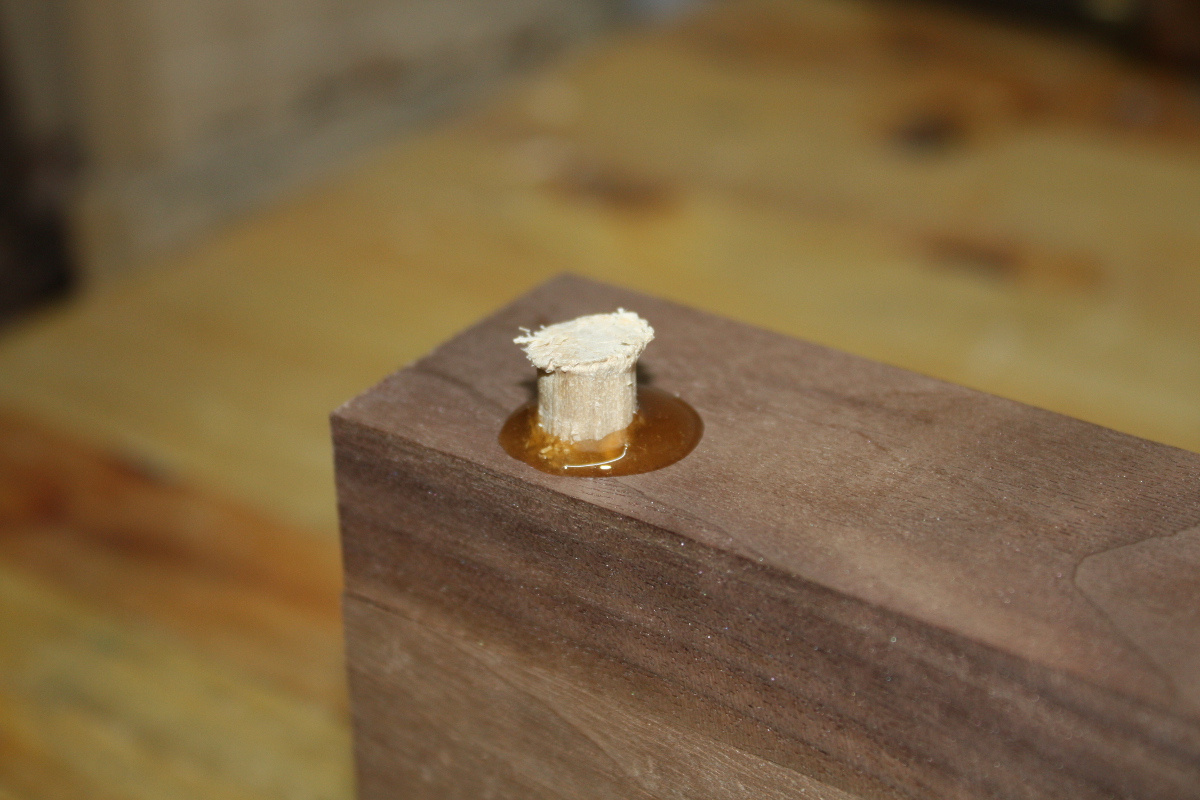
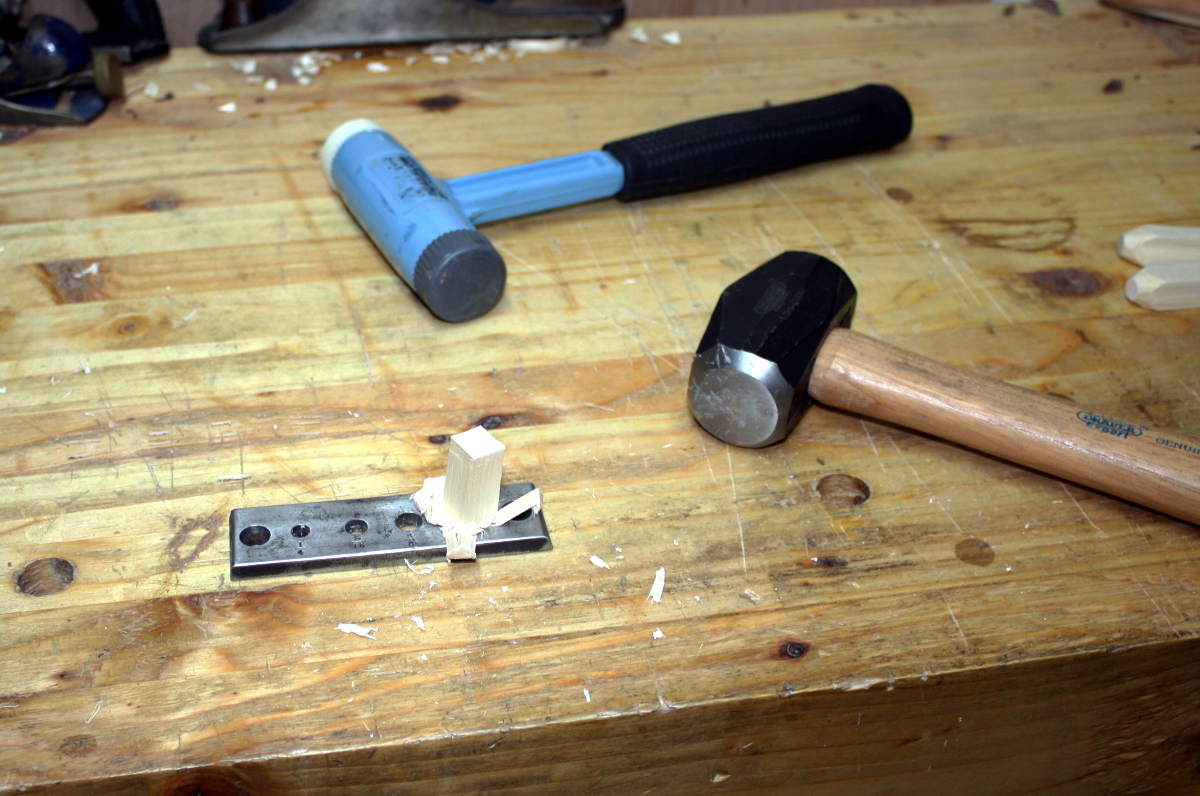
Hide glue again to bind it all together. Smelly stuff, and almost instantly tacky in the 10C temperature in the shed, so after wiping off the excess with a damp rag, I had to step back out to the kitchen to wash my hands before the next step, cutting the tops of the nails off with a flush-cut saw and a spacer.
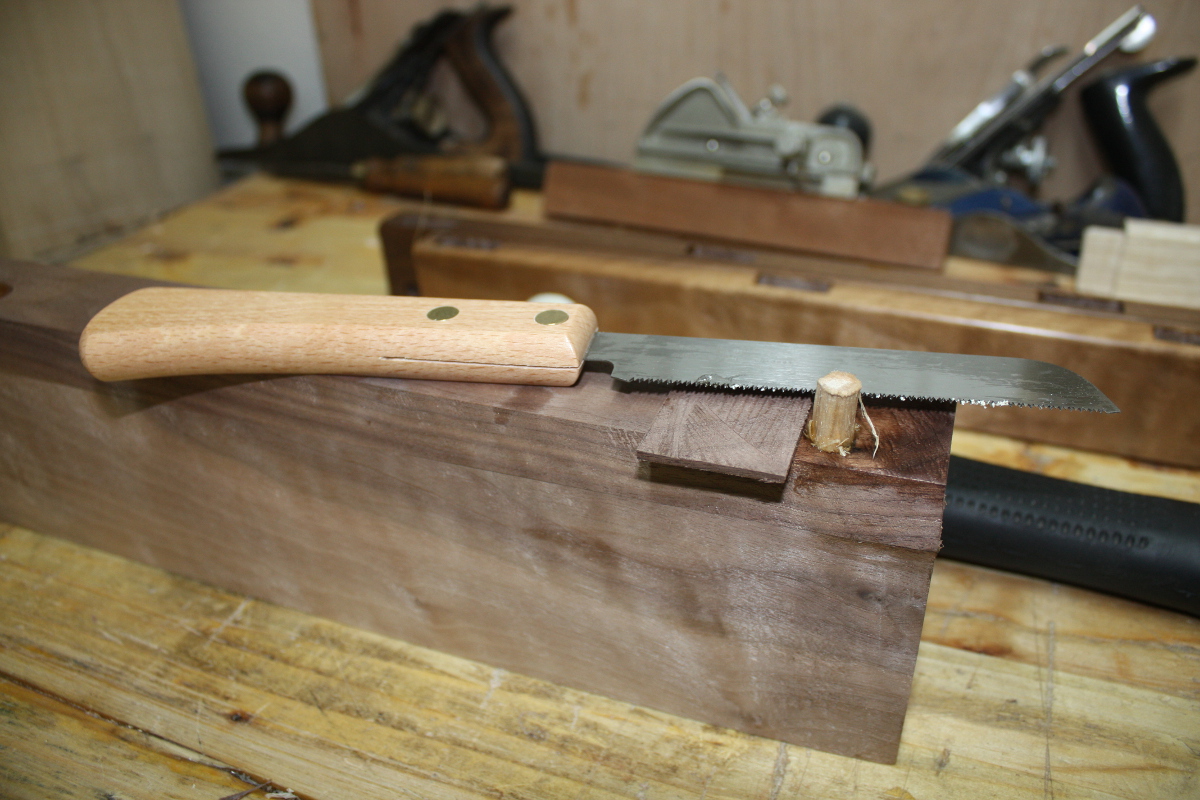
Why do you need the spacer on a flush-cut saw? You shouldn’t is the answer, but whomever made this flush-cut saw decided to set the teeth on both sides, so if you use it like you’re meant to, with the blade pressed up against the surface, you’ll scratch the surface like a severely-pissed-off hedgehog. So first the saw with a spacer, then the rest gets taken off by chisel, and then the entire surface gets planed down.
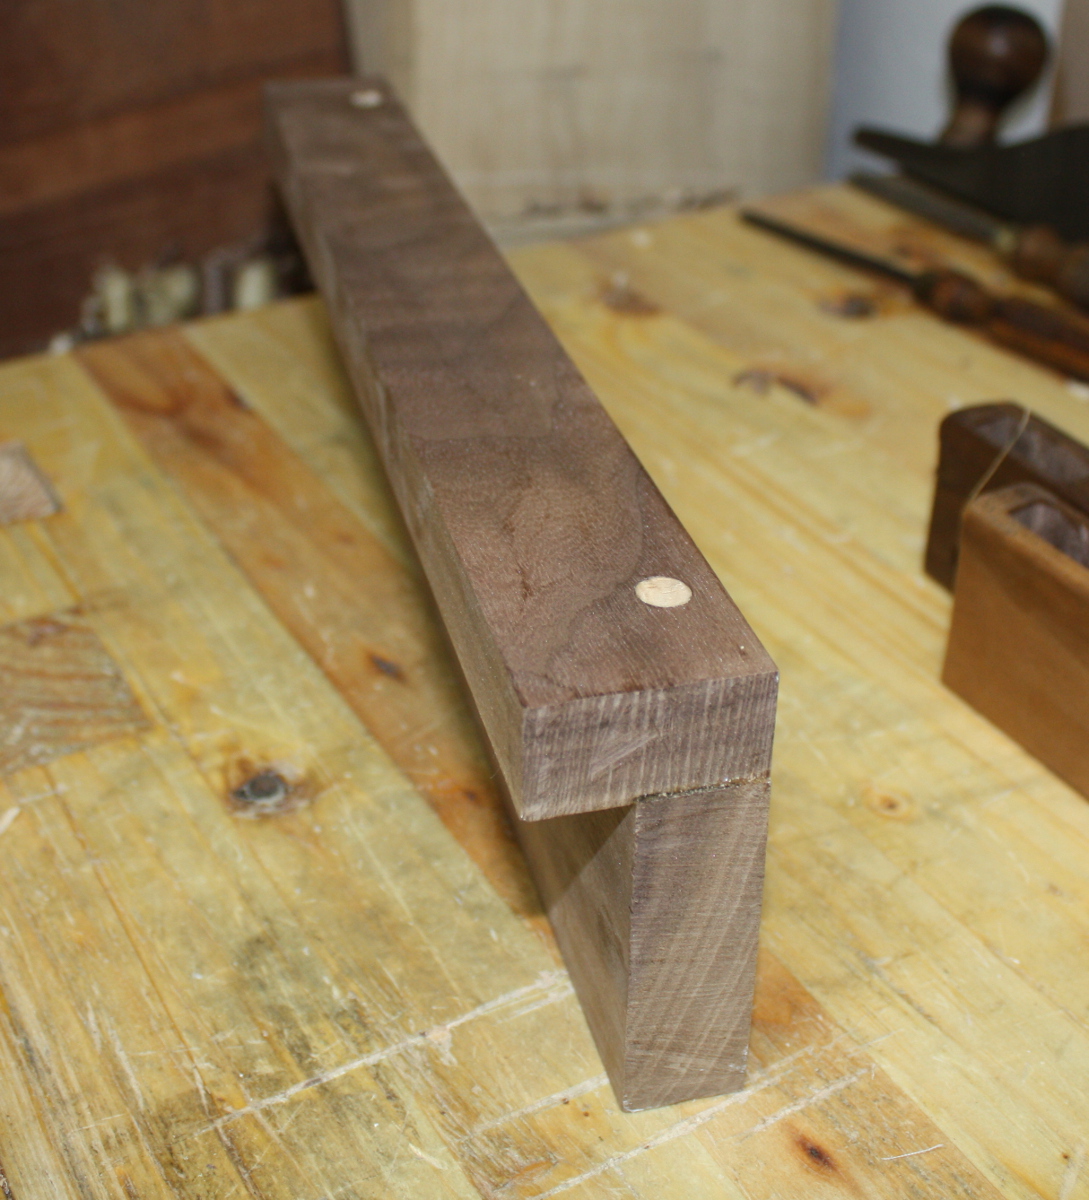
And now that gets set aside. The ends still need to be planed flush and I need to use the router to cut grooves for the bolts in this, so no shellac for it today (same for the front support and for the curved uprights because they’re going to take a bit of work for finish planing due to the curve).
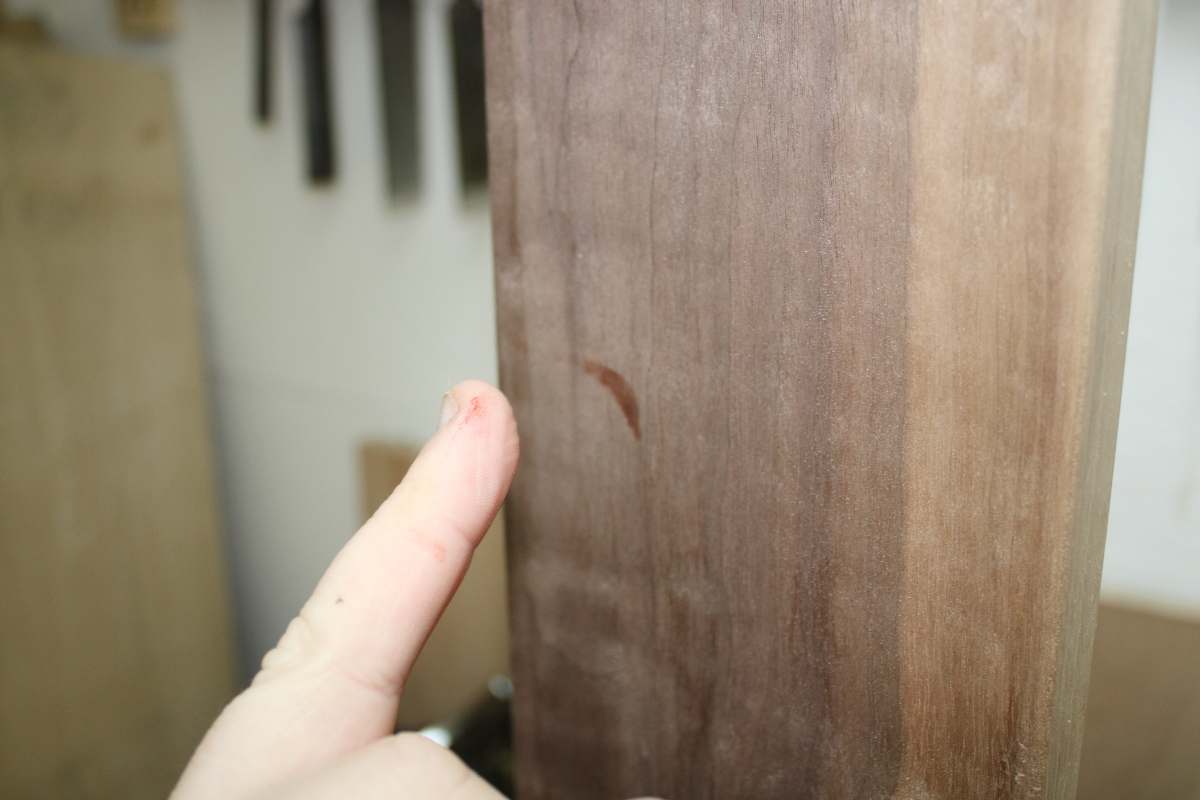
By now the fourth coat of shellac on the platform pieces was dry, so I brought those into the shed, and a minor disaster:
All three pieces have bloom on the underside. I’m not sure where the moisture that causes that came from, this side was facing down on the table so it wasn’t rain; they were elevated off the table at either end so it wasn’t contact with surface water; maybe it was just that the table was damp and that made the air just above it more moist? I’m not sure. Regardless, the fix is straightforward – brush either another coat of shellac on the top or just a swipe of isopropyl alcohol. Either one dissolves the top coat and lets the moisture evaporate, leaving a bloom-free surface behind.
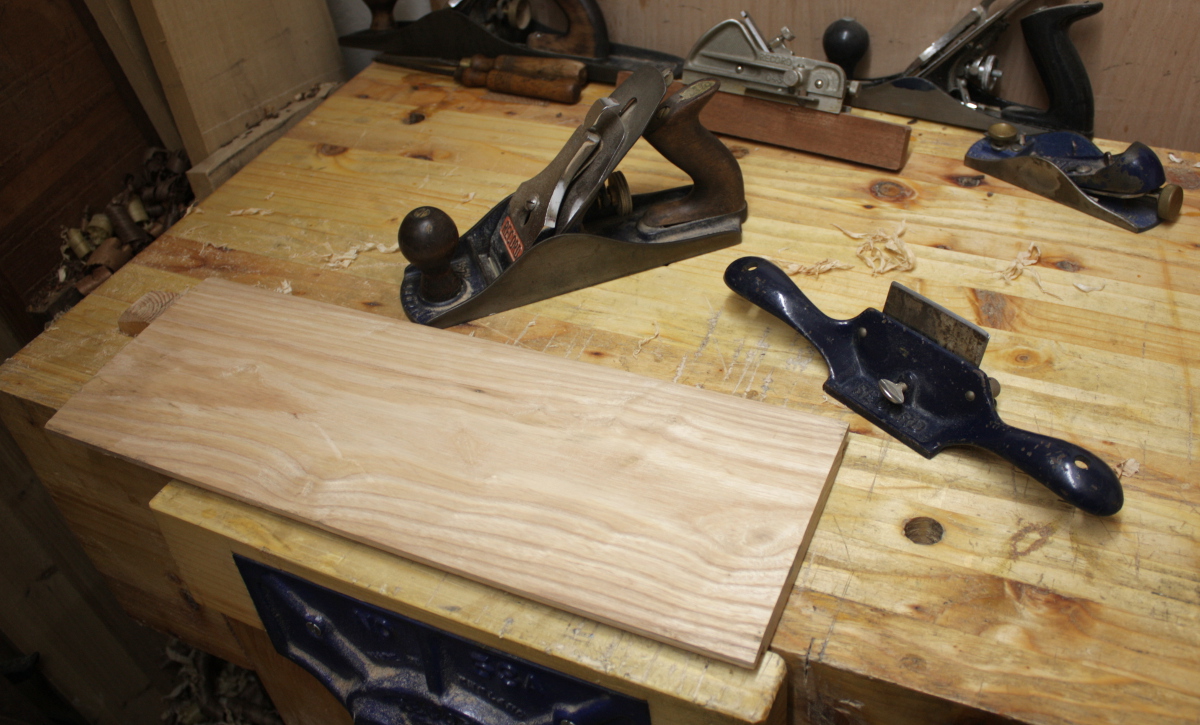
I’ll still assemble the platform today though. But first, some finish planing on the ash panels. The front panel was very straightforward, just a few swipes with the #4½; but the side panel was a bit of a bugger, with the grain swirling around the place. In the end, the #80 saved the day. Damn glad I got it now, the card scraper would have been a fair amount of work for what the #80 did in a minute or three.
Now, on to the top crossbar. I’d left this over-long on both ends for strength while morticing, but now I’ve cut it back, leaving an inch on either end from the mortice outwards. So there are still some “wings” at the ends, and I would cut those into graceful curves if I had a bandsaw or a decent fretsaw (the Stanley FatMax coping saw… well, it can’t cope, is about the kindest you can say about it. I’m going to have to get myself a Knew Concepts fretsaw. And a bandsaw 😀 ). But I don’t have one yet, so I have a plan for something decorative. Meanwhile, I managed to stab myself in the finger without noticing it while chamfering the edges, and now the finish has some blood in it too. Well, why not…
This piece will need holes drilled in it yet for the rear platform mount to attach to, so no shellac for this piece today either.
So, as I mentioned a little while back, the plan for something decorative is to steal this idea from Brian Halcombe:
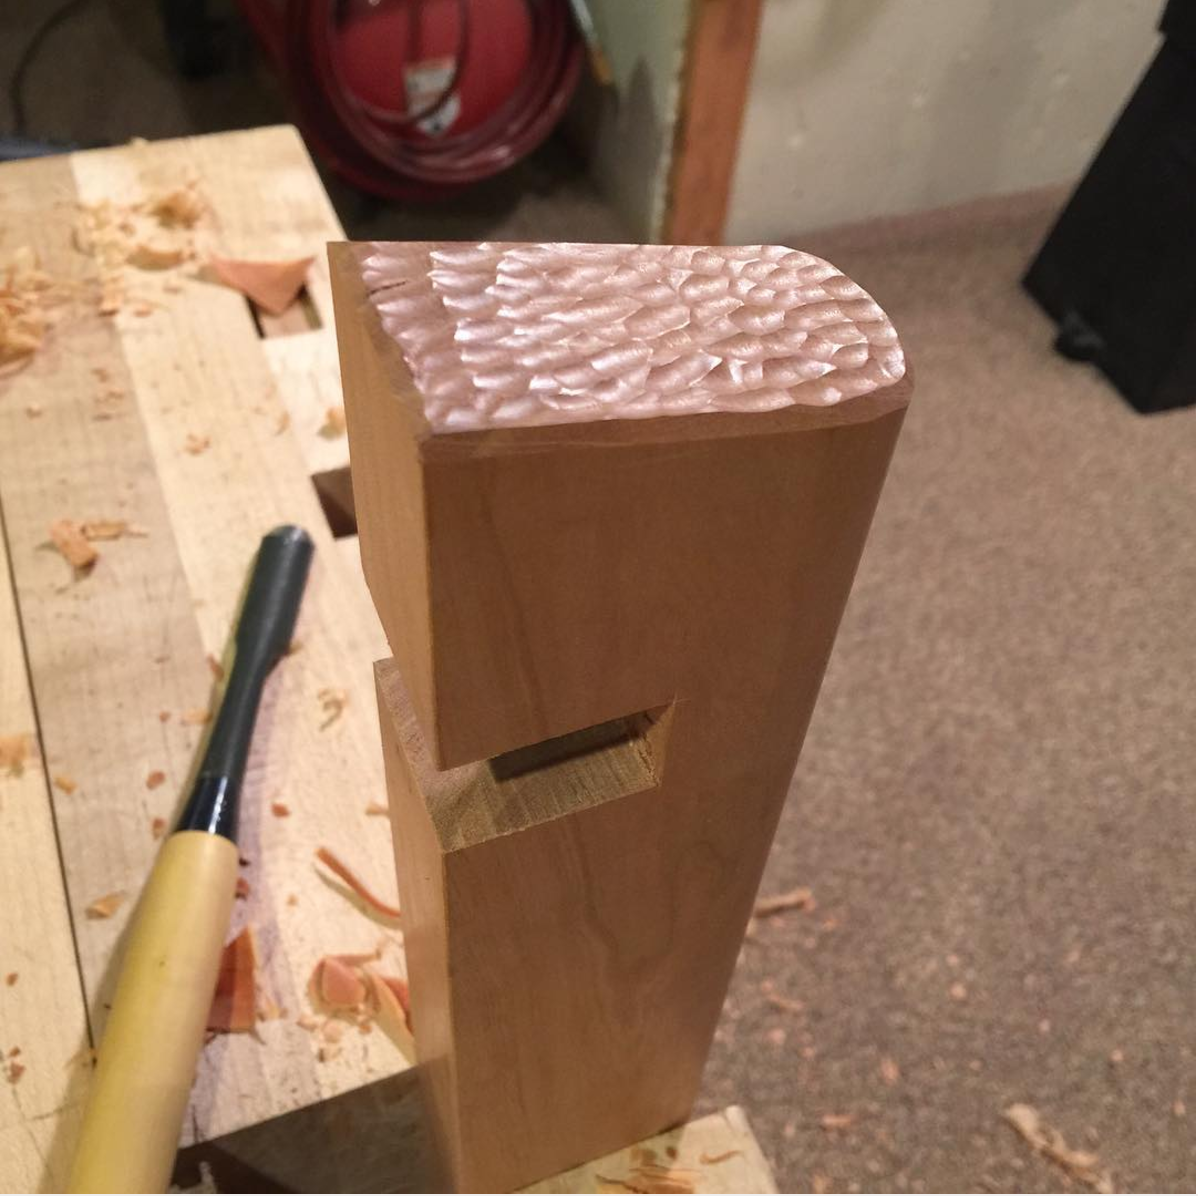
But my testing showed I needed a narrower, sharper gouge. So I got two off ebay in smaller sizes than the ones I had, and sharpened them up today and started digging away into the crossbar’s endgrain.
The ⅜” gouge I got was still too wide to be easily controlled in the endgrain (I used another test piece) but the ¼” one was usable with slightly more care than I normally have 😀
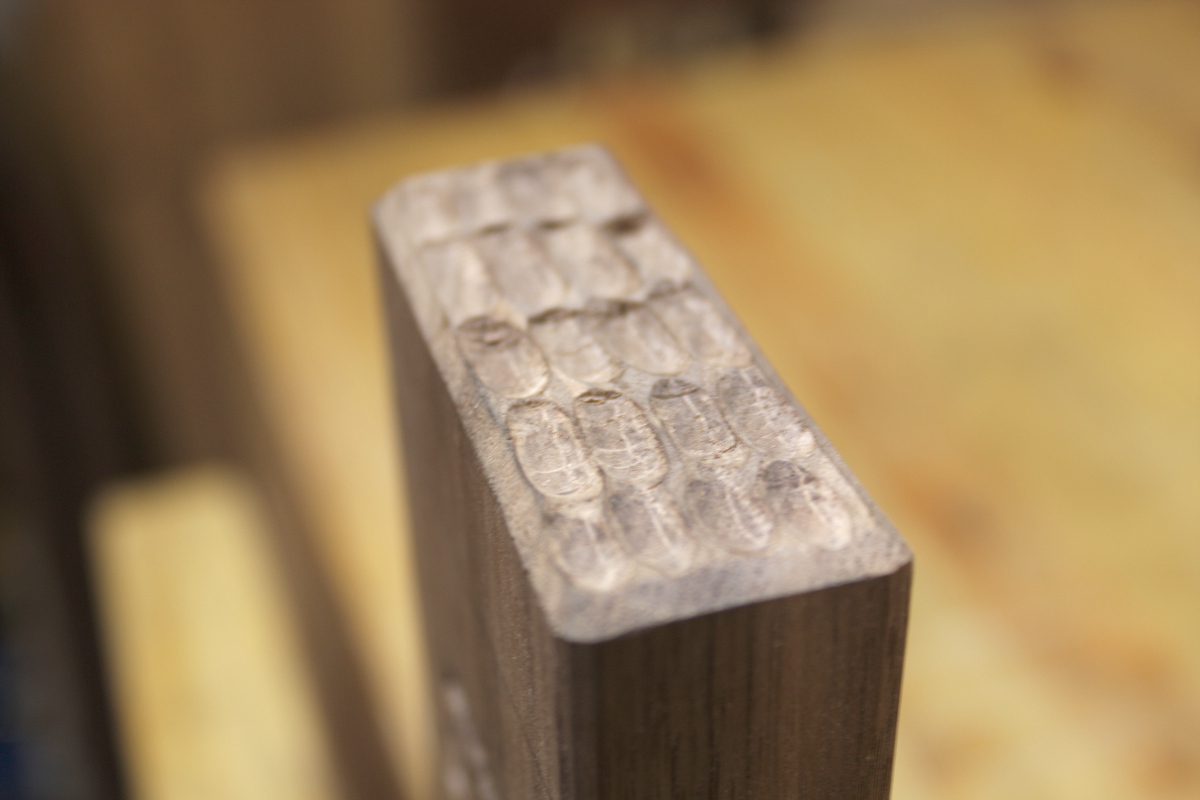
Brian Halcombe’s is way better, but that’s a few decades of experience and practice for you. This will look nice enough when shellac’d and waxed though, so that’ll do.
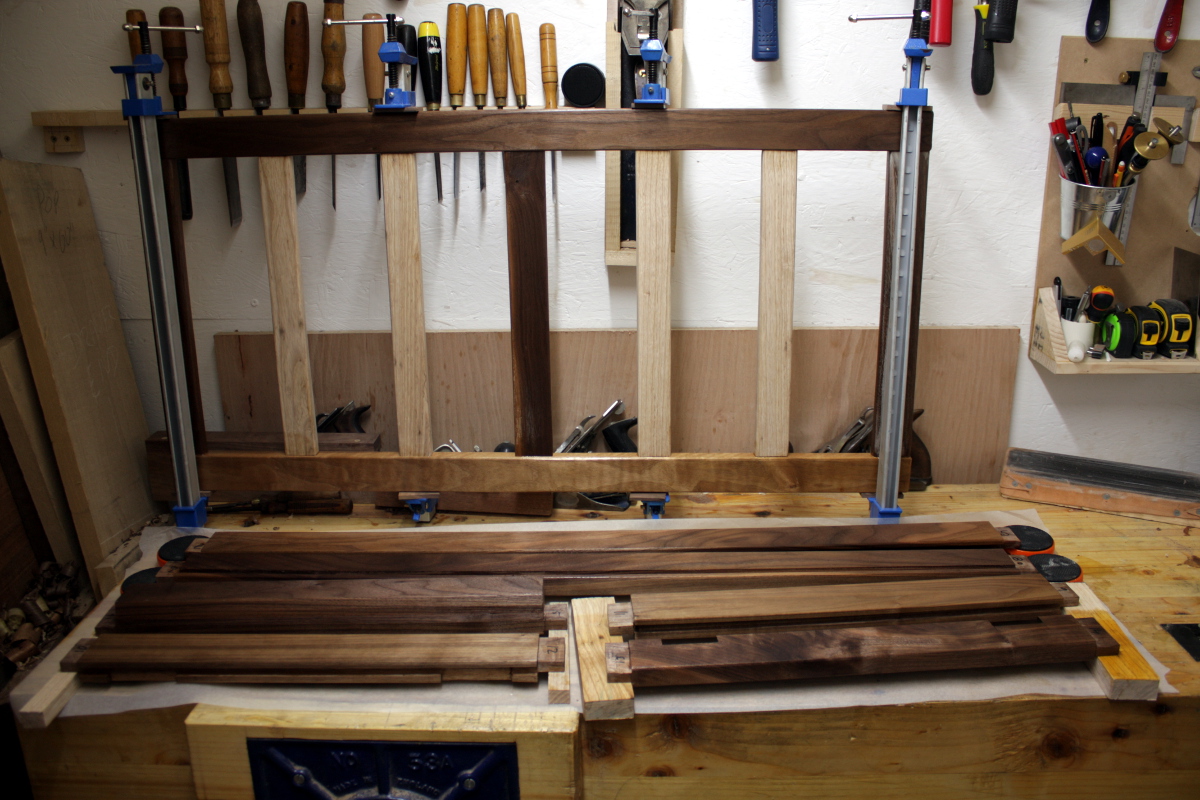
At this point, I was closing in on the end of the day, so I got the hide glue into some hot water to heat up (it’s about 8C and falling in the shed at this point even with the heater – we’re due a cold snap tonight to below freezing), and prep some clamps and cauls and I get the platform pieces ready for glue-up. The clamps are only just big enough by about a half-inch, but they suffice, and the gaps all close up nicely with only mild pressure.
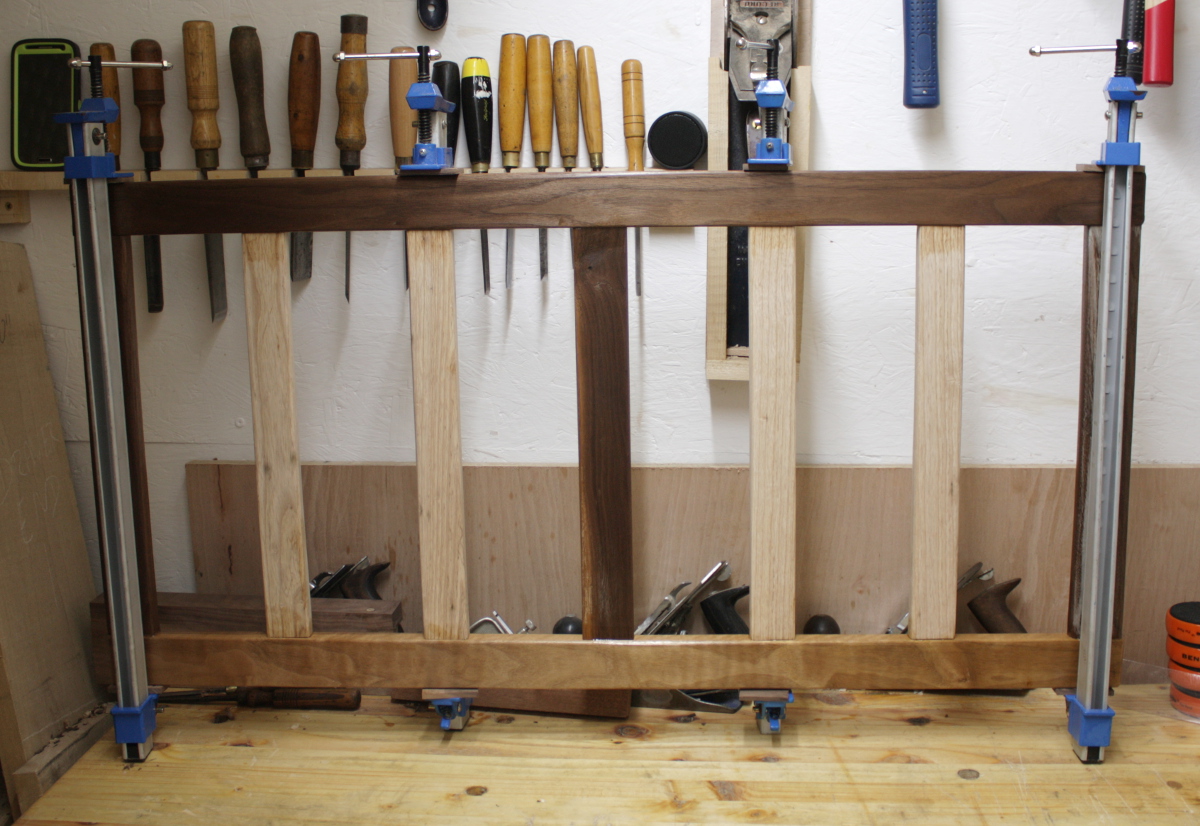
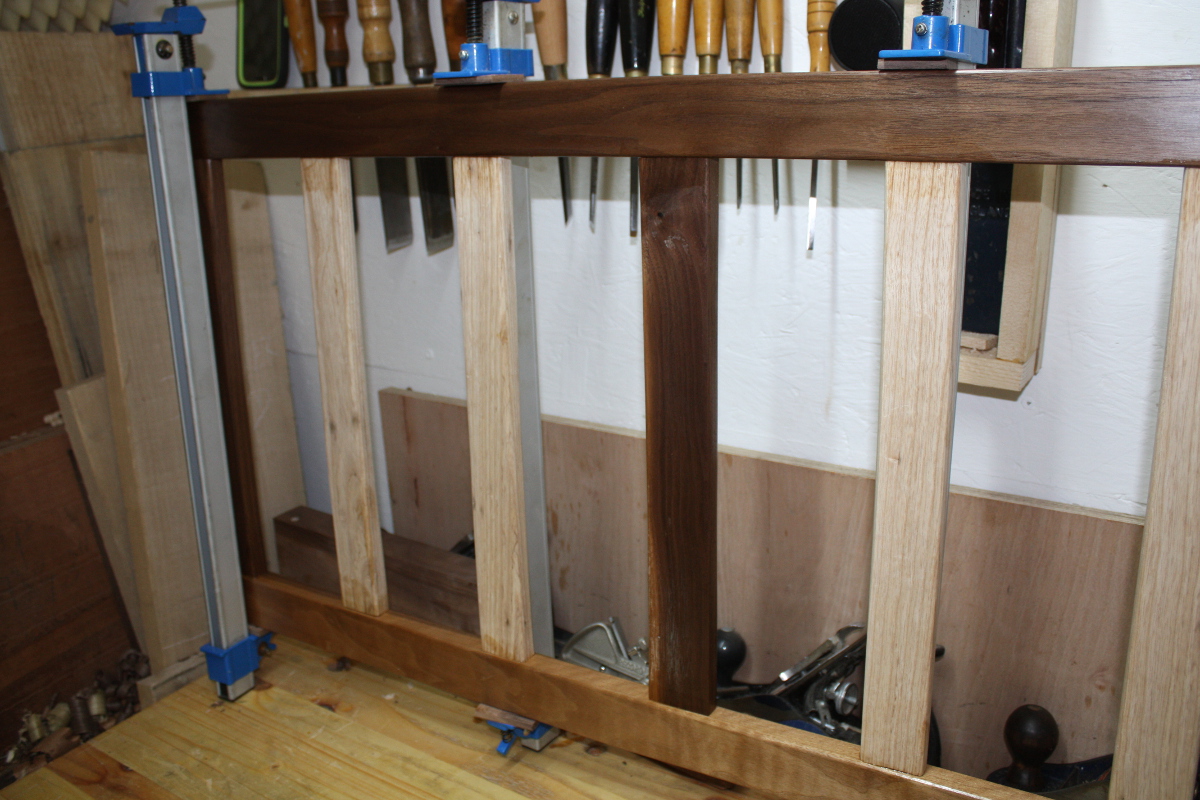
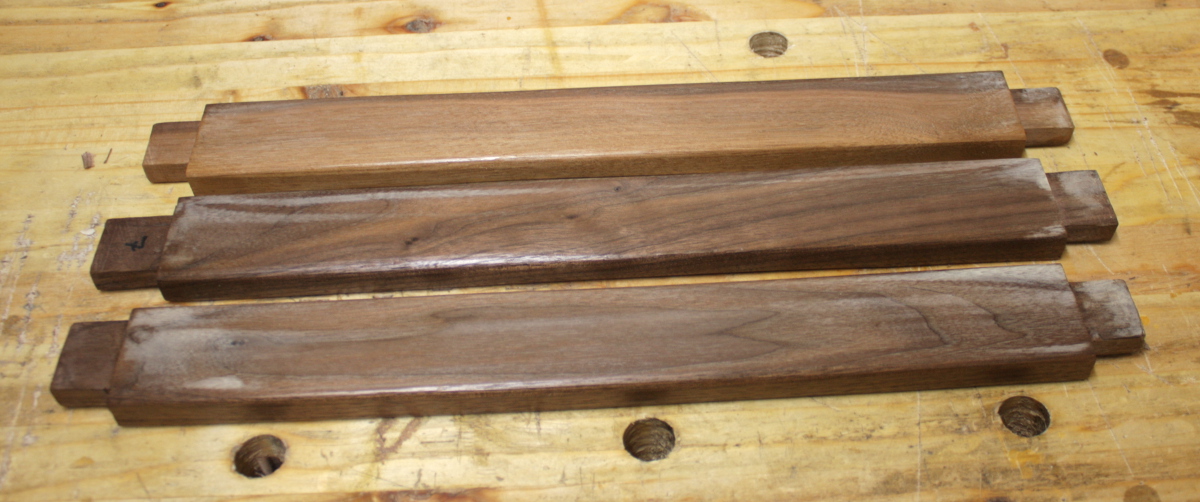
I’m rather happy with that. Then last job of the night, I take some of the frame pieces that need no further cuts or major work, which is everything bar the curved uprights, and I finish plane them and then use the block plane to round over the arises.
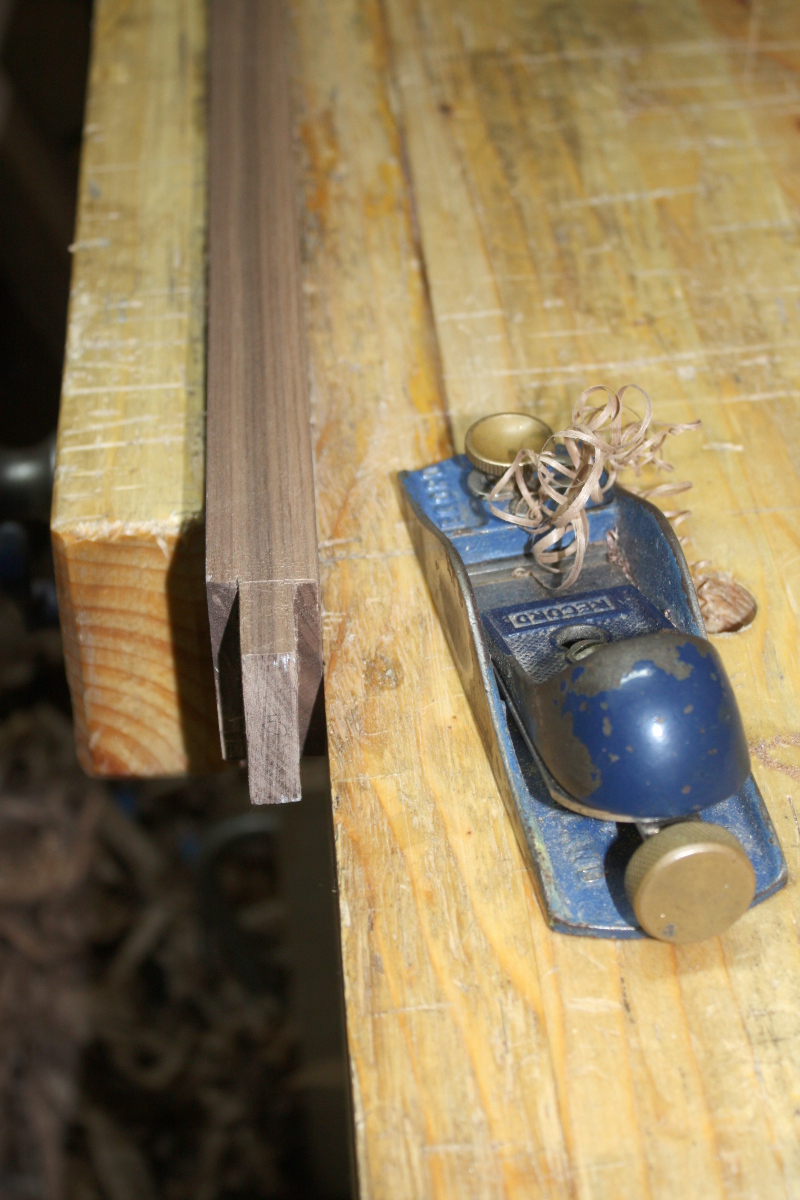
For pieces like this, I think this method’s faster than the spokeshave. But not by a huge amount. Still, if you have a #60½ that you’ve worked to sharpen, why not use it? I really must fix the paint on that when this project’s done, along with the twelve million other jobs to do in the shed bringing tools back up to spec…
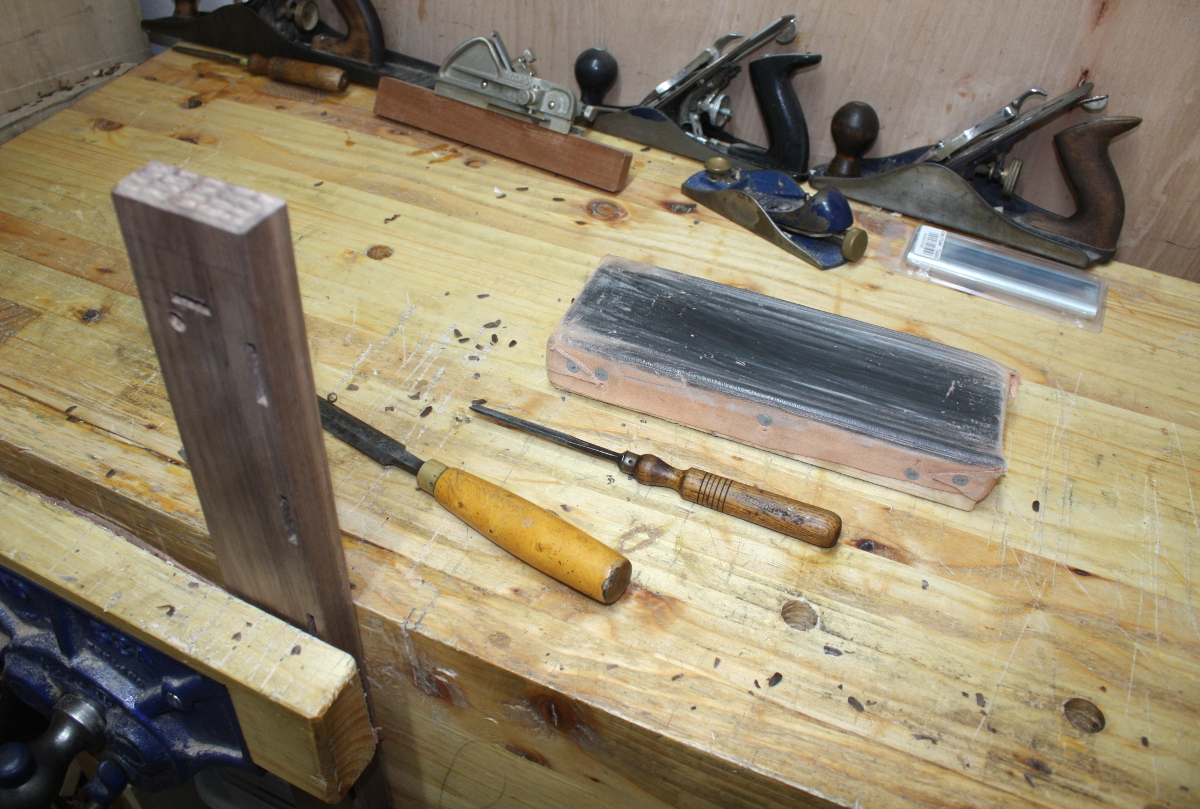
Anyway, with everything finish planed (and various notes to match mortices and tenons back up made in sharpie on the tenons and in the mortices themselves), it was time for more shellac.
I’m really starting to like the look of the walnut when shellac’d. Second coat tomorrow, and hopefully it’ll dry fast enough to be able to sand it tomorrow as well and put on the third coat. The end is in sight now. One finicky bit with the router to cut three or four grooves (I’ve not decided yet on having one or two bolts in the rear platform); and a bit of work to build a drawer; and then final assembly and finishing with osmo.
And then I’ll find it won’t fit in the car for delivery…
To-Do List (stuff in progress in blue:
- Cut grooves in platform supports and matching holes for bolts in the curved uprights and the rear support upright
- Finish plane the curved uprights
- Shellac the supports and the curved uprights
- Thickness the boards for the drawer.
- Cut the drawer front to size.
- Cut the drawer back and sides to size.
- Cut dovetails for drawer.
- Groove drawer with #43 for plywood base.
- Maybe add runners underneath the drawer?
- Assemble drawer.
Drill for drawboring on the M&T joints that I’ll be drawboring (the long rail to upright ones and probably the back support and top crossbar joints).Make drawbore pegs.Finish plane all parts.Finish walnut pieces with a few coats of shellac.- Paint drawer with milk paint.
- Assemble and glue-up and drawboring of everything.
- Finish entire assembly with several coats of Osmo wood wax.
- Close door of shed, lock it, walk away and never do another project with a deadline ever again.
Tags: crib, hand tools, shed, shellac, Workshop