First coat of shellac on the back panel dried nicely overnight. And it was dry today, so I figured I’d put on the other coats today outdoors and then assemble.
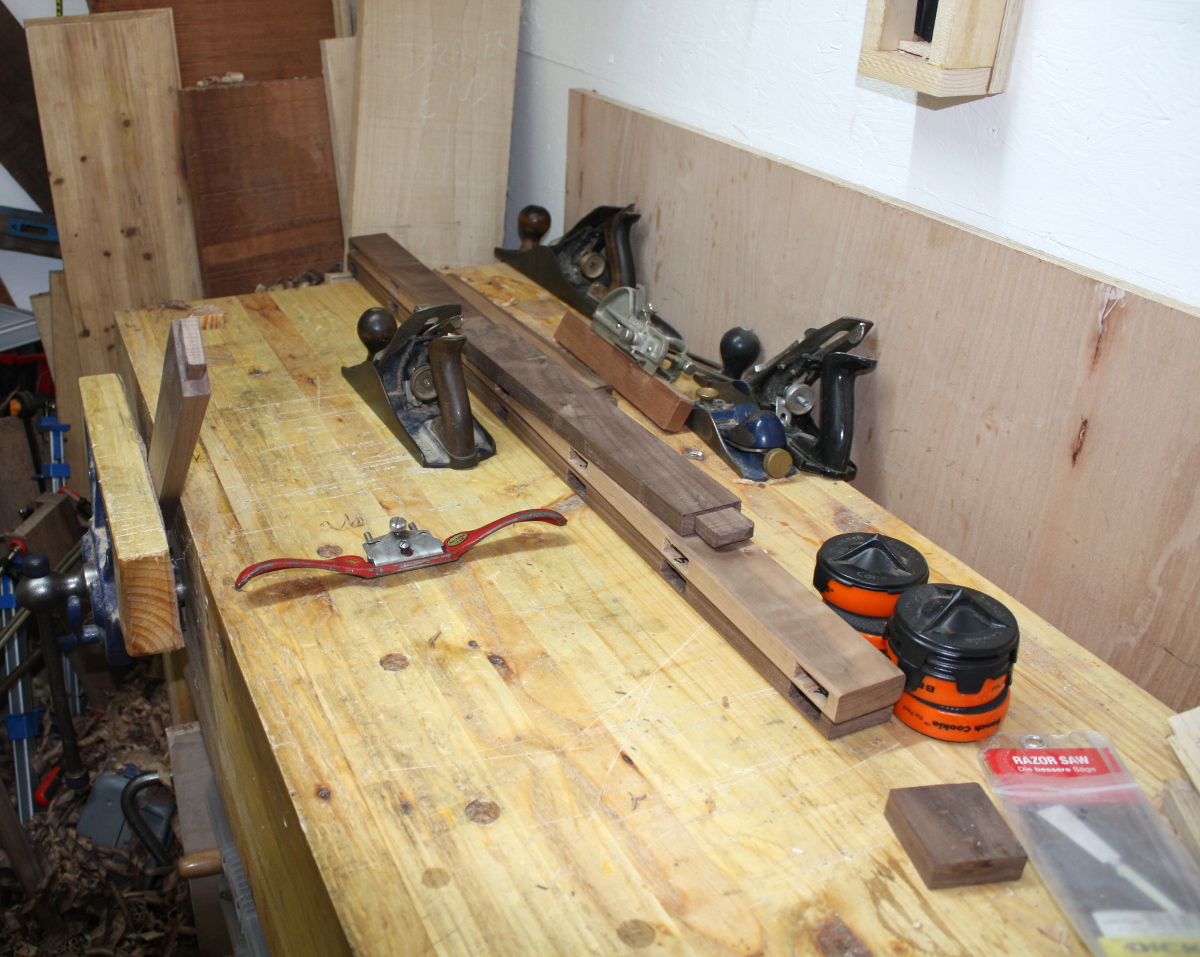
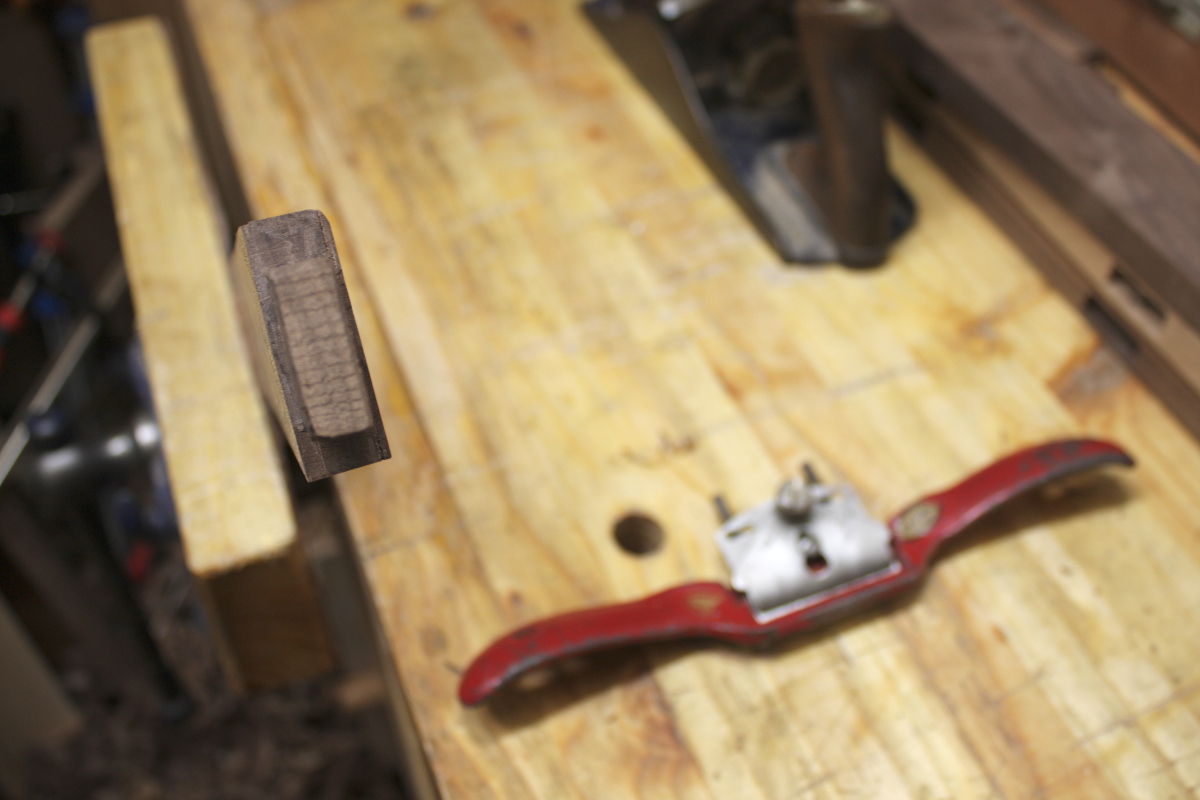
Rather than brushing on the shellac today, everything got ragged on (hooray for being able to buy lint-free cotton rags off ebay by the kilogram). Much more even application, no brush marks, and much, much faster for the long pieces of the frame. While this second coat was drying, on to making drawbore pegs. I got a nice offcut of what I think might be sycamore a while ago, I’ve been riving off pieces for drawbore pegs from it and then using the dowel plate and sufficient violence to make the pegs.
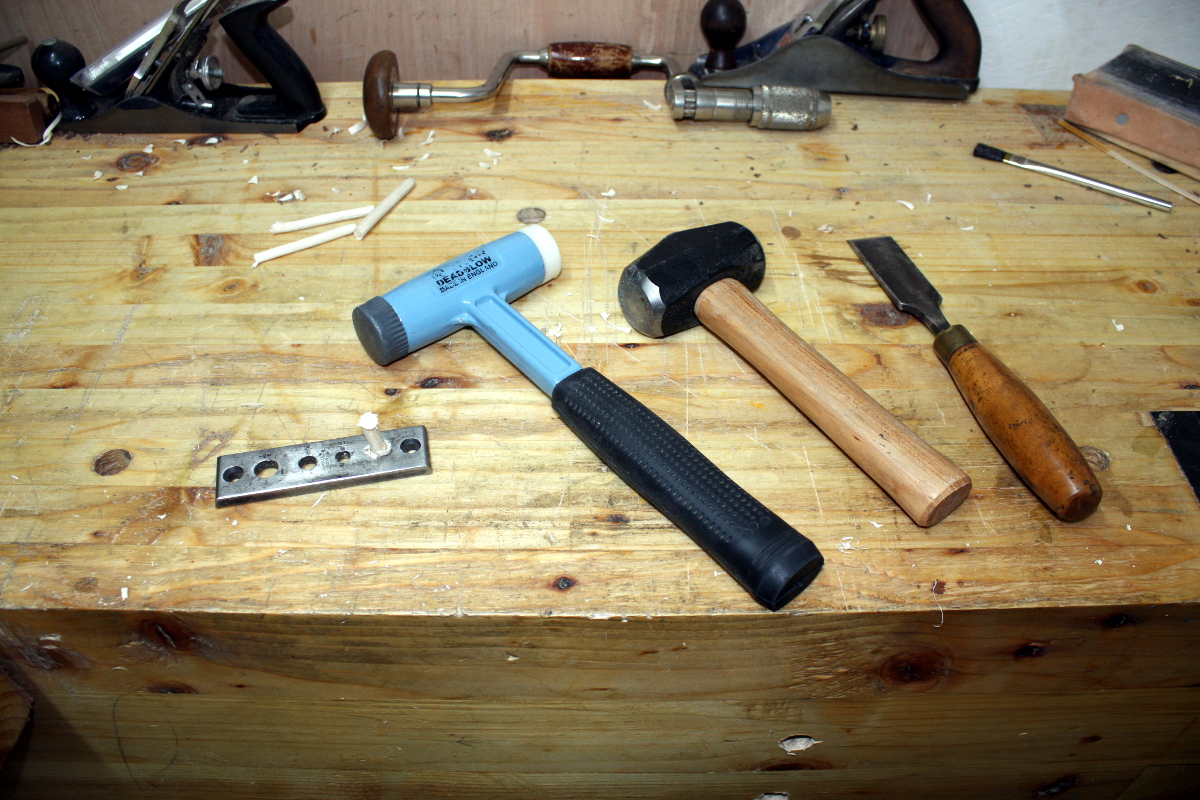
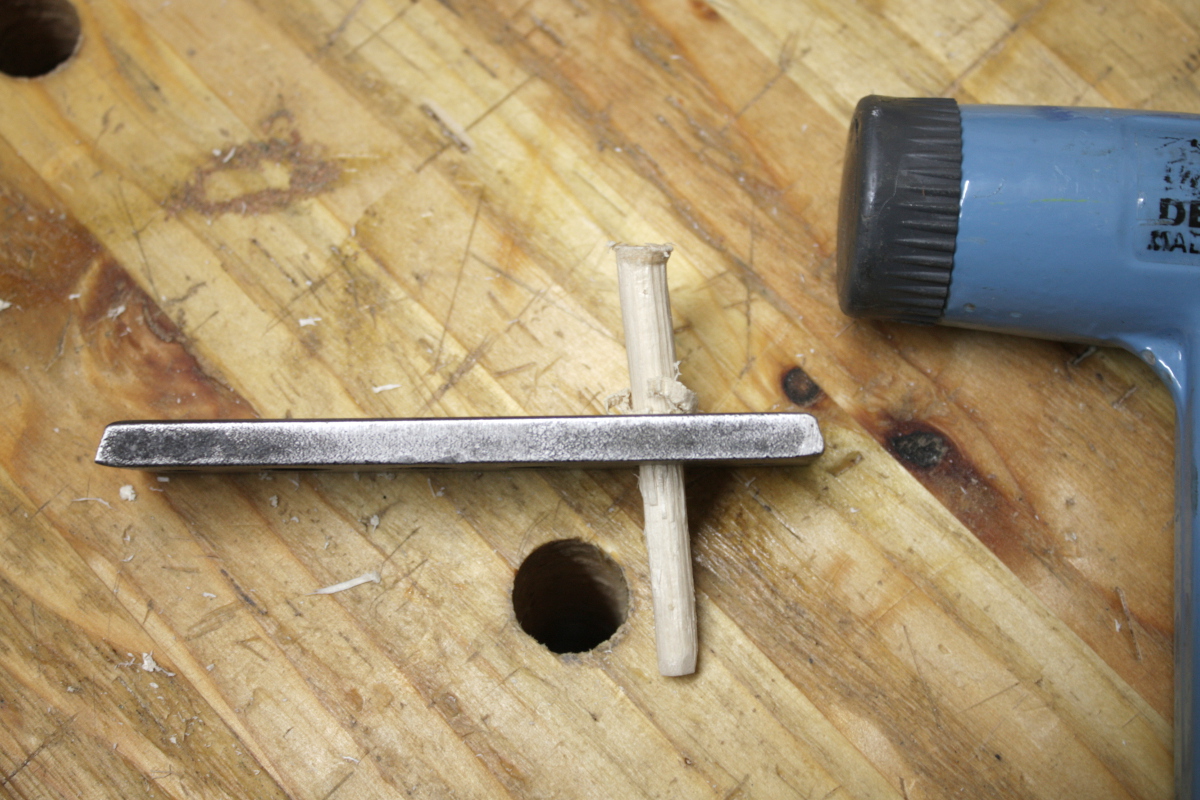
I rive them down to around the half-inch size, then run them through the forming holes a few times at each size, gradually walking them down to the final size (which for here is a quarter-inch)
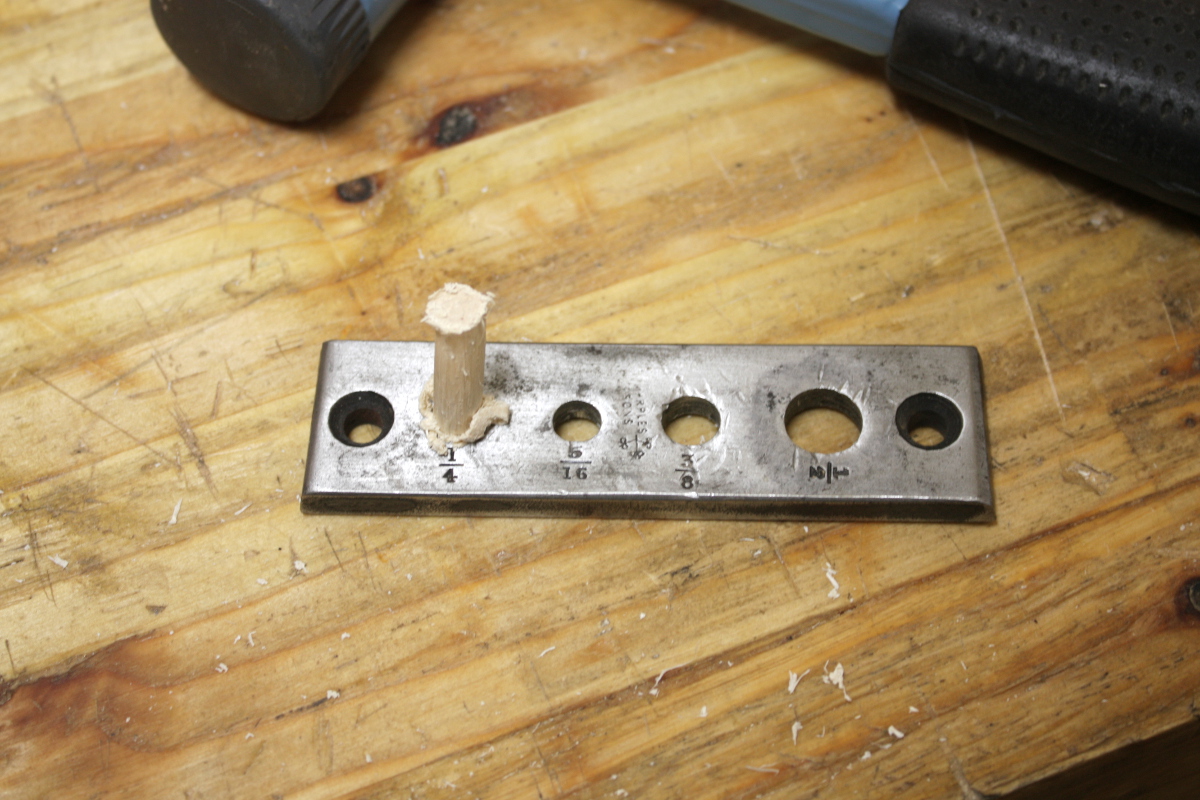
It works quite well, though it’s pretty obnoxiously loud.
By the time that was done, and a cup of tea was had, the shellac had dried and cured and it was time to sand over the second coat lightly with 600 grit paper.
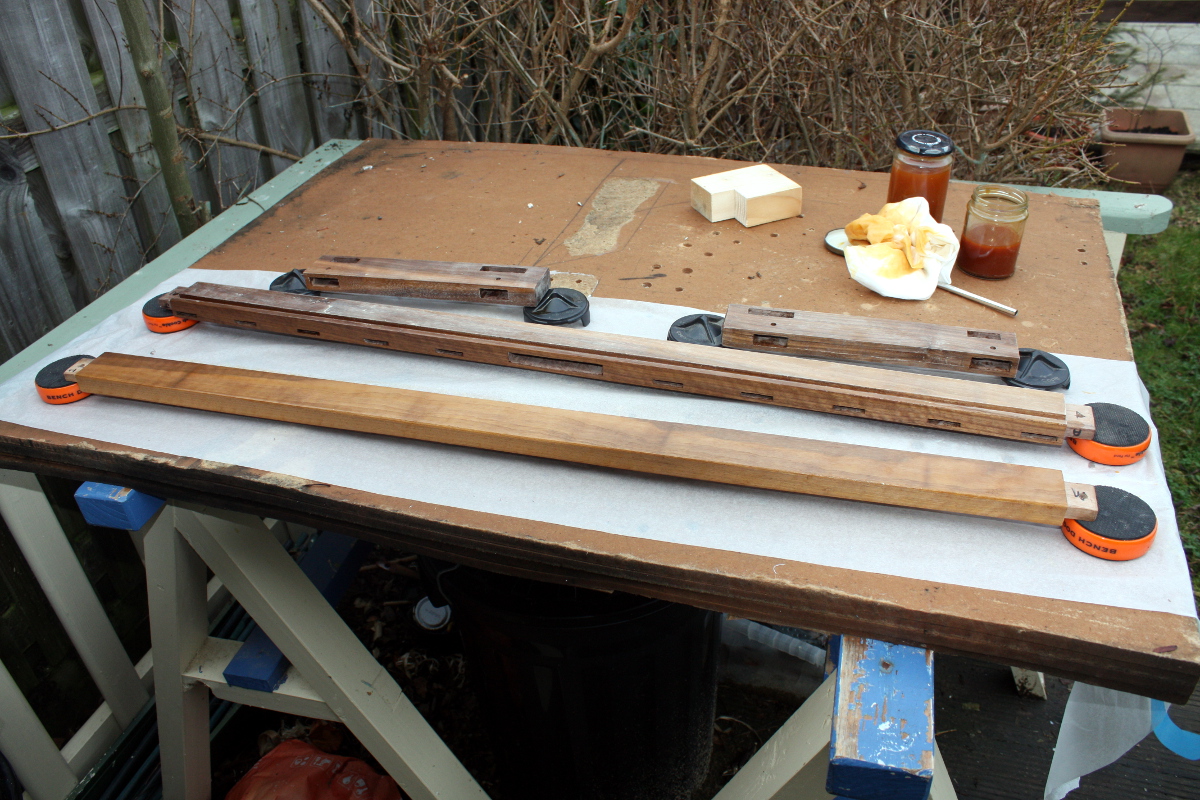
And then rag on the third coat (it’s about a 1.5lb cut for those wondering, and made up from liberon shellac buttons and isopropyl alcohol).
Not too bad. While that was drying, I took the mattress support platform and disassembled it, and drilled two holes in the front of the platform for dowels that will go into the support at the front (the back will have enough of a ledge that it can’t fall down unless you smashed it to pieces). The front support had to be planed as well, it had developed some twist in the last few weeks, and the corresponding dowel holes got drilled there too. I’ll make up dowels the same way I’ve been making the drawbore pins, but these will be a little larger than the quarter-inch pins.
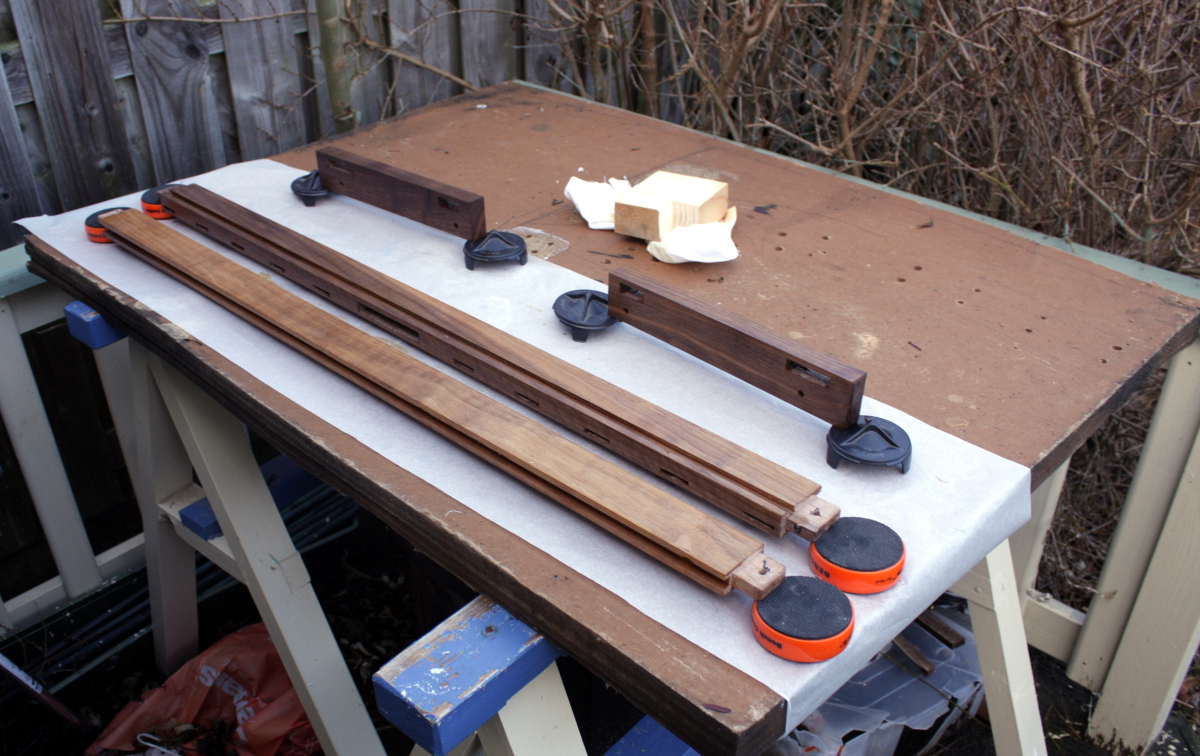
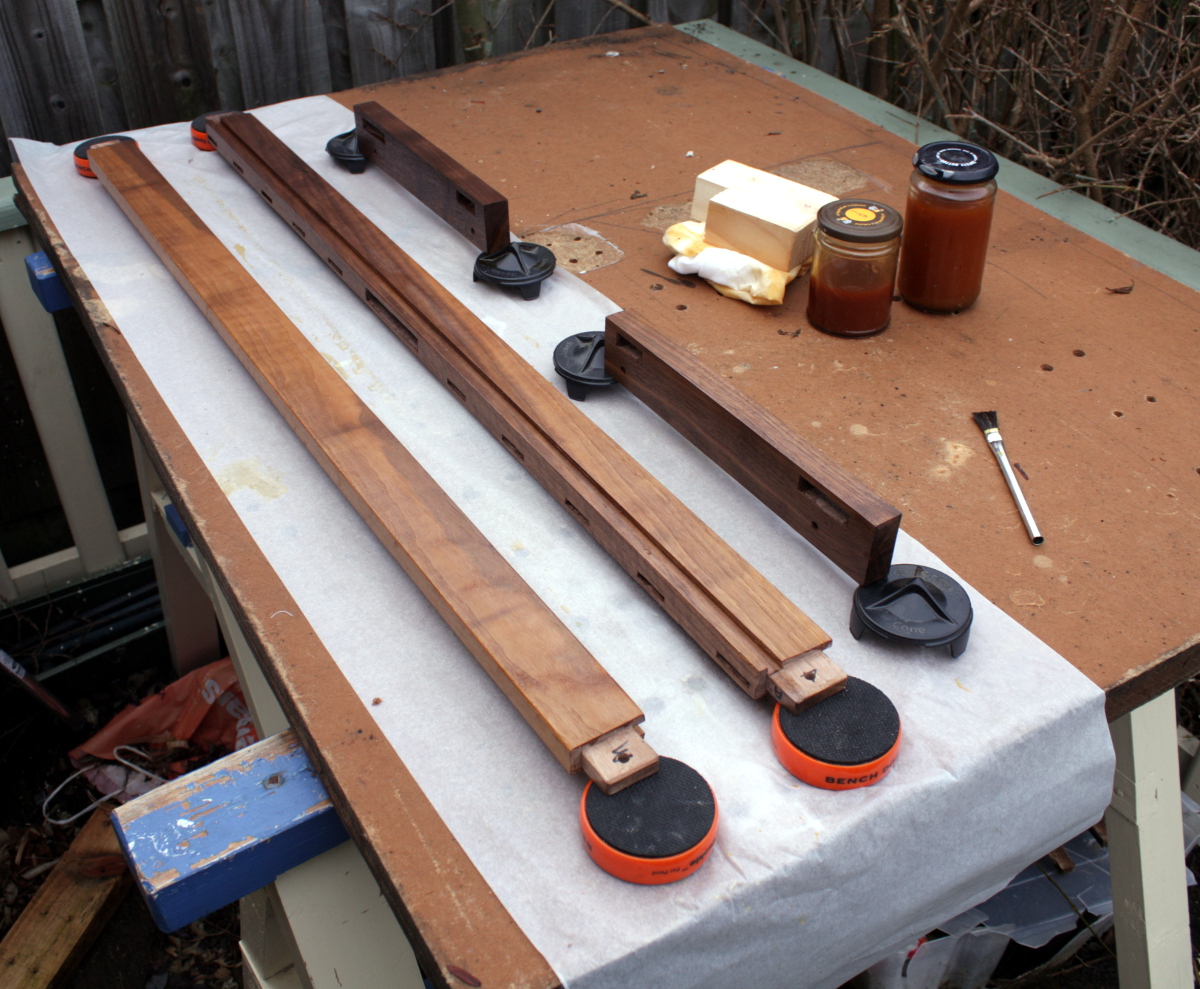
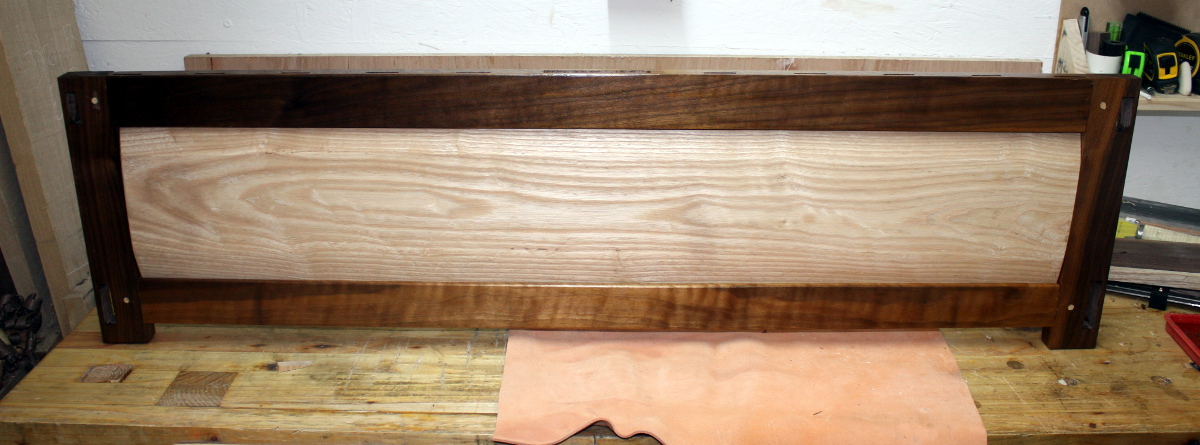
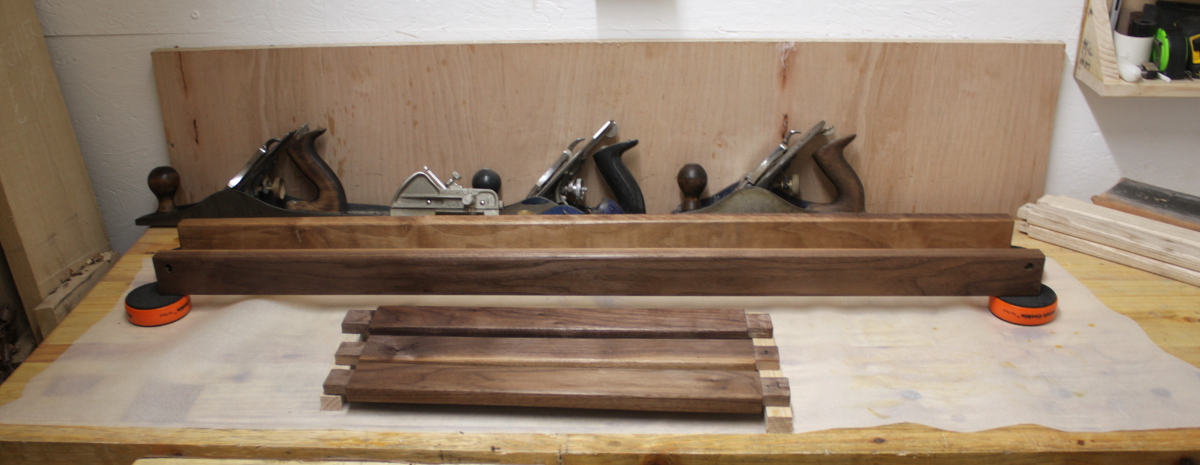
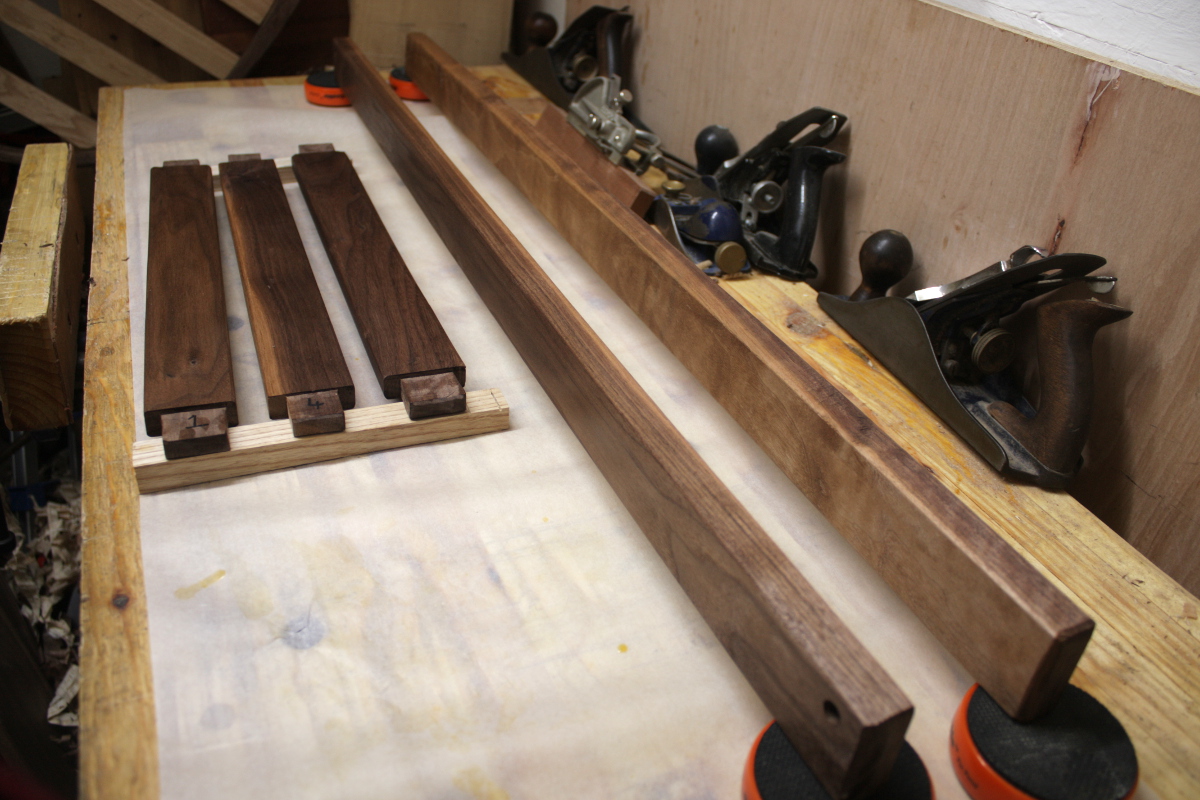
In the middle of this the last coat of shellac went on the back panel and lunch was had, and shortly after, the back panel pieces were ready to be assembled…
It was a bit cold in the shed, so the hide glue wouldn’t flow, so out came the thermos of hot water to heat it up a bit.
Then the left side tenons of the long rails got a coat of hide glue, and a little into the mortices as well, fitted the rails into the legs, coated the drawbore pins with glue and drove them home (no clamps required for this glue-up).
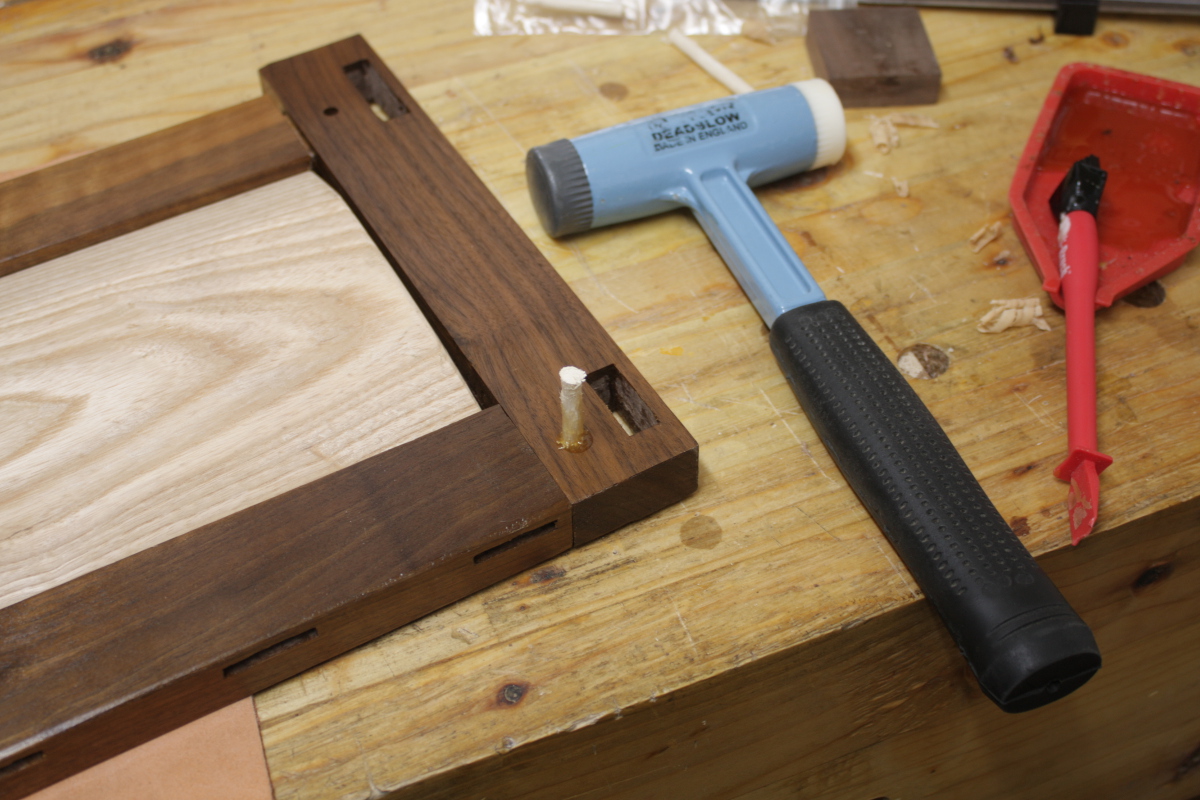
Then I put the panel in between the rails, and found it needed a few swipes on the shooting board to square up the end just a tad (don’t you love finding this mid-glue-up?); did that, put the panel back into the frame, and repeated the assembly and drawbore process on the other end of the rails. Flush-cut the drawbore pins to within a few mm of the surface with a flush-cut saw and a spacer (a piece of scrap wood) and then flushed them level with a chisel. This had a minor mishap on one corner, a touch-up on the shellac will be needed to fix that.
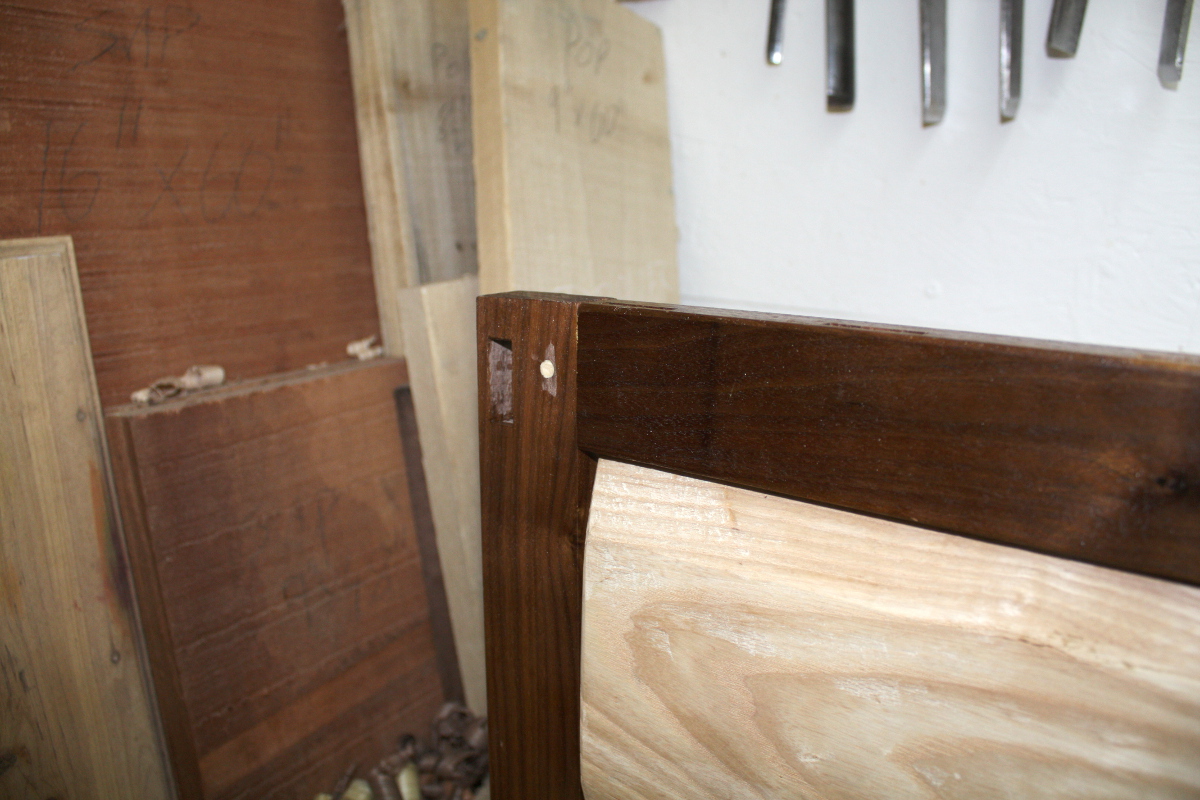
But that was the assembly done. And it looks quite nice, the walnut does pop out compared to the ash when you shellac it.
Then dinner, and then back to the mattress platform, and finish planing everything in it, and rounding over every corner, this time using a spokeshave instead of the block plane I’ve used before on the slats and the back support. It’s just as easy and as fast, there’s not much between the two methods to be honest. I can see the spokeshave being a better choice for curved pieces and the block plane for longer rails and the like.
Sure, a router table with a roundover bit could do the job, but for this few pieces, it’s faster to do it by hand because there’s so little setup time. Plus, it’s quieter and there’s less chance of losing a finger, which is always a plus.
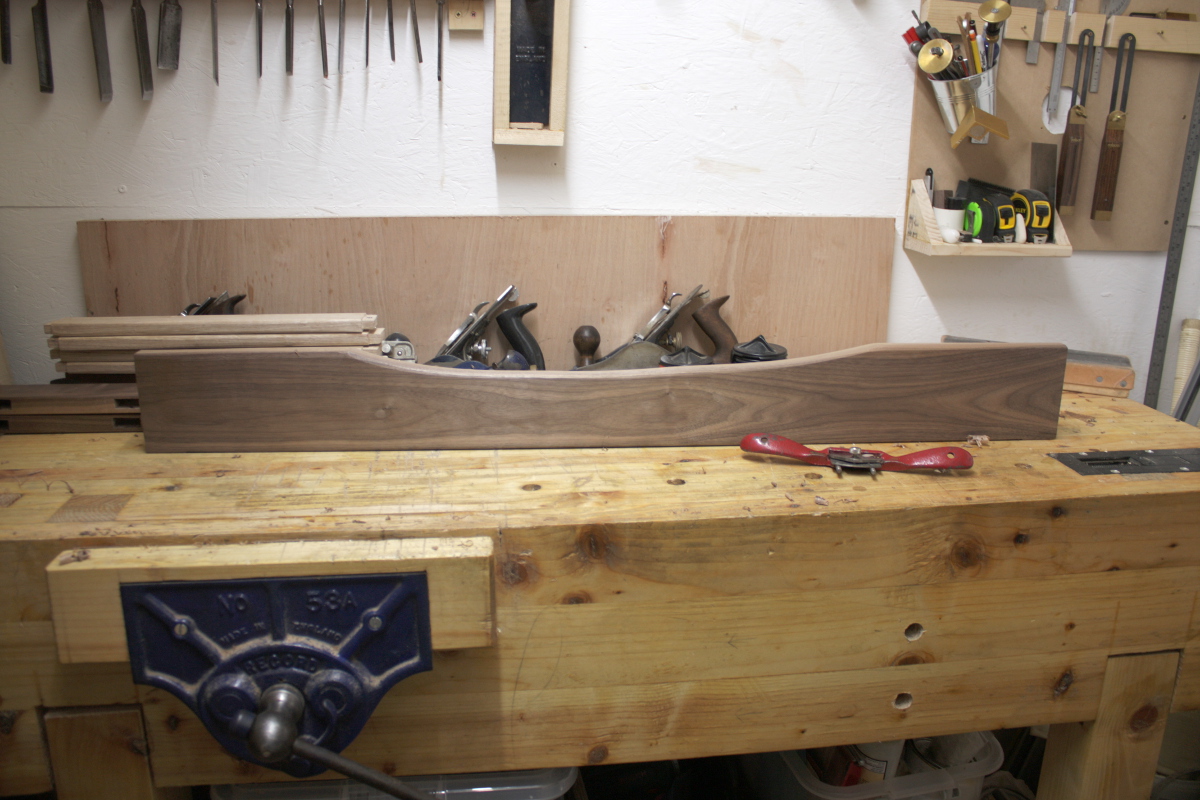
Next up was the front platform support. I wanted to give it a bit of an arch on the underneath so it didn’t look quite so much like a sodding great plank, so I found the midpoint and sawed straight down by a few centimetres, then took my 1.5″ chisel and whacked out large chunks down to that kerf from either side, and extended out that v-shaped cutout on either side until it reached a foot away from the centerline on each side. Then out with the spokeshave and a heavy set on the blade and lots of pushing to even out the curve, and make it look a little more fluid than the “blind boy scout with a hatchet” level of chisel work it was at. Then finally rounded over the corners with the spokeshave (and a sharp chisel for the edges on the end grain) and that was done. I need to cut two grooves on either side for the carriage bolts that will attach this to the frame (so that there’s some adjustability). I can’t think of a cleaner way to do this other than a router with a straight bit at the moment. Drilling a series of holes and then trimming them together with a chisel might work if I’d a drill press but with my eggbeater or power drill, the holes wouldn’t be perfectly vertical and it’d be a mess. I might have to admit defeat here and use a power tool for this particular task. Still, it doesn’t look too bad so far.
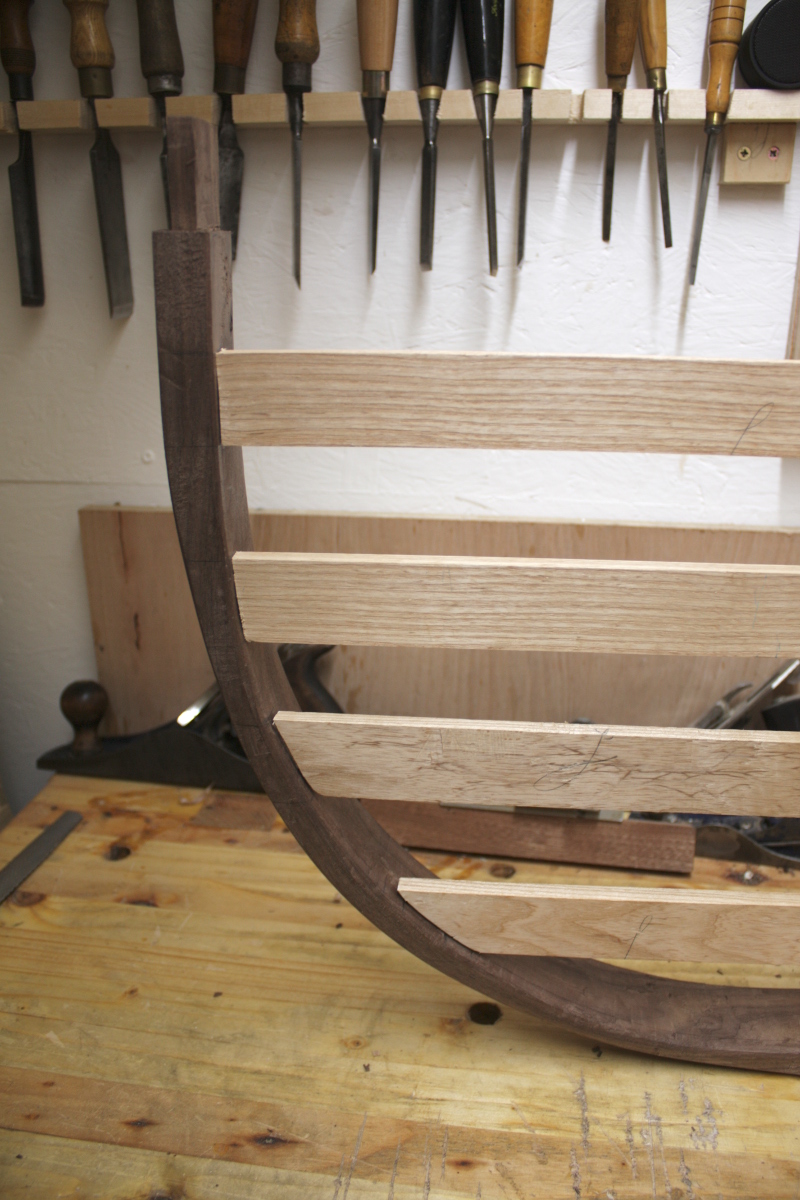
Next up, I wanted to check the fit of the side tenons into the curved uprights because of the mixup between sides yesterday, so I took the already cut slats and cut the mortices to fit the tenons (which is an ass-backwards way to do it). Seemed to work though.
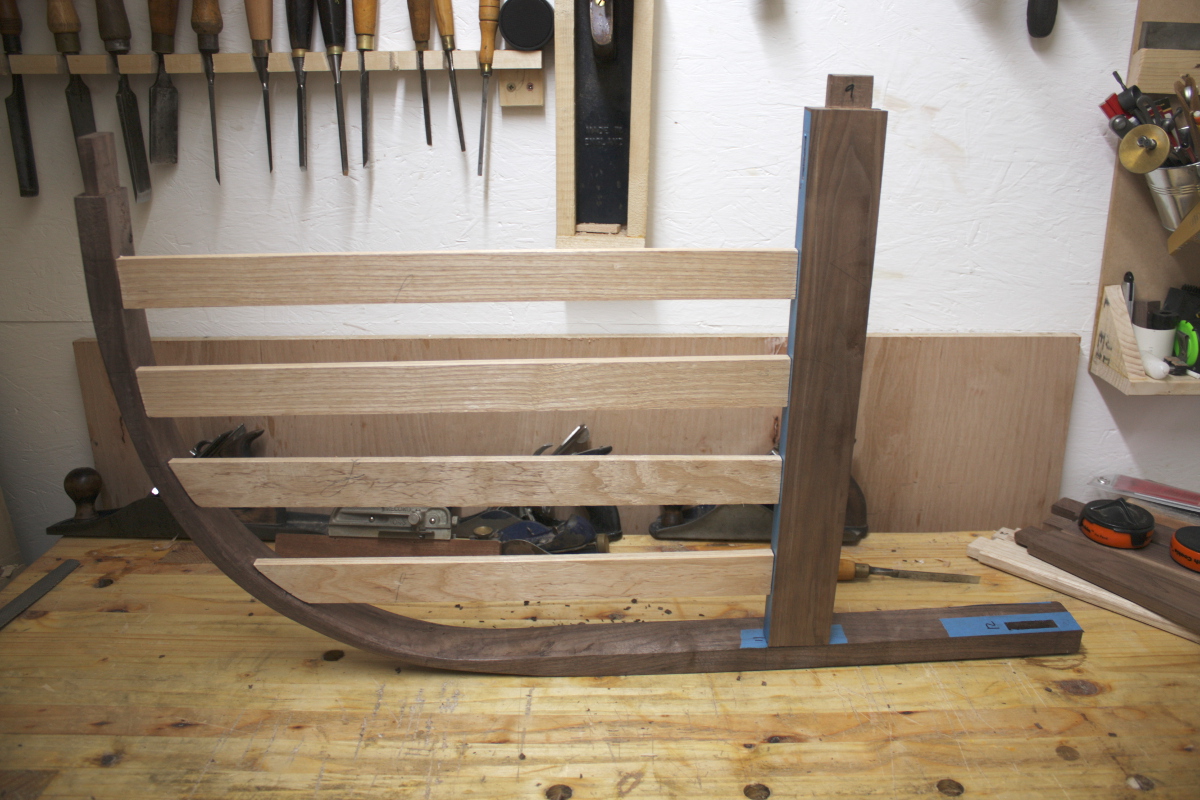
There are some small gaps (less than a half-mm or so), but those might close up when it’s fully assembled. We’ll see. I’ll have to do this again tomorrow for the other side.
And with that done it was on to the last job of the night, the first shellac coat for the walnut parts of the mattress support platform. After finding somewhere to put the side frame that was (again, the problem of a small shed – nowhere to put components as you work on them…)
Sheesh.
But on to the shellac.
Ragged on first coat and it really does pop.
That’ll dry overnight and I’ll do the second coat in the morning, then sand and then two more coats (as for the back panel). Then glue-up and assembly.
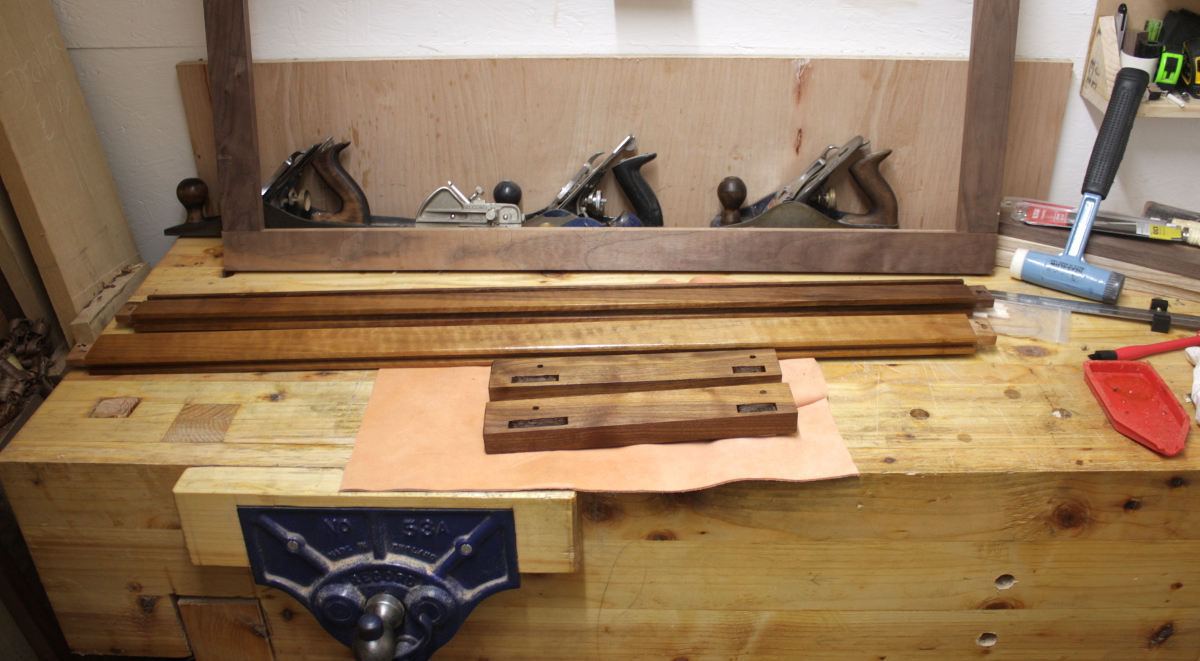
After that, there’s the back support piece (that got done today as well but it’s glued up and curing at the moment), that’ll need to come out of the clamps and get cleaned up. It’ll have to have slots routered in as well. Then I want to make the locating dowels for the front support, and more drawbore pins for the front panel of the cot and the curved uprights, and those joints have to be drilled for the drawbore pins, and the back top crossbar has to be cut to length, it’s currently a few inches over to give strength while mortices were being chopped; I need to cut that to length and possibly on a curve to make it a bit more interesting. Then it can get shellac’d in prep for final assembly.
After that, it’s rounding over the side slats, finish planing all the slats and the curved uprights and the rails, and shellac’ing the last of the walnut pieces and then assembly of the front panel, then putting the front and back panels together along with the slats in the overall final assembly.
And then there’s a drawer to do, but that should be fairly fast. The big question is where the hell do I put the cot while I build the drawer on the bench?
To-Do List (stuff in progress in blue:
Measure off side slats (because they’re going into a curve, this is going to be fiddly)
and cut tenons.- Thickness the boards for the drawer.
- Cut the drawer front to size.
- Cut the drawer back and sides to size.
- Cut dovetails for drawer.
- Groove drawer with #43 for plywood base.
- Assemble drawer.
- Drill for drawboring on the M&T joints that I’ll be drawboring (the long rail to upright ones and probably the back support and top crossbar joints).
- Make drawbore pegs.
- Finish plane all parts.
- Finish walnut pieces with a few coats of shellac.
- Paint drawer with milk paint.
- Assemble and glue-up and drawboring of everything.
- Finish entire assembly with several coats of Osmo wood wax.
- Close door of shed, lock it, walk away and never do another project with a deadline ever again.
Tags: crib, hand tools, shed, shellac, Woodworking, Workshop