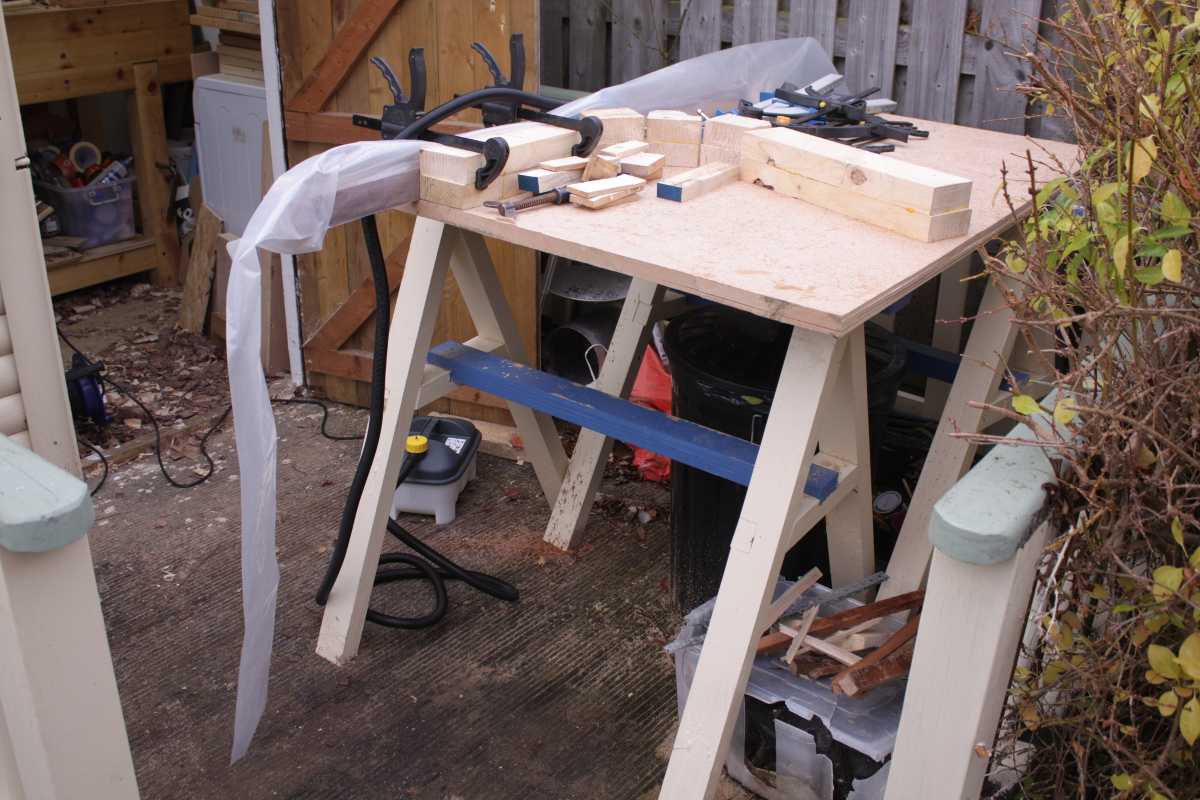
Right, Saturday morning so on with steambending the second upright.
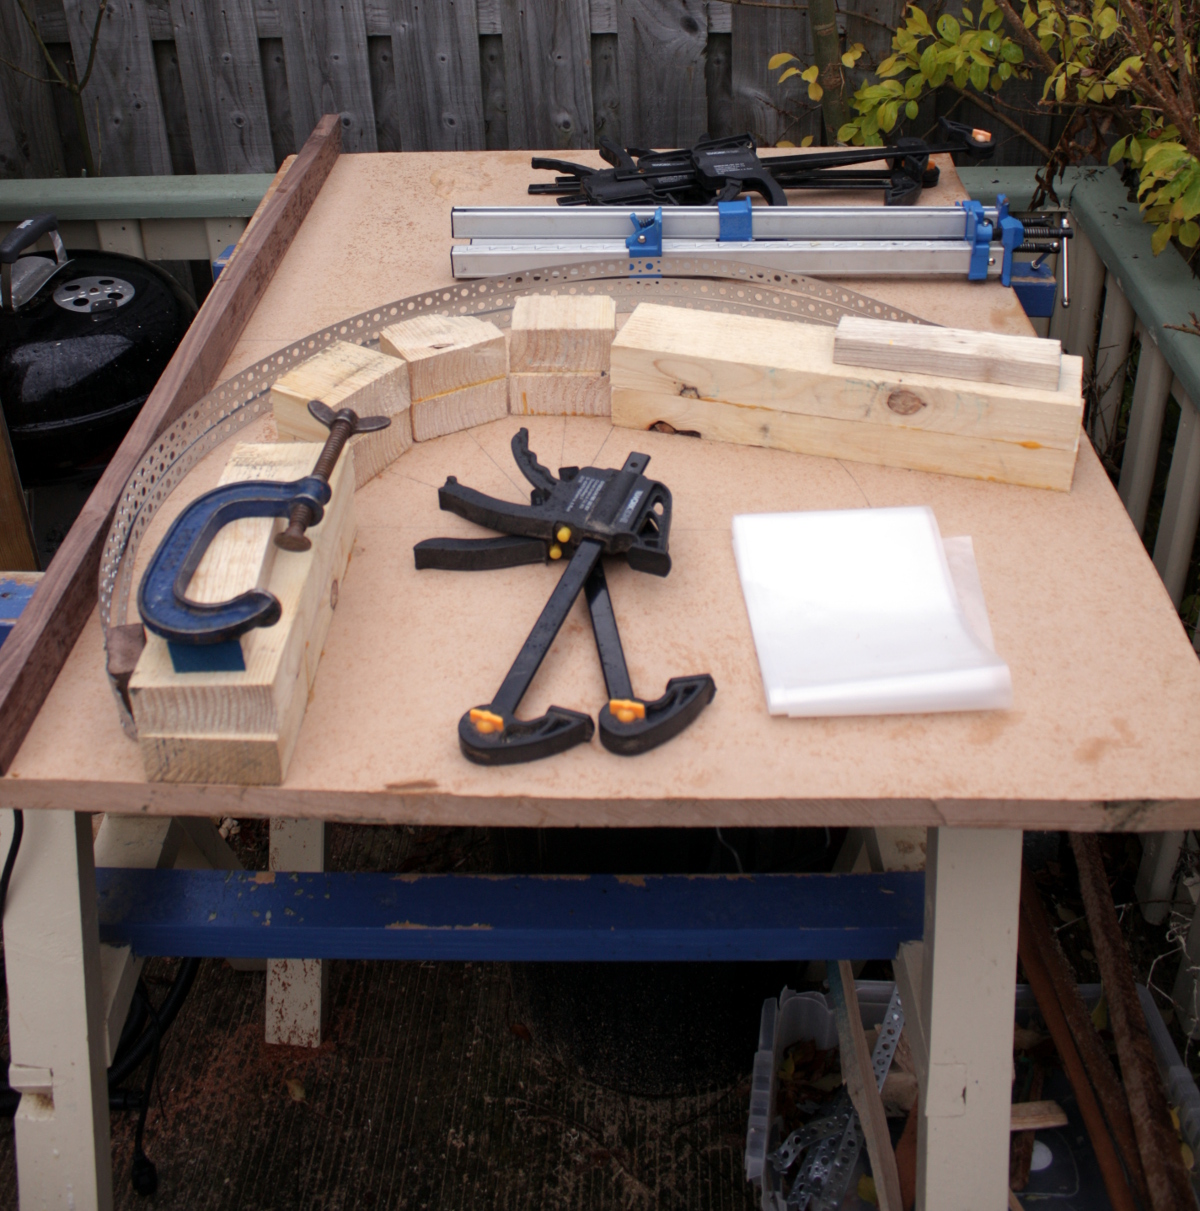
Mise en place all done. Now, on with the polythene tube…
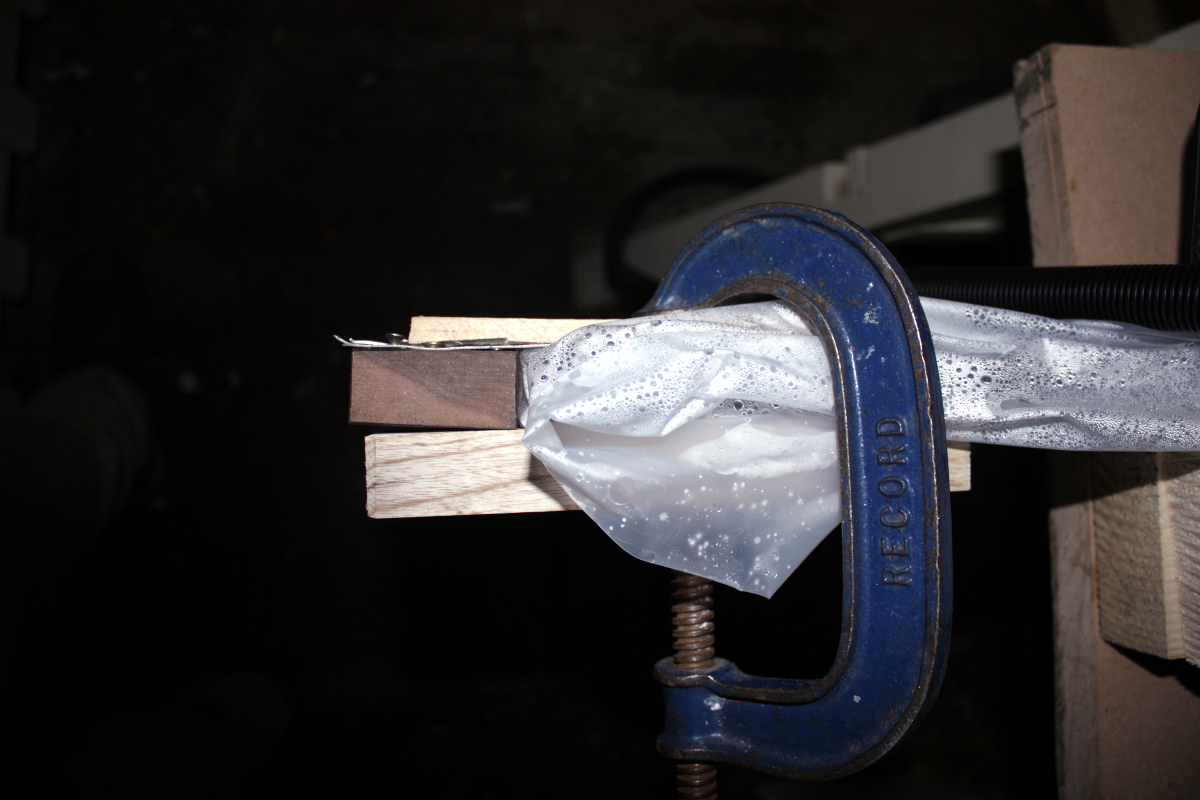
And now put the compression strap in place, clamp it at one end and get the “start bend here” line matched up with the initial straight part of the jig.
I’ve just clamped the end block here temporarily, I’ll remove those before steaming and reclamp them before bending (I want the excess water to be able to drain out of the tube readily, and it can’t do that when the end is pinched by the clamps).
The idea here is to prevent that end block from twisting out and away from the piece because if it does, the compression strap won’t be in compression and the outside of the piece will splinter.
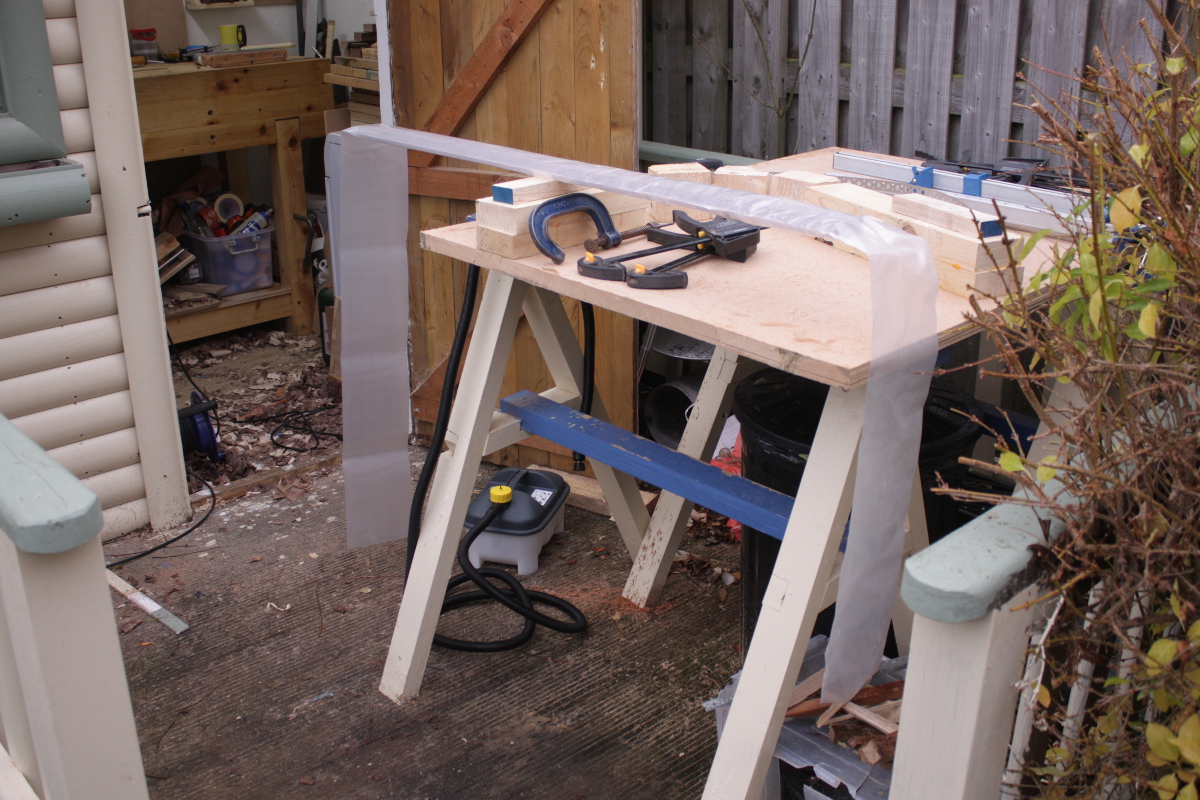
And steam on!
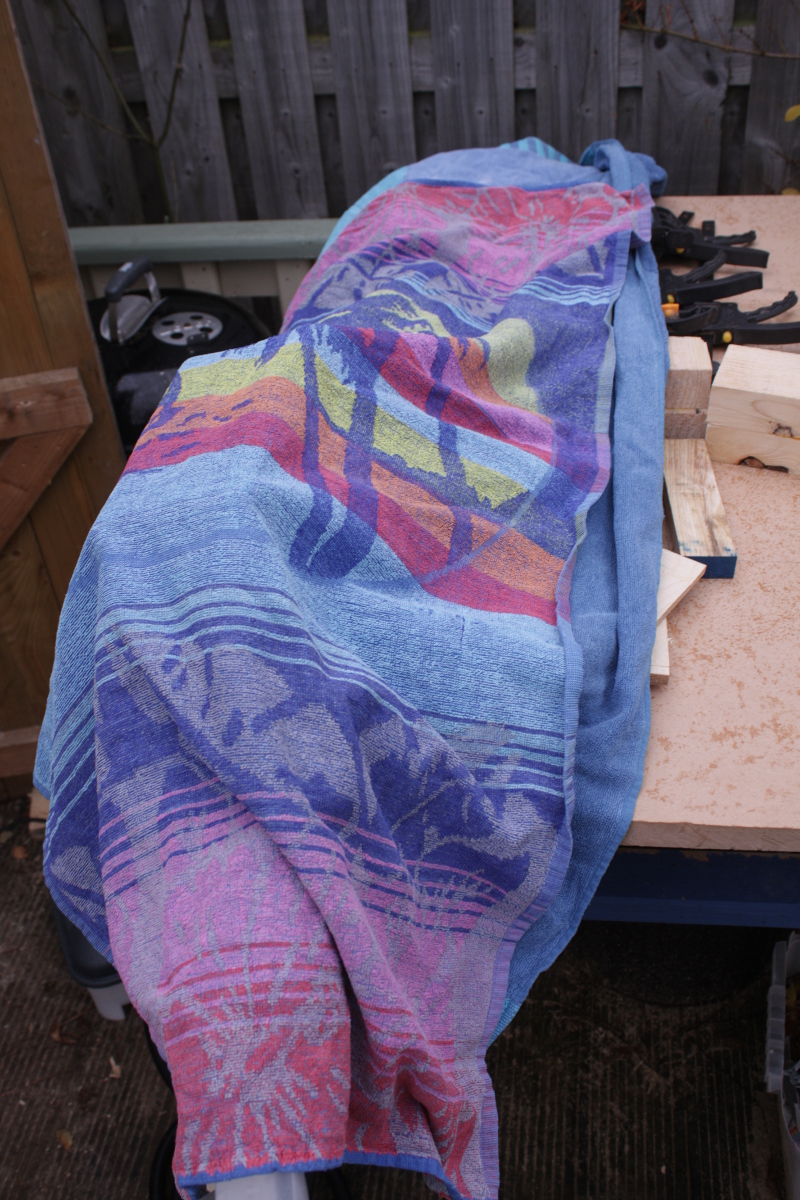 Under covers, though, because it’s bloody cold out and that’ll suck the heat right out of the piece which is not going to help things.
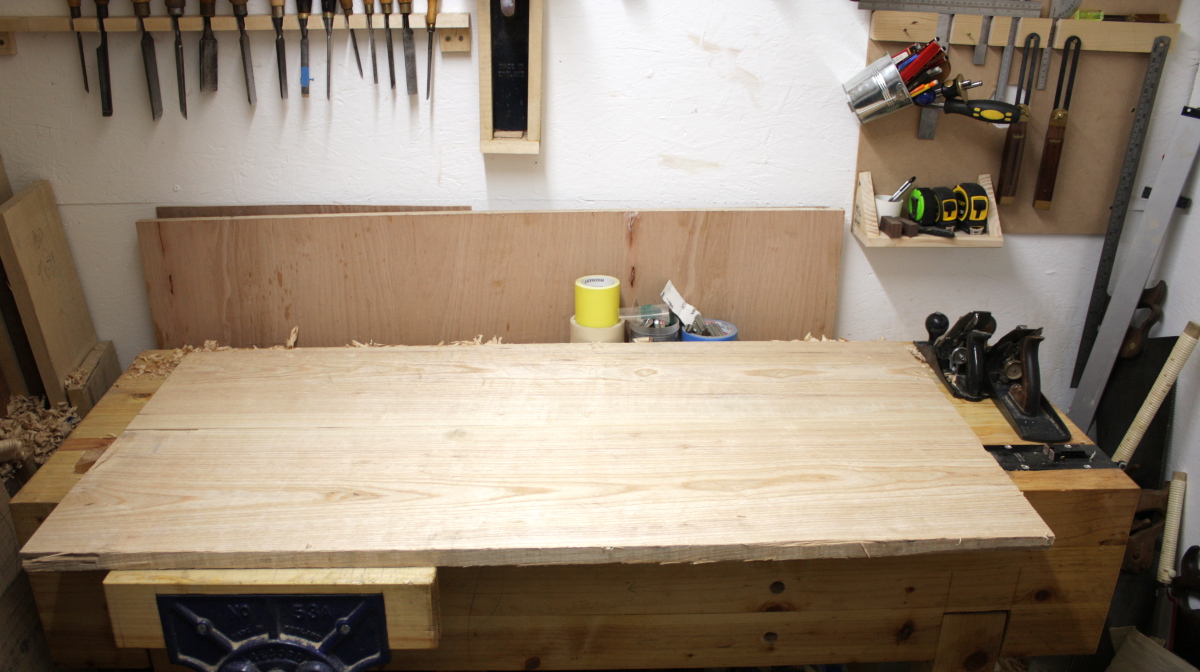
Now, while that steams for two hours, on to the next job, the large top panel in the bottom box part of the crib.
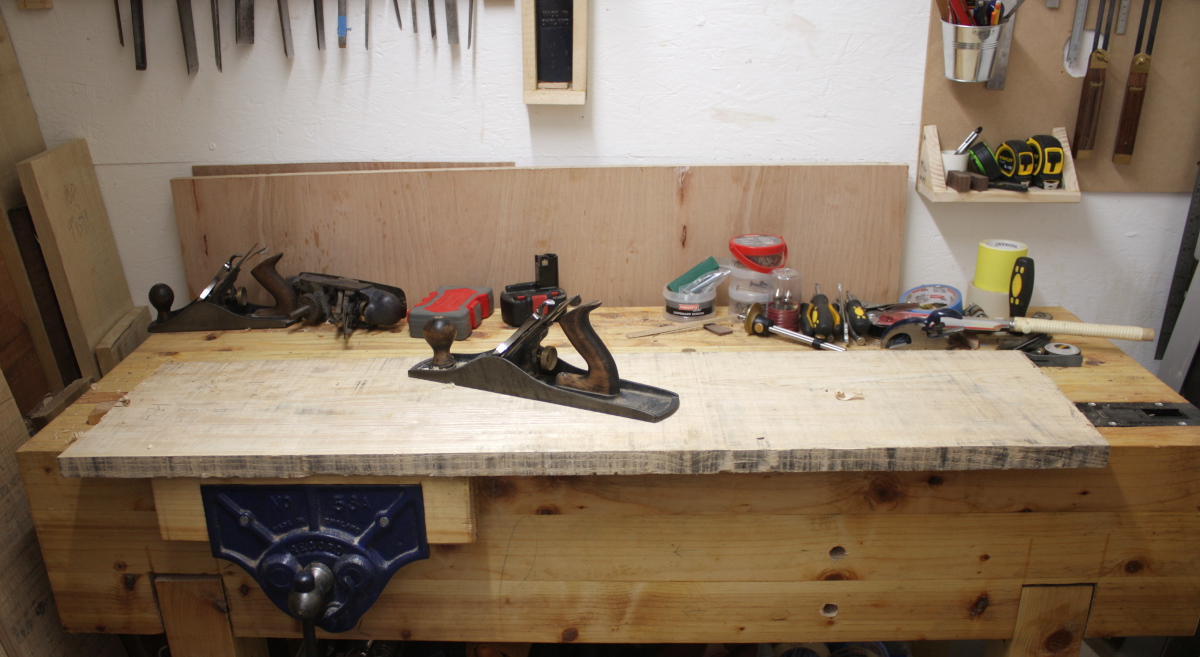

Four feet by one foot of rough-sawn ash with a bit of twist in the second board. That’s rather a good lesson in “why we invented powered planer/thicknessers”…
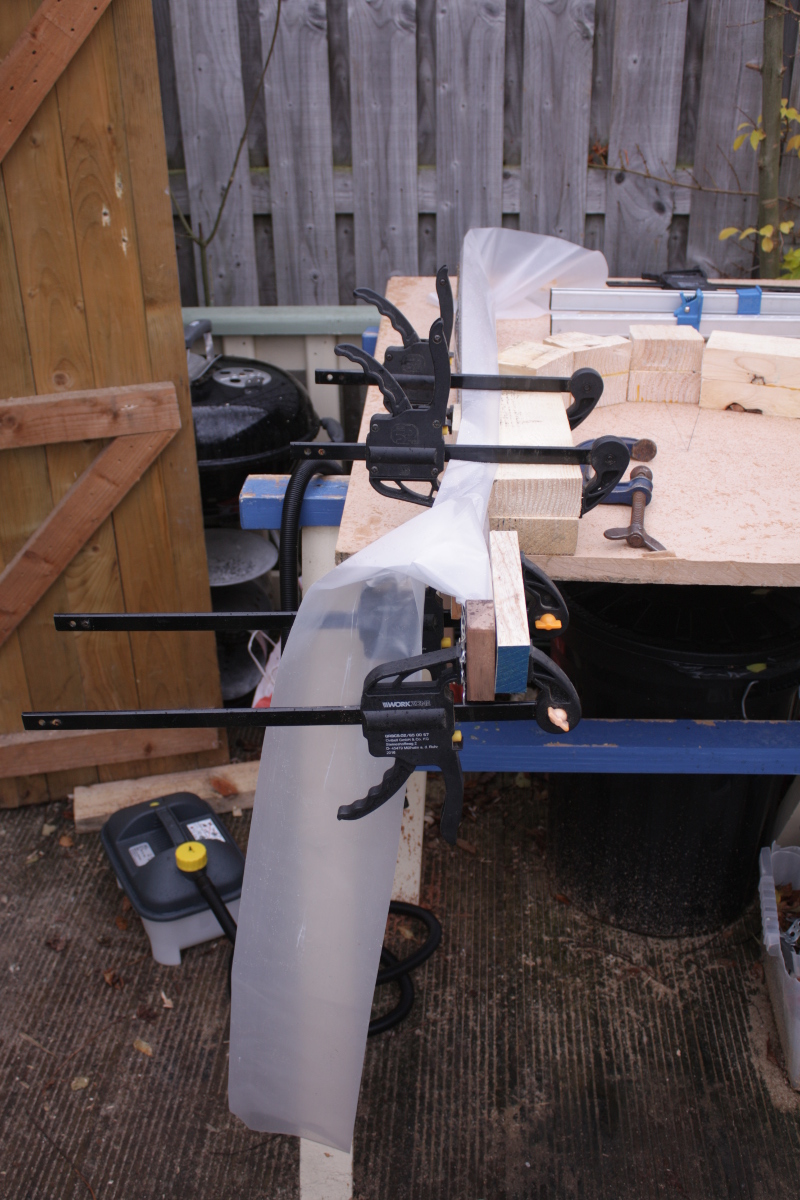
Two hours (and some tea) later, it’s time to bend…
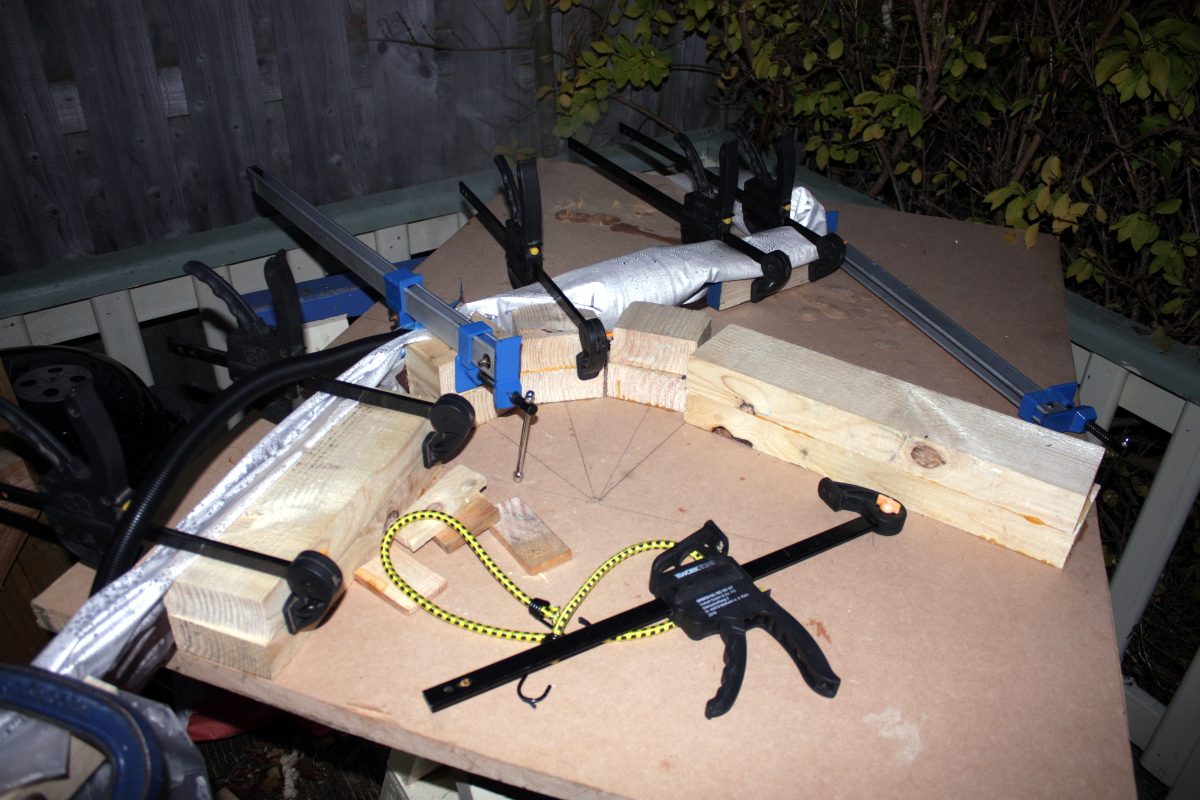
The handy thing (well, amongst several things) about this method is that the bend doesn’t have to be done in under 20 seconds. This took nearly 20 minutes in total. First off, ensure the two end blocks are all clamped firmly in place.
And then it’s just musclepower to grab the piece and pull it to the form, adding the clamps as they fit (and towards the end, you pull the piece in using the clamps, just slowly turning the handle to crank the piece in). 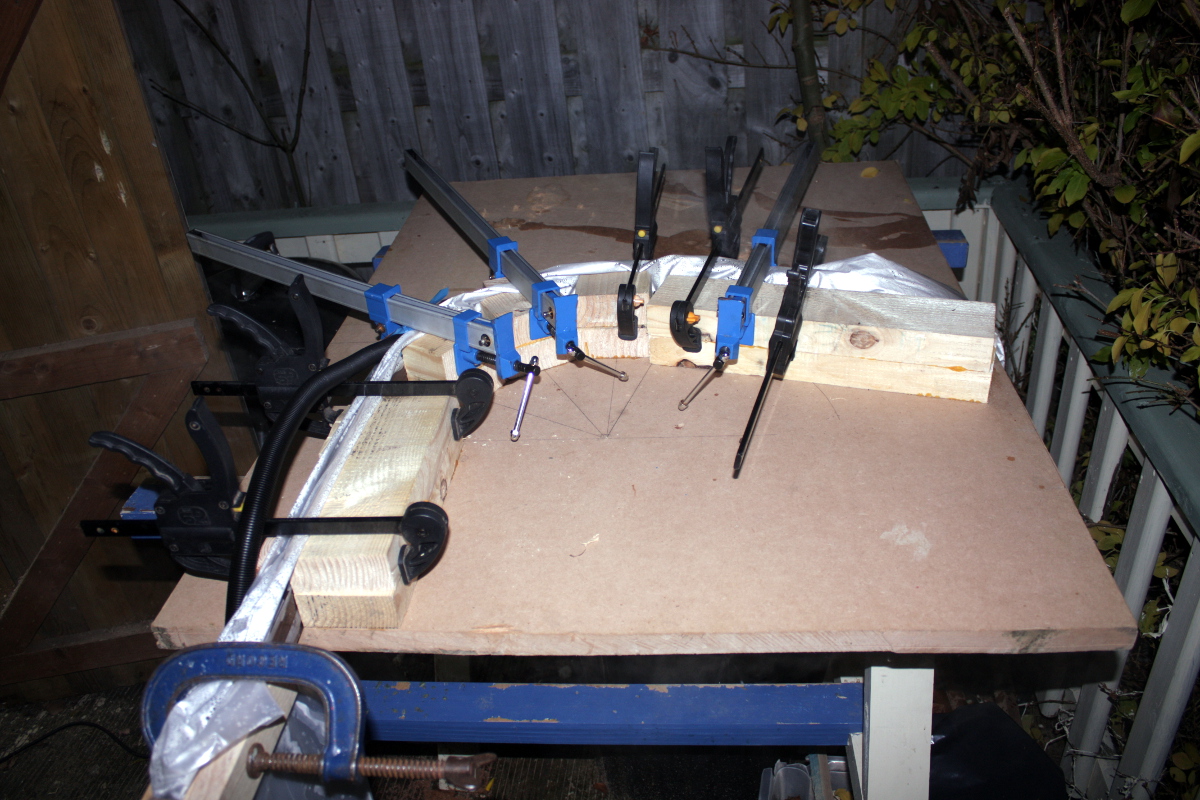
And make sure the interim points are pulled in as well.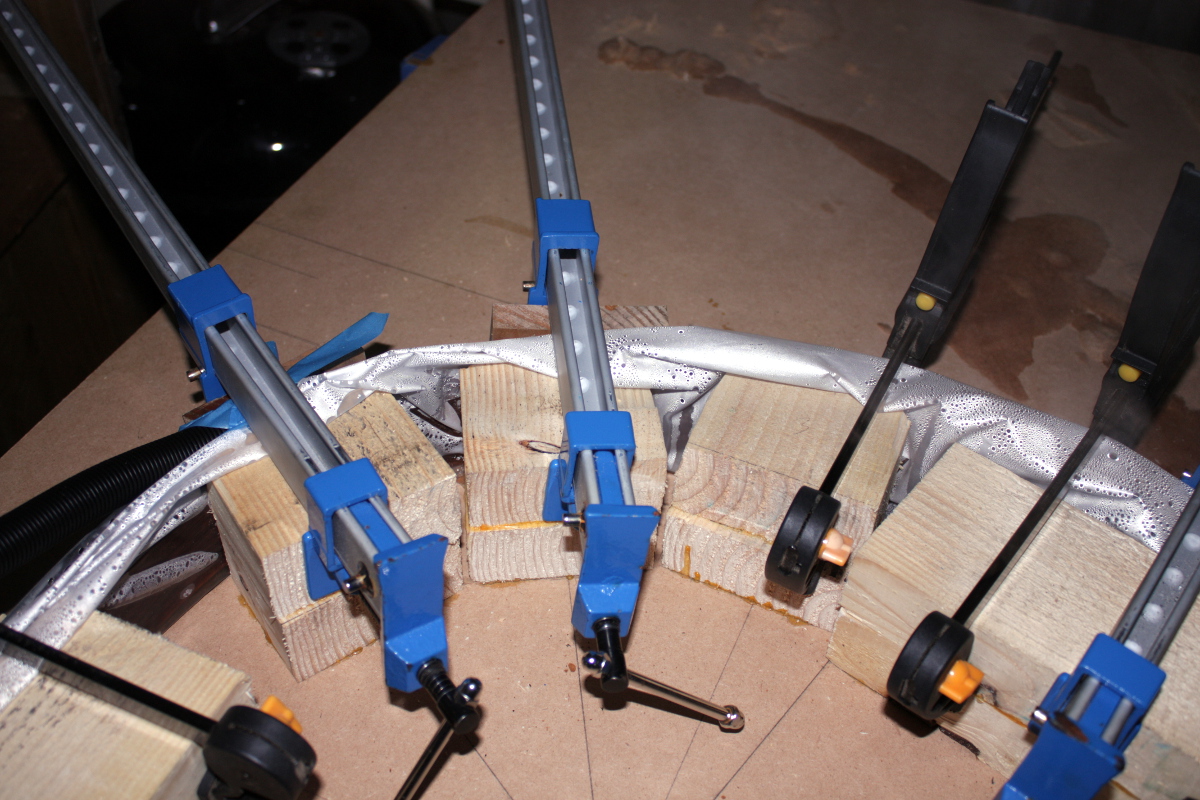
And note that the steam’s still going during all of this. And you leave it going for a while longer (and you put the covers back over it when it’s bent fully too). In this case, it got another half hour or so before the water ran out and then everything stayed on the jig cooling off (under covers so that it didn’t cool too fast) for another two hours, and then all the clamps come off and the piece comes out of the poly tube.
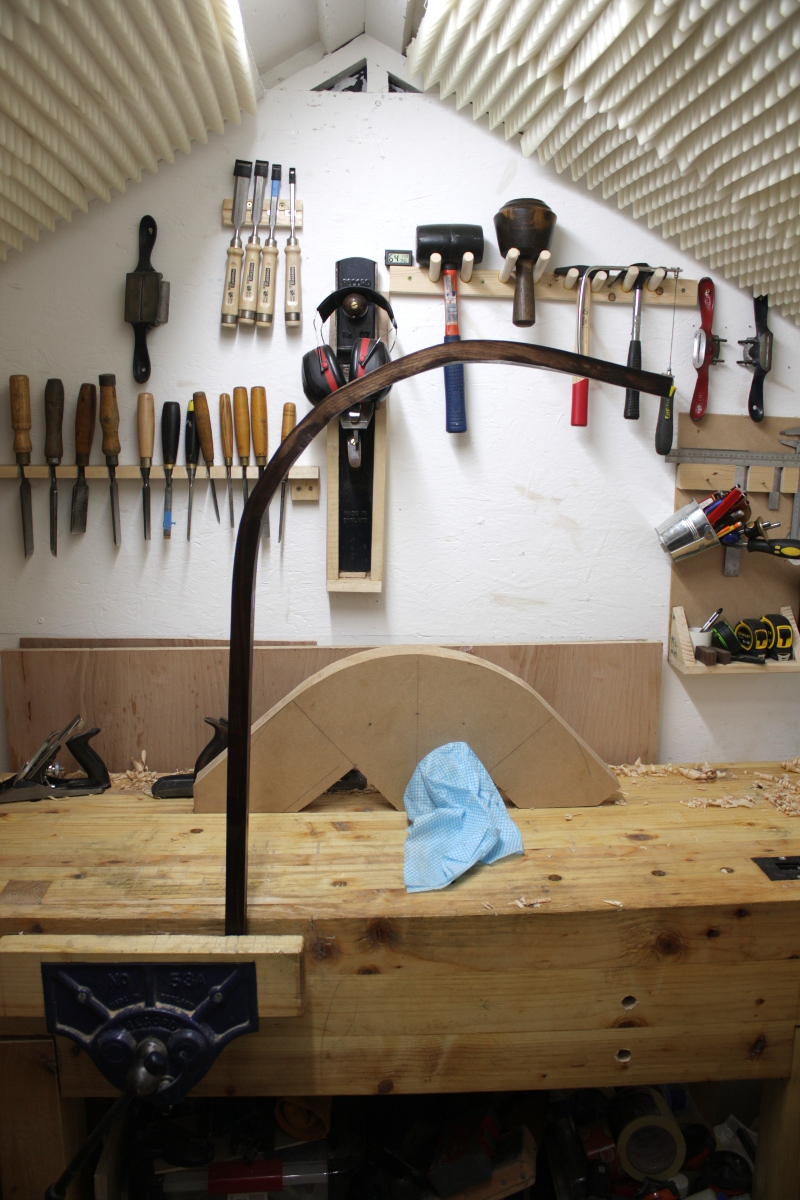
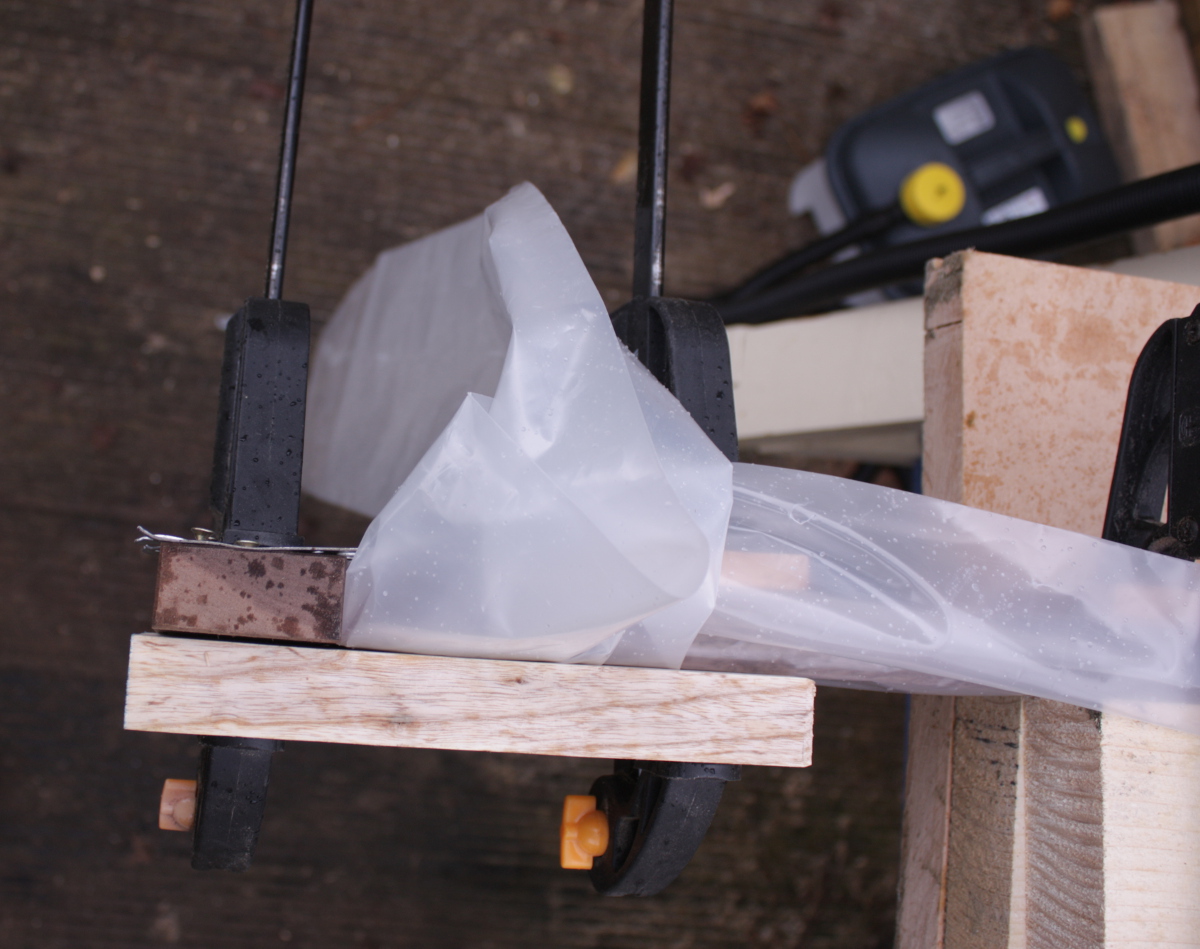
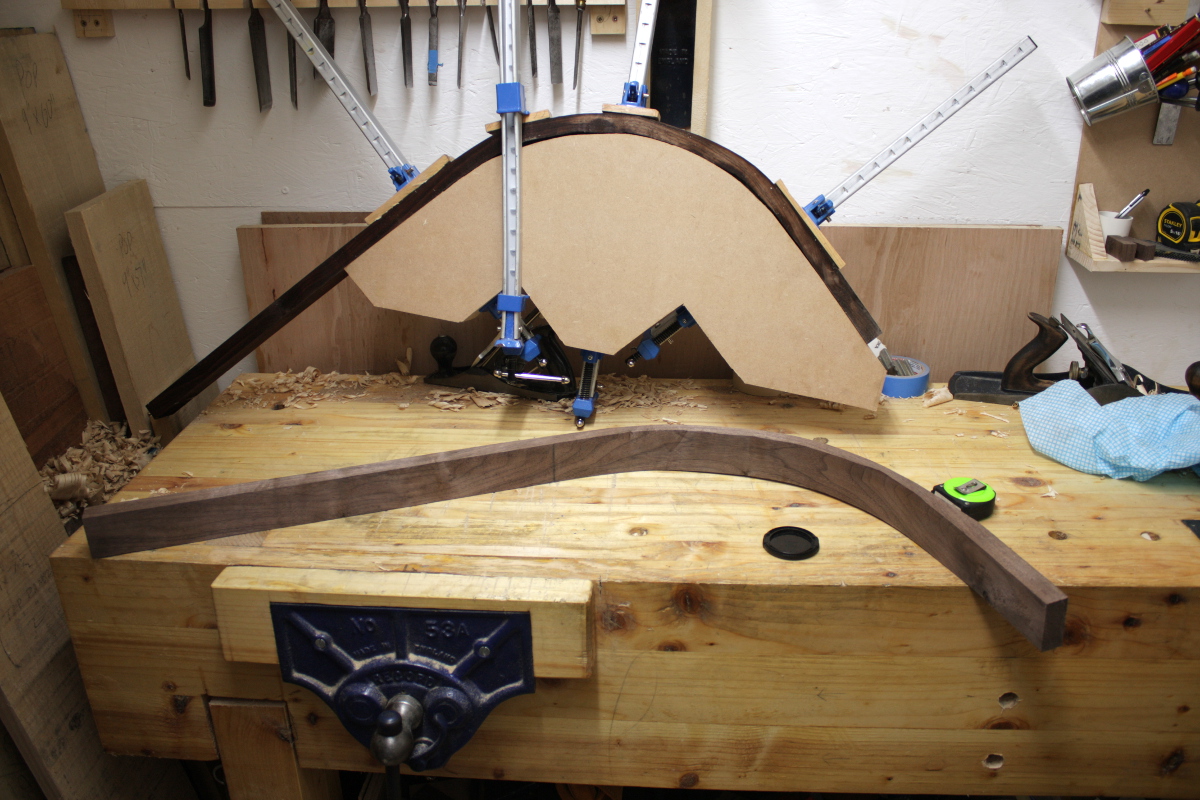
This is annoyingly good. Annoying because there were no splinters or cracking, which means I now have one upright that was perfectly bent and another that was imperfectly bent. Do I match the two or do I bend a third and use #2 and #3? It’d cost another week…
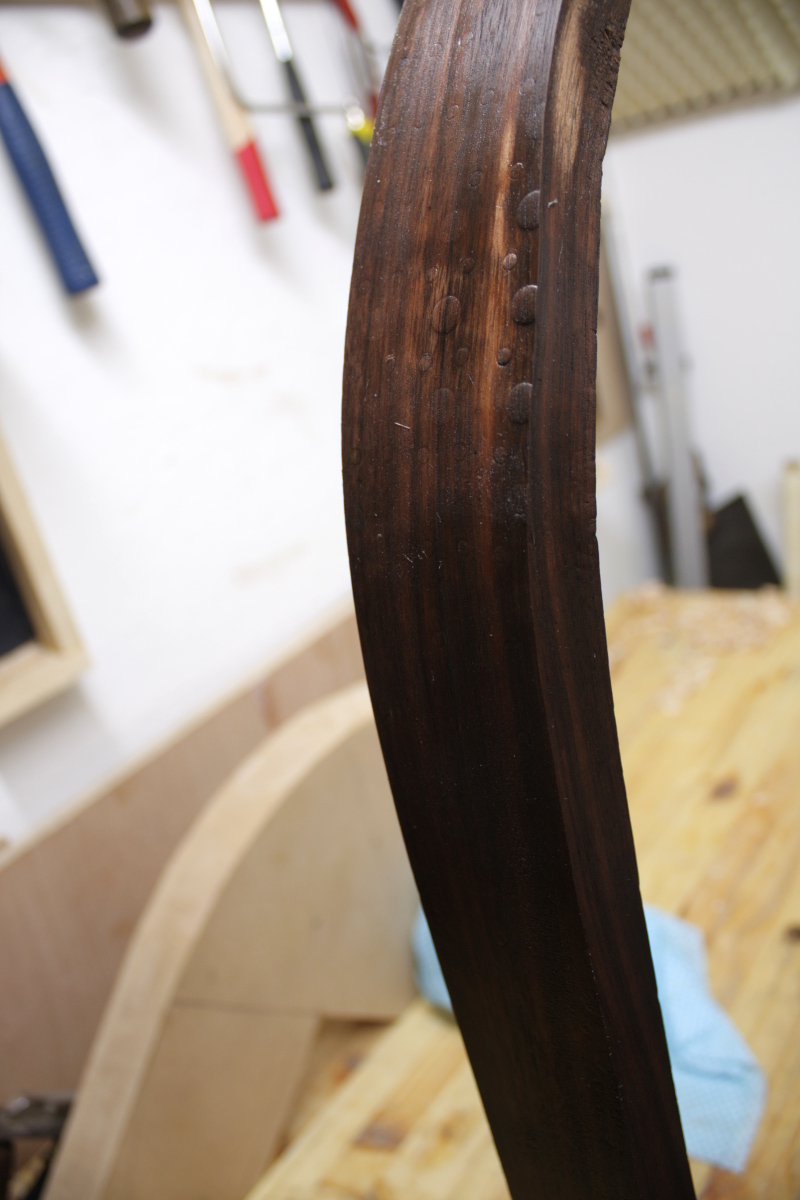
No splintering but some deformation of the surface because I forgot to put the leather between the compression strap and the piece. There’s always something. Well, we’ll let it dry for a week and do some spokeshave work and decide then I guess. Meanwhile, time to take it from the overbent 105 degrees to the final 90 degrees on the drying form.
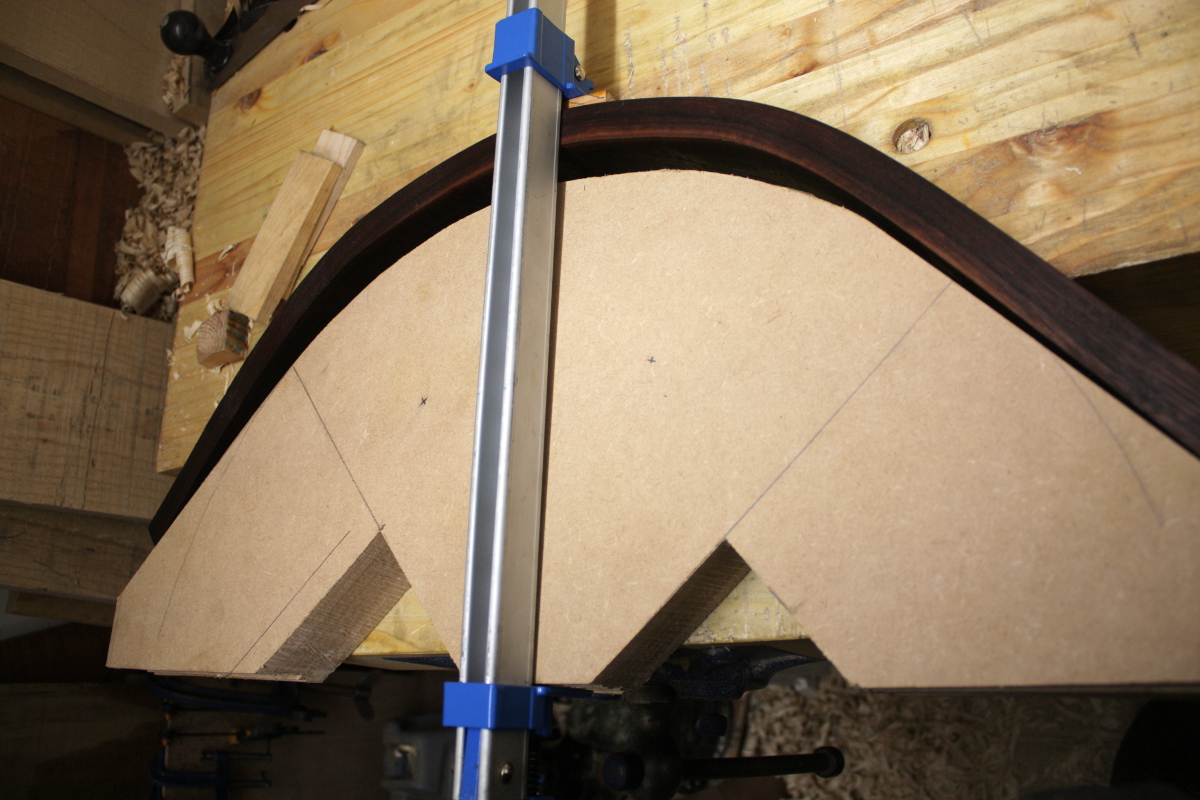
One clamp to start, crank it in a bit and let the two ends slide as needed, then add more clamps to tighten everything up.
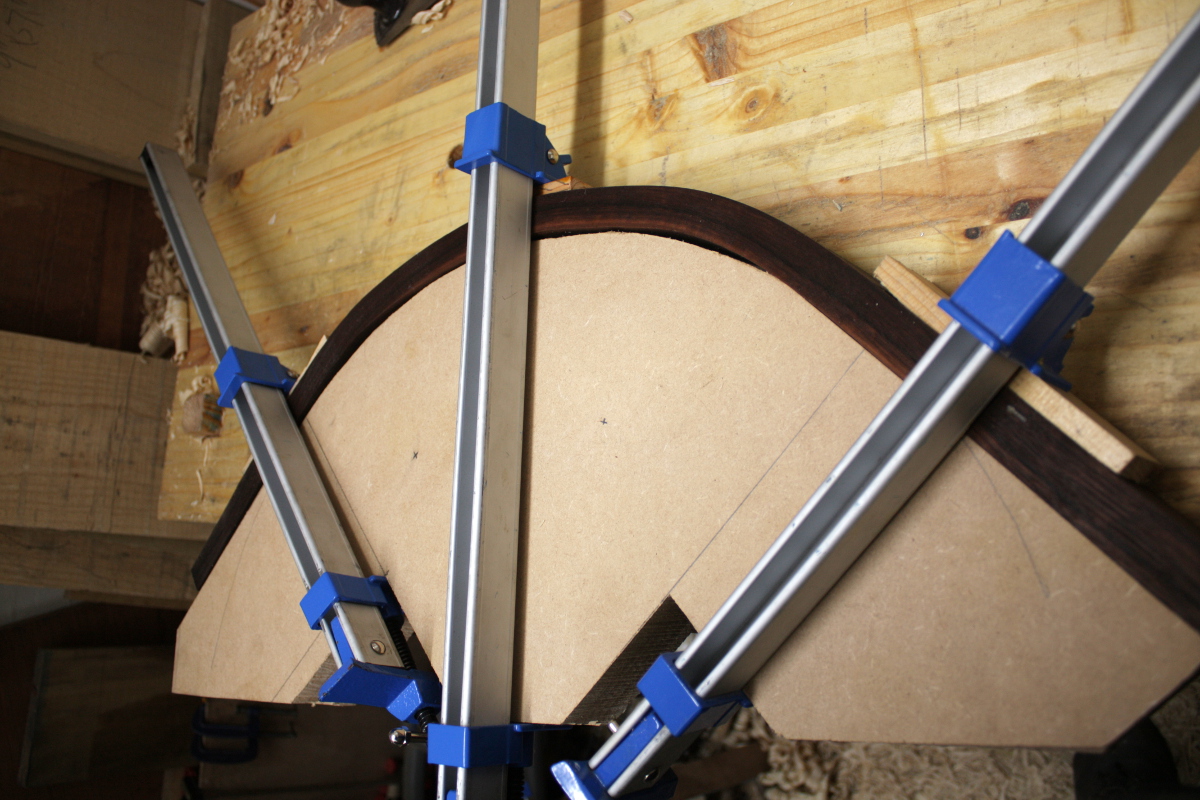
It’s a pretty good fit to the curve so far. Only minor gaps.
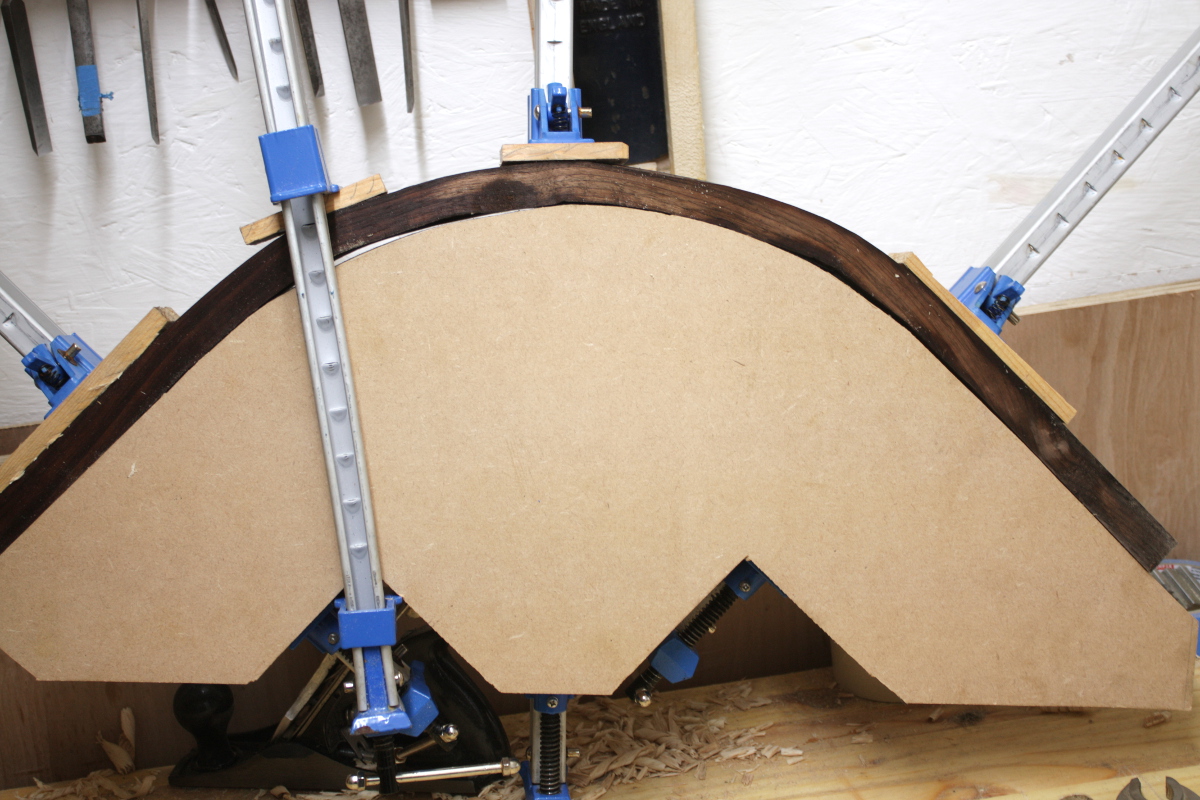
And the form isn’t 100% perfect itself, so this is good enough. And the measurements of the piece match within a few mm to the earlier piece.
Now I guess we just wait for the new piece to finish drying and then do proper comparisons and see if we can get these two to match and use them. They’re both tall enough at least. Now, back to finishing off the top panel…
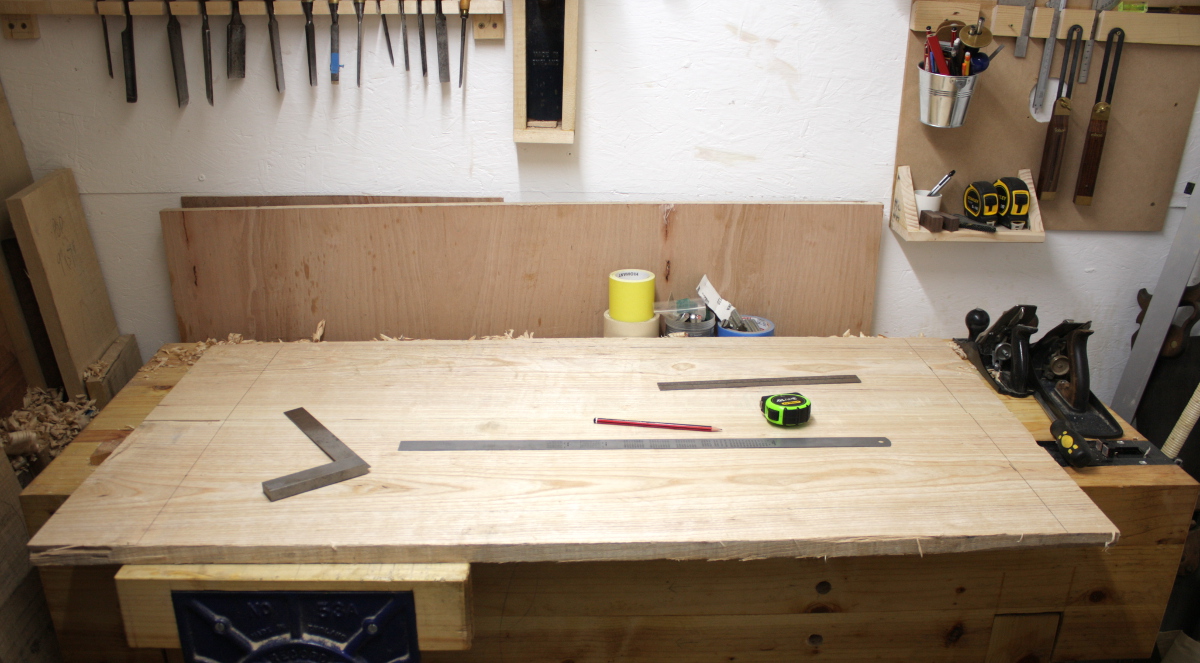
Okay, that’s way too large and too much work to do for planing. Time to rough-cut it down to closer to the final size.
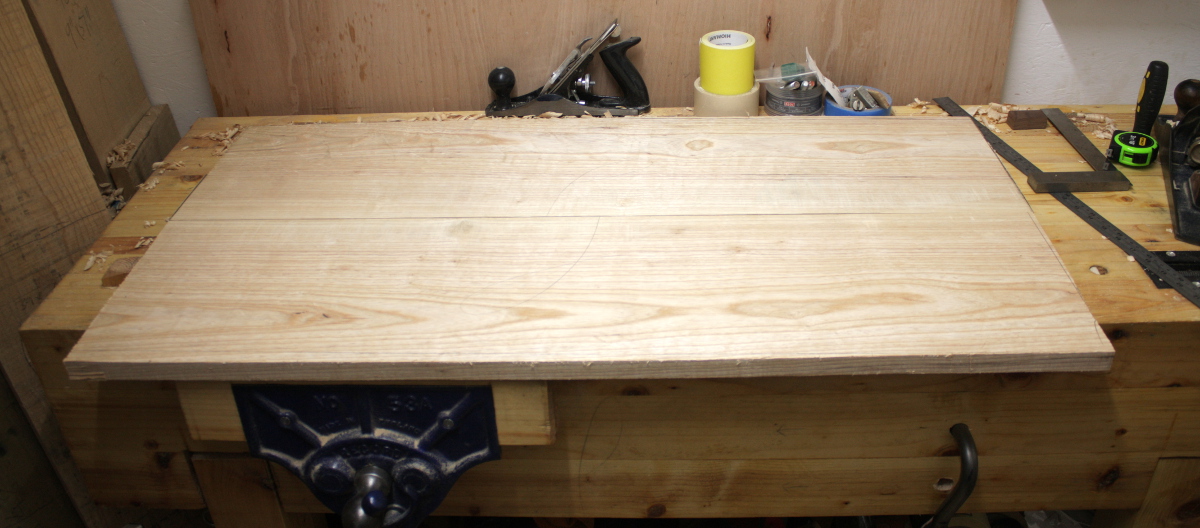
And that’s a bit more manageable. I’ll finish this off tomorrow. And then there’ll just be another three ash panels and one drawer front to do. Yeesh.
And then there’s the frames to put them into as well, but I can’t really tackle those until I have the uprights as they form two of the four vertical frame pieces (there’s a fifth but it’s not involved in the panel layout).
I was reading through Schwartz’s The Anarchist’s Toolchest over the last few weeks, there’s a neat trick he does for frames and panels in the toolchest that I might steal for here, which is to cut two grooves in the frame and the panel pieces instead of one groove and one tongue – then you offset the panel towards the outside of the box and the side wall of the panel’s groove acts as the tongue to the frame’s groove; and the other side wall of the panel stands proud of the frame. And in this case, I’d plane a bevel around the edges of the panels to give a 3-D effect. Have to get the #40 plane up and running for that though, and it’s currently got some corrosion issues…
Tags: crib, hand tools, Woodworking
I think you are better off to reuse parts of the splintered, cracked one(s) for something else and steam bend another. It looks like got the procedure working as it should. And I will never again complain about how small my workshop is.
[…] And it was also where all the gardening stuff was stashed (I’ve since moved that to a storage box outside). There’s a small decking area just outside the shed which has proven useful for some tasks like assembly and in-a-bag steambending: […]