I shouldn’t let four-year-olds near finished cheese presses 🙁
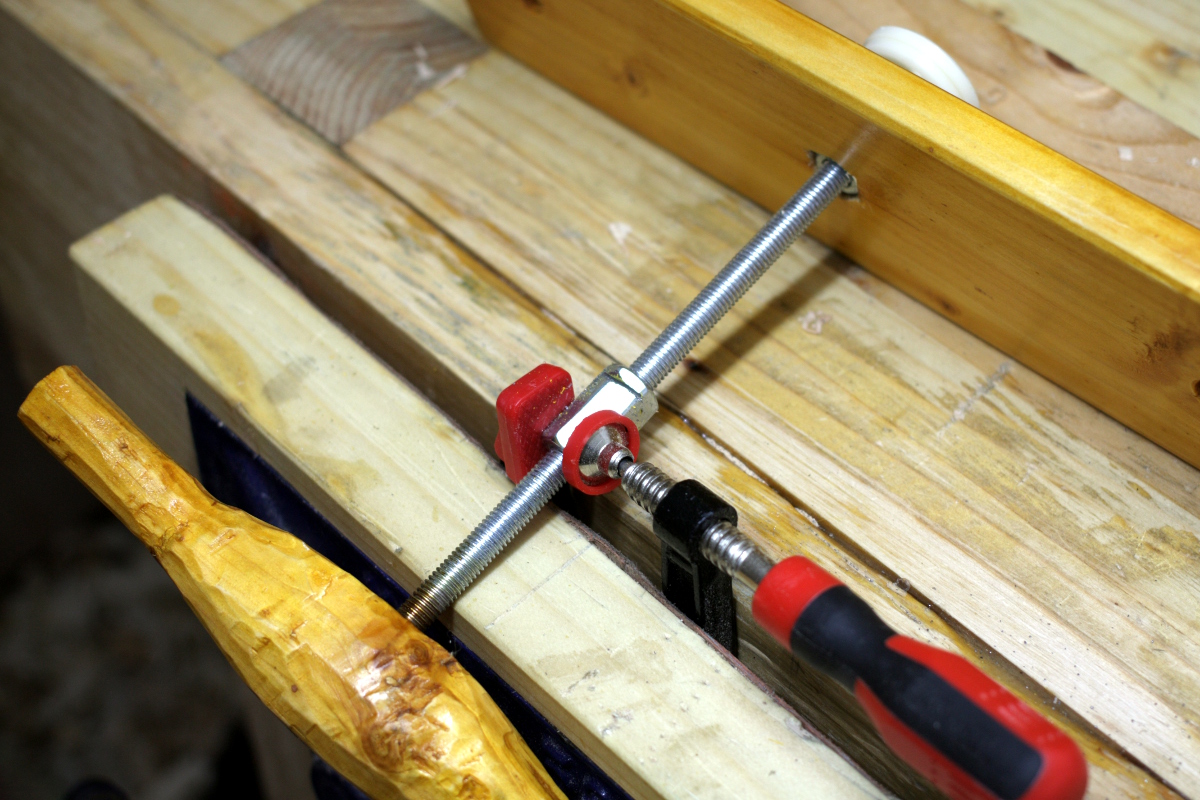
So he was spinning the handle happily and it generated so much pressure with the crossbar cinched down that the nut in the center broke its epoxy bond and pulled right out of the crossbar. Doh. And the pusher plate is epoxied at one end and the handle at the other. Double doh. So I think about it at work and eventually discount the idea of drilling a hole and soldering in a pin because really, you’d want to weld that and I have no welder. Also, metal droplets at several hundred degrees centigrade hitting all those wood shavings beside all those finishing chemicals… er, no.
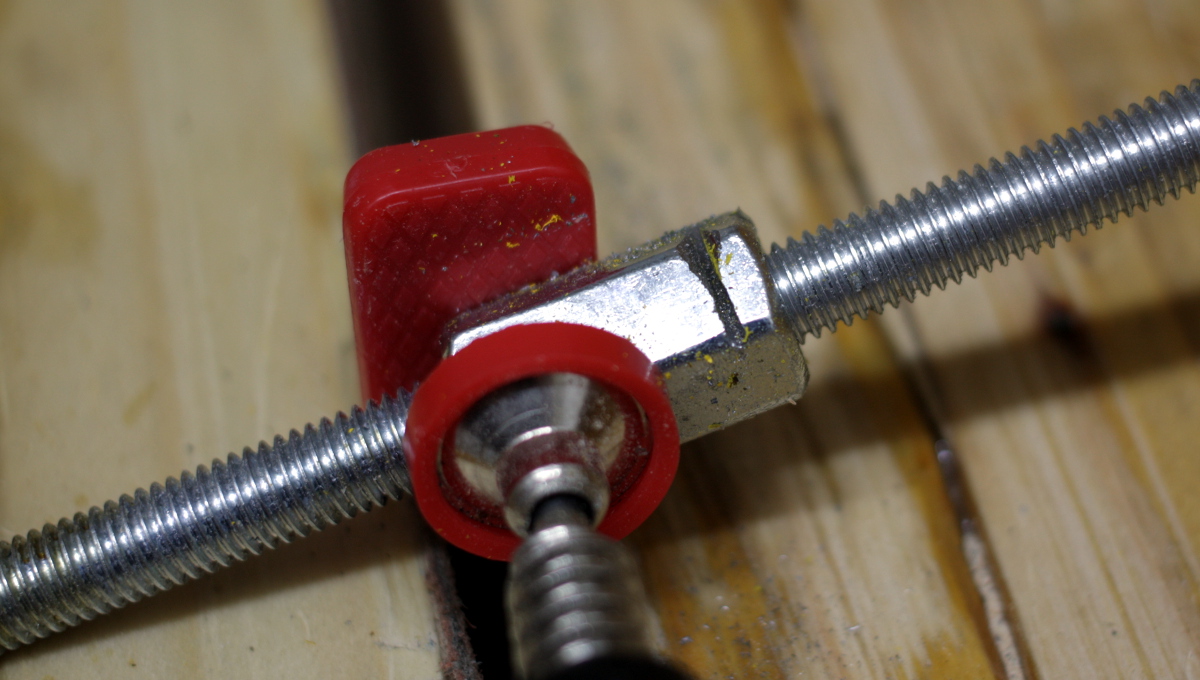
So instead I clamp a clamp in the vice (workholding for this was painful), and cut a slot in the nut with a hacksaw (a new fullsize one because that Draper dross was unusable) and widen it with a file:
This takes a while to do, but I have a cunning plan…
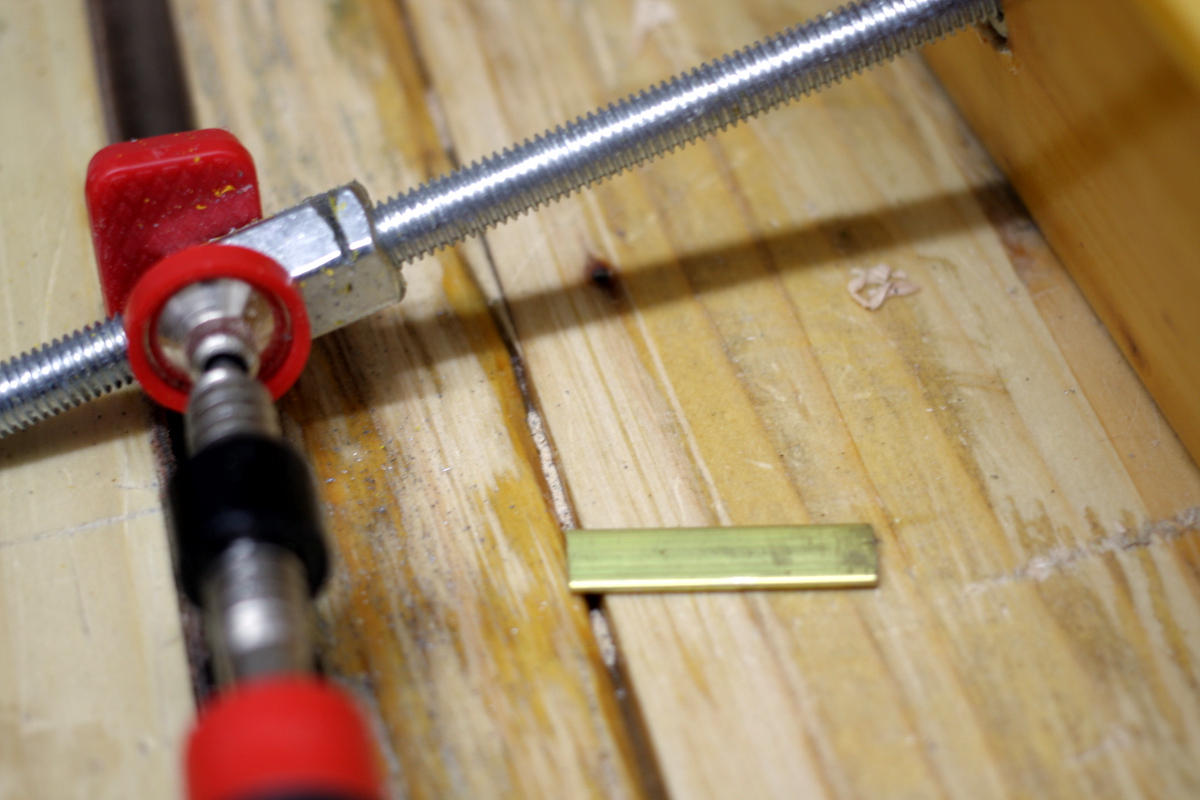
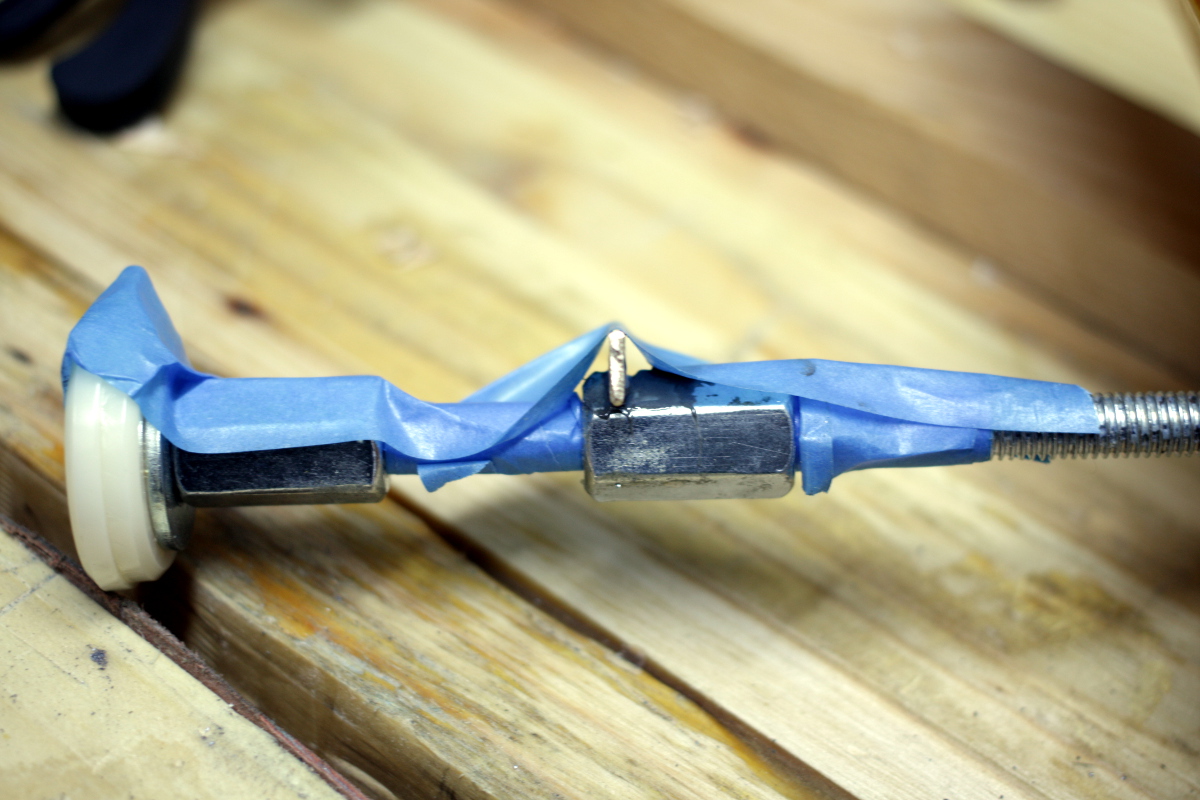
I had to get some brass for the cot anyway for drawer bearing surfaces, so I got a little extra and cut a small piece off it (the rest will get used in a few other things). I couldn’t find any JB weld, but I could find an araldite metal epoxy, so I mix up some of that, fill the slot with it, shove the brass in, slather some more epoxy on that, and then swear many, many times at all my clamps as they all fail to clamp it in place, and I eventually resort to tape.
I’ll give that a few days to cure and then I’ll cut a fairly precise (ha!) mortice in the crossbarwith the marking knife and a small chisel and epoxy the nut and the bar back into the crossbar. Hopefully that will act as an anchor for the nut in the crossbar. We’ll see…
Then on to the slats and thicknessing.
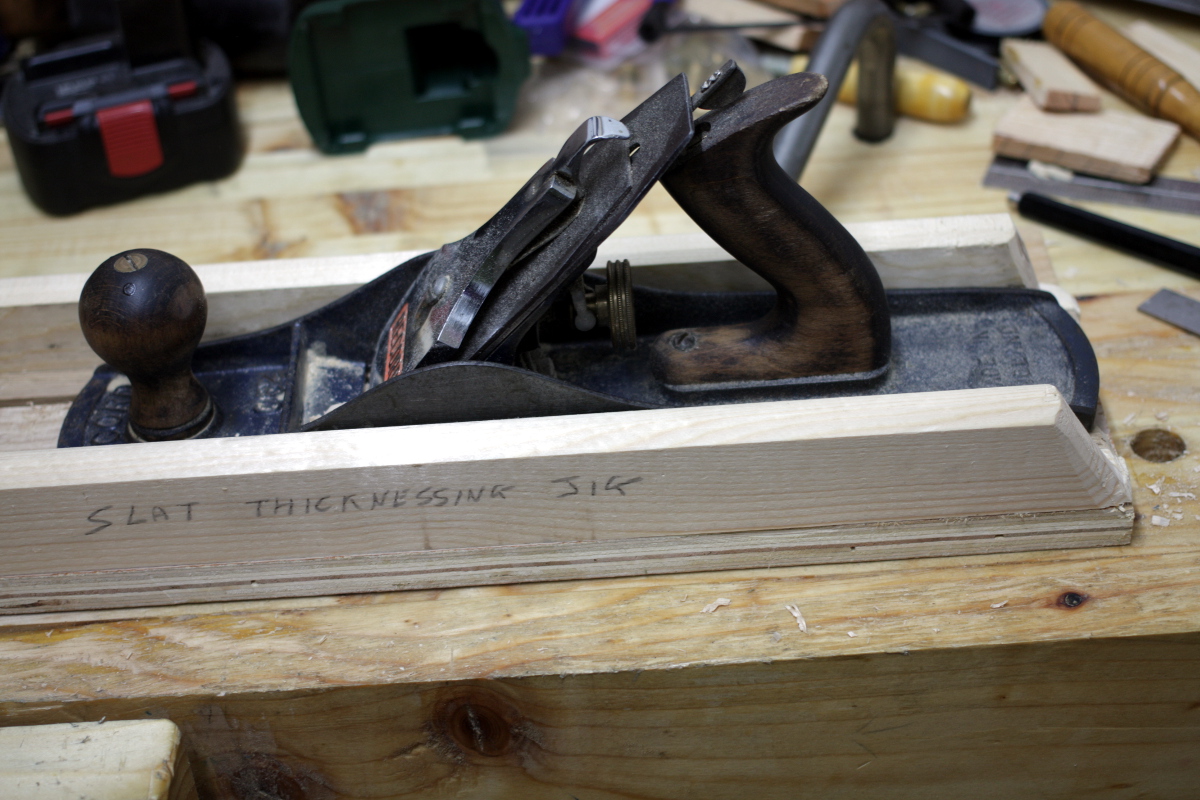
It’s very simple. You put the slat in the jig, you put the plane on the slat…
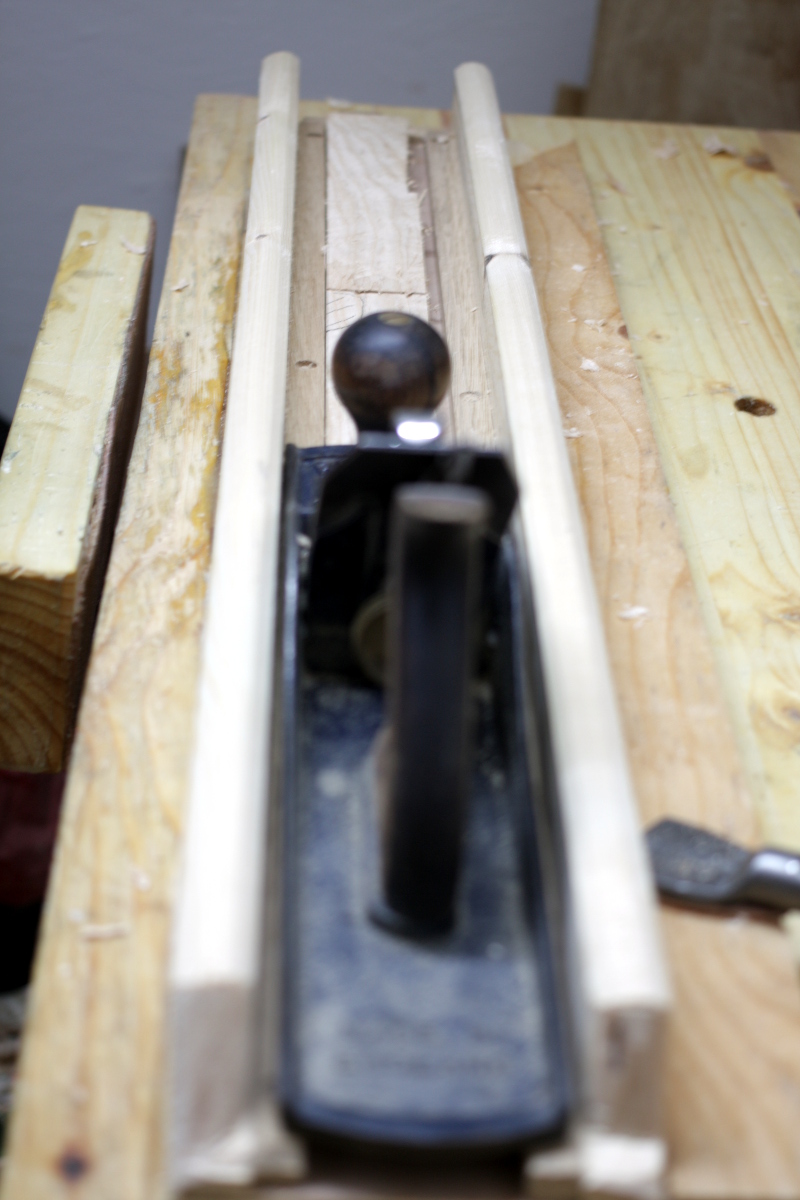 …then you push the plane back and forth until the slat is at the right thickness…
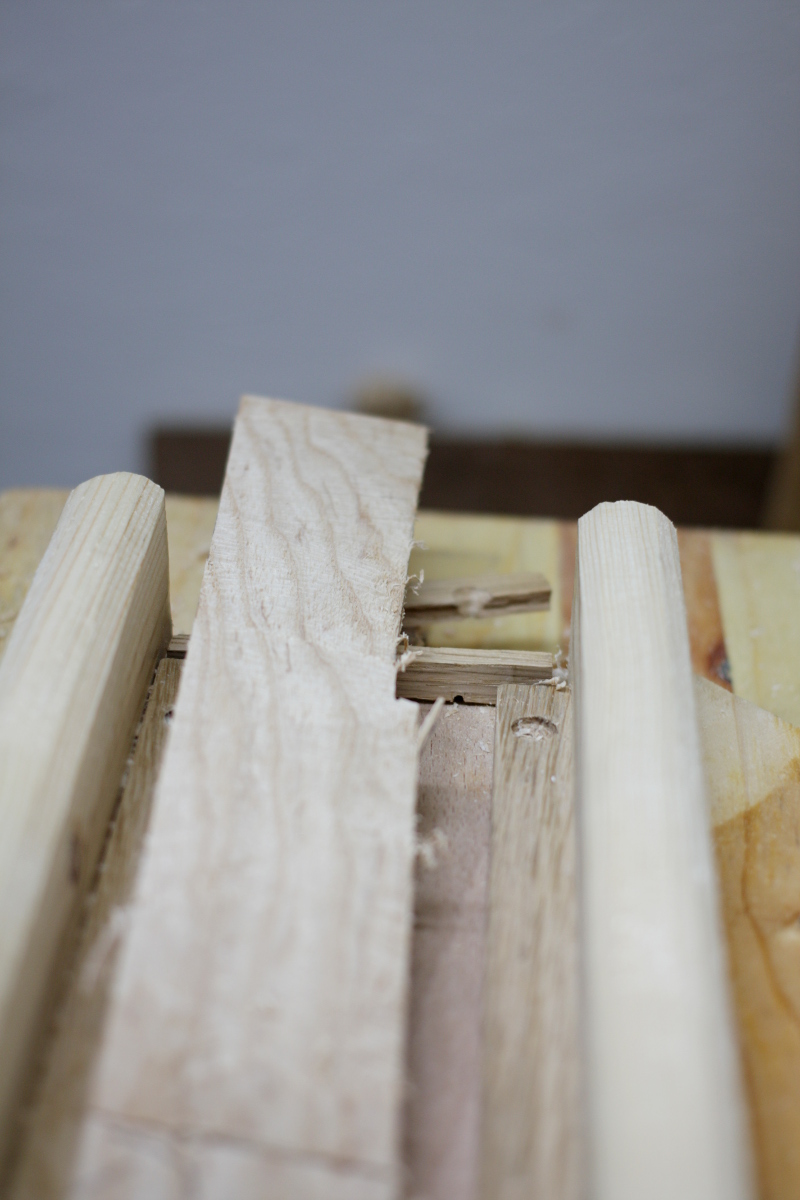
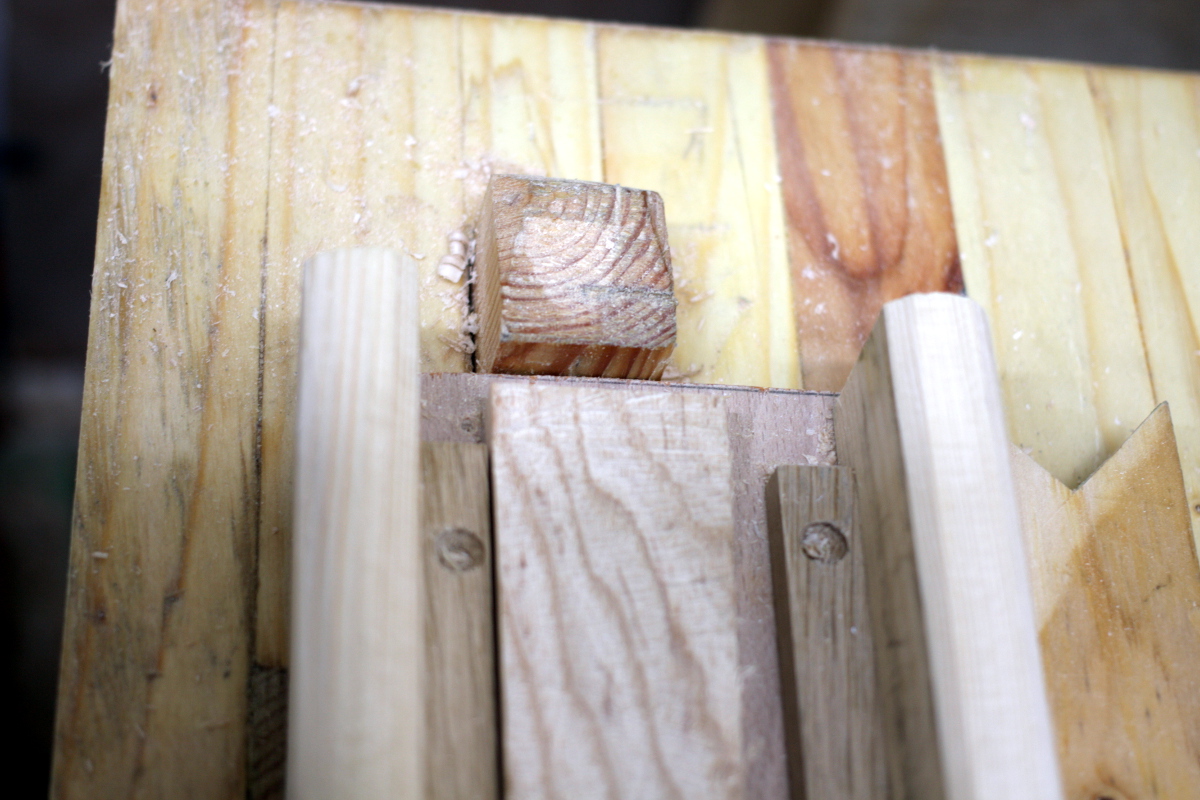
…or until the blade of the plane chatters, catches on the slat because the slat is slightly bowed, and smashes through and over the stop at the end of the jig destroying it. Oh, bother.
Well, what good is a planing stop that can’t act as a stop when planing, right?
/sigh
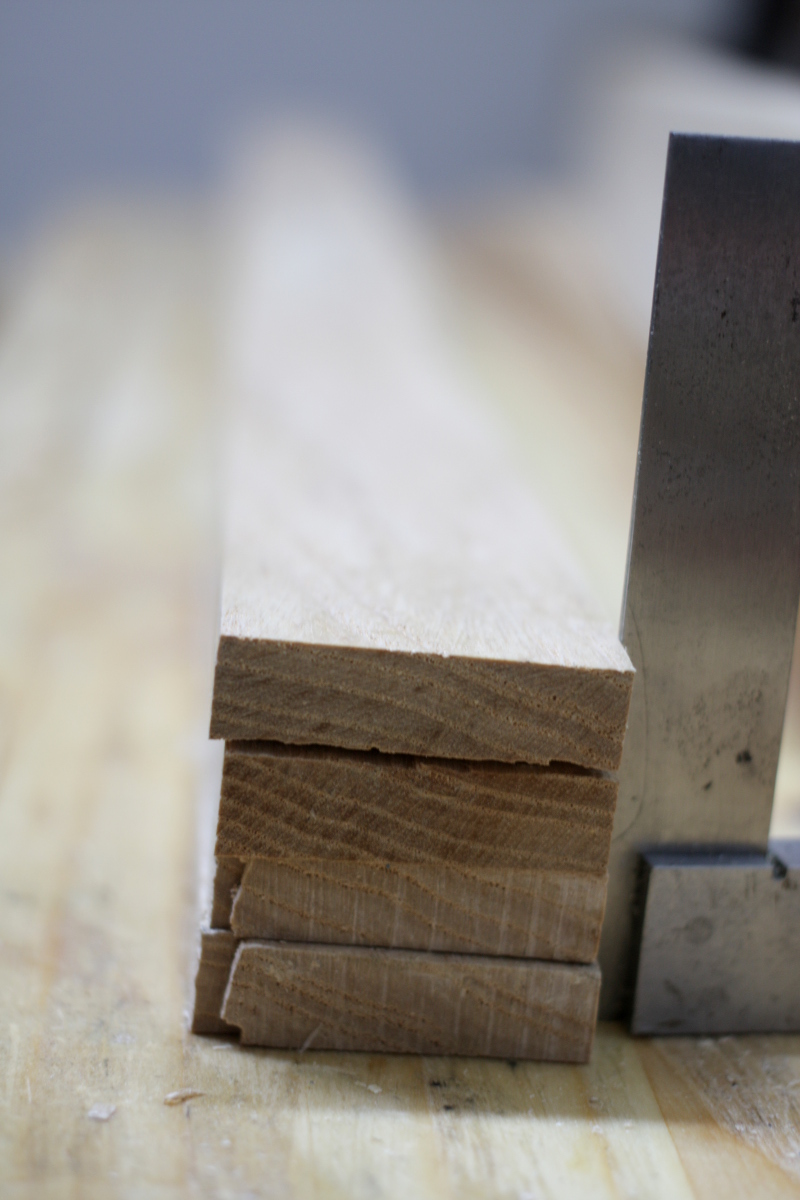
Still, it worked and let me get on with it. So now I have four slats planed to thickness and with squared edges (though there’s some slight bowing…)
Tags: cheese press, crib, hand tools, tools, Woodworking
