ARGH.
Days of this. But it’s okay, the bench and the nice ash, poplar and walnut I got for a project is all under waterproof tarps.
You can see where this is going, can’t you?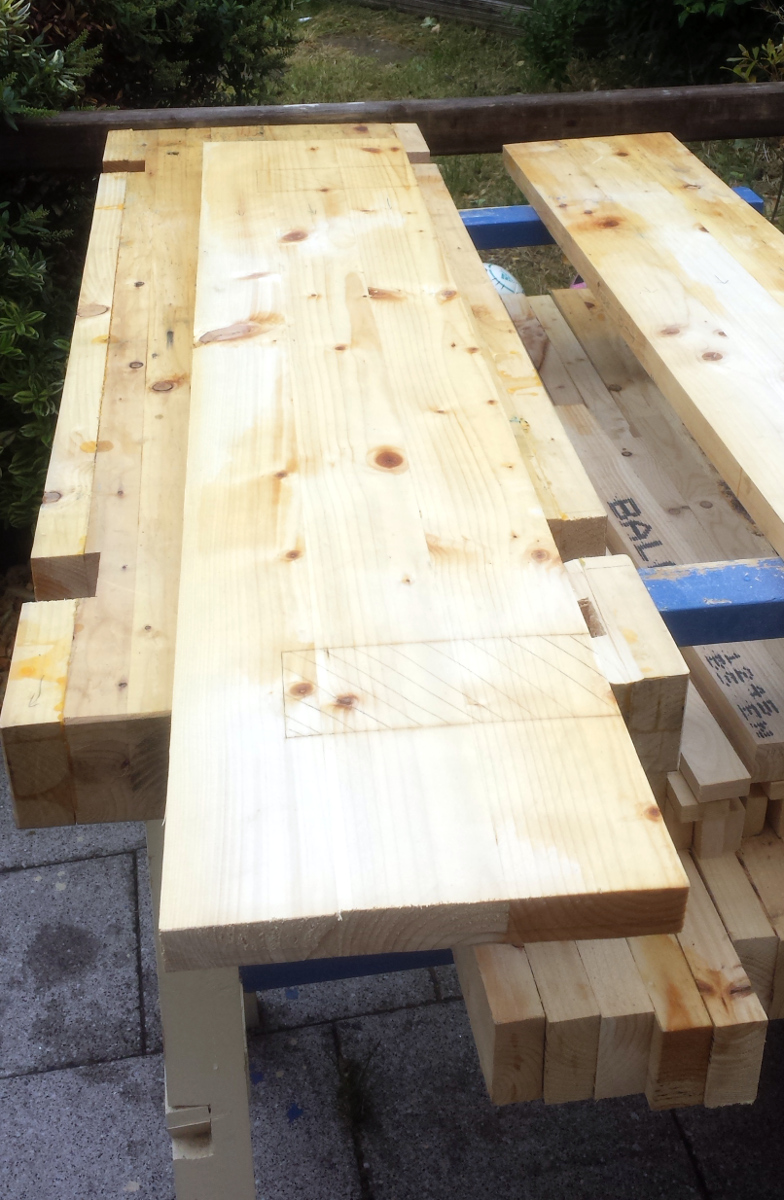
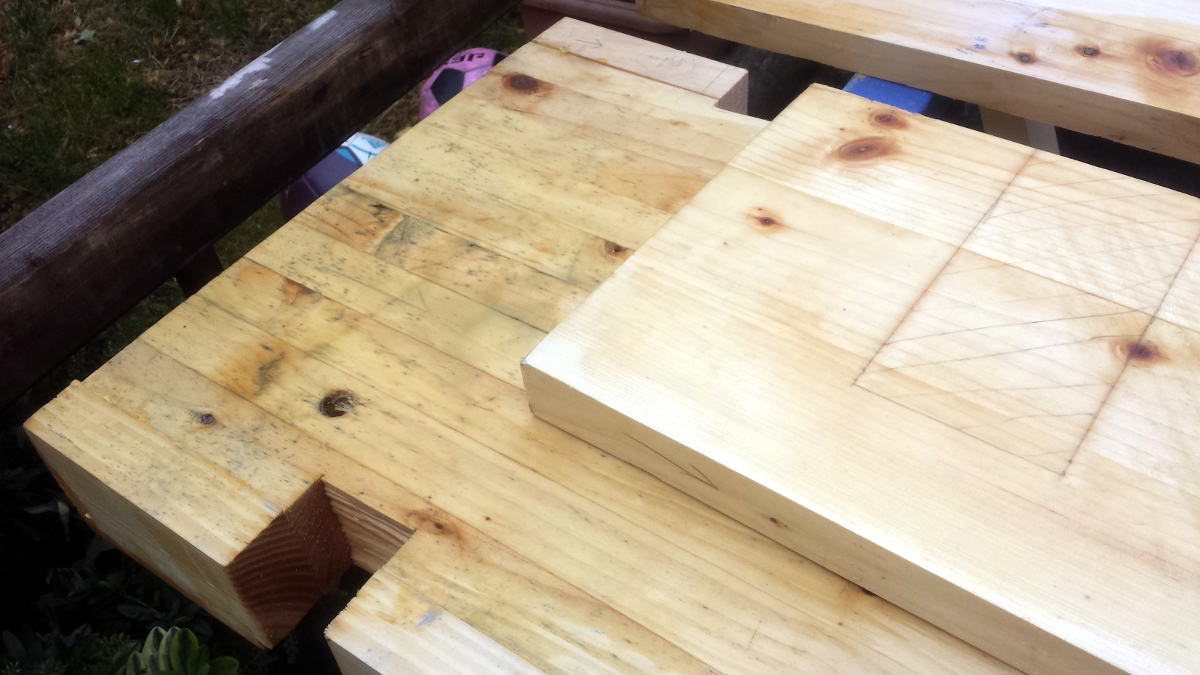
The tarps weren’t waterproof. They had small leaks. So the timber’s not waterlogged, but there was standing surface water on it in places. Gah. Well, screw it, I’ll just get as much done in the six hours I have before the storm is forecast to get here and I’ll move everything to the shed afterwards. So off we go cutting the dados in the back apron for the legs with chisel and tidying up with the #71.
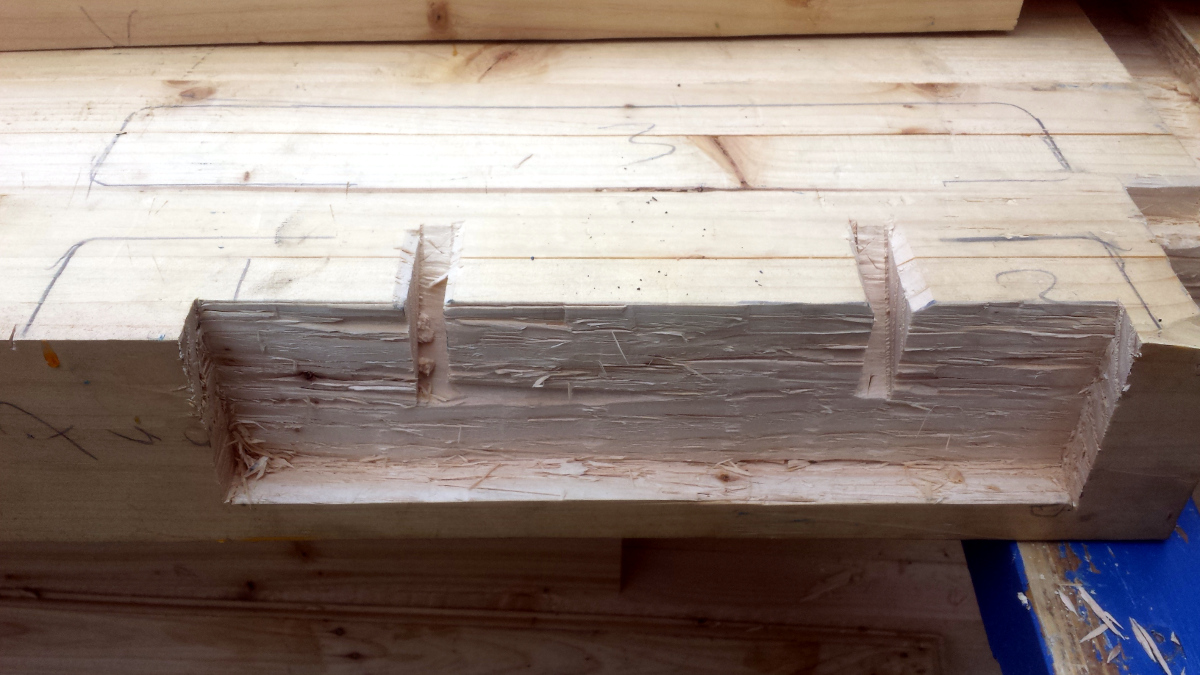
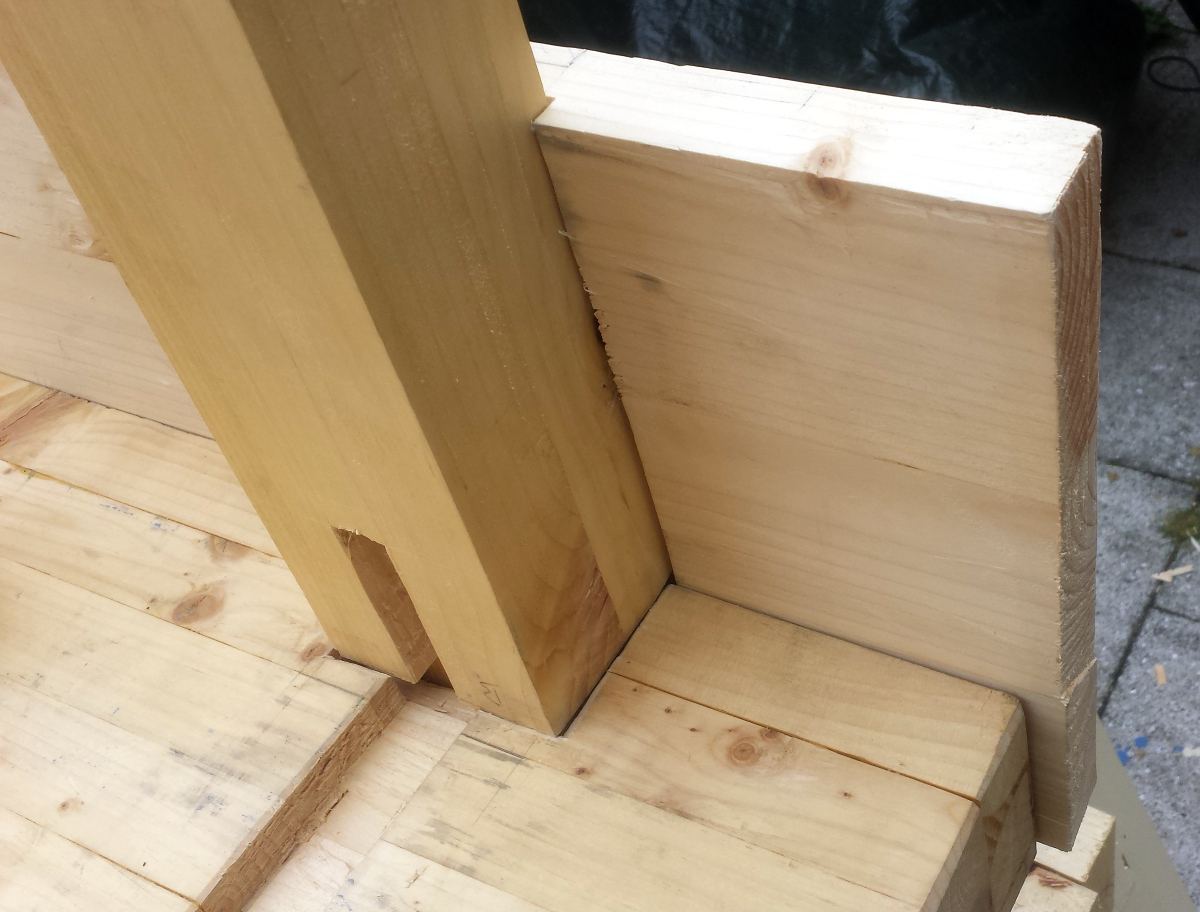
Well, it was loud and took a while, but that’s pretty good and even. Cool. Even fits the legs well. Now, what’s next… well, let’s cut the joint at the bottom of the front apron that fits into the front legs. It’s just a dado, so same approach.
That’s not too bad. Okay, so on to the vice mounting. Maybe I should cut a mortice into the back of the front apron for the record 53’s rear jaw?
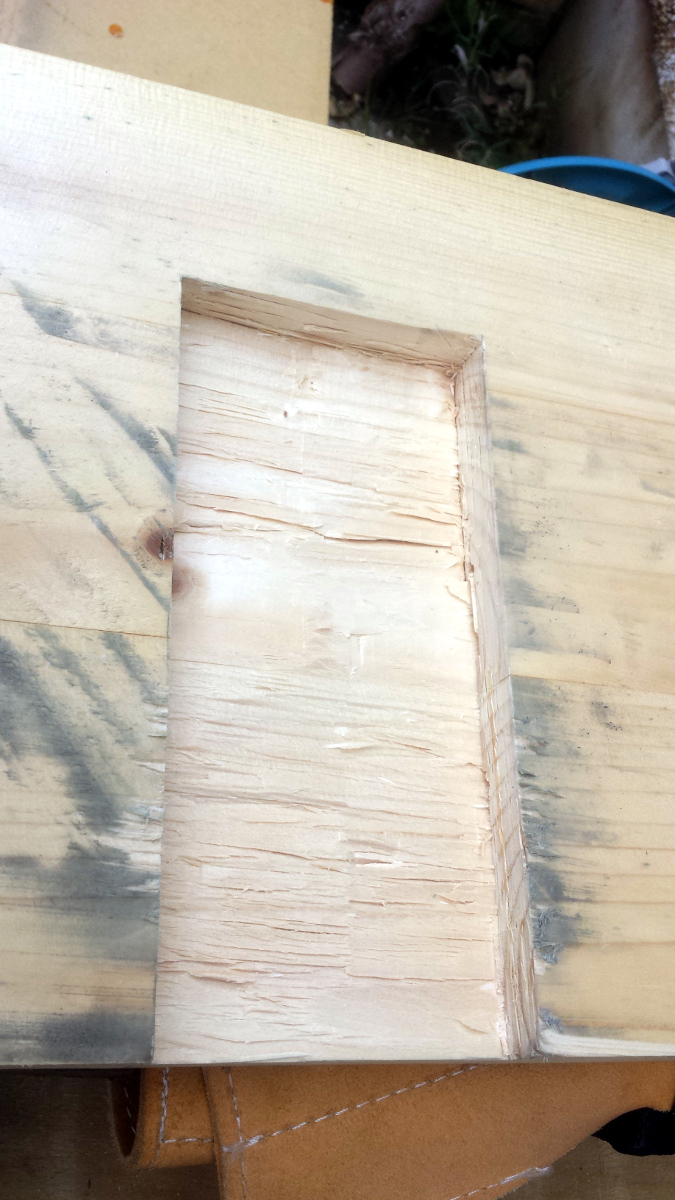
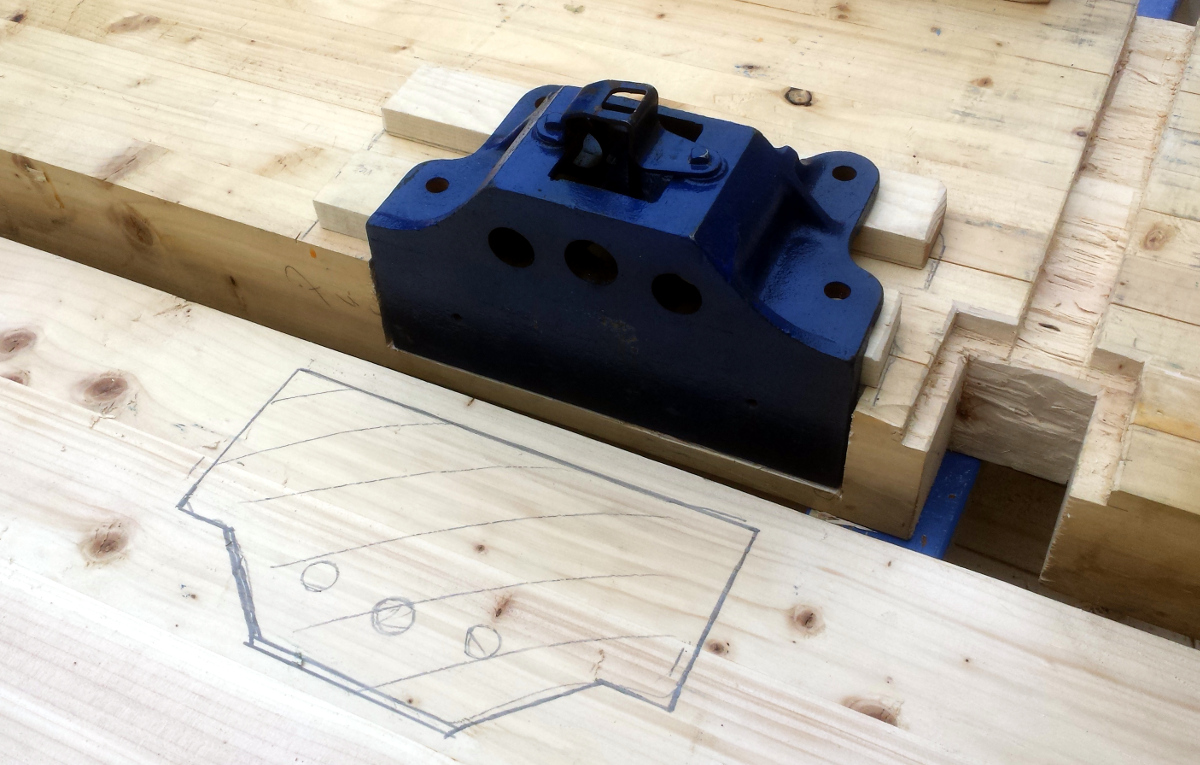
Er. That looks terribly complex. And the edge of the mortice is close to the edge of the dado joint on the opposite side, which seems a bit weak (more for when cutting the mortice rather than in use). So instead, just cut out a smaller, simpler, rectangular relief in the bottom of the benchtop so the edge of the vice face is flush with the bench face inside the apron:
That worked pretty well, for something that was just chopped out with a wide chisel and a lot of percussion.
Anyone else hearing the “oh pineapple!” moment coming yet? No? Newbies 😀
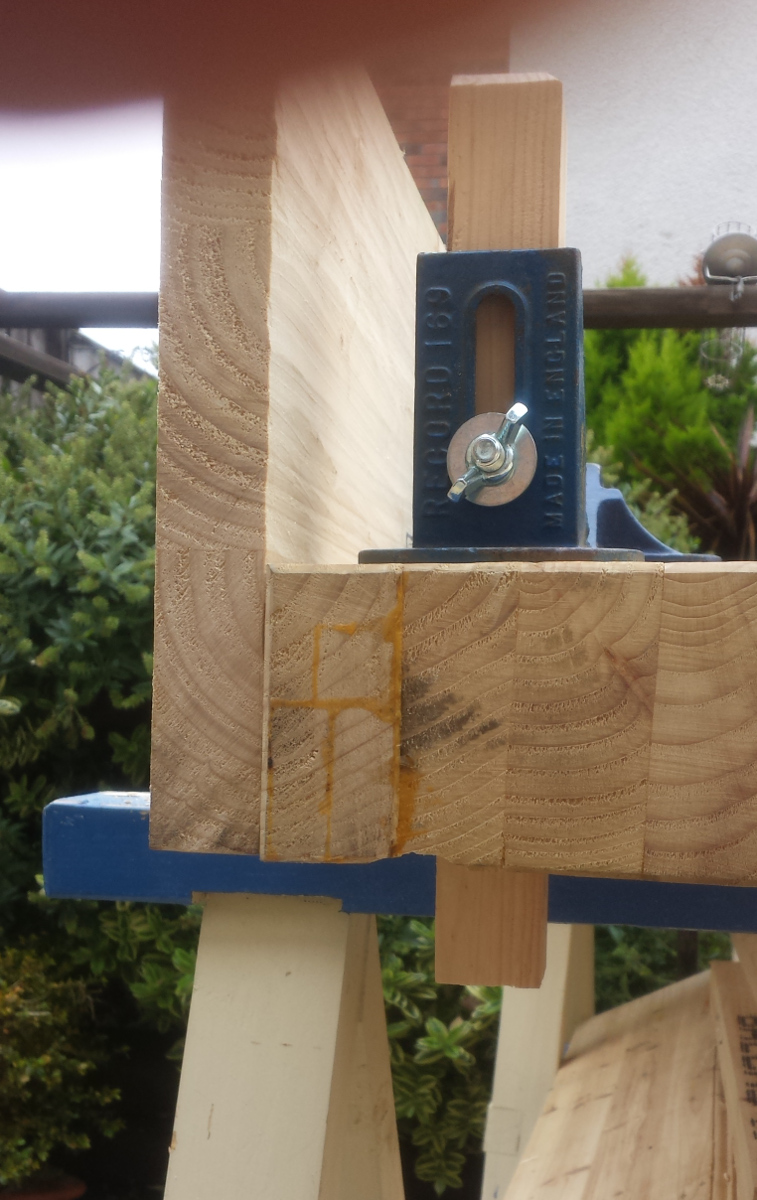
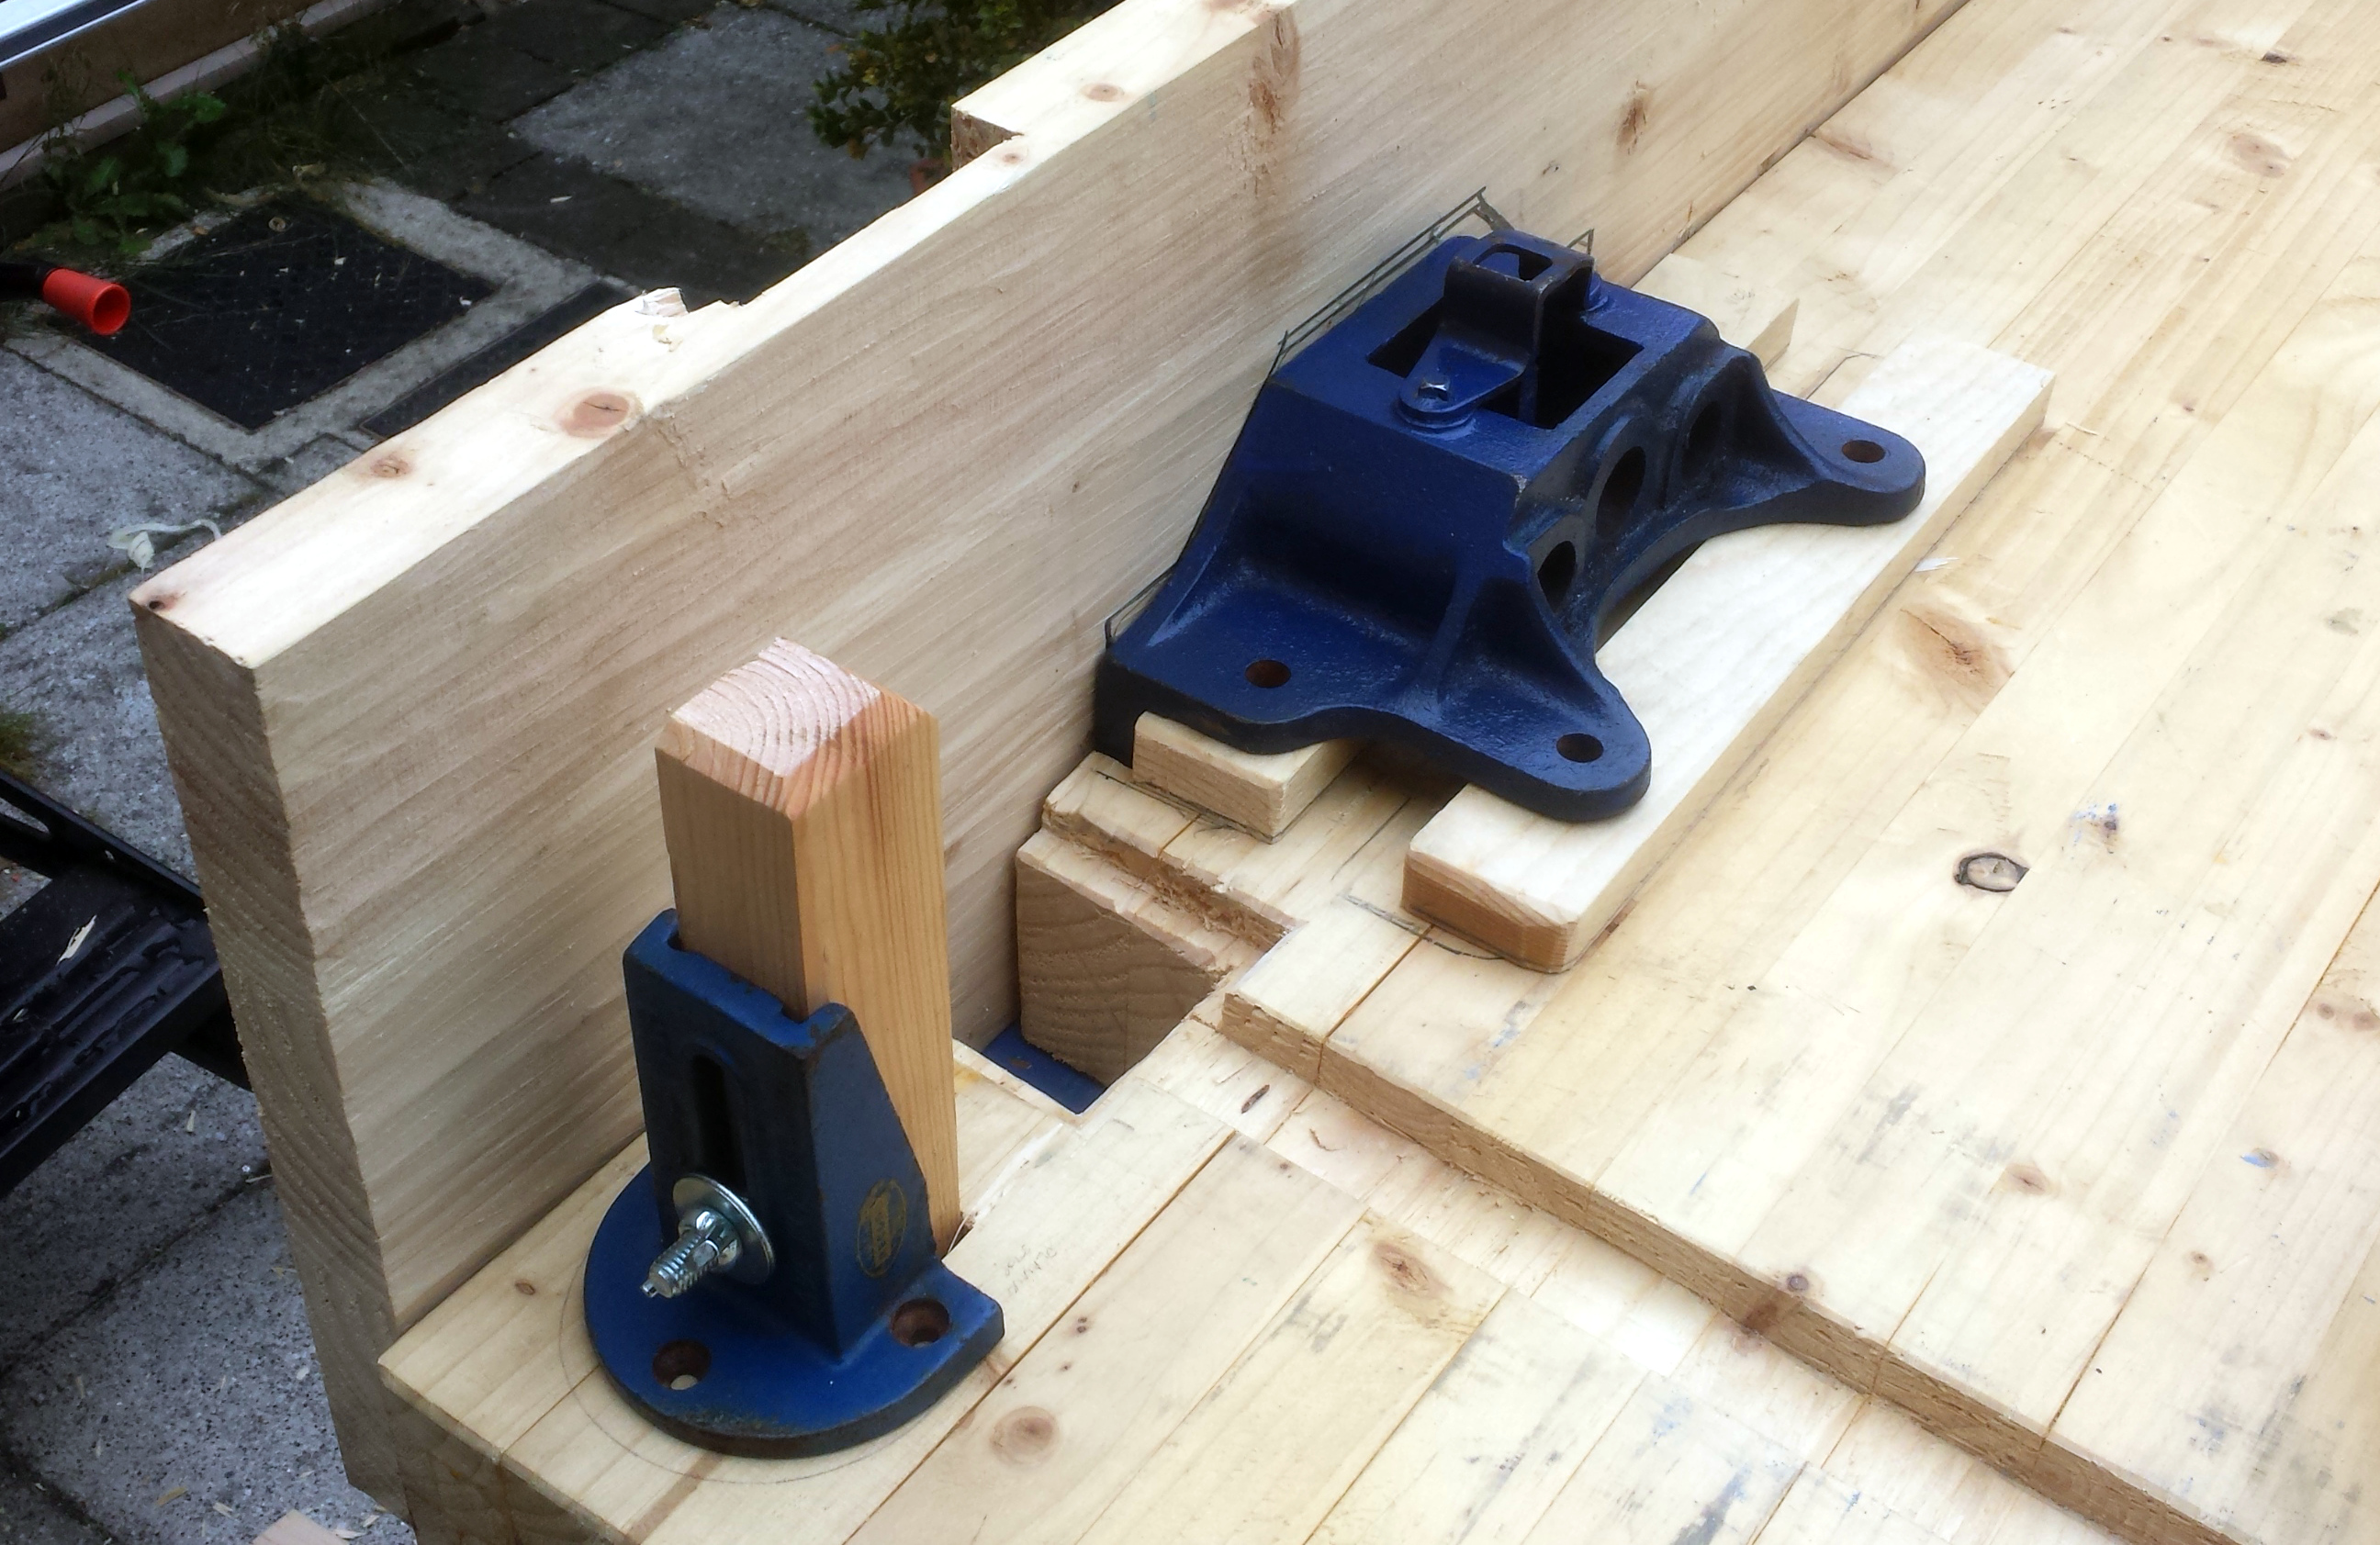
Next, let’s finish off the planing stop, so I tidied up the mortice, planed down a spare chunk of pine as a temporary stop to see what it’ll look like (maybe I’ll make a better one later) and drilled through it with a cordless drill and a 10mm brad point (first time I’ve used a power tool on this since the chop saw, but it’s for a bit I’m going to redo later so I’m saying it doesn’t count 😀 ), then counterbored on one side with a fostner bit to give room for the bolt head (because the bolt’s not long enough to get through the stop and the record 169 holder) and assembled the whole lot (hole lot? 😀 ):
Yes, you’re not supposed to put your thumb over the lens, I know…
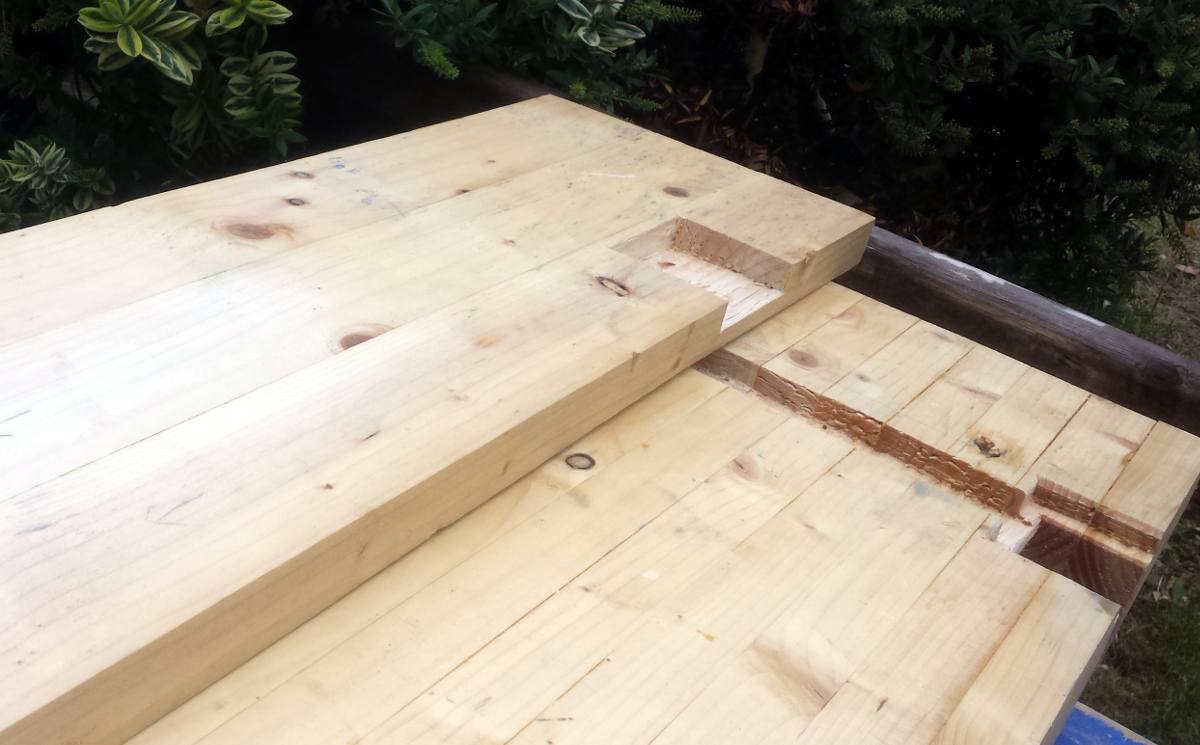
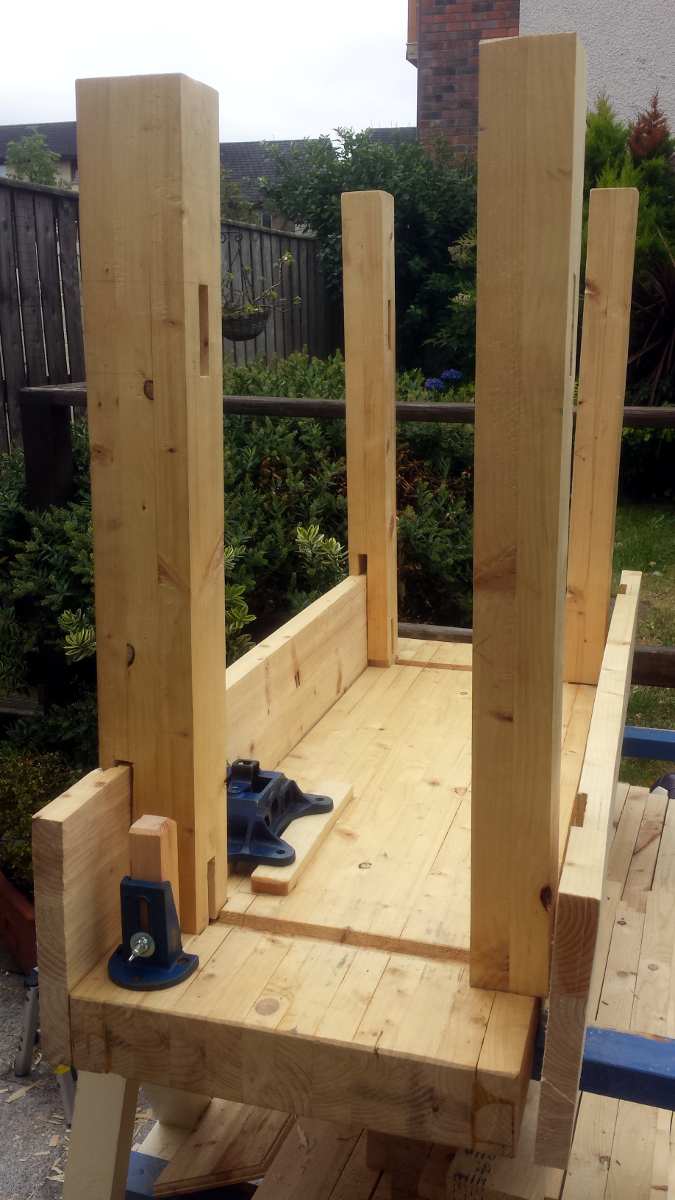
Maybe I should try a bit of a dry-fit of the bench, see how it’s holding up. That’s kindof complicated by the wood having gotten wet, so it’s more a damp-fit, and it’s tight because everything’s swelled a bit. But okay…
Wait, what?
Why…. what the….
Oooohhhhhhh. Pineapple. Under the pineappling sea pineapple. Dammit.
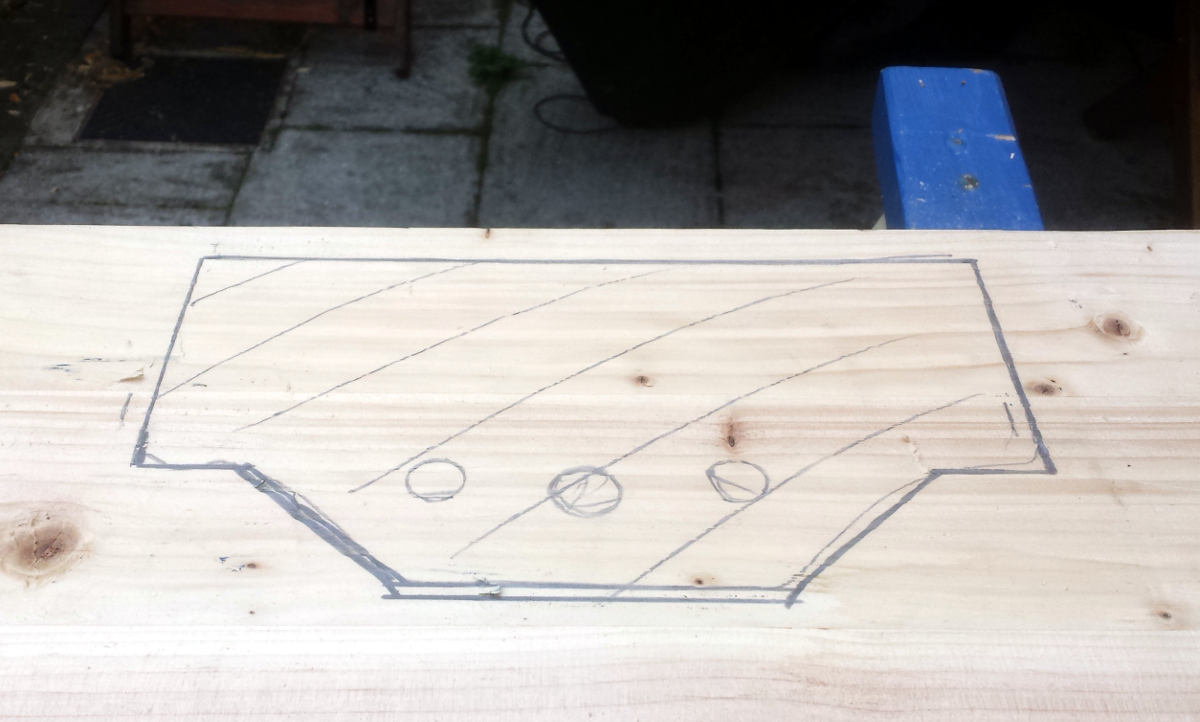
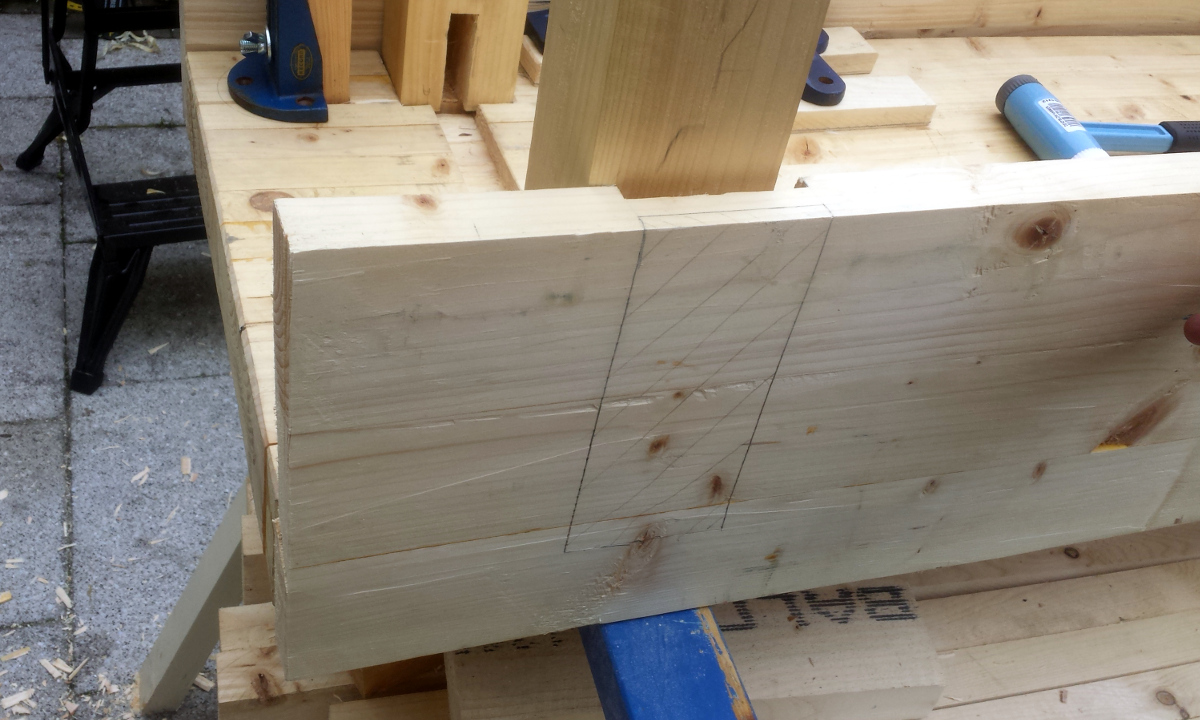
Remember this?
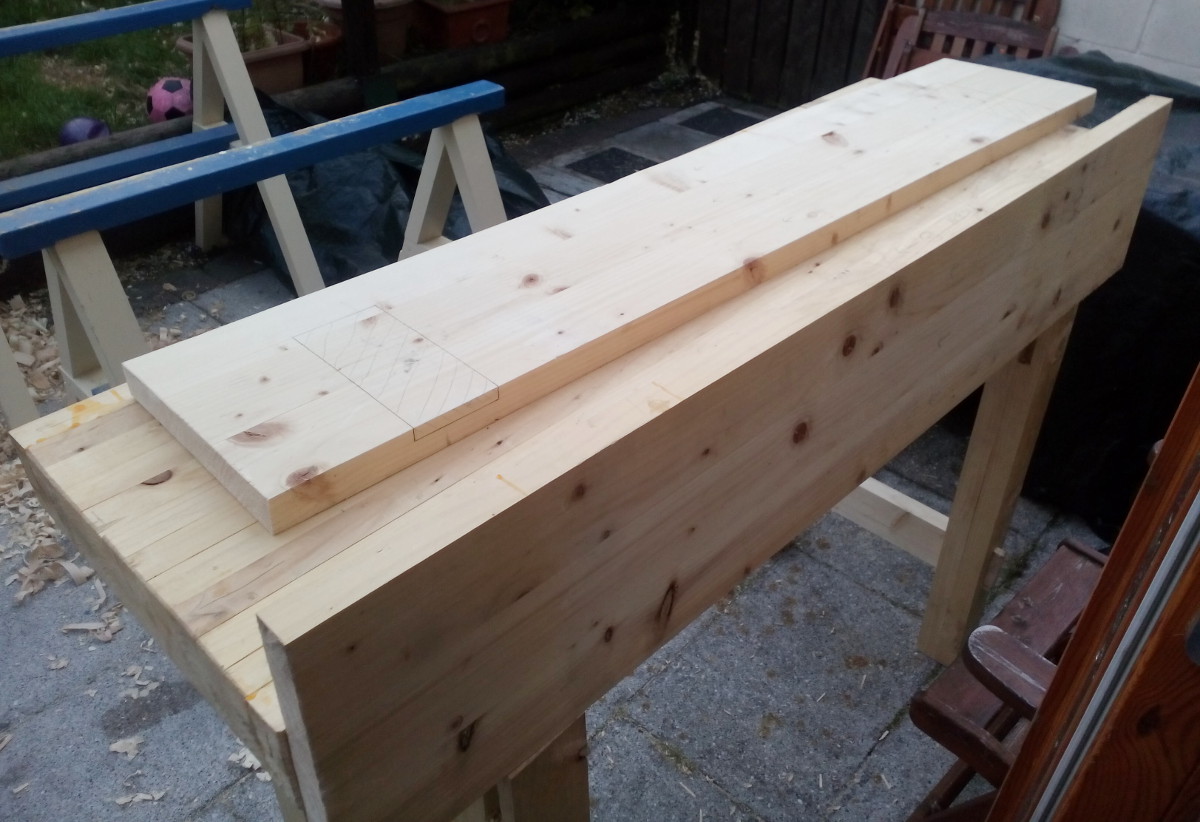
And I marked out the dados for the back board as well…
…and then I cursed a bit and re-marked for the dados on the correct face of the board. Sheesh.
When I re-marked for the dados on the correct face, I just transferred the lines around with a square; but the legs are not exactly the same distance from the bench ends on either end. One’s a centimeter closer to the end than the other. So when you transfer the marks around like that, you get a perfect fit for the mirror image of the legs. Argh. Well, I could trim another centimetre off the dados and figure out some sort of wedge system to ensure that the whole thing… oh pineapple it.
It’s the back apron. I’ll trim off a centimetre from it. Nobody’s ever going to notice, right?
Yeesh.
So that’s where we are now (I didn’t fit the short stretchers for this because with the wood swelling from the rain I figure they won’t fit anyway.
What’s left to do:
- Plane and cut long stretchers and the tenons at the ends of those
- Cut mortices in the legs for the long stretchers
- Final fitting of everything
- Drilling for drawbores for the M&T joints — the joints with the legs and the short and long stretchers, and I’m wondering if it’s possible to either drawbore the tenons at the top of the legs or wedge them somehow.
- Final glue-up assembly:
- Glue and assemble leg frames
- Glue in long stretchers to leg frames
- Glue leg frames into benchtop
- Drawbore M&T joints in leg frames (have to do this with some speed to get from assembly of leg frame to drawboring within the open time of titebond II)
- Let glue cure
- Mount vice rear face
- Mount planing stop
- Glue on front and back aprons
- Let glue cure
- Assemble vice (including front jaw, which I’ll just make from an offcut of 2×4 for now, I can make a hardwood face later on)
- Chop out mortice to fit end vice
- Fit end vice
- Drill holes for bench dogs and holdfasts in benchtop and legs
- Chamfer dog/holdfast holes (though I’d have to do this with the router, which I don’t like)
- Drown it in 3-5 coats of BLO
- Strut
Yeah, that should only take a few hours… so with the kind of weather we’re predicted to have, I should be done somewhere around October. 2023. Yeesh…
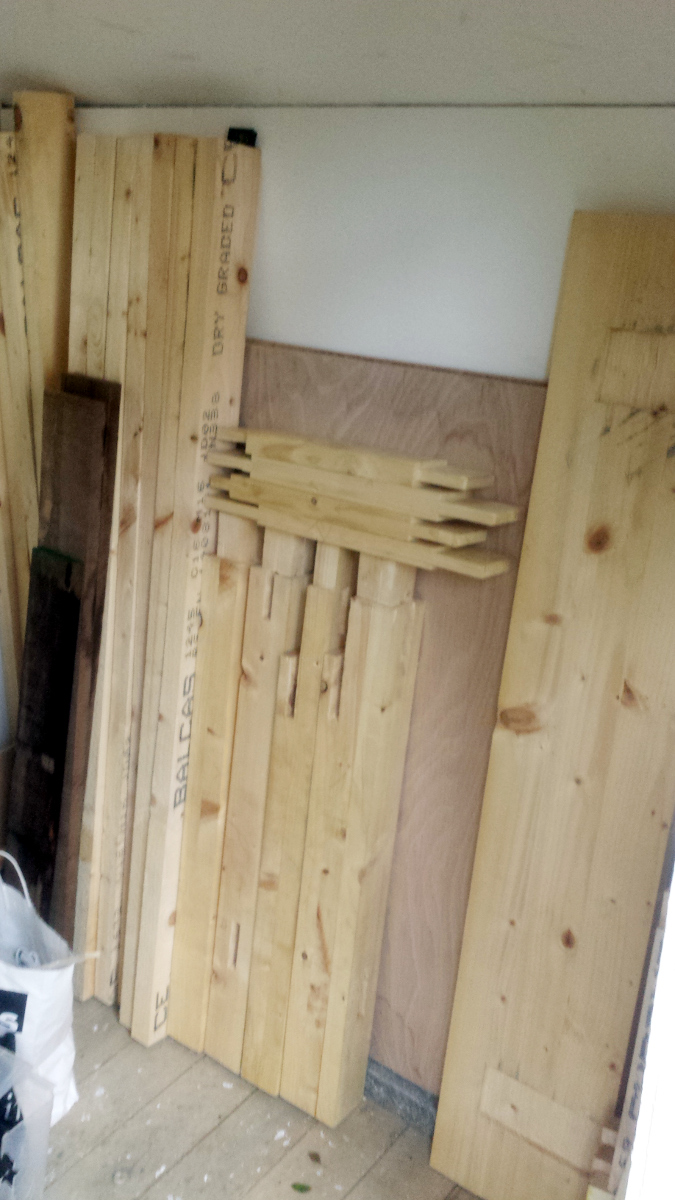
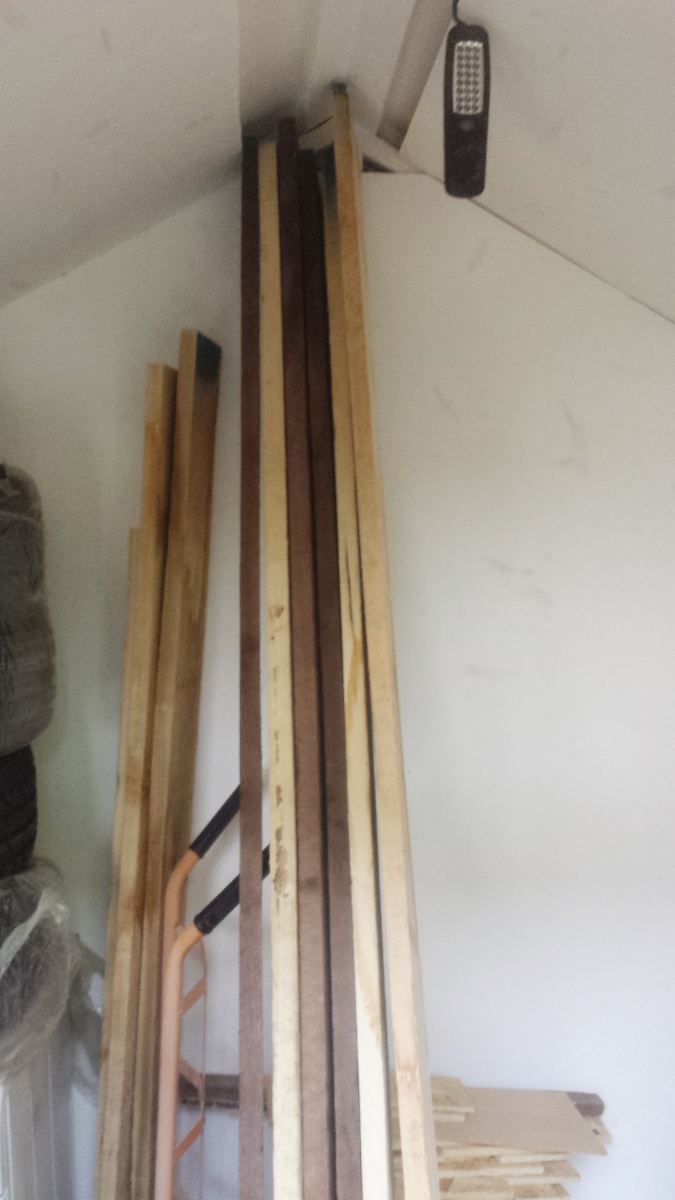
Meanwhile, I managed to get all the bench pieces, spare offcuts and lengths of 2×4 and all the walnut and ash and poplar into the shed out from the tarps. So give it a few days and it might have dried out enough to be able to fit.
Tags: bench, Woodworking

