Flying plane
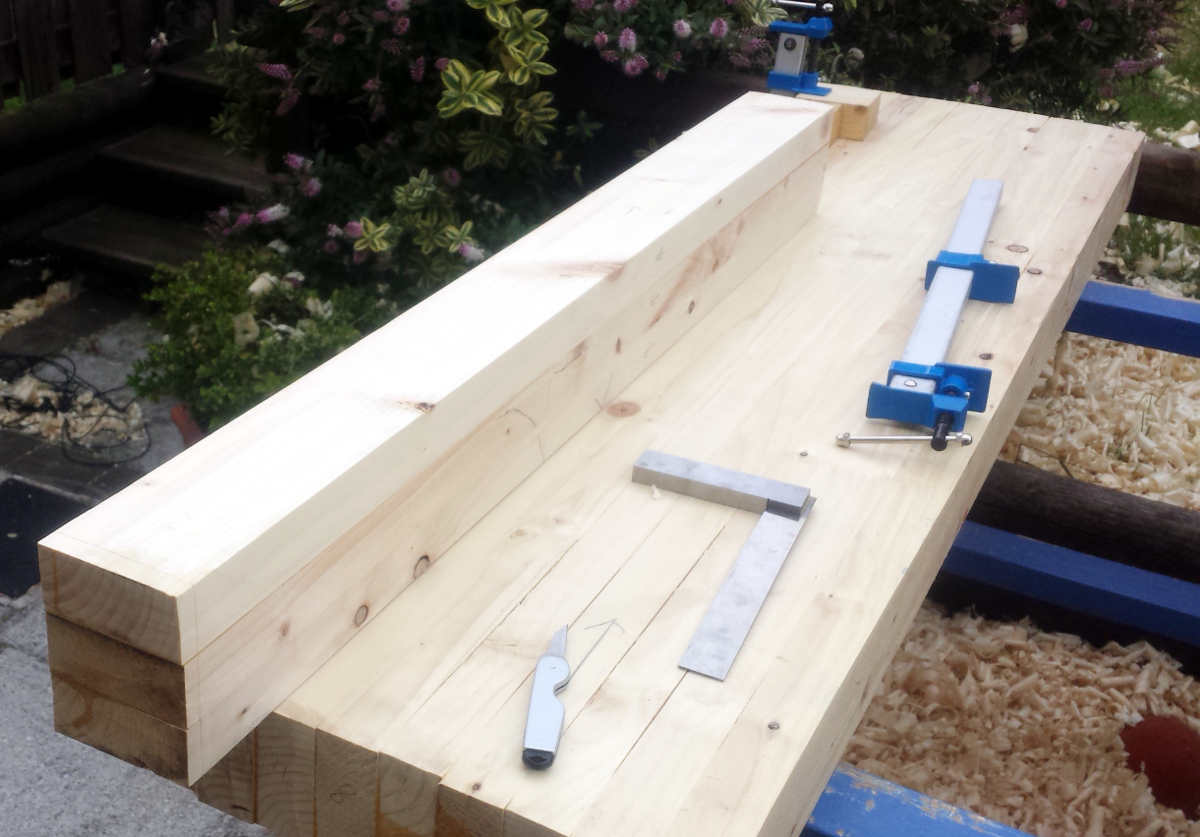
A nice dry-ish day for most of today (for which I know karma is going to exact vengeance) so after breakfast, out to check on the apron glue-up.
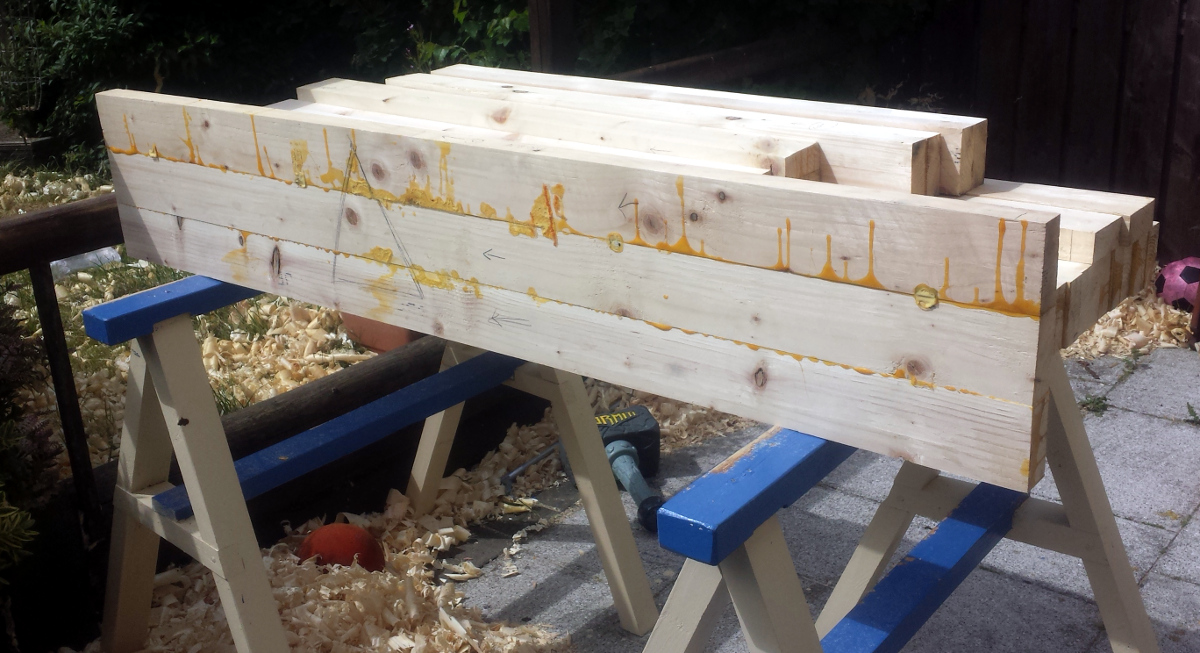
Not bad. No daylight between the boards. A bit of bowing and twist though, so out with sid…
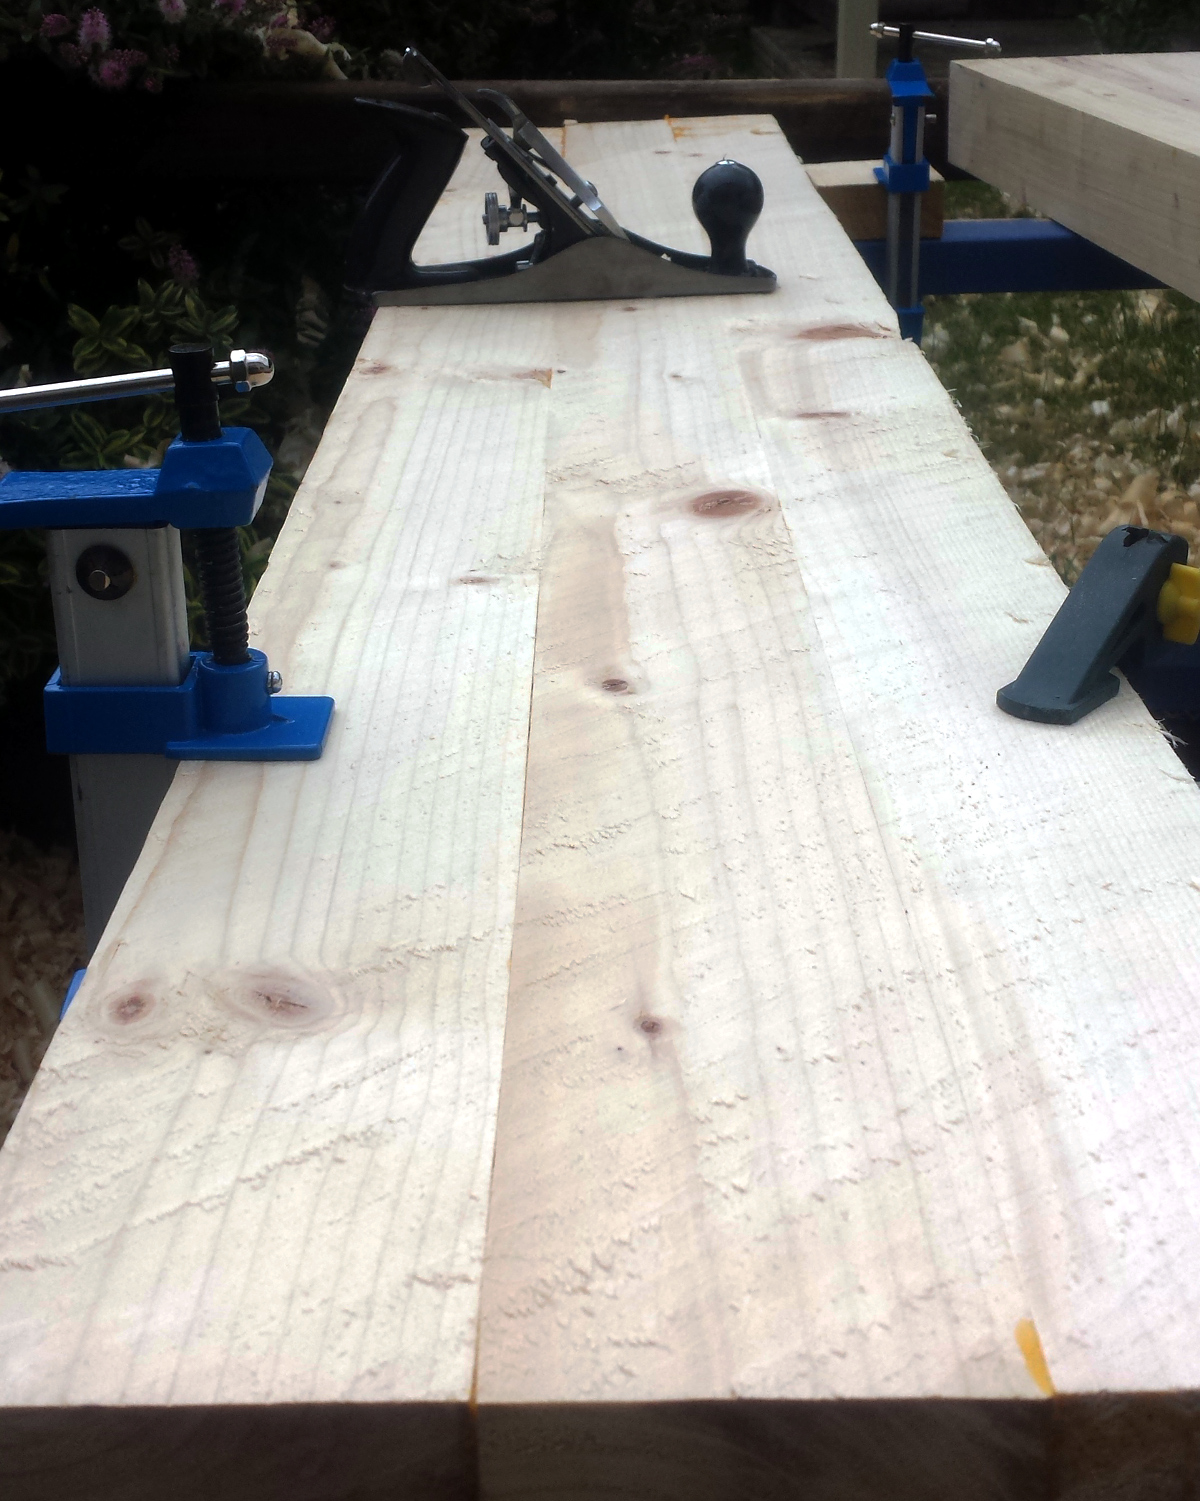
Did I say a bit of twist? I’m sorry, I meant an entire 40-foot container full of pineapple worth of twist. The front apron wasn’t too bad, it only took the one pass with sid on either side – about 20-odd minutes in total – but the back apron’s middle board was a few mm higher than the other two boards and it ate the rest of an hour getting that down to even reasonably flat. But I got it done and then got out the faithful #4½ to do the smoothing away of sid’s furrows. Front apron board was less than ten minutes and there wasn’t any twist in it at the end of that, and okay there might be a mm or two of bow over the full length of the apron, but I’m okay with that, I just need the parts around the legs to be flat and the rest to be reasonable. Then I changed over to the back apron board, and in the middle of moving boards around, caught the #4½ full in the side and knocked it off the 40″ tall work surface onto the paving stones.
You know that moment when you run a boning knife through your finger and the pain hasn’t hit yet, but you can see how bad it was and you know it’s going to hurt? Yeah, that moment. I was fully expecting to see cast iron bits go flying in all directions. But I seem to have gotten off lightly, it landed on its lovely crucible cast blade instead of the body of the plane and it acted as a crumple zone:
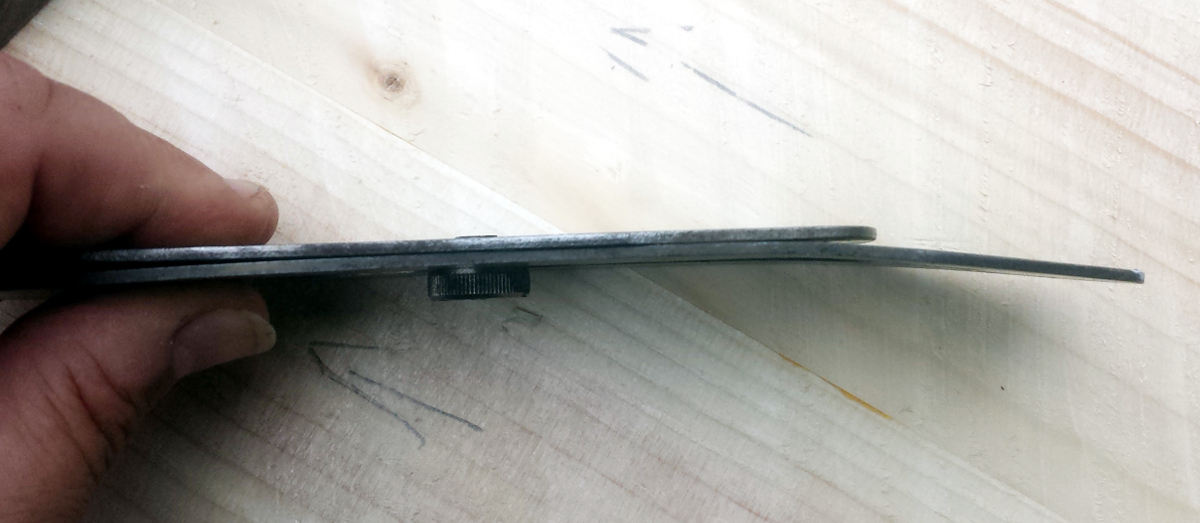
Well, tiffin.
I knocked it back to straight with light and delicate adjustments with the appropriate tool (ie. a few belts off a hammer), but the edge took a hit off the cast iron when it got shoved through the plane on impact. So I’ll have to resharpen (or regrind) the edge in the next few days. I got out the #5½ and got on with it with that, and they didn’t look terrible afterwards. I mean, they don’t look good either, but I’ll accept “not terrible” for now.
And at that point, it was time for a slightly late lunch.
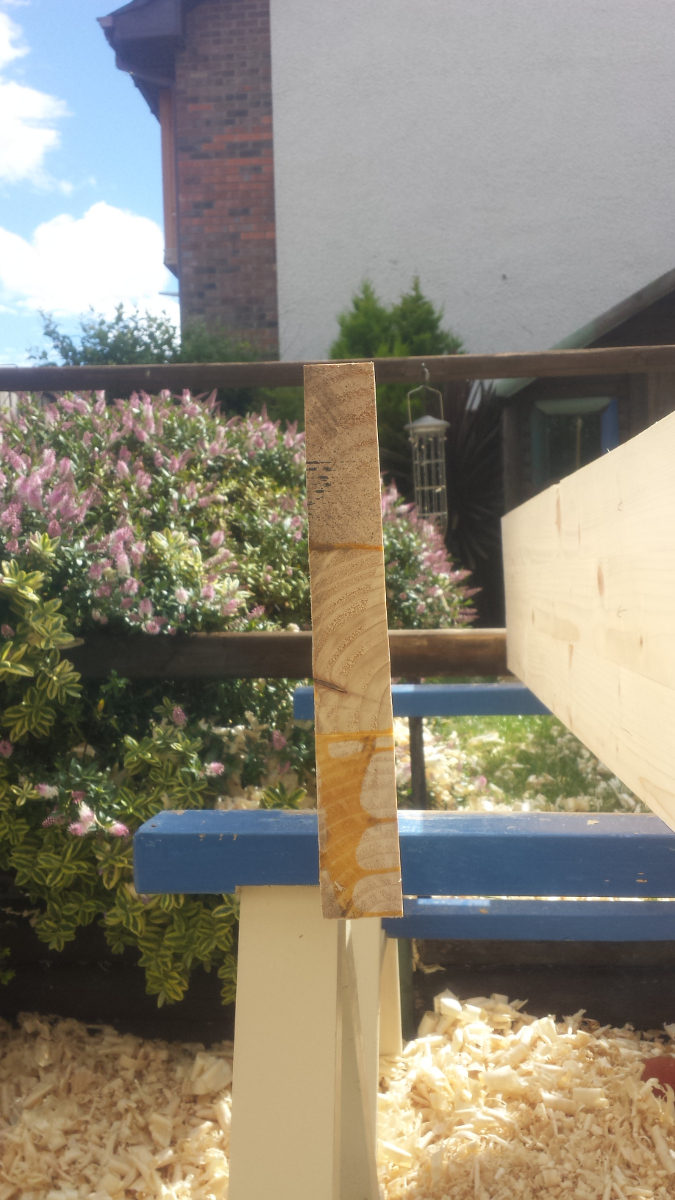
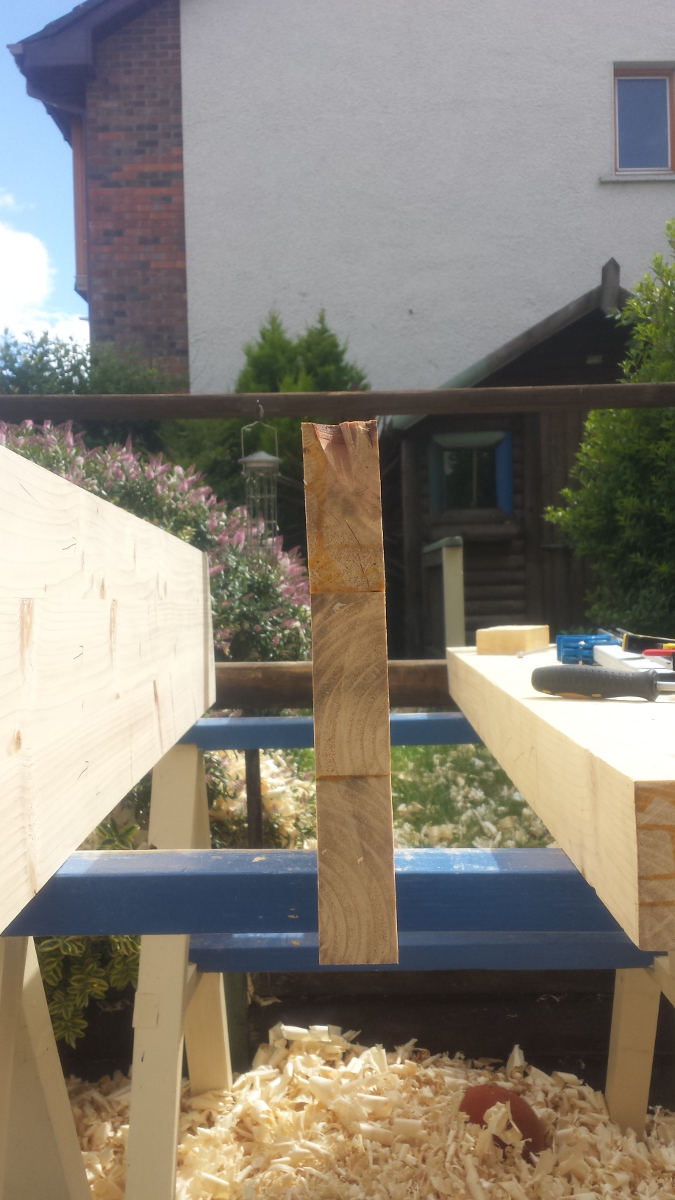
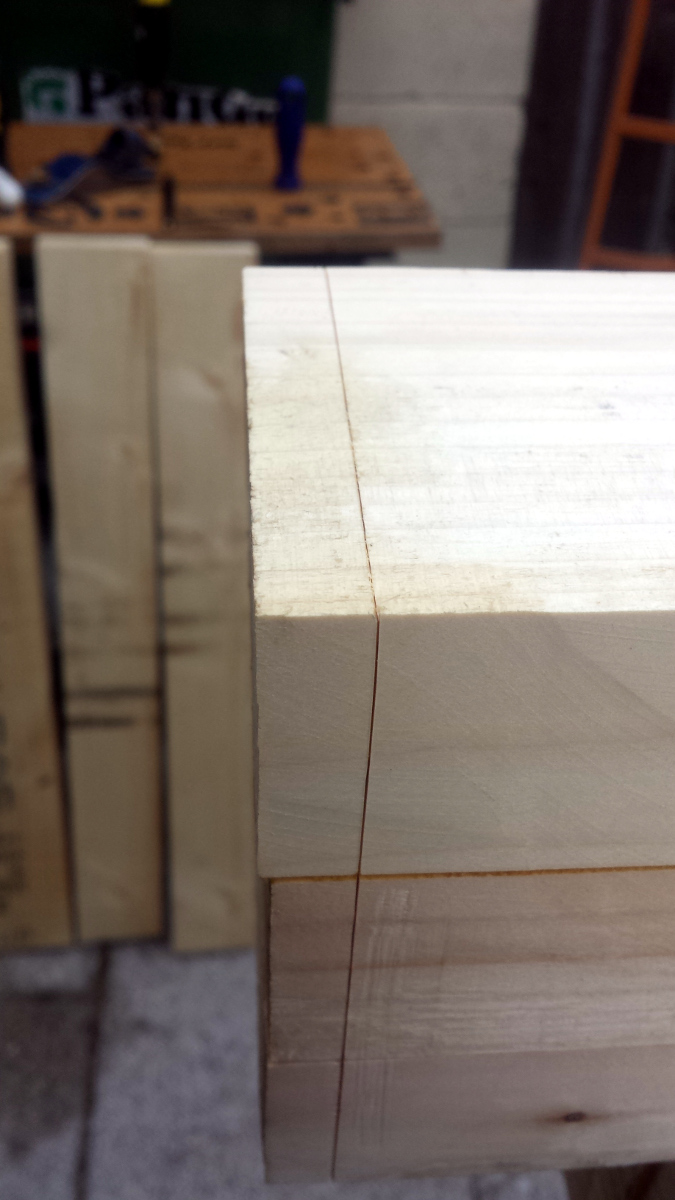
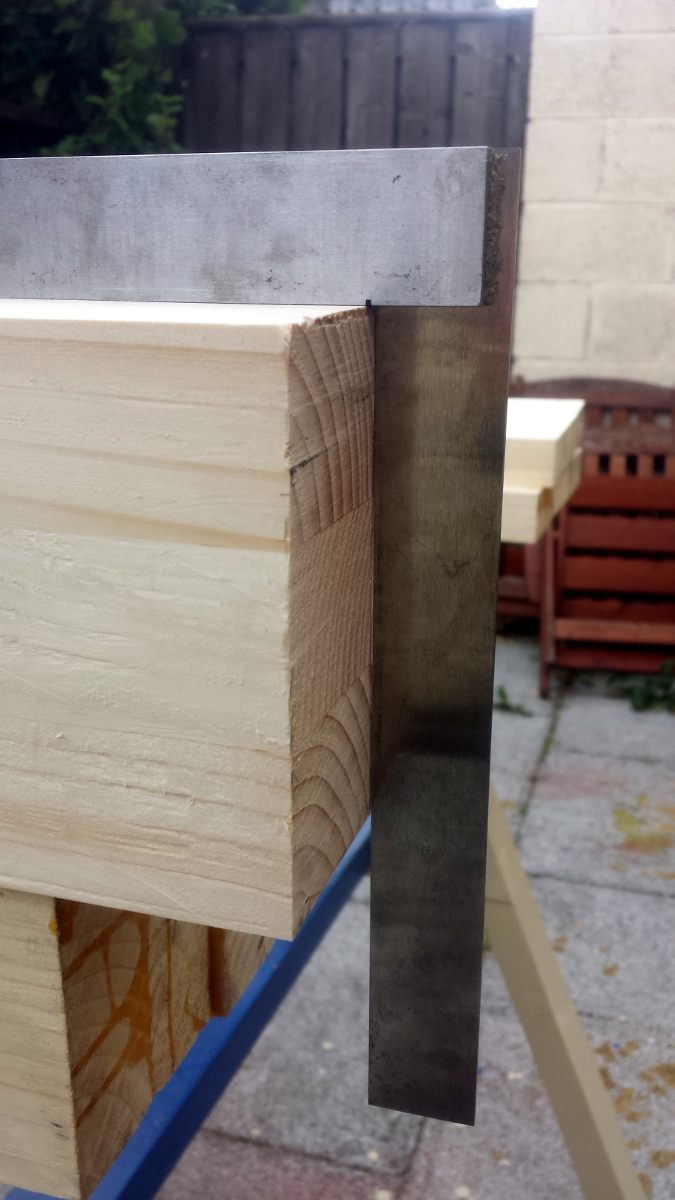
To be honest, it felt like time for a liquid lunch followed by a sunday afternoon spent inspecting my eyelids for pinholes, but unfortunately the maid said it wasn’t her job to finish the bench off. Can’t get the staff these days. So after some coffee and sandwiches, I got back to it. I checked the plan, but it called for the aprons to have taken 20 minutes to fully complete, which in hindsight was probably a little fragile as a plan. So I figured I’d try to get a leg frame done, only to realise I’d forgotten to plane the stretchers yet and the legs weren’t S4S yet either. Le sigh. So out with the try square and the planes, squared up the vice leg and the matching back leg, then went to cut off the top centimetre to get a reference face. And the knife lines all lined up, so that was okay.
I’d been using a japanese marking knife up to now, but it’s one of those only-cuts-one-way asymmetric ones, and damn near impossible to store in a toolbox (I wind up having to keep it in my chisel tool roll). And it looks wrong when you look at it when cutting a line (it’s an optical illusion caused by the curve of the handle, but it always looks like the tip of the knife is bent over). So I figured I’d try out the stanley folding knife Paul Sellers used (since it’s the same one my father used to have in the toolkit when I was a kid).
Works pretty well actually. It’s not terribly pretty or flash, but it does get the job done rather nicely. And you can fold up the blade and stash it in the toolkit a lot more easily. Well. More accurately, you can get it out of the toolkit more easily, there’s less stabbyness, blood and cursing. Anyway, normal chisel & knifewall crosscut routine, out with the giant Japanese ryoba saw and the little set square and it’s blind woodsman time.
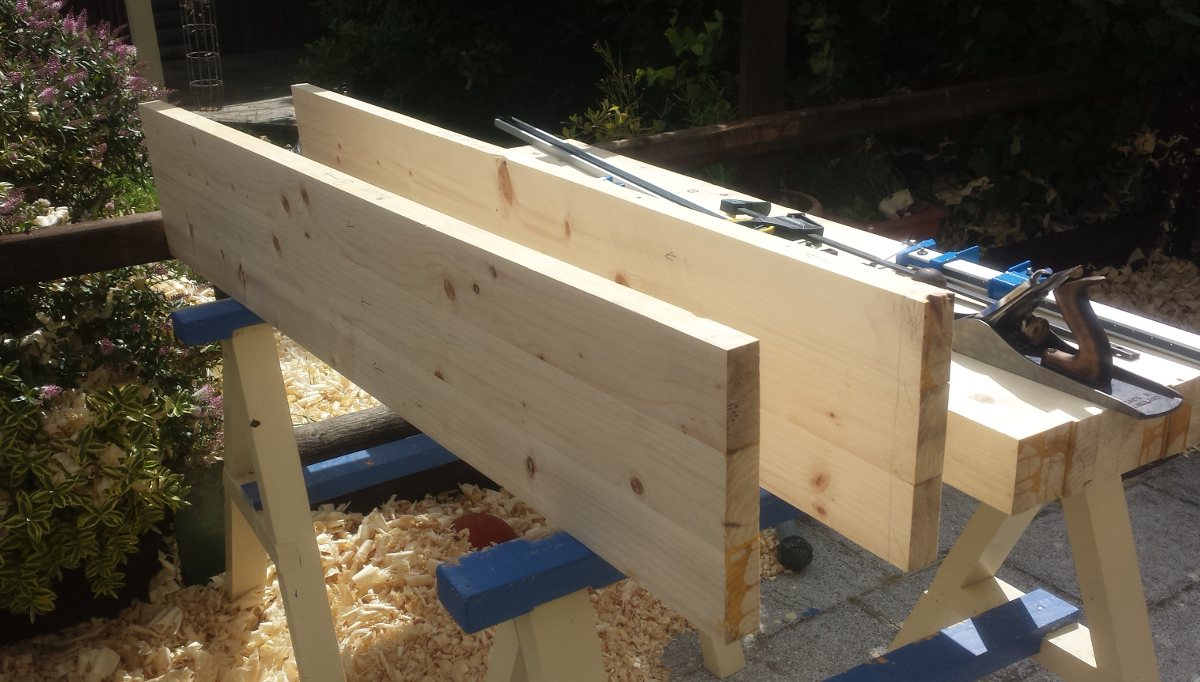
Didn’t go too badly. Got the reference face cut on the vice leg, then measured off 40″ (which is the benchtop height I want) and cut off the leg at that point the same way (and then chamfered the corners of that end). Did the same on the matching back leg, got the reference face cut and the knifewall done for the other end and the chiselling done, and then it started to rain, so there was lots of cursing and running about with tarps. The rain let up for five minutes a little later on, so I ran back out and finished cutting the bottom of the leg before getting everything back under wraps. So one day of work, two aprons and two legs. At this rate, and with our weather, I might be done by November.
So over the rest of the week, I’ve got to fix the blade on the #4½, plane and S4S the short stretchers and maybe the long ones, S4S the remaining legs, and then I think I really would be able to start on the joinery next weekend.